My dirty girl is old enough to drink!

This site may earn a commission from merchant affiliate
links, including eBay, Amazon, Skimlinks, and others.

Joined
Aug 23, 2014
Threads
10
Messages
738
Location
N. California
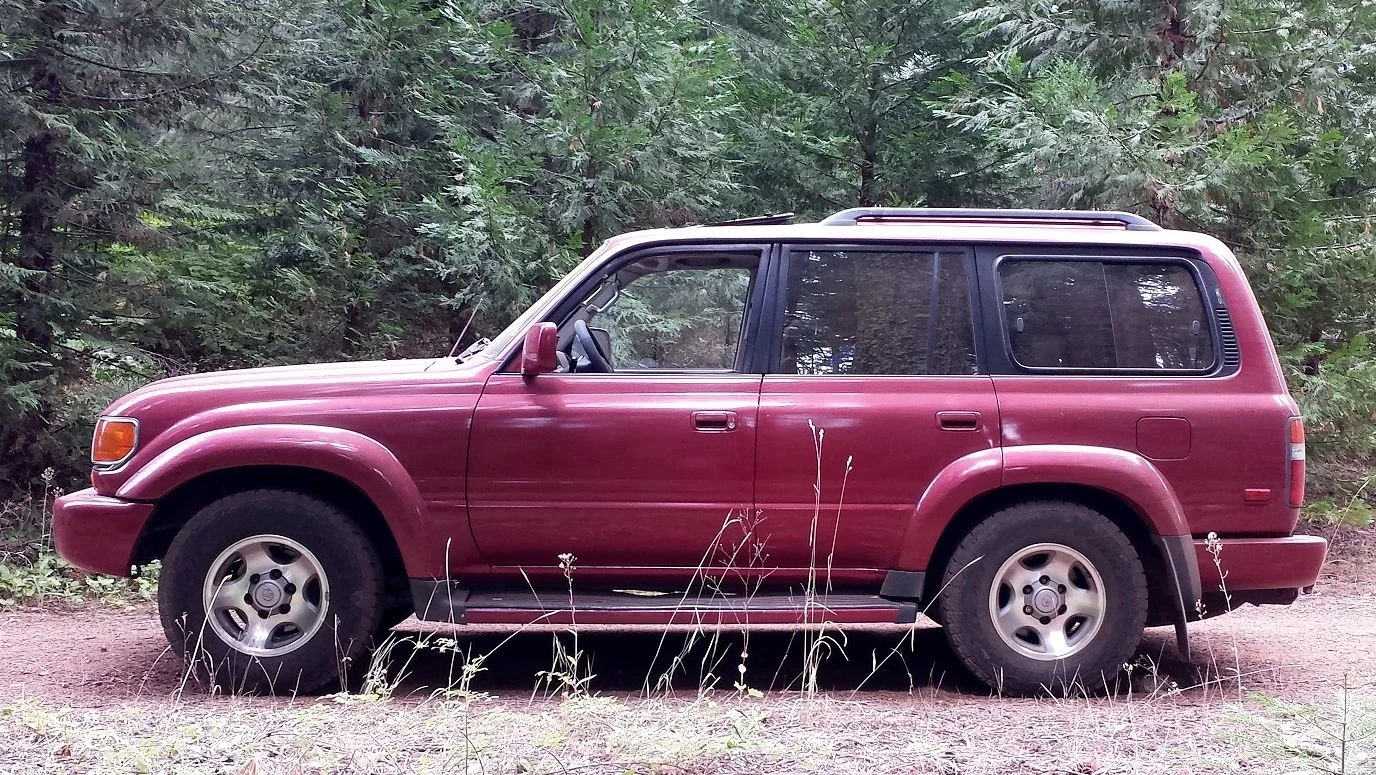
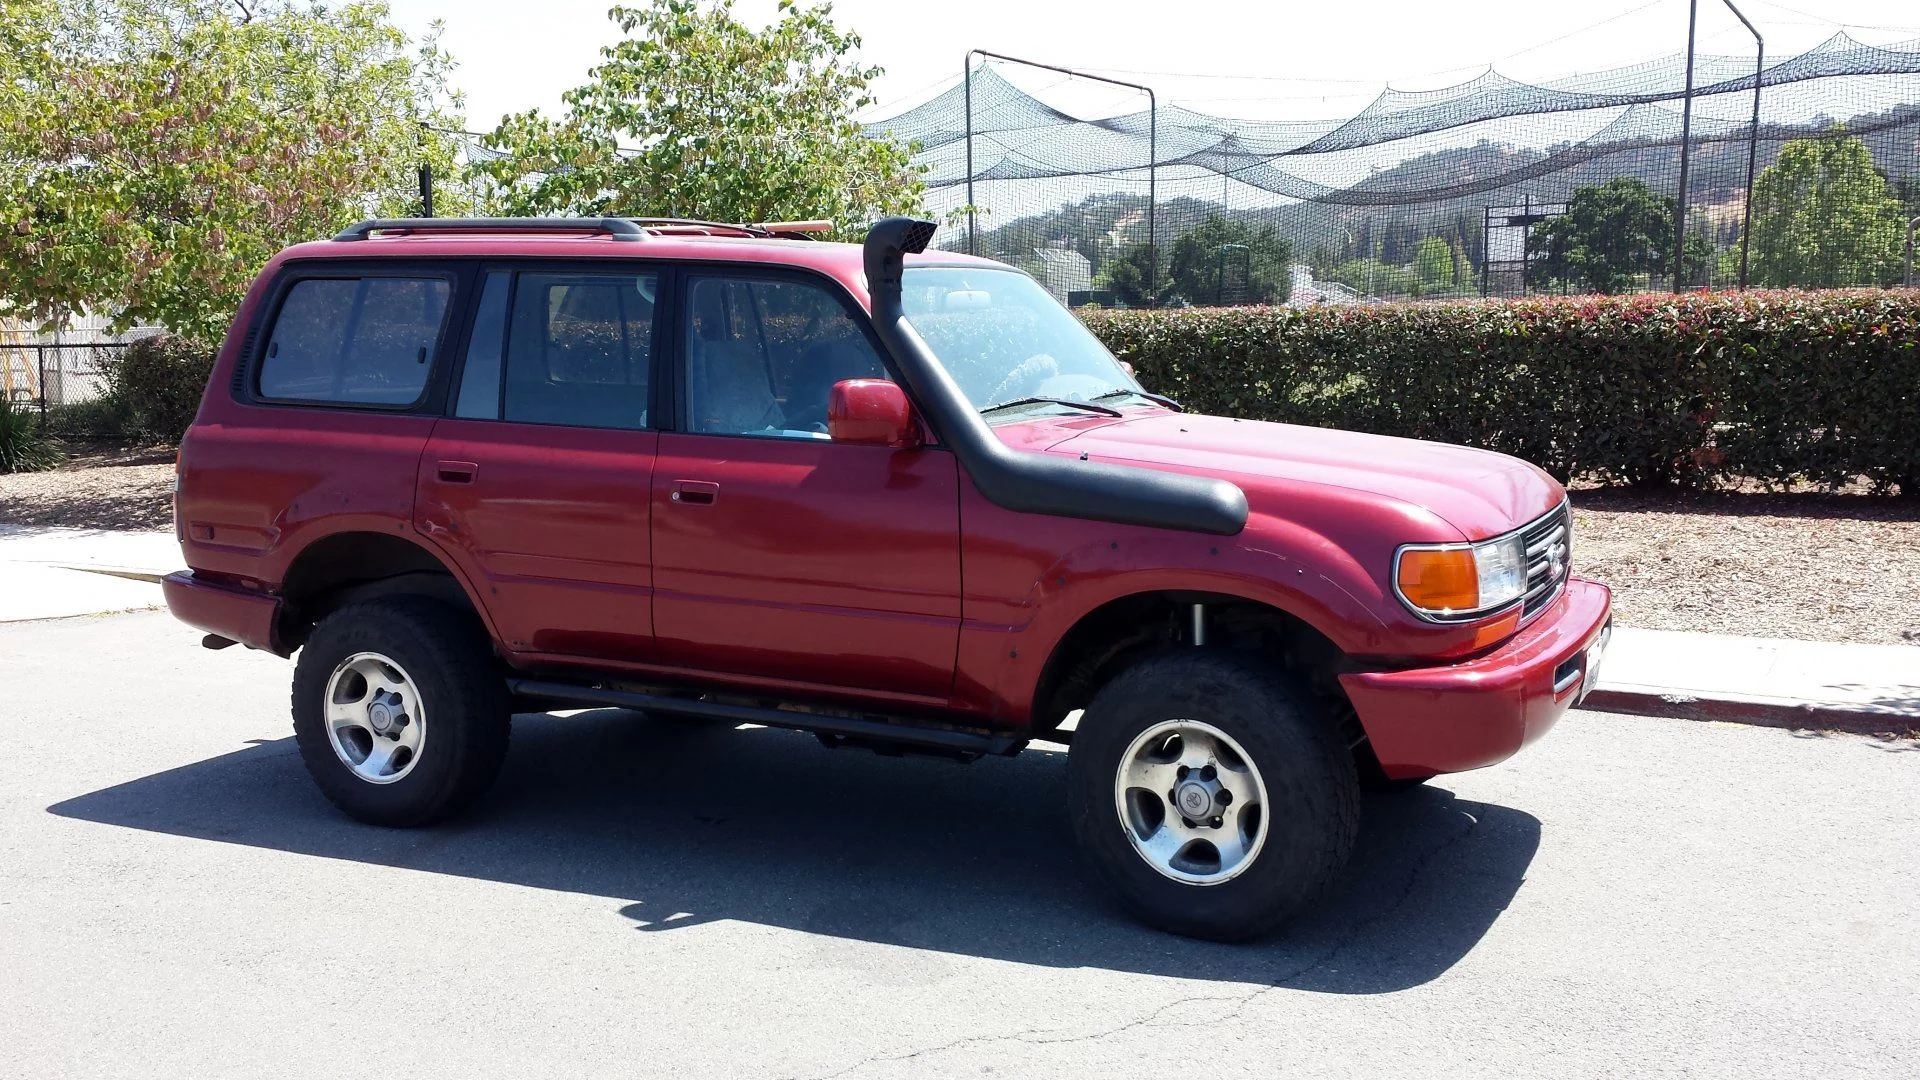
I’m the proud owner of a 38th Anniversary edition 80 series. 21 years young.

My build thread may not be the same as most. It may end up being a cautionary tale of what not to do. Then again, each of us is the boss of our own truck (co-boss if you’re married) so we can do as we please. I had a friend who had been telling me for years how awesome a Land Cruiser was compared to any other 4x4. I’d always thought, “It’s cute you say that, but my Blazer is twice as awesome.” …or later, “My Isuzu Trooper is almost as good, and cost me $1300.” …and I KNEW my old ’81 Toyota (33” All Terrain T/A’s and 2” add-a-leaf lift) truck could wheel with effin’ ANYTHING!

Then my brother bought an 80, and I went wheeling with him. I saw that my Trooper got through almost everything the Cruiser went through, but his Cruiser looked so elegant while it was doing it. When my Trooper blew the engine, I decided my $1300 truck was totaled. I started looking for an 80 with lockers, but couldn’t find one I liked (priced cheap and ran great). I gave up, and bought another Isuzu Trooper. While I was going through the process to move my Rancho 9000 shocks and 32” TrXuS Super Swamper tires, and other goodies from old to new (one year newer, but running ’96) Trooper, my brother saw an 80 advertised for $4200, and one of the adv pictures showed the “magic switch”. It took a while to get in touch with the seller on Craig’s List, and I saw the Check Engine Light (CEL) was lit, so I wanted him to deeply discount the price, or fix the issue. He declined, and we parted ways. His ad expired, and then went back up. He still hadn’t fixed the CEL, but he was more flexible on the price. I bought it for $2700, and put up an ad to sell my new Trooper.

Now to the “don’t do this”. I did a vehicle inspection before I bought it, and came up with a list of things that needed fixing. Of those things I’ve flushed the radiator, replaced a leaking shock, and had a shop sort out the CEL (knock sensor). Then I moved on to sexy stuff, because baselining and basic maintenance is for suckers! Who wants a truck they can trust, when you can make it LOOK COOL? I’ll add pictures in order, and document what I’ve done, but I’ll start with a link to what pictures I’ve uploaded. If you just like pictures, you may stop reading and start clicking. Media for user: Blade 80LC | IH8MUD Forum
 
Last edited:
Initial measurements, swapped bulbs for backup lights, added "attic rack"
Limited maintenance: Flushed radiator, bought a replacement charcoal canister, and lift springs (but did not install right away), replaced some bolts, added SeaFoam to gas tank, ordered sliders and ICON shocks, and actually installed the sliders
Steering stabilizer, shaky mirror fix with foam (and not removing any screws), removed the 3rd row seats but kept the brackets to the floor.
Replaced my springs, replaced the factory radio with a cheap double DIN unit
Sewed my own window screens for the middle row seats, installed HID bulbs, 2" rear lift (by removing the crap I was storing in the truck
Replaced the mounting hardware from my 3rd row seatbelts with eye bolts, added snorkel
Installed a soft grab handle above the driver's door, built my own swaybar drop brackets
 
Last edited:
Measurements as purchased:

Height from running board to the ground 10.75” on the driver side
Height from running board to the ground 11” on the passenger side
Rear departure angle to bumper 25 degrees
Rear departure angle to hitch 18 degrees
Distance from hitch to ground 9.5”
Front hook to the ground 14.5”
Front bumper to the ground 17.25”
Front approach angle 38 degrees
Center of hub to middle of fender well front driver 19.25”
Center of hub to middle of fender well front passenger 20”
Center of hub to middle of fender well rear passenger 18.75”
Center of hub to middle of fender well rear driver 17.5”
full


Land Cruiser mods:

9/3/14 Swapped stock backup lights with 50w halogen backup bulbs


9/10/14 Added the cheap attic rack mod. Attic racks made cheap and easy - 80 series Then I took out the rack, and rattle can painted it black. The paint “dried” sticky. I tried painting over it again, but it stayed sticky. I threw out that rack, and made one with a cargo retaining barrier attached. Attic racks made cheap and easy - 80 series I may end up redesigning the rack mount to be more like this. http://shop.labrak.com/1991-97-Land-Cruiser-Rear-Cargo-Shelf-LR-80-Shelf.htm (LabRack seems to be trying to create a fresh start, but was run by a guy who (in the past) did not come through for several Mud members. LabRak FJ80 Rear Cargo Shelf Install/Review )

I needed to make stand-offs to allow me to bolt a straight angle iron where the rear grab handles had been. I JB Welded some nuts together. I put those stacked nuts in a short section of PVC pipe, and filled the gap with silicone sealant.
full

I built the triangle frame out of used bed frames. You can get old angle iron scrap from any store that lets people drop off used mattresses. I used to sell mattresses for a living. I once built a front bumper and a ladder rack for the rear of a pickup out of used bed frames. Cutting the frames went pretty smoothly with a cut off wheel. I was able to put a twist in the angle iron that I bolted to the roof by clamping it in a vice, and bending the section that extended past the vice. It needed a twist to transition between the angle of the roof, and the straight vertical bar of the cargo barrier.
full


full


full
 
Last edited:
10/4/14 Flushed radiator, and refilled with Prestone. I plan to drain and refill with Toyota red or pink at some point, but the PO had filled the cooling system with plain water. It was rusty, and was the thing that bothered the pre-inspection mechanic the most about my cruiser (from a scary maintenance point of view.)

10/5/14 Ordered charcoal canister per Charcoal Canister - Great Option! but have not installed it.

11/4/14 ordered used OME 851 and 863 springs from Slee.
 
11/22/14 Replaced 4mm bolts in hinge of the center console lid.

11/24/14 CD2 into crankcase and pint of SeaFoam into gas tank. Shortly after adding SeaFoam to the gas tank, I got a 0401 check engine light. It could be coincidence, but others have stated that SeaFoam in the gas ruins O2 sensors. Many of the 0401 (EGR flow) CELs are resolved by replacing O2 sensors.

11/26/14 Ordered OPOR sliders and ICON stage 1 shocks from MetalTech.

1/16/15 12 oz. of SeaFoam into gas tank and 4 oz. SeaFoam into crankcase

1/25/14 Painted and installed OPOR sliders

Distance from center of hub to center of the wheel well after adding sliders: Driver Front 19.75” Driver Rear 18” Passenger Front 20.25” Passenger Rear 18.5” (About .25” lower F&R on passenger side. Driver side is .5” lower in rear, but .5” higher in front than initial measurement) Center of Hub/ Fender Measurement is a thread showing a bunch of hub to wheel well measurements.
 
2/1/15 Attempted to replace steering stabilizer, but couldn’t get it loose. Found a thread suggesting to use a pickle fork or a ball joint remover (after unscrewing the nuts) Steering stabilizer

2/8/15 Shaky mirror fix (type 3) 30 Second Shaky Mirror Fix Months after resolving my shaky mirror issue with foam, I saw this video on how to do the more common zip tie fix.

3/4/15 UPS confirmed they lost my 863 rear springs (ordered from Slee last November). Amery (at Slee) advised me they had no similar used rear springs. He declined to match the price for new springs on Amazon ($2 less than suggested retail, but with shipping included.) I ordered rear springs from Amazon.

3/8/15 Removed stock steering stabilizer, and replaced it with a generic $25 Monroe part off Amazon. Amazon.com: Monroe SC2946 Magnum Steering Damper: Automotive Replacement steering stabilizer is about twice as hard to move the piston as the worn part. Steering is noticeable firmer and steady. Even using a pickle fork, I couldn’t get the shock loose with my 2.5 lb mini-sledge. I got out my 5 lb. splitting maul, and used the sledge side to coax the tapered bolt to let go. After getting the fork all the way in, all I had done was compress the grease boot. I put the open end of a combination wrench so that it was on both sides of the tapered post. The extra thickness of the wrench allowed me to pop out the tapered stud, before the pickle fork was fully bottomed out.
full


Removed 3rd row seats, but replaced the floor mounting bracket (to be used in a future project… tie down point or plate similar to the Puma mount).
full


Driver front 20” Driver Rear 18.5” Pass Front 20” Pass Rear 18.75” (Gained .5” driver side and .25” passenger side in the rear by removing the 3rd row seats.)

3/11/15 Added mesh rubber mat to the dash. Blackout for glare, and stops things from sliding. $7 at Harbor Freight 18 In. x 72 In. Nonslip Toolbox Mesh Liner There was enough mesh left over to line the center console bin bottoms.
 
Last edited:
3/28/15 Swapped from old stock springs to OME 2851 medium front with ICON 5-6509 Stage 1 shocks. Rear is OME 2863 heavy springs with ICON 5-6510 shocks. Stock front shocks were 22.5” extended. ICON shocks are 26.5” extended. Stock rear shocks were 22.75” extended. ICON rear shocks are 25.5”. Rather than getting PB Blaster penetrating oil to the top of the rear shock mount, I used brute force. That sheared the bolt. I should have thought to spray Blaster over the top of the rear frame rail.
full


Driver front 22.25” Driver rear 22.74” Pass Front 22.5” Pass rear 23.5” Gained 2.5” over 20 year old stock springs in front. Gained 4.5” in rear over stock springs with a bunch of gear in back. (The same gear that was in back for the stock spring measurements.)

4/4/15 Replaced factory radio (with nonfunctional CD and tape player) with a low priced double DIN Video/GPS/CD/Bluetooth/with rear cam made by “Pupug”. Amazon.com: Pupug 6.2 Inch Double Din in Dash GPS Car DVD Player USB Sd Bluetooth Pc Radio Navigation Camera (style 1): Cell Phones & Accessories I also ended up replacing the factory antenna (motor not running up or down, bent mast) with a non-automatic unit. Amazon.com: MQ-1 AM/FM Semi Automatic Car Power Antenna: Car Electronics This YouTube video was a big help in figuring out how to get the dash off. My antenna coax wire was stuck so tightly in the grommet pass-through, that I tore the wire apart trying to pull it through the grommet. I had thought to tie a wire to the old antenna wire, but that didn’t help since the antenna wire could not be pulled through. Radio Antenna Wire reminds that getting the wire through is a PITA without a guide. I tried several times to get the new antenna wire through the original path. I also tried to snake in a piece of galvanized steel wire to use as a pull wire. I tried making a chain of zip ties to push through… None of that worked. I cut a new hole in one of the firewall pass throughs, and pulled the antenna lead through that. When I later helped my brother replace his antenna, I noticed his antenna also refused to slide through the grommet. Since he already had the fender off, I advised him to remove the grommet. It appears Toyota crimps a clip on the coax cable that prevents the wire from going through that grommet! (At least on a 94 and a 95.)
 
Last edited:
4/5/15 Sewed screens for the second row windows/doors. I can have the windows down for ventilation, but still keep bugs out. I bought a roll of 48”x84” fiberglass screen material. I cut that into two 48”x42” sections. I folded the 48” sections over the top of the door, and then just stitched up the sides with thread. I turned them inside out, and they make fairly acceptable screen/window socks. There is about 3” of screen lying against the door below the window. I got the idea from this thread. Window Screens

I replaced my headlight bulbs with HID. Yes. I know "everyone" says to use HIR, instead of HID. HIR would have been easier, cheaper, and the bulbs light faster. If I was doing it over, I'd have used the HIR bulbs.
A key reason why people say not to use HID bulbs, is that the distribution of light is completely different than a filament bulb. That argument makes sense with regard to putting LED bulbs in the stock housing. On the other hand, HID is not much different than the pattern of the stock filament. To the people who say HID is terrible in a stock housing, I'll point out that HIR isn't stock either. Stock, HIR, and HID all three have a single point of light, that should all be in the same location as the others. LEDs that replace filament tend to have a series of emitters, so some of them HAVE to be somewhere other than where the stock filament had been. I took pictures of the headlight patterns as I replaced my bulbs. The lights are brighter, and whiter, but the patterns of the HID are very similar to the stock pattern.

Stock low beams
full


Stock high beams
full


Stock left, HID right high and stock right low
full


HID High and stock low
full


Stock low left and HID low right
full


All HID except the stock low left
full


HID low
full


HID left and right, high and low
full


4/9/15 A thief broke a window on my Cruiser. (Bad people suck.) They stole some of my stuff, so I moved all the remaining gear to a friend’s garage. With all the gear (a few hundred pounds of various and sundry) out of the back, the rear suspension is another 2” higher. 24” driver rear and 24.75” passenger rear. (COA to top of wheel well)
 
Last edited:
4/13/15 CEL 0401 for EGR flow (that had come on 11/24/14) went away after I sprayed some “Liquid Wrench” penetrating oil into the PCV valve (and shook it) and sprayed some Liquid Wrench through the PCV valve hose. CEL going on may or may not have been related to the Sea Foam in the gas put in last November. Check engine light going out now may or may not be related to “cleaning” the PCV with very low viscosity oil. (light went back on a couple weeks later)

4/20/15 As seen in Hanging hammock from factory roof rack I removed the seat belts from third row and ordered eye bolts for replacement hardware. They should make very sturdy tie down points for gear or hammocks.
full


5/22/15 Installed an eBay snorkel. Some installation notes in: Snorkels!
Here's a link someone else posted on how to install a snorkel on a Land Cruiser.
 
Last edited:
6/21/15 Added a grab handle above the driver door. To remove the factory plastic caps, you just grab the edges and twist counter clockwise. I had some 6mm bolts left over from the removal (and disassembly) of my third row seats.
full


9/3/15 I should have just bought swaybar drop mounts like these, but decided to make my own. $21 with shipping seemed like a dollar too much. Buying parts to do it wrong cost me $8. I bought short threaded pipe nipples, and put nuts on each end of the pipe.
full
full
 
Last edited:
Back
Top Bottom