MScruiser
obsessive-compulsive oppositional-defiant wise-ass
Since I was a kid, I had always been in love with the original Toyota Landcruiser body style; I always said I would get one when I was older. Several years ago, my dream came true; I found one out in Los Angeles, and flew out there with my very supportive wife to pick it up. We drove it across the United States; we stayed a day at the Grand Canyon, and visited several other national parks between the West Coast and Jackson, MS. I spent the next few years driving it (and loving every minute of it).
Eventually, it was time to start making a family (babies), and it was just too impractical to keep as my daily driver. As luck would have it, a surgeon in Oxford, MS saw it, and offered an large amount of cash for it. I couldn't refuse. I sold it.
A few months ago, a buddy approached me and said that he was considering selling his 40. I didn't think much of it, and had kinda forgotten about it. Lo and behold, he contacted me after a few weeks and told me that his 40 was going to have to go, and asked if Id be seriously interested in it. After some consideration, and talking to my wife (did I mention how loving and supportive she is?) I decided to go for it.
This particular truck has been on 5 continents: North America, Central America, South America (Ecuador and Chile), Eastern Europe (1984 Serajevo Winter Olympics), Scandinavia, Asia Minor (Istanbul), and Northern Africa (Alexandria & Cairo). It's been driven on a number of islands, including Japan (yes, it went back to Japan)and has spent a good deal of time on the Greek isles. It was even put on a ferry at the Port of New Orleans, and shipped to Jamaica. One of the POs was in the US Navy, and took it everywhere he went.
The truck has 176k on the clock. I am the 4th owner.
The truck was originally Dune Beige. From looking over the truck, there appears to have been a high quality repaint sometime in the past. After that second coat got old and weathered, the PO began spraying it with rustoleum camo tan. So for the most part, the exterior is rattle canned, and the interior appears to be original.
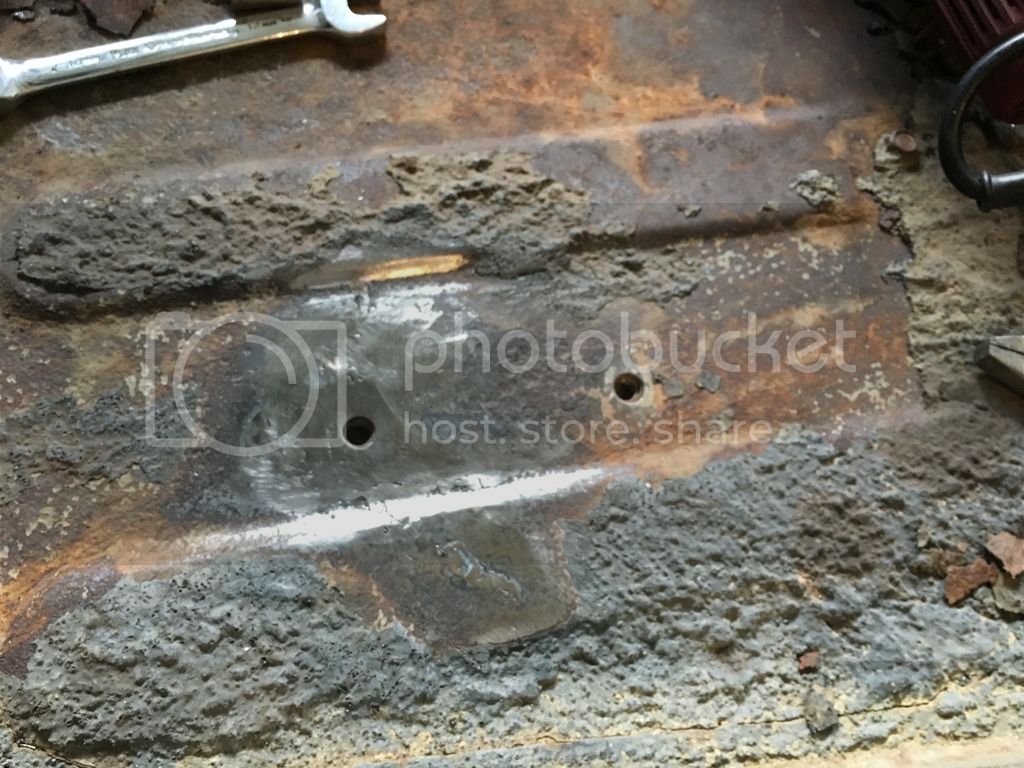
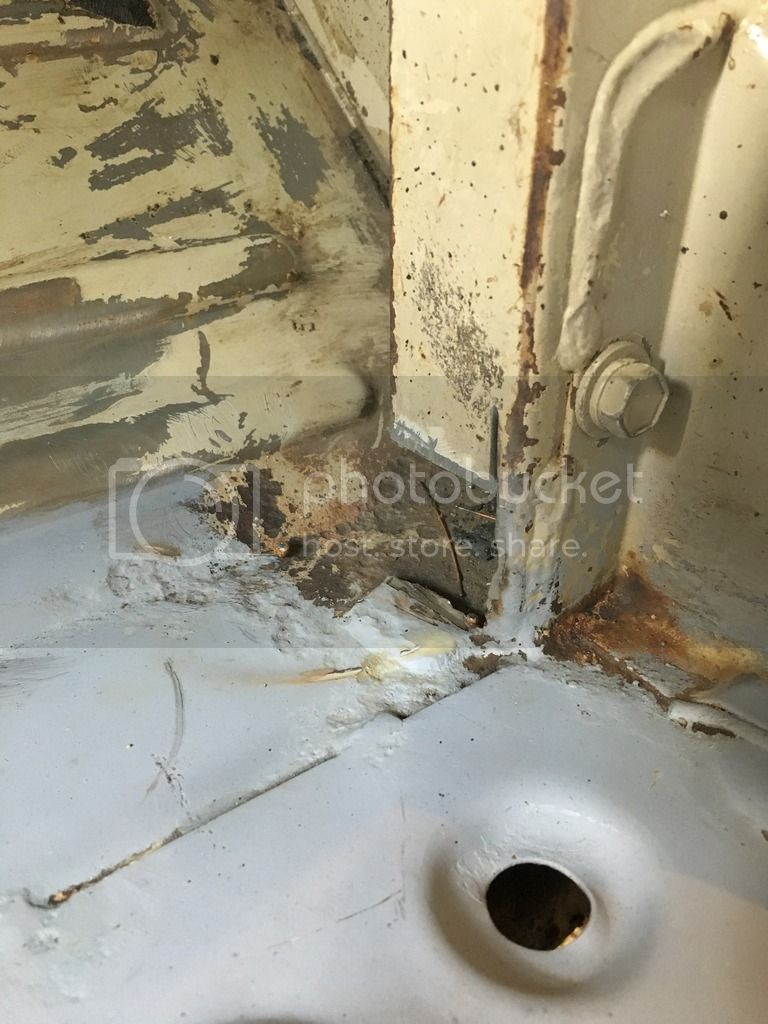
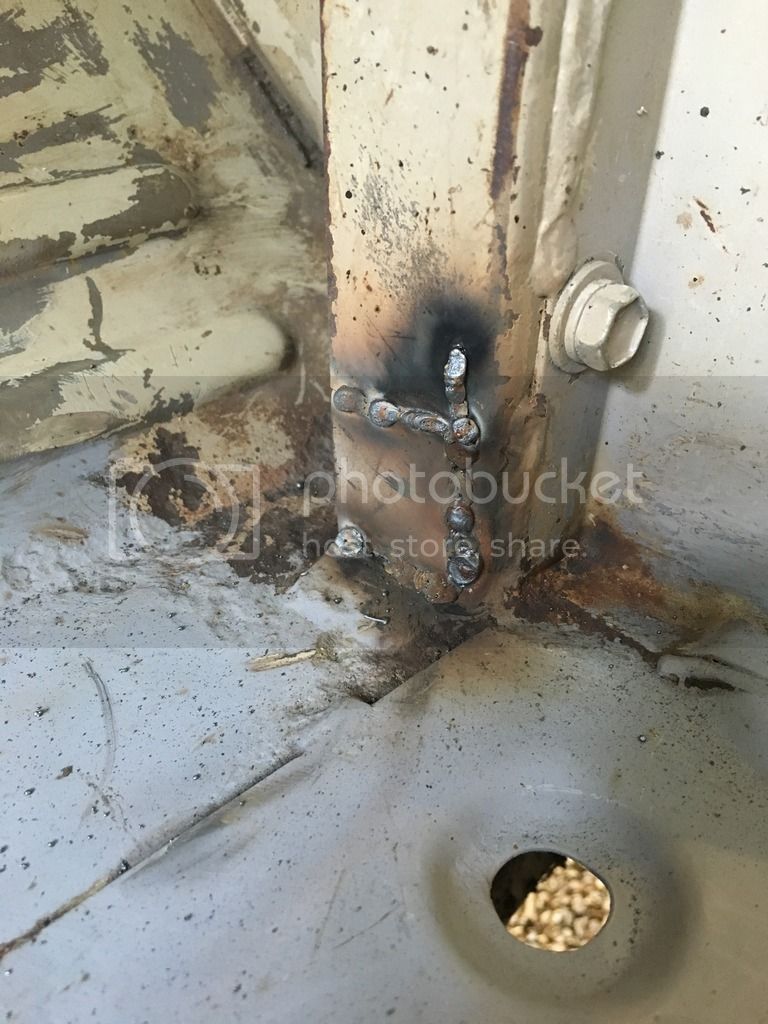
There is some rust, though much much less than expected. The rear quarters will need to be replaced, especially as the PO cut the fenders. The rear sill has some small cancer spots, as does the DS door sill. The front fenders will both need to be replaced (dented beyond repair) and the hood will also need to be replaced (banged up pretty bad!!!). The floor boards are in incredible shape, except for some cancer in the upper part of the DS floor board. Ive never seen a spot form that high before. Go figure.
There is overspray on everything. I have been spending the past few days cleaning it off of everything.
The truck seems to be mechanically sound so far. I did have to replace the fuel pressure regulator immediately, as it must have failed on Andy as he drove to my house to sell it.
I have been in the process of replacing all of the exterior body bolts with stainless steel. I am replacing many bolts with yellow zinc Grade 8.
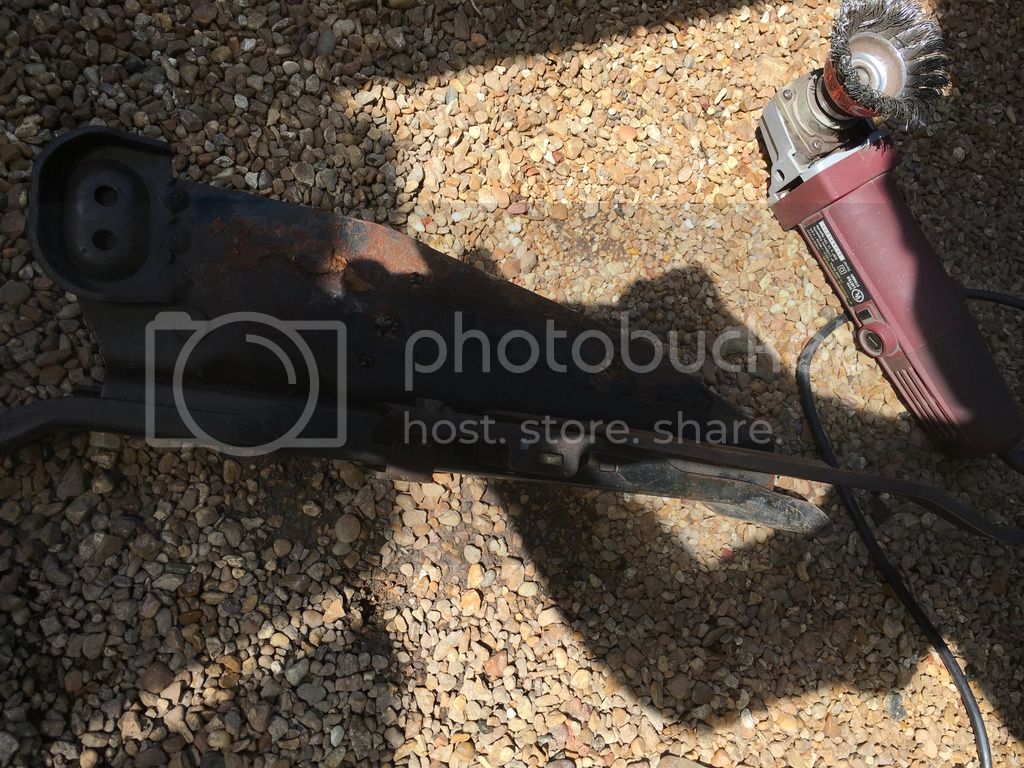
I have also cleaned a lot of grease and rust off of the undercarriage and given it a quick coat of black engine enamel. I also painted the rear bumper, and fender flares.
Ive got a long list of parts I need to find, not to mention sorting out the electronics in the interior. It needs the parking brake rebuilt, and a knuckle rebuild.
My goals for the truck:
1. Get it mechanically perfect
2. Repair and replace broken electronics in interior
3. Replace rear quarter panels
4. Replace fenders
5. Replace hood
After that, I'll drive it. Thats what I bought it for.
Eventually, once we move and I get a bigger shop, Id like to do a frame off restoration. But that's for longer down the road.

Eventually, it was time to start making a family (babies), and it was just too impractical to keep as my daily driver. As luck would have it, a surgeon in Oxford, MS saw it, and offered an large amount of cash for it. I couldn't refuse. I sold it.
A few months ago, a buddy approached me and said that he was considering selling his 40. I didn't think much of it, and had kinda forgotten about it. Lo and behold, he contacted me after a few weeks and told me that his 40 was going to have to go, and asked if Id be seriously interested in it. After some consideration, and talking to my wife (did I mention how loving and supportive she is?) I decided to go for it.
This particular truck has been on 5 continents: North America, Central America, South America (Ecuador and Chile), Eastern Europe (1984 Serajevo Winter Olympics), Scandinavia, Asia Minor (Istanbul), and Northern Africa (Alexandria & Cairo). It's been driven on a number of islands, including Japan (yes, it went back to Japan)and has spent a good deal of time on the Greek isles. It was even put on a ferry at the Port of New Orleans, and shipped to Jamaica. One of the POs was in the US Navy, and took it everywhere he went.
The truck has 176k on the clock. I am the 4th owner.
The truck was originally Dune Beige. From looking over the truck, there appears to have been a high quality repaint sometime in the past. After that second coat got old and weathered, the PO began spraying it with rustoleum camo tan. So for the most part, the exterior is rattle canned, and the interior appears to be original.
There is some rust, though much much less than expected. The rear quarters will need to be replaced, especially as the PO cut the fenders. The rear sill has some small cancer spots, as does the DS door sill. The front fenders will both need to be replaced (dented beyond repair) and the hood will also need to be replaced (banged up pretty bad!!!). The floor boards are in incredible shape, except for some cancer in the upper part of the DS floor board. Ive never seen a spot form that high before. Go figure.
There is overspray on everything. I have been spending the past few days cleaning it off of everything.
The truck seems to be mechanically sound so far. I did have to replace the fuel pressure regulator immediately, as it must have failed on Andy as he drove to my house to sell it.
I have been in the process of replacing all of the exterior body bolts with stainless steel. I am replacing many bolts with yellow zinc Grade 8.
I have also cleaned a lot of grease and rust off of the undercarriage and given it a quick coat of black engine enamel. I also painted the rear bumper, and fender flares.
Ive got a long list of parts I need to find, not to mention sorting out the electronics in the interior. It needs the parking brake rebuilt, and a knuckle rebuild.
My goals for the truck:
1. Get it mechanically perfect
2. Repair and replace broken electronics in interior
3. Replace rear quarter panels
4. Replace fenders
5. Replace hood
After that, I'll drive it. Thats what I bought it for.
Eventually, once we move and I get a bigger shop, Id like to do a frame off restoration. But that's for longer down the road.