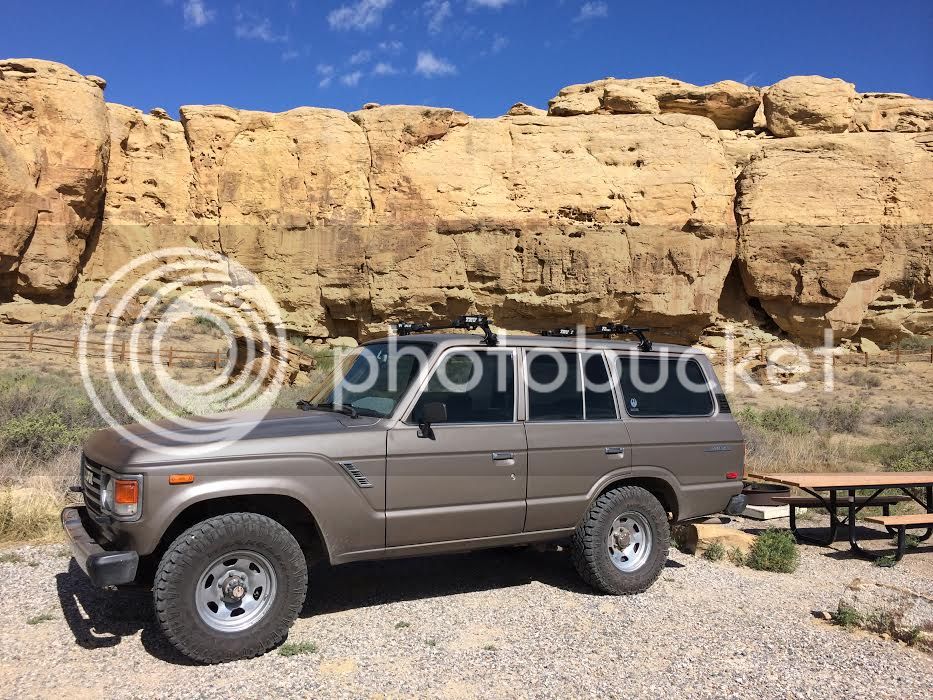
Tighe's '87 FJ60

This site may earn a commission from merchant affiliate
links, including eBay, Amazon, Skimlinks, and others.

Joined
May 5, 2014
Threads
49
Messages
600
Hi all, this is the proper continuation of a previous help thread I started a while back, here.

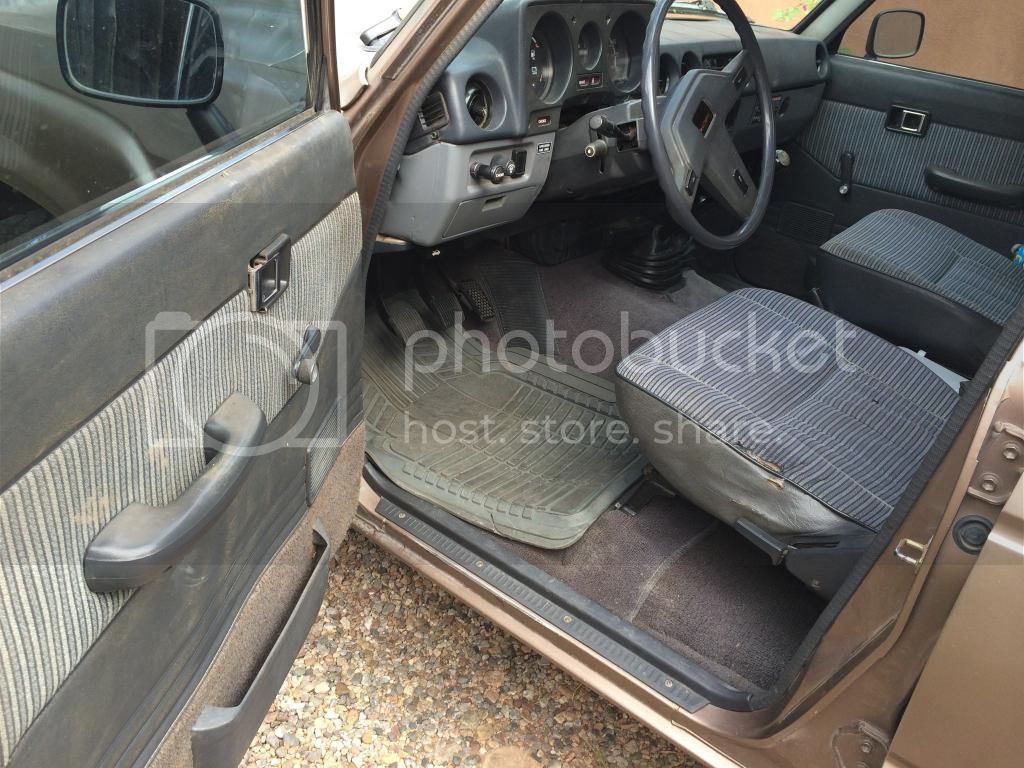
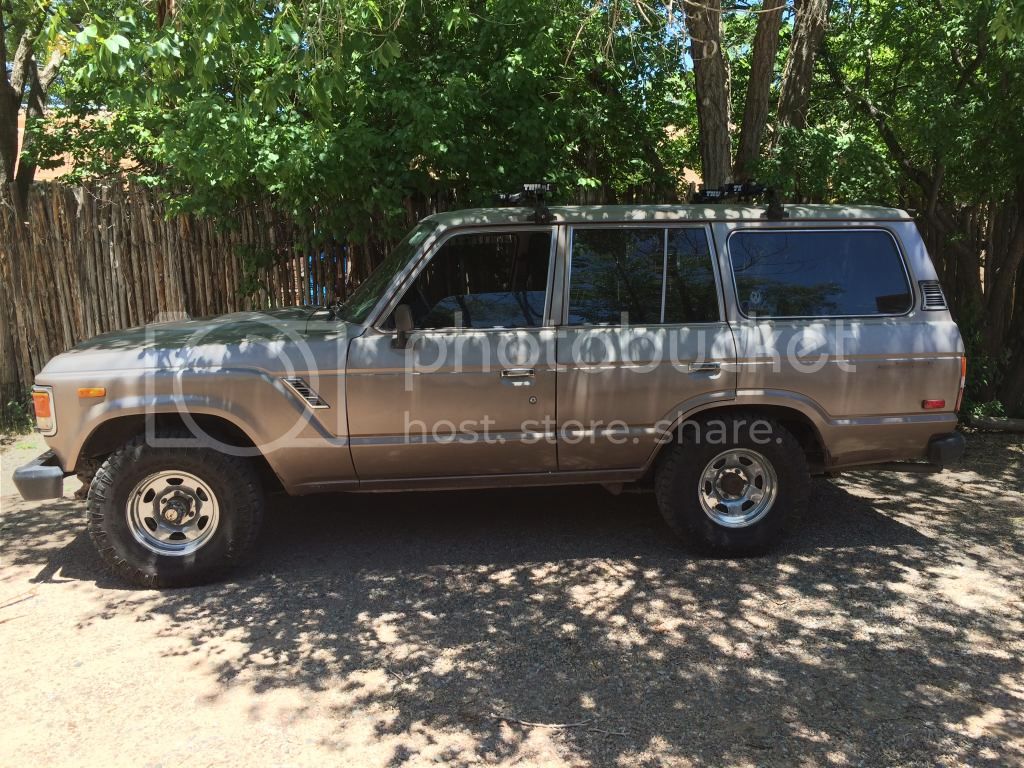
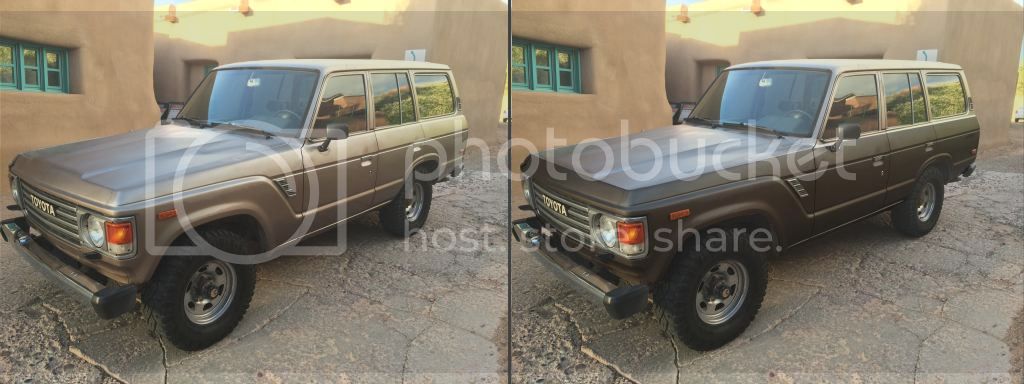
Picked up this '87 FJ a few weeks ago- mechanically in good shape but a little rough around the edges. First LC I've ever owned, other than a hand me down FJ80 back in high school. Some rust at the right rear wheel well, and the interior's pretty haggard but I'll tackle it all slowly and in due time.
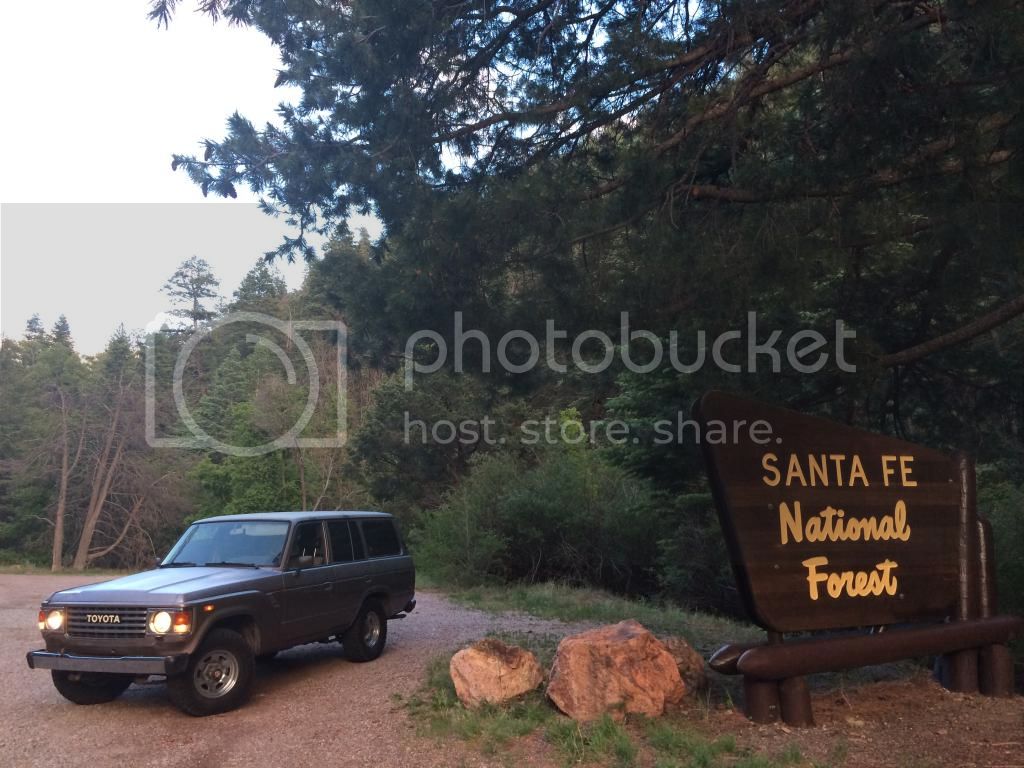
1_zpsaf7dbaec.jpg


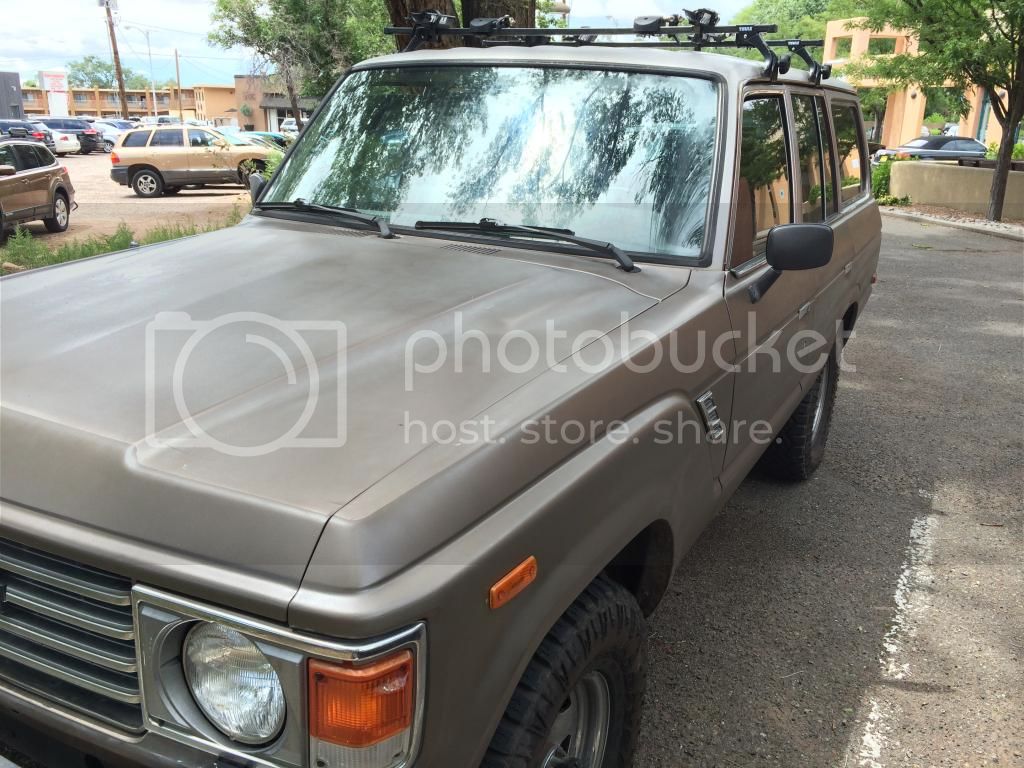
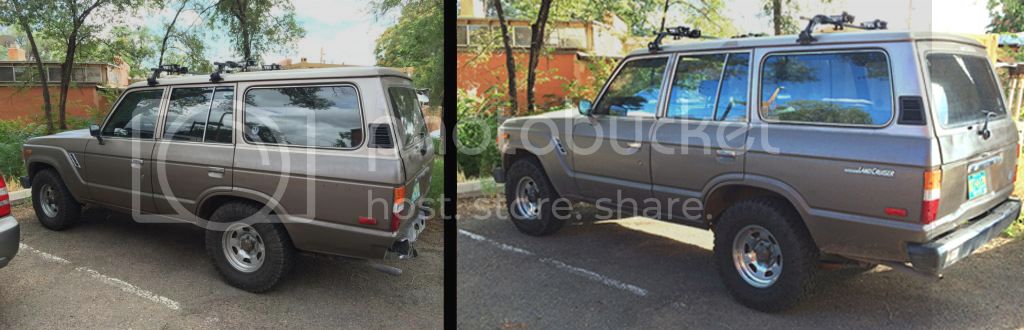
Thinking about repairing the rust, and then going with a two tone look. I like the original Beige Metallic but the clearcoat's faded in many parts, and it could use some fresh paint to really look nice.
6_zpsed703f47.jpg


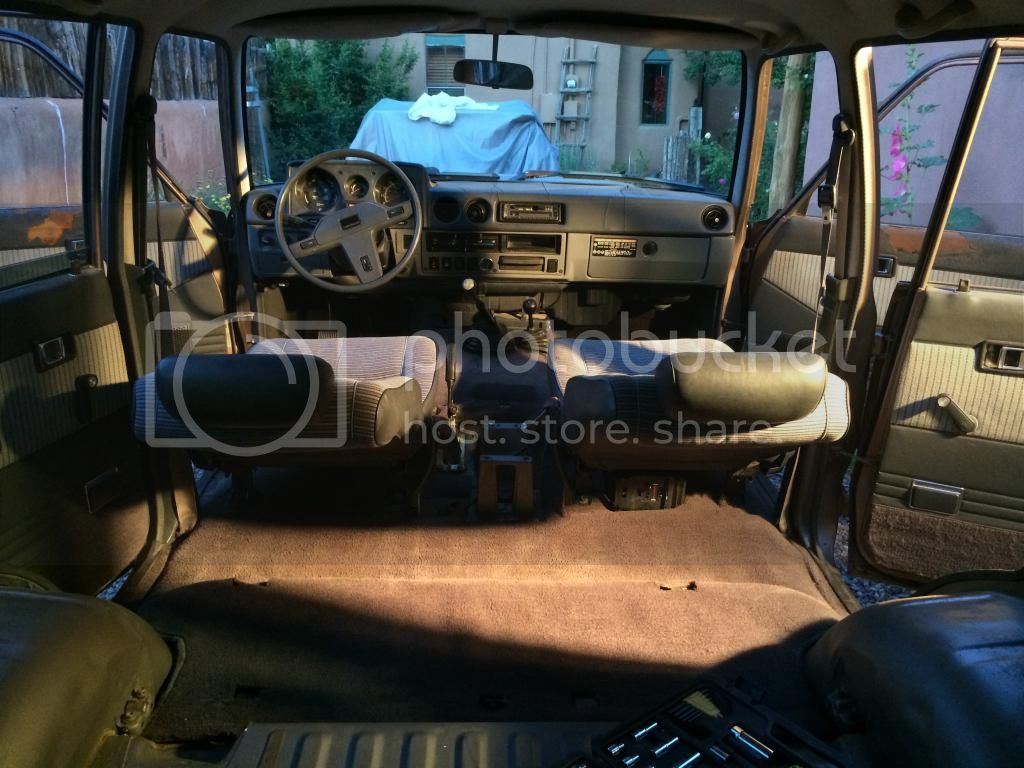
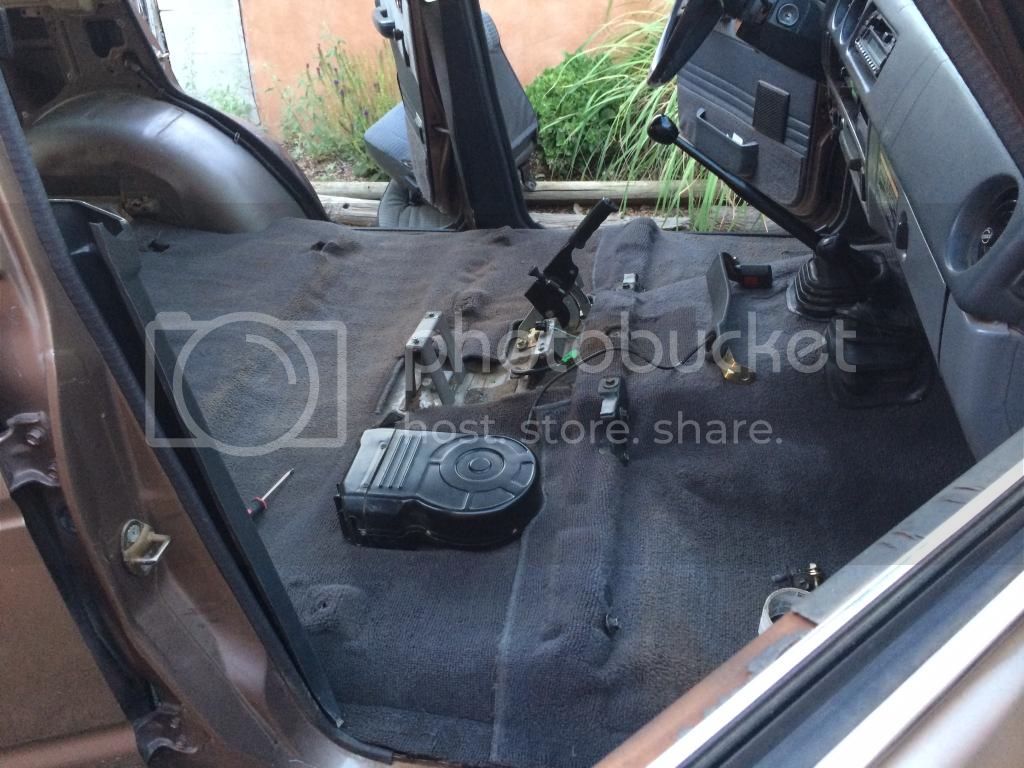
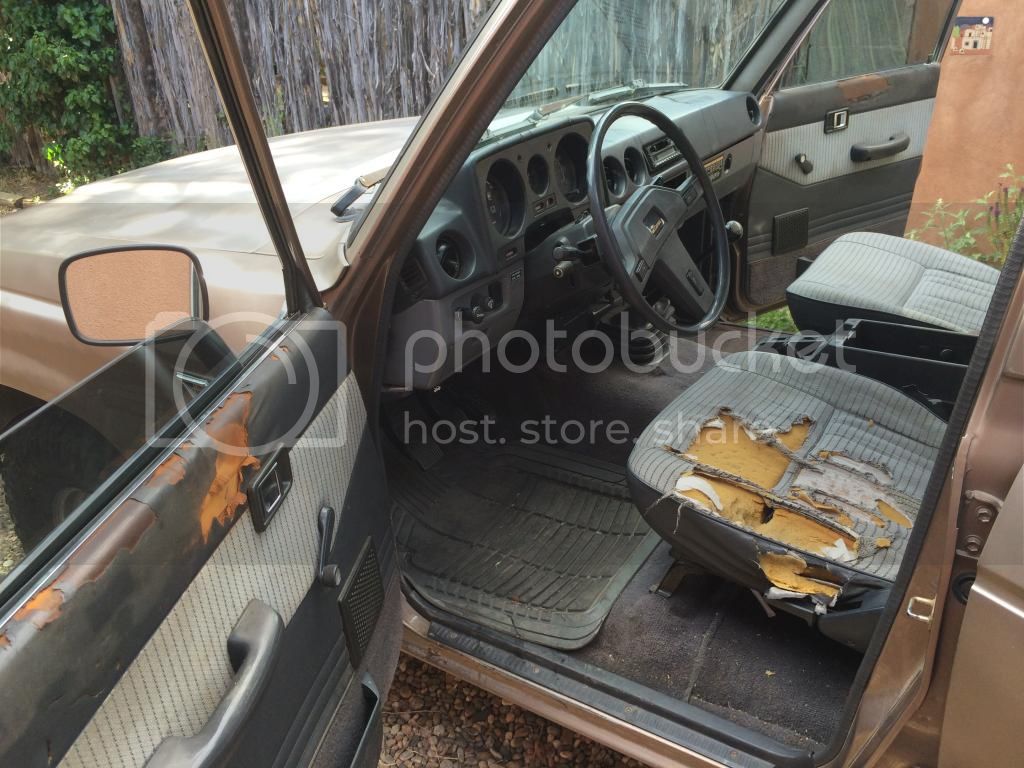
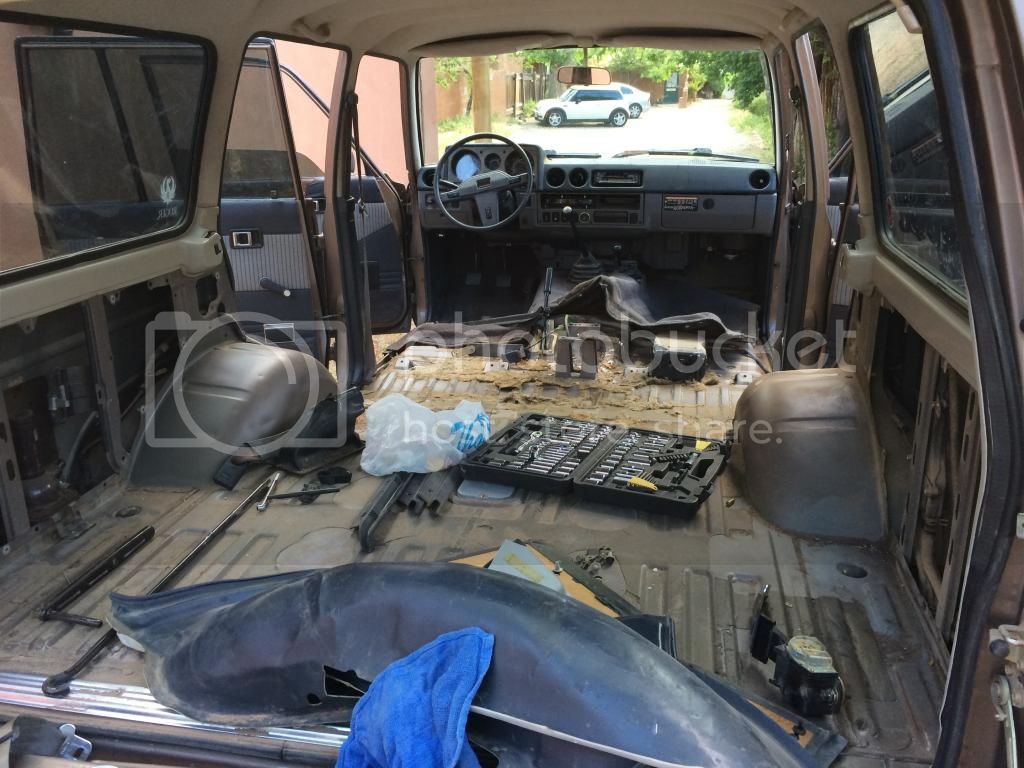
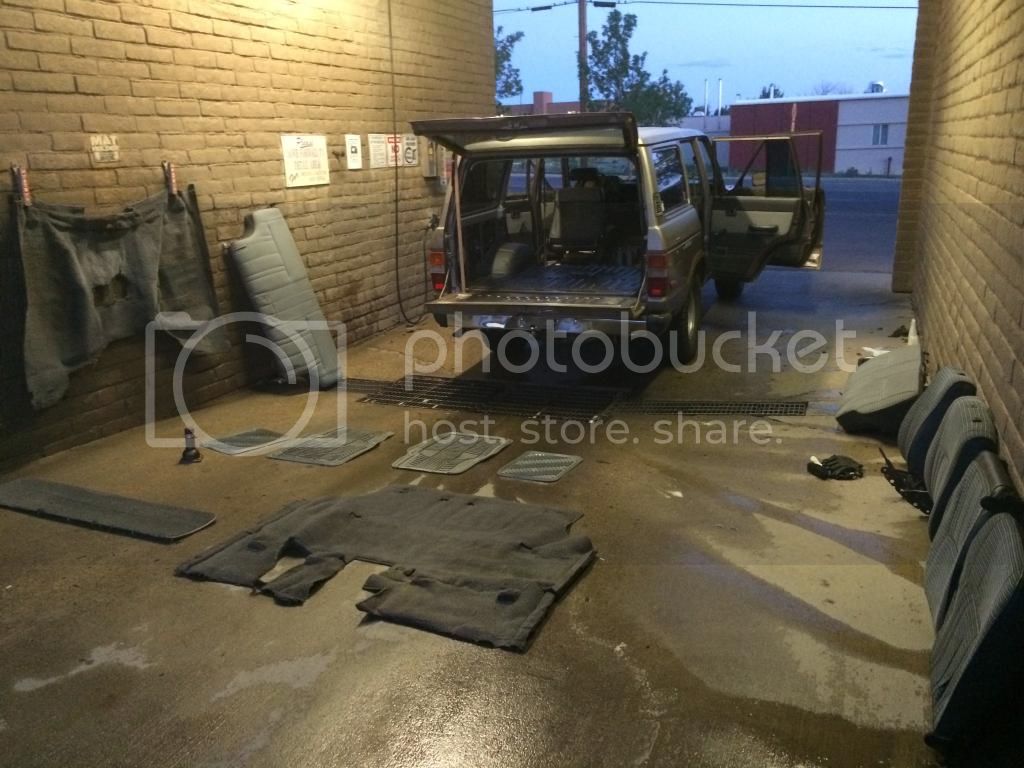
First order of business was to strip the interior and power wash everything. New seats and door panels are waiting to be installed. I cannot wait to open the door and see a fresh interior.
4_zpse73114de.jpg


Amazingly, the headliner is in perfect shape.
2_zps55fc8165.jpg


Removing years of dirt, grime, oil, dog hair, etc.
3_zps9eb3f4df.jpg


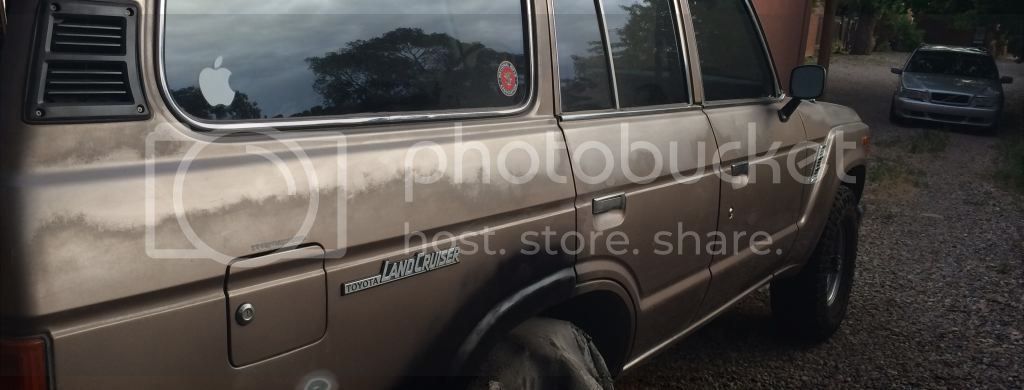
There's an interesting mix of stickers on this truck- NRA, Ruger, and an Apple sticker. And there have been some interesting finds too...like this unspent 9MM round.

5_zpsc5d5271a.jpg


Some general questions/issues I'll be looking into over the next few months:

Easiest way to counteract the rear sag? (What's up Toyota, my old 4Runner sagged in the rear and had rusted wheel wells too?!) There seem to be proponents of shackles, re-bending stock leafs, and adding leafs. Shackles certainly seems the easiest, although this will all be a first for me. My old 4Runner had springs so I was able to raise the rear end with poly spacers.

Also I'm on the hunt for a few items. Mel Lowe's been a great help so far but I'm also looking for the following:

Mudflaps all for all four corners.

Load bars that will attach to the gutter/drain rail.

Dash cap to cover the cracked dash pad.

Spacers for the rear wheels and some other odds and ends.

That's all for now, will update with a new interior. Thanks to all for the help thus far.
 
I like your 2-tone idea. Be sure to post pics if you go through with that.
Since when is an NRA sticker combined with one from a gun manufacturer "an interesting mix"?
Personally, I counteracted Rear Sag by installing an entirely new OME suspension.
Learn to use the Search feature on the Classifieds and you will discover many treasures, Grasshopper.

Good luck, we're all counting on you.
 
It was the Apple sticker next to the NRA sticker that made me chuckle.

Been keeping an eye on the classifieds for a while now, and clist and eBay etc. Will continue to and will post a wanted ad eventually.

I went two-tone with my 4Runner (link in original post). I think I'll do something along those lines as there is a splotchy line all the way around, just below the level of the door handles, where the cc's faded and come off. Choices choices...

So far, I love this truck.
 
Hey mate, looking good another 60 about to be restored, I'll be watching this
 
Looks like you are off to a good start. I like the 2 tone idea, tossing that idea around myself. My Cruiser is brown, but I think it would look pretty good with a gold or tan upper half. Not sure how to transition into the door areas though. Hate to have it look half-added every time I open a door, but I do t want to add a ton of cost and time to the project either.
 
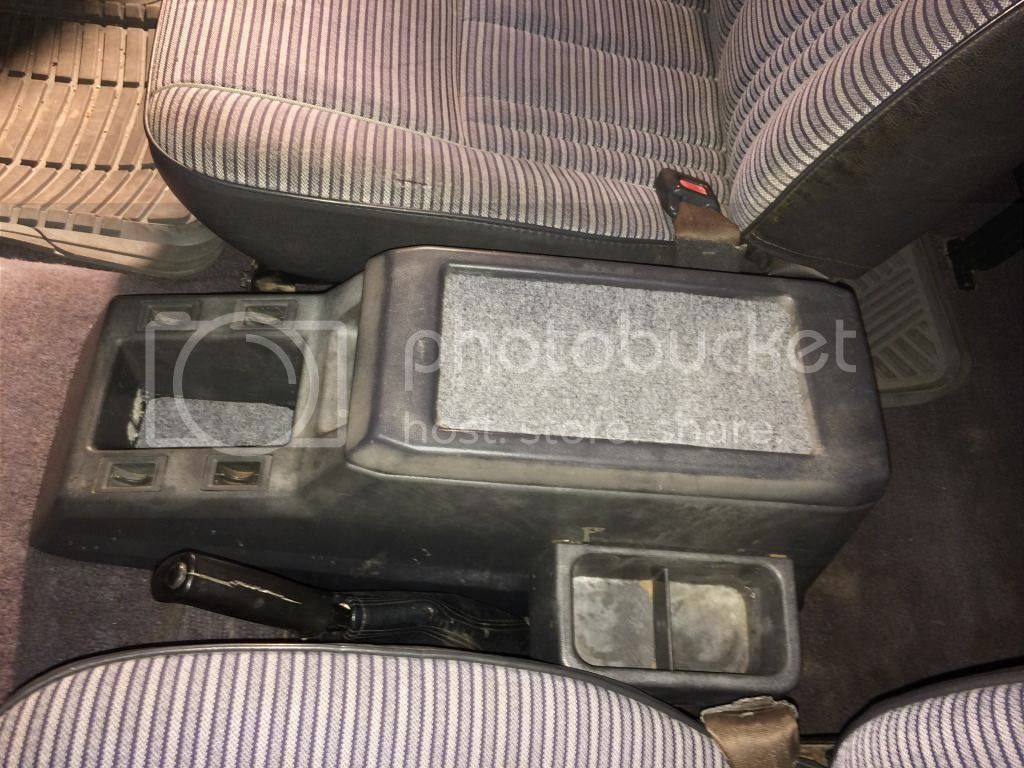
Some minor updates- replaced much of the interior with new. Still have to deal with the cracked dash. Repaired the center console, which was cracked at 5 of the bolt holes, with a lot of epoxy/fiberglass. Will reinstall it soon. This truck is a blast to drive, and seems to be supremely capable off road.

photo2_zps7b76d2dd.jpg


IMG_1283_zpsae39bae2.jpg


photo1_zps4cfe02f9.jpg


photo1_zpsb184630c.jpg
 
Thanks,

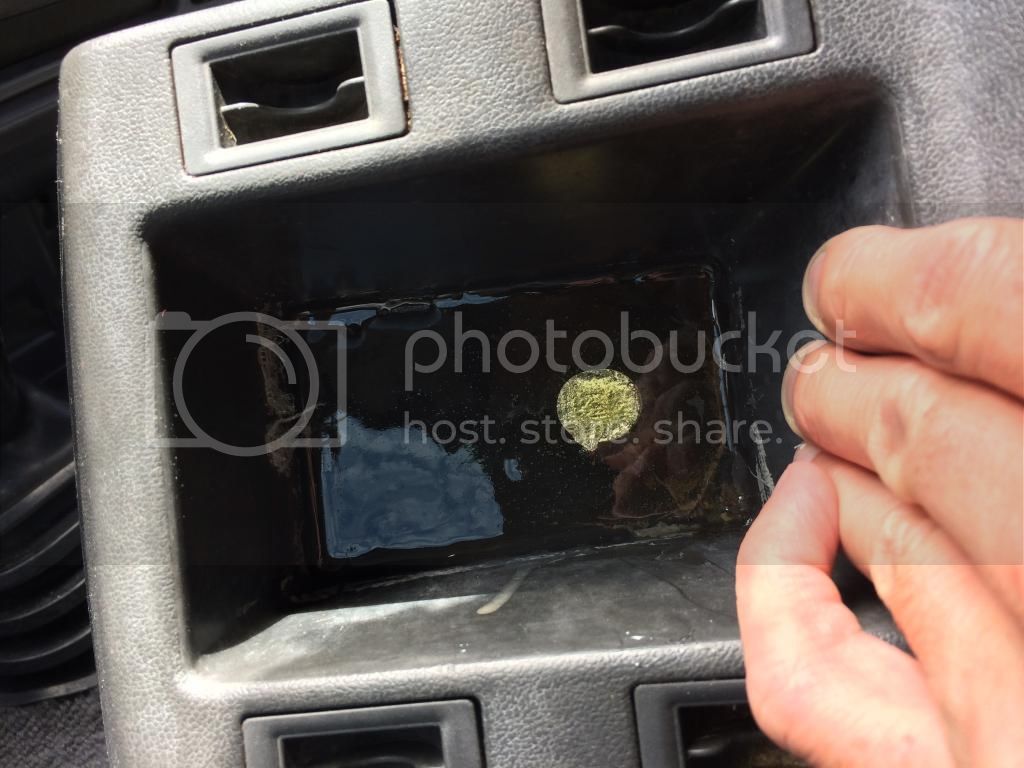
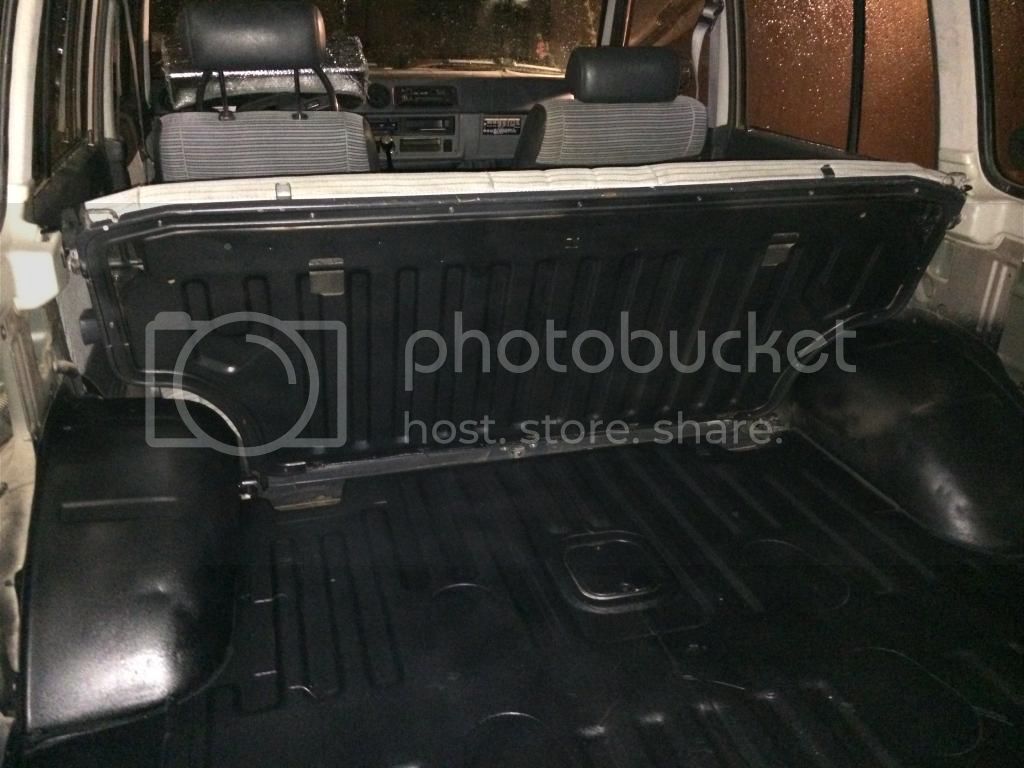
Added first layer of bedliner to the rear cargo area and fixed the center console with a bunch of epoxy. Eventually I think I'll repaint it with some SEM- unless I can find some magic cleaner that will improve its splotchy appearance. Either way, a big improvement! I covered the underside in duct tape and filled in the voids with epoxy, and then drilled through it. Not sure how the OEM console works, but this seems the be very sturdy.


IMG_1396_zps3dfd2bf1.jpg


IMG_1398_zps72dd435b.jpg


IMG_1405_zps0b715a0f.jpg


Thanks to all for the help and encouragement!
 
Hopefully nearing the end of the interior work:

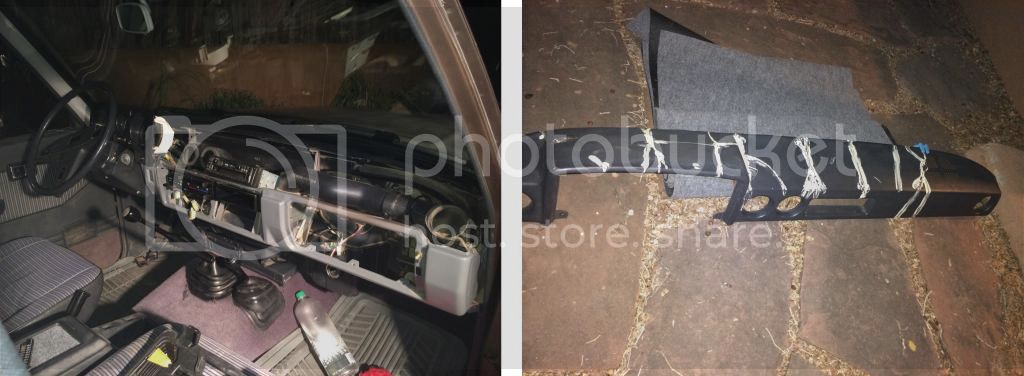
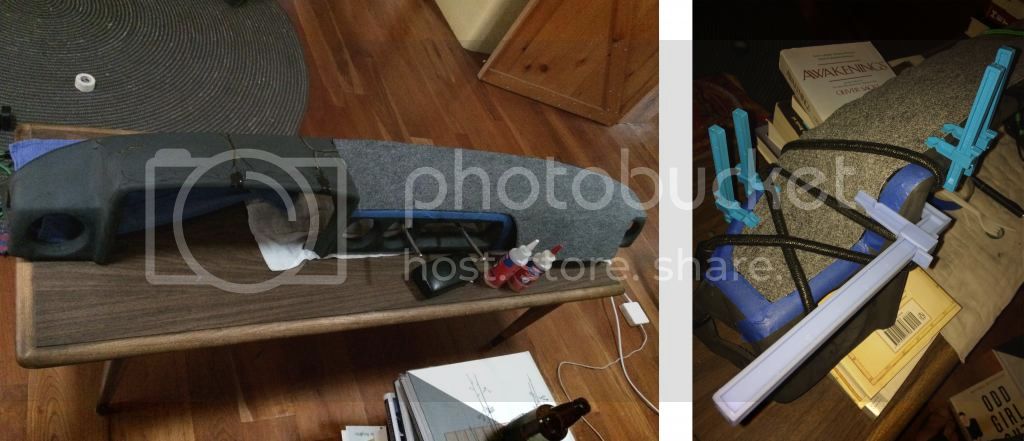
Instead of buying a dash cap I decided to redo the existing dash. It had a lot of cracks throughout, and there was some material missing near the center where the dash raises up for the instruments. Wood glue was used to fill in the large areas because it's flexible and reasonably quick-drying, and then epoxy was used to fill in the details. I'll spray it before reinstalling it. I think it's going to look nice.

photo1_zpsdf0f4b6b.jpg


It has required a lot of work but I like that it'll be custom and I enjoy this kind of work.

photo2_zps4b284ed4.jpg


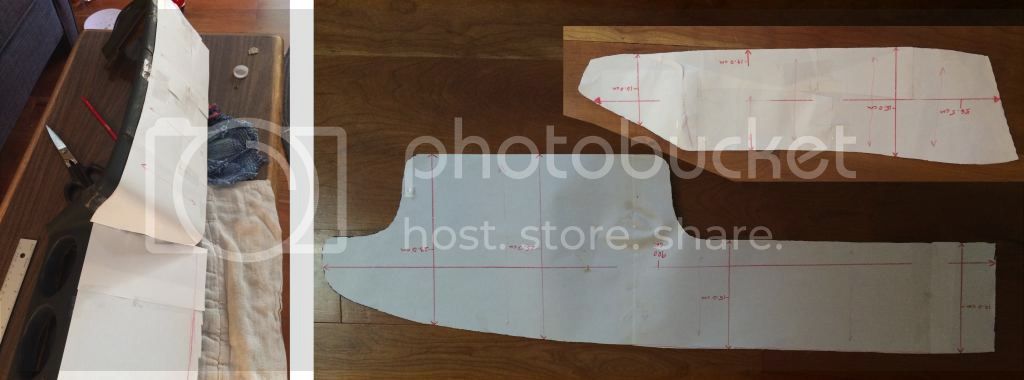
I made some paper templates which I've tried to take clear, orthographic/parallel-projection photographs of. If anyone's interested in covering their cracked (or otherwise) dash with carpet or some other material, you're welcome to download the photo and scale it up in a drafting program like CAD or Illustrator. I'm happy to help with this, or I can just send you the actual templates if you want.

photo4_zpseb017bf3.jpg
 
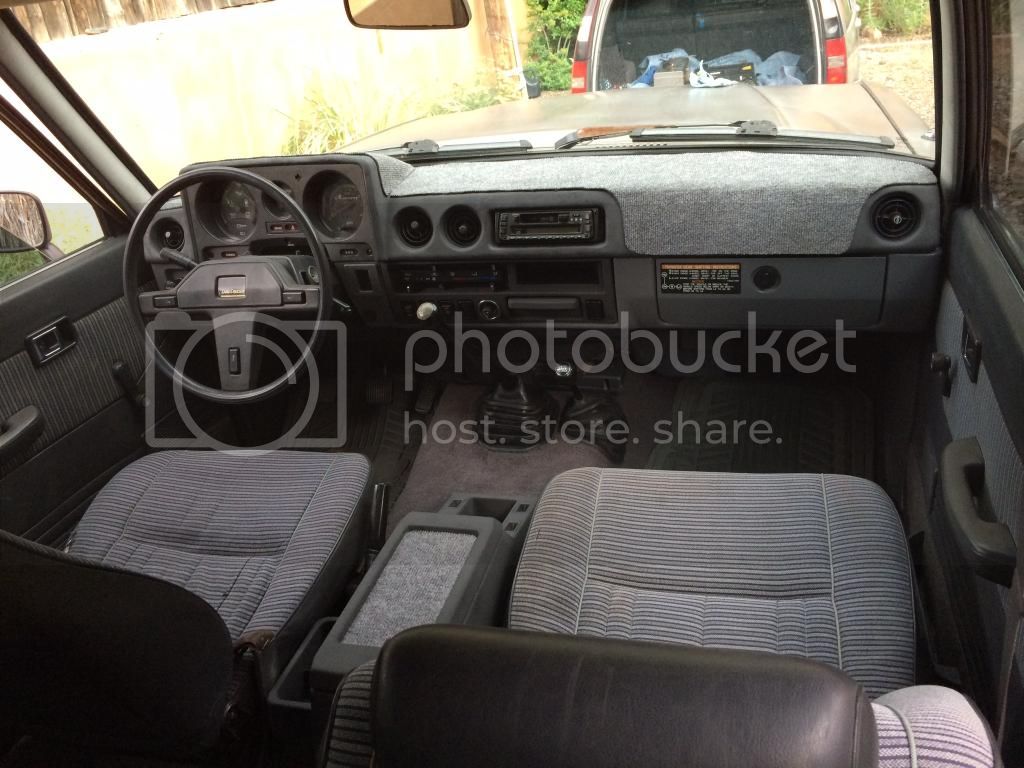
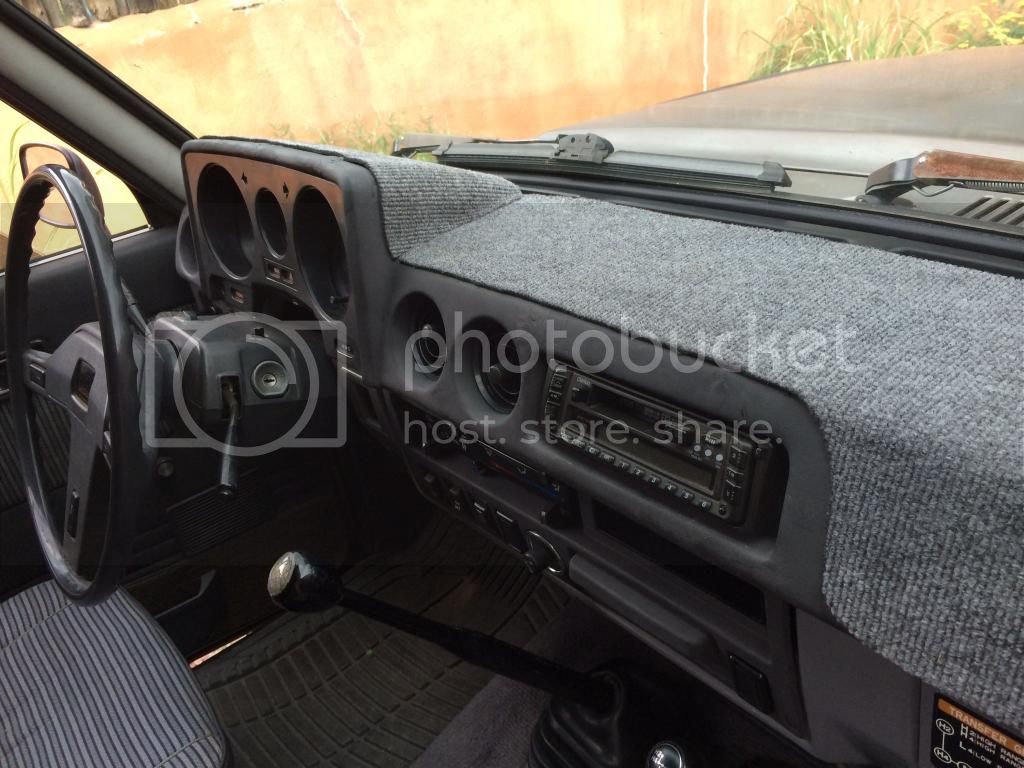
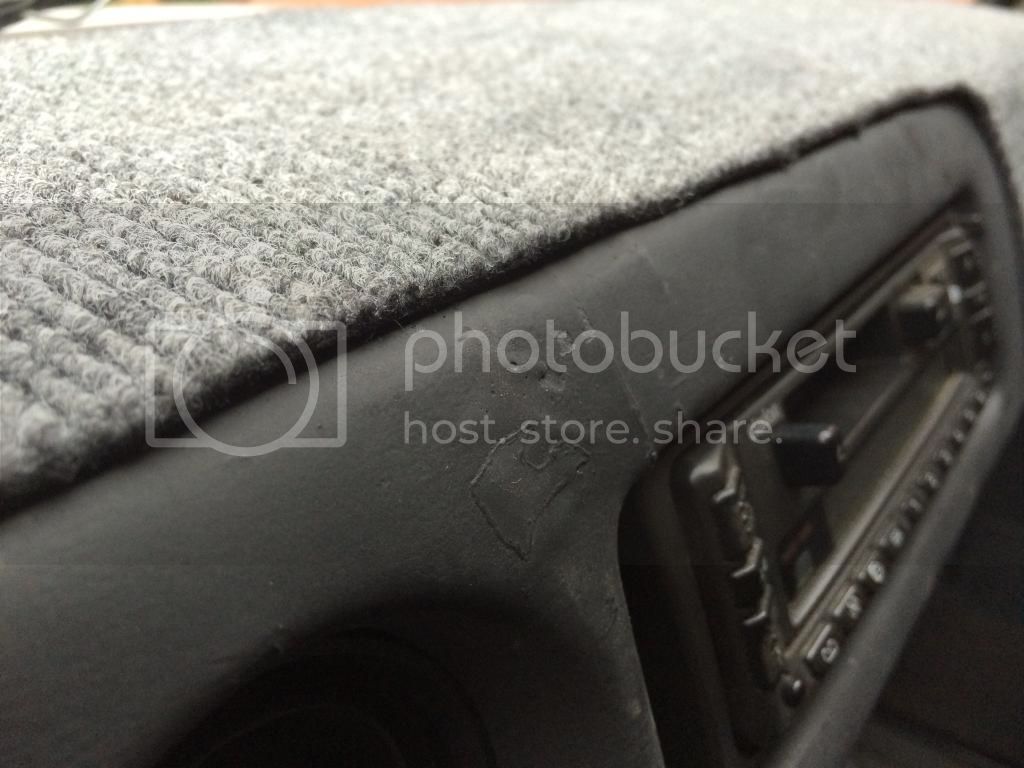
Covered the dash in some carpeting I had laying around. Also used on the center console, which was faded and needed some TLC. Overall I think it turned out pretty nice.

photo4_zpse254d331.jpg


photo8_zpsb67f766a.jpg


Overall the epoxy worked really well to fill in the gaps. In one spot (below) I was not able to pull the packing tape off once the epoxy dried, but all the other gaps filled in nicely, without issue. The next time around I'll take more time to do this- trying to paint half-wet epoxy is no fun, but I had to get it back together and back on the road. Maybe at some point I'll sand and repaint it.

photo9_zps34d94a14.jpg
 
Last edited:
Some minor updates:

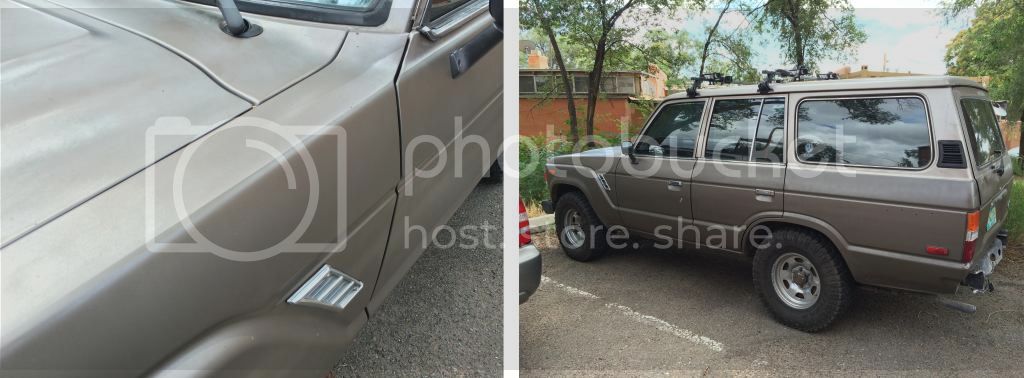
Continued with the repairs. This is the first time I've ever Bondo'd a car. The rust on the rear PS wheel, although relatively widespread, was not deep. I was able to grind it off with relative ease, and the Bondo was straightforward to work with.

Rustrepair_zps1e16a46e.jpg


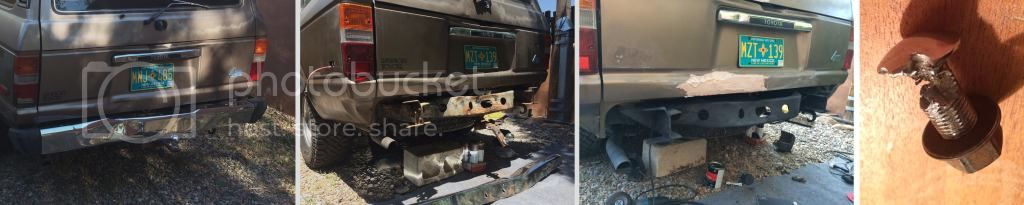
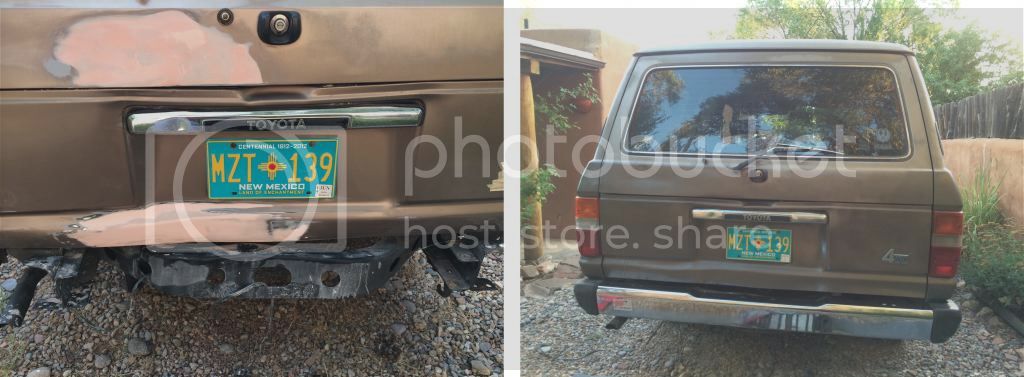
The previous owner had backed into a fence and damaged the bumper and it took me the better part of an evening to remove it. That little bolt was my mortal enemy for about two hours. The PO had also welded a janky tow hitch to the bumper which obstructed access to the bolt. It was the pits for a while but it's off and the tailgate's being Bondo'd back to straight.

rearbumpercopy_zps58f51f44.jpg


Clearcoat's on its way out. I'll be tackling this over the next two weeks or so, and after a new bumper arrives, the only thing left to do will be to correct the sagging rear. Nearing completion...

photo1_zps0ea7213e.jpg
 
Great work on the dash pad. Keep at it, you're nearing completion. It only took me 4 years to see the end of the tunnel.
 
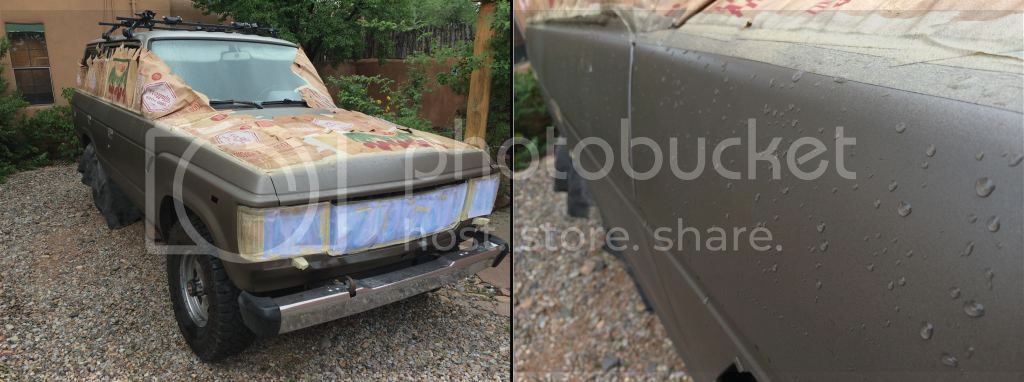
I began the two tone paint last night, just in time for it to rain. I think I squeaked by though, as the paint showed no indication of streaking this morning and appears to have laid and dried flat, and is smooth to the touch. I will finish with a custom mixed paint- these first undercoats are with Rustoleum 7812 Dark Bronze (Hammered). It's very close to OEM, and as long as it's applied in thin coats it does not look hammered at all- it looks totally smooth. I am still in the process of layering the paint, will be done in a few days.

photo10_zps40dc89d8.jpg
 
The paint came out better than expected. I still have to do the final sand and polish, but I will give it a few days to fully dry before I do that. The color is so close that most of the time it just looks one color, but I like the two-tone look.


photo1_zpsb13679db.jpg


photo2_zps333b1765.jpg
 
Minor updates and a quick question.

I spent the day yesterday pulling a spring pack from a local jy FJ60, and took the middle two springs from each pack. I doubled up leaf number 3 (if counting from the bottom) into my pack in an effort to counteract some of the rear sag. I didn't measure the height change because I was hoping for a difference that was visibly clear, not that had to be measured. No visible change at all.

Should I have used a different leaf? Or, perhaps more to the point, is using 25 year old leaves not going to net much of a gain? I only want to gain about an inch in the back, and I was hoping that this would be an inexpensive way to do it. The front is OK as is.

photo1_zps5b778a84.jpg


Additionally I got the tailgate patched up and painted, got some new shocks to hold it up, and got a new bumper swapped over. Finally!

photo4_zpsba67b2b9.jpg
 
Last edited:
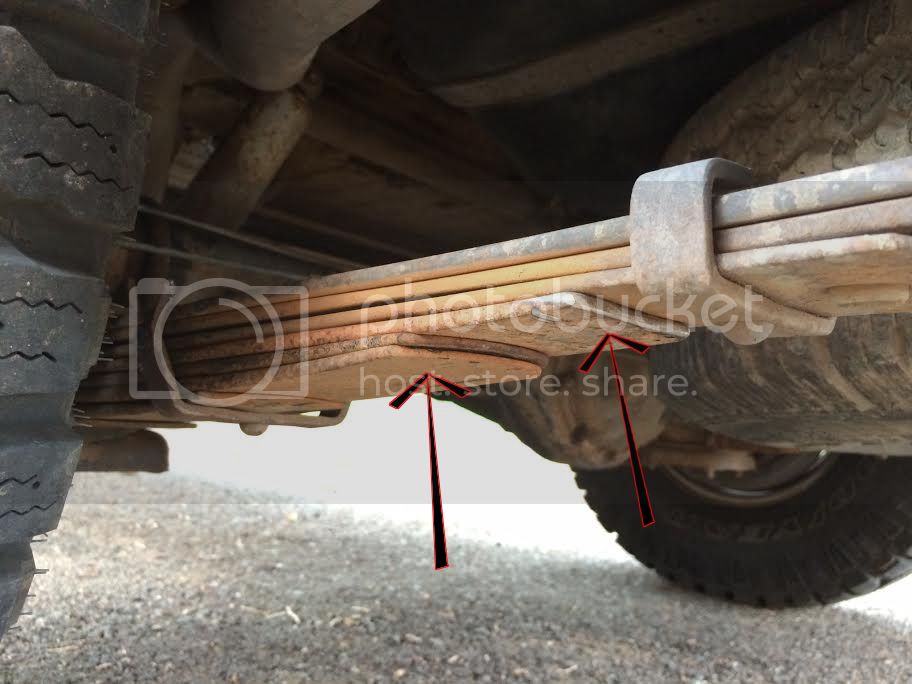
Added another rear leaf...finally saw some difference in height. I doubled up leafs #3 and #4. Longer u-bolts are definitely required. A little disappointed at how much work was required for so little gain. Will have to hammer the clamps down then will be done.

before_zpsbc3c7954.jpg


leafs_zps8e8c8fbe.jpg
 
Added one more leaf (+3 over stock) and the rear is beginning to come up to match the front. Got longer u-bolts, spring clamps, etc.

I now see why folks go with lift kits instead of fussing with adding leaves. But the price certainly can't be beat!

3leaves_zps27e4d6e8.jpg


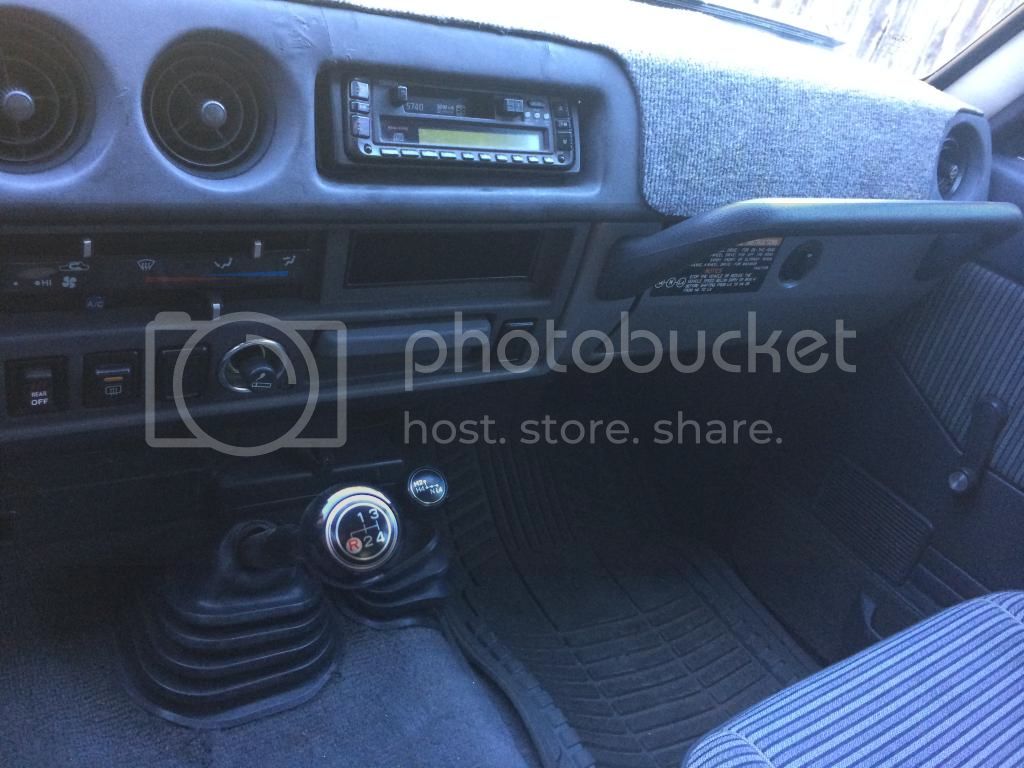
Also got a nice new shift knob, grab bar, and some other odds and ends. She cleans up well, and provided a nice place for my gf and I to sleep while camping...after realizing that I'd forgotten the tent.

grabbar_zps4da11db8.jpg


unnamed_zpsd3e959be.jpg
 
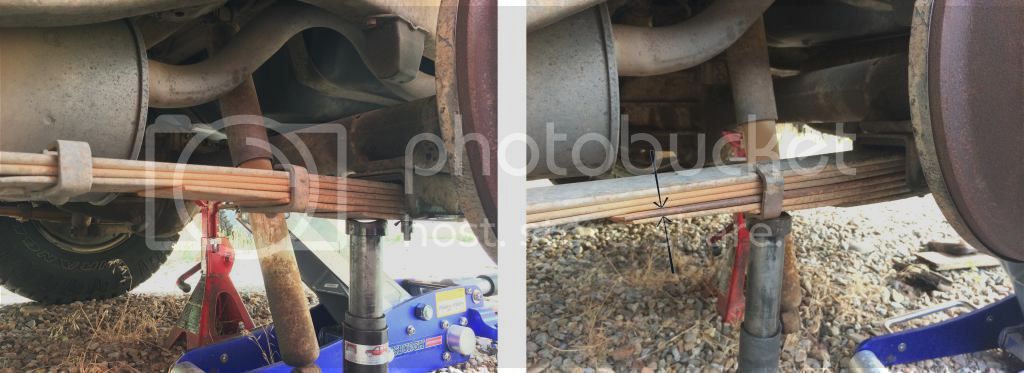
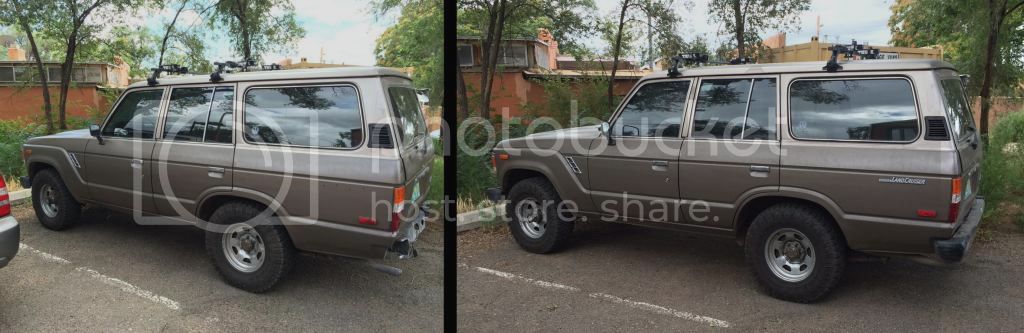
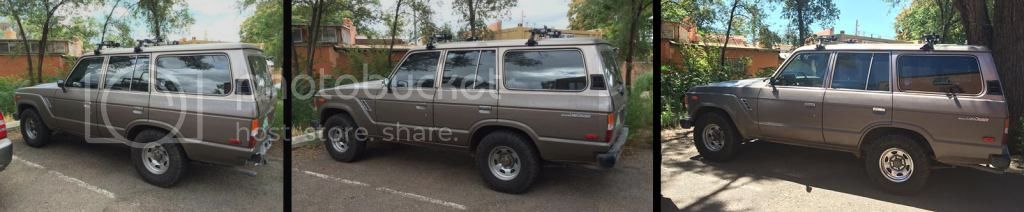
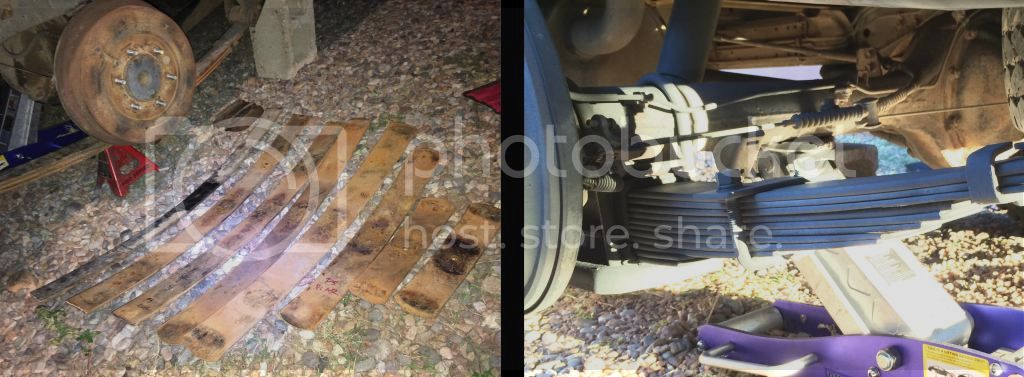
Finally reached an add-a-leaf stopping point. Essentially doubled the number of rear leaves (with leaves from another stock 60) and the truck now sits nearly level. Before adding additional leaves, I could only fit two fingers between the rear tire and the fender. Now I can fit 5, which more or less matches the front, and as far as I can tell pretty closely approximates the stock ride height.

photo5_zpsf167f5e4.jpg


Took a lot of effort but I'm happy with the final look. Ride is firm, but then again it was firm before starting any of this work.
Before and after below. Longer u-bolts and centering pin were obviously required.

before_zps9c3bf47f.jpg


During this process I always did one side first, and then the other side. This last time I disconnected the u-bolts on both sides, and the rear axle and diff pitched forward, the driveshaft pulled out of the transfer case (?) and in the process of figuring out how to correct this, I literally pushed the truck right off the jack stands. A word to the wise, it did not take much- just sliding the axle across the spring packs to get it lined up caused the car to tip. Lesson learned- don't use jack stands on gravel, and don't work late at night when tired. Obvious now.

After getting it lifted and properly supported, everything buttoned up fine and was inspected for any damage, thankfully there was none and I ended up with a proper ride height :)

d38c8cc8-55f2-4d53-961e-8c85f829b595_zps143f99a0.jpg
 
Last edited:
Back
Top Bottom