
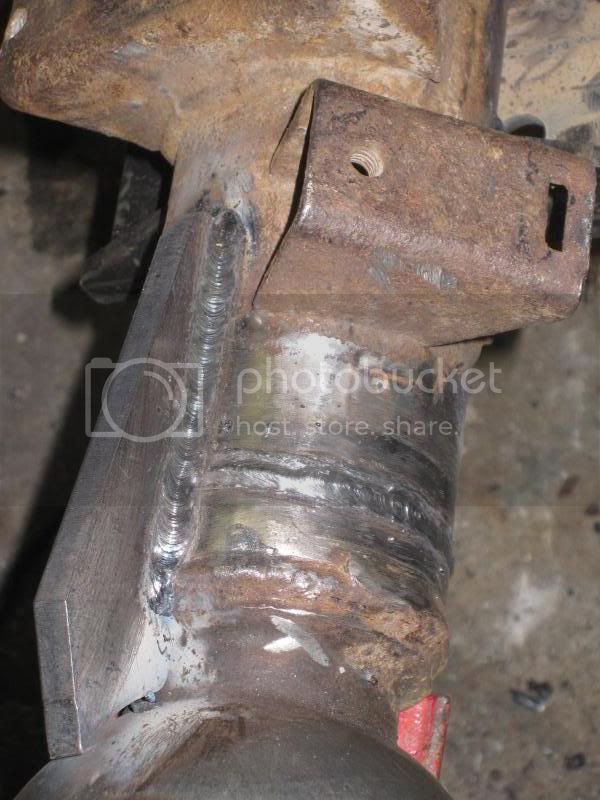
How far in from the factory weld did you cut?
Came out GREAT!
Came out GREAT!
Follow along with the video below to see how to install our site as a web app on your home screen.
Note: This feature may not be available in some browsers.
This site may earn a commission from merchant affiliate
links, including eBay, Amazon, Skimlinks, and others.
How far in from the factory weld did you cut?
Came out GREAT!


haulin a welder in a wagon pricless
you didnt weld the brace to the ball???? wil it do any good like that
Damn, that guy has some skill with the arc welder.
x2 what kling-on said.
Looking good Simon, can't wait to see it all done and out on the trail.
Dave


5.29's, holy cow. Not planning on driving on roads often?

") and decrease fuel economy
and decrease fuel economy 
here are more pics of after i grinded down the diff perch and stretched the ubolts.
now im having problem with the front side bolt on the perch hitting the diff plate...
i didnt realize it was an auto i guess.
the auto you can go to a lower gear set for example.
with the manual 35's and 4.56 was dead on gps to spedo in my truck
my buddies FJ62 35's and 4.88 is correct.
so that said 37's and 5.29's should be equal to stock. also remember part of the reason being is the FJ60 came with 3.70's and the FJ62 came with 4.11's either way you will be good. it will be pretty low with the 35's but should be drivable, it will raise RPM and you will be going slower than you show by about 5mph or so would be my guess.
clear as mud? or make sense?
I had similiar problems with my Ruff Stuff parts. The kit was supposed to have the bolt holes moved further apart but the parts I recieved were built like to old style. I ground lots of metal off the small piece that fits on the hump of the diff. Once the fit was kind of close I welded it to the L shaped piece and continued to grind until it was a better fit. Then I welded the bolts in and had to grind on the bolt heads to make it fit better then weld in place and call it good.
Here is a picture of the end product.


and im super broke and only worjing 1 day a week
