
First off, I'd like to thanks Andrew from The Retrofit Source who guided me in purchasing the right things.
Here's what I bought:
Projectors: Morimoto Mini H1 7.0
Compatible Ballasts: 35W: Morimoto XB35 only
HID bulbs: H1 XB 5500K
Shroud Style: Mini Gatling
Harness: 9006 HD Relay
Headlight Sealant: I had some black one left over but the grey should match better
I don't cover the electrical connections in this DIY but the cables are all marked and in their website they have a wiring diagram if you are still confused. On to the DIY then.
Headlight removal:
I found this is easier if you remove the grill first, wich is held on by 3 screws at the top and a couple of tabs in the bottom corners. After this, remove the screw that holds on the indicator housing and pull straight out (You need to use some force to do this). After that, there are 3 10mm bolts that hold the headlight assembly in. Two are on the bottom and one on top, should be easy to find.
Baking your headlights:
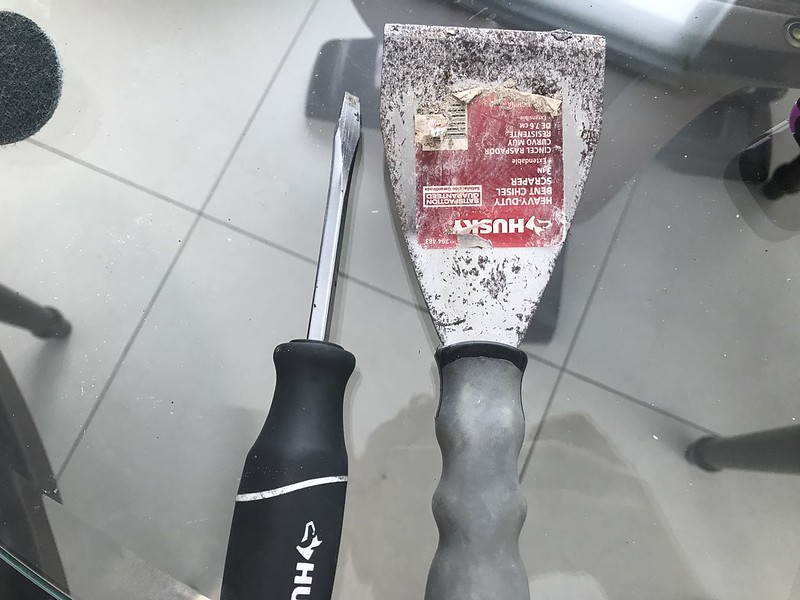
After you removed the headlights, disconnected all the cables, and removed the clips around the lens, you are ready to bake the headlight assembly. I baked mine for about 7 minutes at ~250F. Be careful with the plastic tabs not being close to the top, they might melt. After this I used these to pry the headlight lens off:
 Sin título by josegt5, en Flickr
After you get the lens off put it somewhere else and continue working with the rest of the assembly.
Sanding:
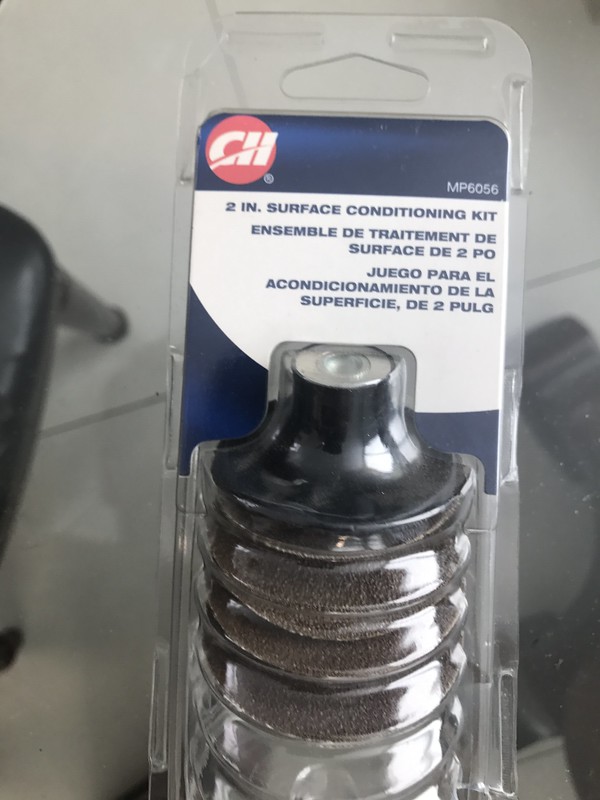
You have to sand down the back of the headlight assembly low beam. Before you do this try to remove the outside plastic so it's easier to get the plastic dust off. There must be a different way or a faster way to do this but this is how I did it. Buy some of these small sanding pads:
 Sin título by josegt5, en Flickr
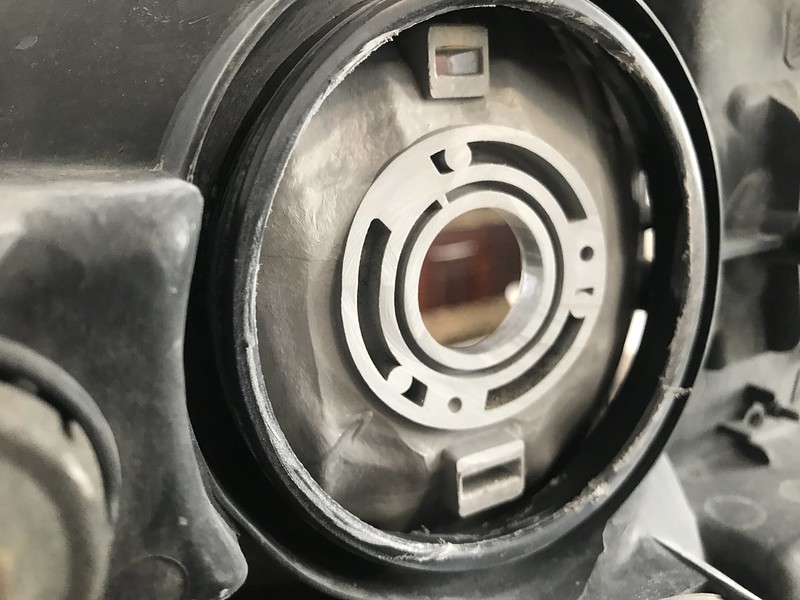
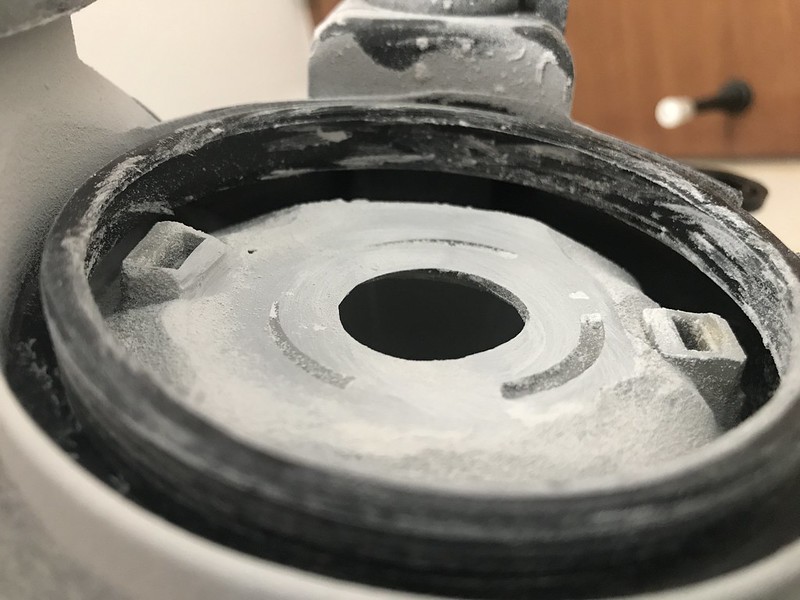
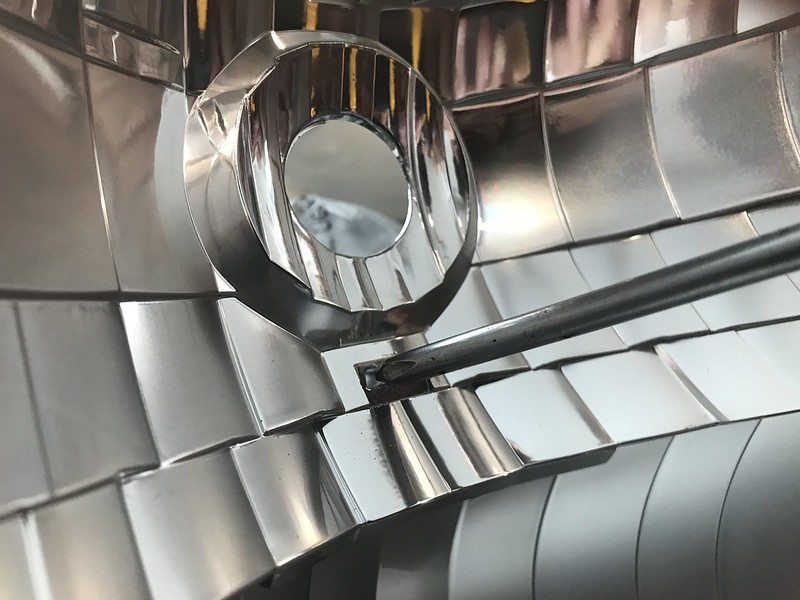
Then put them in your drill and go at it. Here's two pictures, the first one is halfway there and the second one is when finished:
 Sin título by josegt5, en Flickr
 Sin título by josegt5, en Flickr
Be careful not to sand off to much and break the plastic. Try to not go as thin as I did, you just need enough for the back of the projector to go all the way through. After doing this take compressed air (I used a leaf blower) and take all the remaining plastic dust off the housing. Try to clean it and your working area as much as possible at this point because getting dust off the projector is a PITA.
Here's what I bought:
Projectors: Morimoto Mini H1 7.0
Compatible Ballasts: 35W: Morimoto XB35 only
HID bulbs: H1 XB 5500K
Shroud Style: Mini Gatling
Harness: 9006 HD Relay
Headlight Sealant: I had some black one left over but the grey should match better
I don't cover the electrical connections in this DIY but the cables are all marked and in their website they have a wiring diagram if you are still confused. On to the DIY then.
Headlight removal:
I found this is easier if you remove the grill first, wich is held on by 3 screws at the top and a couple of tabs in the bottom corners. After this, remove the screw that holds on the indicator housing and pull straight out (You need to use some force to do this). After that, there are 3 10mm bolts that hold the headlight assembly in. Two are on the bottom and one on top, should be easy to find.
Baking your headlights:
After you removed the headlights, disconnected all the cables, and removed the clips around the lens, you are ready to bake the headlight assembly. I baked mine for about 7 minutes at ~250F. Be careful with the plastic tabs not being close to the top, they might melt. After this I used these to pry the headlight lens off:
Sin título by josegt5, en FlickrAfter you get the lens off put it somewhere else and continue working with the rest of the assembly.
Sanding:
You have to sand down the back of the headlight assembly low beam. Before you do this try to remove the outside plastic so it's easier to get the plastic dust off. There must be a different way or a faster way to do this but this is how I did it. Buy some of these small sanding pads:
Sin título by josegt5, en FlickrThen put them in your drill and go at it. Here's two pictures, the first one is halfway there and the second one is when finished:
Sin título by josegt5, en FlickrSin título by josegt5, en FlickrBe careful not to sand off to much and break the plastic. Try to not go as thin as I did, you just need enough for the back of the projector to go all the way through. After doing this take compressed air (I used a leaf blower) and take all the remaining plastic dust off the housing. Try to clean it and your working area as much as possible at this point because getting dust off the projector is a PITA.
 Sin título
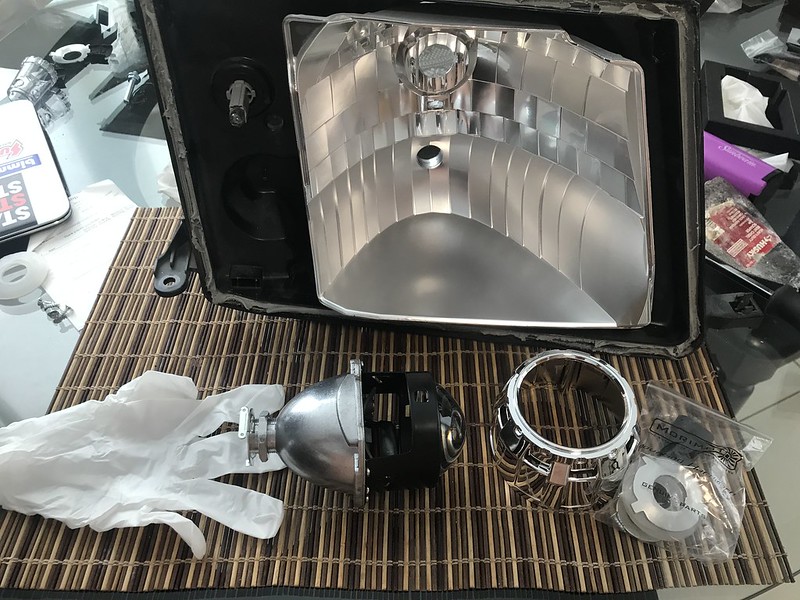 Sin título
 Sin título
 Sin título
 Sin título
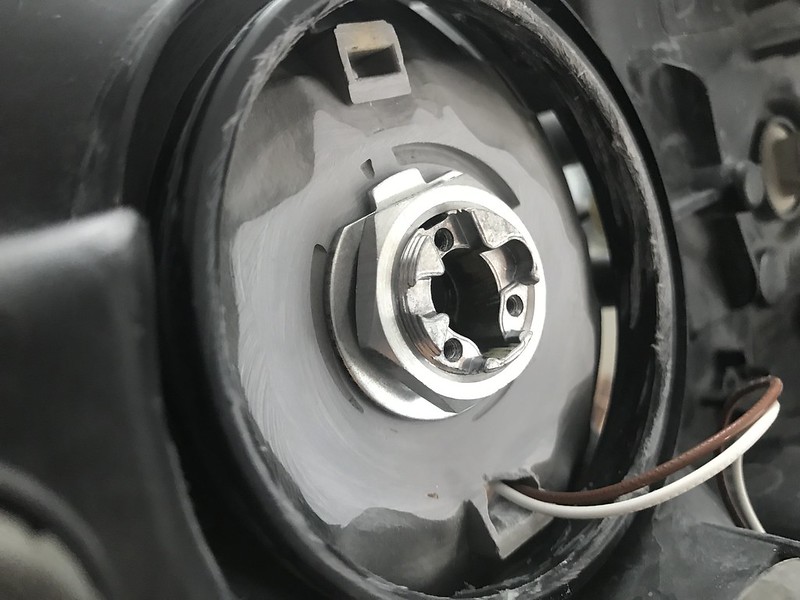 Sin título
 Sin título
 Sin título
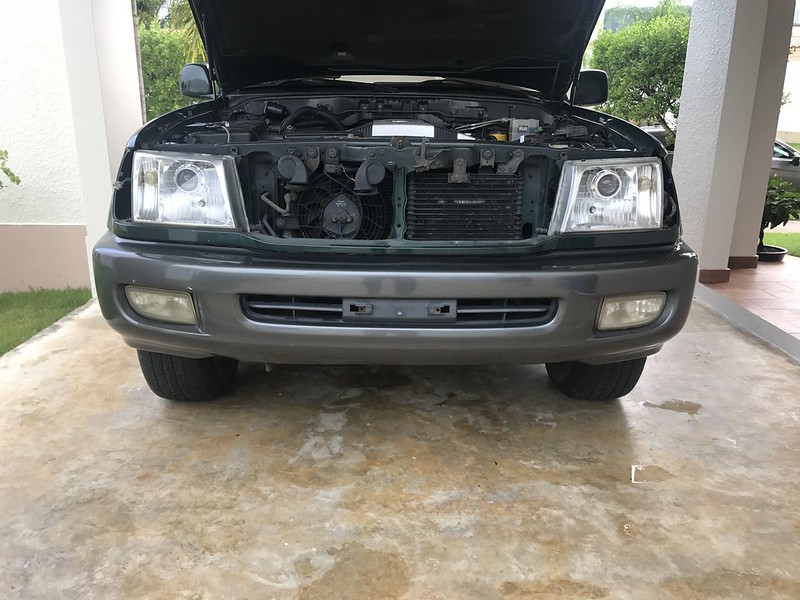 Sin título
 Sin título
")
 Sin título
 Sin título
 Sin título
 Sin título