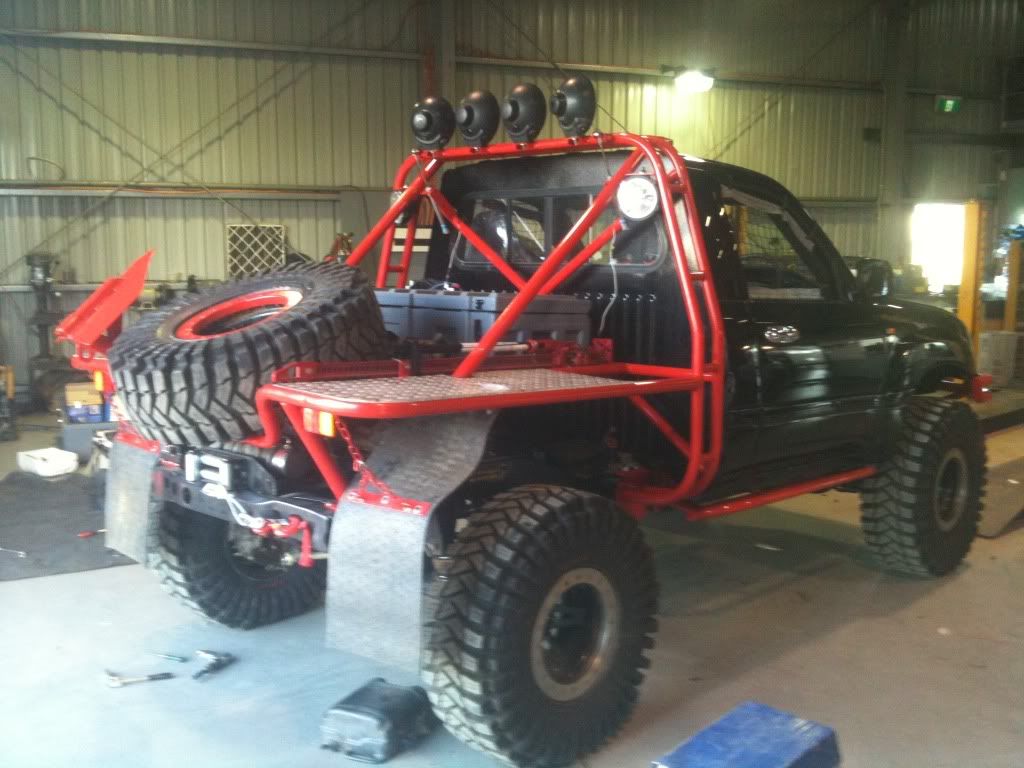
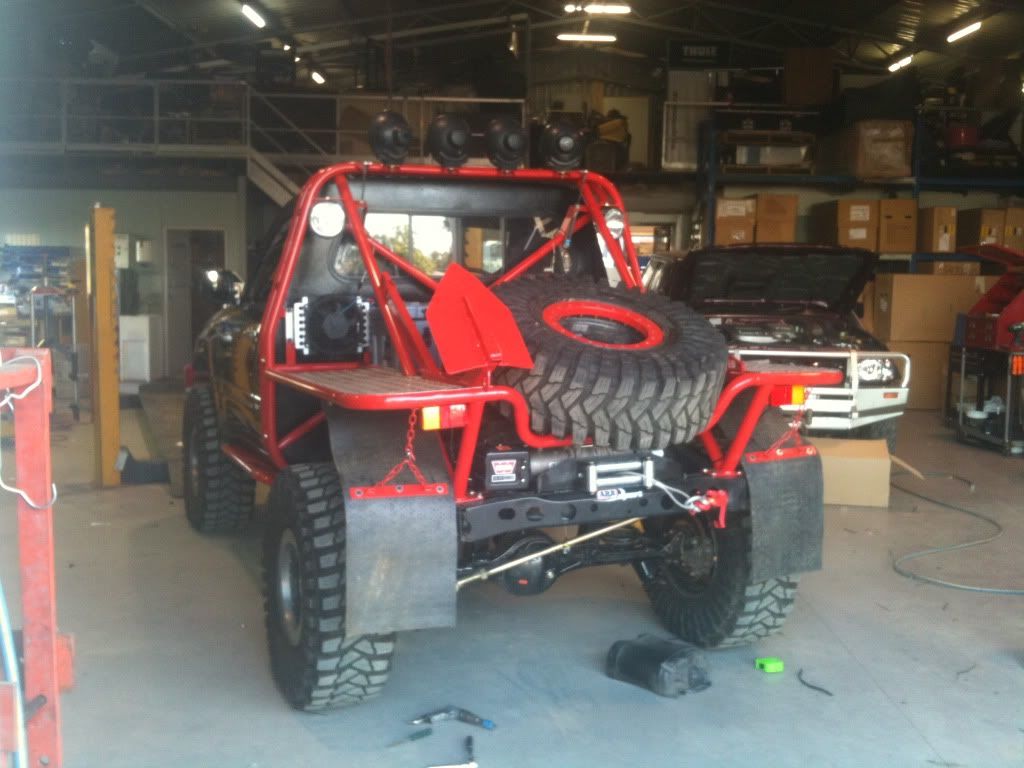
Build 1997 LX450 Ute

Member Build Threads

This site may earn a commission from merchant affiliate
links, including eBay, Amazon, Skimlinks, and others.

Yeah, that may be the route I have to go. It's been brought to my attention that the 40 lights may be a bit small compared to how wide the tray ends up being. Any concerns for size on your rig?

I found a set of flat bed tail lights on craigslist locally that I'm trying to run down... if not, I may just order the 40 tails to see how they look.

Huh, I hadn't even thought of the size. Maybe back to the ole drawing board. Round trailer lights are easy enough to find and it shouldn't be too hard to adapt them into a harness. One of the Toyota dealers could probably get you the appropriate plug (or you could cut it off your old lights) for whatever you end up going with then just add your own wires.
 
I picked up a 79 series bed from an outfit in Canada that preps them for mine use and rips off all sorts of goodies.

Anyway, I can't find her contact info. @tornadoalleycruiser may have it still.

She could probably set you up with lights.
 
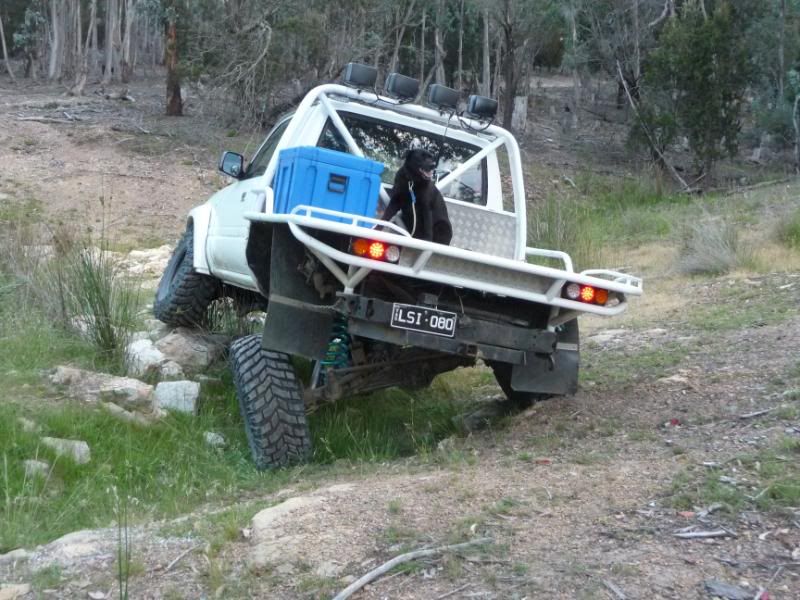
View attachment 1045671


This is my ute. Picked it up a couple of years back and been doing heaps of mods on it to date. With your tail lights mount them in the tray flush mounted then you will not knock them off at all. As im guess you building this to be trashed a bit.

That's a nice rig! One of the reasons I'm leaning towards white, actually... I love the look.


Check out Suzuki Samurai Taillights. There is a picture in the second post.

http://www.pirate4x4.com/forum/toyota-truck-4runner/24130-lights-flatbed.html


Great minds must think alike :) I reached out to a buddy with a sami (or what used to be a sami) to see if he had his old set.

I picked up a 79 series bed from an outfit in Canada that preps them for mine use and rips off all sorts of goodies.

Anyway, I can't find her contact info. @tornadoalleycruiser may have it still.

She could probably set you up with lights.

I think I found that outfit on kijiji.ca when I was searching for whole beds (which I was tossing around in my head as an option depending on $). Is she in Ontario by any chance? Here's a tailgate from the same folks, I believe (which I kind of want to buy and see if someone will ship down here for me): http://www.kijiji.ca/v-auto-body-parts/sudbury/toyota-land-cruiser-tailgate-new/1001043205


So, this lights thing is dragging on. I found these locally:
00L0L_4RSK7NOoaZL_600x450.webp


But the seller hasn't responded yet. And I'm waiting for some more pictures and dimensions, but am pretty sure I'll be grabbing them as the price is right!

I also found these on eBay.com.au and the seller is willing to ship them to the U.S. I'm fairly certain the harness is plug and play with our 80 series wiring. If it isn't, it probably wouldn't be too bad to make it work. I may be overthinking this, but I like the idea of having more modern lights with ground wires vs. the older sets that just ground to body, as our 80 series harnesses have ground wires for each bulb (I think).

$T2eC16RHJGkE9no8hl0oBQ65NEczQQ~~60_57.webp
$(KGrHqZHJBQFBE9B)Ic!BQ65NBbWNQ~~60_57.webp


I'm confident the harness will work based on my experience with my 94 HZJ75 troopie, which is not to say I'm right. I had some wiring melt down in the taillight area and the harness from an 80 was plug and play (except it had the extra little socket for the rear fender running light things). For reference, these are 75/79 ute tray lights with the square socket, as opposed to the 75/79 tray lights with the round socket. Oh the random things I'm learning...

In other news my vacation is over so I'm back to work/school/clinic hours... meaning progress may slow a bit. Daylight savings is nice, so I should be getting some of that welding and grinding done during the evenings this week.

(fingers crossed for dry weather... we got record rainfall yesterday or something and my tarp has paid the price)

I'm hoping to scab in the roof sometime soon as well.

 
Last edited:
Hey if you find a deal on those lights let me know. I might like a set too and we could save on shipping. I like the plastic back. It may keep me from having to build an enclosed box.
 
Nice man. I get all the pics you send me via text, but seeing them on the thread with your write-ups is really cool. Too bad you're not a bit closer. I could get my hands dirty helping you out a bit. I'm certainly not spending my spare time doing anything else useful in my garage.
 
Nice man. I get all the pics you send me via text, but seeing them on the thread with your write-ups is really cool. Too bad you're not a bit closer. I could get my hands dirty helping you out a bit. I'm certainly not spending my spare time doing anything else useful in my garage.

Yep... We've come a long way since the garage in fed weezy. We've always got a spare bedroom if you guys want to trek over to the dry side of the state.


Not much in glamorous updates for today. We had a ton of rain yesterday and I uncovered a rusty mess, so out came the wire wheel.

image.webp


Then I hit the interior and said "self, this is done, why haven't you painted it?"

So, I cleaned it up, hit it with the shop vac, and sprayed some rustoleum 2 in 1 on it for now.

image.webp


Other than that, I just welded. Lots and lots of welding.

image.webp


Finished the drivers side. Grinding to come.

image.webp
 
Last edited:
Thanks. Looks 100% better now but still not finished. A good idea is to hinge the rear mud flaps so they clip up under the tray and will not get ripped off. Will put up a pictures when I work out now to do it on my phone.
 
Thanks. Looks 100% better now but still not finished. A good idea is to hinge the rear mud flaps so they clip up under the tray and will not get ripped off. Will put up a pictures when I work out now to do it on my phone.

I've seen a few utes with chains attached midway down the mudflap to keep them back off the tire at an angle. If you went that route with a snap link or something up top you could unhook the chain on the bottom of the bed, pull the mudflap up flush, then hook it back up to the link right next to the mudflap to keep them up high. Or, make em removable?


mudflap-chain.webp
 
awesome project. good luck finishing it off!

Thanks!

I had work then class til 8, so no progress on Tuesdays. I did order some quietcrap from Mark at CruiserCrap.com this afternoon. I've never dealt with sound deadener personally, but my Troopie had some from the PO that I liked, and I've only got half the interior to worry about, so I figured I would give the cab a good clean down then soundproof the hell out of it. Being comfortable behind the wheel for an entire day is important with this truck, so every little bit will help.

Other than that it's just been brainstorming and daydreaming. I've tossed the idea of making the flatbed sides (removable of course) strong enough to use as sand/bridging ladders. I'm not sure what this would look like but I'm thinking small ladder frames and expanded metal may do the trick, though that may look a little rough compared to the rest of this beauty when she's done :)
 
I love the various trays... Maybe someday I'll be at the point where I'll have 3 or 4 hanging out from roof cranes in my pole barn of land cruiser stuff that I'll be able to choose from based on the trip! Ah, to dream...


Back to reality here. More rain yesterday meant a little but of rust removal today, but not too bad. My tarp job was a lot better this last go around as I was expecting the precipitation.

Once she was cleaned up I finished up a lot of the welding on the passengers side, but got frustrated with the hard to get to areas and the way my welder was popping stuff all over me. Not being in the mood, I shifted gears towards some work that would raise morale.

I threw up one of the last scrap sheets of 18 gauge I had over the sunroof opening and traced it with a pencil.

image.webp


Then, some of that good old fashioned grinder work got me this thing:

image.webp


Crooked as a politician as my great aunt likes to say... well, let's work with it!

Using some more welding paraphernalia from under the Christmas tree, and a spare 1x3, we prop this bad boy up for some good old fashioned tacking:

image.webp


Notice the small piece of metal in the center of the roofline to prop the sheet up in order to match the roof curve

image.webp


Then... It got dark. But, I snapped a picture of the sheet tacked in. A little bit of fuss and random rubber mallet work got it lined up better than it should have considering my grinder work:

image.webp
 
Last edited:
You really make me want to do this to my parts rig but then it wouldn't be a parts rig anymore resulting in having to source another 80. Keep it up.
 
Ah, man. Sorry to hear you lost your sunroof. I think you are going to miss it!

On my rig, I tore the glass out of the contraption that runs it, welded some tabs to be able to bolt it in and dropped it into place. My original goal was to be able to take it in and out on nice days, but I have found that is not needed. I have some seam sealer that I am going to use to glue it in place.
 
Thats awesome. On sheet like that tack then tack then tack. Any kind of heat will warp it.

I get down to Spokane about twice a year. I'd like to see this and also learn where to get some good tools. I only know the Harbour Freight locations I'll look you up
 
Ah, man. Sorry to hear you lost your sunroof. I think you are going to miss it!

On my rig, I tore the glass out of the contraption that runs it, welded some tabs to be able to bolt it in and dropped it into place. My original goal was to be able to take it in and out on nice days, but I have found that is not needed. I have some seam sealer that I am going to use to glue it in place.

I went back and forth on using the glass, whether it be removable or sealed but decided to keep it simple. I figured storing it while on the go may be a pain and I could sound deaden the hell out of the patch I scab in to get the cab as quiet and insulated as possible.


Thats awesome. On sheet like that tack then tack then tack. Any kind of heat will warp it.

I get down to Spokane about twice a year. I'd like to see this and also learn where to get some good tools. I only know the Harbour Freight locations I'll look you up

Yeah man, I'm always up to meeting fellow cruiser people. The crowd here in Spokane is definitely not as active as where we came from in western WA.

As far as tools go, I'm not sure--I've had most of my stuff for awhile and grab odds and ends at HF myself.
 
Last edited:
How are you planning to join roof to back wall? You going to bend sheet over a pipe to get the curve, or section a larger piece of pipe, or pick up an english wheel from HF?
 
Back
Top Bottom