
I got tired of dismal lighting, slow windshield wipers, a running voltage of 13.2v with no load, and power door locks that weren't so "power". I also wanted electric fans, a decent stereo, real light from my headlights, and a voltmeter that stays well above 12.8v. I knew that in my current configuration, I could never have a winch, so I did what every mud eating fool does around here, I searched thinking that someone has to have done this and written it up. So I searched, and I searched. I didn't come up with anything, which, quite frankly surprised me.
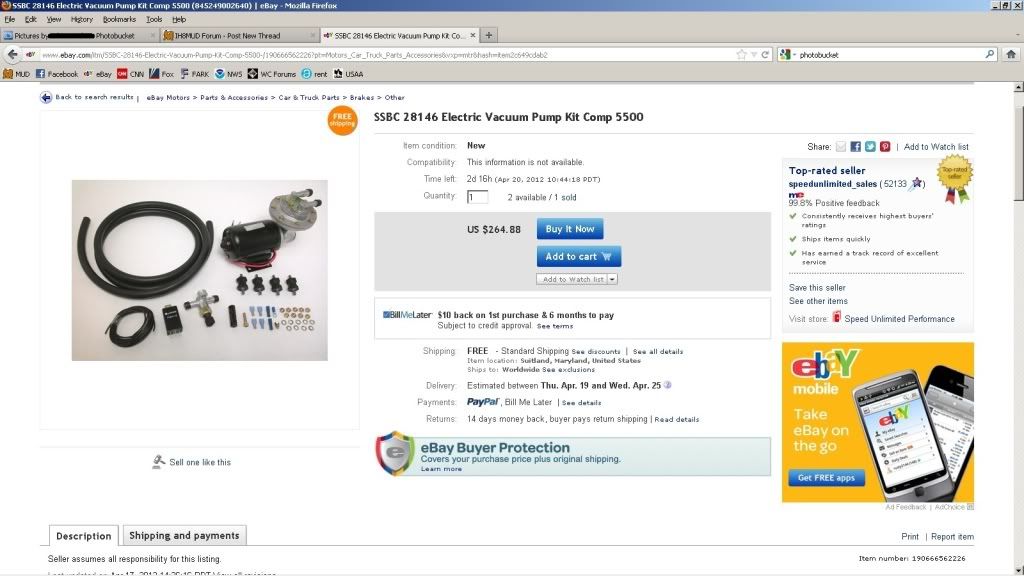
The hardest part about this upgrade, is figuring out how to generate vacuum considering the OEM vac pump is piggybacked onto the anemic alternator. So my first purchase was an electrical vacuum pump.
http://i1121.photobucket.com/albums/l506/adamrmathis/vacpump.jpg
It is noisy, but maintains the correct amount of vacuum for brake boosters. Kinda spendy.
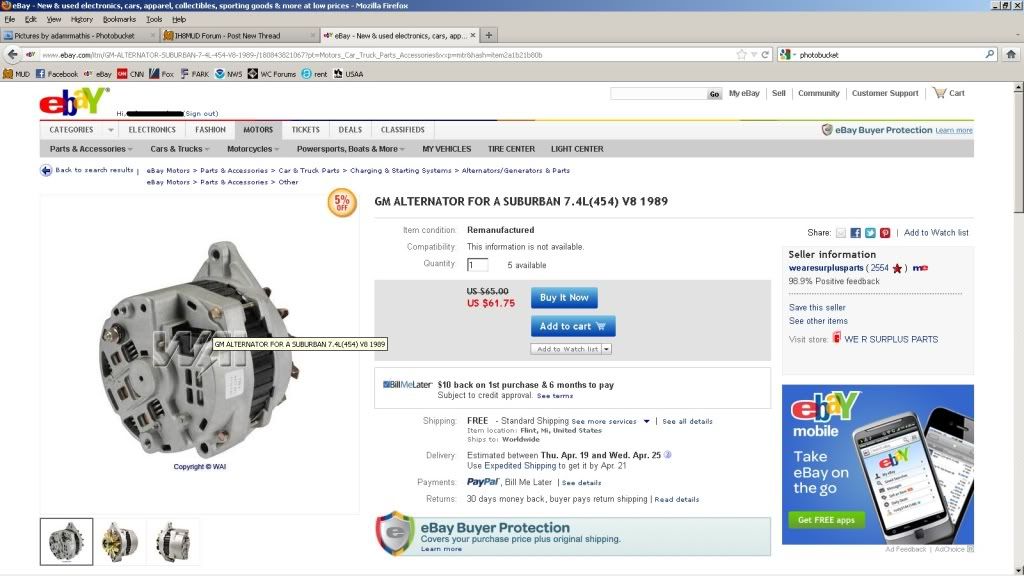
Then, I purchased the CS144 alternator that is rated at 120A and a pigtail. I got that on ebay too:
http://i1121.photobucket.com/albums/l506/adamrmathis/alt.jpg
It is twice the rated output of my existing alternator. For the pigtail and CS144 it was about $80 to my door. Nice.
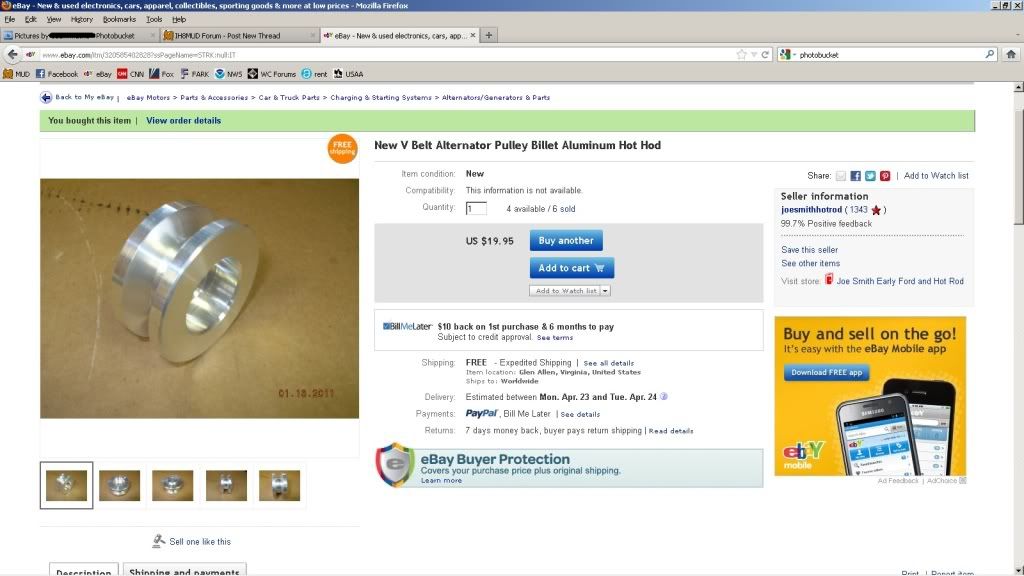
With alternator in hand, I realized that the pulley I had was too big, so back to ebay I went for this:
http://i1121.photobucket.com/albums/l506/adamrmathis/pulley.jpg
sexiest **** thing under my hood at this point!
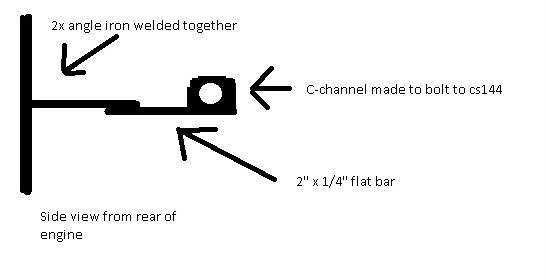
I didn't want to jeopardize my ability to return to the "factory" alternator (as factory as you can get in an '88 FJ62 with a 13bt in it), so I had to make a new lower bracket. Turns out, it was really simple. I used two 4" sections of 3/16" angle iron and welded them together to form a "T" shape. I then welded on some 2" x 1/4" flat bar to extend the mounting area out a little forward and away from the engine block. Then I had to figure out how to bolt the lower CS144 mounts to the lower bracket. With some 1" x 3/16" flat stock, I created a piece of C-channel by bending the flat bar in 90 degree bends leaving 2" between the tabs. This piece would later be welded to the lower bracket and for my purposes, I called it a c-bracket.
With the new alt mounting requirements and pulley, the body of the alternator had to be slightly more forward than the original. It turns out, that the face of the CS144 only had be 3/16" of an inch more forward to compensate for the new pulley. Using the 3/16" stock, I made a washer and mocked in the CS144 with the upper bracket so I could measure and mark where I needed to weld on the lower C-channel. With everything eyeballed into place and measured at least a dozen times, I marked the lower bracket where the c-bracket needed to be welded on.
Here is a crude drawing (not to scale):
http://i1121.photobucket.com/albums/l506/adamrmathis/bracket-1.jpg
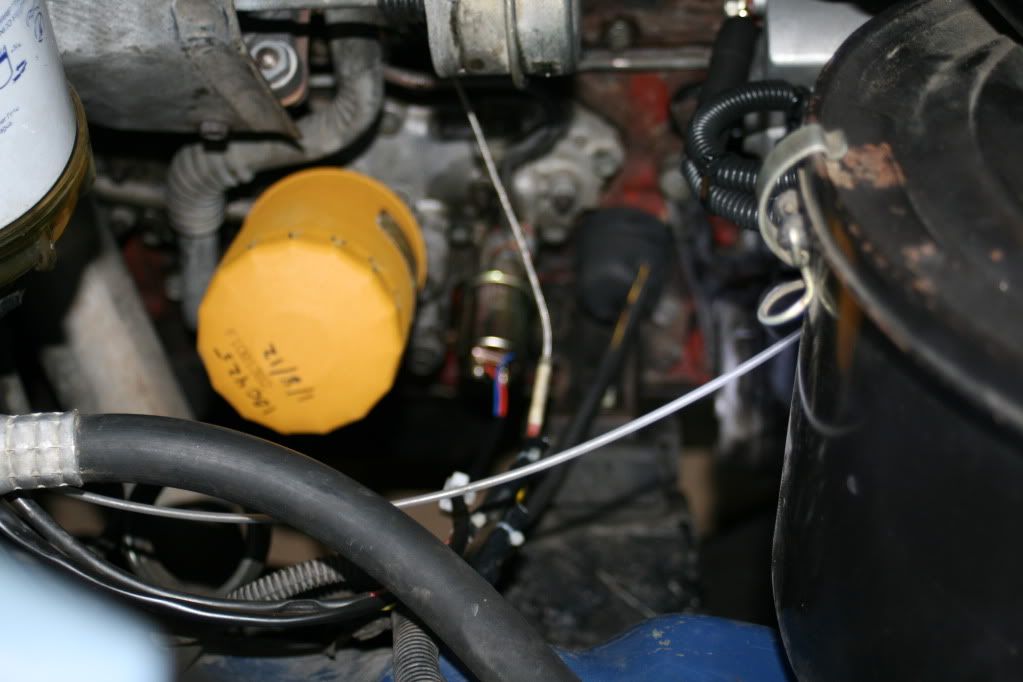
With everything welded together, I had to block the oil ports that fed oil to the factory vacuum pump, which I just used a short bolt with a copper crush washer in place of the banjo bolts. You can't see them here because they are under the oil filter.
As a bonus, I found a test port that was threaded at 1/8-27
http://i1121.photobucket.com/albums/l506/adamrmathis/IMG_6429.jpg
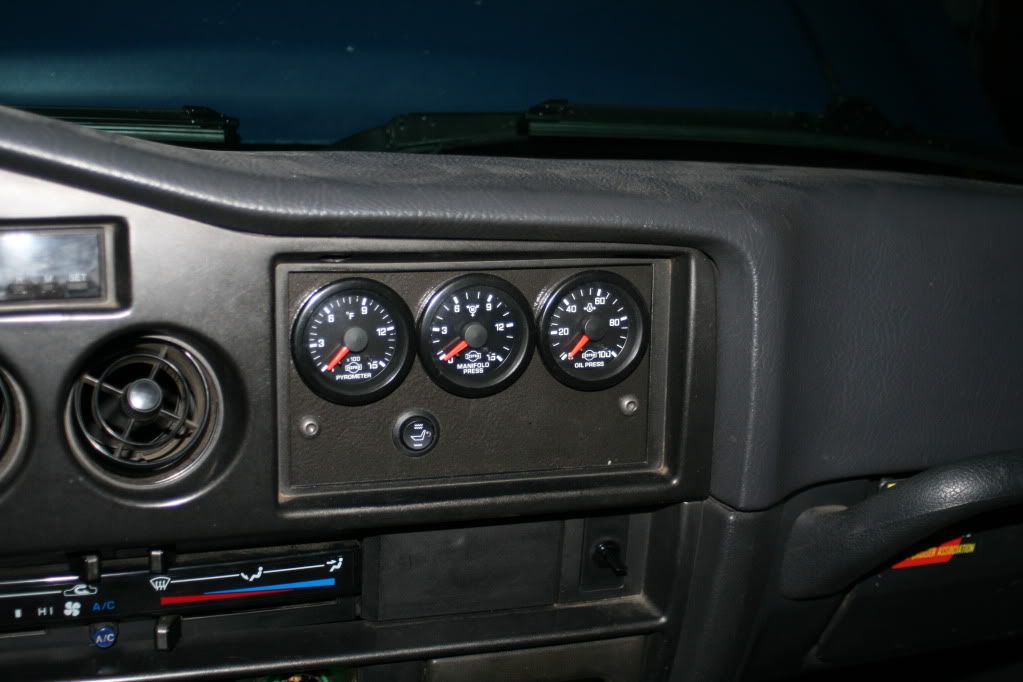
which is what I needed for my ISSPRO oil pressure gauge.
http://i1121.photobucket.com/albums/l506/adamrmathis/IMG_6437.jpg
Now, my idle voltage is 14.4v with no load, and 13.8v as loaded as I can get it. My headlights are ultra bright, the power door locks work better now that the batteries are charged to a higher voltage, and when the windshield wipers are running, the voltmeter is oblivious.
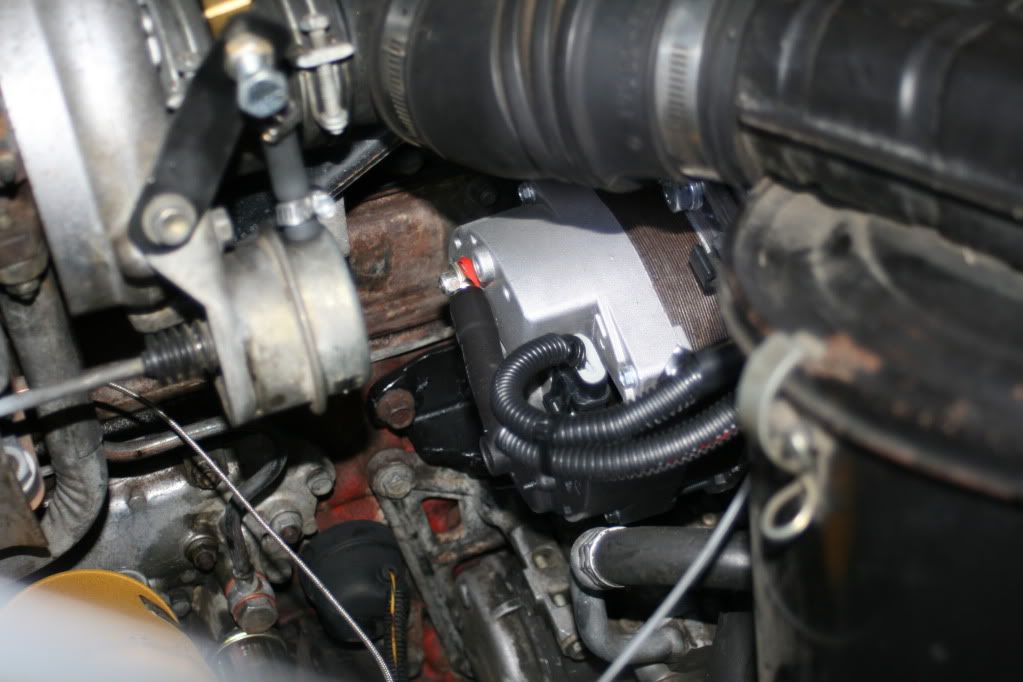
Here is the back of the CS144:
http://i1121.photobucket.com/albums/l506/adamrmathis/IMG_6427.jpg
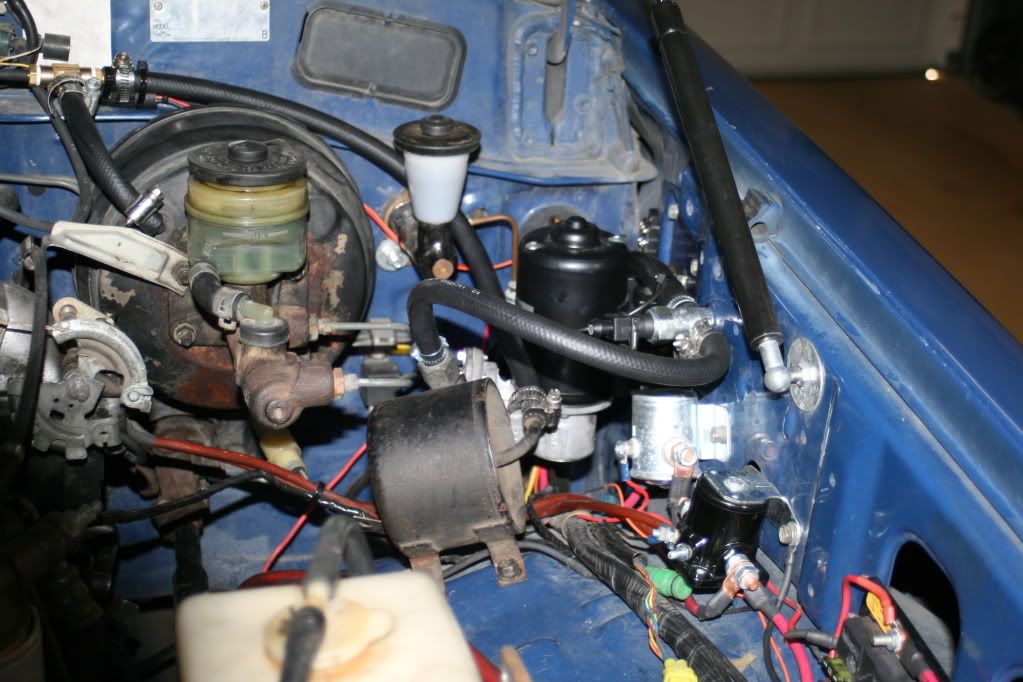
The vac pump installed
http://i1121.photobucket.com/albums/l506/adamrmathis/IMG_6432.jpg
The rag is over the exhaust of the pump making it slightly less noisy. Redneck engineering if you ask me!
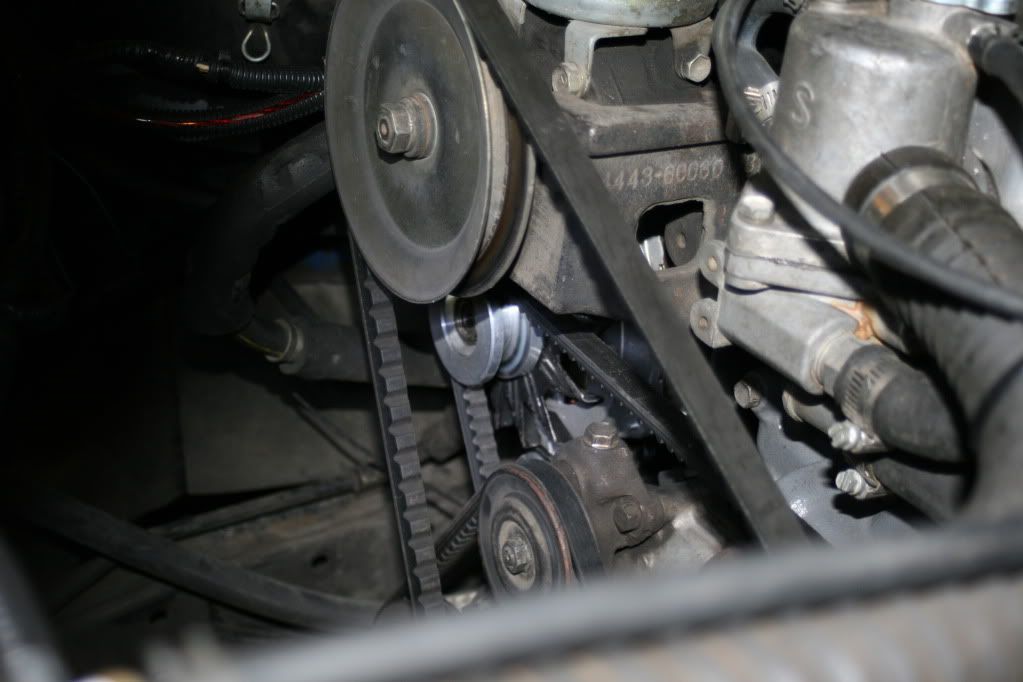
Another shot from the driver front:

The hardest part about this upgrade, is figuring out how to generate vacuum considering the OEM vac pump is piggybacked onto the anemic alternator. So my first purchase was an electrical vacuum pump.
http://i1121.photobucket.com/albums/l506/adamrmathis/vacpump.jpg
It is noisy, but maintains the correct amount of vacuum for brake boosters. Kinda spendy.
Then, I purchased the CS144 alternator that is rated at 120A and a pigtail. I got that on ebay too:
http://i1121.photobucket.com/albums/l506/adamrmathis/alt.jpg
It is twice the rated output of my existing alternator. For the pigtail and CS144 it was about $80 to my door. Nice.
With alternator in hand, I realized that the pulley I had was too big, so back to ebay I went for this:
http://i1121.photobucket.com/albums/l506/adamrmathis/pulley.jpg
sexiest **** thing under my hood at this point!
I didn't want to jeopardize my ability to return to the "factory" alternator (as factory as you can get in an '88 FJ62 with a 13bt in it), so I had to make a new lower bracket. Turns out, it was really simple. I used two 4" sections of 3/16" angle iron and welded them together to form a "T" shape. I then welded on some 2" x 1/4" flat bar to extend the mounting area out a little forward and away from the engine block. Then I had to figure out how to bolt the lower CS144 mounts to the lower bracket. With some 1" x 3/16" flat stock, I created a piece of C-channel by bending the flat bar in 90 degree bends leaving 2" between the tabs. This piece would later be welded to the lower bracket and for my purposes, I called it a c-bracket.
With the new alt mounting requirements and pulley, the body of the alternator had to be slightly more forward than the original. It turns out, that the face of the CS144 only had be 3/16" of an inch more forward to compensate for the new pulley. Using the 3/16" stock, I made a washer and mocked in the CS144 with the upper bracket so I could measure and mark where I needed to weld on the lower C-channel. With everything eyeballed into place and measured at least a dozen times, I marked the lower bracket where the c-bracket needed to be welded on.
Here is a crude drawing (not to scale):
http://i1121.photobucket.com/albums/l506/adamrmathis/bracket-1.jpg
With everything welded together, I had to block the oil ports that fed oil to the factory vacuum pump, which I just used a short bolt with a copper crush washer in place of the banjo bolts. You can't see them here because they are under the oil filter.
As a bonus, I found a test port that was threaded at 1/8-27
http://i1121.photobucket.com/albums/l506/adamrmathis/IMG_6429.jpg
which is what I needed for my ISSPRO oil pressure gauge.
http://i1121.photobucket.com/albums/l506/adamrmathis/IMG_6437.jpg
Now, my idle voltage is 14.4v with no load, and 13.8v as loaded as I can get it. My headlights are ultra bright, the power door locks work better now that the batteries are charged to a higher voltage, and when the windshield wipers are running, the voltmeter is oblivious.
Here is the back of the CS144:
http://i1121.photobucket.com/albums/l506/adamrmathis/IMG_6427.jpg
The vac pump installed
http://i1121.photobucket.com/albums/l506/adamrmathis/IMG_6432.jpg
The rag is over the exhaust of the pump making it slightly less noisy. Redneck engineering if you ask me!
Another shot from the driver front:
 .
.
