Finally started it (1 Viewer)

This site may earn a commission from merchant affiliate
links, including eBay, Amazon, Skimlinks, and others.

Ain't no telling!
 
hurry your ass up sir!:hillbilly:

At least my 40 moves on it's own!

it ain't purdy and it has never meant to be purdy, but it works!

...That I beat the crap out of it and it breaks it's a different thing!

some day it'll be done and purdy!
 
hurry your ass up sir!:hillbilly:

At least my 40 moves on it's own!

it ain't purdy and it has never meant to be purdy, but it works!

...That I beat the crap out of it and it breaks it's a different thing!

some day it'll be done and purdy!

Plus......it's got a penis on the hood!
 
Got to work some on it yesteday.

Ran some condiut down the bed side to run the electrical in later on:

IMG_1616.jpg


Trimmed some more out of the rear fenderwells to keep it even lower.

IMG_1613.jpg


Started boxing in the rear floor and the fender tubs:

IMG_1614.jpg


Decided to flex it out to check the rear fenders:

IMG_1629.jpg

IMG_1625.jpg


And then stuck Devin's wife Tammy under it to show how high its flexing!

IMG_1624.jpg


Later on we got the backs for rear seats put in , reinstalled the rear seats and worked more on getting ready to put the actual fender wells in. Pretty productive day!!!
 
Careful with those tires. They might be dry rotted by now.
 
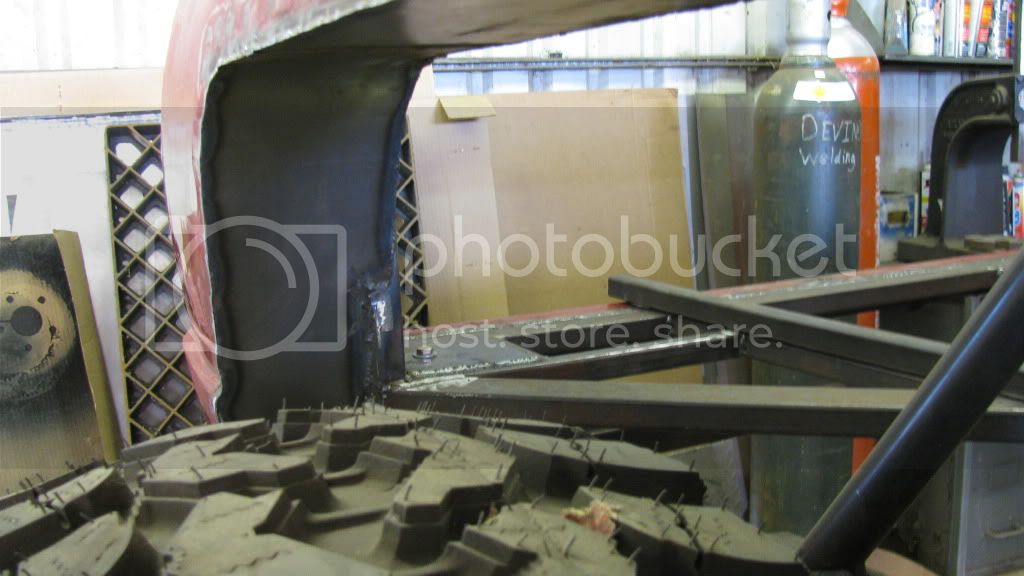
Here are some of the pics. These are of how we filled in for the rear fender wells. Now we have to skin out the parts that cover the rear shock hoops inside the passenger compartment.

IMG_1770.jpg

IMG_1769.jpg

IMG_1765.jpg

IMG_1764.jpg


And some of the storage pockets that Devin came up with for misc stuff, they will have doors with min paddle latches on them. There will be some more in about the same position as the ones on the stock interior for the girls to stash their junk/cokes.

IMG_1768.jpg

IMG_1767.jpg

IMG_1766.jpg
 
I see some dry rot on those tires!
 
I see some dry rot on those tires!

You can't see $#$%%, now get back to studying or printing some shirts! Put you glasses on!
 
By the time this here rig's done, you'll be tryin' to cypher out where to put their husbands. :flipoff2:

:flamingo:

I can see it now...David and Kownoy's rigs will be done just in time to drive their a$$es to the retirement home.
:p
 
Haters!
 

Takes too much effort to hate... Now typing...not so much ; )

Can't wait to see em on the trails..in my lifetime.
 
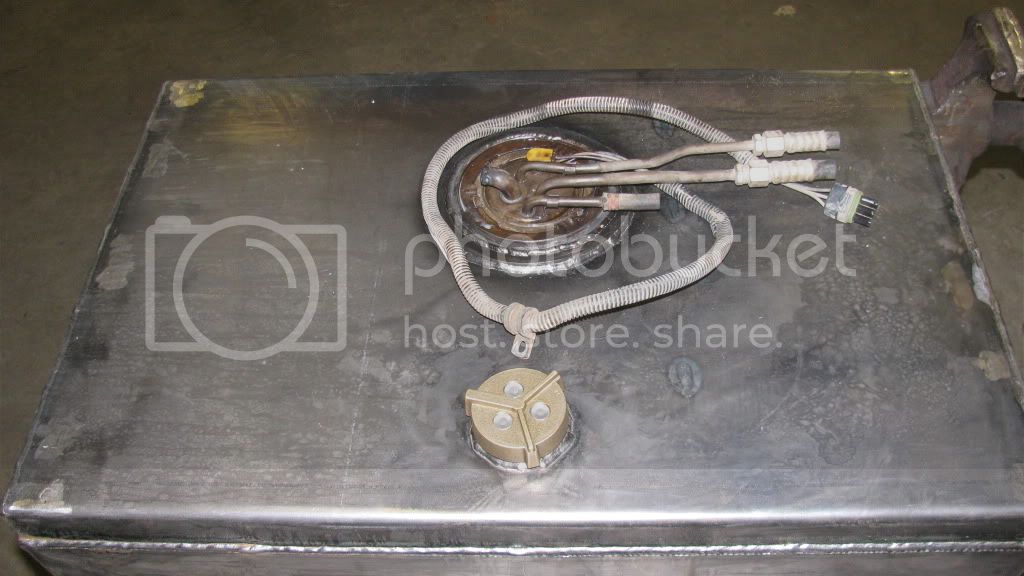
Have some other pics somewhere showing the internal baffles. The bottom was supposed to be 3/16" plate but it came back from the bender as 1/4" instead. The sides, baffles and top are all made of 12 ga. It's solid but I shouldn't be able to tear it up. The fuel pump flange from the factory tank of off a 88 Chevy TBI van was reinforced and welded in.


All tacked up with the filler neck and pump flange welded up
IMG_1802.jpg

IMG_1801.jpg


Welded up and leak tested. Had 2 tiny pinholes.
IMG_1803.jpg

IMG_1804.jpg

IMG_1806.jpg

IMG_1807.jpg


Used the factory fuel pump setup and sending unit from an 88 Chevy van with TBI.
IMG_1809.jpg


Mocked up in place. The ride heighth will be about 2 1/2" higher. This is at full stuff.
IMG_1810.jpg

IMG_1811.jpg


Top view where the access panel and filler door will be
IMG_1813.jpg
 
Got back from Roundup at K2 and was a little motivated. We got a little bit done on the skinning out the interior and getting ready to box the rear fenders in.

The seat backs/front of the rear fender wells welded in. The center piece will be cut out after the fender wells are done to allow more storage area with the rear seats folded down:
IMG_1829.jpg

IMG_1830.jpg

IMG_1827.jpg


Also skinned out some places that will be up inside the fender wells. Going to use some good seam sealer that is paintable:

IMG_1824.jpg

IMG_1825.jpg


All of the areas that are being coated with undercoating and/or primed to prevent rust and provide a little sound deadening.
 

Users who are viewing this thread

Back
Top Bottom