- Joined
- Jun 24, 2012
- Threads
- 81
- Messages
- 1,142
- Location
- Birmingham, AL
- Website
- www.overlandtailor.com
- Thread starter
- #21
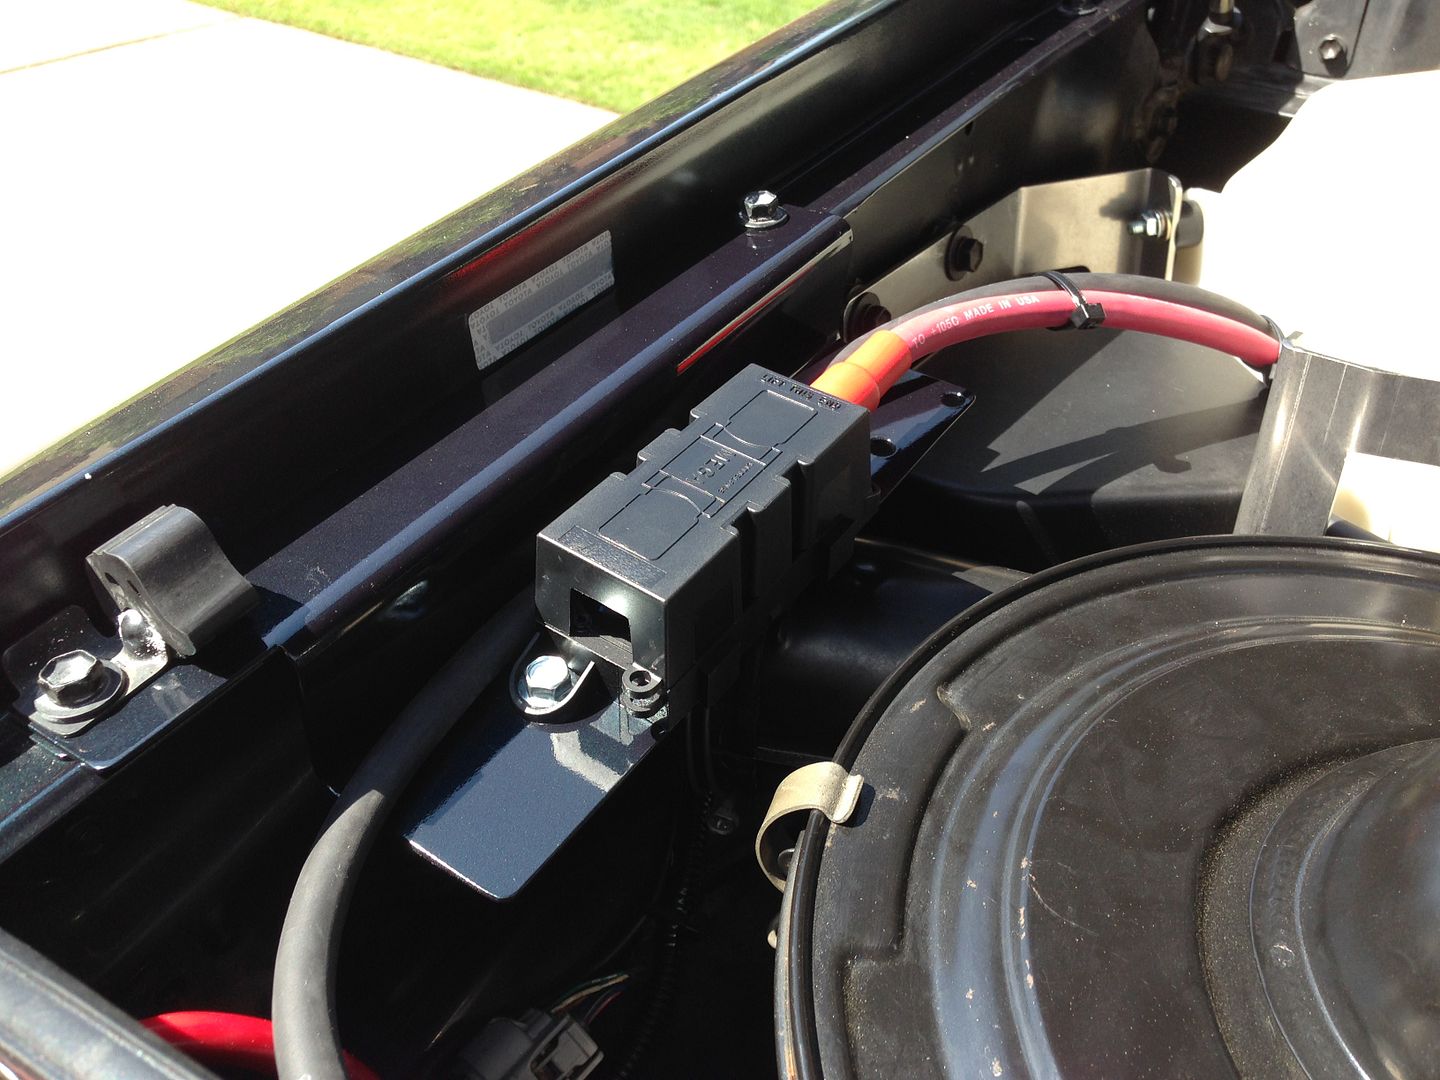
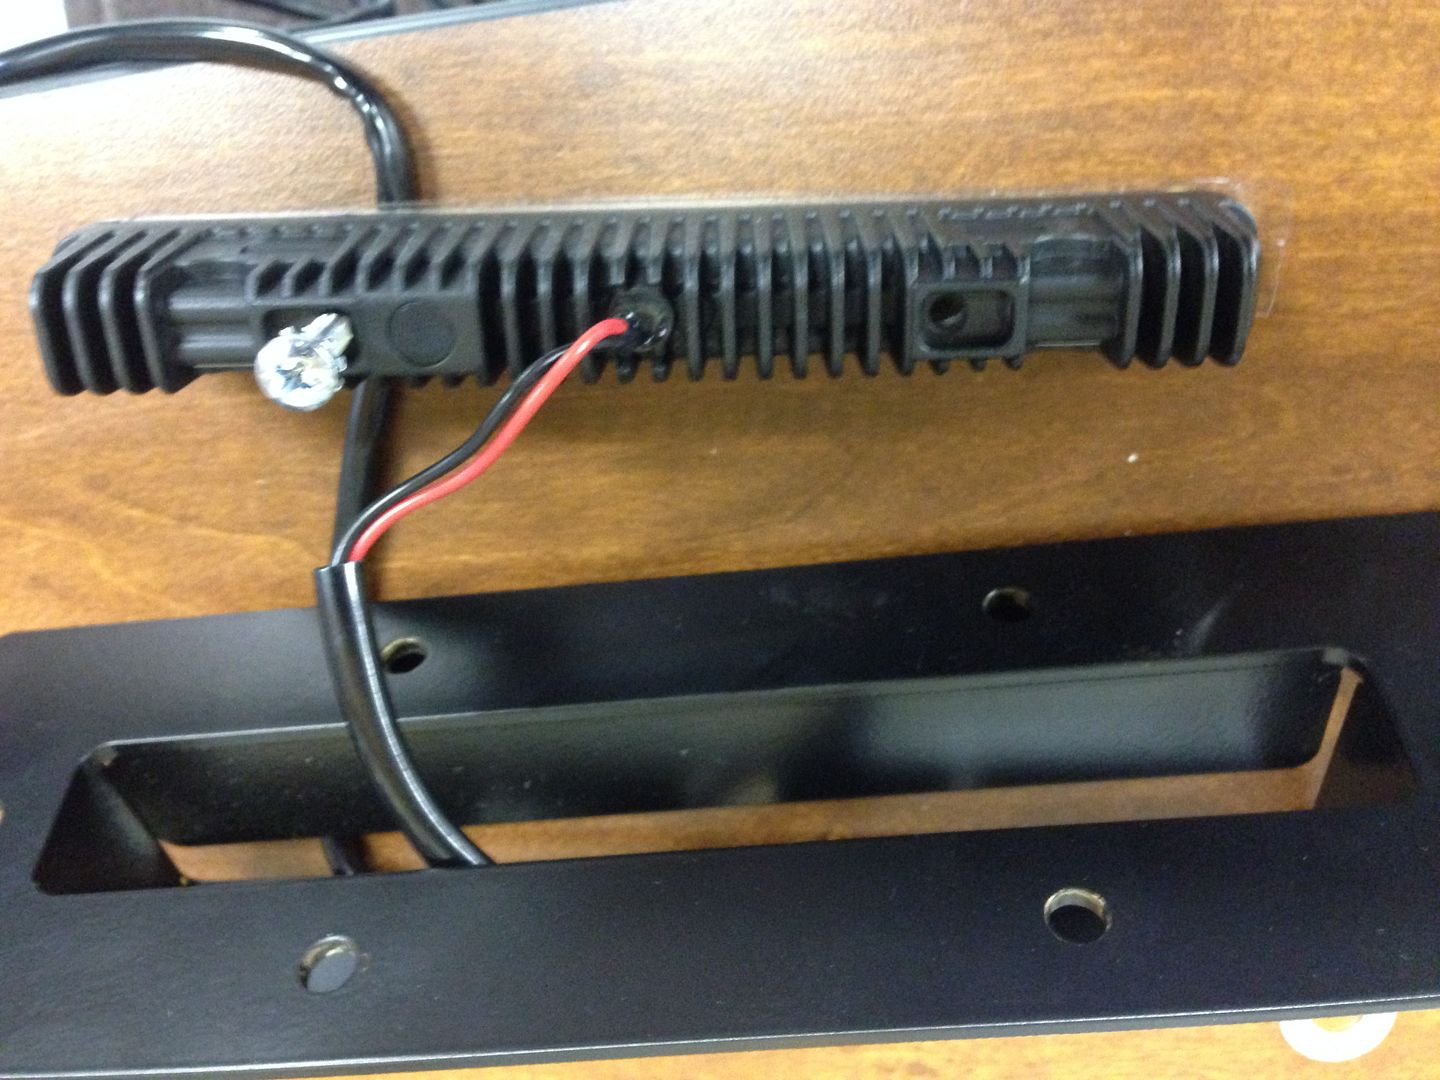
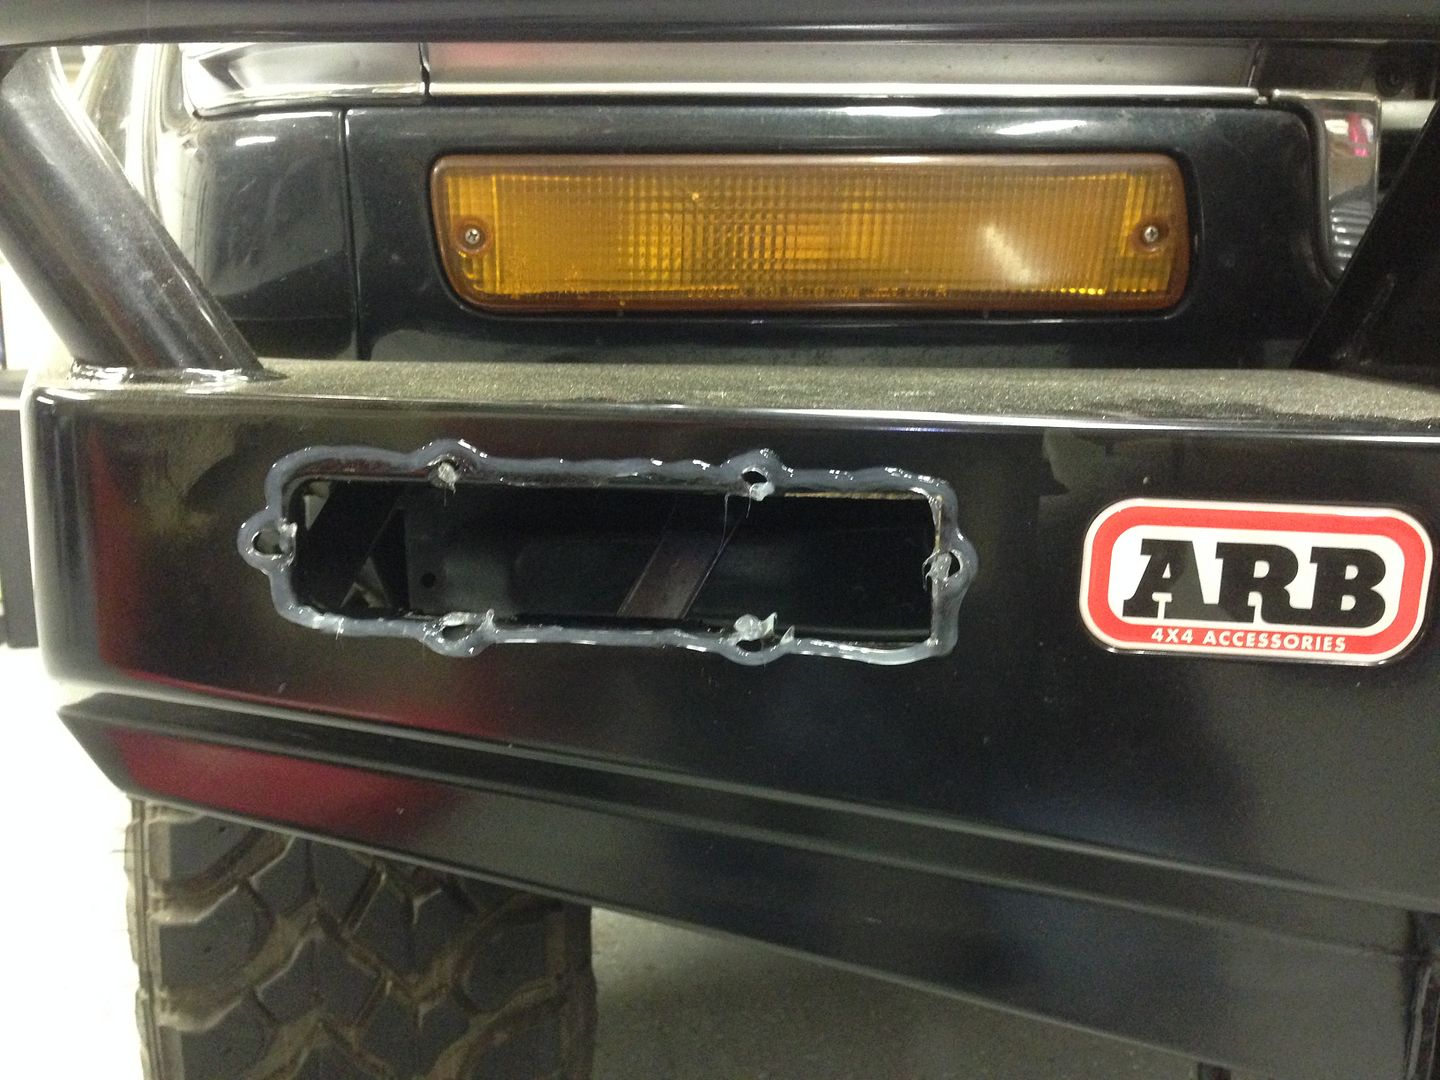
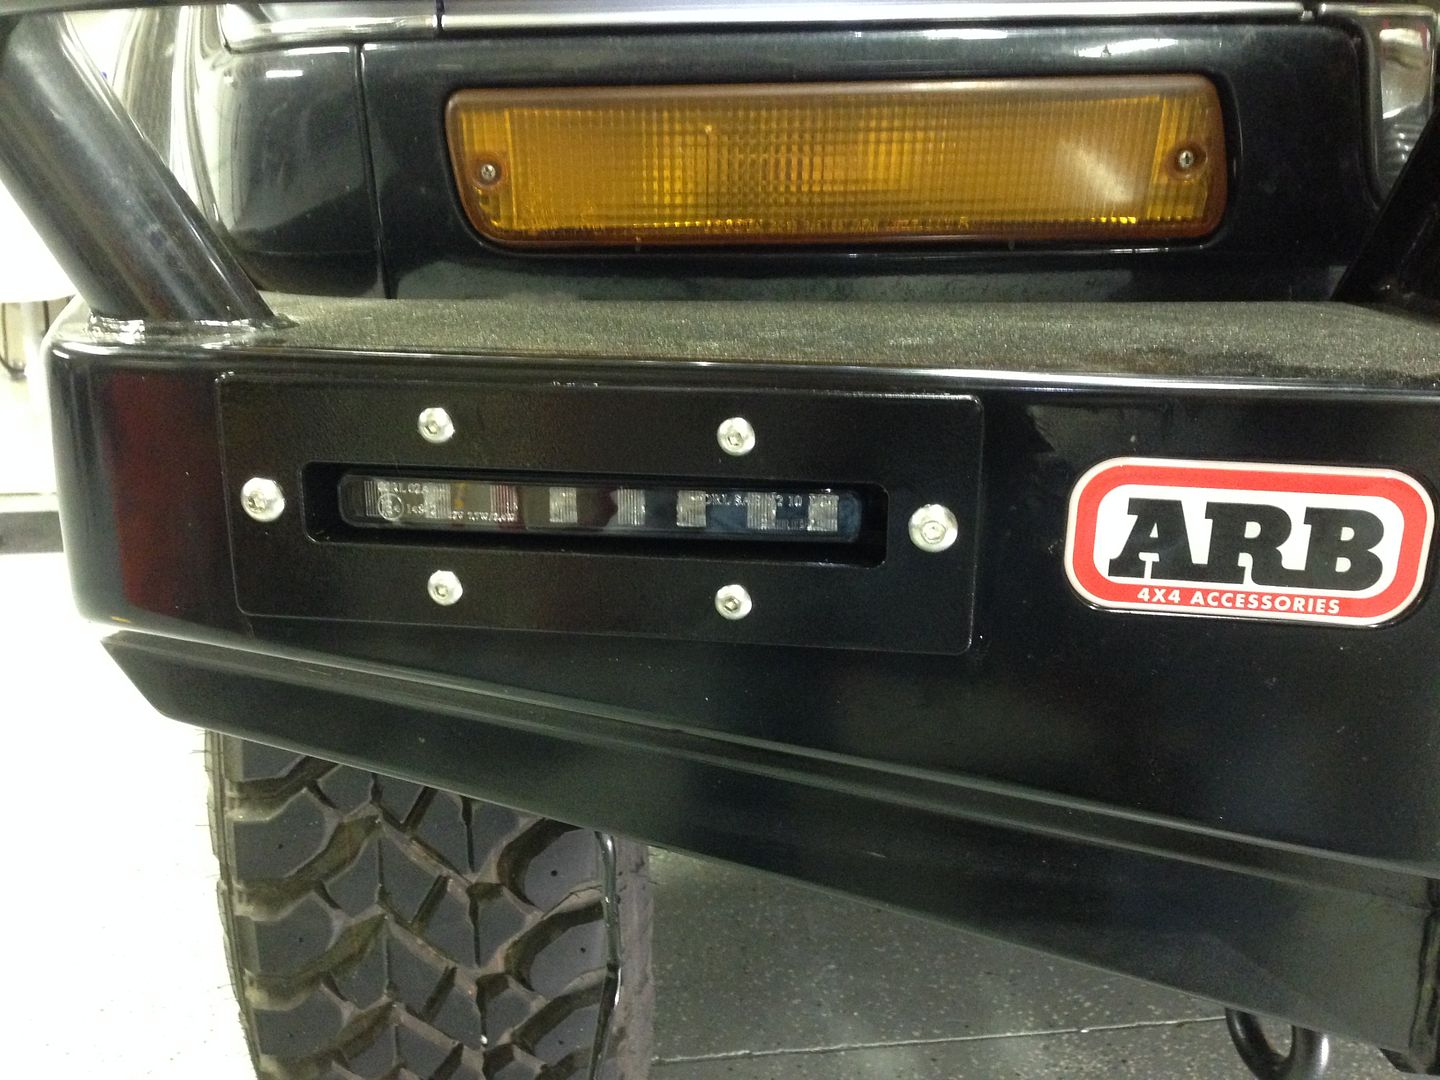
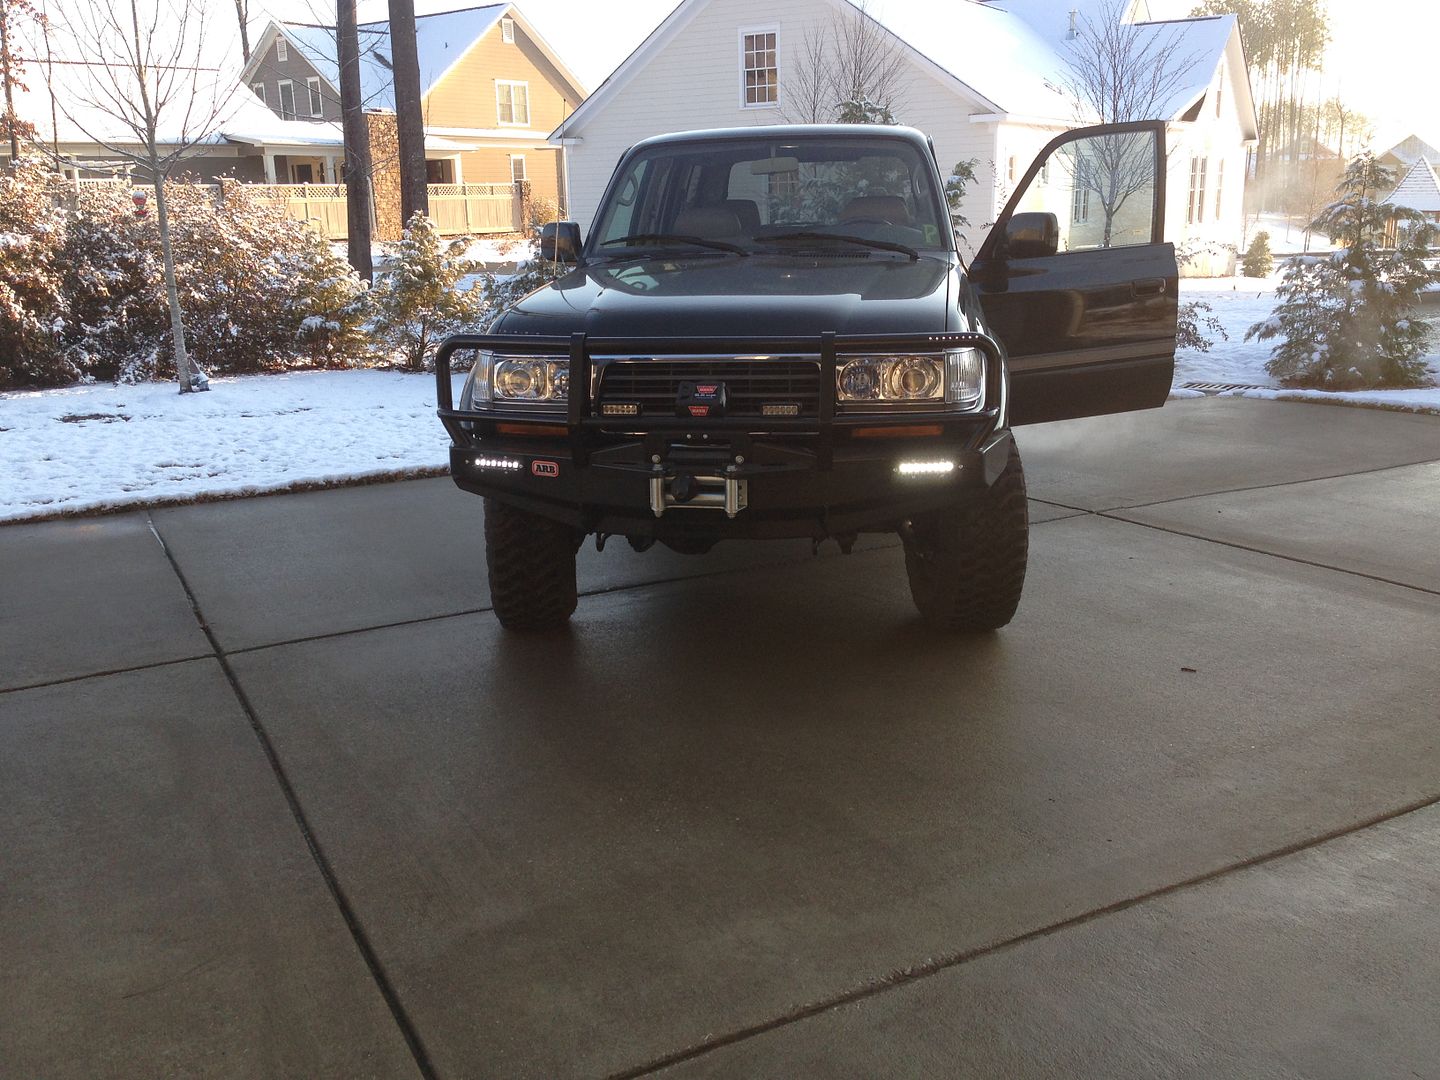
9/21/13 - 84,000 Miles
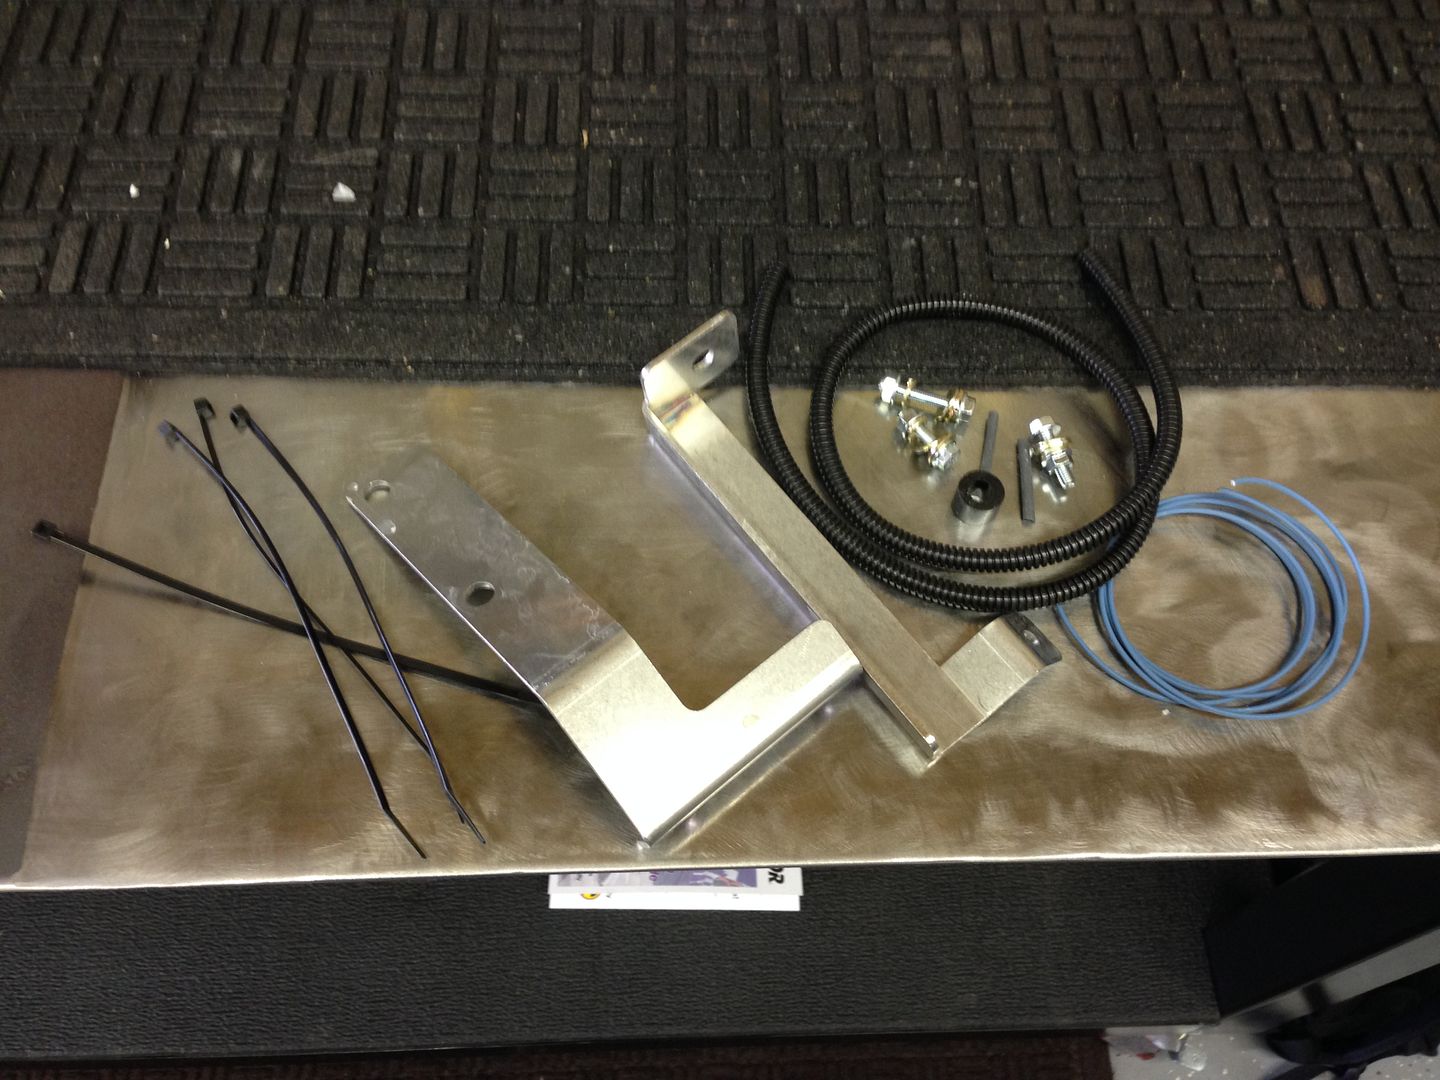
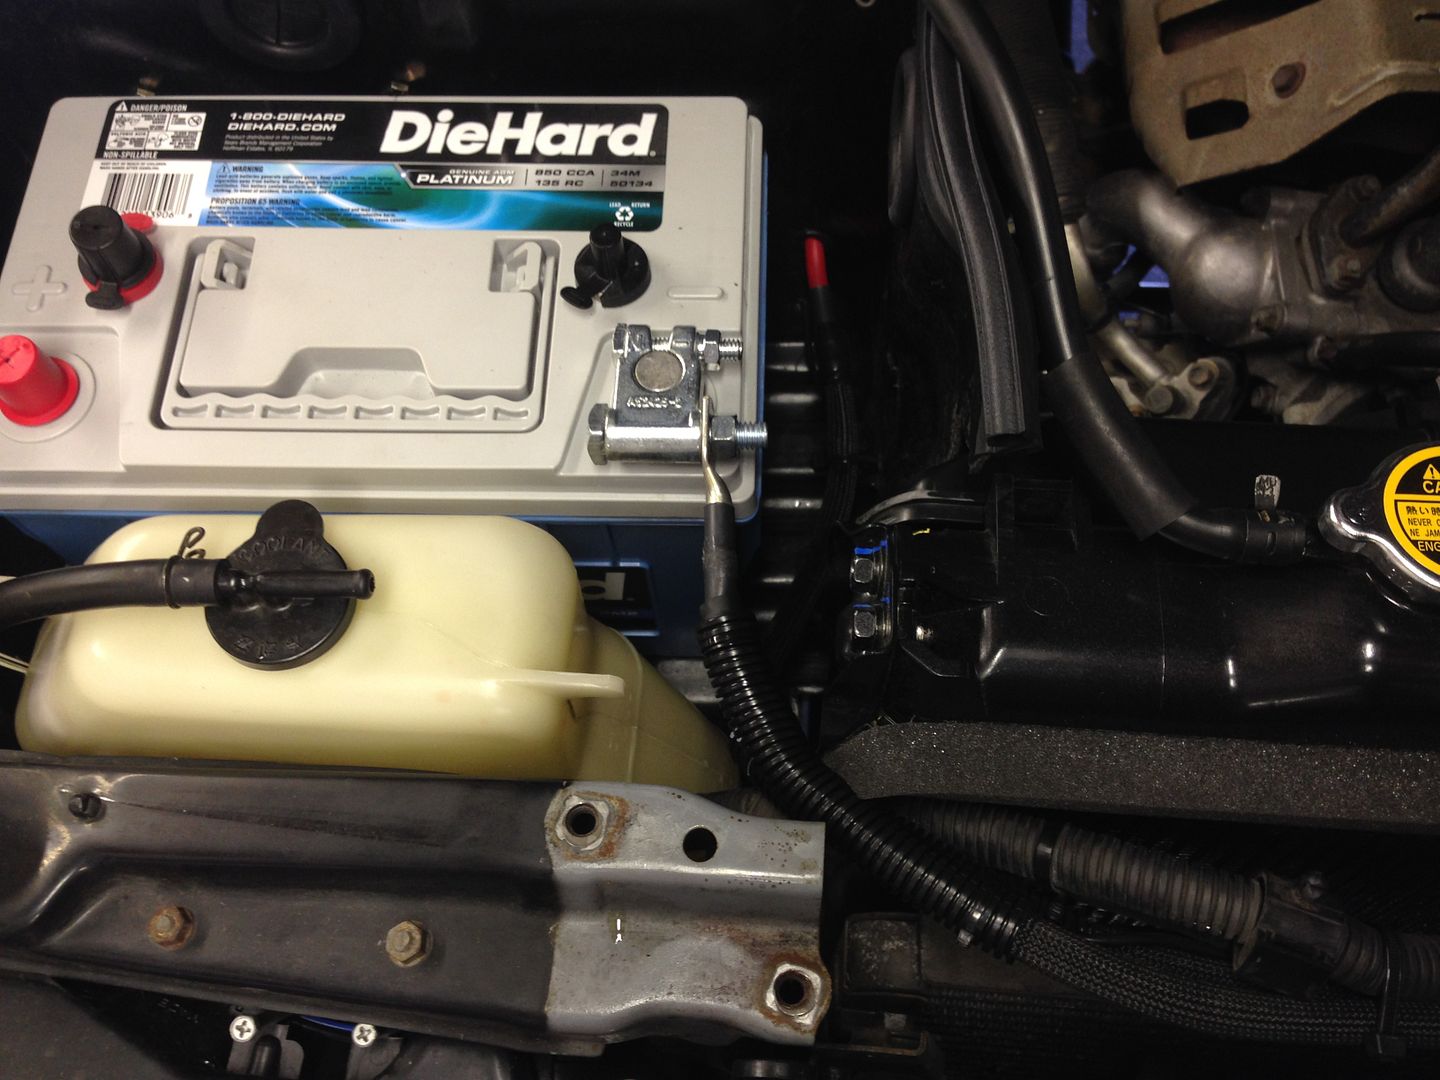
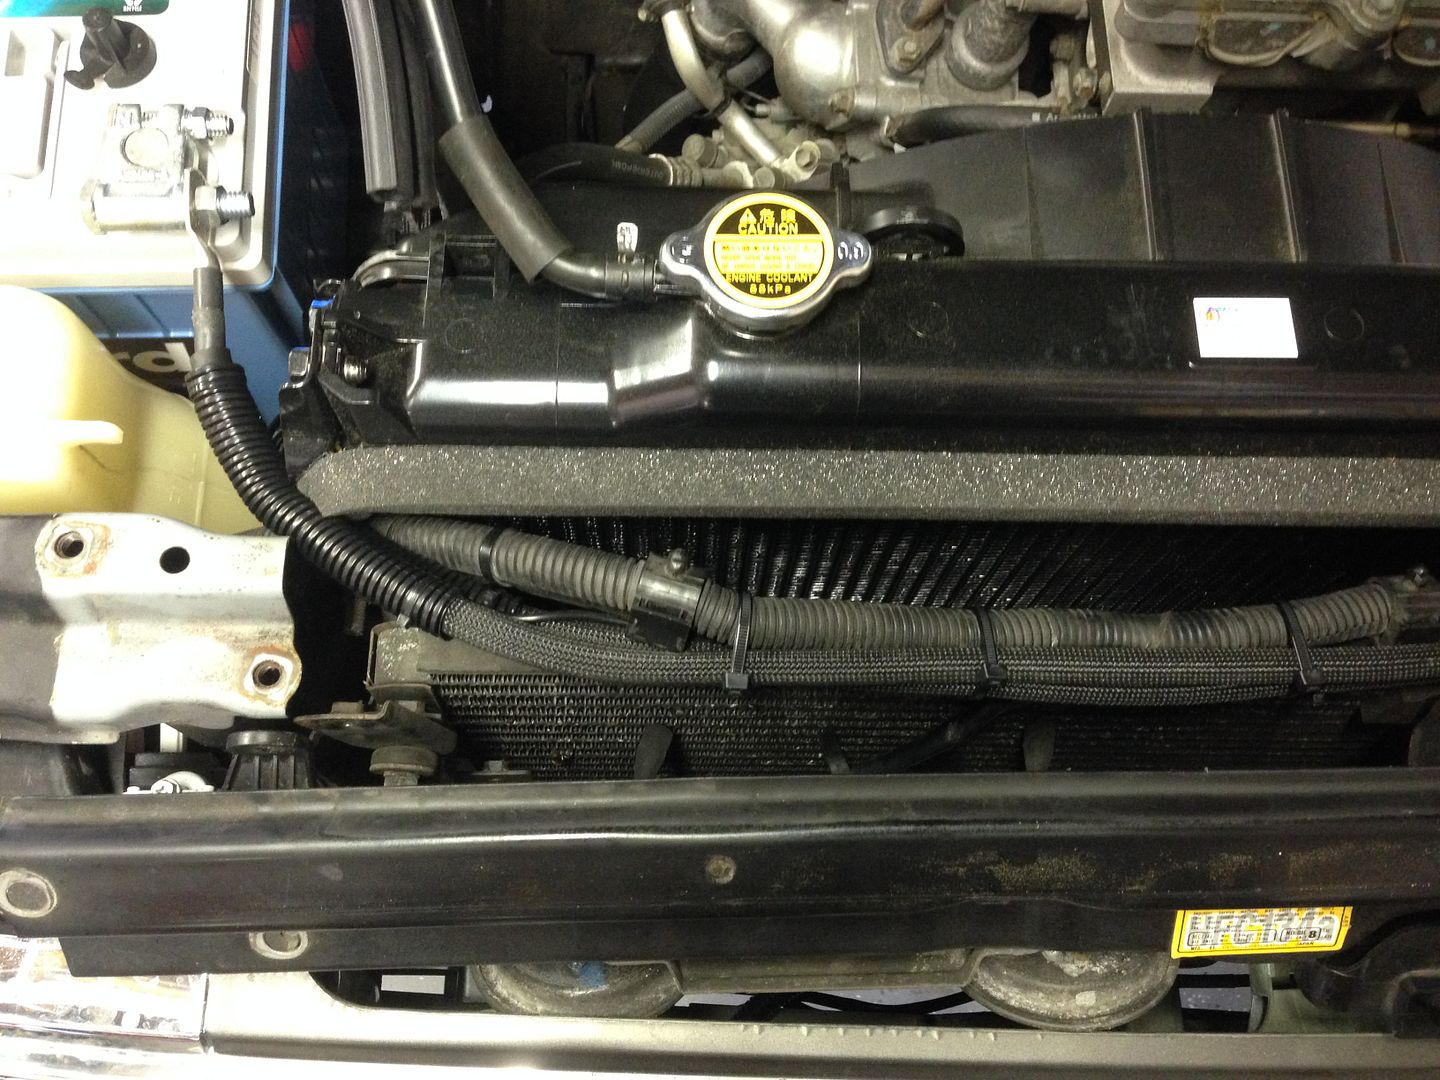
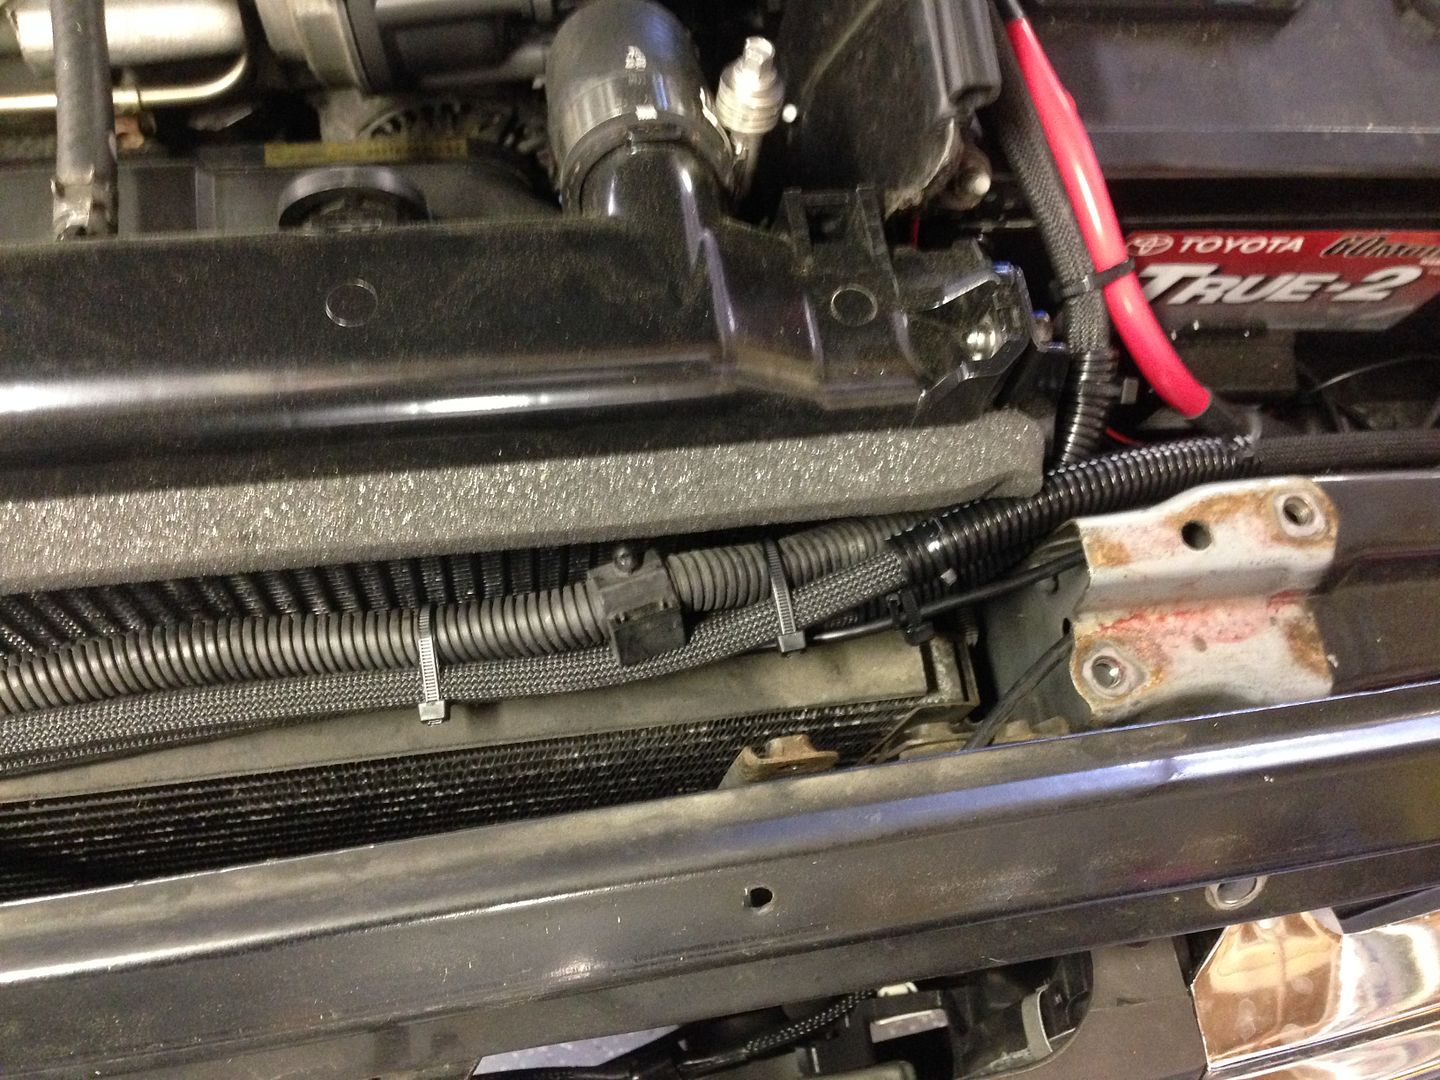
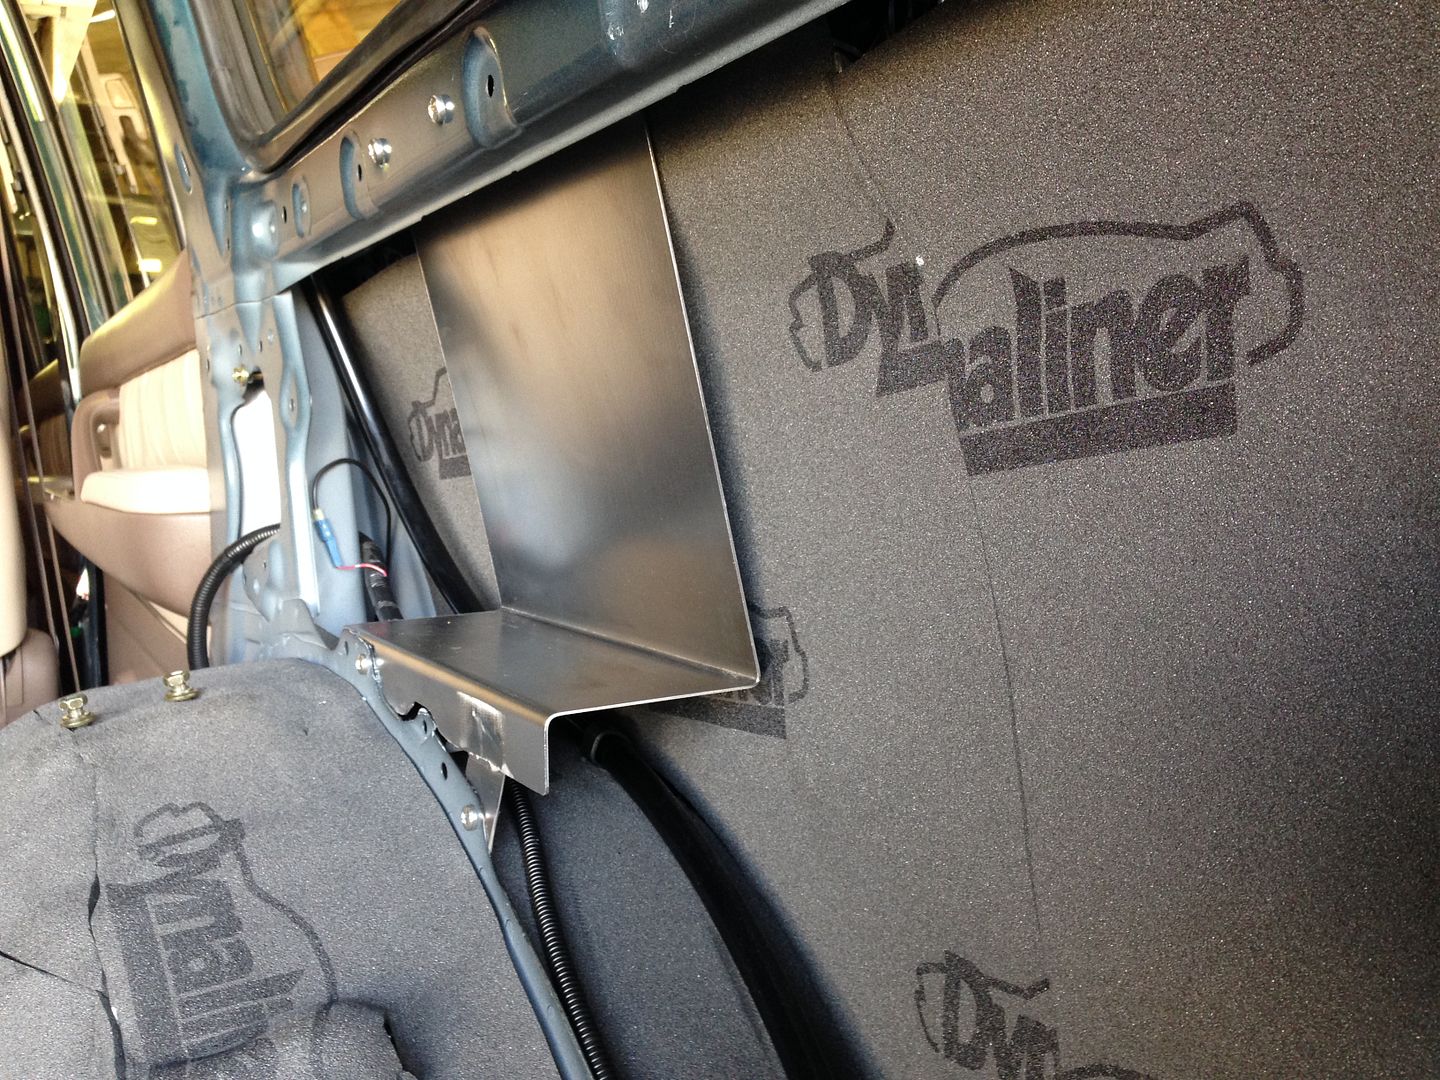
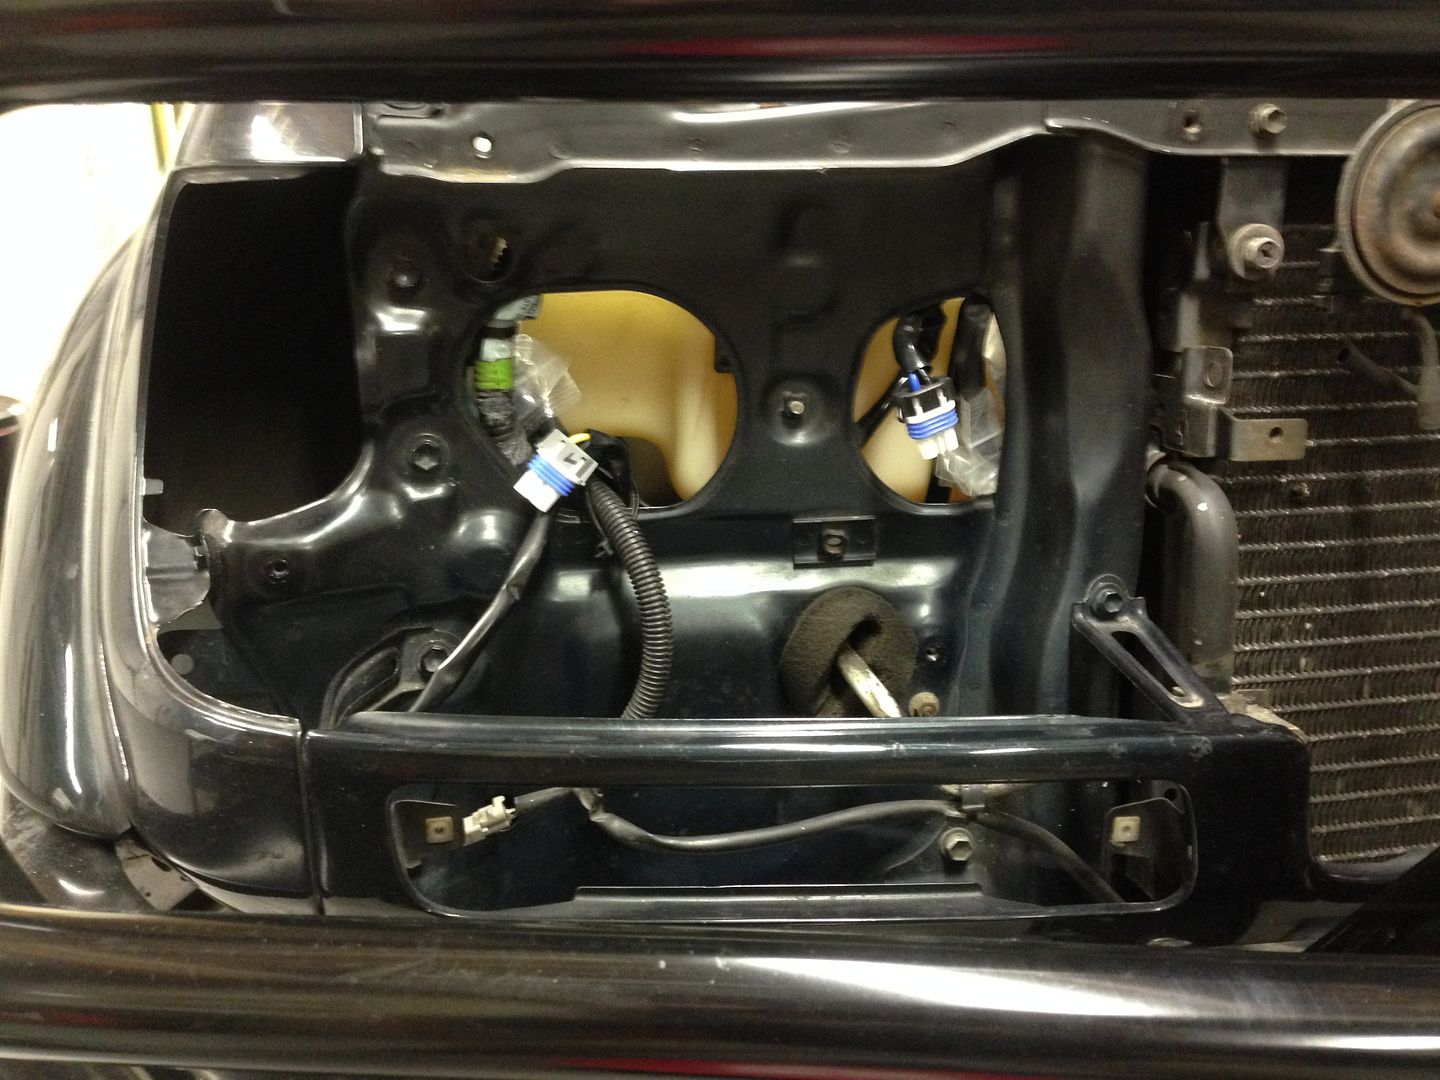
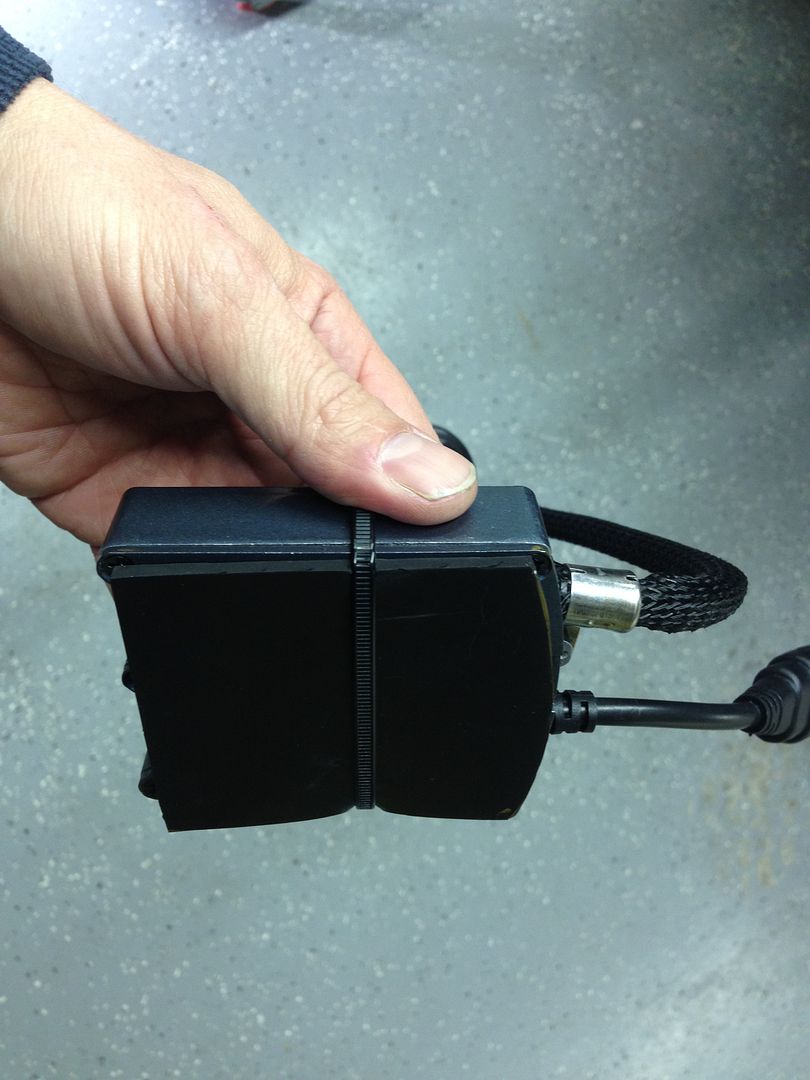
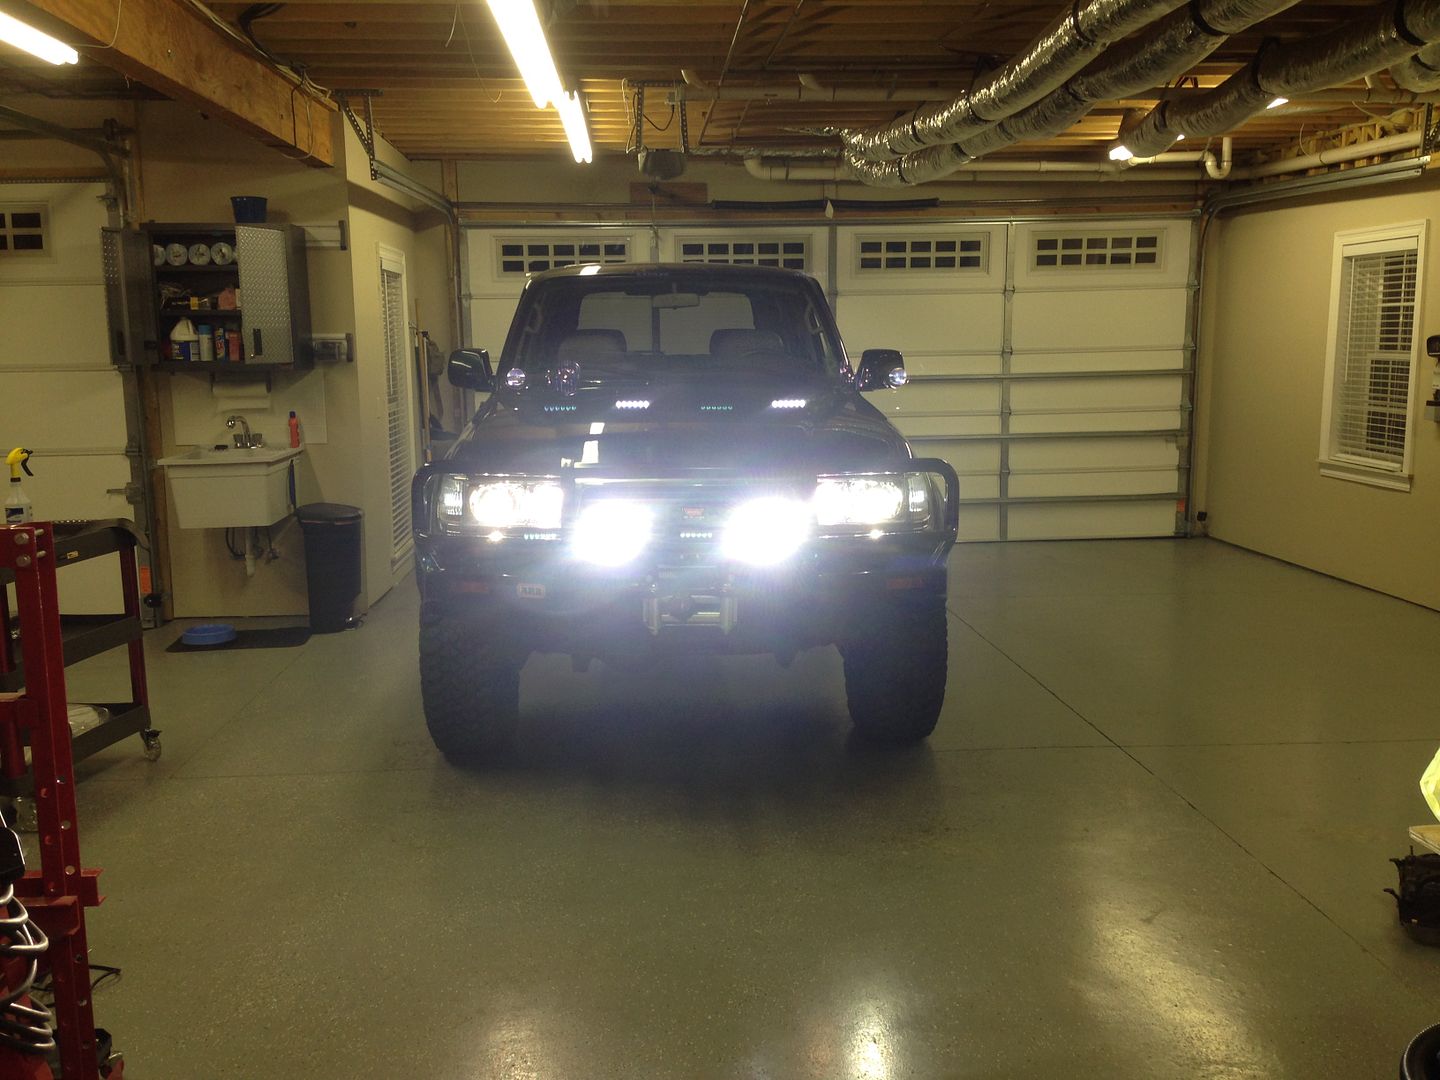
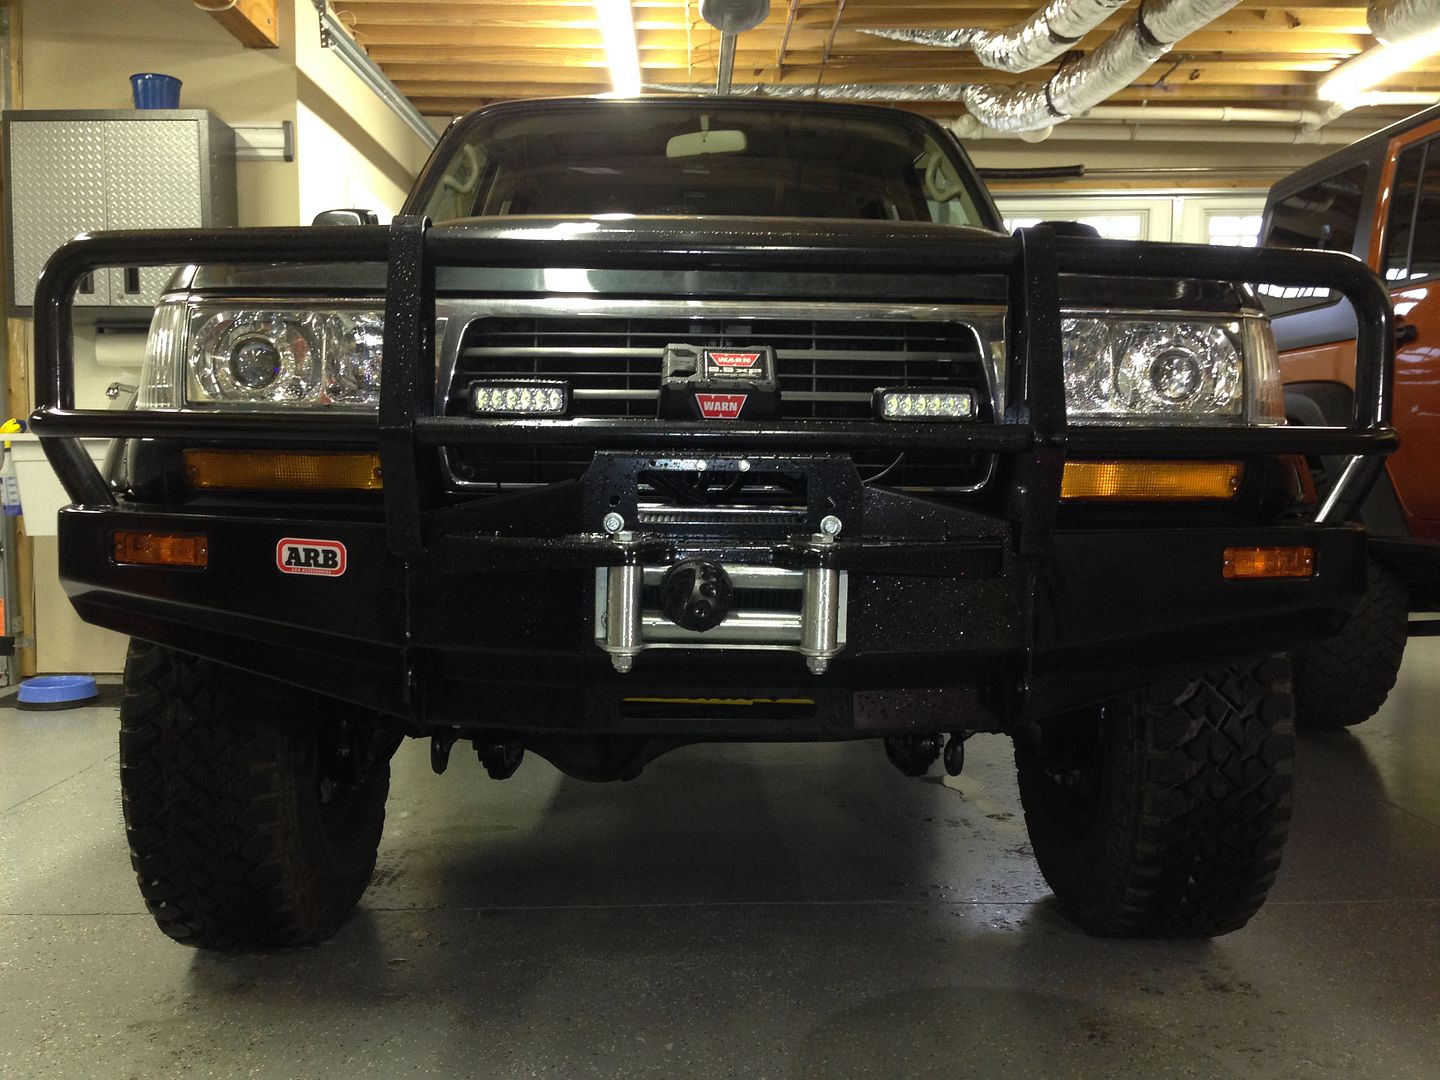
Added Slee Accessory harness & Switch to wire in my Rigid SQ-2 Driving lights. The driving lights are activated with the high beams so I never forget they are on when I have oncoming traffic. I wanted something low profile as not to block air-flow into the radiator, but give me enough light for off-road night driving.
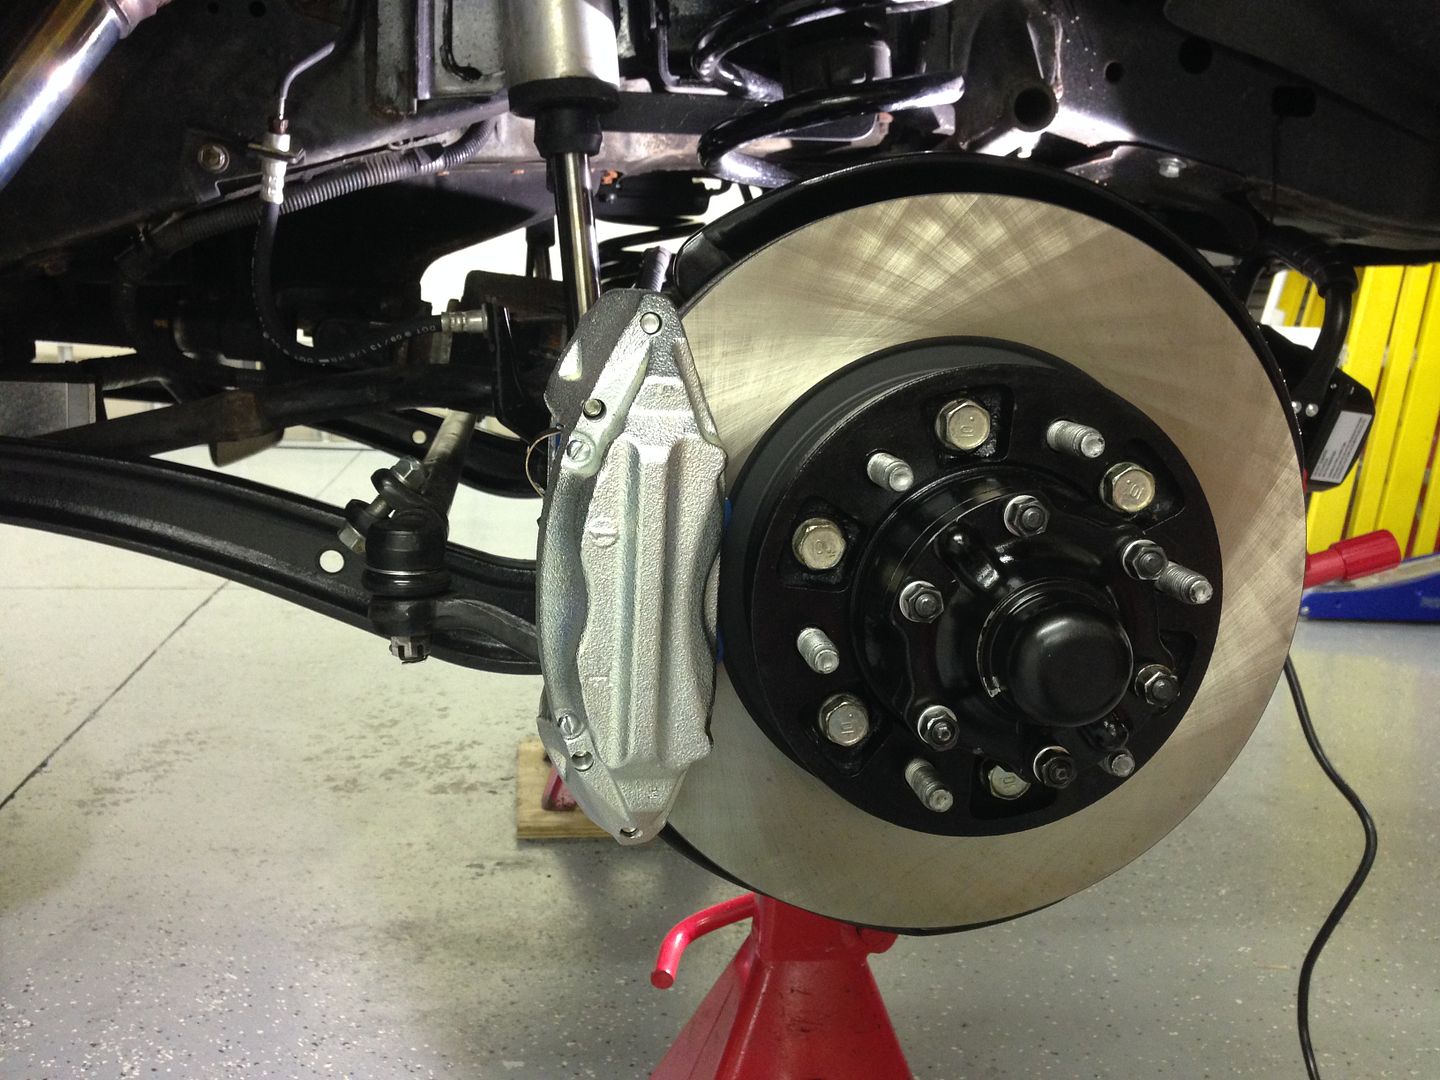
LIFT TIME
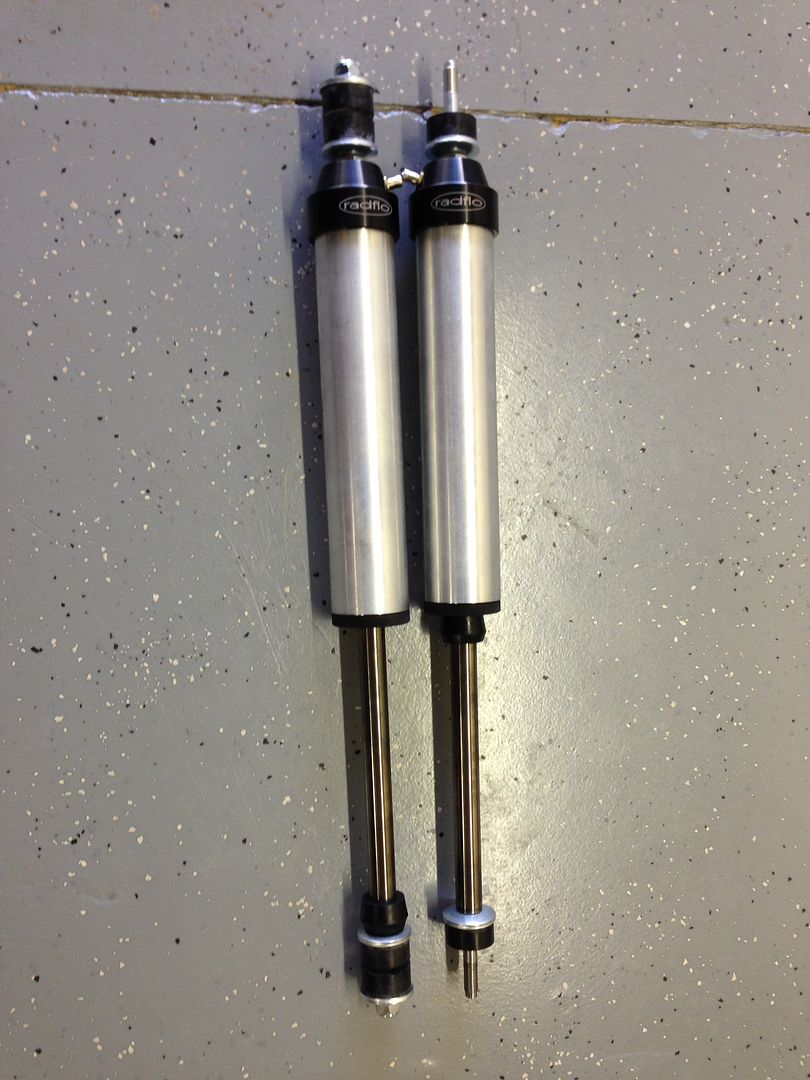
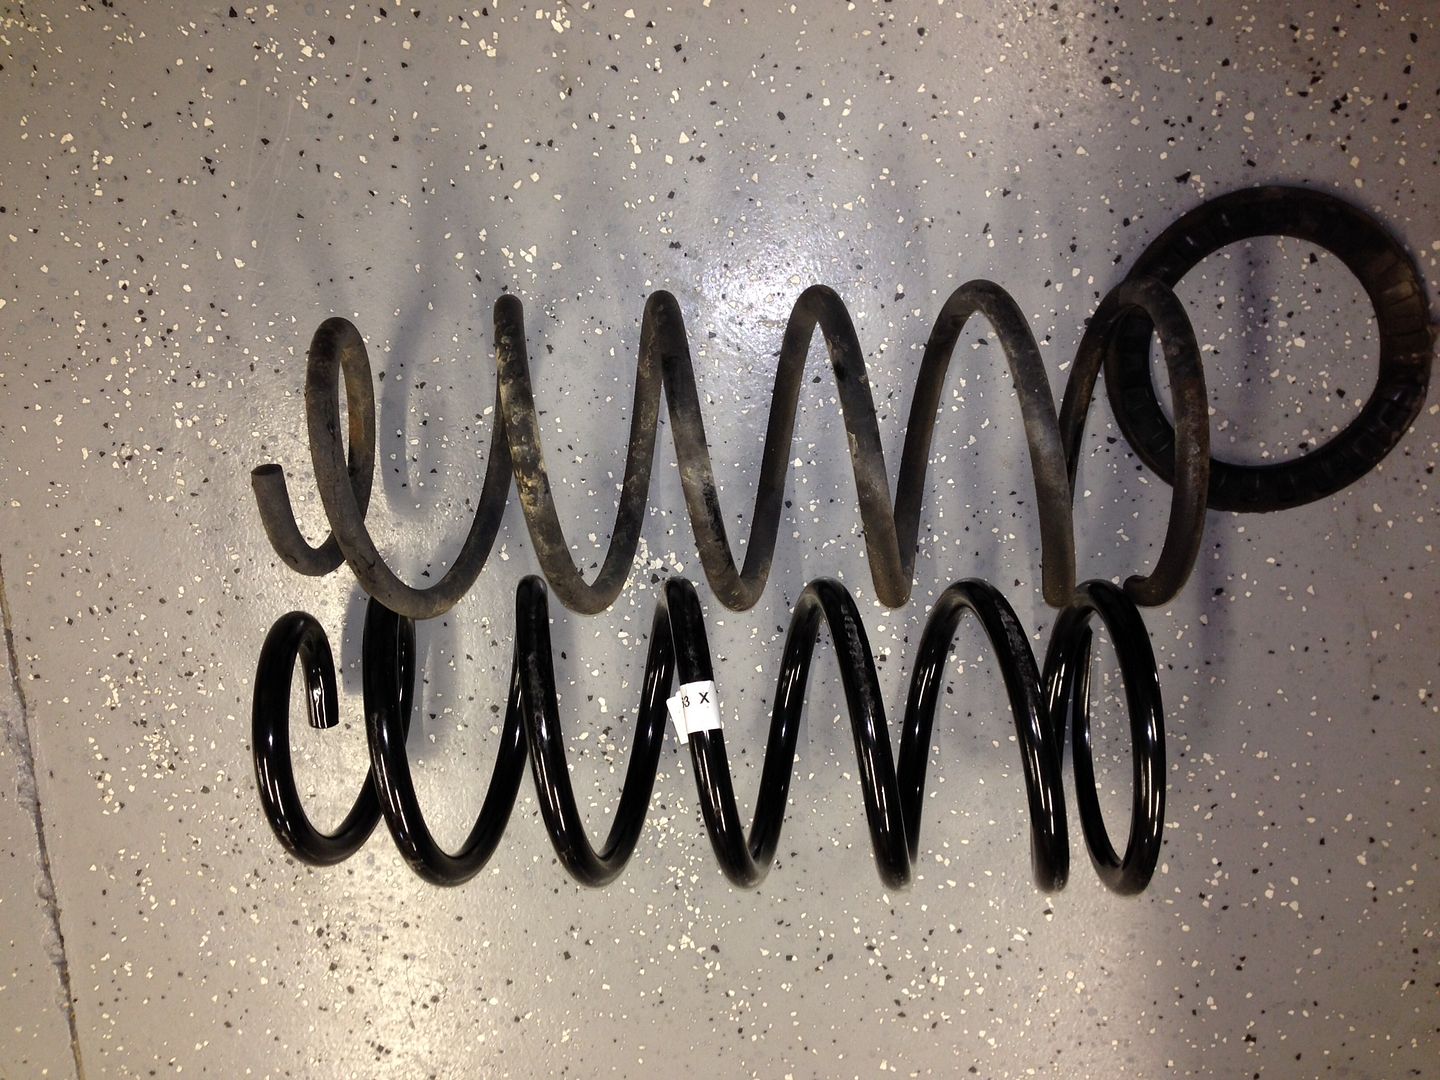
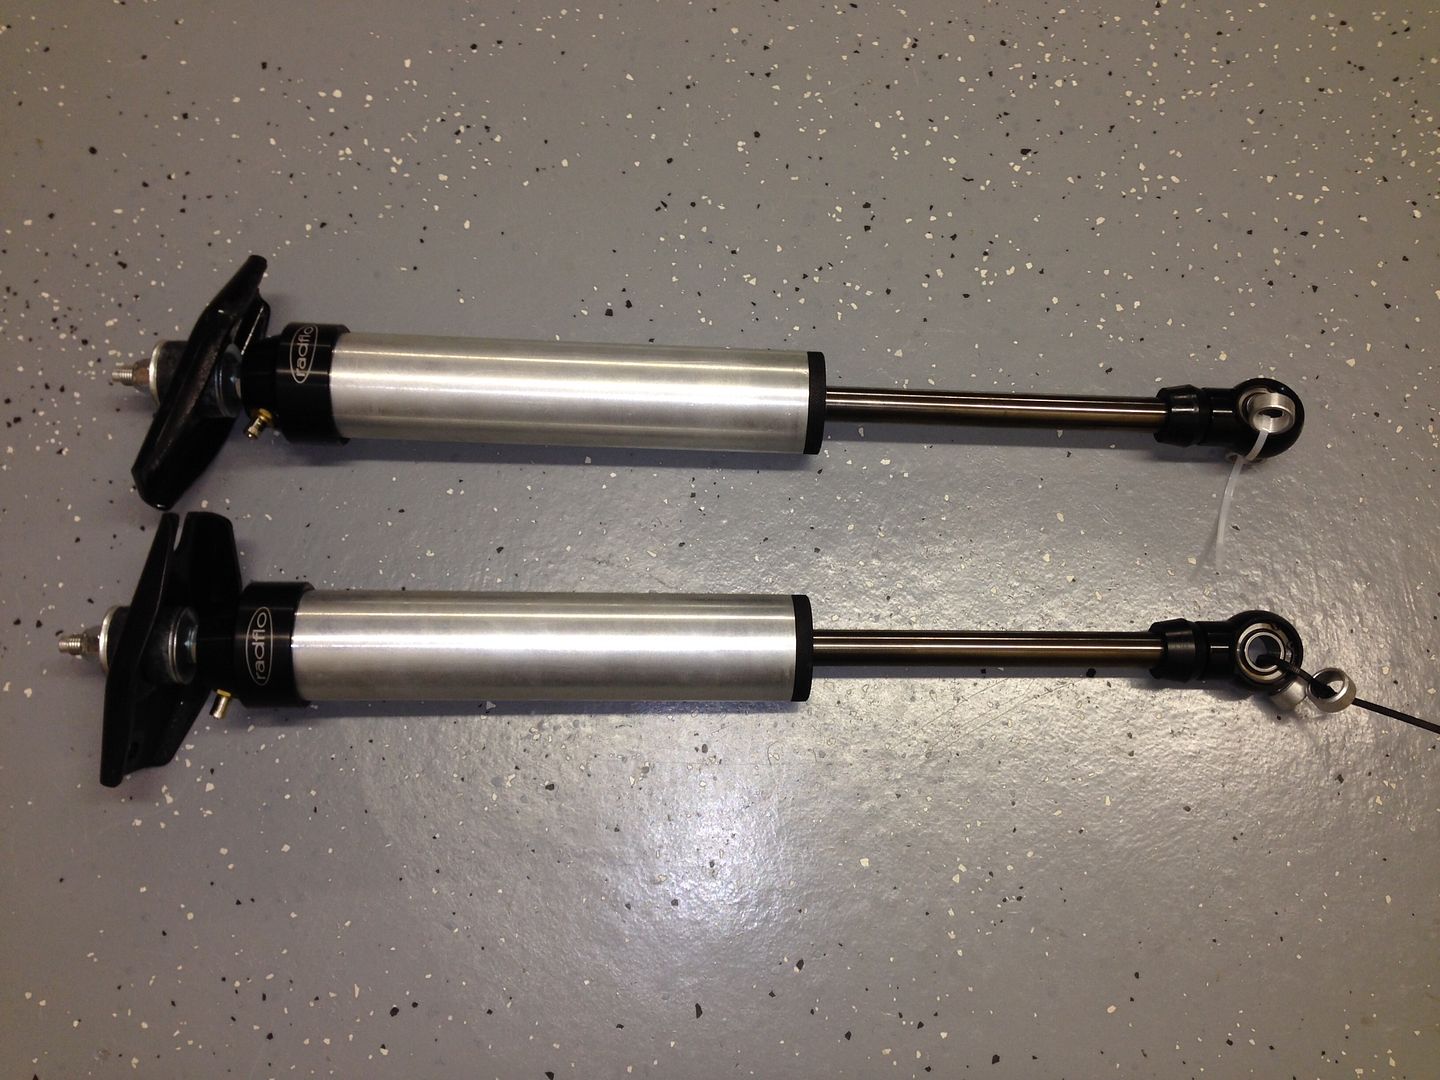
Finally it was time for the Lift. talked with Christo and Ben at Slee and decided on the 850 Front and 863 Rear Coils along with OME Caster Bushings and radflow 2.5" Shocks on all corners.
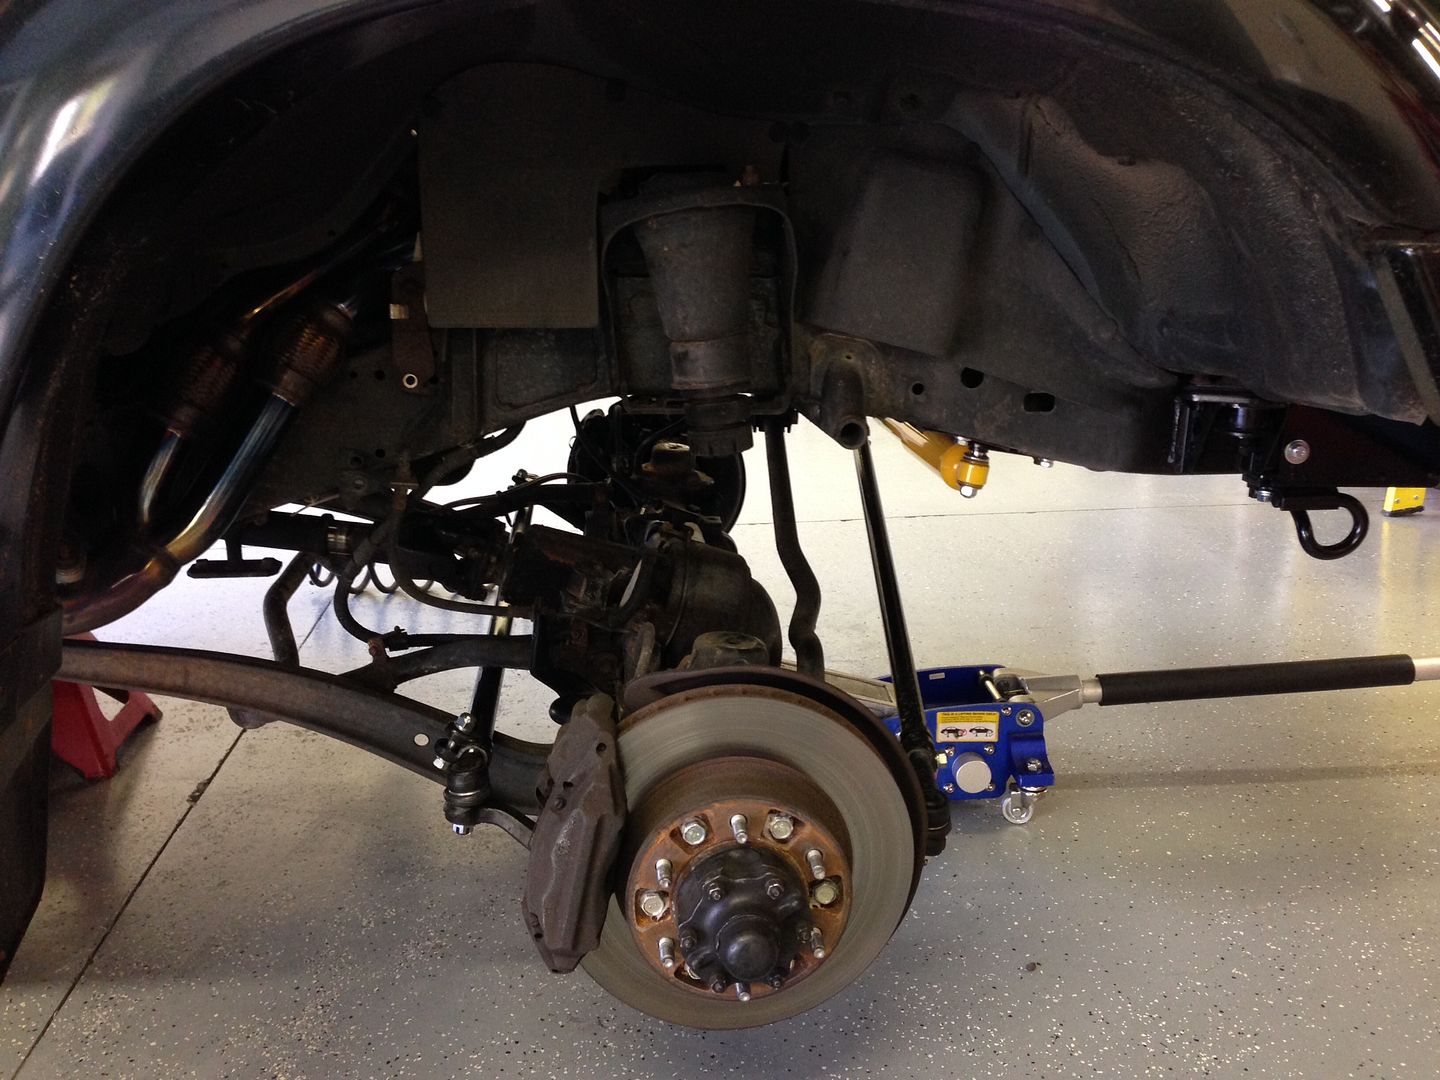
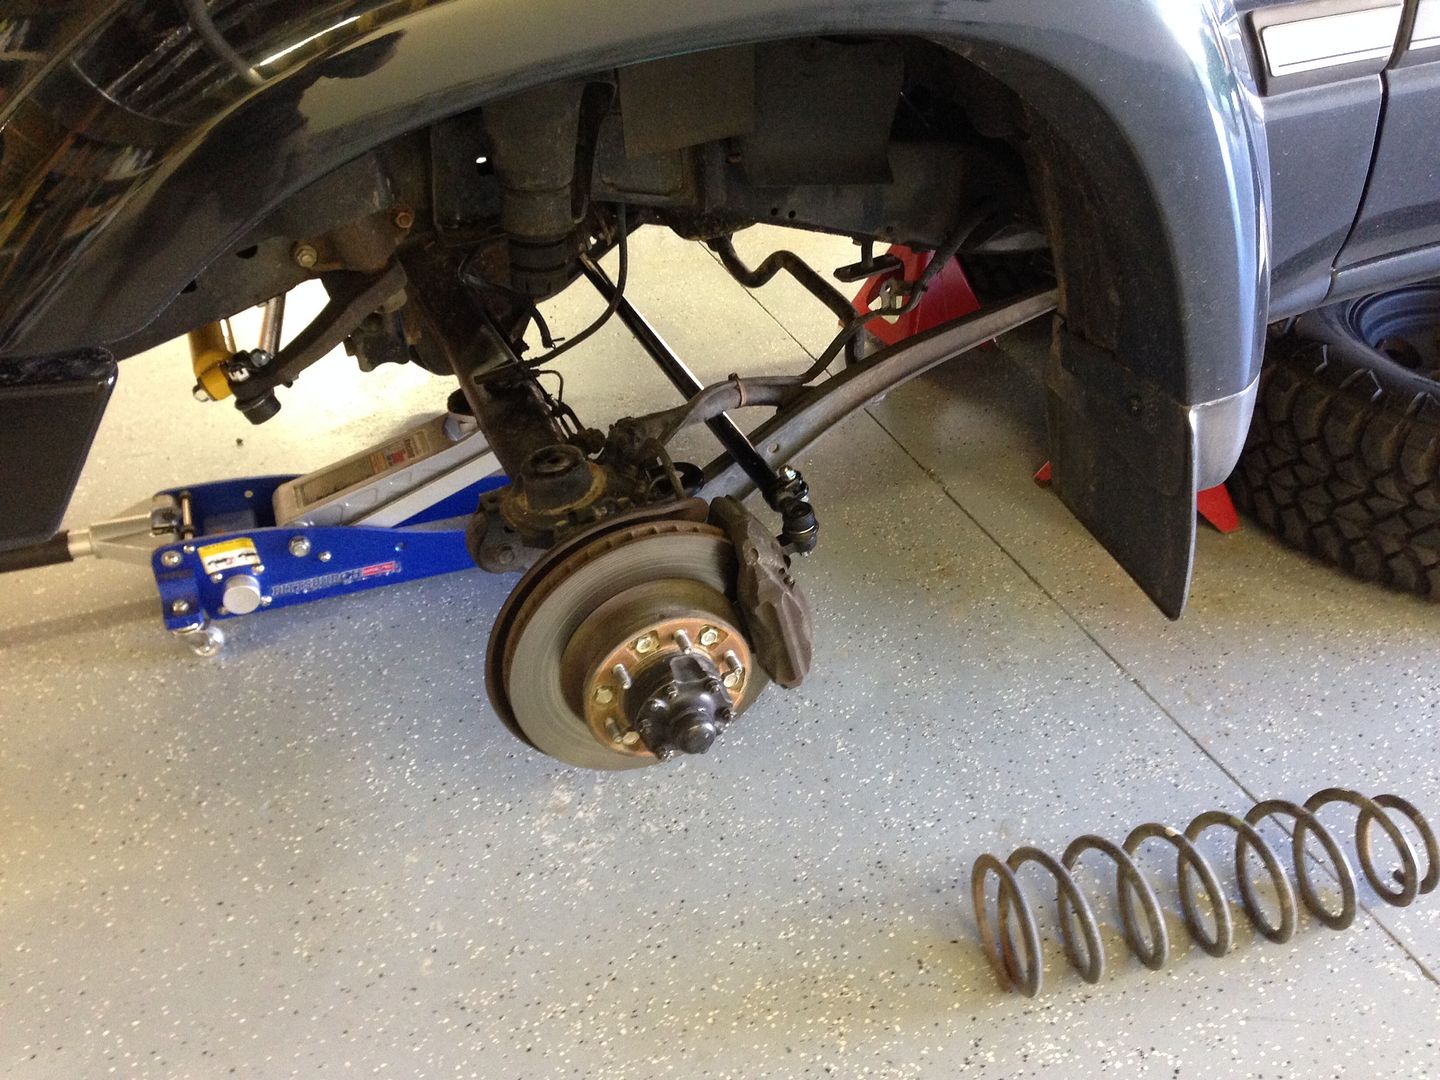
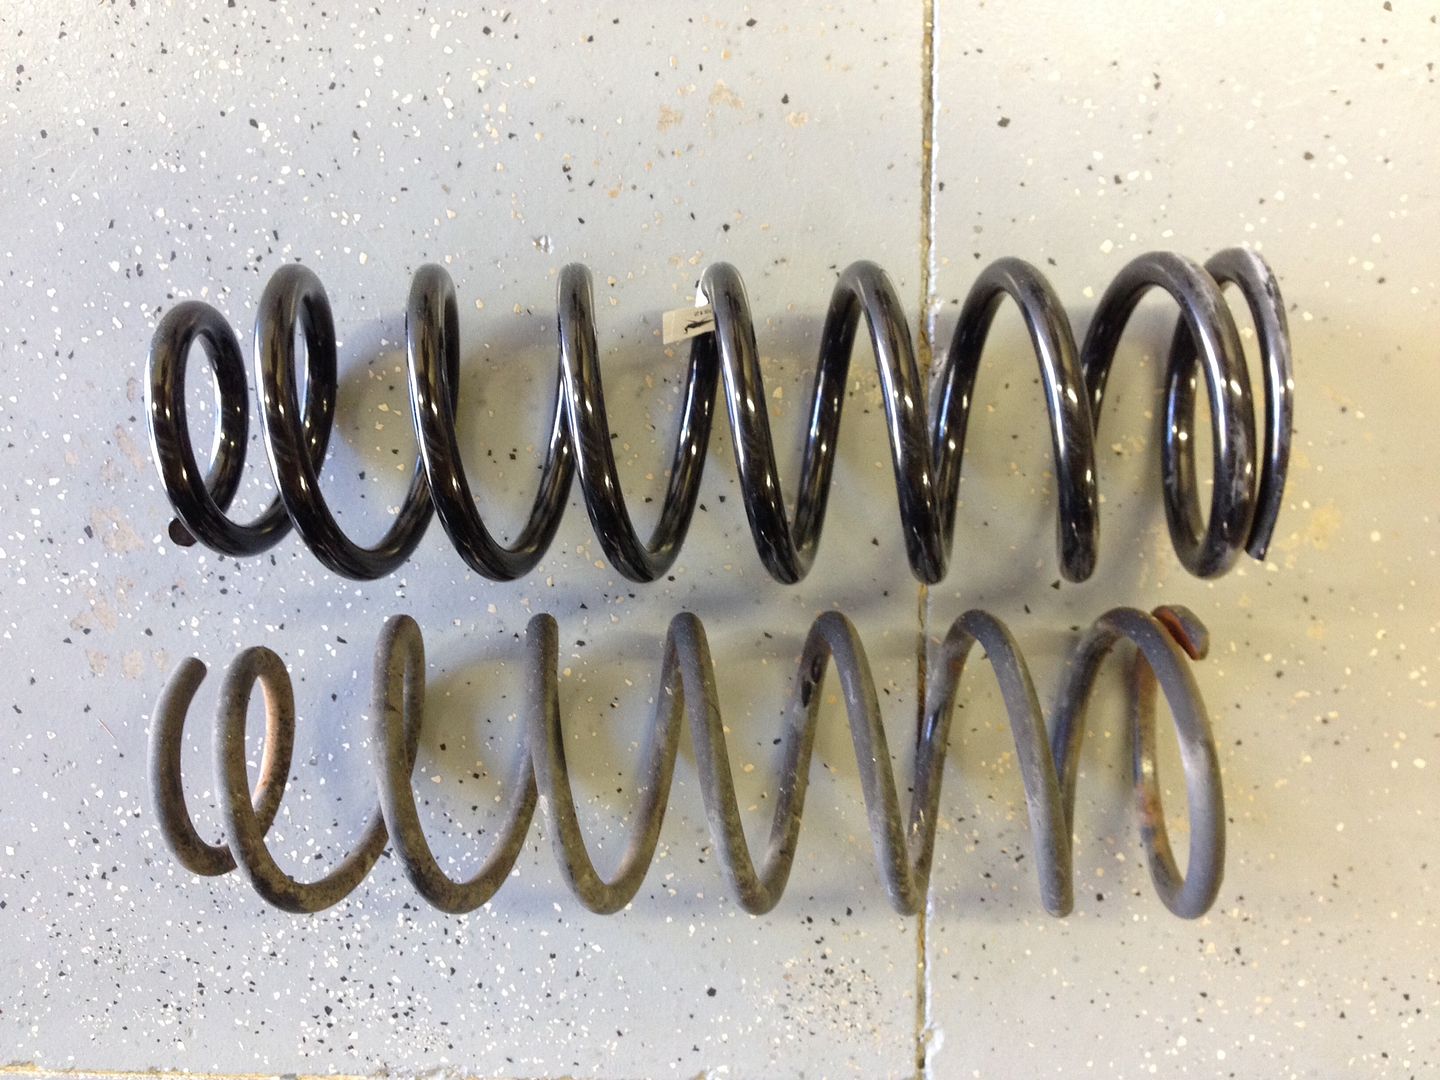
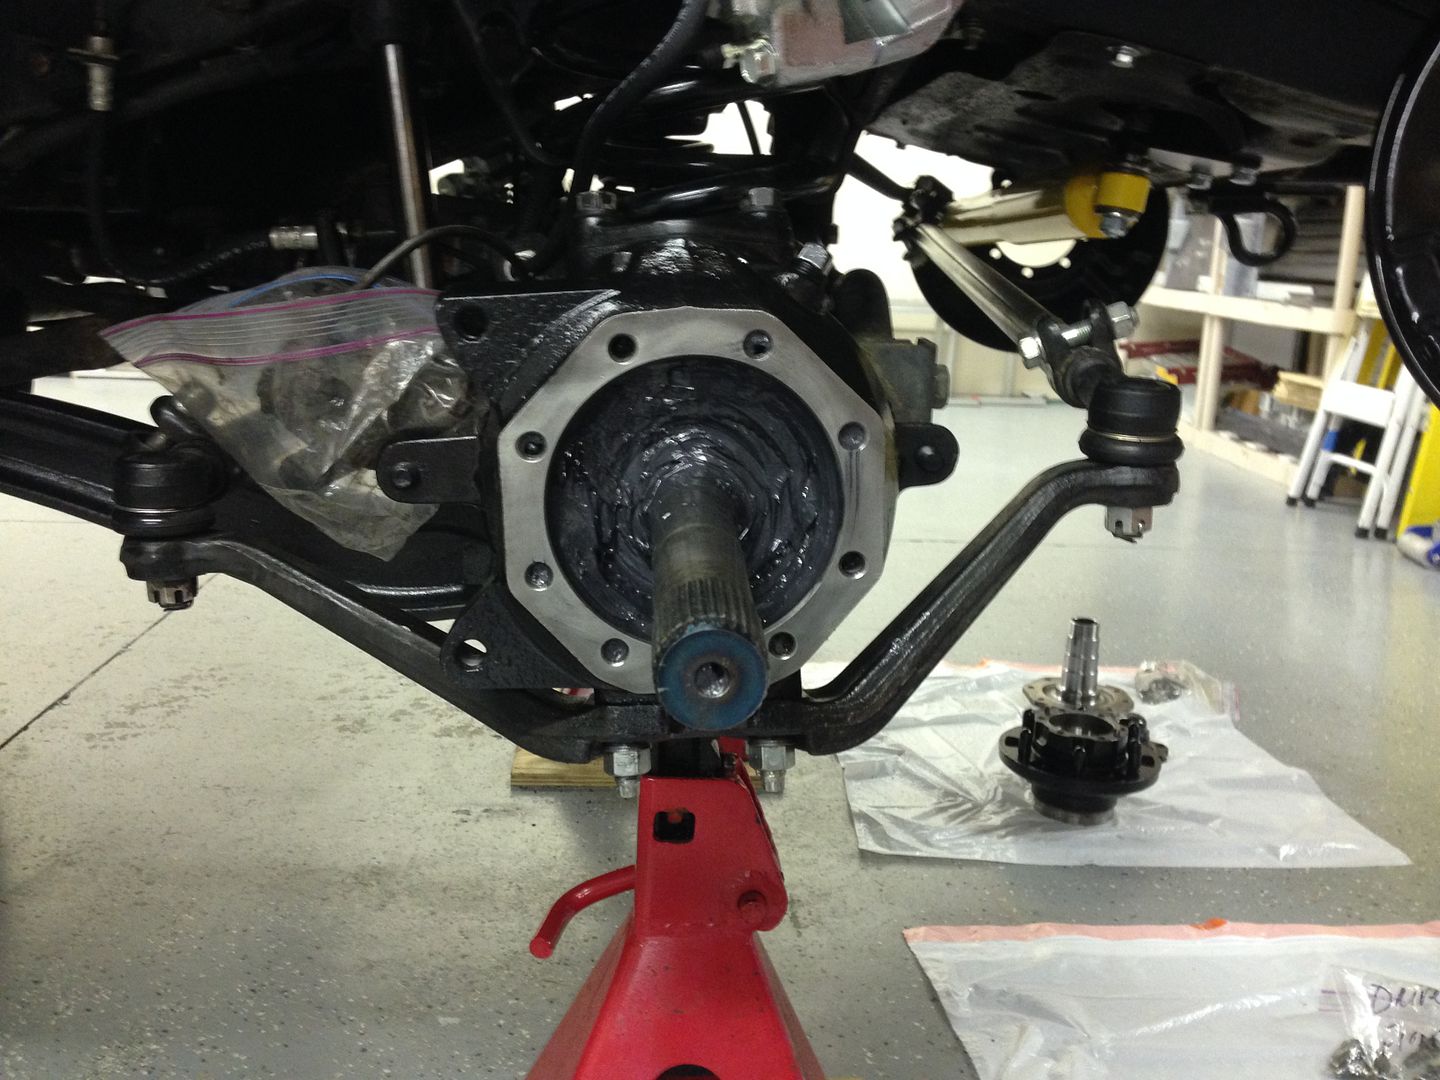
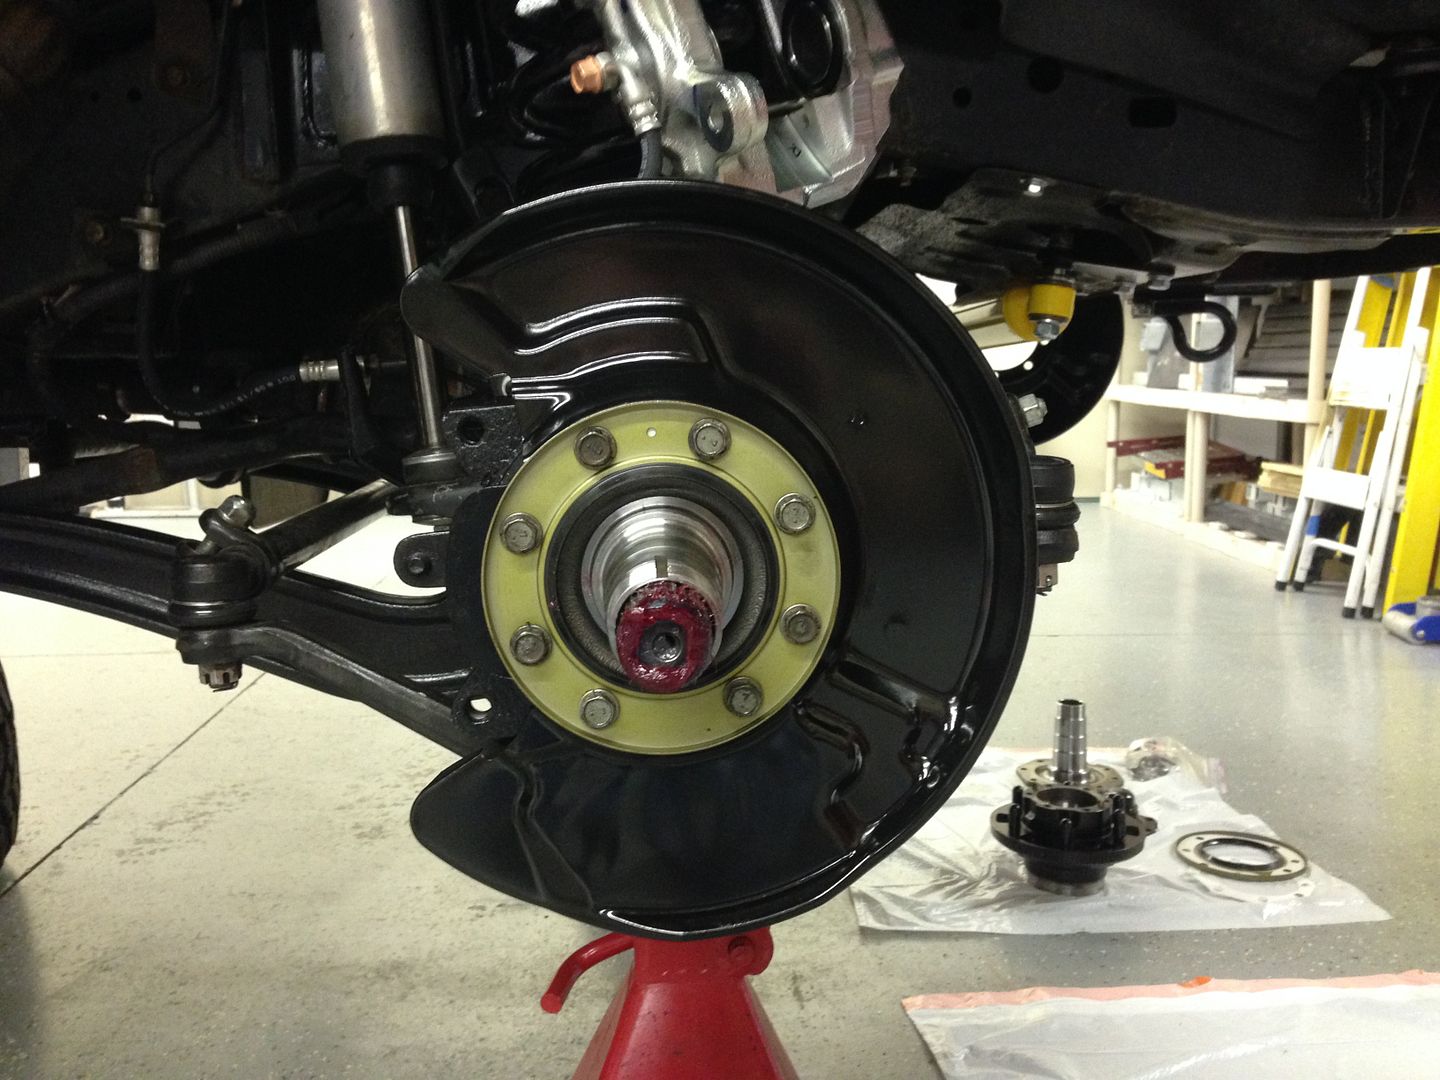
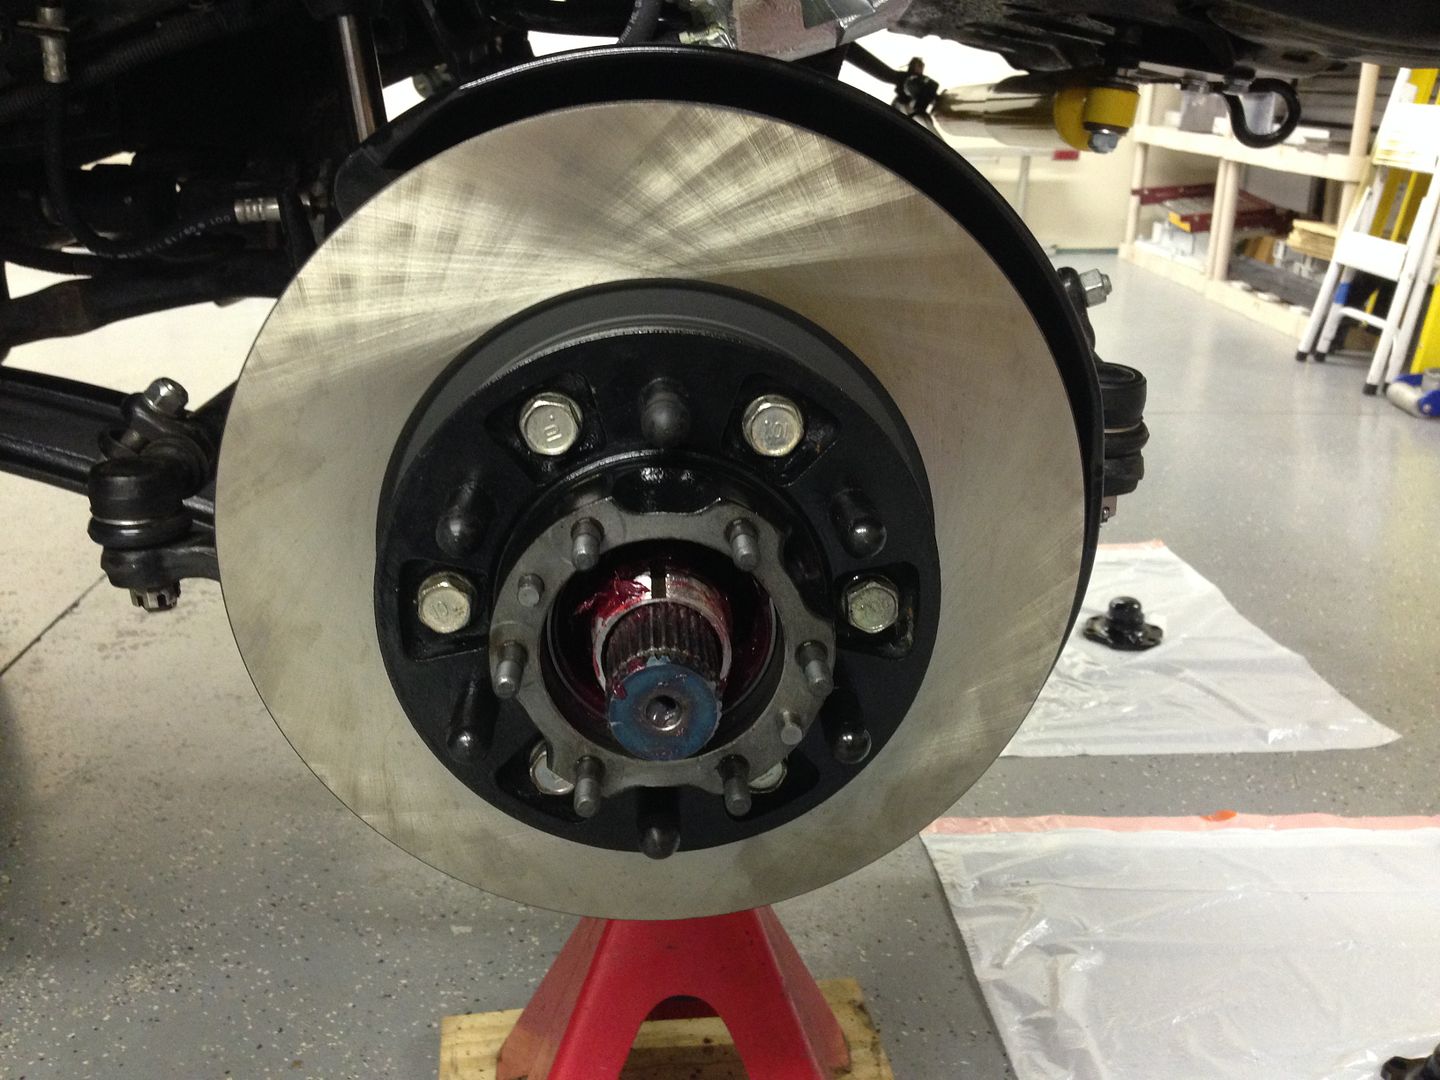
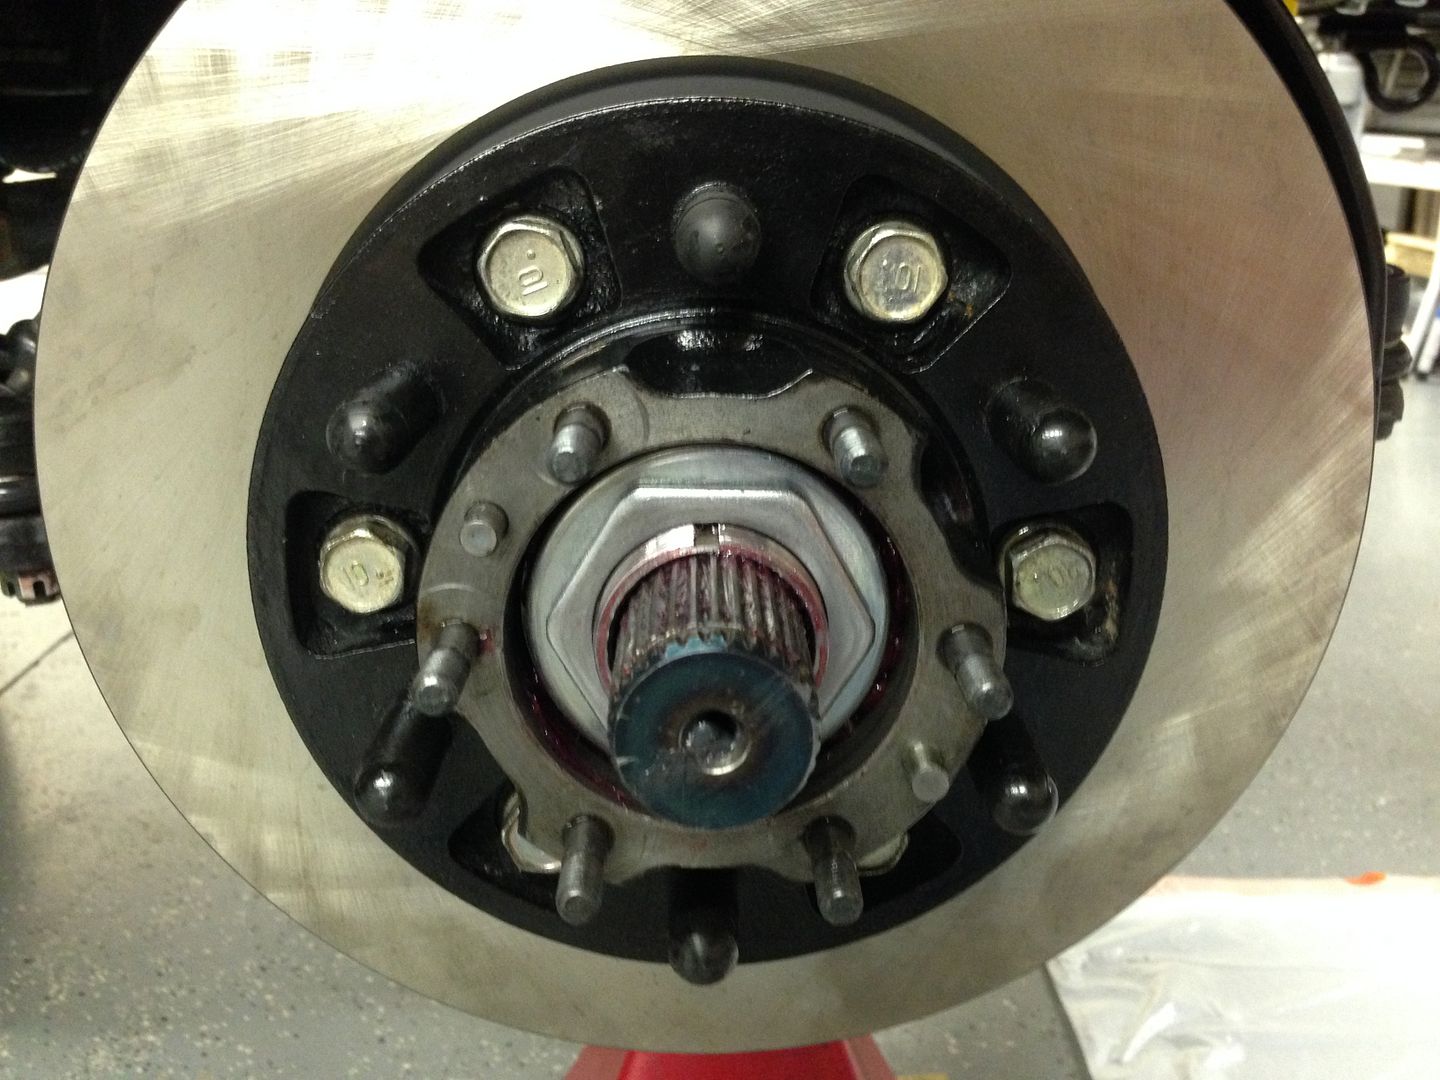
Removed the front coils and shocks:
Replaced with OME Coils:
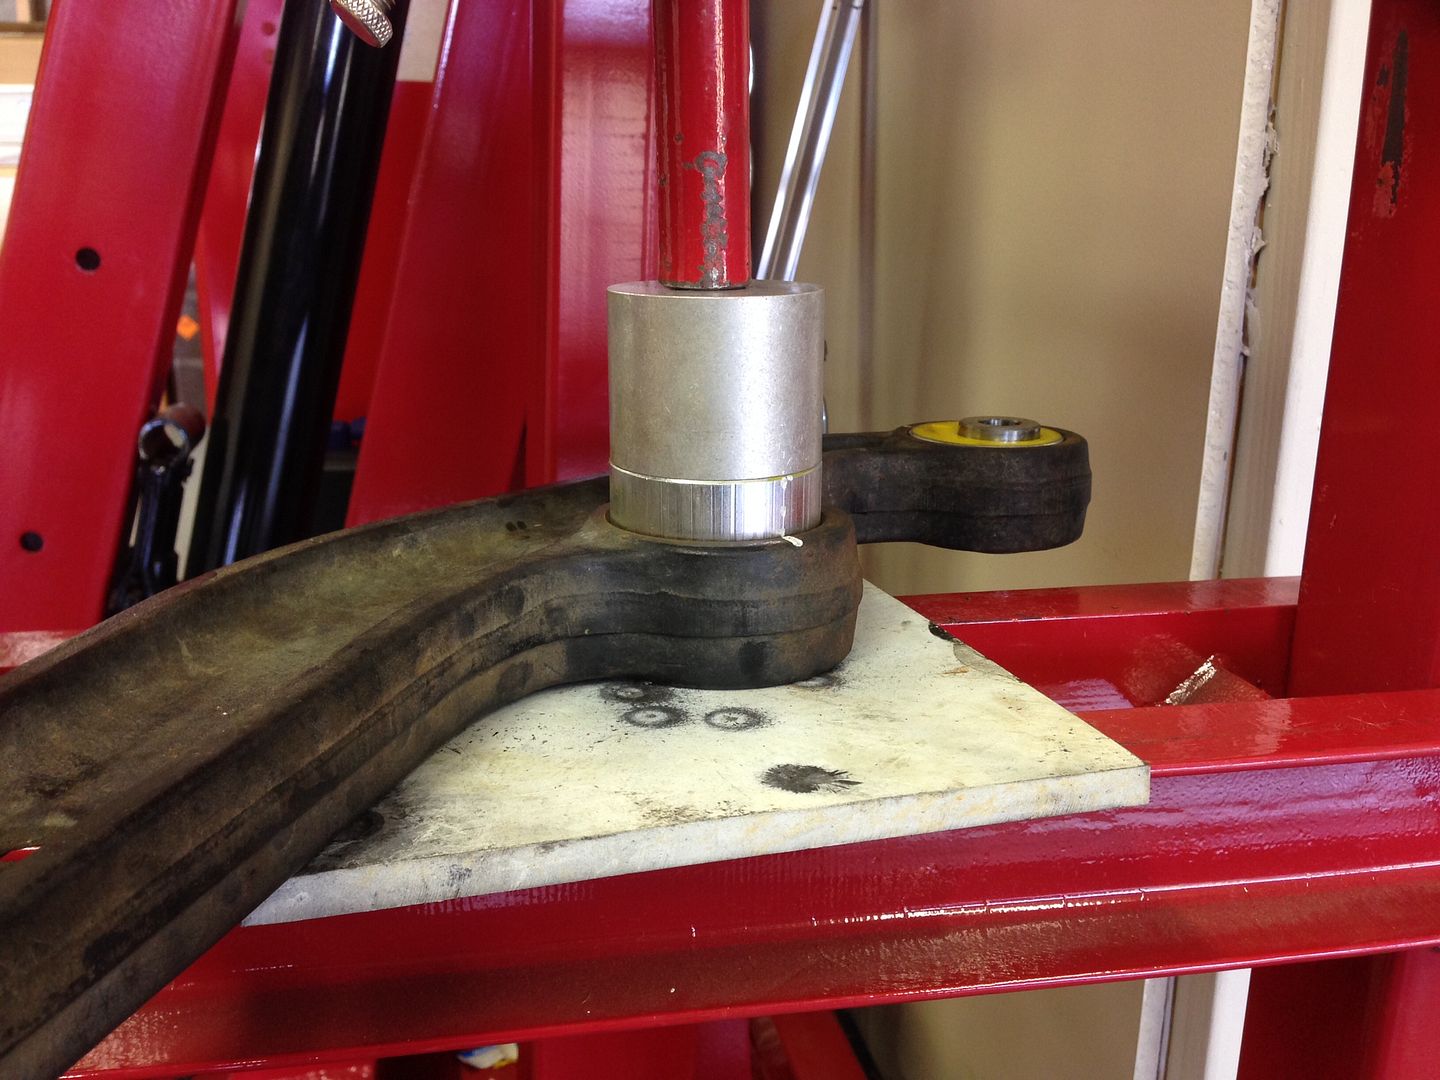
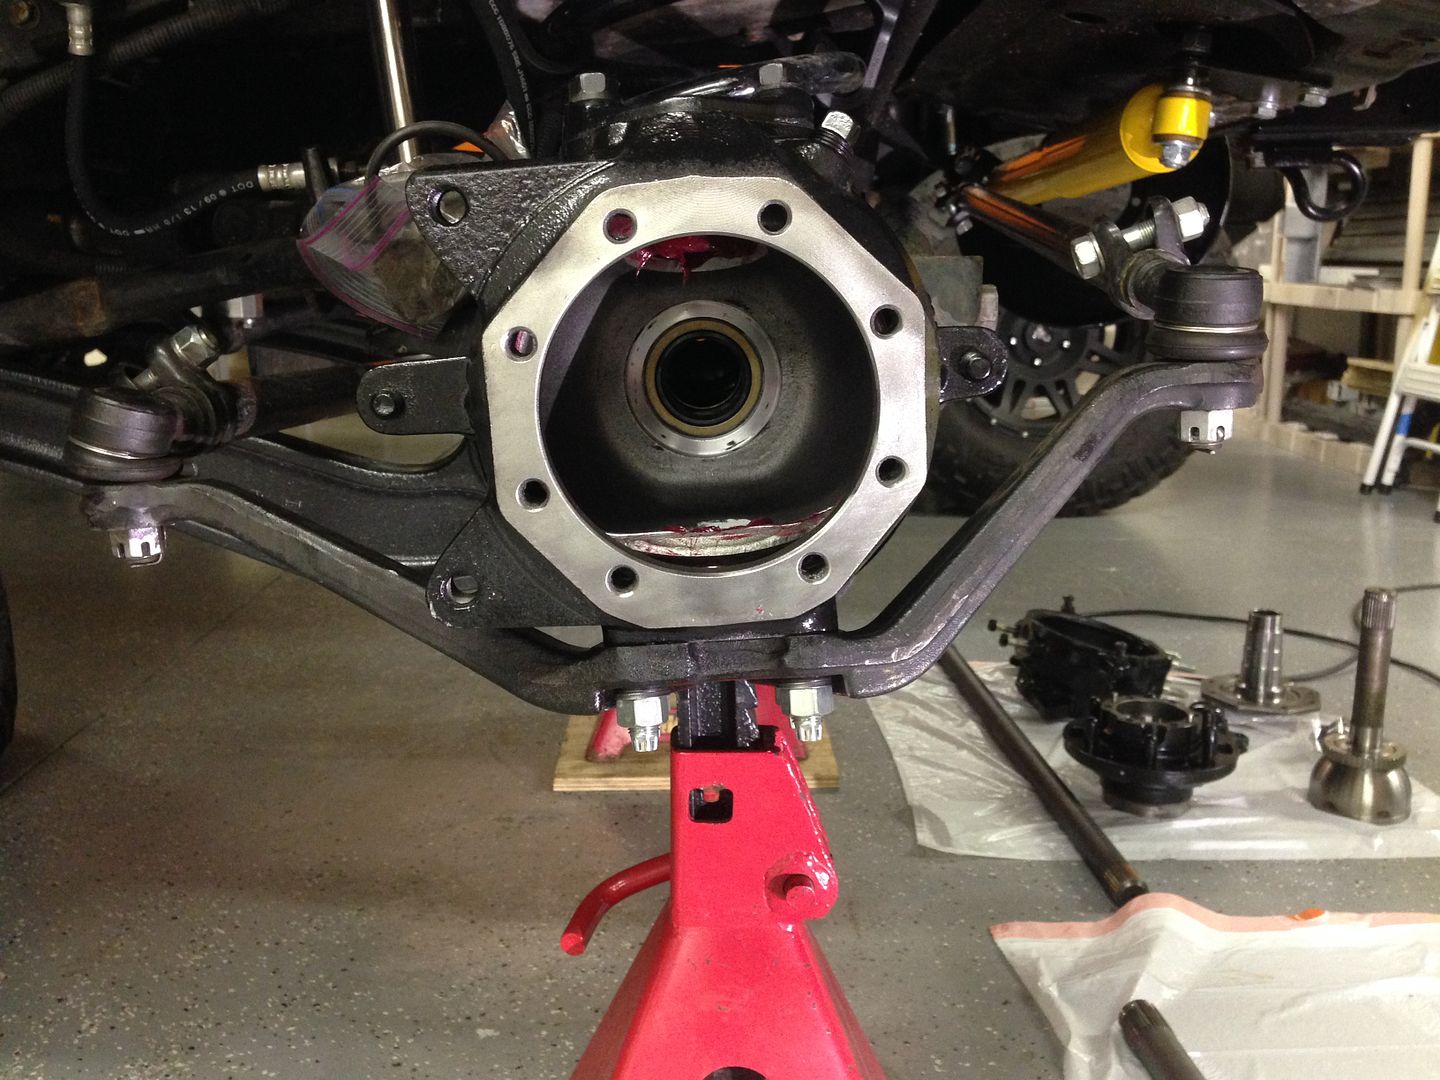
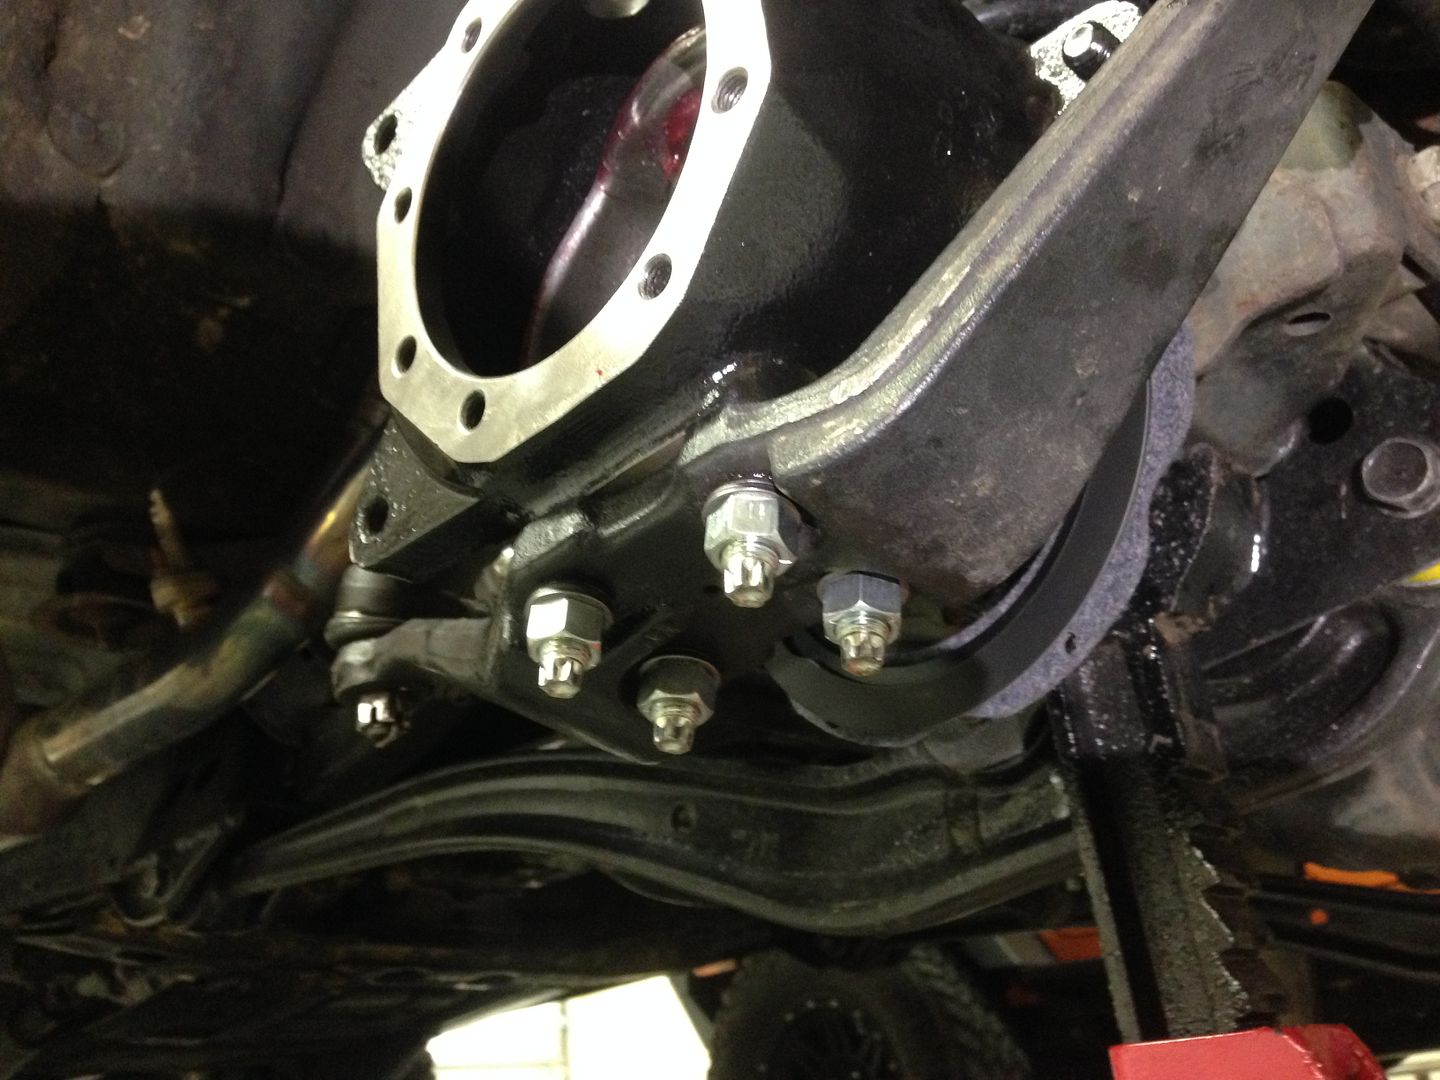
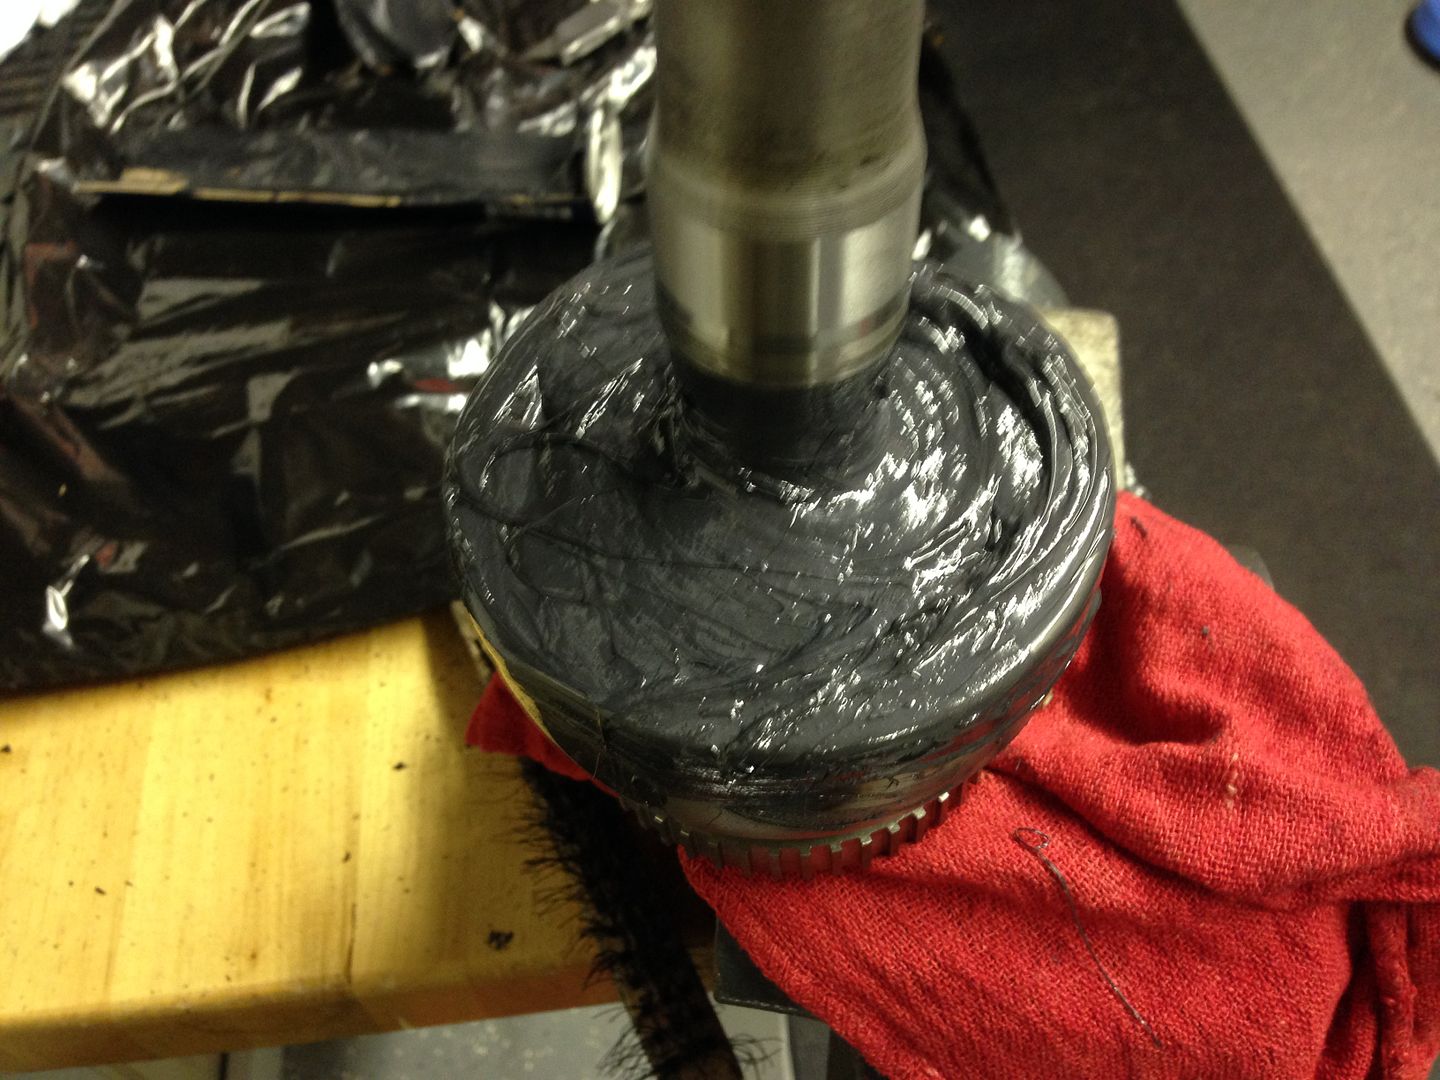
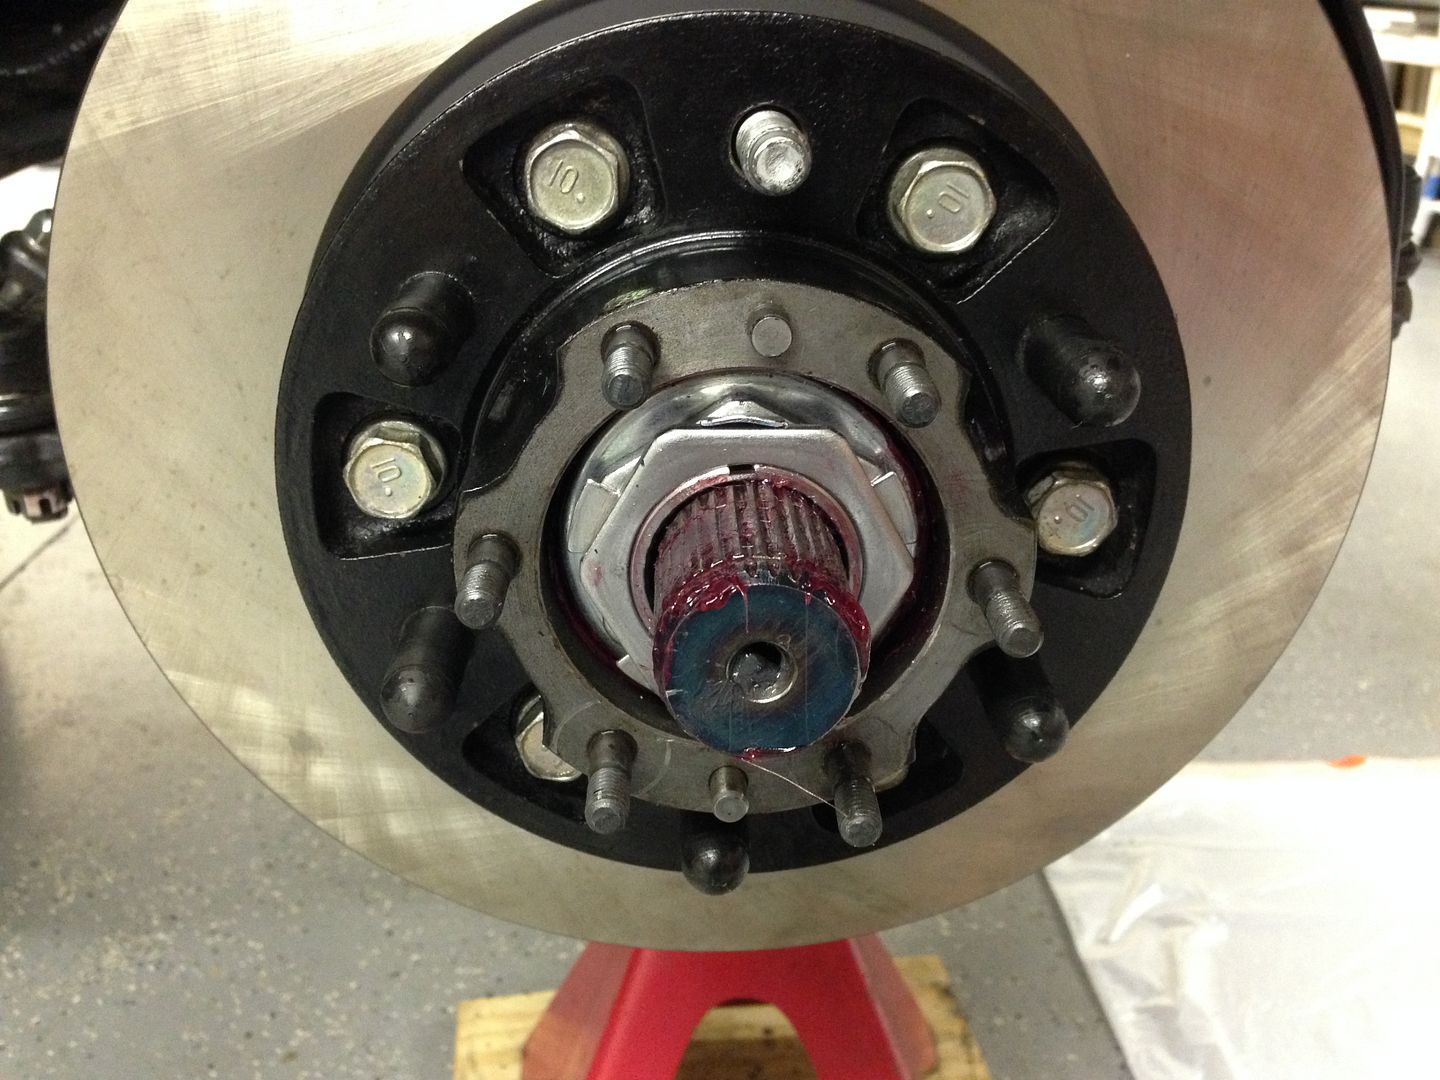
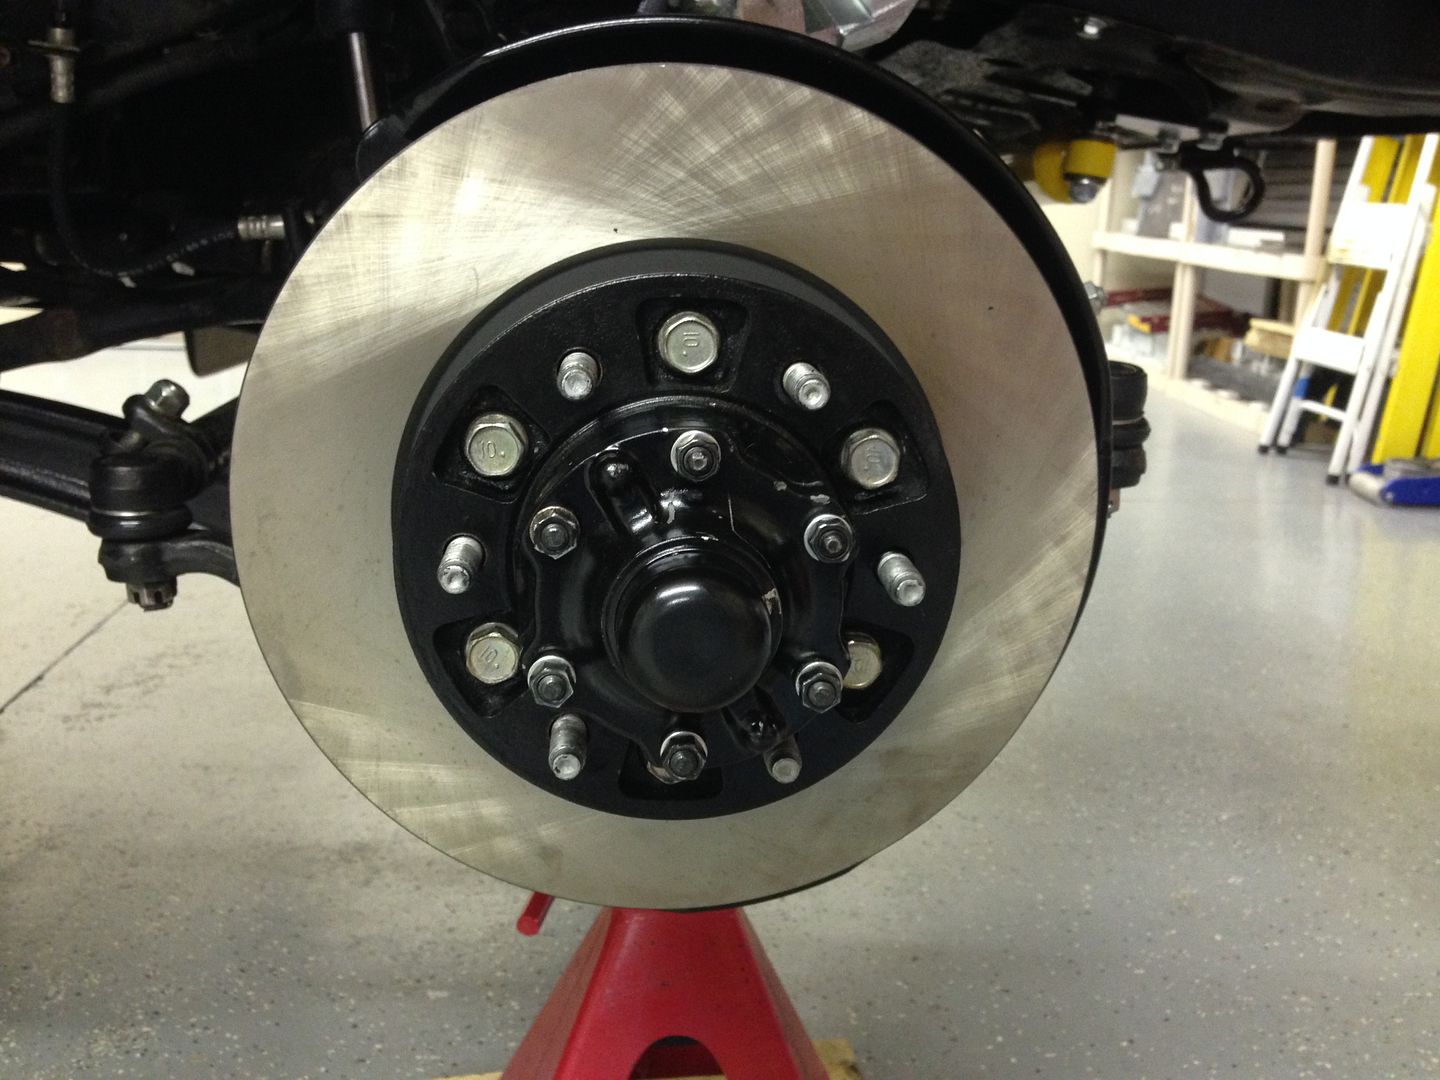
Replaced the caster bushings:
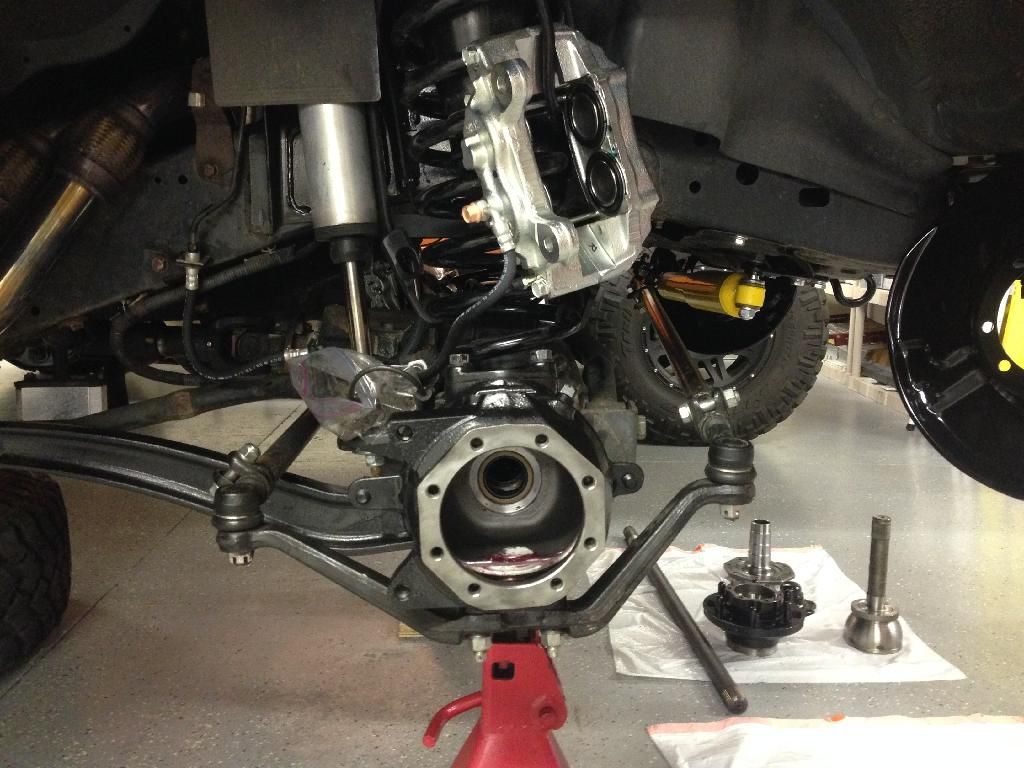
Next Came the Radflow Fronts:
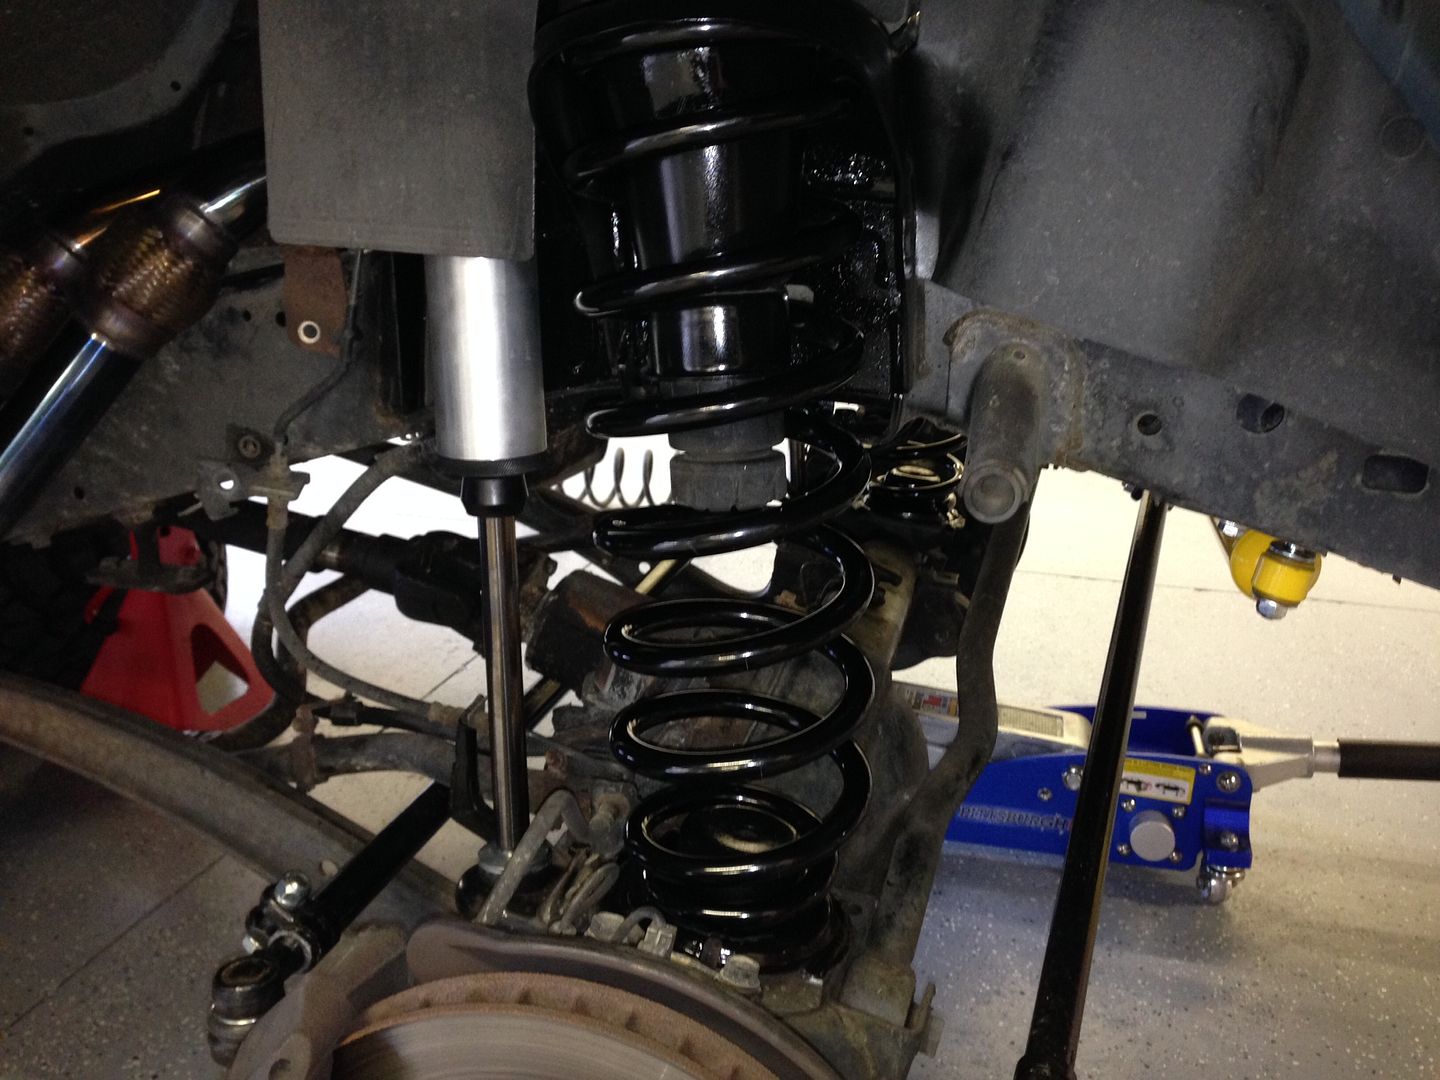
Then the Rear was completed:
Shocks were next:
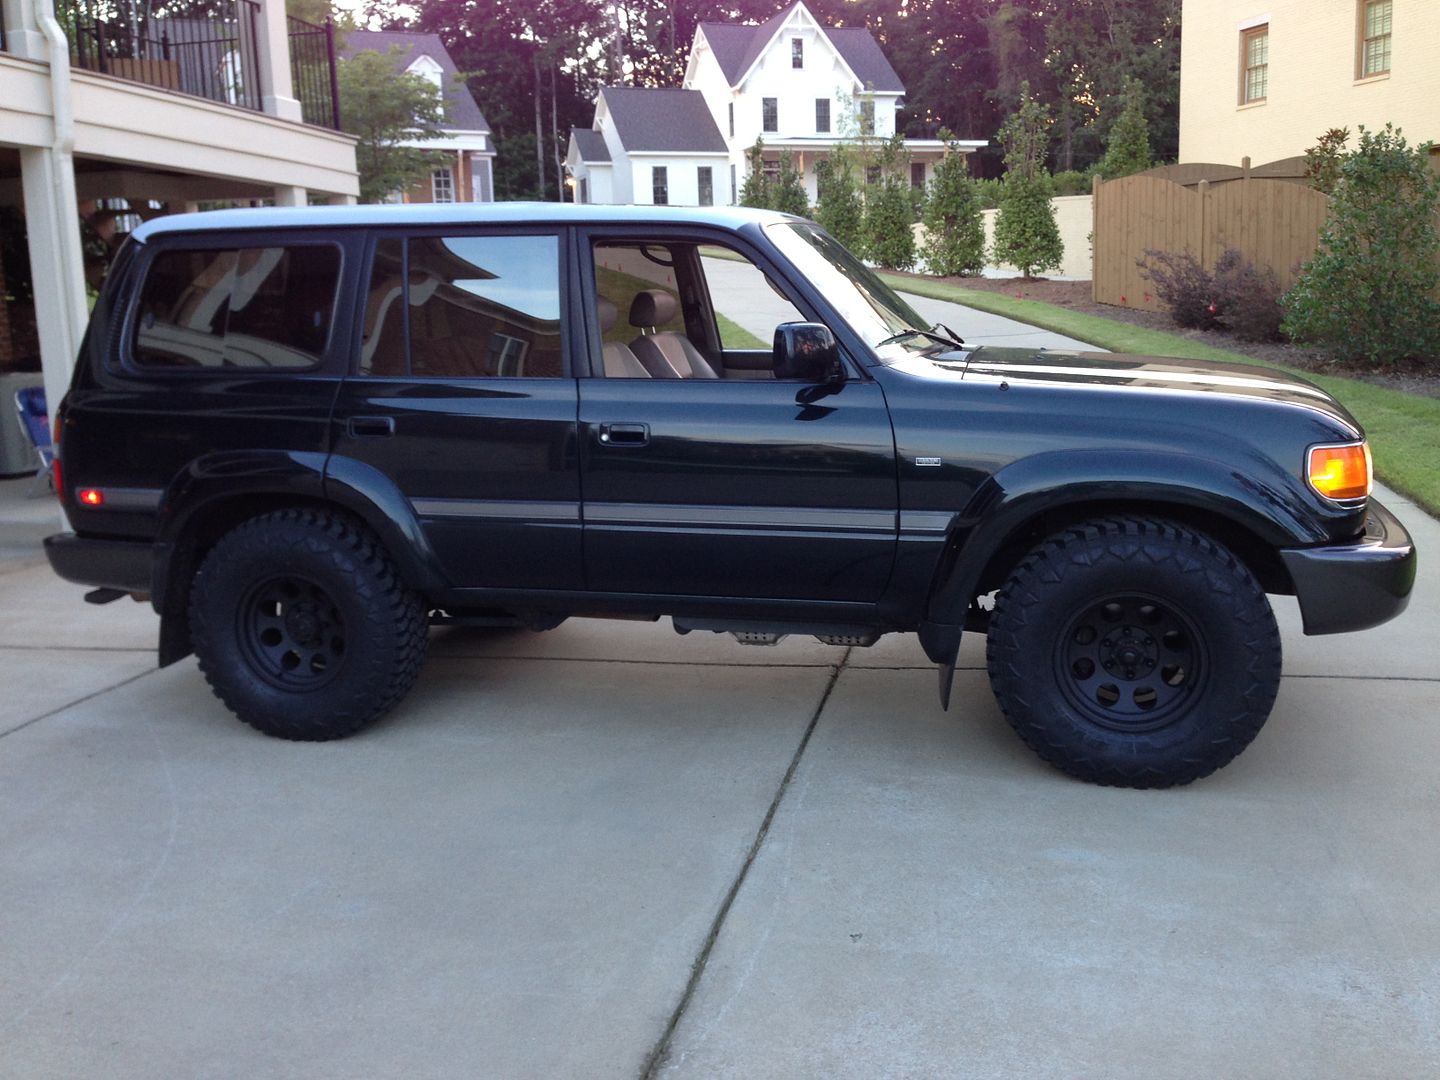
Before:
After:
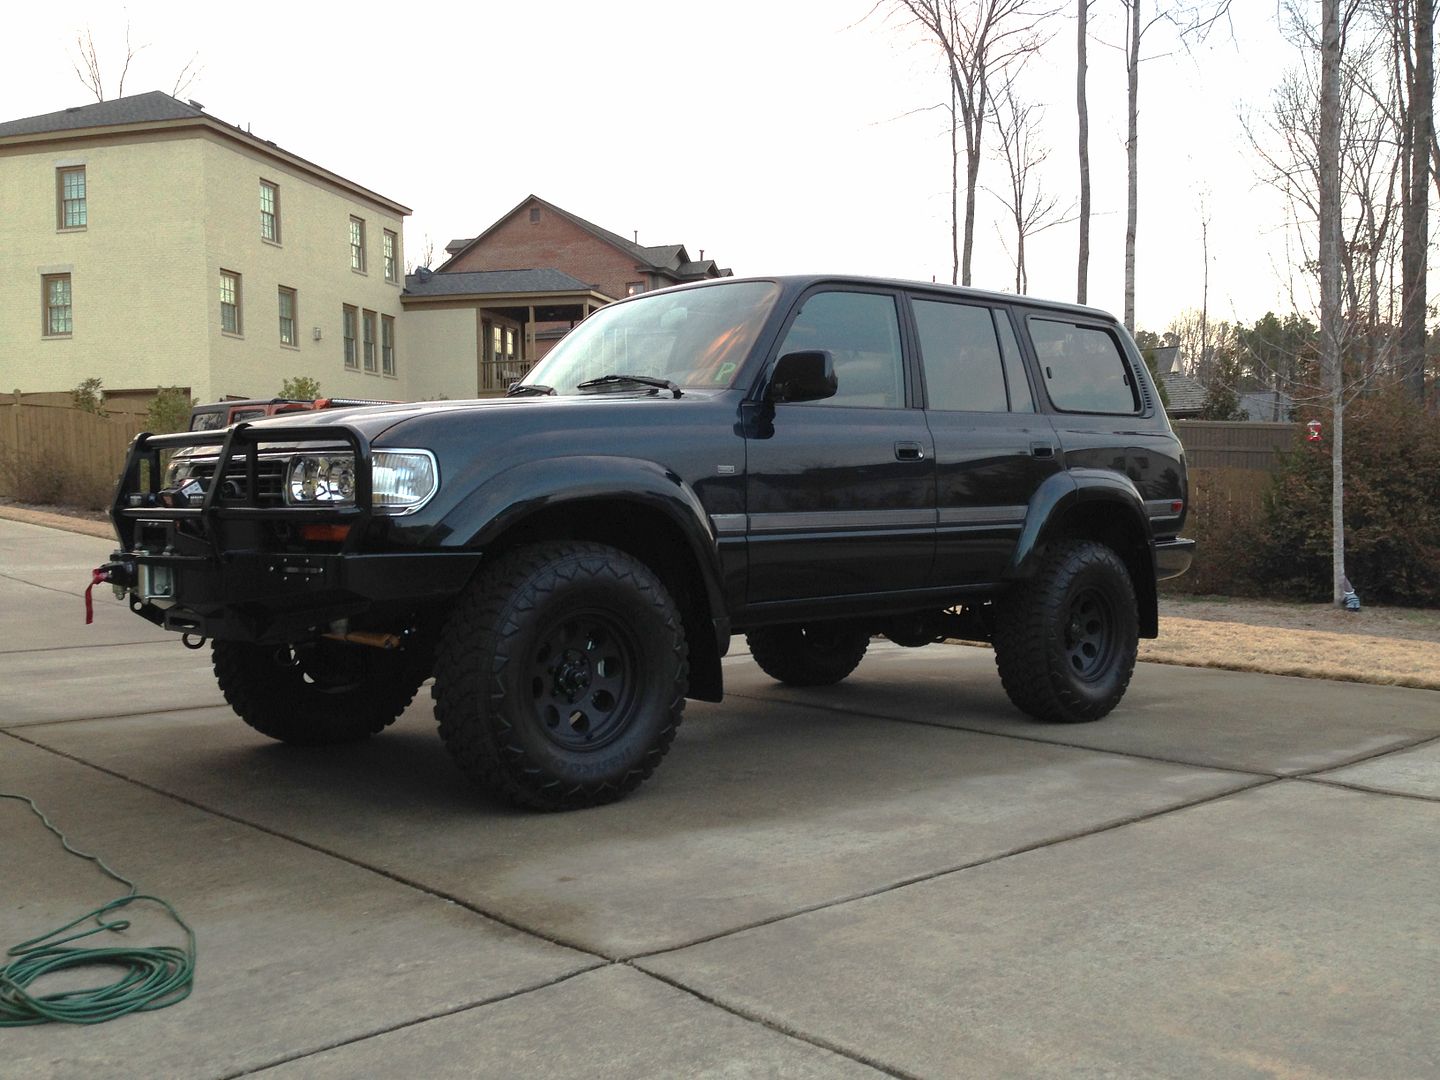
Ride and handling were great. No Driveline noise - Everything was perfect... Thanks Christo and Ben and the crew at Slee for their recommendation for Springs and Caster Correction....
Added Slee Accessory harness & Switch to wire in my Rigid SQ-2 Driving lights. The driving lights are activated with the high beams so I never forget they are on when I have oncoming traffic. I wanted something low profile as not to block air-flow into the radiator, but give me enough light for off-road night driving.
LIFT TIME
Finally it was time for the Lift. talked with Christo and Ben at Slee and decided on the 850 Front and 863 Rear Coils along with OME Caster Bushings and radflow 2.5" Shocks on all corners.
Removed the front coils and shocks:
Replaced with OME Coils:
Replaced the caster bushings:
Next Came the Radflow Fronts:
Then the Rear was completed:
Shocks were next:
Before:
After:
Ride and handling were great. No Driveline noise - Everything was perfect... Thanks Christo and Ben and the crew at Slee for their recommendation for Springs and Caster Correction....


")


")