Build '95 80 Series Projects

Member Builds and Stories

This site may earn a commission from merchant affiliate
links, including eBay, Amazon, Skimlinks, and others.

Joined
Apr 12, 2018
Threads
95
Messages
331
Location
San Jose
Hey Guys,
Its been a while since I posted so I figured I'd share what I have been up to with the 80. Over the past year I've been doing a number of little projects and some larger ones. So far its been a great rig. The plan for this project is to try and make as much of the add on's as possible look factory or at least flow with the factory form of the truck...a bit of a "sleeper".

For starters went through and did a hand full of the more common mods
  • Pulled the diode out of the coolant gauge to read true temp
  • 20k Cst silicone in the fan clutch (ended up finding some of the real deal viscous drive silicone fluid!)
  • Center diff lock switch
  • Fixed the stripped gearing in the seats
  • Various other leaks, little issues, and baselining
The day she was purchased....bone stock.
InkedIMG_3133_LI.jpg


Then moved on to some larger projects:

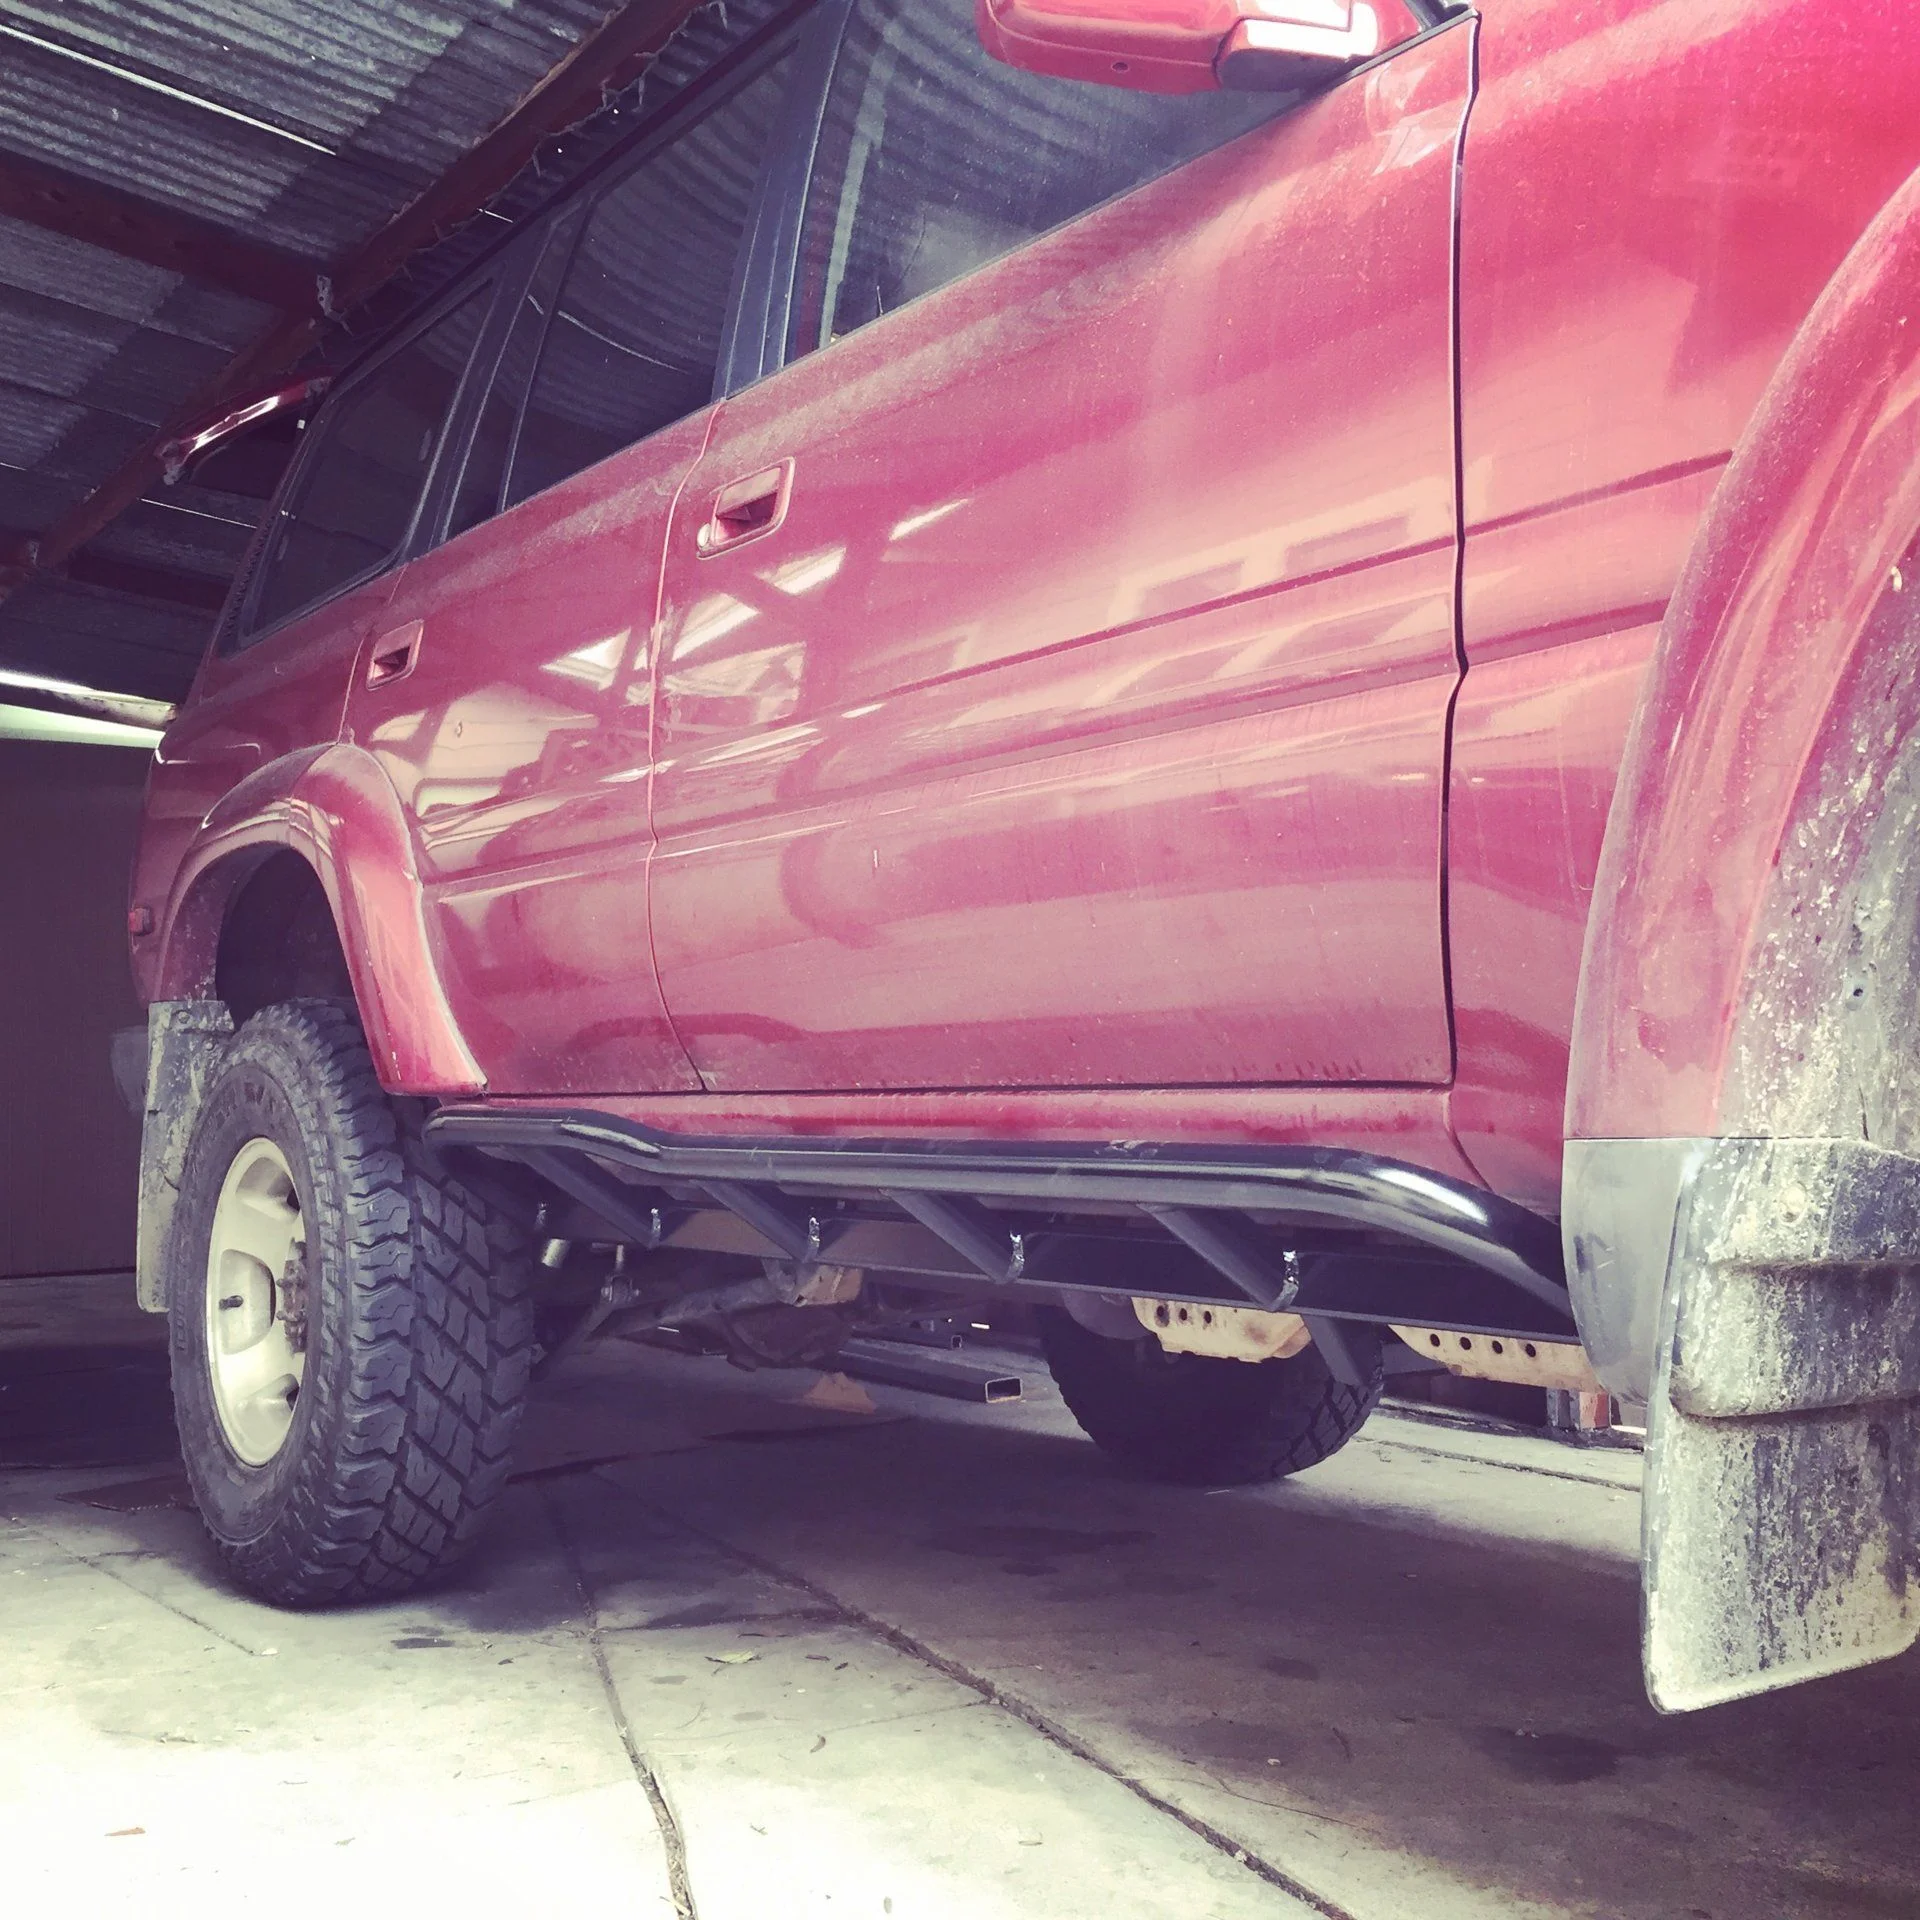
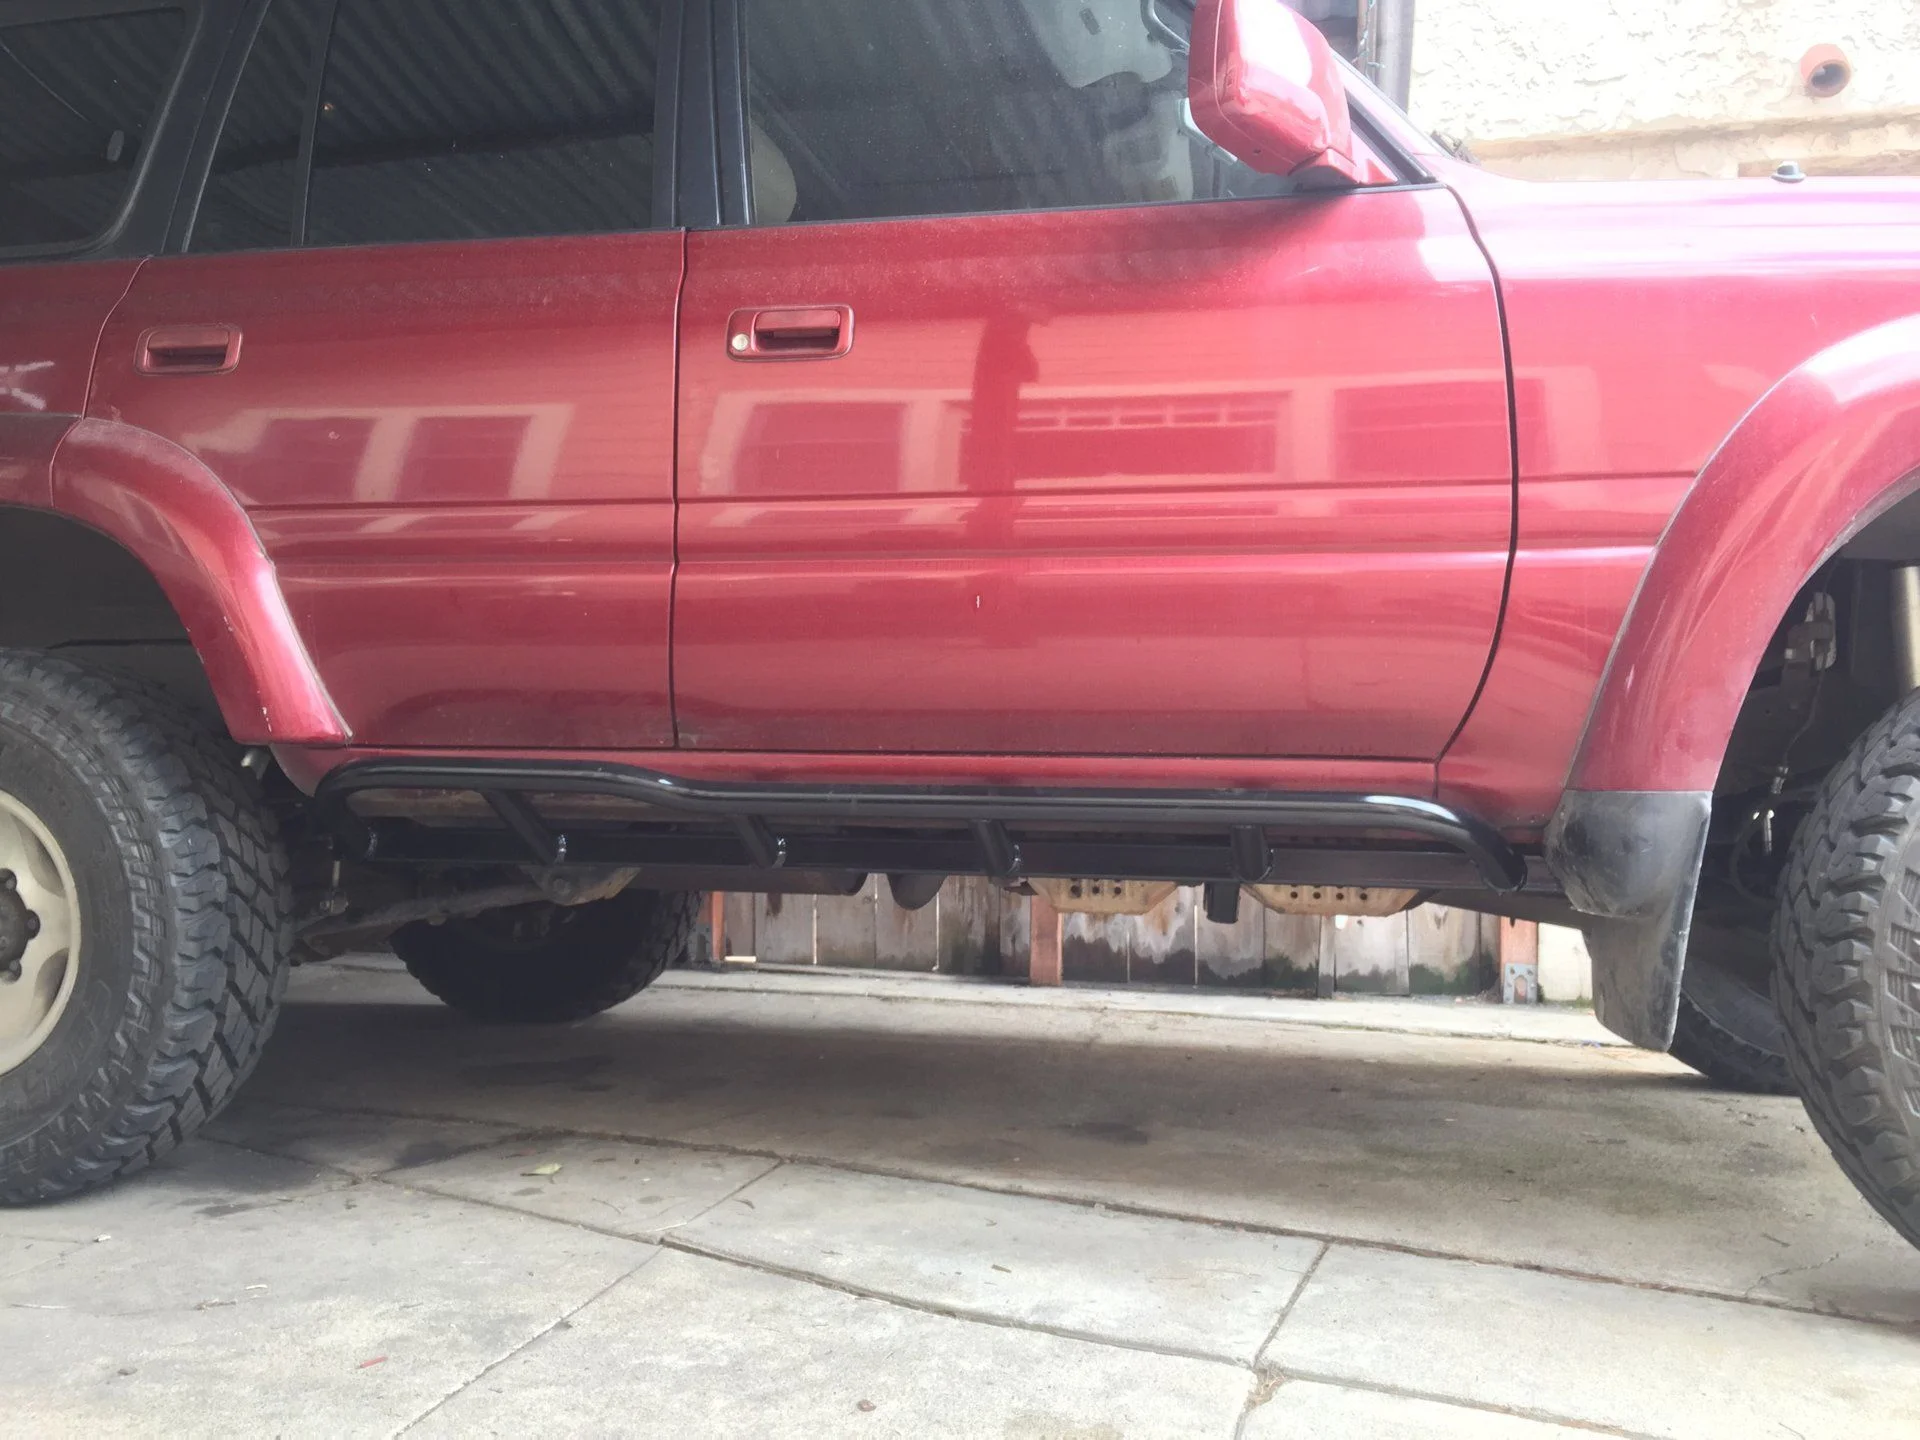
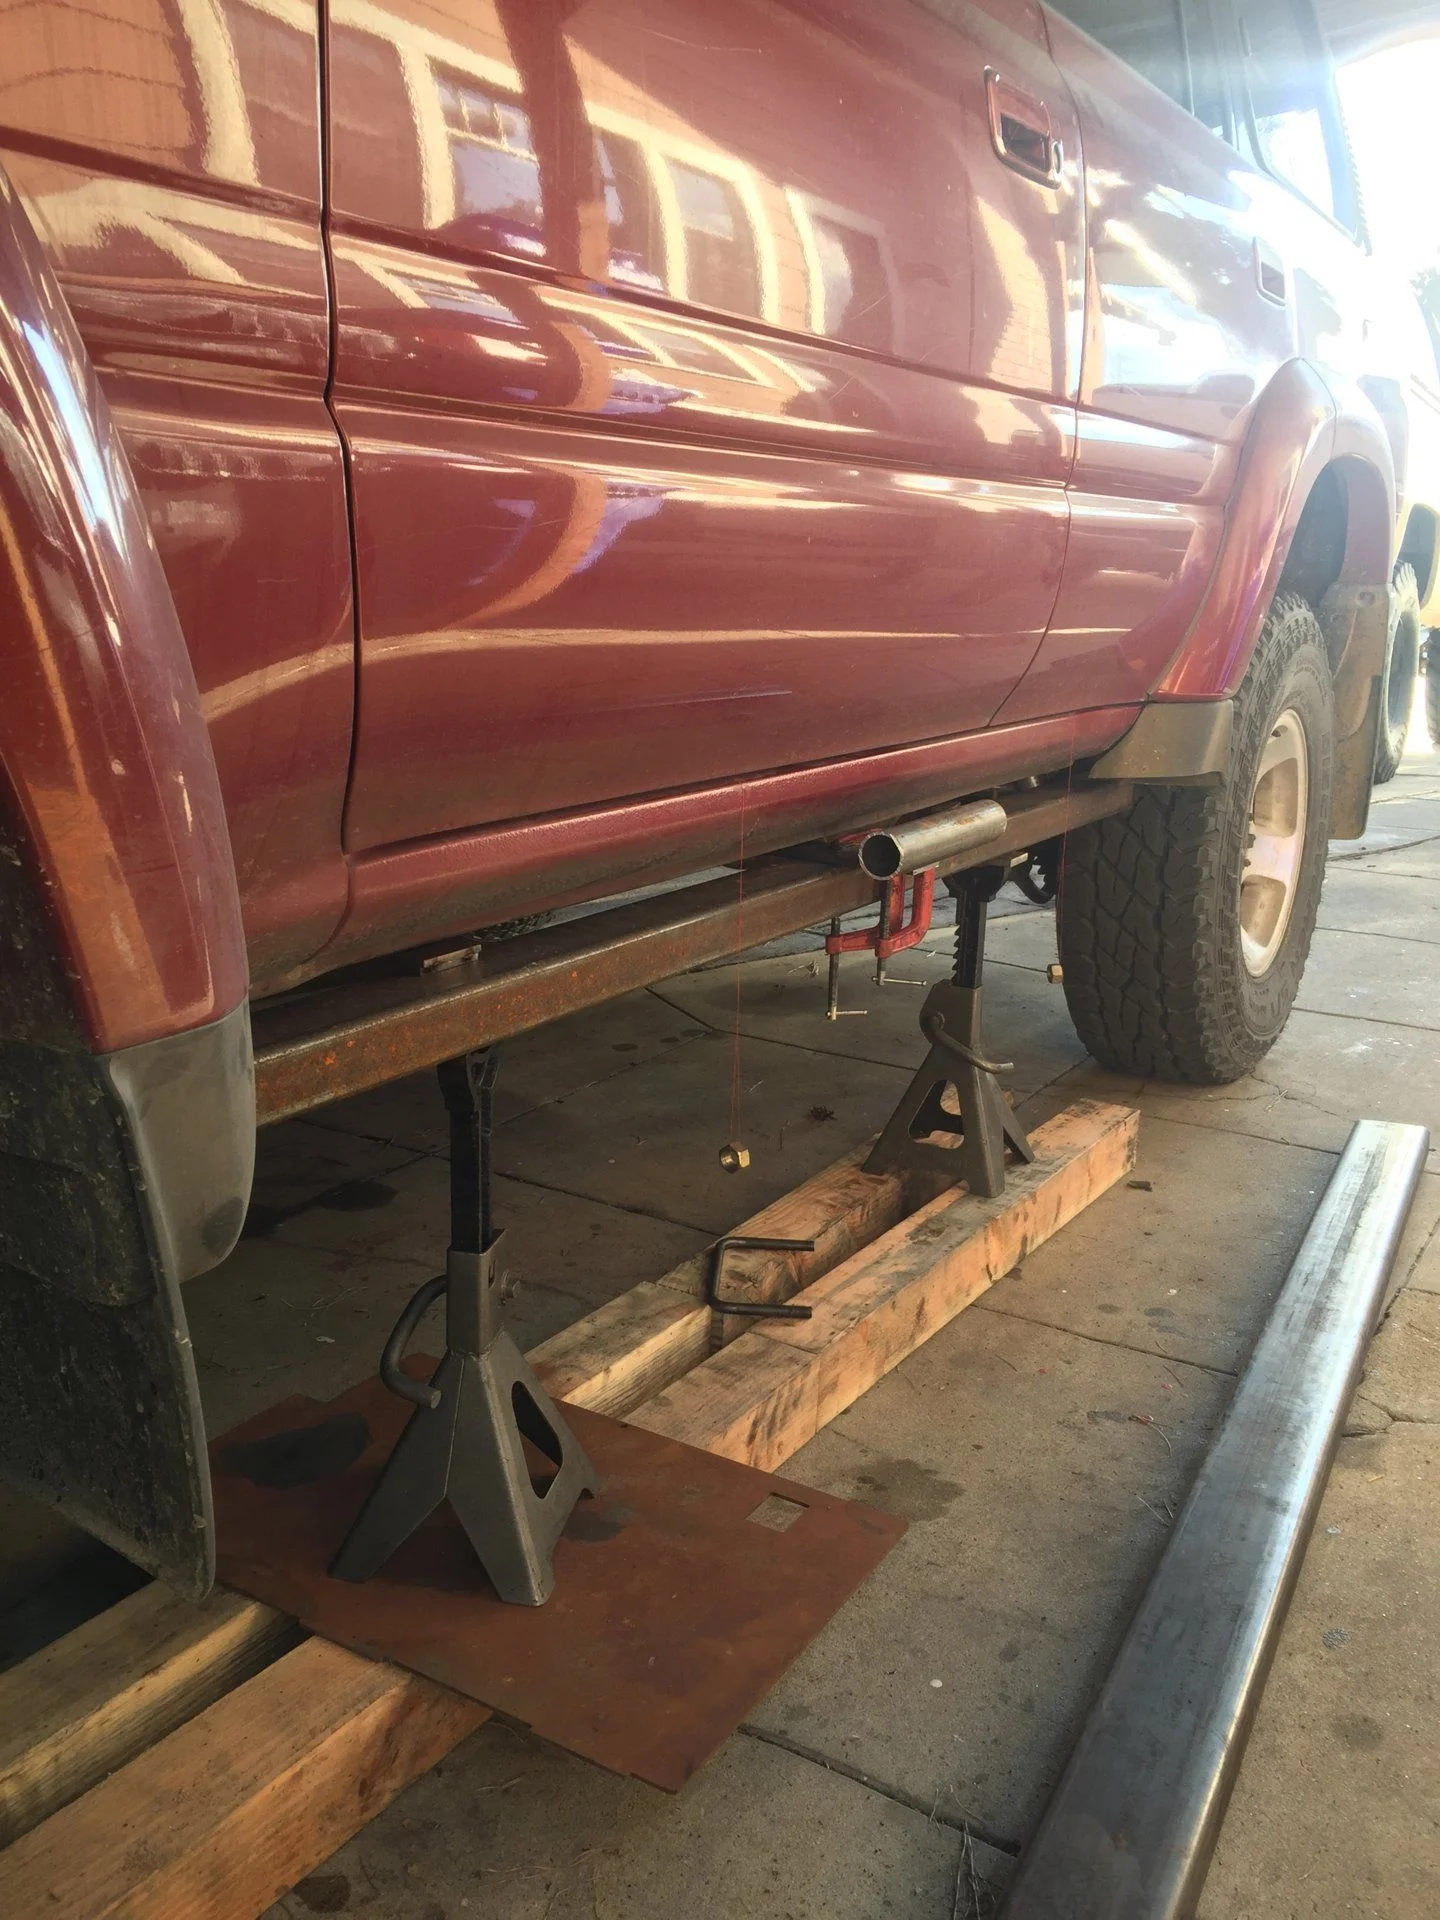
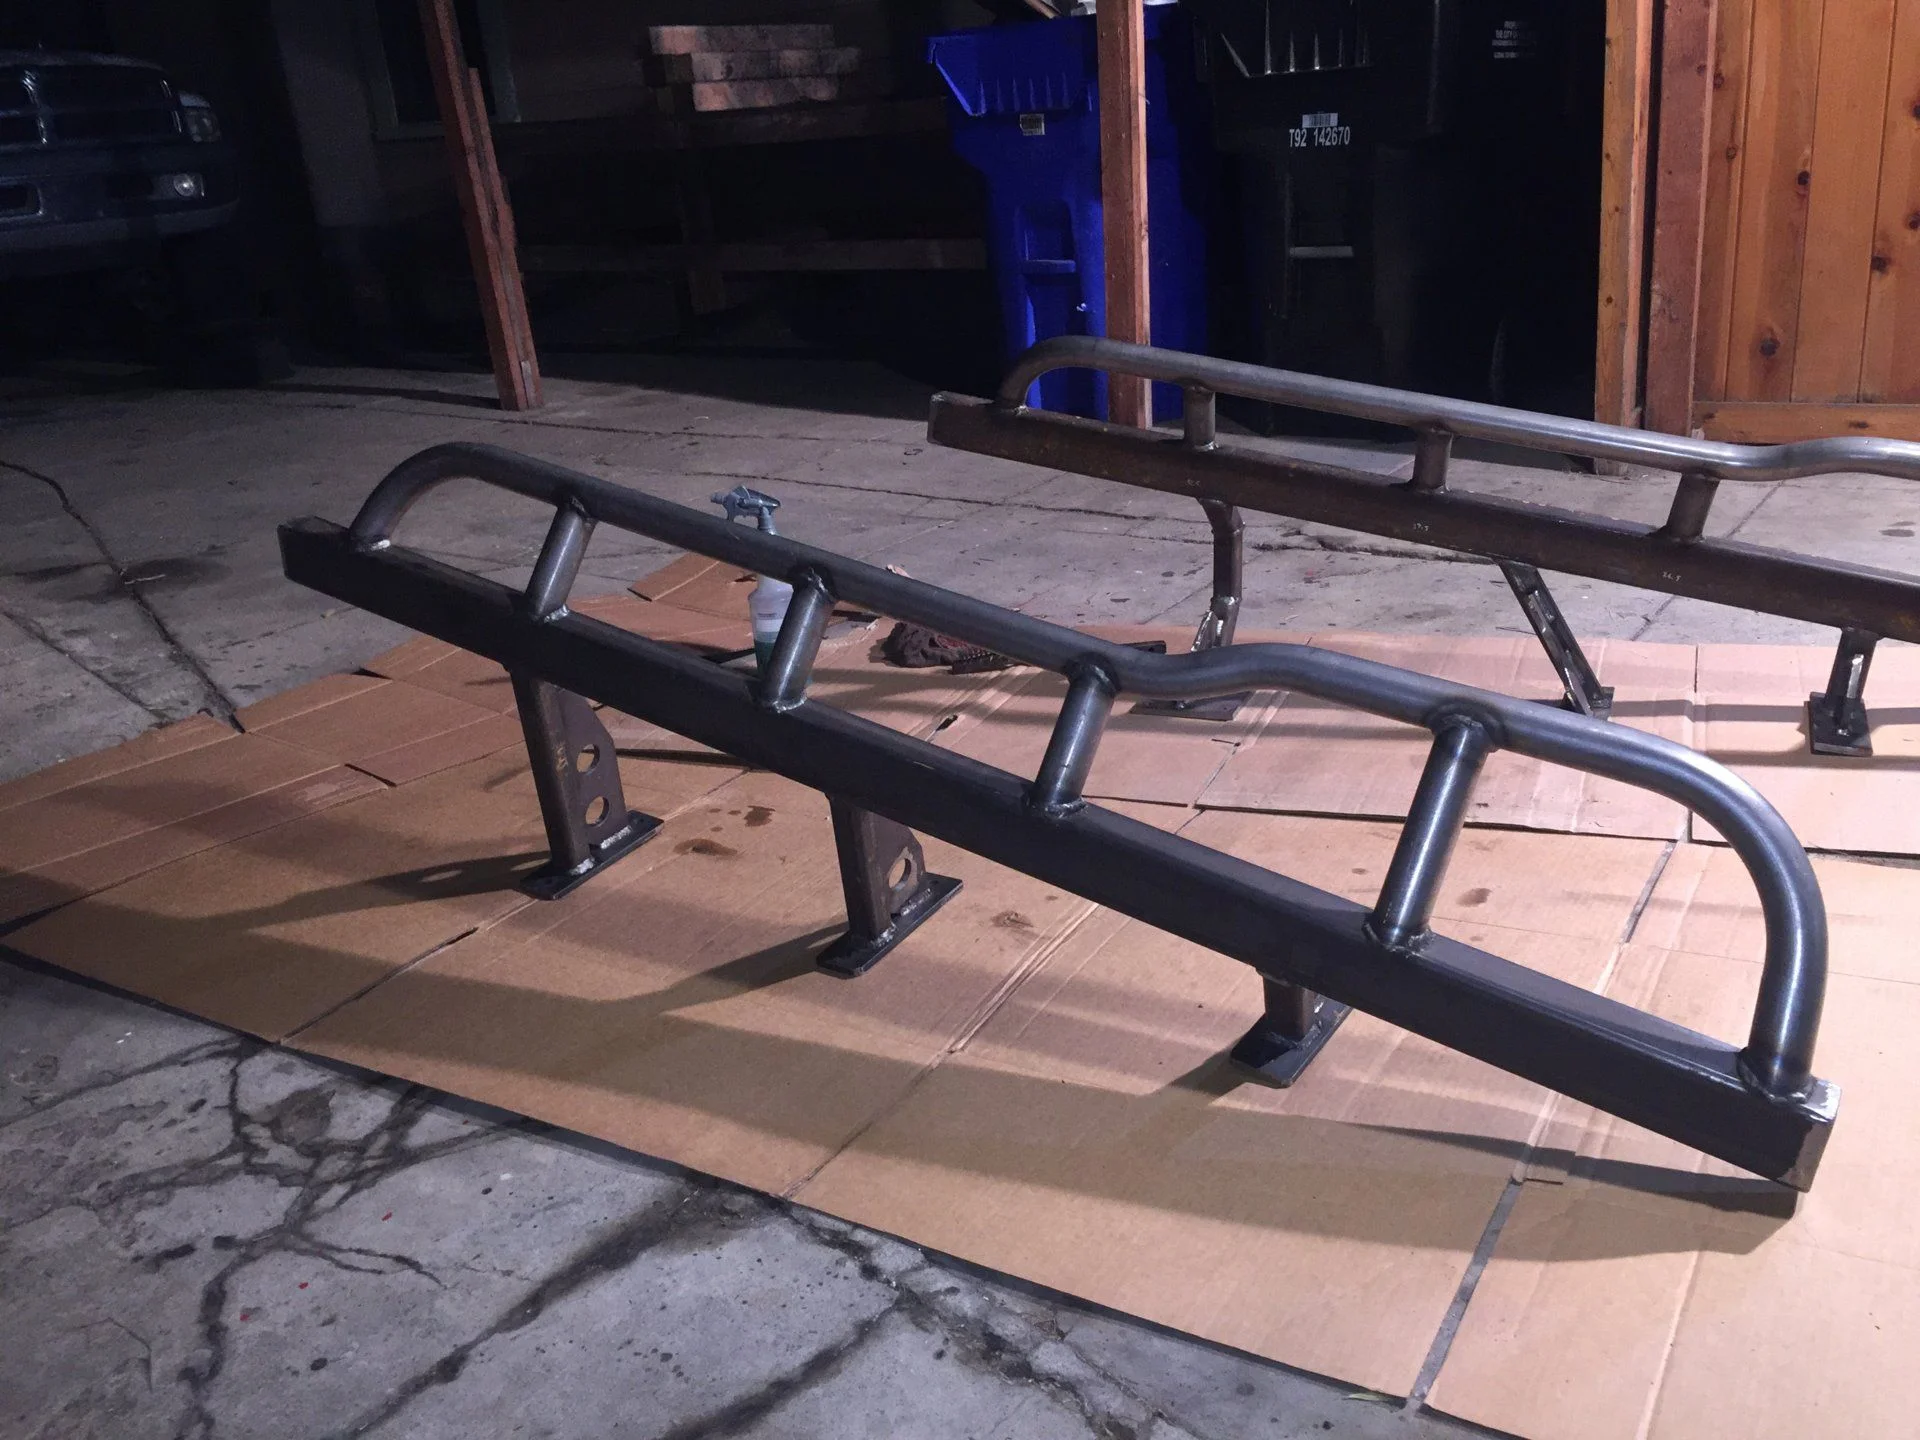
Pulled off the factory running boards and welded up a set of rock sliders. I ended up getting a little fancy with the bender to do the kick outs in the back which ended up turning out pretty good in my opinion.
IMG_4061.JPG


IMG_4156.JPG


IMG_4162.JPG


IMG_4159.JPG
 
Last edited:
Installed an ARB up front with a 9.5k Come Up winch. I machined up some spacers and a fabricated a new bracket to get the winch and solenoid box to sit right in the bumper. The other nice thing with the brackets was in addition to spacing the winch back enough for the sides to clear the angled profile of the bumper, they serve as mounting points for the hawse fairlead to bolt into allowing for a proper alignment of the hawse fairlead in the original roller fairlead cutout.
IMG_3611.JPG


IMG_3612.JPG


IMG_3269.JPG


IMG_3290.JPG


IMG_3576.JPG
 
Last edited:
Most of the way through a york onboard air setup. Designed and welded the brackets and designed / machined up a pulley with a 3rd belt groove. Took an old air tank I had laying around and narrowed it to fit behind the winch on a trail tailor paperclip skid plate. I ended up putting it up front rather than in the spare location as it simplified line routing and added weight up front knowing most of what I add down the road will add weight to the rear. I re-machined the head of the york and played with the reed plate to keep air in the head of the york and incorporate a crankcase ventilation / oil separator into the crank case of the york. The goal was to reduce oil carryover in the air stream. If it works out the only oil going to the air tank should be what is getting by the rings and allow the crank case to operate at ambient pressure further limiting what is pushed past the rings. I'll update when I have some time on it to see if the tweaks I made work out.

CEGB5719.JPG


HWMD8991.JPG


ONWP0791.JPG


IMG_4404.JPG


FTAM0661.JPG
 
Last edited:
Decided on a slinky 3in lift setup and installed that along with castor correction and a re-tubed tacoma front driveshaft. Got all the driveline vibrations gone except some light gear rattle in the transfer case between 60-50mph when completely off the throttle. She doesn't make any noise when loaded with camping gear so I'm thinking it may just be time to adjust the pinion angle in the back with some adjustable control arms. For tires I went with some 255/85 R16 pizza cutters. I'm digging the tall and skinny tires. If only they had that aspect ratio in a 35!

IMG_3773.JPG


IMG_3765.JPG


IMG_3902.JPG
 
Last edited:
Work looks great and nice fab skills. Now go get it dirty and post some pics
 
Most of the way through a york onboard air setup. Designed and welded the brackets and designed / machined up a pulley with a 3rd belt groove. Took an old air tank I had laying around and narrowed it to fit behind the winch on a trail tailor paperclip skid plate.

View attachment 2023771
View attachment 2023770
View attachment 2023772
View attachment 2023768

View attachment 2023766

Great work!! Did you do the machining of pulleys yourself? Turned out great.
 
Will you elaborate on the real deal viscous drive fluid please. I think I've seen some Toyota stuff but not 20k.
 
This thread started off as every other boring 80 build thread (BASELINING BLAH BLAH BLAH) but suddenly turned into some real potential.

A+++ love fab work
 
Dude, that water pump pulley is sick. A+
 
Nice project - I'm thinking about tall n skinny as well
Care to share what tire you bought
Thanks
Thanks, I got a set of the Cooper Discoverer S/T Maxx. So far they have held up well and feel good both on and off road. I haven't had it out much in the rocks yet to push the tires too much or see if they get chunked out, but that being said I'm happy with them.
 
Will you elaborate on the real deal viscous drive fluid please. I think I've seen some Toyota stuff but not 20k.
Sure, I got my hands on some automotive grade dimethly silicone. It's used in fan clutches and other viscous drive couplings for variable speed water pumps, etc. It's designed to have low variation in viscosity across a wide temperature range, good shear stability, and oxidation stability. Essentially it doesn't thin out when hot and doesn't start to loose viscosity over time due to repeated shearing.

With that said its hard to say if its actually better than the hobby store stuff as its a bit of an unknown what that fluid actually is. From what I have read its sounds like people report it lasts fine. Really the only reason I used it instead of the hobby store stuff was I had a contact I could get some sample volumes from. Being that it's what OEMs buy its not usually sold in small quantities.
 
Finished up install of the air compressor this weekend. I installed the air tank up front, plumbed in the air lines, and modified the filter box to draw air to the york off the primary air filter. With the throttle lock set at 3k crank rpm, the compressor fills the ~2.5gal tank in ~10sec from 0-120psi.

The only thing left on this project is the wiring. I've got the pressure sensor and clutch wiring all ready to go, just waiting on a fuse box. I'm planning to add in a bussman fuse / relay box for all the odds and ends that will go into the truck over the years. While I had the dash out for the coolant gauge modification, I installed bulbs in the locker lights as well as pre-wired the non-us spec air filter indicator. The plan is to wire this indicator into the compressor clutch control circuit so that light will be on in the dash when the air compressor is running.

IMG_4544.JPG


IMG_4527.JPG


IMG_4541.JPG


IMG_4538.JPG


IMG_4545.JPG
 
Last edited:
Well wrapped up all my currently planned fab projects and got to play with her a bit recently.

I picked up and Eaton Fuse / Relay Box and made some brackets to mount it on the firewall. This will house all the goodies I want to power down the road. Surprisingly there is a great spot for this right next to the brake booster and an unused grommet hole in the firewall right there for wires to pass through.

Finishing up the fuse block also allowed me to finish wiring the air system so that is done now and working great.

IMG_4608.JPG


IMG_4607.JPG


IMG_4671.JPG


IMG_4667.JPG


IMG_4679.webp
 
Last edited:
Next project was radios. I'm a HAM which I use for trail coms so this rig needs a mobile radio installed. I also wanted to update the 1995 music radio with hands free calling and bluetooth. So I got to work.

For starters I picked up a single DIN Kenwood radio to replace the factory radio. With the wiring harness adaptor it was a pretty straightforward project. I ended up following the recommendation of disconnecting the factory amp. Since it was disconnected I just removed it from the truck. With that installed it was time to route the hands free Mic. Going with my plan to try to keep this looking as integrated / stock as possible I didn't like the look of the mic clipped to the visor. Thats when the old Toyota security face plate caught my eye. The PO installed an aftermarket alarm so I figured why not repurpose the glass break mic spot and also wire the aftermarket alarm light into the factory red light? So with that I disassembled the Kenwood hands free mic and the Toyota security module and merged the two. Had to enlarge the mic cavity a bit to fit the new mic, but being careful and reaming it open with a sharp bit by hand did the trick. Call sound quality is fine, the mic is hidden away in the dash, and when the alarm activates the Toyota light blinks, Success! Now onto the HAM radio.
IMG_4582.JPG


IMG_4583.JPG


IMG_4584.JPG


IMG_4586.JPG
 
Last edited:
In keeping with the "well integrated" theme I set to work on the ham radio.

My old truck had a Kenwood TM-V71A radio from 9 years ago in it and it has worked well. I looked around to see what was new in the HAM world and it didn't seem like there was much in the way of fancy new features. With that I decided to go with the same in addition I selected it because of the form factor of the control head which is remote mountable. It's just about the perfect size to fit in a single DIN spot which I had due to the radio upgrade. So I did some measuring, took some pictures, did some CAD work and integrated the head unit in the lower single DIN slot.

I'm really happy with how it turned out. The music radio has a USB in the rear not the front so with the HAM being a bit narrow in width I mounted a USB bulkhead for the music as well as the ethernet bulkhead for the HAM microphone in the bezel plate I made for the HAM radio.

I then looked for a spot to mount the transceiver as it did not fit in the dash and can get a bit hot when cranking out 50W so I needed to remote mount it. Low and behold there is a great spot by the filler neck behind the rear body panels. Pulled all the panels, ran power, data, etc wiring back from the dash to the back. While I was in there I added in a few extra 14, 12, 10 gauge wires so I don't need to pull the panels again to add some accessories to the back. I fabbed up a bracket to mount the transceiver and left some extra space on it to install an inverter or something back there if I want to later. The bracket uses a combination of threaded / unthreaded holes in the body there so I didn't need to drill any new holes.

From there I made a bracket to mount the antenna that took advantage of the rear hatch strut mount holes. This seems like a pretty decent place as the wire run to the transceiver is short and the antenna sits relatively tall over the roof line. I did need to drill one hole to get the antenna wire into the body.

You can head the radio from its internal speaker, but its a bit quite on the highway as well as I wanted it to be loud enough to hear the weather report from my camp chair. So I installed a used Motorola commercial speaker under the dash. Its a 12W speaker so it's super loud. Funny enough, there are two rig nut type studs on the firewall under there that matched the hole spacing on the Motorola speaker mount exactly. I just had to open the holes in the bracket from 5mm to 6mm, but I was able to manage that. I was starting to get a bit tired of fabbing brackets so that was a nice surprise.

IMG_4730.JPG


IMG_4734.JPG


IMG_4849.webp


ILUE6943.webp
 
Last edited:
I also wanted to be able to be able to do data transmission through the radio using the APRS system. I picked up a mobilinkd bluetooth TNC to plug into the data port on the TM-V71A. That module has its own battery and turns on and off with the power button on the case. Since I had this tucked behind the body panel I wanted it to turn on and off automatically with the radio (not the ignition). Unfortunately the radio isn't a simple switch to turn it on and off its a digital power button on the control head....well I made it this far I wasn't about to give up. So I pulled the schematics for the radio, found what transistor on the board powers things on and off and soldered in a 5V 150mA voltage regulator to power the mobilinkd without the battery installed. Now when I turn the unit on in the dash the TNC powers up with the radio and connects to my phone. That allows me to do position tracking between the guys I wheel with as well as send/receive text messages/email without cell service, etc.

I also wanted to integrate a mic mount that was hidden. So I grabbed a few magnets and mounted one to the mic and epoxied one under the center console panel. Now the mic snaps to the poison shown below when I set it by the 4x4 shifter and doesn't move at all when off road.

IMG_4759.webp


IMG_4777.webp


KGYG6380.webp
 
Oh and sometimes I even get to play with it....I also need to start thinking about what projects to tackle next. I will likely do a rear bumper in the near future so as to relocate the spare and armor the rear quarters before I crunch them, but beyond that I'm open to suggestions on next projects.

I haven't bashed on it too hard and these pics make it look like a road queen, but it does get off the beaten and path and work the low range, sliders, and suspension I promise.

Central AZ
IMG_4864.webp


IMG_4867.webp


Sierras:
IMG_4488.webp


Well the truck didn't get stuck on the trail so I had to come up with some excuse to use the winch....
IMG_4472.webp
 
Back
Top Bottom