Bang Bang
Age is a state of mind.
This thread is more of a way for me to keep track of what I have done to the 40 and what I want to do to the 40.
So, without further adieu.......


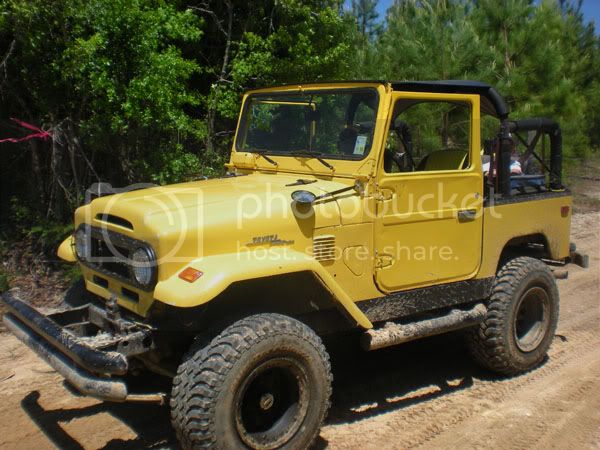
How she sits today 4/18/13:

Her name is Hachi. This is how she looked the day I got her from Brian.


First ride I took her on was at The Devil's Backbone in Crossroads, Ms. Damn, those springs are tight!! That was a rough ride.

Brian and the PO's had already done many of the upgrades I would have wanted to do.
From one of Brian's For Sale threads on what was previously done:
The PO was a TLCA member and a friend of some BSLCA members, who also helped build it around 99 - 2000. They did a frame off resto and added the crate 350 from Summit at that time.
- 350SBC conversion using the AA bellhousing
- AA Twin stick kit
- custom covered yellow/black 40 seats
- stock front disc brakes and rear disc conversion from a Monte Carlo (I think)
- saginaw power steering
- 33" BFG MTs (5) with 80% tread
- custom rear swingout bumper w/ tire carrier
- h**p bench seat in back w/ shoulder belts from a Montero
- 2 1/2" lift springs
- 1 1/2" body lift
- stock 4 speed tranny w/ 3 spd transfer case
- Tuffy center console
- STOUT pipe bumper and rock sliders (more like rock crushers)
- custom aluminum dash cluster
- Inside of tub is completely rhino lined
- Aussie locker installed in the rear
- Installed rebuilt Quadrajet carb, new plugs and wires
- Installed new shocks front / Rancho and rear / Edlebrock
But, as I had told Brian when I bought her, I planned to take her to the next level. So, since this is really going to be a trail-only rig and ride-around-town-on-sunny-days rig, there was no need for the hard doors. I was able to find a set of RedLine tube doors from another MUD member who had them sitting around in his garage. I sanded, primed and painted them satin black. Now I am getting to more of the look I want.


No pictures but then I added a Uniden CB with a Firestick antenna for on the trails. Around the same time I also added an Alpine CD / MP3 stereo with a USB jack in the face so I can just load MP3's on a jump drive and play them through the Alpine. This way I don't have to bring my iPod on the trails. Works GREAT! The Alpine is mounted in the Tuffy center console and the CB is mounted in the dash where the OEM stereo went. I mounted some old surround sound speakers I had laying around to the roll bar. I plan to add a switch so that I can use the stereo speakers as external speakers for the CB.
Next, the springs were too stiff for my liking. So, when Larry offered up his 4" Skyjacker springs, I bought them. The BSLCA guys on the eastern side of the state got together one night to help me swap the springs.
Old springs:

New springs:

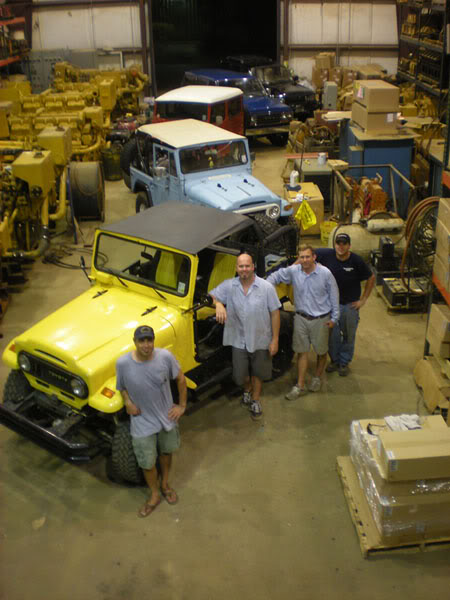
Not much of a difference in height but what a difference in the ride. Here's all the cruisers we had in the shop at Deryl's that night.

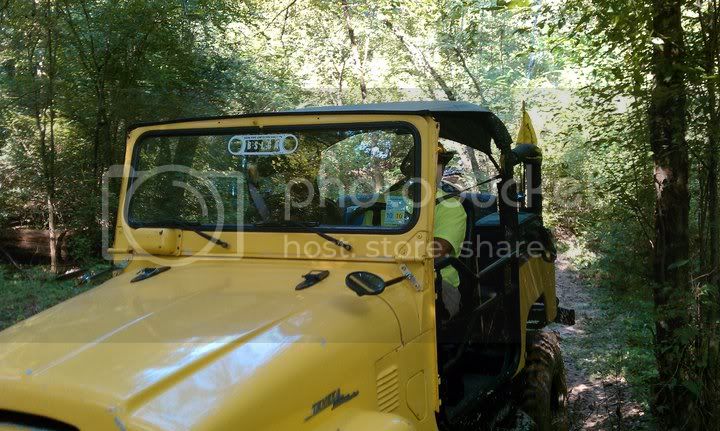
Had to test them out on the trails. This was at Paradise for the Hero Hustle ride.


I was having some overheating issues so I bought and installed a 3 core aluminum radiator from Champion Radiators. I also changed out the thermostat at that time. Good thing as someone had installed the wrong one for a Chevy 350. No more heat problems.
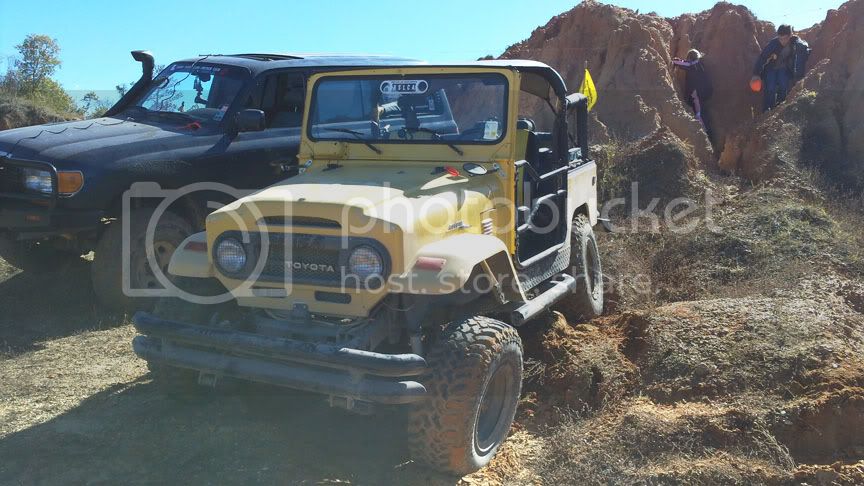
Next up, I had to test things out again and what better place to do that than Superlift for the SCC '10.


Had lots of fun there but just to be sure, I had to test things out again at Sicily Island.....
FINALLY!!

Flexing.....

Flexing the other side......

So, without further adieu.......


How she sits today 4/18/13:

Her name is Hachi. This is how she looked the day I got her from Brian.


First ride I took her on was at The Devil's Backbone in Crossroads, Ms. Damn, those springs are tight!! That was a rough ride.

Brian and the PO's had already done many of the upgrades I would have wanted to do.
From one of Brian's For Sale threads on what was previously done:
The PO was a TLCA member and a friend of some BSLCA members, who also helped build it around 99 - 2000. They did a frame off resto and added the crate 350 from Summit at that time.
- 350SBC conversion using the AA bellhousing
- AA Twin stick kit
- custom covered yellow/black 40 seats
- stock front disc brakes and rear disc conversion from a Monte Carlo (I think)
- saginaw power steering
- 33" BFG MTs (5) with 80% tread
- custom rear swingout bumper w/ tire carrier
- h**p bench seat in back w/ shoulder belts from a Montero
- 2 1/2" lift springs
- 1 1/2" body lift
- stock 4 speed tranny w/ 3 spd transfer case
- Tuffy center console
- STOUT pipe bumper and rock sliders (more like rock crushers)
- custom aluminum dash cluster
- Inside of tub is completely rhino lined
- Aussie locker installed in the rear
- Installed rebuilt Quadrajet carb, new plugs and wires
- Installed new shocks front / Rancho and rear / Edlebrock
But, as I had told Brian when I bought her, I planned to take her to the next level. So, since this is really going to be a trail-only rig and ride-around-town-on-sunny-days rig, there was no need for the hard doors. I was able to find a set of RedLine tube doors from another MUD member who had them sitting around in his garage. I sanded, primed and painted them satin black. Now I am getting to more of the look I want.


No pictures but then I added a Uniden CB with a Firestick antenna for on the trails. Around the same time I also added an Alpine CD / MP3 stereo with a USB jack in the face so I can just load MP3's on a jump drive and play them through the Alpine. This way I don't have to bring my iPod on the trails. Works GREAT! The Alpine is mounted in the Tuffy center console and the CB is mounted in the dash where the OEM stereo went. I mounted some old surround sound speakers I had laying around to the roll bar. I plan to add a switch so that I can use the stereo speakers as external speakers for the CB.
Next, the springs were too stiff for my liking. So, when Larry offered up his 4" Skyjacker springs, I bought them. The BSLCA guys on the eastern side of the state got together one night to help me swap the springs.
Old springs:

New springs:

Not much of a difference in height but what a difference in the ride. Here's all the cruisers we had in the shop at Deryl's that night.

Had to test them out on the trails. This was at Paradise for the Hero Hustle ride.


I was having some overheating issues so I bought and installed a 3 core aluminum radiator from Champion Radiators. I also changed out the thermostat at that time. Good thing as someone had installed the wrong one for a Chevy 350. No more heat problems.
Next up, I had to test things out again and what better place to do that than Superlift for the SCC '10.


Had lots of fun there but just to be sure, I had to test things out again at Sicily Island.....
FINALLY!!

Flexing.....

Flexing the other side......

Last edited:


 Besides, he has another one he is about to make over. I bet that one is going to be painted


 off and you will be amazed at what you can get done sleeping in the garage, ha.