
Valve cover bolt help

This site may earn a commission from merchant affiliate
links, including eBay, Amazon, Skimlinks, and others.

Joined
Jul 14, 2018
Threads
1
Messages
115
Location
TN
2006 LX 165,000 miles.

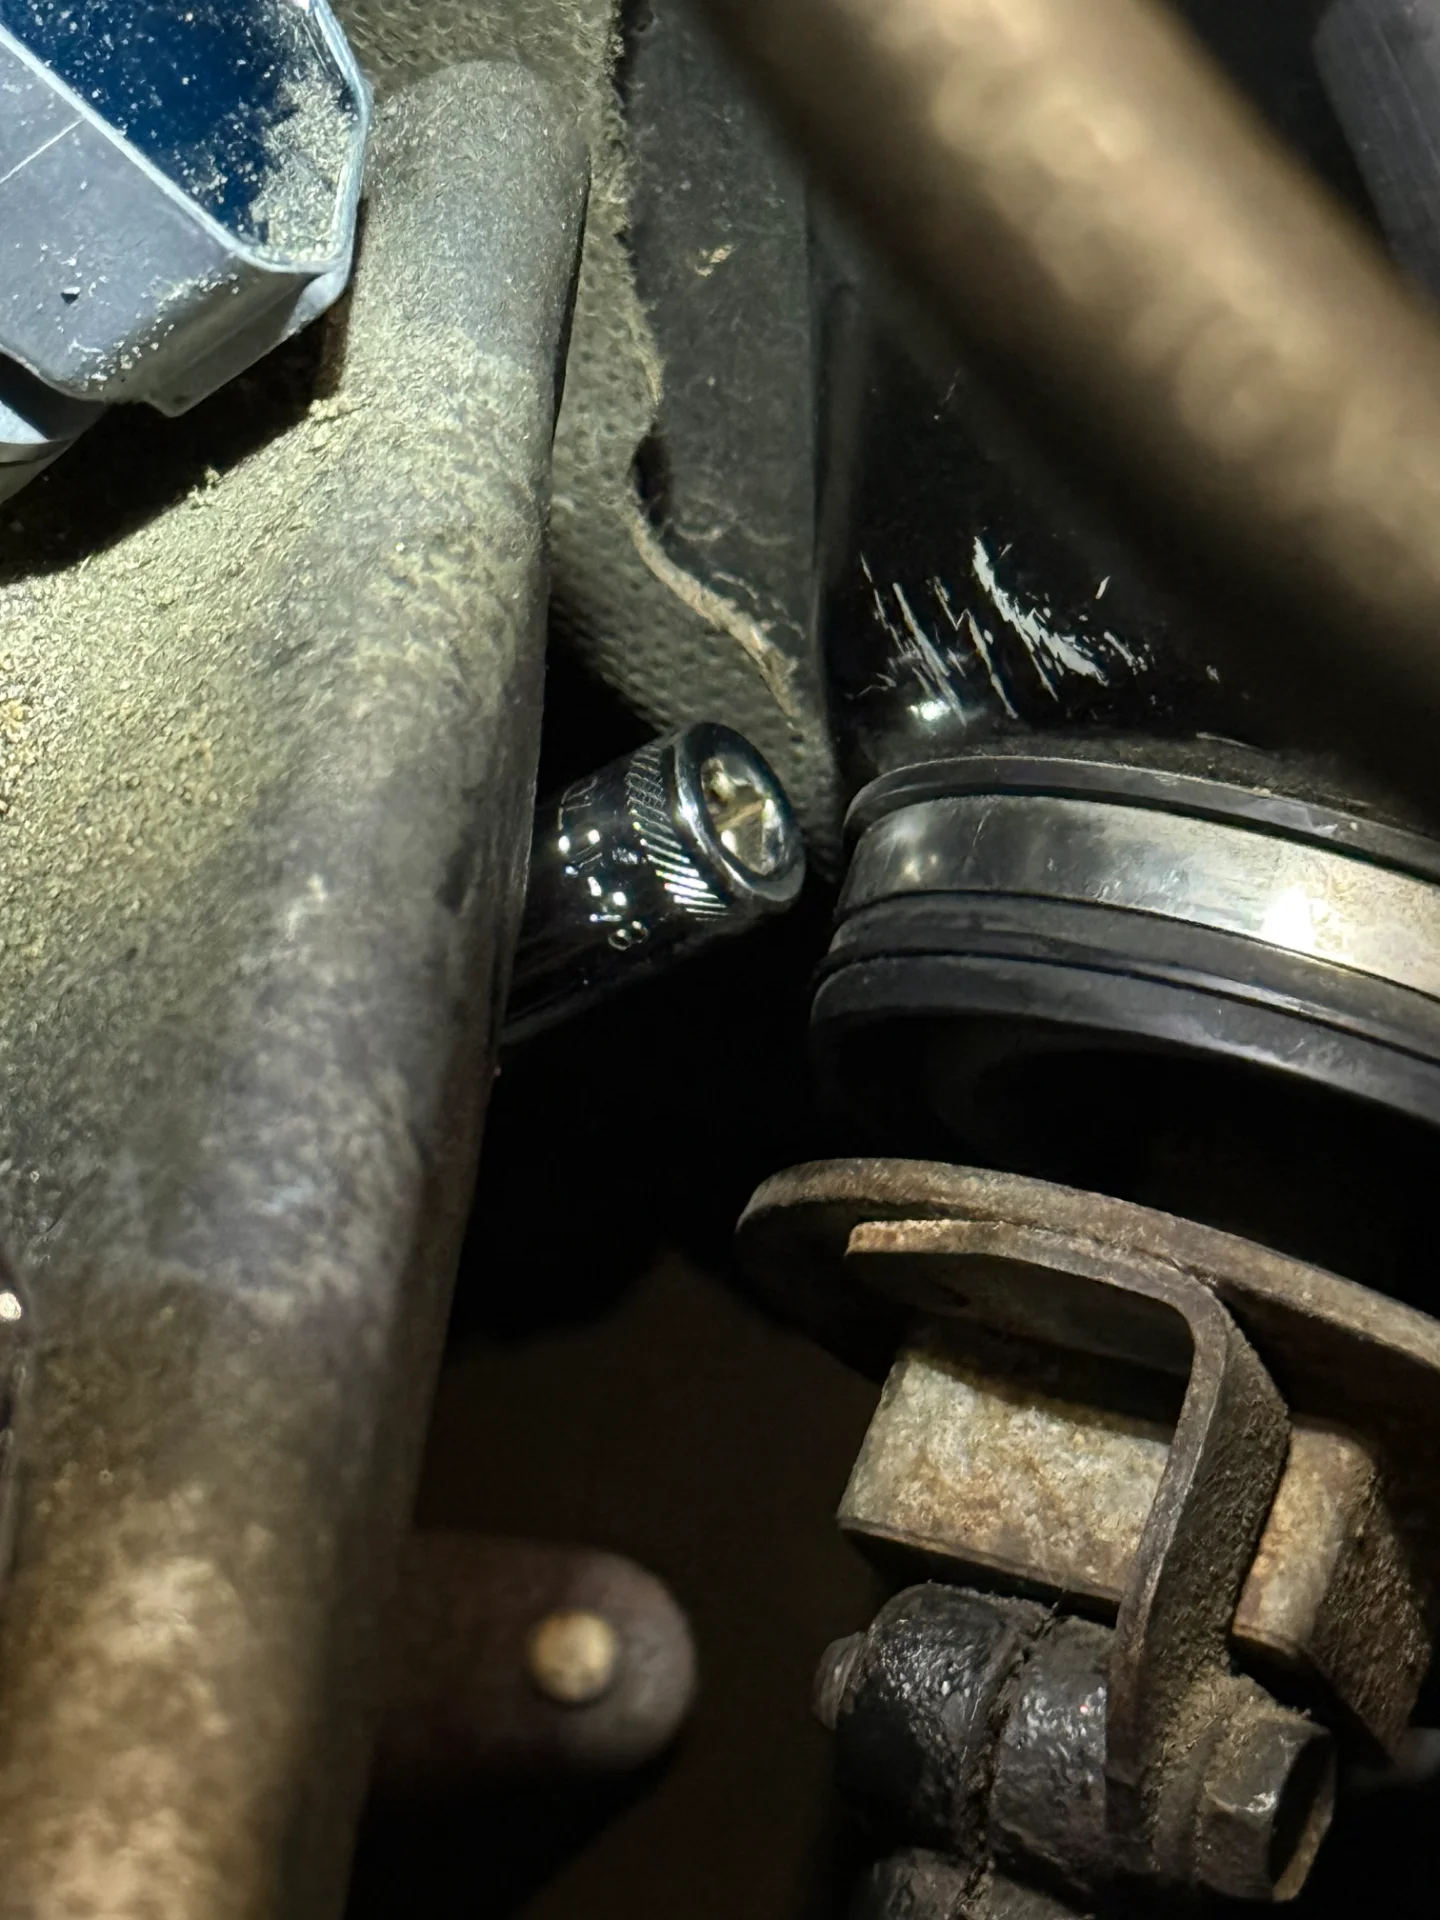
Last night, I tackled the valve covers which have been leaking. I put it off given all the threads about broken bolts etc. Passenger side went fine, and all bolts were mostly loose. However the driver side lower firewall bolt is so tight, and space is very limited. I tried a couple hours with pb blaster and wd40 and other penetrants and a variety of sockets and wrenches. I’ve ordered more tools in 10mm stubby etc and may try some heat on it though space is tight. I think the bolt is start to round off a little. I don’t want it to break off of course. I remember Excessive’s thread leading to engine out repair. Timmy the Toolman’s video said he used a deep socket attached to his m12 ratchet (didn’t work for me). I tried from below too but couldn’t get enough clearance.

Pic is attached. I appreciate all recommendations including what combination of wrench worked. Thanks in advance!
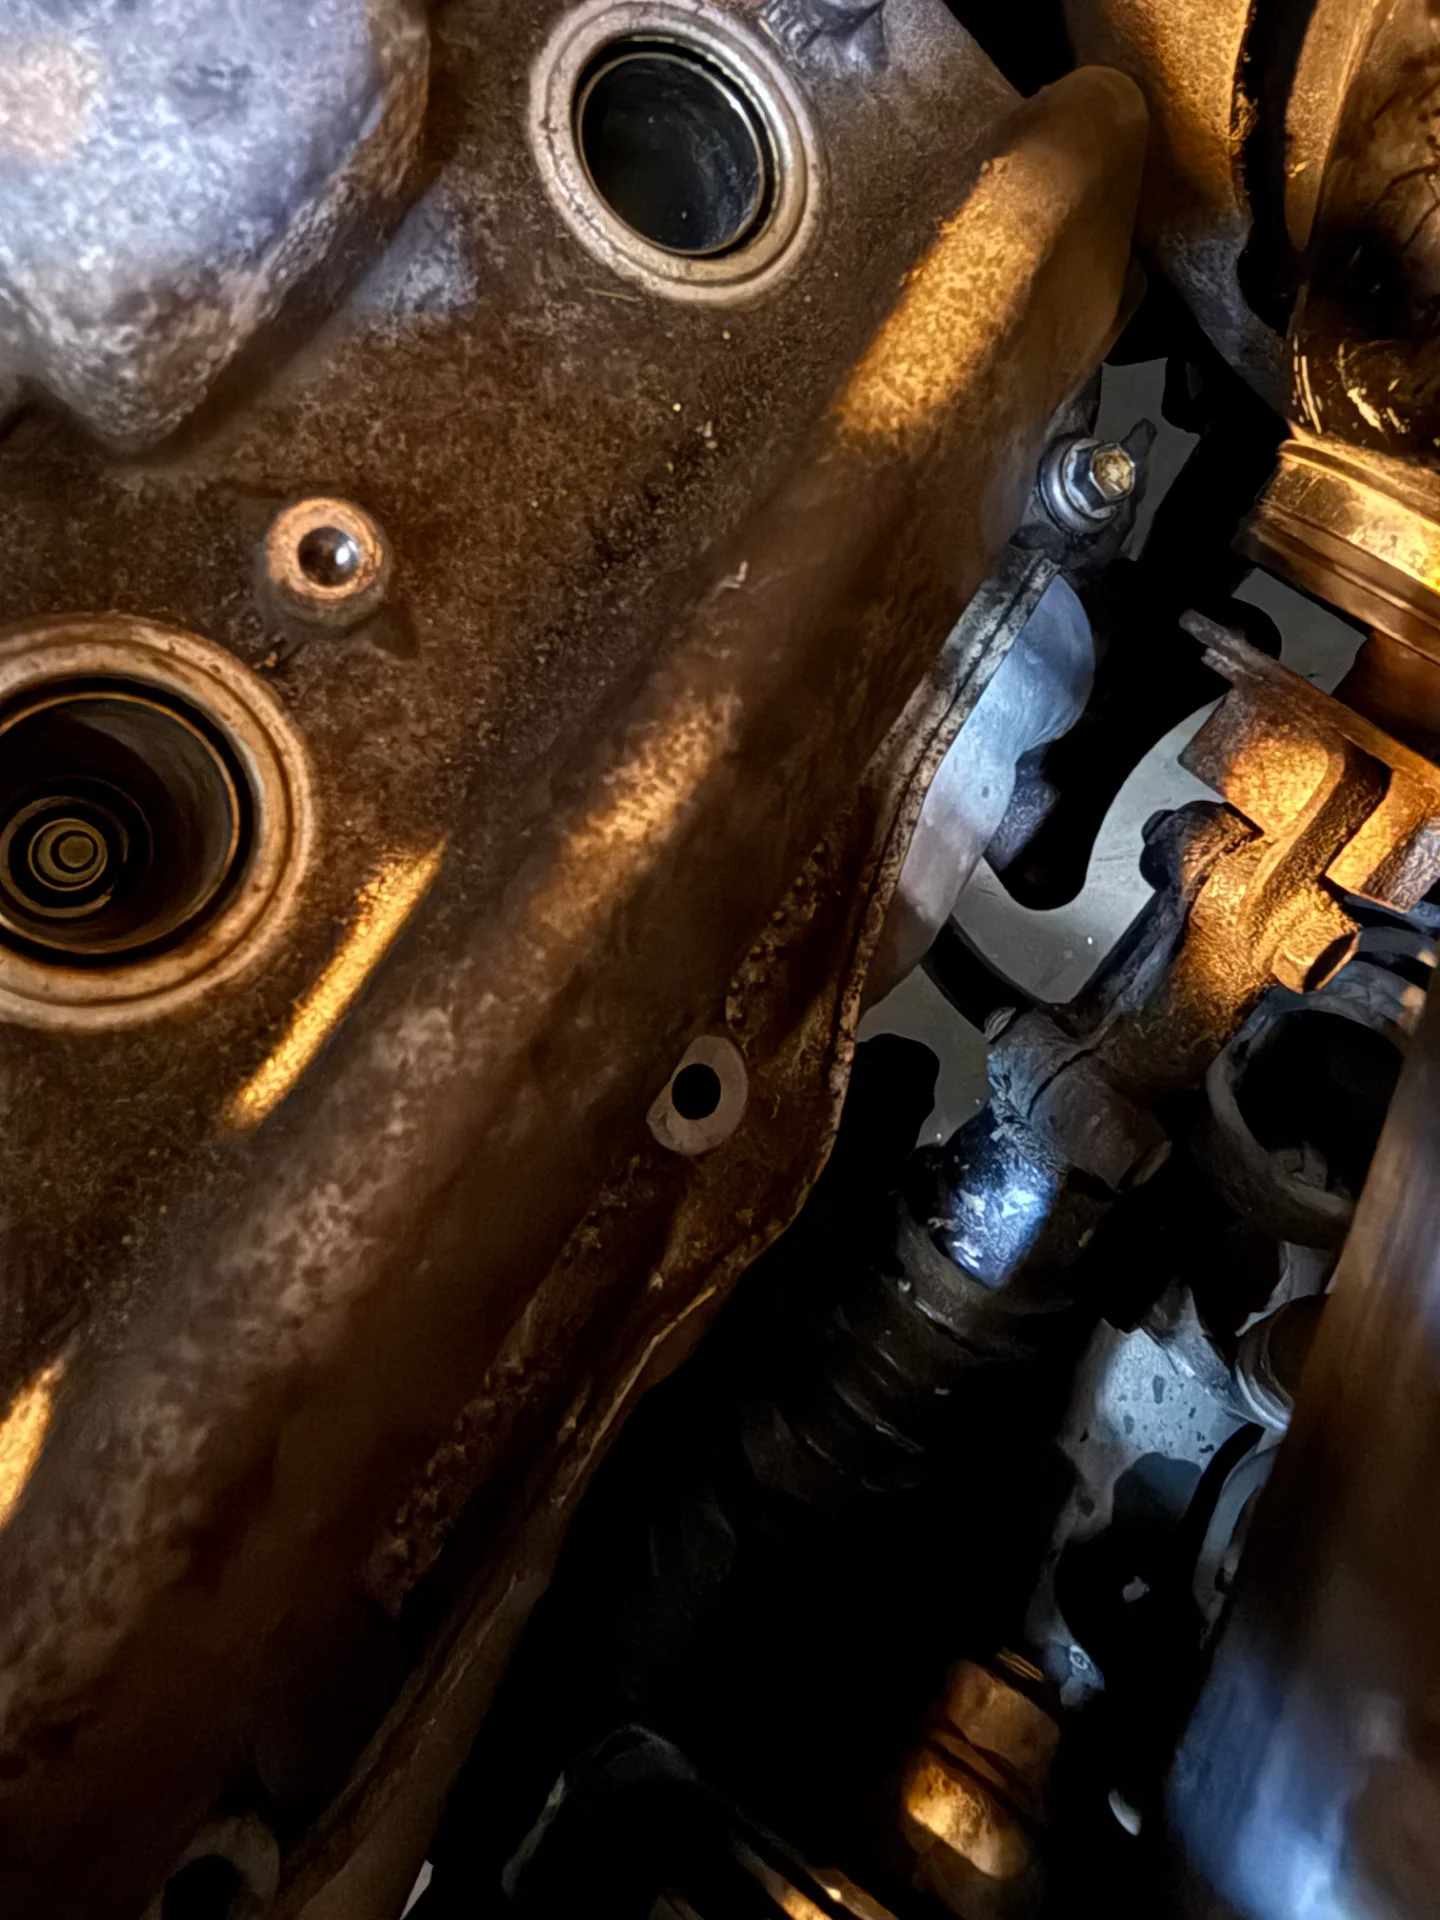
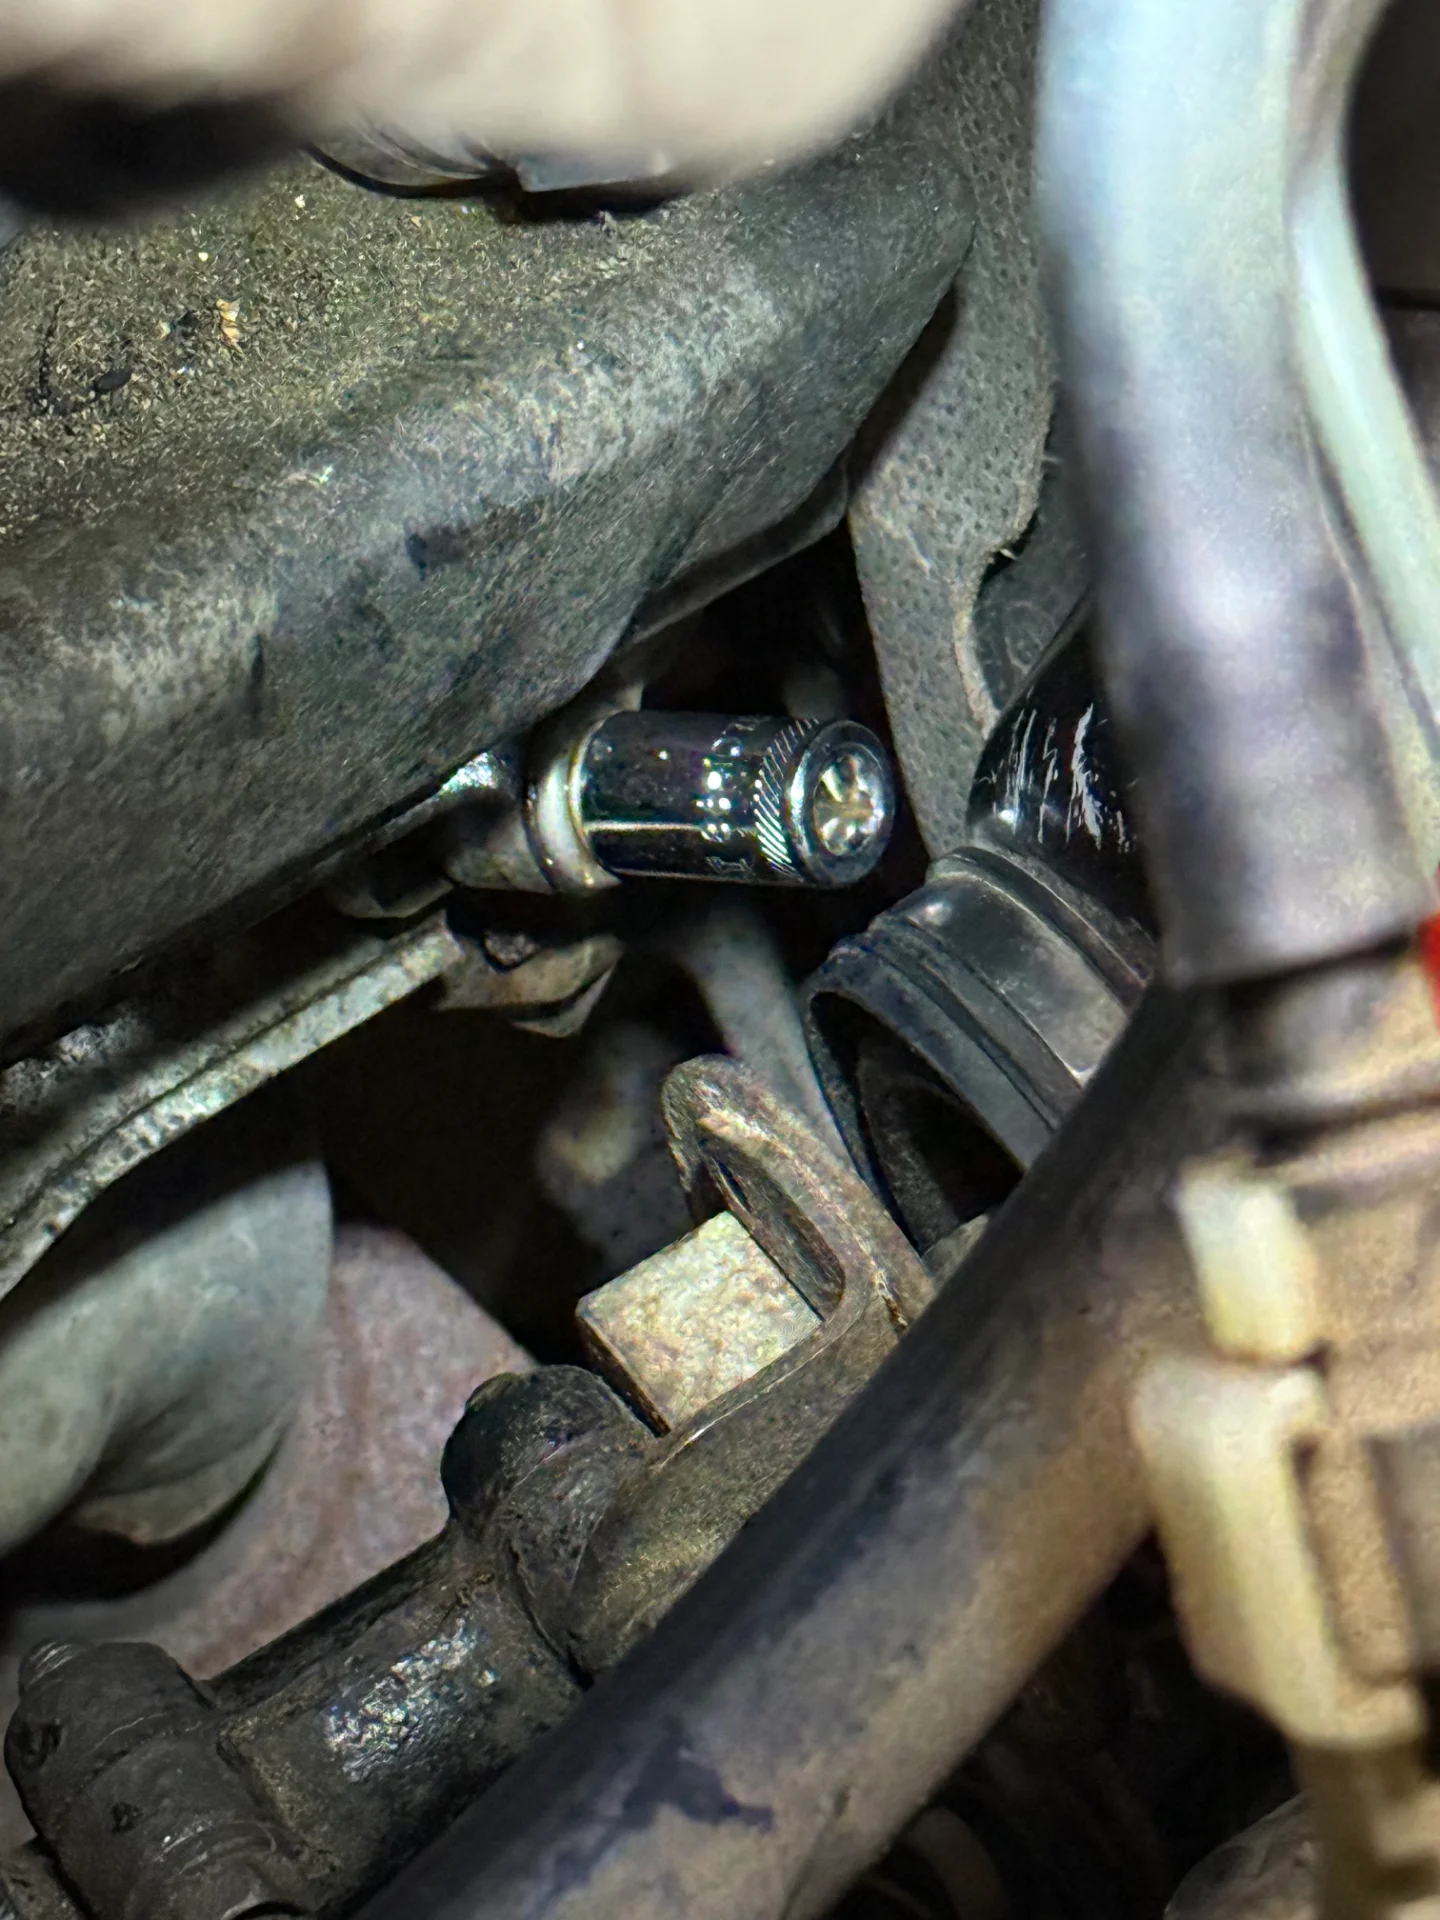
*edit- additional 2 pics shows standard 10mm 1/4” socket with little clearance
IMG_1243.webp


IMG_1266.webp


IMG_1267.webp
 
Last edited:
Induction heater is the best bet. You can heat with a torch but you'll want to carefully protect the surrounding area with a high-temp soldering-style heat-shield.
 
Induction heater is the best bet. You can heat with a torch but you'll want to carefully protect the surrounding area with a high-temp soldering-style heat-shield.
Great idea. Didn’t know about these. Always good to have the right tool for the job. Thank you!
 
WARNING: The washer on the 10mm bolt and the head cover gasket, are both rubber. Using heat you'll like damage the rubber both. So don't use heat above 250F or open flame, unless you're planning on replacing rubber.

Tighten (CW) bolt, just a tiny bit of a turn. Do not use force, just very little bit of a turn. Once you feel it turn, then turn a bit more, than turn off (CCW) same amount you turned tightening plus a tiny bit more. Working bolt slowly in and out..
I'd use 1/4" drive 6 point socket on 1/4" breaker bar. Making very sure socket fits down perfectly squarely on bolt head. Meaning; don't have socket cockeyed/angled on, only partially on bolt head.

BTW: I always re torque head cover bolts to 53INCH-lbf. I've stopped every head cover leaks don't this, that still had factory gaskets and cover never been off. The only head cover gasket, I've had to replace. Are one's someone had replaced or removed head covers.
 
Thank you 2001LC and excessive for the tips. I’ll try all those when I get the shorter 6point socket to get better clearance. My shortest 10mm socket is 1”
 
Thank you 2001LC and excessive for the tips. I’ll try all those when I get the shorter 6point socket to get better clearance. My shortest 10mm socket is 1”
To be clear.
A 1/4" drive socket. Refers to size of "drive" it attaches to i.e. socket wrench, extension, universal, breaker bar, adapter, etc. Not length of socket.

1/4" drive is very popular, in bicycle repair.
3/8" drive is the most standard in any tool box.
1/2" drive is for large bolts where more torque needed.
3/4" drive is for busting large difficult fastens.
1" drive is heavy machinery.
 
Heat and then spray. I have one of those extension hoses for my map gas torch so that helps sometimes getting the torch head into tighter spaces. If you can get some kind of drift or punch on top of it to bang on it, try tightening and loosening back and forth little by little. I have those bolt shaker things that go on an air hammer that people say work really well and I've yet to be able to really try them because it's always an area with no room.

Usually if you get it to start moving hit with more spray and just slowly keep working forward and back. If it's starting to round, one of those 10mm extractor sockets might be good for getting a better bite on the head.
 
I'd try a shallow 6-point socket as mentioned, but with some wobbly/U-joint adapters (stacked it needed), then come at it from the top where you can get more torque on it. Use one hand on the socket (to hold it on the bolt) and one on the ratchet when removing it to keep it from slipping. Flex head ratchets - if you don't have one - also work really well for situations like this (a stubby however does not as it will not provide sufficient leverage to remove it).

The actual bolt itself does not look rusty at all; where it is stuck is the threads into the block, which have a grommet, valve cover gasket, and valve cover between between them and the head. I don't think heat would hurt here but don't see it being the problem - the bolt is just hard to get to and apply proper removal torque to.
 
The biggest problem for me was getting enough direct straight-on torque without it canting. It’s an awkward position. I was able to get it to move a little last night with a small 10mm wrench before I quit, but like I said, the socket I have is too deep/long in combo with the 1/4” ratchets including flex head and wobbles. The extractor socket I have is too long to fit the space so may consider buying a shorter one and use if it gets rounded too much. So I bought a low profile socket and flat head socket holder for now and waiting to try tonight. I may also try an offset wrench/ratchet.

It looks like I can get my MAPP torch in there safely with the tip I have but will use that as last resort if I don’t have success with above due to concerns about the head gasket.

I can’t wait to fn get this bolt off! I’m sure most of us have had that Eureka moment when it finally breaks free!

Thanks guys
 
Last edited:
It looks like I can get my MAPP torch in there safely with the tip I have but will use that as last resort if I don’t have success with above due to concerns about the head gasket.
MAPP may cause more issues than it solves if you end up rounding the bolt off after heating it, as the valve cover gasket would then be fried, and the rig would then be un-drivable until it was fixed.

One other "last resort" option would be to grind the head off the bolt with a grinding stone on a Dremel (requires a flex-head attachment), remove the valve cover giving you more access, then remove the stub of the bolt either with vice grips or by welding a nut on it. IMO this is preferrable to dealing with a broken-off bolt as you'd have some protruding stub from the head to work with. That's what I had to do when I put headers on my 2UZ-FE and rounded off several rusty exhaust manifold nuts that were in even more atrocious places to get to. A $180 Harbor Freight welder saved the day.
 
If you just re-torque is there also risk of breaking the bolt head off? Almost seems like these valve cover gaskets should be a preventative maintenance item after X years if the bolts are deteriorating like this due to age, and the fact that access is poor. Makes me want to replace mine ASAP with also ordering all new bolts.

Love the cruiser, but nothing beats a simple inline 4 cylinder. Valve cover gasket on my corolla was like a 1 hour job.

I totally agree with you. I’ve done the VC gaskets on my old 92 Maxima and S2000, and both were easy-peasy.

I was able to tighten and loosen it a little with some tools (short ratcheting wrench and right angle) that came today. Will continue to add more penetrant overnight and use the short socket which comes tomorrow.

*I edited 1st post to have the pics to reduce scrolling.
Additional 2 pics of the 10mm socket (1” long) on it. I could not fit a regular 1/4” ratchet bc it keeps hitting the steering to the right.
 
Last edited:
I totally agree with you. I’ve done the VC gaskets on my old 92 Maxima and S2000, and both were easy-peasy.

I was able to tighten and loosen it a little with some tools (short ratcheting wrench and right angle) that came today. Will continue to add more penetrant overnight and use the short socket which comes tomorrow.

*I edited 1st post to have the pics to reduce scrolling.
Additional 2 pics of the 10mm socket (1” long) on it. I could not fit a regular 1/4” ratchet bc it keeps hitting the steering to the right.

How does it look under the covers? Varnish, etc.

Will be curious when I pull mine. The PO (original owner) of my truck had the oil changed like clockwork every 5k, but it didn't get anything special as far as premium synthetics. My corolla looked pretty good after having mostly conventionals / synthetic blends for 15+ years, so I'm thinking the cruiser will look the same.

This was the passenger side.

I’ve had it since 2018 and used synthetic always. It started out in Chicago area and was serviced regularly, not too much rust on the undercarriage. Then went to TX briefly and AR, now in TN.

IMG_1236.webp


IMG_1237.webp
 
I re-torqued mine a few years ago. All bolts were definitely a bit loose. Today the covers have zero leaks despite having the original gaskets with 212k on them over nearly 20 years. My rig has been in MO most of its life but started out in CT. These bolts are up high enough that I don't see them corroding much unless the rig is exposed to some rather extreme salt with infrequent washing of the engine bay.
 
I need to do this and got all the parts, except these quirky valve cover bolts, anybody has the part number for these valve cover bolts? May it's good idea to replace all them
 
I need to do this and got all the parts, except these quirky valve cover bolts, anybody has the part number for these valve cover bolts? May it's good idea to replace all them

I ordered from Toyota, part number 90080-10330

Below is screen shot of part numbers. Be sure to verify for your year if different.

IMG_1295.webp
 
Last edited:
Update

So the bolt head broke off and left a nice stud for me to remove with small vice grips! I’m adding penetrant overnight because I don’t want it to break further. I don’t think there are many threads in the head comparing the two bolts. Honestly, I should have just broken it off and saved all the stress! Funny thing is, I got the Wera low profile 10mm socket and it dropped into the suspension abyss (can’t have too many 10mm sockets!). The star of the show lost before the action began!

I’m happy this saga will be over soon.

IMG_1277.webp


IMG_1286.webp


IMG_1293.webp
 
I didn't realize there would be that much of a nub left to work with after the head broke! There might be enough exposed thread to remove it with 2 nuts jambed together, an open end wrench on the lower nut, and and some heat (given melting the gasket is no longer a concern).
 
Back
Top Bottom