



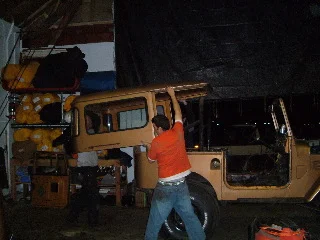
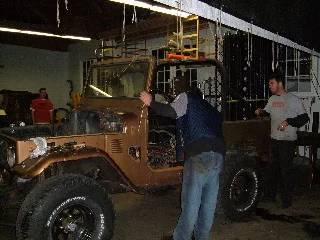
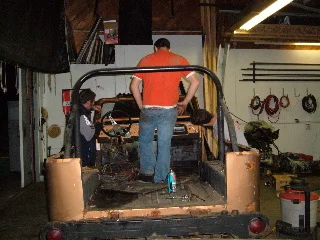
Well , I started to build this truck a couple of years ago.I tried to take pics as we went along but there are a few gaps. I'm sitting around a little bored through the holidays so I figure I might as well post them up.We started with a bit of a basket case 71 that had been hacked up pretty good .It started out as just a wheeler build up but once we got going my brother (the owner) decided to paint it and do a bit more than we initially planned. So here goes. The first few pics are the only ones I had of the truck in its most complete form when we got it. Let the dissasembly begin.
Navigation
Install the app
How to install the app on iOS
Follow along with the video below to see how to install our site as a web app on your home screen.
Note: This feature may not be available in some browsers.
More options
Style variation
You are using an out of date browser. It may not display this or other websites correctly.
You should upgrade or use an alternative browser.
You should upgrade or use an alternative browser.
Quick 71 buildup thread
- Thread starter too tall
- Start date
This site may earn a commission from merchant affiliate
links, including eBay, Amazon, Skimlinks, and others.
- Thread starter
- #2
frame
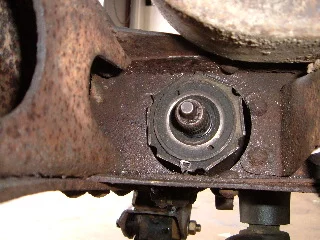
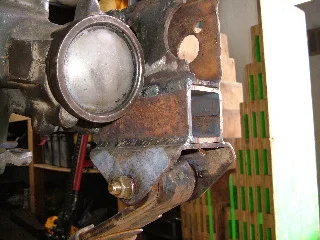
we took it down to the bare frame and then started with the saginaw conversion and a shackle reversal. I used a piece of 2x2 square to space the front hanger down .I did this to maintain a little spring geometry and keep the nose dive under braking down a bit.
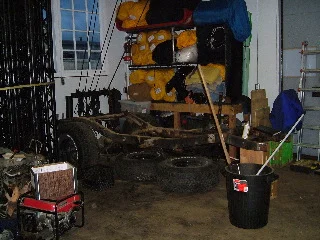
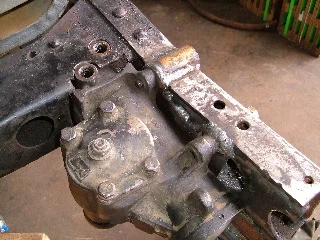
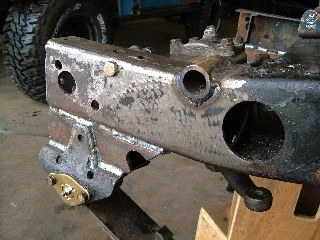
we took it down to the bare frame and then started with the saginaw conversion and a shackle reversal. I used a piece of 2x2 square to space the front hanger down .I did this to maintain a little spring geometry and keep the nose dive under braking down a bit.
- Thread starter
- #3
front diff
next we built the front diff (cut and turned) we gusseted it and made new bump stops and shock tabs. We used an aqualu double arm because of availability but may change that eventually to hy steer. We also flipped the front springs for a little more wb.
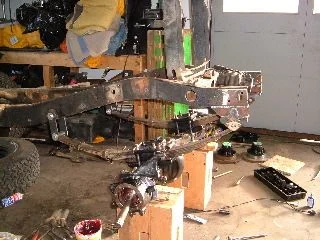
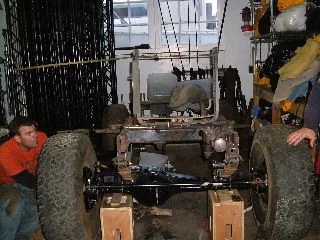
next we built the front diff (cut and turned) we gusseted it and made new bump stops and shock tabs. We used an aqualu double arm because of availability but may change that eventually to hy steer. We also flipped the front springs for a little more wb.
- Thread starter
- #4
couple more
a few more pics of the saginaw conversion and one with the engine setting in place.forgot to mention we used 60 series axles . The engine is a 350 from a 92 burb with an sm420 and three speed case .
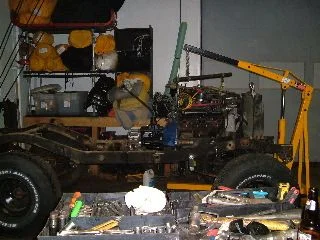
a few more pics of the saginaw conversion and one with the engine setting in place.forgot to mention we used 60 series axles . The engine is a 350 from a 92 burb with an sm420 and three speed case .
- Thread starter
- #5
engine and transfer
another pic of the engine then the crossmember mount and one of the ol' ford towers.I don't think I'll use the advance type mount anymore they don't last very long and there are better ways but this was a couple of years ago.
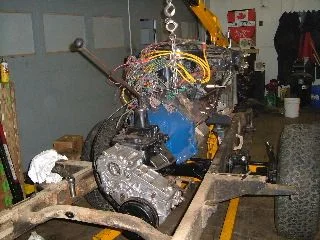
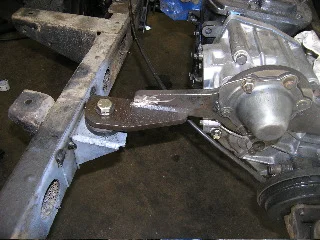
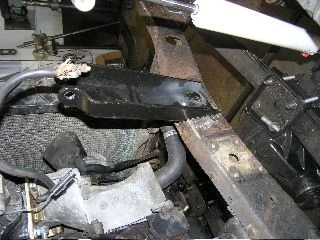
another pic of the engine then the crossmember mount and one of the ol' ford towers.I don't think I'll use the advance type mount anymore they don't last very long and there are better ways but this was a couple of years ago.

- Thread starter
- #10
track bar
here's one more of the track bar mount .Also one of the engine fan relation to the radiator and another of the fuel pump bracket and location. I used a marine pump from a tbi'd 5.7 . stainless and brass and the price was right.
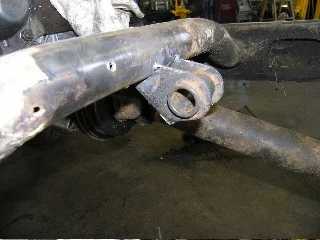
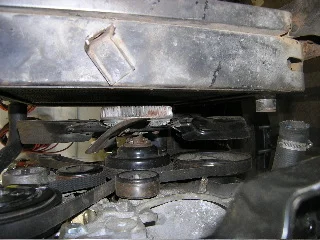
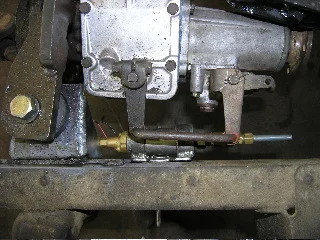
here's one more of the track bar mount .Also one of the engine fan relation to the radiator and another of the fuel pump bracket and location. I used a marine pump from a tbi'd 5.7 . stainless and brass and the price was right.

pics please of the front end
Hey bud,
Do me a favor and take a couple pics of your 60 series axle under the FJ40. Please.. I found a couple 60 series axles, and have been colecting parts for over 2 years to swap them under the FJ40. You know how it goes - start with one thing then -- end up with something else. Curious on the front passenger spring pearch in relationship to the diff? You can e-mail them to me at rayray_57@hotmail.com thanks and merry christmas..
Hey bud,
Do me a favor and take a couple pics of your 60 series axle under the FJ40. Please.. I found a couple 60 series axles, and have been colecting parts for over 2 years to swap them under the FJ40. You know how it goes - start with one thing then -- end up with something else. Curious on the front passenger spring pearch in relationship to the diff? You can e-mail them to me at rayray_57@hotmail.com thanks and merry christmas..
- Thread starter
- #12
front bumper
I made the bumper from 2x6 tube . I like the simplicity of it and it fits an 8274 nice and low between the frame rails. I have since modified this one to accept an 8274 but can't find any pics right now. I also made it so it would fit any other stock 40 series without drilling any holes.
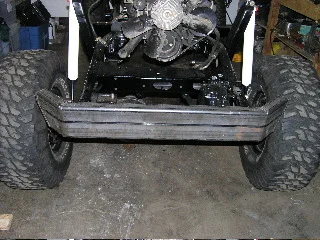
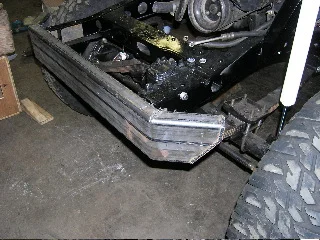
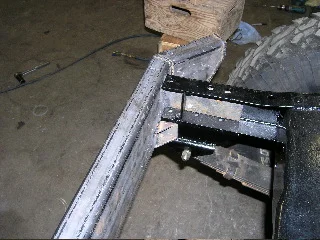
I made the bumper from 2x6 tube . I like the simplicity of it and it fits an 8274 nice and low between the frame rails. I have since modified this one to accept an 8274 but can't find any pics right now. I also made it so it would fit any other stock 40 series without drilling any holes.
- Thread starter
- #13
60 axles
I'm not actually that impressed with the way I did this particular truck .It was a bit of a pain because I didn't outboard the hangers.I ended up notching the third a little to make it fit .So in a trail fix situation it might not be ideal as you would have to either notch a new one somehow or change the gearset into the original third. I'll take some pics if you want but outboarding is a lot less hassle.We are actually going to be doing this mod on a truck in the shop pretty soon so I'll take pics and post up when we do.If you use the search I'm sure you'll find lots of great info and pics on this though.
Hey bud,
Do me a favor and take a couple pics of your 60 series axle under the FJ40. Please.. I found a couple 60 series axles, and have been colecting parts for over 2 years to swap them under the FJ40. You know how it goes - start with one thing then -- end up with something else. Curious on the front passenger spring pearch in relationship to the diff? You can e-mail them to me at rayray_57@hotmail.com thanks and merry christmas..
I'm not actually that impressed with the way I did this particular truck .It was a bit of a pain because I didn't outboard the hangers.I ended up notching the third a little to make it fit .So in a trail fix situation it might not be ideal as you would have to either notch a new one somehow or change the gearset into the original third. I'll take some pics if you want but outboarding is a lot less hassle.We are actually going to be doing this mod on a truck in the shop pretty soon so I'll take pics and post up when we do.If you use the search I'm sure you'll find lots of great info and pics on this though.
- Thread starter
- #14
tear down
so after all the fab was done on the chassis we ripped it apart to blast and paint .A pic of the chassis before and then a couple of me suited up getting rid of the rust.I was lucky when I did this my neighbors at the shop (I was in then) owned a blasting company and let use one of his trucks for the price of the expendables and a case of beer
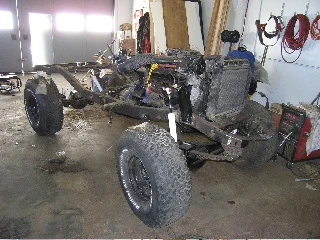
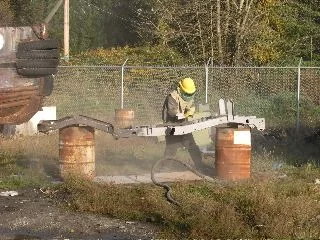
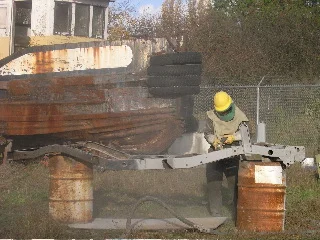
so after all the fab was done on the chassis we ripped it apart to blast and paint .A pic of the chassis before and then a couple of me suited up getting rid of the rust.I was lucky when I did this my neighbors at the shop (I was in then) owned a blasting company and let use one of his trucks for the price of the expendables and a case of beer
spring perch
I have done the search and read where some have outboarded the spring perches. I have the MAN-E-FRE shackle reversal already installed, big pain to cut that lose and out board the perches, that's why I wanted to see your spring in relationship to the pumpkin. Thank you.
I have done the search and read where some have outboarded the spring perches. I have the MAN-E-FRE shackle reversal already installed, big pain to cut that lose and out board the perches, that's why I wanted to see your spring in relationship to the pumpkin. Thank you.
- Thread starter
- #17
frame primer
I decided to use endura on the frame so after blasting I layed on some primer. Being that it is a frame and I wasn't very concerned about perfection I used the method where you let it tack up for about 1.5 hrs and then sprayed the color right over without any further prep.
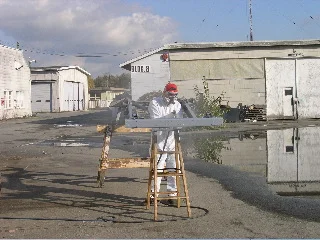
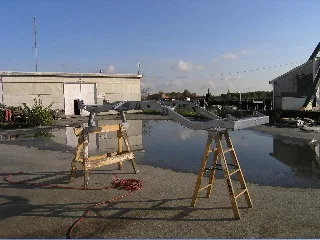
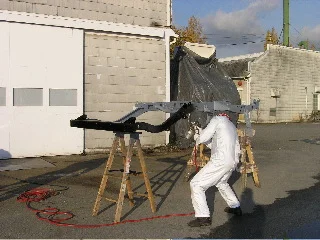
I decided to use endura on the frame so after blasting I layed on some primer. Being that it is a frame and I wasn't very concerned about perfection I used the method where you let it tack up for about 1.5 hrs and then sprayed the color right over without any further prep.
- Thread starter
- #18
finished frame
here's a pic of the finished product and a bit of sunset view from my old shop. After it dried for a couple of days we reassembled the frame with the axles.we also put the new tires on , 35 mtr's
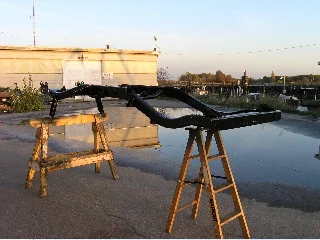
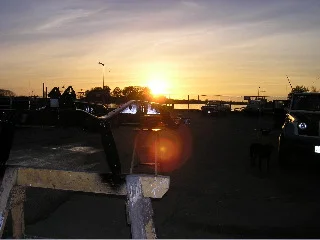
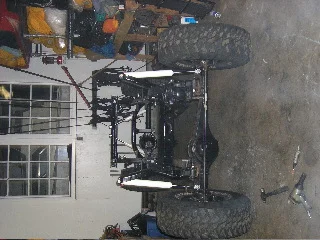
here's a pic of the finished product and a bit of sunset view from my old shop. After it dried for a couple of days we reassembled the frame with the axles.we also put the new tires on , 35 mtr's
- Thread starter
- #20
body
well,next came the body. the po had some weird replacement quarters put on kind heepish.The body had lots of rust and most of the seams were cracked and needed some attention. Originally it wasn't going to see a good paint job so I wasn't too worried abut the quality too much. ,we didn't want to spend alot of time on a rig that was going to end up getting beat off trees and whatnot.
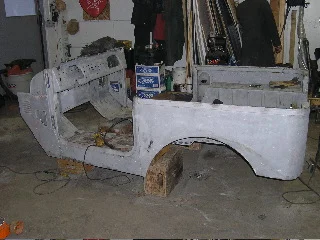
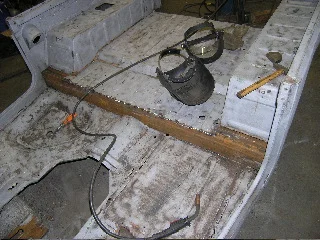
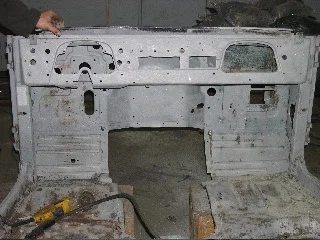
well,next came the body. the po had some weird replacement quarters put on kind heepish.The body had lots of rust and most of the seams were cracked and needed some attention. Originally it wasn't going to see a good paint job so I wasn't too worried abut the quality too much. ,we didn't want to spend alot of time on a rig that was going to end up getting beat off trees and whatnot.