
so here goes my first attempt at a Toyota. for the past few months I've been hunting for a toyota rig. i started at an LC80, dropped into a 62 then wound up looking at 100 series' before i finally settled on a V8 4th gen 4runner and then immediately changed my mind to a 5th gen Trail because… its a Trail, i mean come on.
so i sold my Jeepi in December and spent a month or two tracking various 4runner trails throughout them interwebz to finally realize that at any given time, there are only ~50 used 4runner Trails for sale in the country, 3/4 of which were overpriced and out of my budget. finally i got a crazy idea up my *** to search craigslist for the whole country and found this little gem in Denver Colorado. one thing led to another and i flew out to get it and drive her home.
so, she's a:
2010 4Runner Trail
-45,000 miles (almost 47,000 now)
-stock tires that are GONE
-synthetic fluids its WHOLE life
-maintenance records
-KDSS
-backup camera
-weathertech mats
-3m tinted windows
-3m invisible bra and skirts
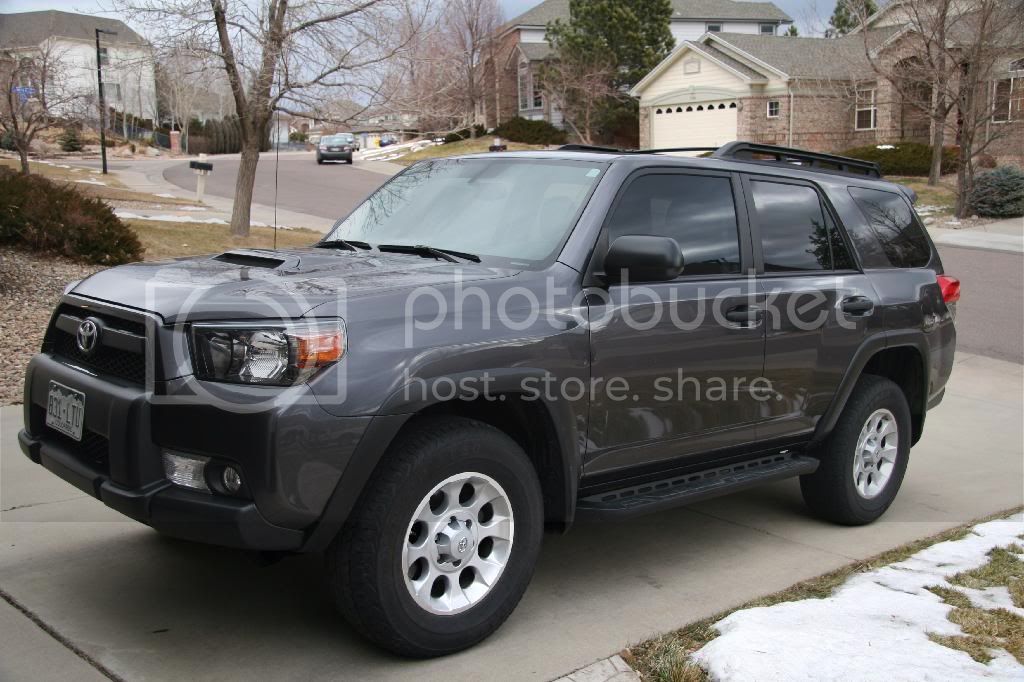

overall it was a steal and a wrote them a check for cash
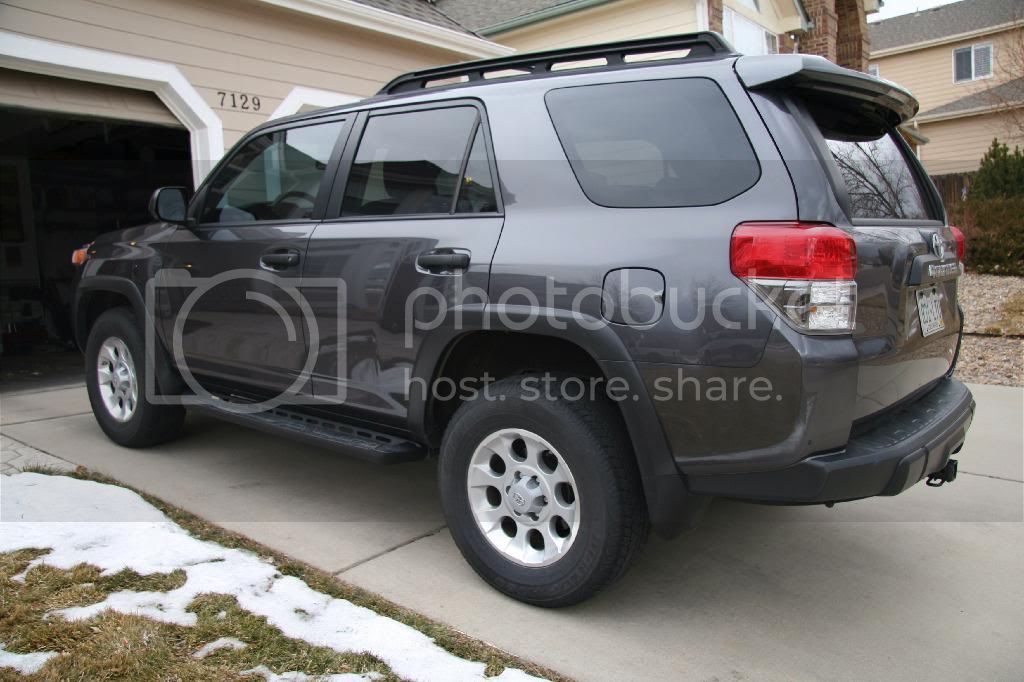
it'll be a long build, but a build none the less. the goal is to create a vehicle that was more effective at going my JKUR's job than my JKUR was - which was badass daily driver that can haul my ***, my wife and my daughter around while being "quiet", well mannered and spacious. And then kick serious ass at trails
the long term end goal plans are:
-SAS (Currie F9 housing)
-custom built rear long travel suspension and Currie F9 Housing
-37" tires on hutchinson double headlocks
how i plan on getting there (eventually) is:
-OME Heavy Front coils
-Camburg balljoint uppers
-Bilstein 5100s
-Currie/Eibach 3.75" rear coils.
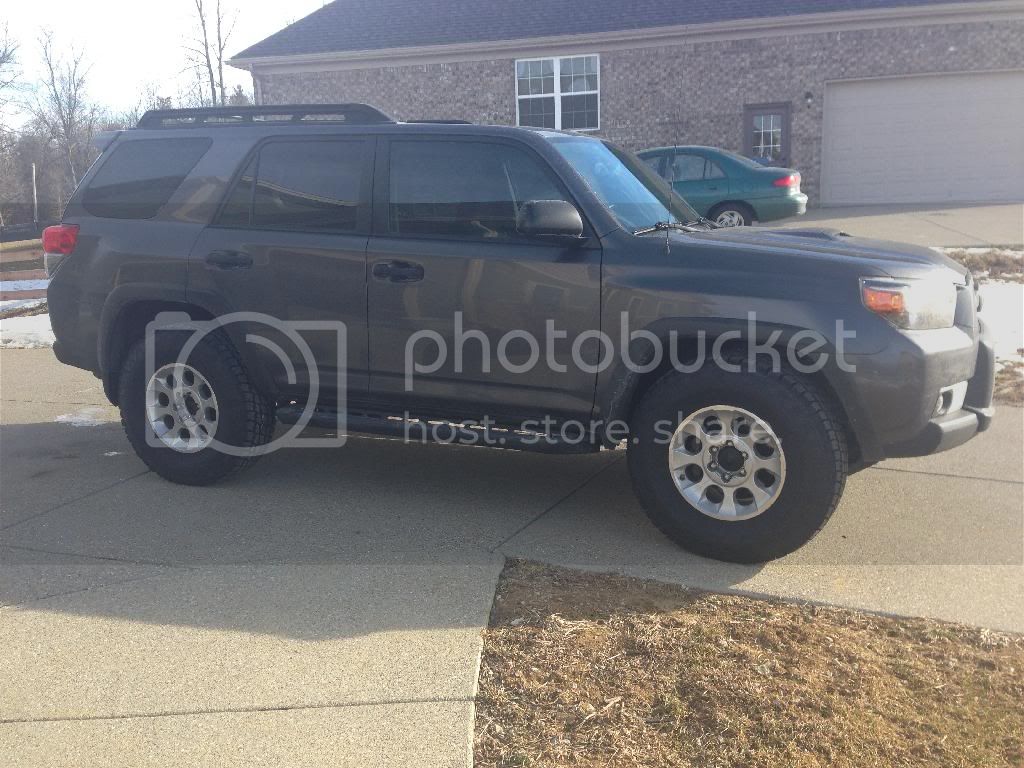
Unfortunately due to (at the time) recent heavy snow in the area early this spring- the burnt up stockers were putting me in a safety hazard and i needed tires. I ordered a set of 285x75R17E Nitto Terra Grapplers to hold me over for the next 35-40k miles and then get the 35s. they're the largest AT i can find (33.9x11.7x17) it gives me a little wiggle room and lets me get some cash saved to get the suspension plus the E load tire will be a nice reprieve from this floaty caddy P-rated bull**** it comes stock with

Then I got the 285s on, they're a true 34x11.50 and woooooo are they snug! Needs a lift and spacers for sure now!
my 3 year old Newfoundland/GSD travel buddy

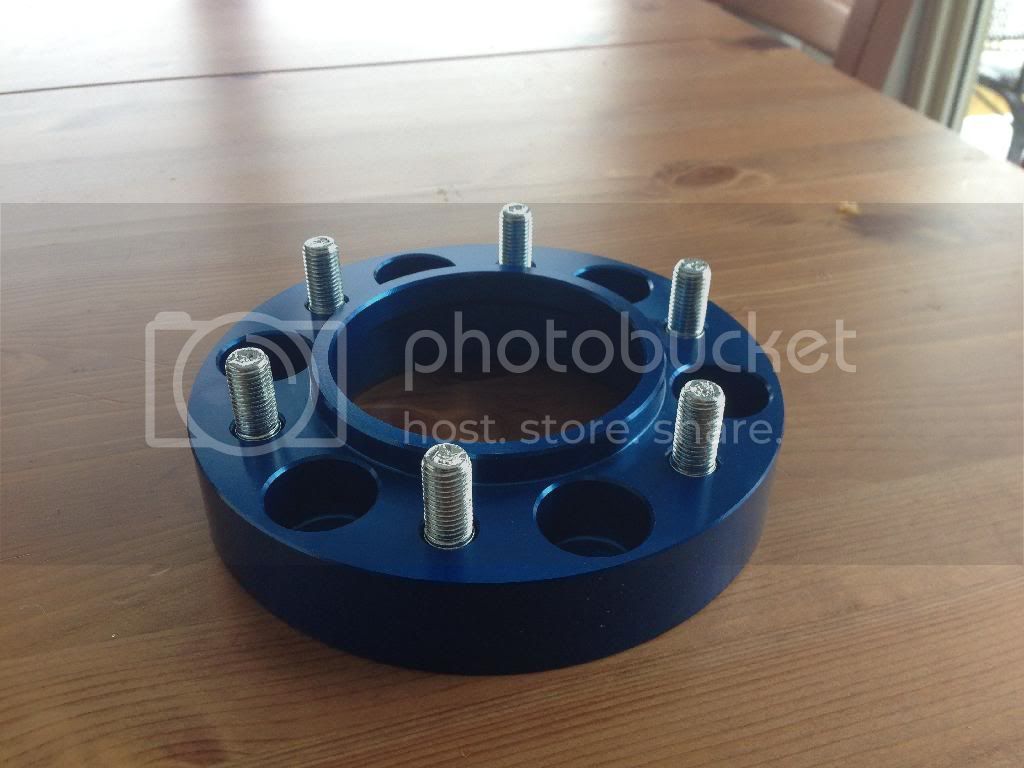
2 pair of 1.25" spidertrax spacers.
Battery in

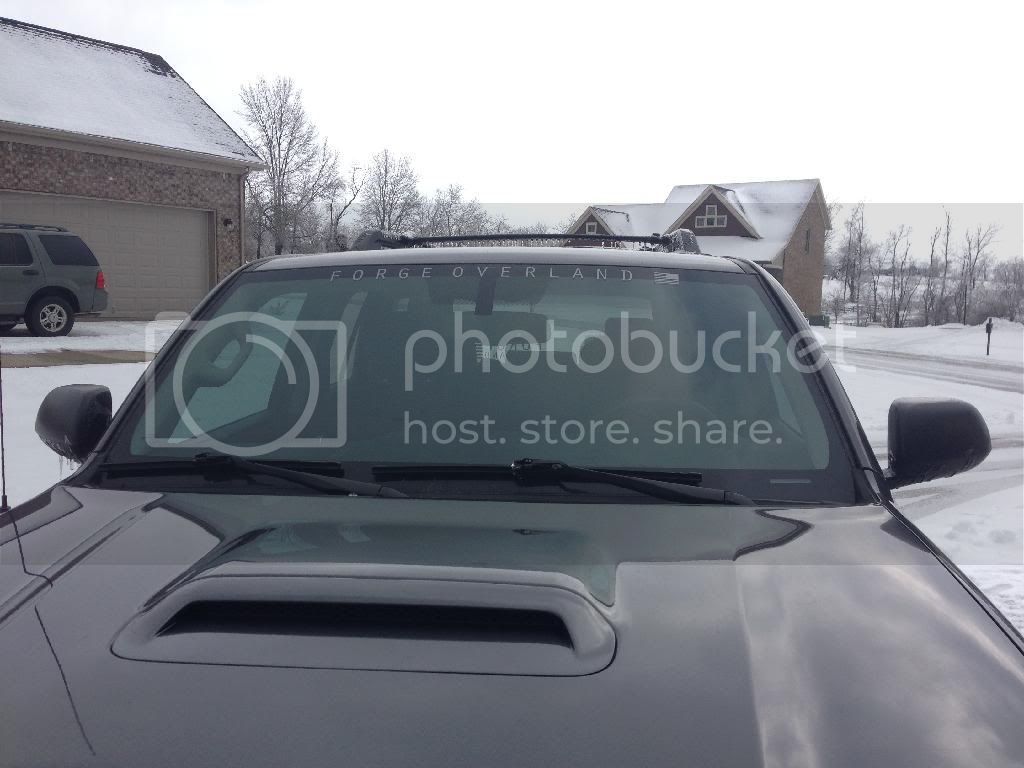
Did some branding

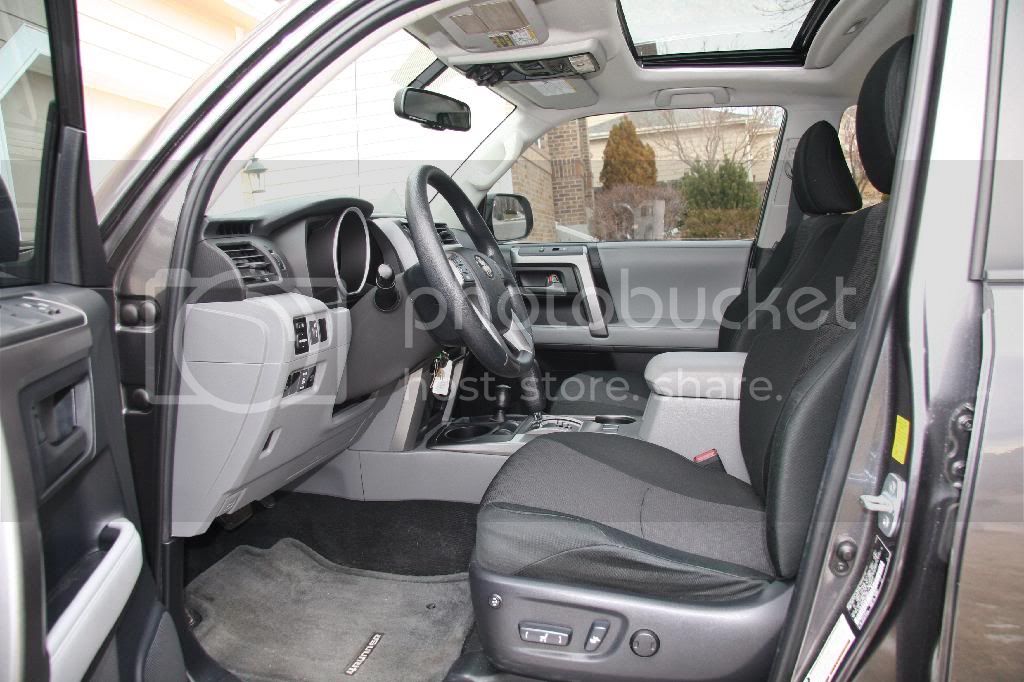
So, forgot to mention. Easily one of my favorite features of the 4runner - it can easily hold a liter Nalgene bottle <3

so i sold my Jeepi in December and spent a month or two tracking various 4runner trails throughout them interwebz to finally realize that at any given time, there are only ~50 used 4runner Trails for sale in the country, 3/4 of which were overpriced and out of my budget. finally i got a crazy idea up my *** to search craigslist for the whole country and found this little gem in Denver Colorado. one thing led to another and i flew out to get it and drive her home.
so, she's a:
2010 4Runner Trail
-45,000 miles (almost 47,000 now)
-stock tires that are GONE
-synthetic fluids its WHOLE life
-maintenance records
-KDSS
-backup camera
-weathertech mats
-3m tinted windows
-3m invisible bra and skirts


overall it was a steal and a wrote them a check for cash
it'll be a long build, but a build none the less. the goal is to create a vehicle that was more effective at going my JKUR's job than my JKUR was - which was badass daily driver that can haul my ***, my wife and my daughter around while being "quiet", well mannered and spacious. And then kick serious ass at trails
the long term end goal plans are:
-SAS (Currie F9 housing)
-custom built rear long travel suspension and Currie F9 Housing
-37" tires on hutchinson double headlocks
how i plan on getting there (eventually) is:
-OME Heavy Front coils
-Camburg balljoint uppers
-Bilstein 5100s
-Currie/Eibach 3.75" rear coils.
Unfortunately due to (at the time) recent heavy snow in the area early this spring- the burnt up stockers were putting me in a safety hazard and i needed tires. I ordered a set of 285x75R17E Nitto Terra Grapplers to hold me over for the next 35-40k miles and then get the 35s. they're the largest AT i can find (33.9x11.7x17) it gives me a little wiggle room and lets me get some cash saved to get the suspension plus the E load tire will be a nice reprieve from this floaty caddy P-rated bull**** it comes stock with

Then I got the 285s on, they're a true 34x11.50 and woooooo are they snug! Needs a lift and spacers for sure now!

my 3 year old Newfoundland/GSD travel buddy

2 pair of 1.25" spidertrax spacers.

Battery in

Did some branding


So, forgot to mention. Easily one of my favorite features of the 4runner - it can easily hold a liter Nalgene bottle <3

Last edited:


