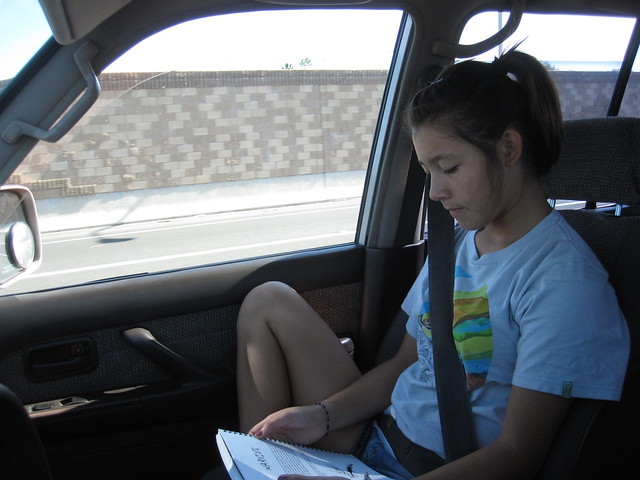
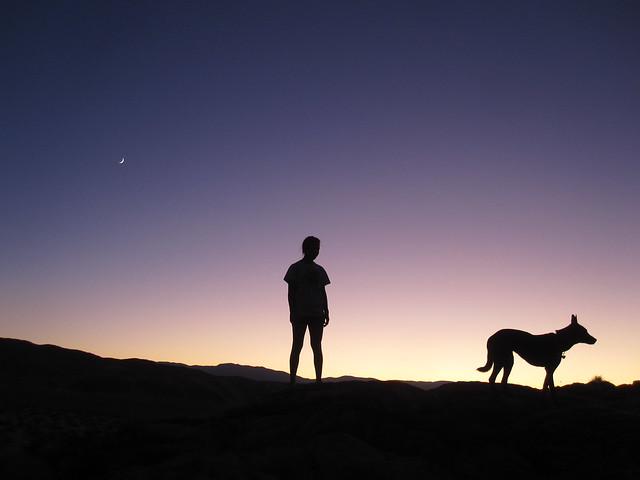
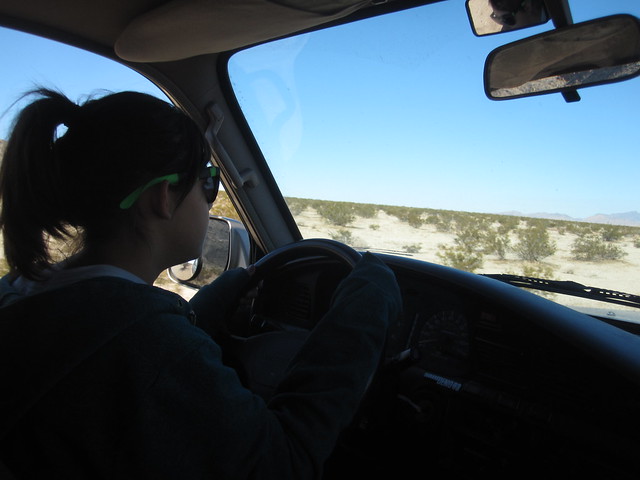
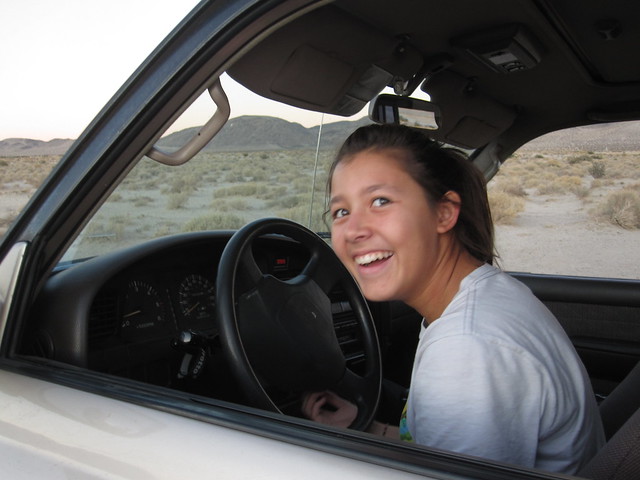
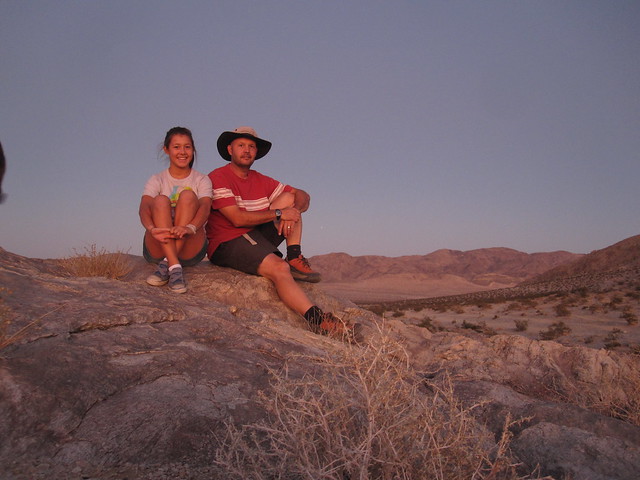
And my trusty side-kick, my youngest daughter while she is still willing to go rough it with me.
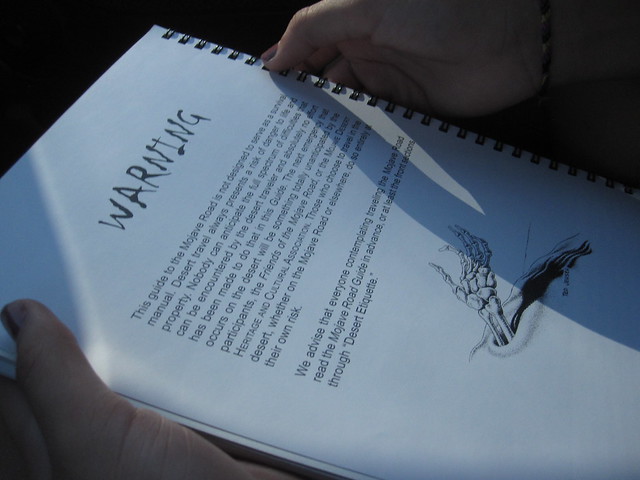
We planned on doing a small portion of the Mojave and for some reason we just changed our minds on this trip as we want to save it just do the whole thing and maybe with some more friends & rigs. My plan changed as I though it would be a great time to get my youngest one [age 12] behind the wheel. So we headed to Soggy Dry Lake, good place to get the kids started as you can loop out to more technical territory once the basics are sorted.
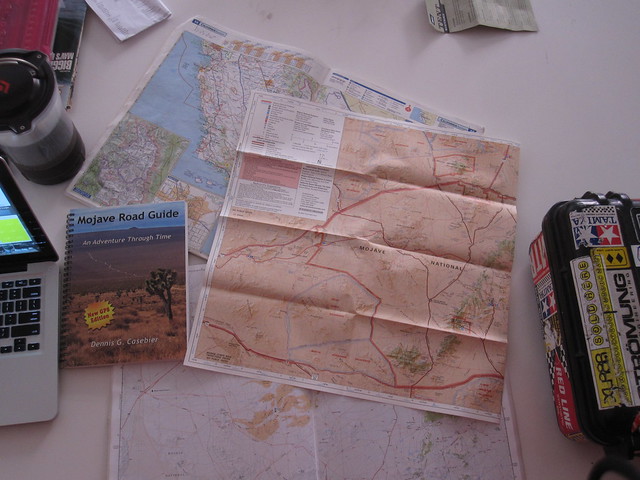
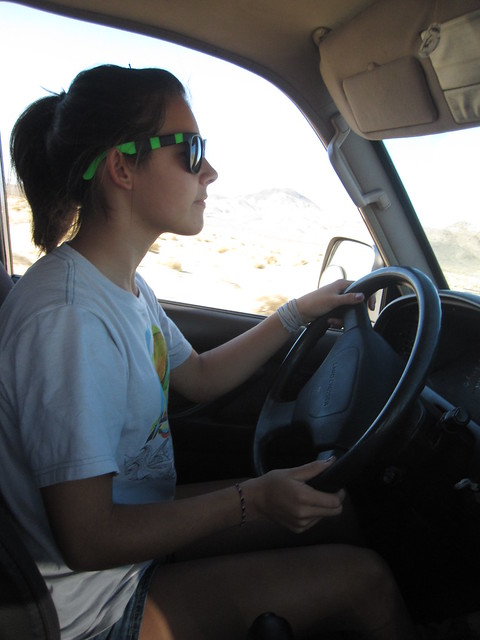
She was itching to get behind the wheel before we even hit the dry lake bed! This gave me time to look at the maps, talk on the phone and while talking on the phone I discovered my buddies where over at Means Dry Lake and we decided we would drive over there and camp there. I've seen the sand dunes on the map off the end of Soggy Dry Lake so I wanted to see them while on the way.
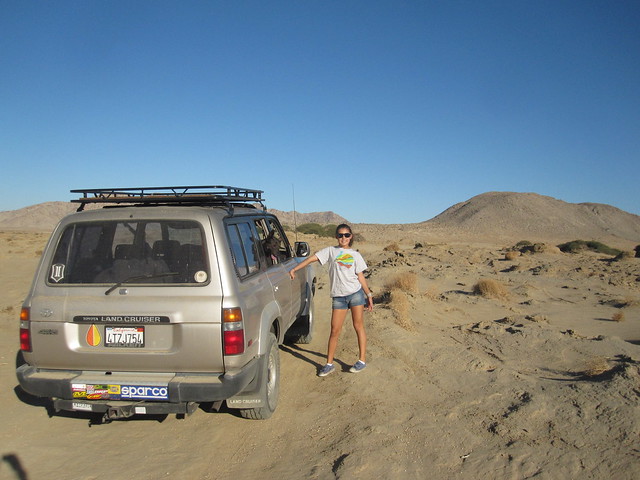
The road got real clumpy-lumpy just before the sand and so we stopped and switched back to me driving. She had a blast driving here first 18 miles [aprox].
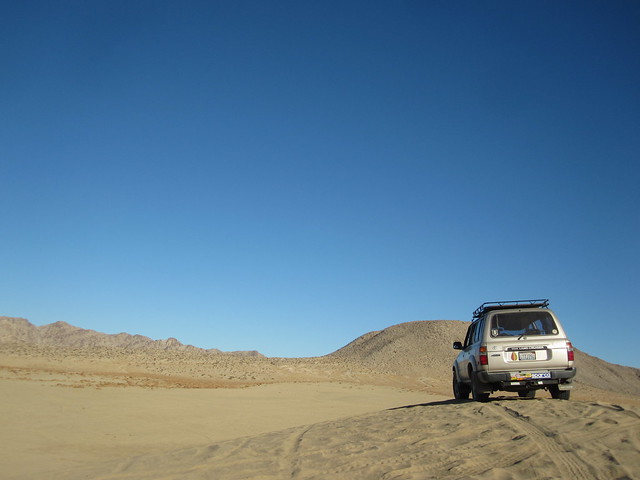
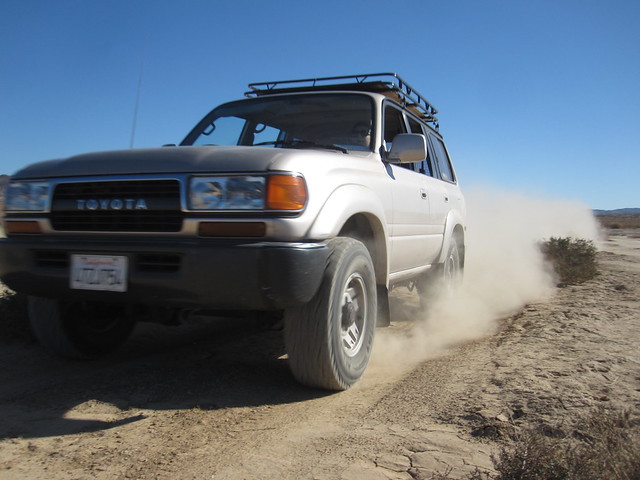
On the sand! My first time putting the ADV80 out in the sand like this! So cool! I think the excitement is notched up to the fear of a sinking 80-series.
Back on simi-solid ground and my daughter is back on the wheel!
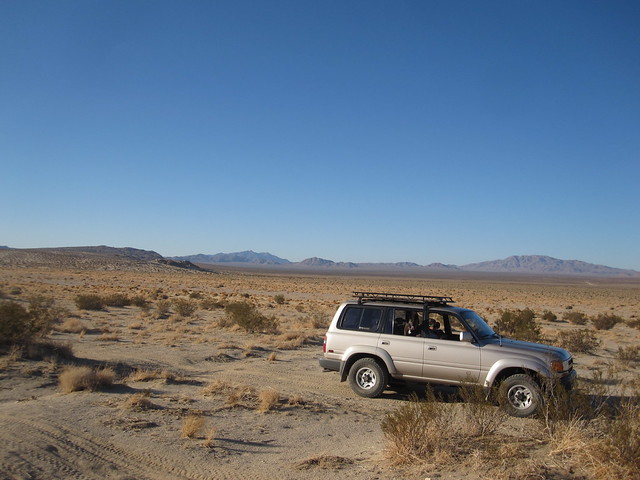
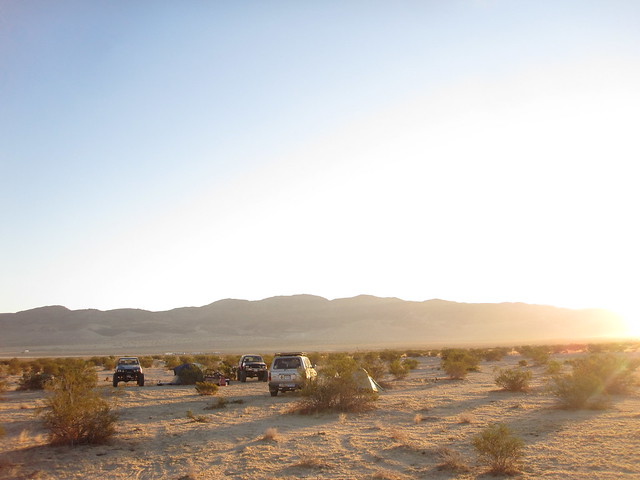
So she wheels us from the dunes off Soggy Dry lake, across Melville Dry Lake and across the pass into Means Dry Lake where we find our frinds camp. They are still out wheeling... the evidence:
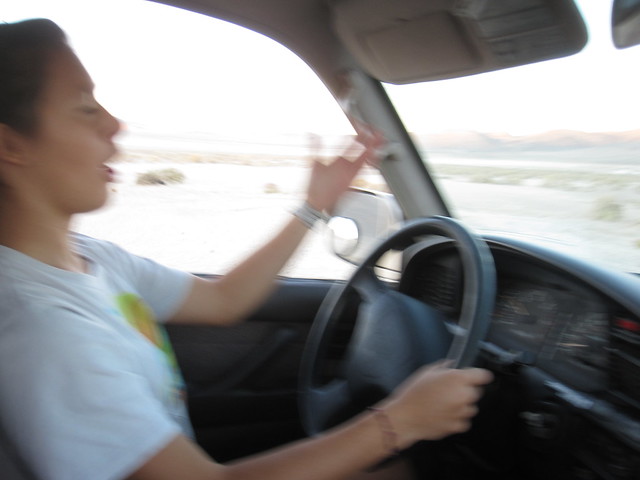
So we set up camp and go for another outing and my daughter is just having a blast! She is singing and driving and I'm laughing so hard I can't hold the camera still.
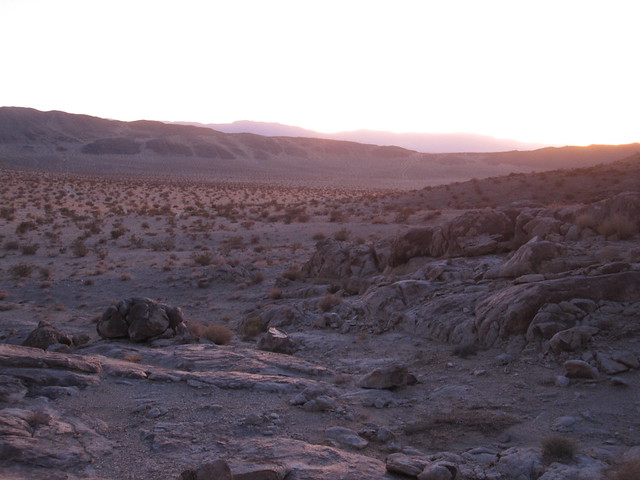
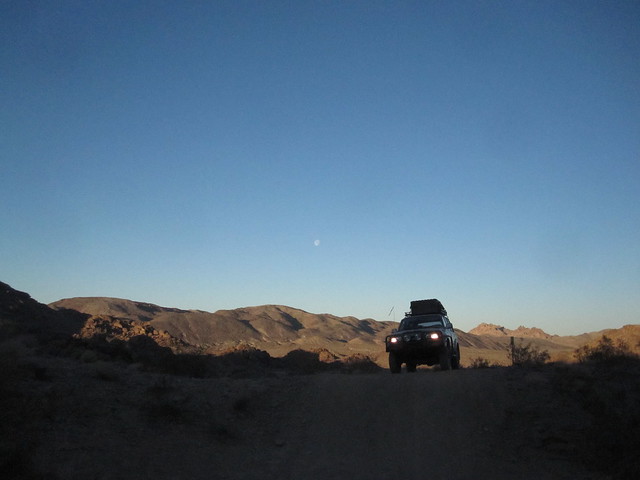
We catch the sun set lookig over the small dry lake of Melville.
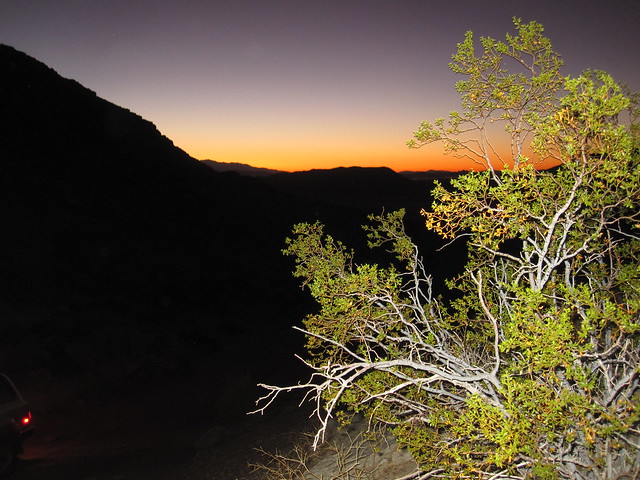
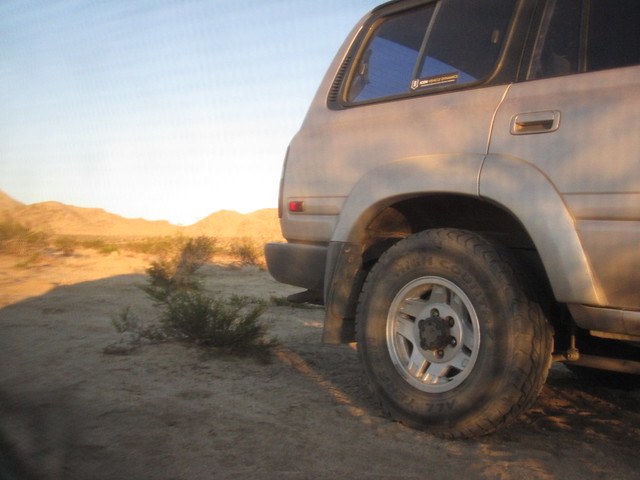
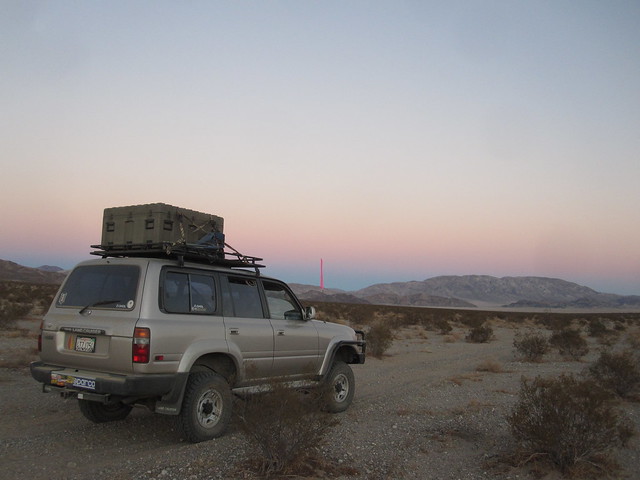
We tried to drive up to the top of a pass to see if we could get the big overview, but it was too gnarly of a climb for my rather stock ADV80. But we did get a cool view back at the sunset with a little flash thrown on the bush just to make the image interesting.
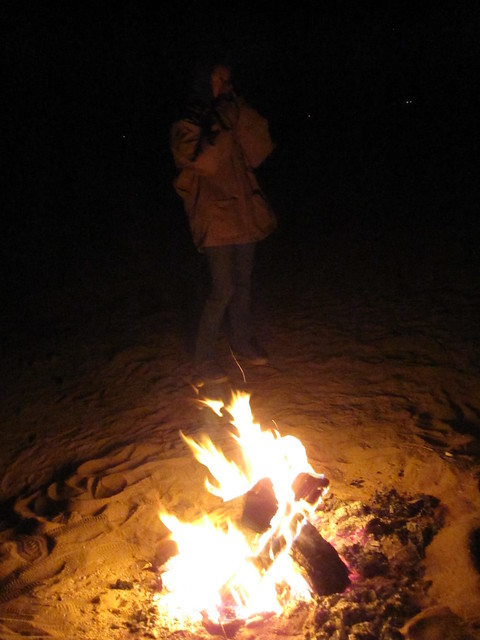
Back at camp its food and fire time!
Bed time!
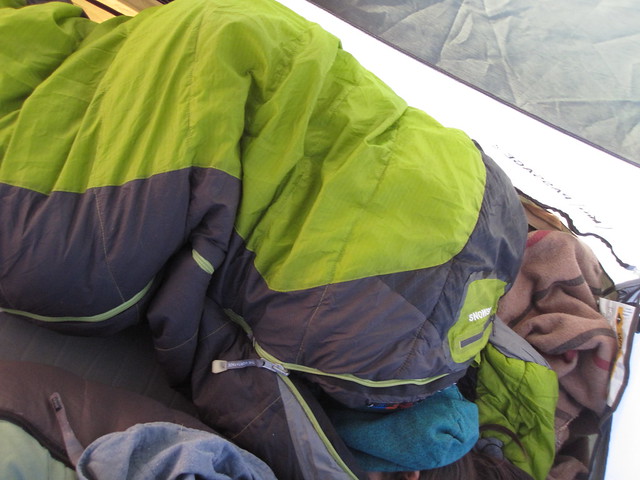
Morning, my daughter is loving this new 0-degree bag! Yes, I know... try getting your kids to totally use and understand how the mummy bag works... hehehe
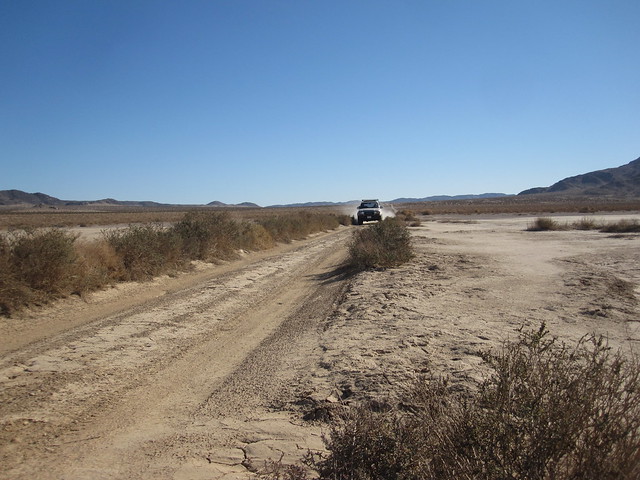
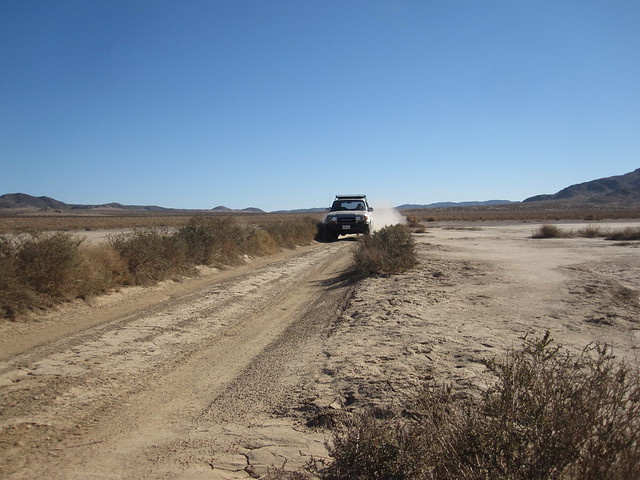
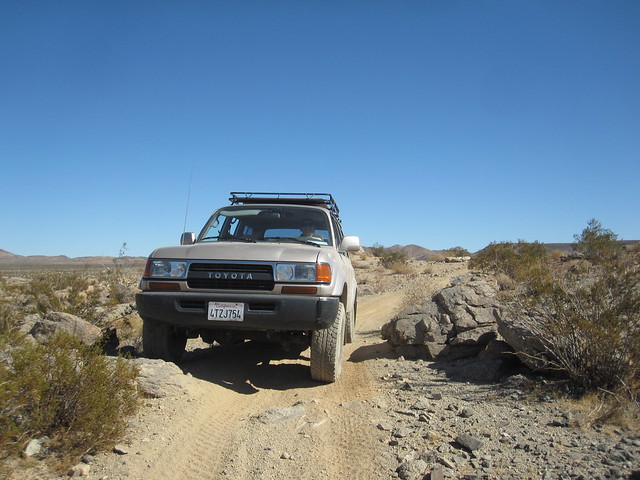
Today I have a suprise in store for her. She gets to drive solo-solo. So, I tell here that I need to get out of the truck and take photos of here driving the rig by. I show her where she is going to drive down and turn around and then come back.
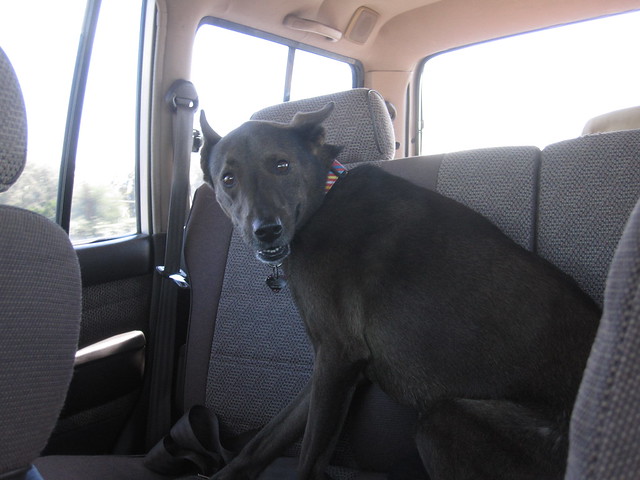
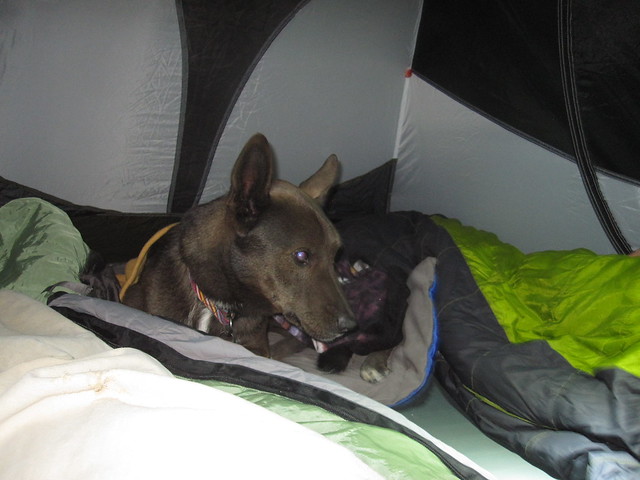
She looks at me and said, "by myself?!" I said, "no, Kona will be riding with you."
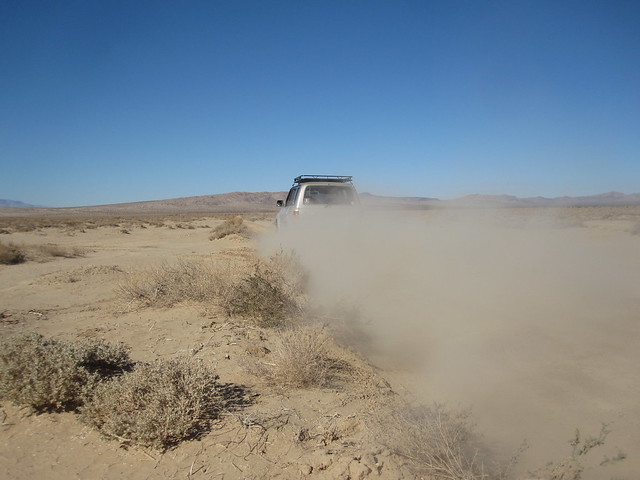
There goes my baby with my baby and my dawg!
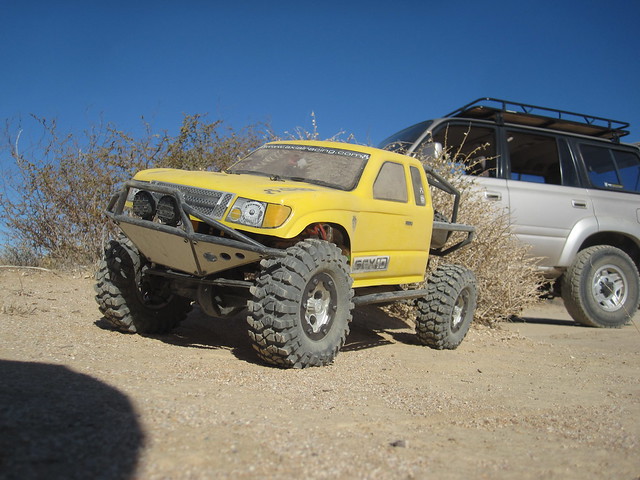
We stop a little later for some more fun:
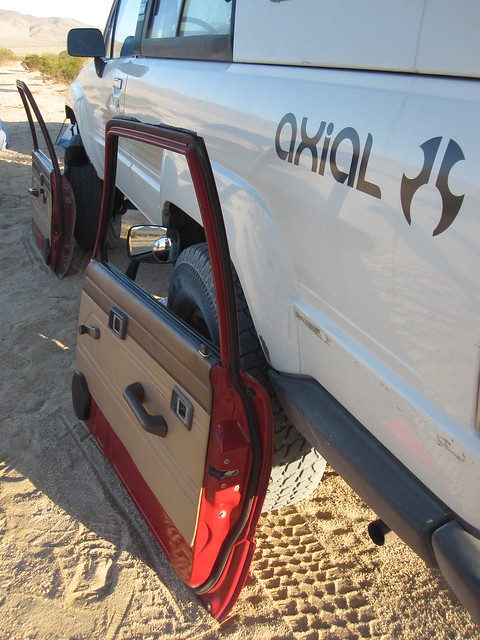
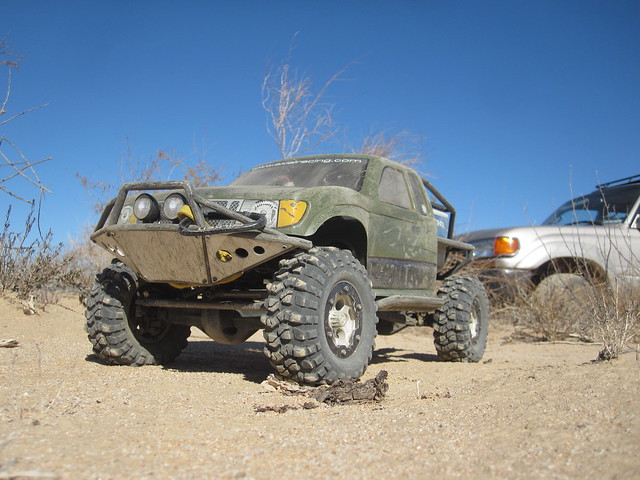
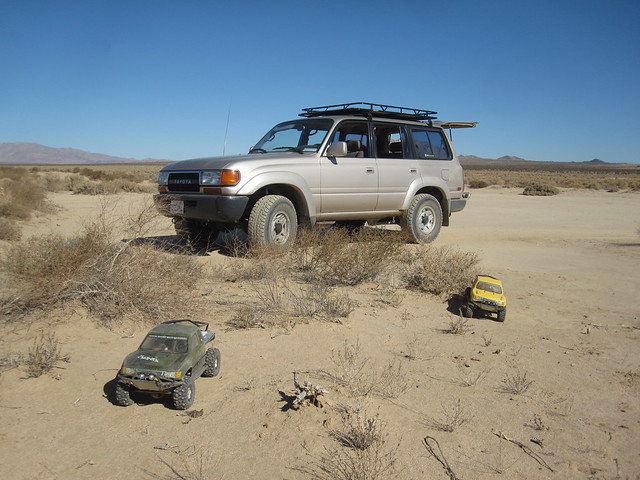
Axial SCX10's are a perfect driving technique tools.
She wanted to drive over some rocks.
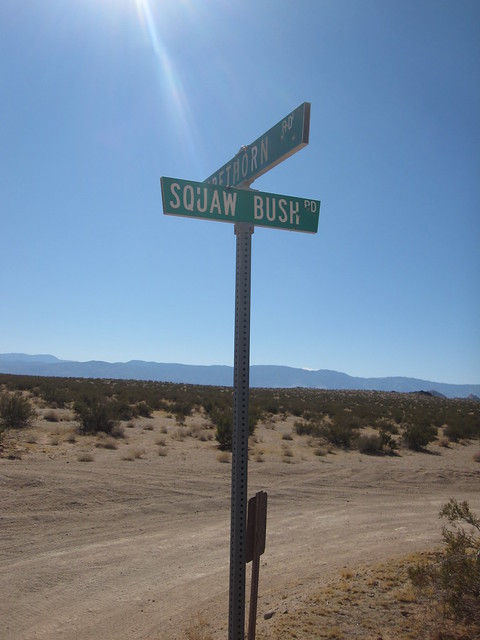
She is covering alot of ground today. From Means Dry Lake to the intersection of Firethorn Rd & Squaw Bush Rd.
One of those weekends I will remember for a lifetime!
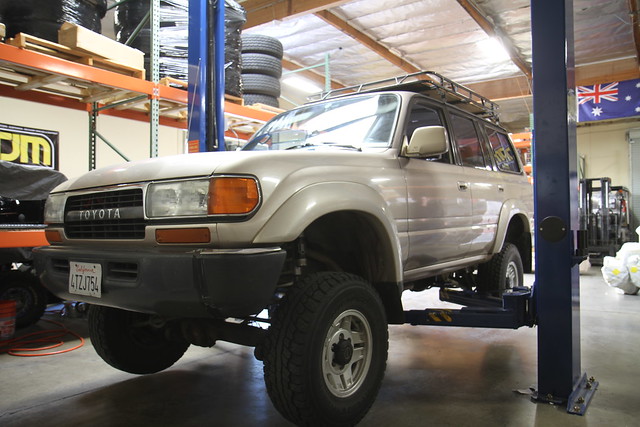
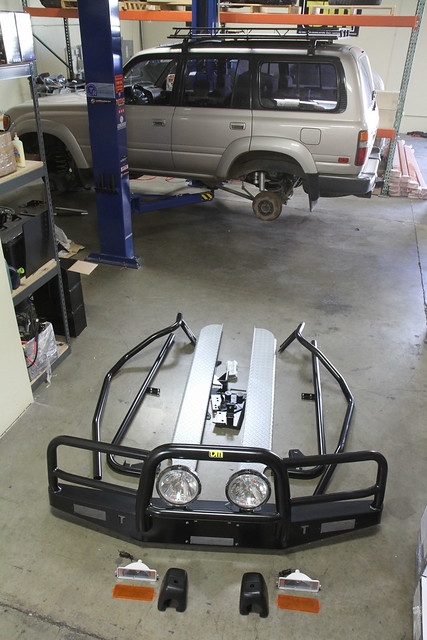
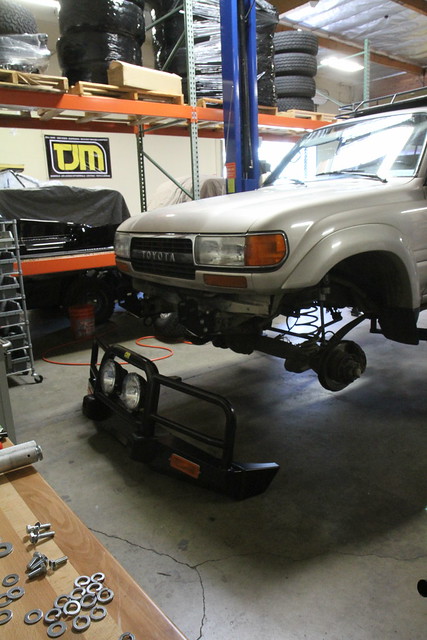
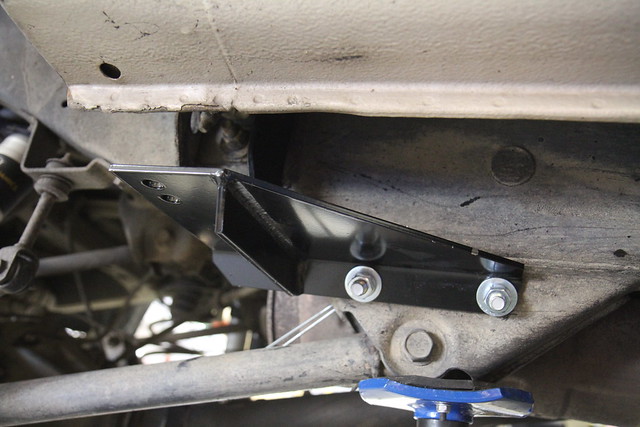
Now its time to mount the side bars and side steps. The side steps are mounted with these plates:
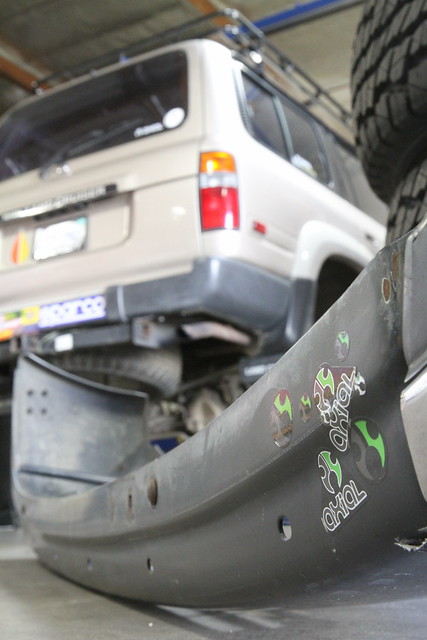
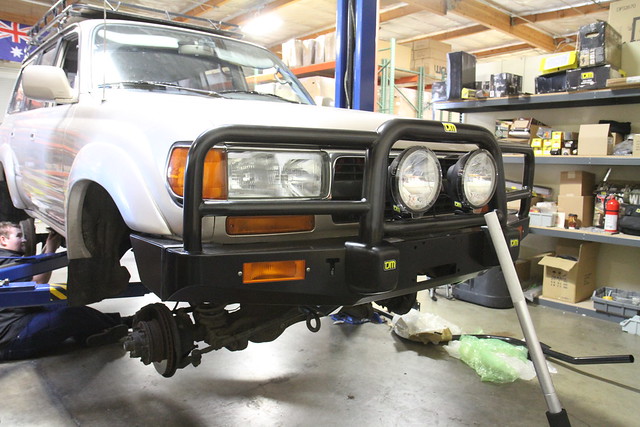
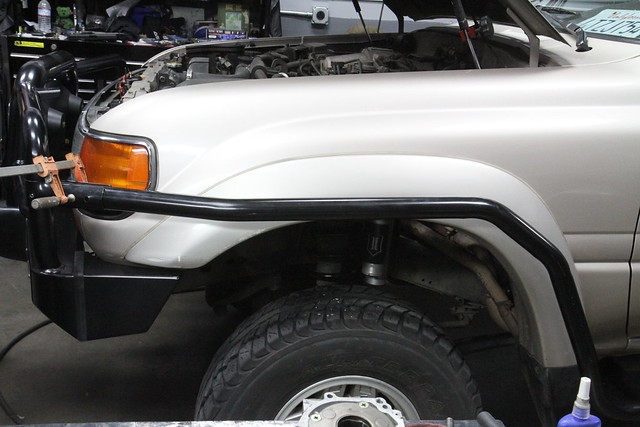
Side bars / side steps fitted into position and time to secure it all down.
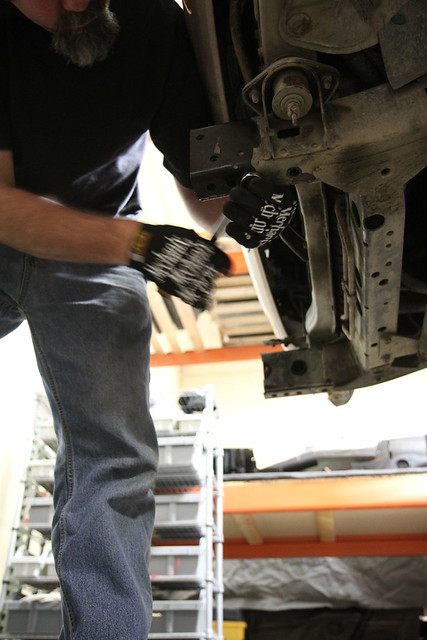
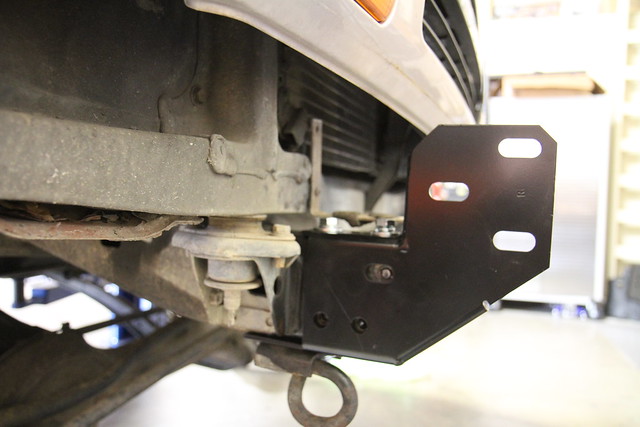
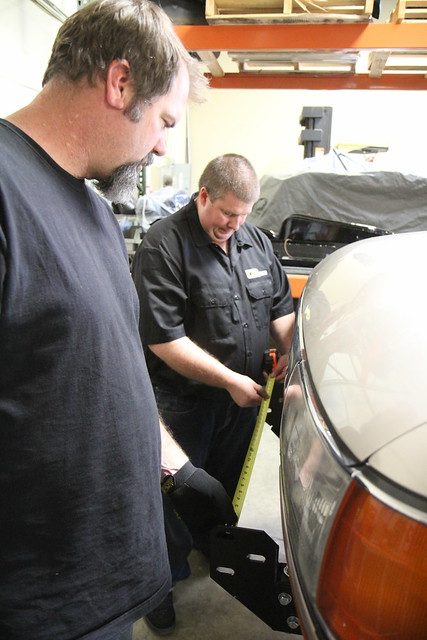
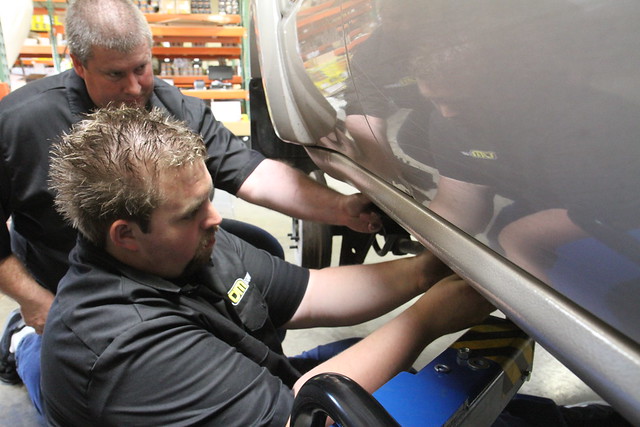
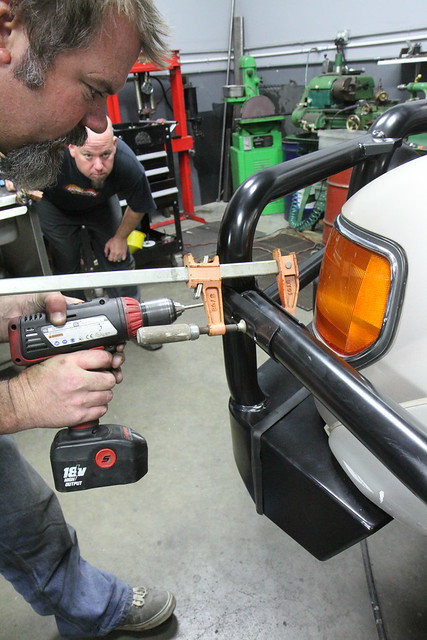
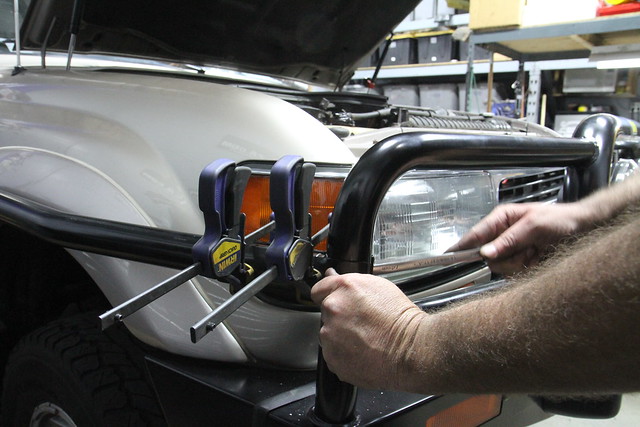
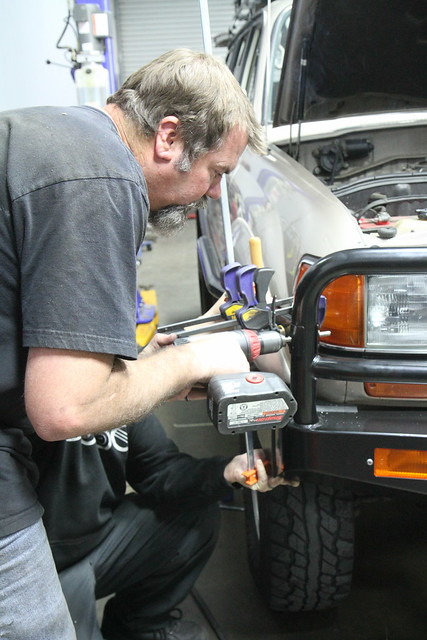
But the tricky part is sorting out the connection between the front bumper and the side bars. Once you have it where you think you want it, you commit and drill the holes in the bumper tube and the side bar tube so the connecting plates will be held in place.
Then you get to do it all over again on the other side:
WIth side bars and side steps all mounted, on to the next project.
SPRINGS!
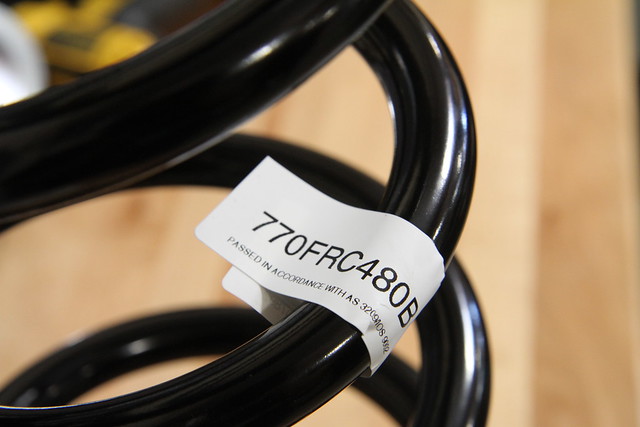
Front: TJM Progressive Coil Spring XGS 4" Lift 80 Series 770FRC480B
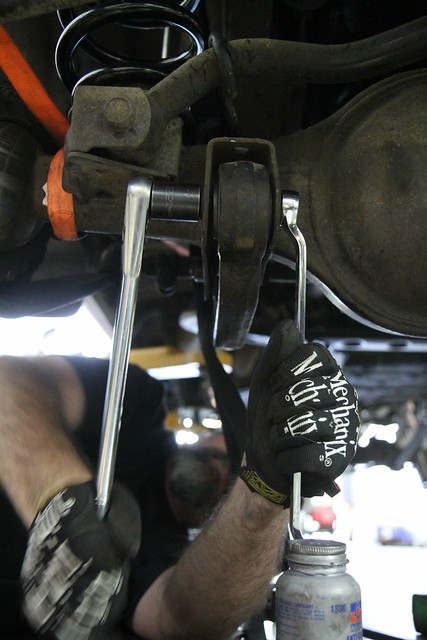
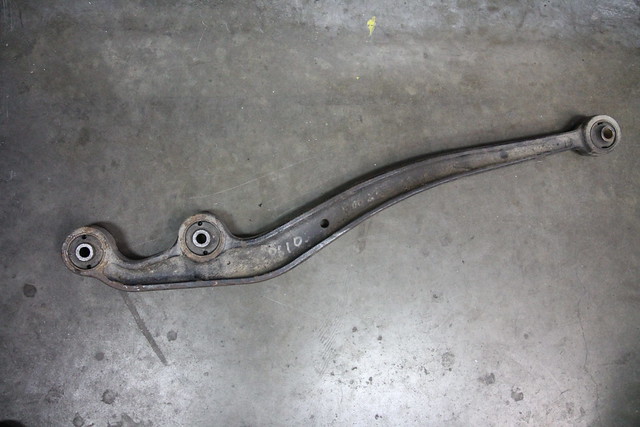
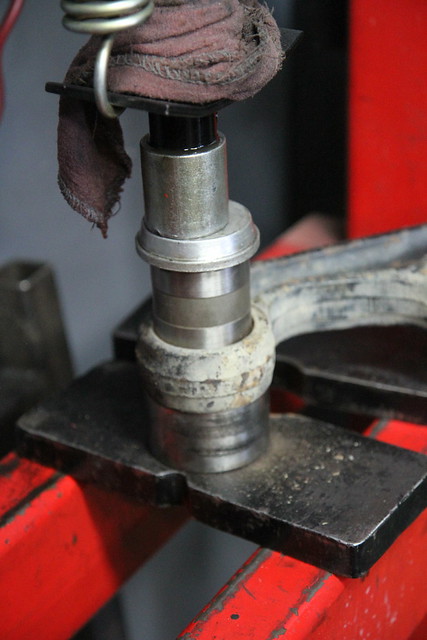
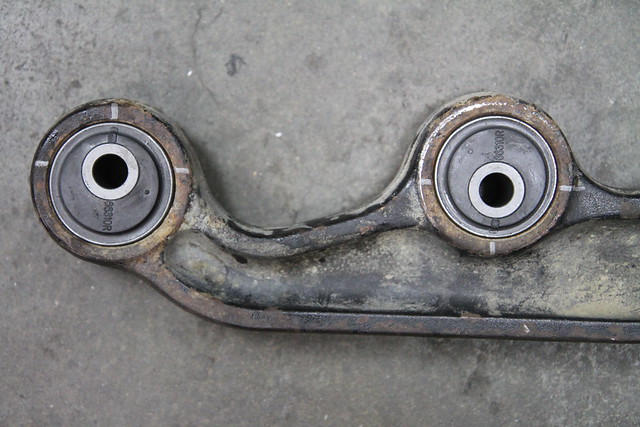
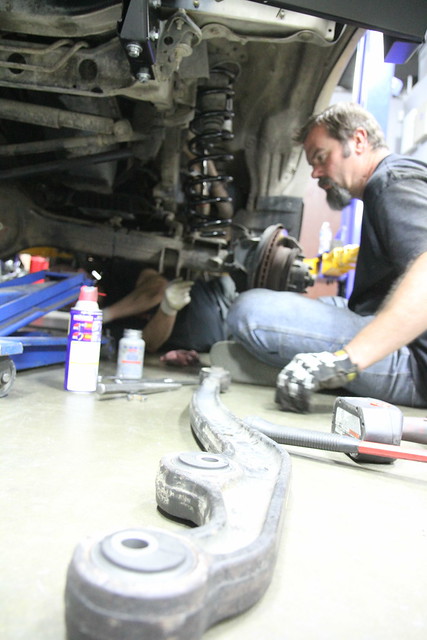
So with the radius arm out, time to press out the old rubber...
and press in the TJM Castor ADJ XGS 2.5 Degree correction kit #66310R
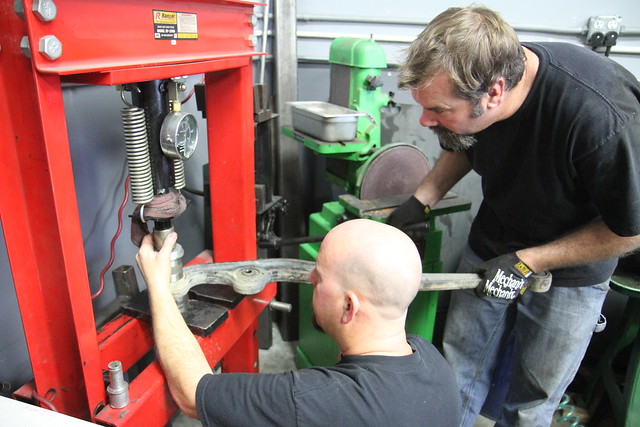
SubiWorks of Temecula has all the technical tools needed such as this press and he is also long time friend and GravelCrew member.
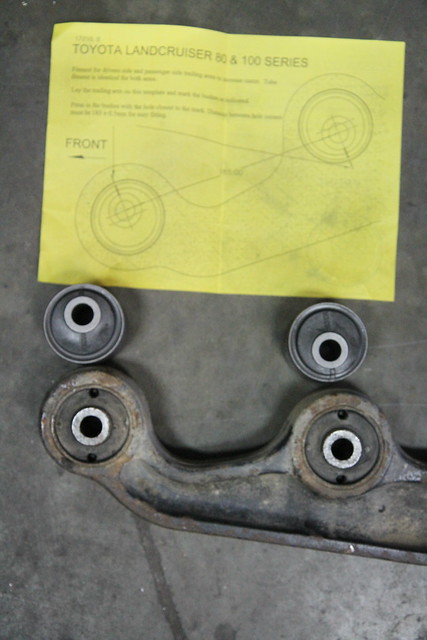
With the factory bushing pressed out, now we get to install the new one's with 2.5 degree of correction for the 4" lift that has been added.
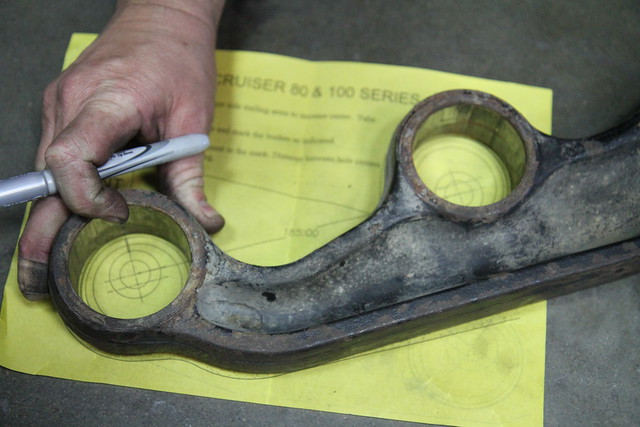
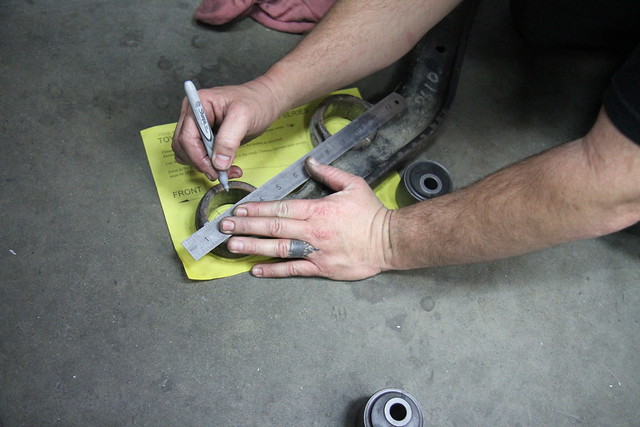
TJM supplies this little chart diagram so you can aling the bushings up to achieve the proper degree.
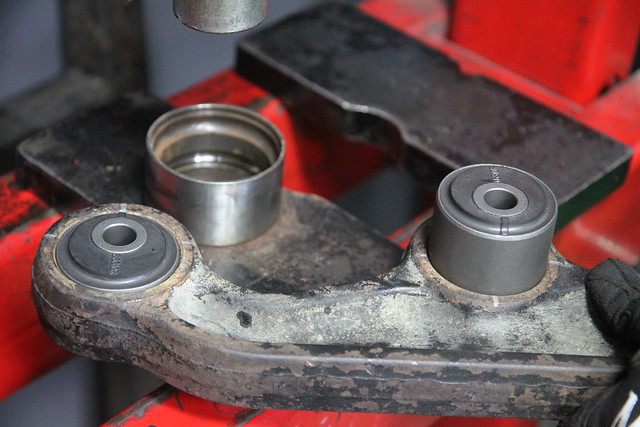
The process of pressing them in is the reverse of pressing them out.
Right side arm is pressed and ready for install, but we have the left side to do too.
Left side removed, press out old bushings and re-pressed with the new bushing - its a repeat process of the right side. Ready to re-install.
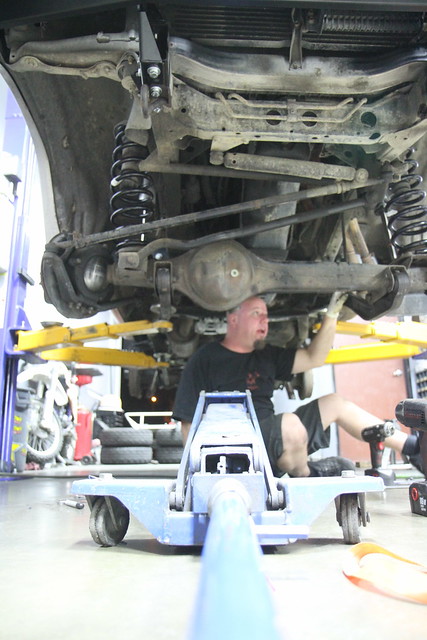
Arms are back in and checking everything over.
Chris of SubiWorks is a bonafide WRC mechanic and will be returning to the circuit again this year for a few key events in Australia and South America. He also comes with a lot of previous years in, under and around Jeeps too! And on top of that, he has a lot of experience in Baja too. Truth be told, Chris was my rally car chief mechanic that got me the 1st place championship for the Western States Rally Championship back in 2003. So, yea, I take a lot of pride in knowing that Chris has overseen a lot of my projects!
I need to extend the driveshaft breather vent line at some point.
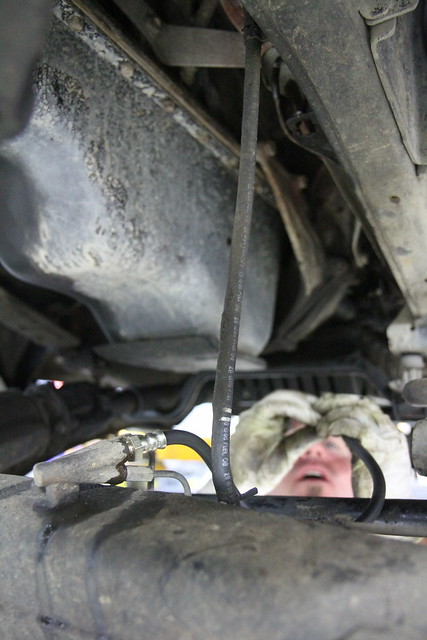
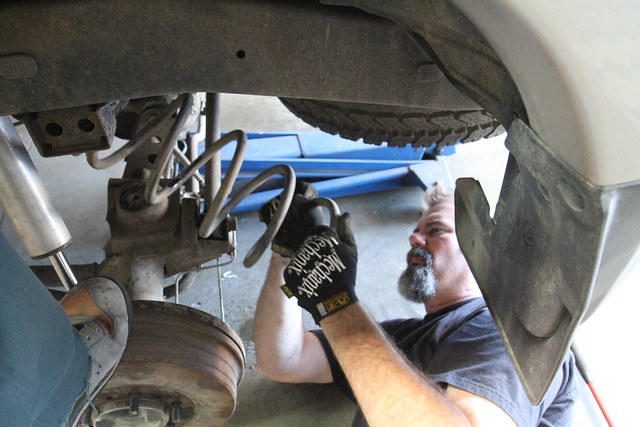
Here Chris is installing the new TJM Brake Line Kit XGS Extended LC 80 and 100 Series 658BLKIT04 658BLKIT05:
Brakes are a major item of necessity, espeically in racing. Chris is a brake genie and I was a brake-fire-monster with my rally car. I love it when Chris does my brakes as I know they will be DONE RIGHT! Yes, its a simple task... but just kowning that he has overseen my brakes gives me confidence. I have had brakes go wrong, but never on his watch!
LUNCH TIME!!!
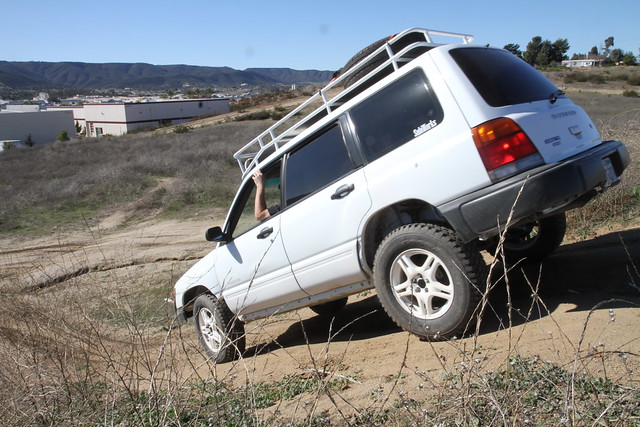
Chris takes us for a spin in his SubiWorks Overland Spec Subaru Forester.
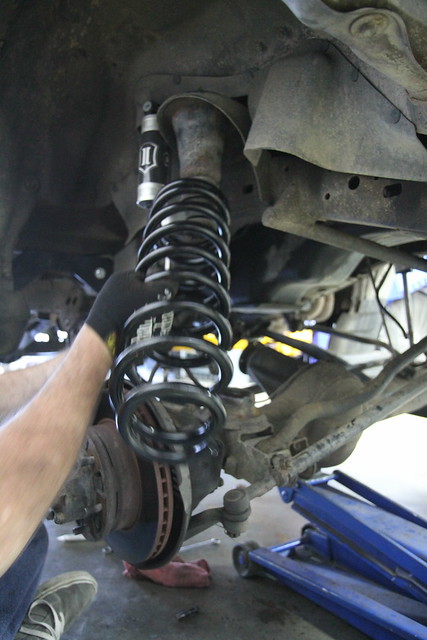
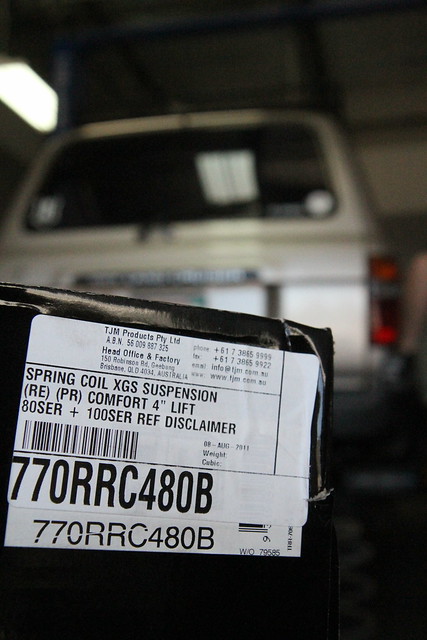
TJM Progressive Coil Spring XGS 4" Lift 80 Series 770RRC480B added to the rear. This spring is said to be comparable to Medium Rate with comfort. Still working on getting technical data for comparisons. My thought is that I am going to make use of an air bag support system in conjunction with this spring as later down the road I will be adding a motorcycle carrier to the rear hitch. I drive this rig every day to work so I do want some comfort, but I do carry some weight on the weekend outttings. I do not have a drawer system, but if I do, I will go for as light-weight as possible. I will add a roof top tent from time to time and or also use the roof rack for work purposes. That is how I opted for this spring vs. the heavy's.
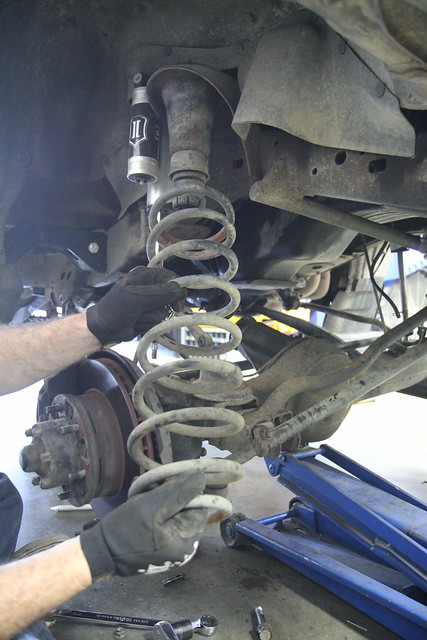
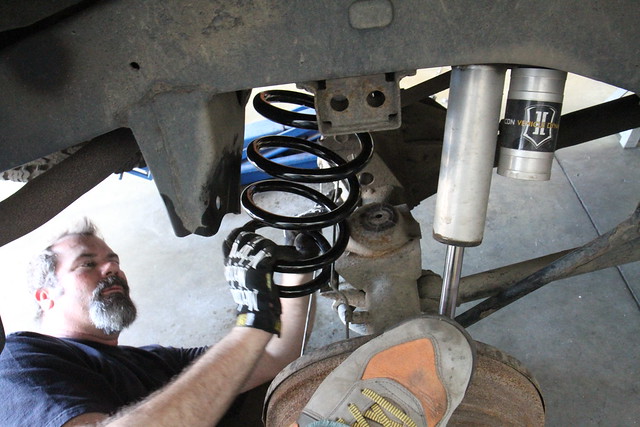
Yank out the old crusty stock rear springs.
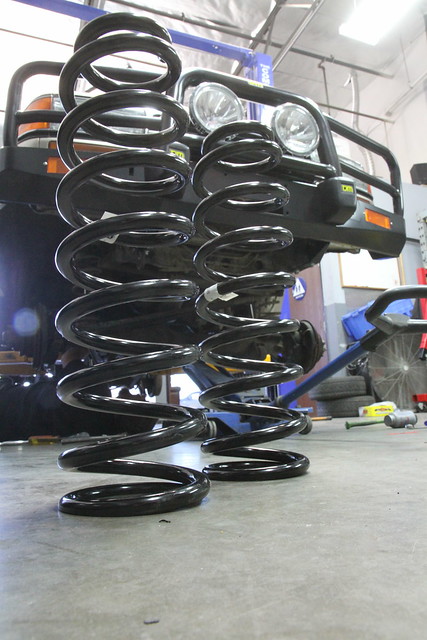
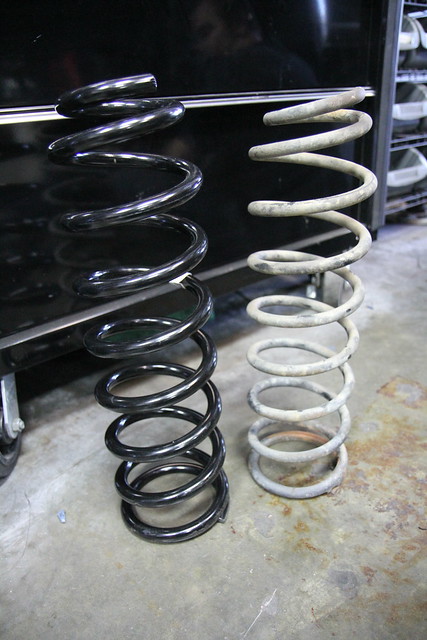
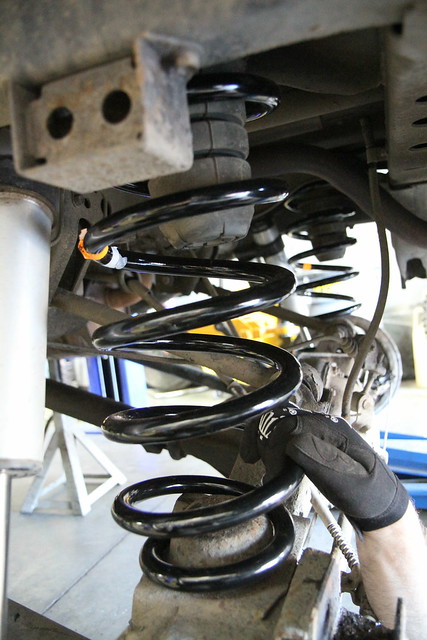
Here is a side-by-side comparison of the new and old rear springs.
While the springs are out, we are going to add the TJM adjustable rear track bar.
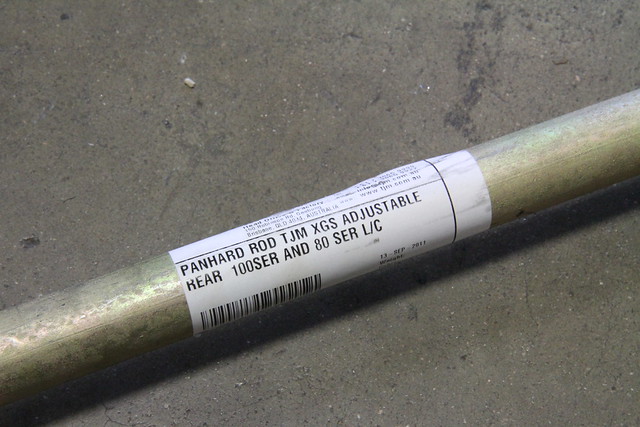
TJM XGS Rear Adjustable Panhard Rod for the 80-Series
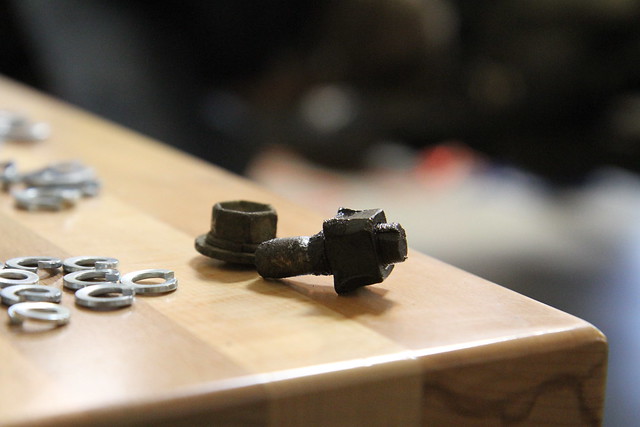
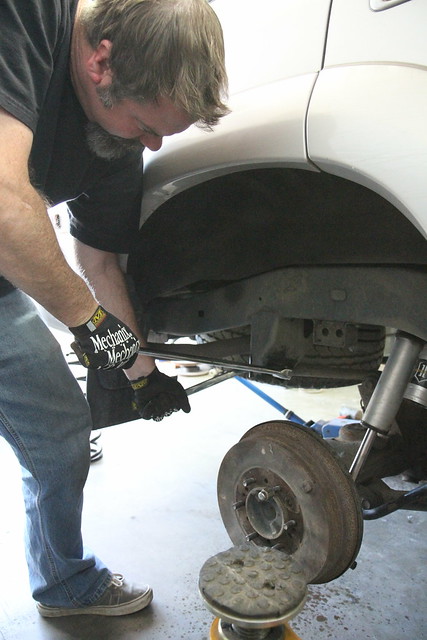
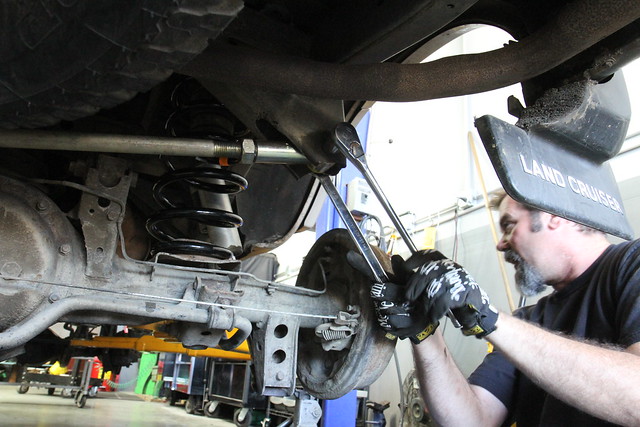
Lots of crusty old bolts requires the use of hand tools vs. air tools. Just for good measure when removing old parts that have most likely never been touched.
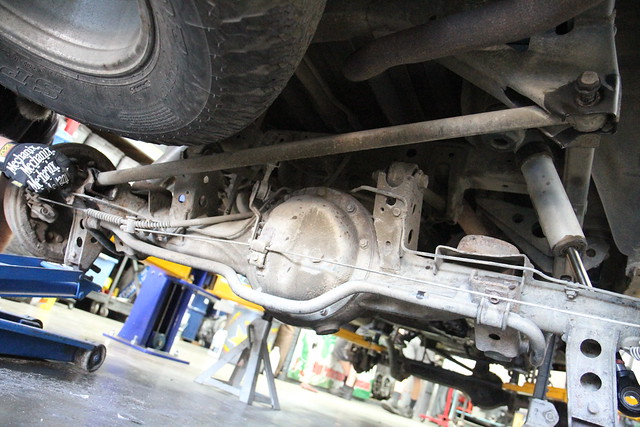
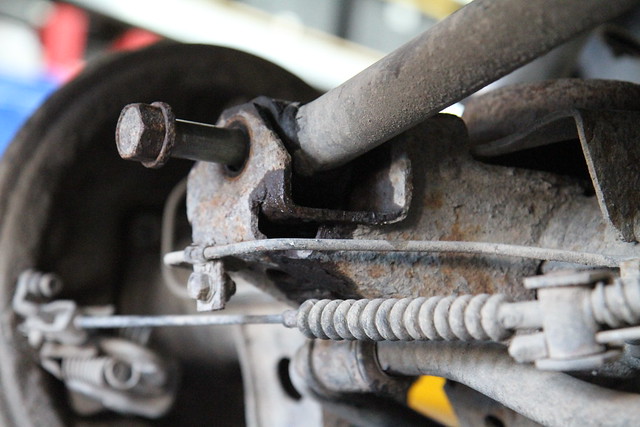
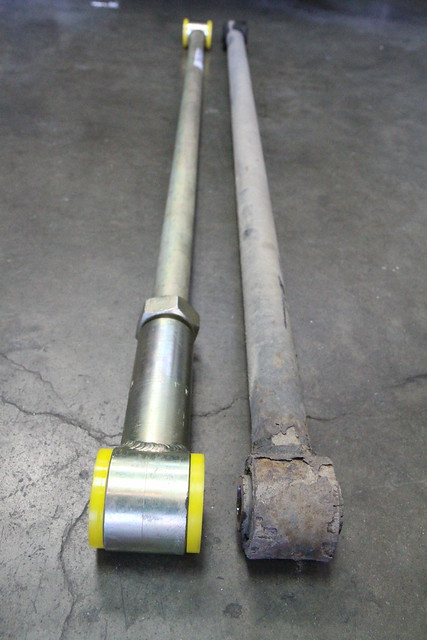
TJM Adjustable Rear Track Bar vs. Stock Fixed Track Bar
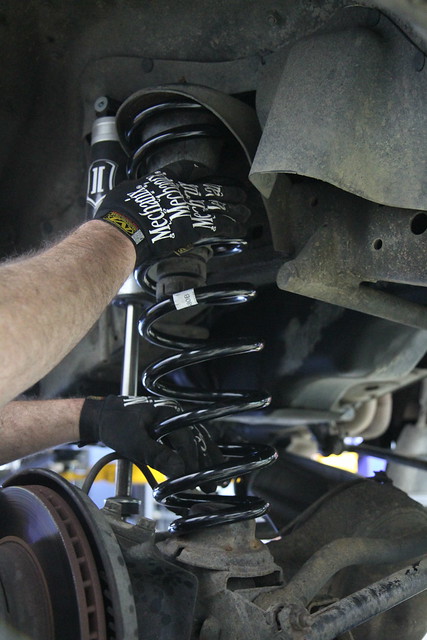
Installing the new 4" lift springs requires a little "footage" to help push down on the axle to make room for the larger spring.
Both rear's are in now its time for the track bar.
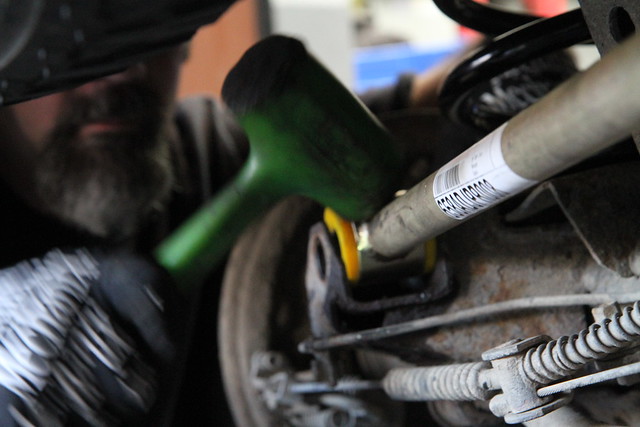
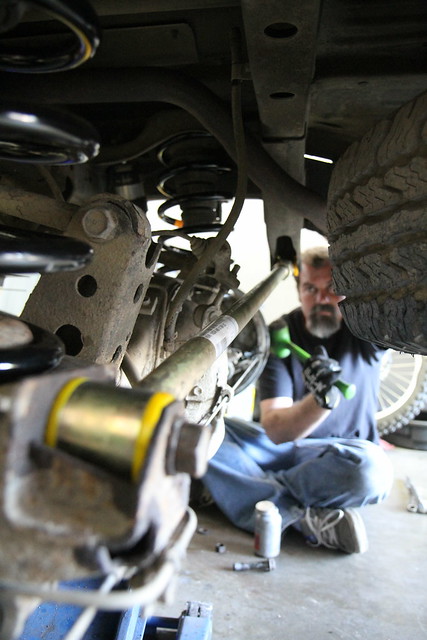
A little attitude and a green BFH is needed to get the poly bushings to comply with being squeezed into place.
Did I mention...
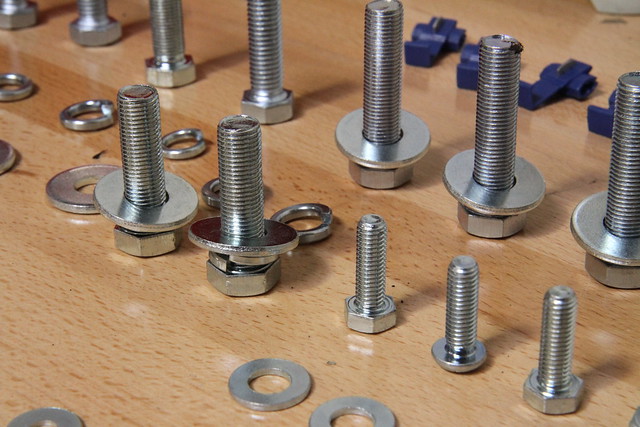
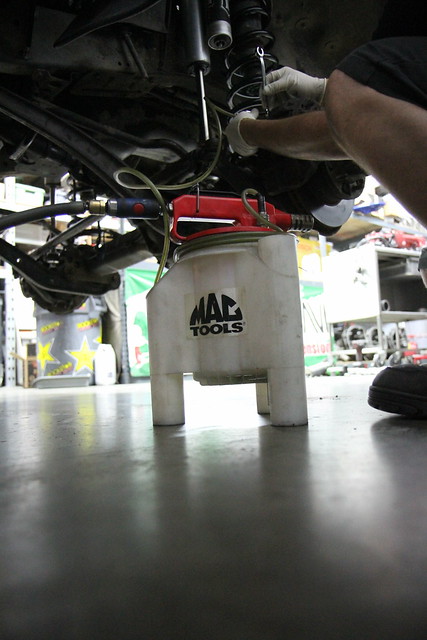
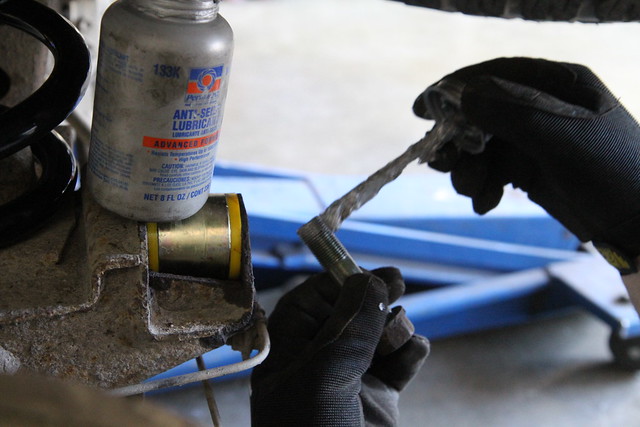
We use Anti-Seeze juice on the bolts.
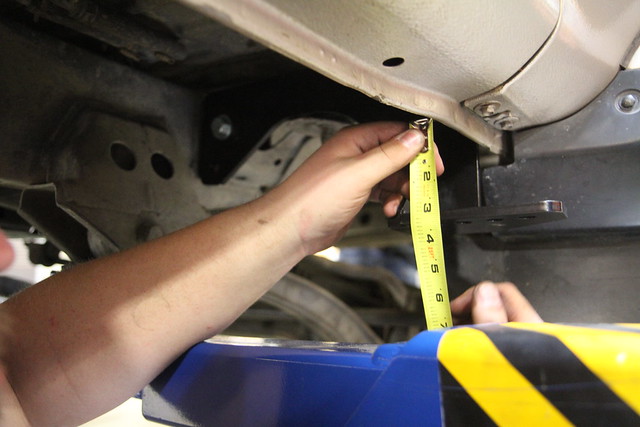
Measure for lift and repeat process for the other side.
Hand tightning habbit... air tools all around.
At the time, I was unable to get my hands on the TJM front adjustable track bar.
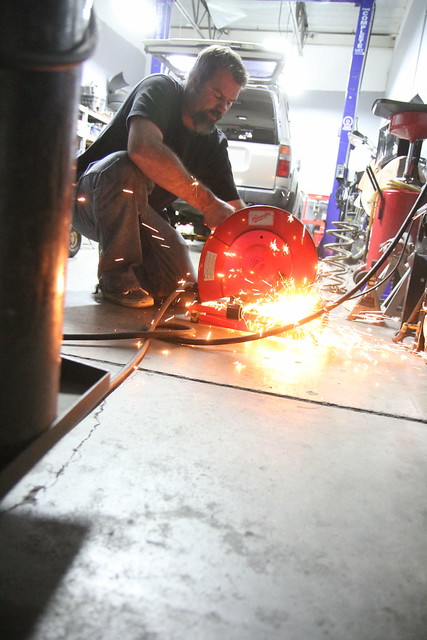
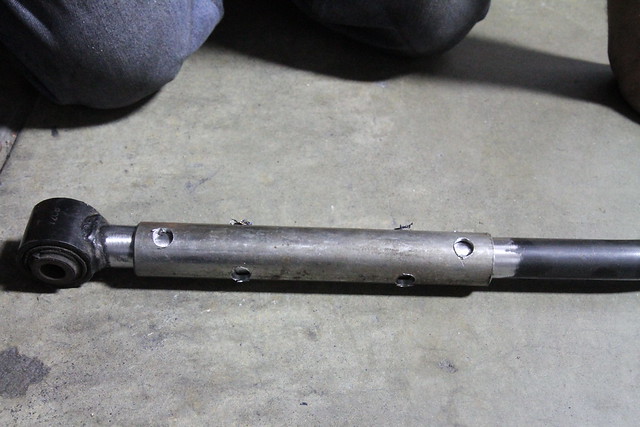
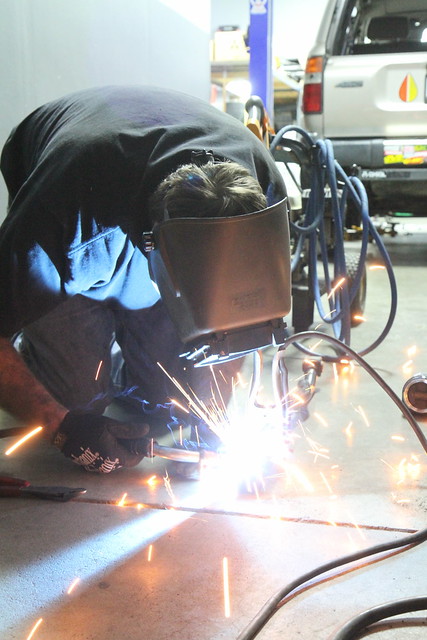
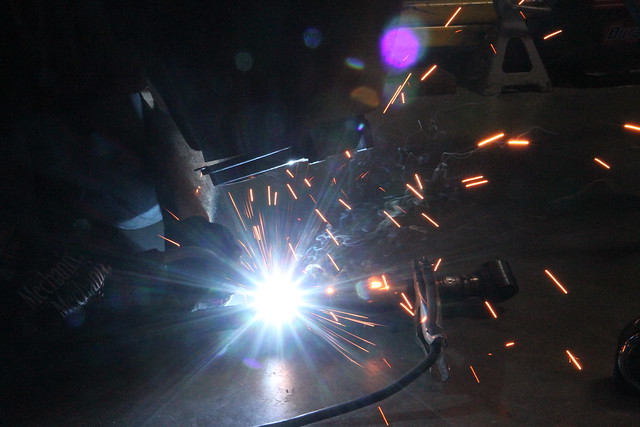
So we improvize. Here is my buddy Scott cutting my stock bar! To turning back from here! We could, but more cutting will be involved.
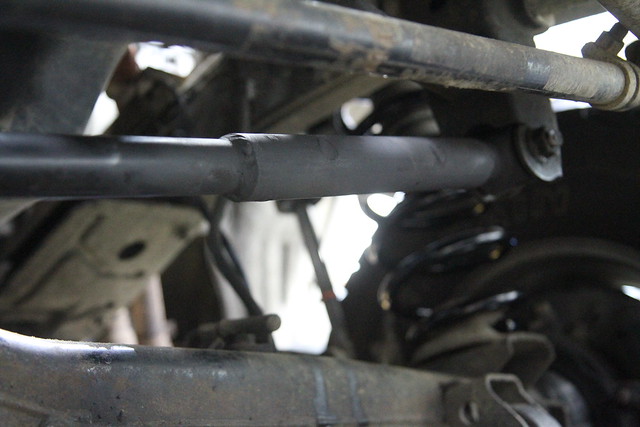
Scott added a sleeve over the stock bar to gain some length in the bar. The holes are for additional welding surface area.
King Of The Hammers 2012 Toyota Land Cruiser ADV80 TJMerized
I finally got to give the rig a great test run as I was apart of the Heavy Metal Concepts Media Team for the 2012 King Of The Hammers. Rig was loaded with lots of camera gear and three guys. We where positioned at the outter corner of the course so some good cross desert travel to give the suspension a workout.
Thanks for this thread. It's a good reminder to still just get out there and have fun, even when it's stock and you are waiting on the money to tinker!
Great read, man & machine.
Looks like great times with the daughter too, good on you, sir! Take care.
ICON Shock / TJM 4" Spring Combination - First Off-Road Impression
We where loaded with three guys and lots of camera/video gear as I was transporting myself and a couple of other videographers out on course for the 2012 King Of Hammers. So this made for a great opportunity to traverse the deserts terrain, ie: lots of whoops and all those never ending small six inch bumps. We have had numerous conversations about these whoops as Johnson Valley is riddled with whoops. I even have a nickname for Johnson Valley... WHOOP CITY!
So, on with the impression.
Pulling off the paved road and onto the dirt road that leads onto Means Dry Lake I instantly felt the plushness! I knew I was going to be stoked. But, I knew this was just a basic road and needed more diverse conditions for a full evaluation. Meeting up with my buddies, we loaded my rig and made way across the desert. With cargo of the precious and fragile nature such as our camera and video gear, we did not want to achieve any great speed over deep whoops. We did notice that we could get the rear of the vehicle to “buck” or bounce out the backside of the whoops meaning that the rear shocks are going to need some re-valving now that the longer stiffer springs are in place. We want a controlled rebound, so this will be something we will work on later and we want to do this with/at speed. The awesome thing was watching six inch size bumps not move the vehicle six inches while traversing at a 20-30 mph clip. With stiff springs, this is practically impossible, so this is where we where very impressed with the springs soaking up the small bumps. The front shocks are near perfect for both six inch bumps and the larger whoops, but we will be doing some more testing at higher speeds to fine tune the shocks and springs working together in concert. So for now, I'm very happy and I know its only going to get better. These TJM springs pass the test and make for a geat base to work from. The ICON's are simply sweet and smooth and TUNEABLE so these shocks will get us to our desired effect!
Tactical Rock Manuvering - With the good comes the bad!
While at the 2012 King Of Hammers and all the good that we had, there is the BAD!]
Let me set the scene.
We were out previewing the section of course that we were asigned to film for King Of Hammers. We where assigned the section between race marker 20 and 21 on Martell Mountain. We got a good look of the section going from 20 to 21, up the hill, but according to the topo we saw the drop off over the top. We wanted to drive around to the other side and see if we would have something more to shoot, so we were traversing our way around the base of Martell in a clockwise direction and where about halfway around and could see another dry lake on our left where race market 24 was. Working our way around, we got into a section that dropped us down this ravine and had a step but small drop off at the bottom and we needed to go left in the drop as well. We see the rock in which we also need to maneuver around.
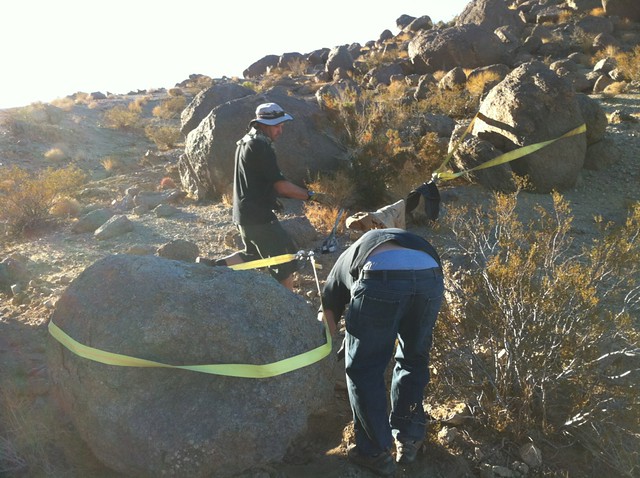
This is one of those moments when you wished you took the time to shoot a few more images aside from one. Luckily my buddy ScottG shot this image amist the mayhem.
I'm in the hat working the hand-winch. Will is the one digging out the underside of the rock [blue droors] and Scott just stepped back to access the situation and snapped this one image from our episode.
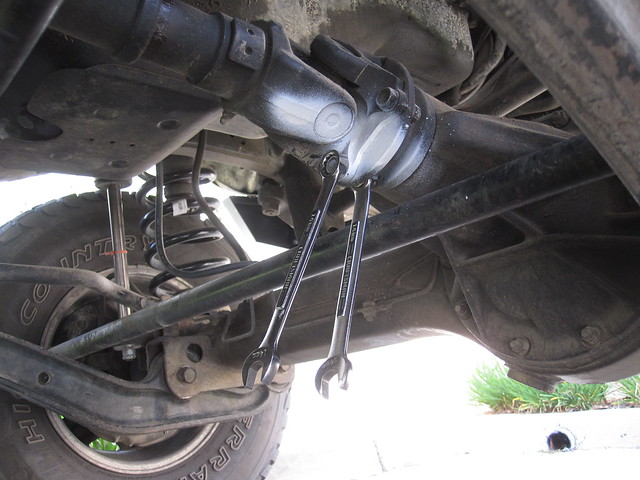
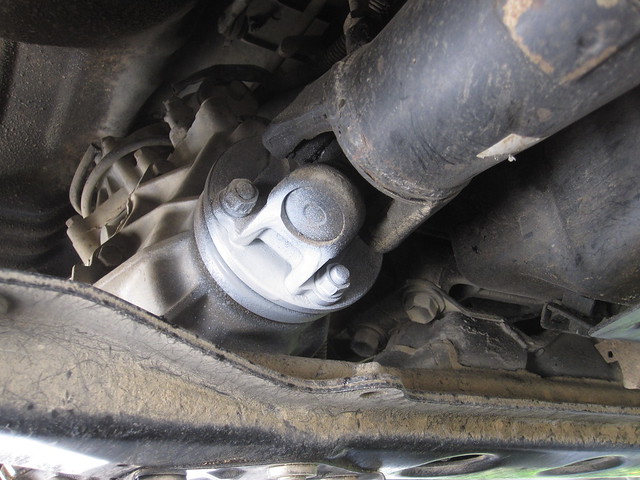
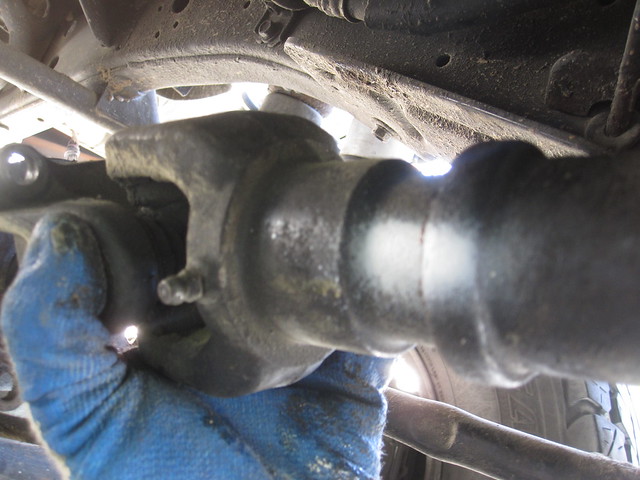
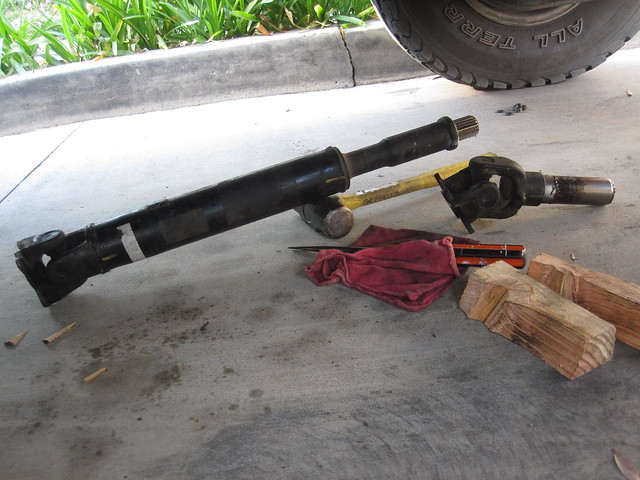
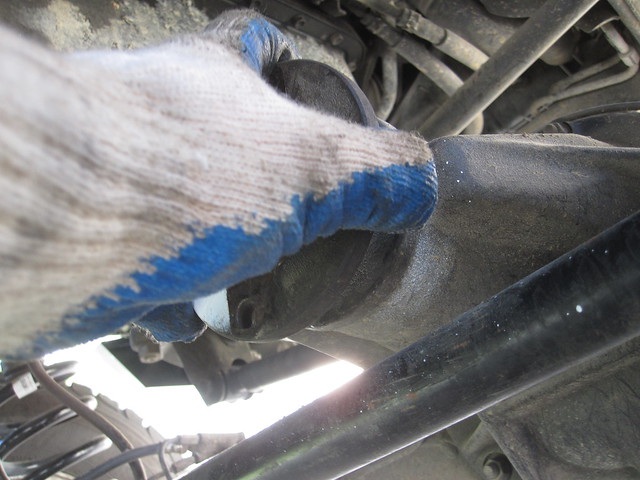
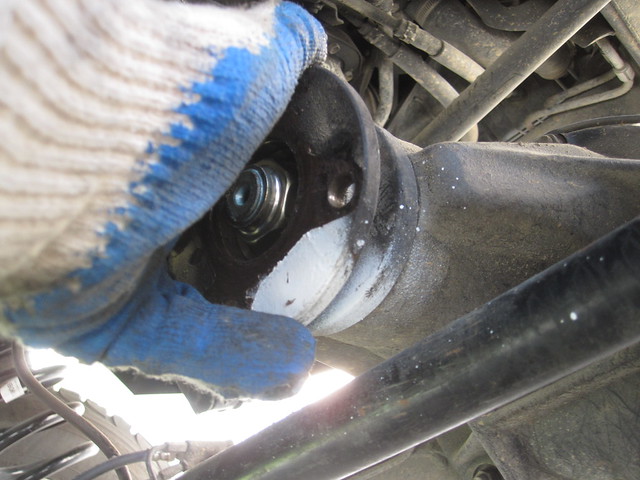
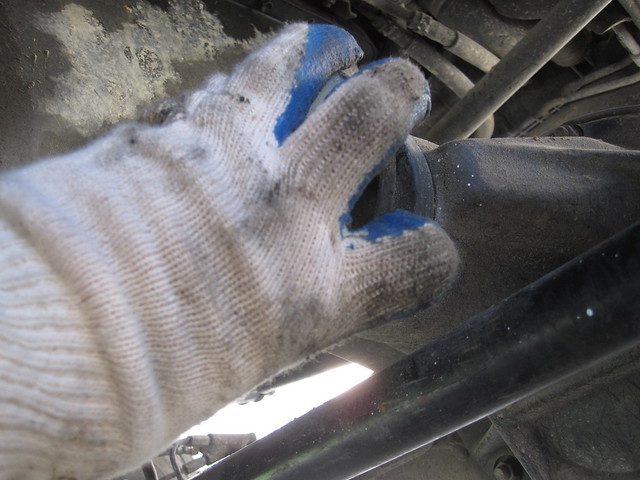
What you do not see is to the left of the rock in the front is my truck and we came down the hill and was turning left and around this rock. On the outside was a small rock that I needed bump up and over. For some reason the little rock made my front driveshaft release a loud SNAP and then a grrrrrrrrrr sound and no motion forward.:whoops: We throw it in neutral as quick as possible. Try reverse and grrrrrrrrrrr with no action and quickly toss it into natural. ScottG is outside the rig already as he was guiding me through the tight section that buy my previous experiences was a very simple maneuver and should have NOT BEEN AN ISSUE.:whoops:
ScottG being a Jeep guy saw this as the end. Its late in the day and the sun is going down. We saw our chances slipping away to be maneuverable the following day. I saw an expensive tow bill. But, he knows my truck well and asked me to push the Center Diff Lock switch and try it again. We spin the outside back wheel and it is close to being completely unweighted so it spins in the gravel. We know we can add two guys on the outside rail to get weight on the tire, but we asses the situation and instead of trying to drive forward in 2WD or better yet, 1WD; we decide we should try to move the rock we are going around over a foot or two and we can go forward without bumping up the rock on the outside. We first start with the shovel and the rocky surface underneath calls for a pickaxe [note for future additions].
Luckily I carry a couple of tow straps and a come-along hand-winch. I do not have a front mount bumper winch and I grew up pulling the family wood cutting truck out of ditches with a come-along hand-winch, so I know this tool pretty well. It has came in handy a few times with the Land Cruiser.
So, we strap the rock we want to move up to a larger rock up the hill and hope this size does matter and the rock higher up the hill is truly heavier. While Scott and I are hooking up the rock our buddy Will is digging the area out in front of the rock we want to move.
We click the hand-winch and the rock comes-on-along in the direction that we hoped for - OUT OF OUR WAY!
Also note in the name of winching-safety-technique, I have my Carhartt jacket and rubber floor mat draped over the winch line.
So with that accomplished, they get on the outside rail and we back the rig up few feet to cut the corner around the rock we just moved. Now we can progress forward, once we get all the gear loaded back into the rig.
Then the next worry. How are we going to get this heavy rig back up and over the big sandy hill we came down at race mile 52?
Needless to say, we made it back to camp after a couple of failed attempts to driving around the moutain only to get either into steeper hills or the untracked desert that is so soft and the 80-series super-tanker does not do too well in the soft stuff. Yes, even aired down the inclide was too much and too much risking as we were attempting to go further away from camp, driving around the mountain ridge to get back to camp. Long way around was not to be.
As we made it back over the same original way we came down, we made the decission to go for it again the following day for the race. We had a job to do! All went as planned - drove home - currently driving to work each day.
GCRad1...nice writeup about the events surrounding your carnage.
Have fun with the repairs...Are you going to have Yota Masters do the work again?
I read through the suspension and protection upgrade projects you posted a few days ago, really enjoyed that. But am wondering if you are going to run a bigger tire in the future?
yes yes yes, I know, I know... I need larger tires! I will be going to 33" on the next set. I know everyone is going to say to go at least 35" but I am staying more in the Overland-Spec which is around the 33". I drive it daily. I drive it on long trips and if I can't get there on 33's, I kinda' don't need to be there.
My big questions ahead after the 33" tires are: 1] What gear ratio? 4:88 or 4:56's? What gear company?
2] Get rear disk brakes with rear axle swap from SF to Full Floater - what year FF?
3] Lockers while doing gears.
4] If I can not get the FF rear axle now, but buy my gears+locker, will the gears+locker from SF axle fitment also fit into FF axle later down the road?
5] Do I need 16" rims to fit over disk brakes?
6] Do I need double cardigan driveshafts?
I totally hear ya! I breeze through a lot of post as well too. I subscribe to a lot too and read them from end-to-end as there is just so much good info in them. My post, just good breezing times! hehehe Thank you for giving my post a scroll through and a comment!













 and then a grrrrrrrrrr sound
  and no motion forward.:whoops: We throw it in neutral as quick as possible. Try reverse and grrrrrrrrrrr
 with no action and quickly toss it into natural. ScottG is outside the rig already as he was guiding me through the tight section that buy my previous experiences was a very simple maneuver and should have NOT BEEN AN ISSUE.
 :whoops:
 Its late in the day and the sun is going down. We saw our chances slipping away to be maneuverable the following day. I saw an expensive tow bill.
 But, he knows my truck well and asked me to push the Center Diff Lock switch and try it again.
 We spin the outside back wheel and it is close to being completely unweighted so it spins in the gravel
 . We know we can add two guys on the outside rail to get weight on the tire
 , but we asses the situation and instead of trying to drive forward in 2WD or better yet, 1WD; we decide we should try to move the rock we are going around over a foot or two and we can go forward without bumping up the rock on the outside. We first start with the shovel and the rocky surface underneath calls for a pickaxe [note for future additions].