

Door rehab

This site may earn a commission from merchant affiliate
links, including eBay, Amazon, Skimlinks, and others.

Joined
Jul 12, 2009
Threads
61
Messages
221
Location
Las Vegas, NV
I need to get these door into shape. Glass is good, and I think the mechanisms will be good with some lubrication (silicone).
I want to break them down, paint them, and put in new weather strips.
Where do I start?
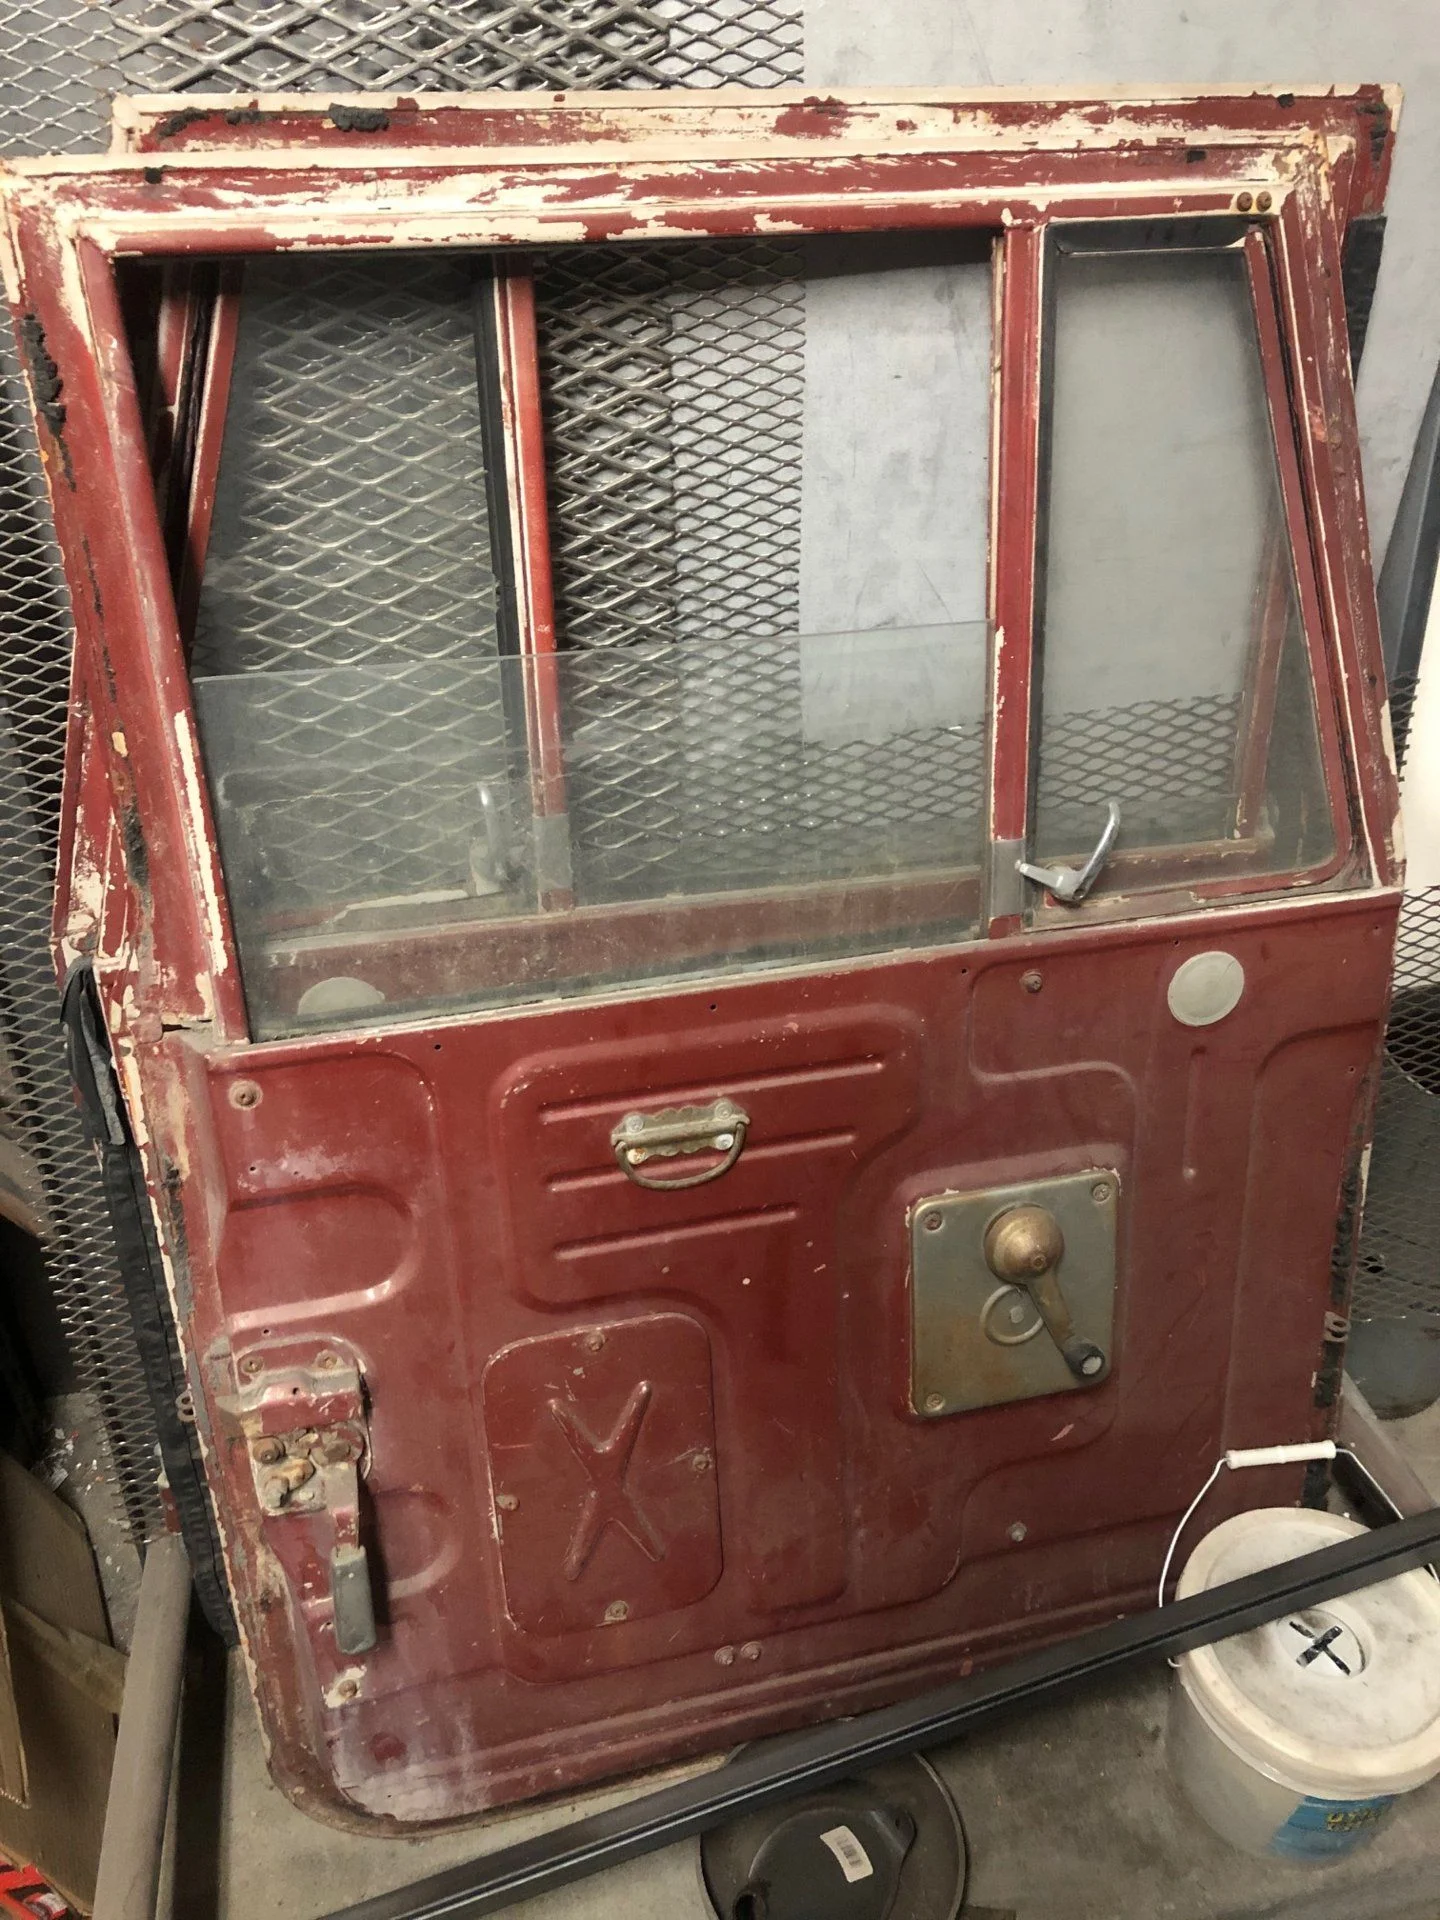
IMG_2444.webp
 
In the same boat. Is there a good source for the screws that hold the top window frame pieces in? Most of the ones I've seen are rusty and the heads strip out really easily when trying to pull the doors apart.
 
In the same boat. Is there a good source for the screws that hold the top window frame pieces in? Most of the ones I've seen are rusty and the heads strip out really easily when trying to pull the doors apart.
You can get stainless replacements from Overland Metric. The heads are slightly more rounded but worth it. I used a Vessel JIS demolition screwdriver that has the full length tang for banging on them with a hammer to help loosen. After a day of soaking with penetrating oil. That made a huge difference.

Ditto on carefully prying the door metal to slip the welded block on the bottom of the window channel runs that the screws thread into. The upper window channel and frame lifts out, but not without a little help.
 
Sprayed some PB Blaster and let it sit. I was able to loosen, or remove, nearly all the bolts. The only ones that are still holding fast are circled in white.

door bolts.webp


door.side.webp
 
If the plan is to paint the doors then you should heat those screws until cherry red with a torch. If keeping the patina then you might try a vessel impact driver. Or I've seen guys on mud post that the "shake n' break" work well with an air hammer.
 
Yep. Those are the deeper ones that thread into reinforcing "plates" welded to the window channels. The right JIS bit is key I think, combined with some impact to loosen things up. Even then I remember having to take vice grips to at least one. I also want to say those fit a #3 bit, even though they look like it should be #2. Regardless the great thing about these is the strength and the wrench hex right above the handle. You can get a lot of torque if you bear down and twist after giving it a few good whacks. I have the impact driver too but I was hesitant to use it because of the glass. Your mileage may vary...

Amazon product ASIN B001VB8AOA
 
Once I get these out - what is the next step?
I get the feeling that the wrong order will muck it up real quick.
 
Once you pull the window crank handle out of the way, carefully pop off the plastic plug under the vent window. Turn the vent window all the way open and you should be able to see the spring and washers underneath it that provide the tension. I "think" you have to remove those as well to allow that part of the frame to wiggle out while the vent window is open. Maybe not. Then slide the whole thing out nice and easy except for a little persuasion to get past those screw receivers on the channels. Lastly turn the door shell over and shake out 40 years of clothespins, rat turds and disintegrated window felt!
 
Be gentle with the threads and nuts on the bottom of the vent window too if you're taking the spring off. It'll probably be well rusted too.
 
You only have to turn the vent window about half way open to lift frame out.
Then you can get to the tension spring and nut with it out. I ended up having to wire brush it, soak with P.B. Blaster a day and the nut came off pretty easily.
 
This one I have not had a chance to clean up yet but you can see the stop.
Turning it open about half way will allow the door window frame to lift out.

20200304_160822.webp


20200304_160813.webp
 
Plan A: use phillips screw driver to remove all bolts.
All removed exept 4.

Plan B: use torch and return to plan A.
Two bolts come out, two snap off.

Plan C: use extractor bit.
One more out, one left.

Plan D: drill it through and tap threads (M6 1.0).
Dang, drilled it at least .5 mm too wide, threads are too shallow.

Plan E: weld nut to the back.
nut.webp

Done.

I'd call it hillbilly engineering, but all my Appalachian friends are better mechanics than I.
 
Last edited:
Soaked some of the hardware from the first door for a few days in apple cider vinegar.
The second door broke down much easier. Just needed some heat on some of the bolts.

clean hardware.webp
 
Once you pull the window crank handle out of the way, carefully pop off the plastic plug under the vent window. Turn the vent window all the way open and you should be able to see the spring and washers underneath it that provide the tension. I "think" you have to remove those as well to allow that part of the frame to wiggle out while the vent window is open. Maybe not. Then slide the whole thing out nice and easy except for a little persuasion to get past those screw receivers on the channels. Lastly turn the door shell over and shake out 40 years of clothespins, rat turds and disintegrated window felt!
yep...you need to open the wing window all the way, it then releases the frame so you can pull it out of the door.
 
Back
Top Bottom