CCOT drip rail

This site may earn a commission from merchant affiliate
links, including eBay, Amazon, Skimlinks, and others.

Joined
Sep 17, 2006
Threads
500
Messages
3,171
Location
Santa Rosa, CA
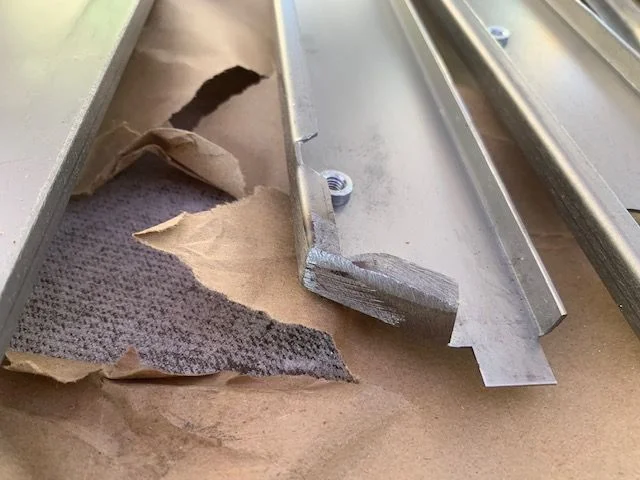
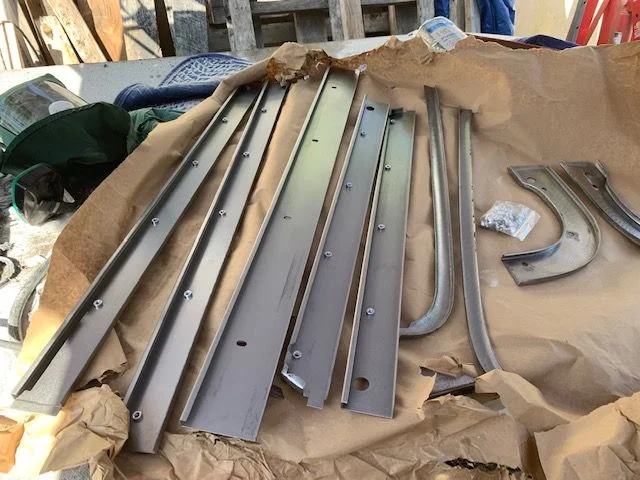
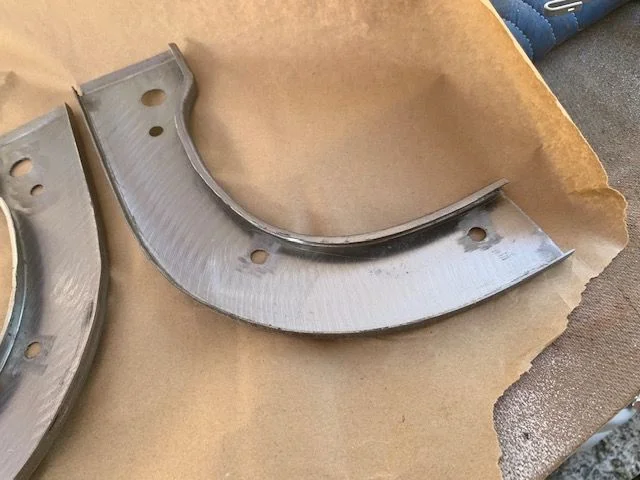
The drip rail arrived today. It actually looks very nice. It's nice heavy steel, appears well made. Next, I'll lay it out on the top and tack it together. Weld it up (gently) and then prime and paint to match the top.
1989404


1989405


1989406
 
It's nice to see the added details...I bought one maybe 20 years ago....didnt have any holes in it, let alone the weld nuts.
 
Awesome! My CCOT rail is suppose to arrive today (I ordered last week expecting a 5 week lead time, but was pleasantly surprised). Please post-up your process and learnings. I am really interested in how to lay it out and tack it up... The heat from tack welding has me a little nervous with the fragile fiberglass.

Also, how did you prepare the fiberglass before mounting the new drip rail? Did you follow the recent recommendation thread?
 
I tore my top apart and was surprised to see the drip rail in pretty good condition! Even the seal was really in pretty good shape, not sure if will replace it or not. However, after braking half the bolts off in the drip rail to remove it, I'm going to be wishing I had just bought a new one, after I get done removing all the broken bolts! :bang: :rofl:
 
@rkycacher - to which thread are you referring? I've seen so many, I can't keep my mind straight. I had a guy put new gel coat on the top, he fixed the couple of cracks in the fiberglass.
 
I hadn't found that. Wow, it's an intimidating process. Makes me want to give up and get a soft top. How do I put the top back on the 40 without the sides in place to hold it in position so I can attach the windshield header? So, I've got to put the sides back on enough to hold the top in the right place so I can attached the windshield header - which is so awkward you can't use the rivets. I've given up drinking, but I may have to start again for this.
 
So here it is, dry fit, with some pictures of the joints. In general, I'm very pleased. It fit right up, there's one gap at rear corner, but I can easily fill it in with a sliver of sheet metal. There no instructions, but I'm assuming I'm lapping it right where it laps. I';m pretty sure I can give it one tack per joint right where it is, then lift it up a couple of inches and put something in between the top and the rail to protect the figure glass and stitch weld the joints.

Here's the entire thing sitting on the top. I'm a little worried that upside down, the top is a little out of flat, so I'm going to support it a little better.

1991256


front joint, this one has me worried, it's going to be fragile.

1991257


Rear corner at hatch. There's a nice slip joint.

1991258


side to front hoop


1991261


Here's the side at the read corner, this is the only one I'm going to have to fill a little. It's okay on the other side.

1991262
 
I sure wish CCOT provided instructions... I am a few weeks behind you and am anxious to see how it works out for you.

I like how you laid out the pieces using welding magnets. But, I am a little concerned about tacking it up that way... How do you know that the rail is level on all sides? How do you confirm the rail is parallel with the table top? How do you confirm the bolt placement is perfect? I suppose that the rail and fiberglass top are both flexible, so maybe it does not matter...

Before hearing your plan, I had been thinking that I would do the following...
- put the hardtop sides on my truck
- lay the CCOT rail on top of the sides.
- place bolts in holes to ensure alignment
- place fiberglass top on the rail.
- center the rail and top
- tack weld the corners of the gutter lip
- remove top and any temporary bolts
- using help from 2-3 other people carefully remove the rail
- set the rail on the flat garage floor to complete welding
 
Yes, you may be right. I am concerned with the top upside down it's flexed out of shape from what it would be on the top. If the bold holes don't line up, then I'm screwed anyway, because there's not a lot of leeway.

However, I do have my old drip rail, what I should do is lay it on top of the new rail and see if it lines up. but I'm going to have to put one tack each in the new rail to hold it while I lay the old one on top.

But, the problem with the top being out of shape while upside down is one I'm worried about. I might flip it over.
--
So, thinking about it, the old drip rail has to be right, so maybe I shouldn't use the top at all and lay out the new drip rail on top fo the old, I can even use bolts to line up the bold holes exactly, and then tack it together.
 
Last edited:
I like the idea of using the old rail as a template. What if you laid out the rail as a template on your garage floor and then outlined it like a 60's murder mystery? You could then align the new rail within the outline, and the garage floor ensures everything is level. After tacking everything to keep it from moving, you could lay the old rail over it to double-check bolt alignment before you are at the point of no return.
 
That's a good idea, only I have to get the garage back from my son's band long enough to use it.
 
Okay, so I re-setup the new drip rail sections on top of the old drip rail and used screws from my new stainless steel hardware from Overland Metric to locate it to the old drip rail. It worked okay. I hammered the old drip rail back into shape as much as I could, but it's still out of whack. It did show me I had the side pieces backward. I need to shave a little on the joint for the bend in the middle, and I'm not 100% sure how much to worry about the front hoop. Almost all the holes in the old and new line up very nicely, the only exception are the holes for the dome light wires.

1992633


1992634


1992635


1992636
 
Okay, damn the torpedoes, I'm gong to tack it.
 
Back
Top Bottom