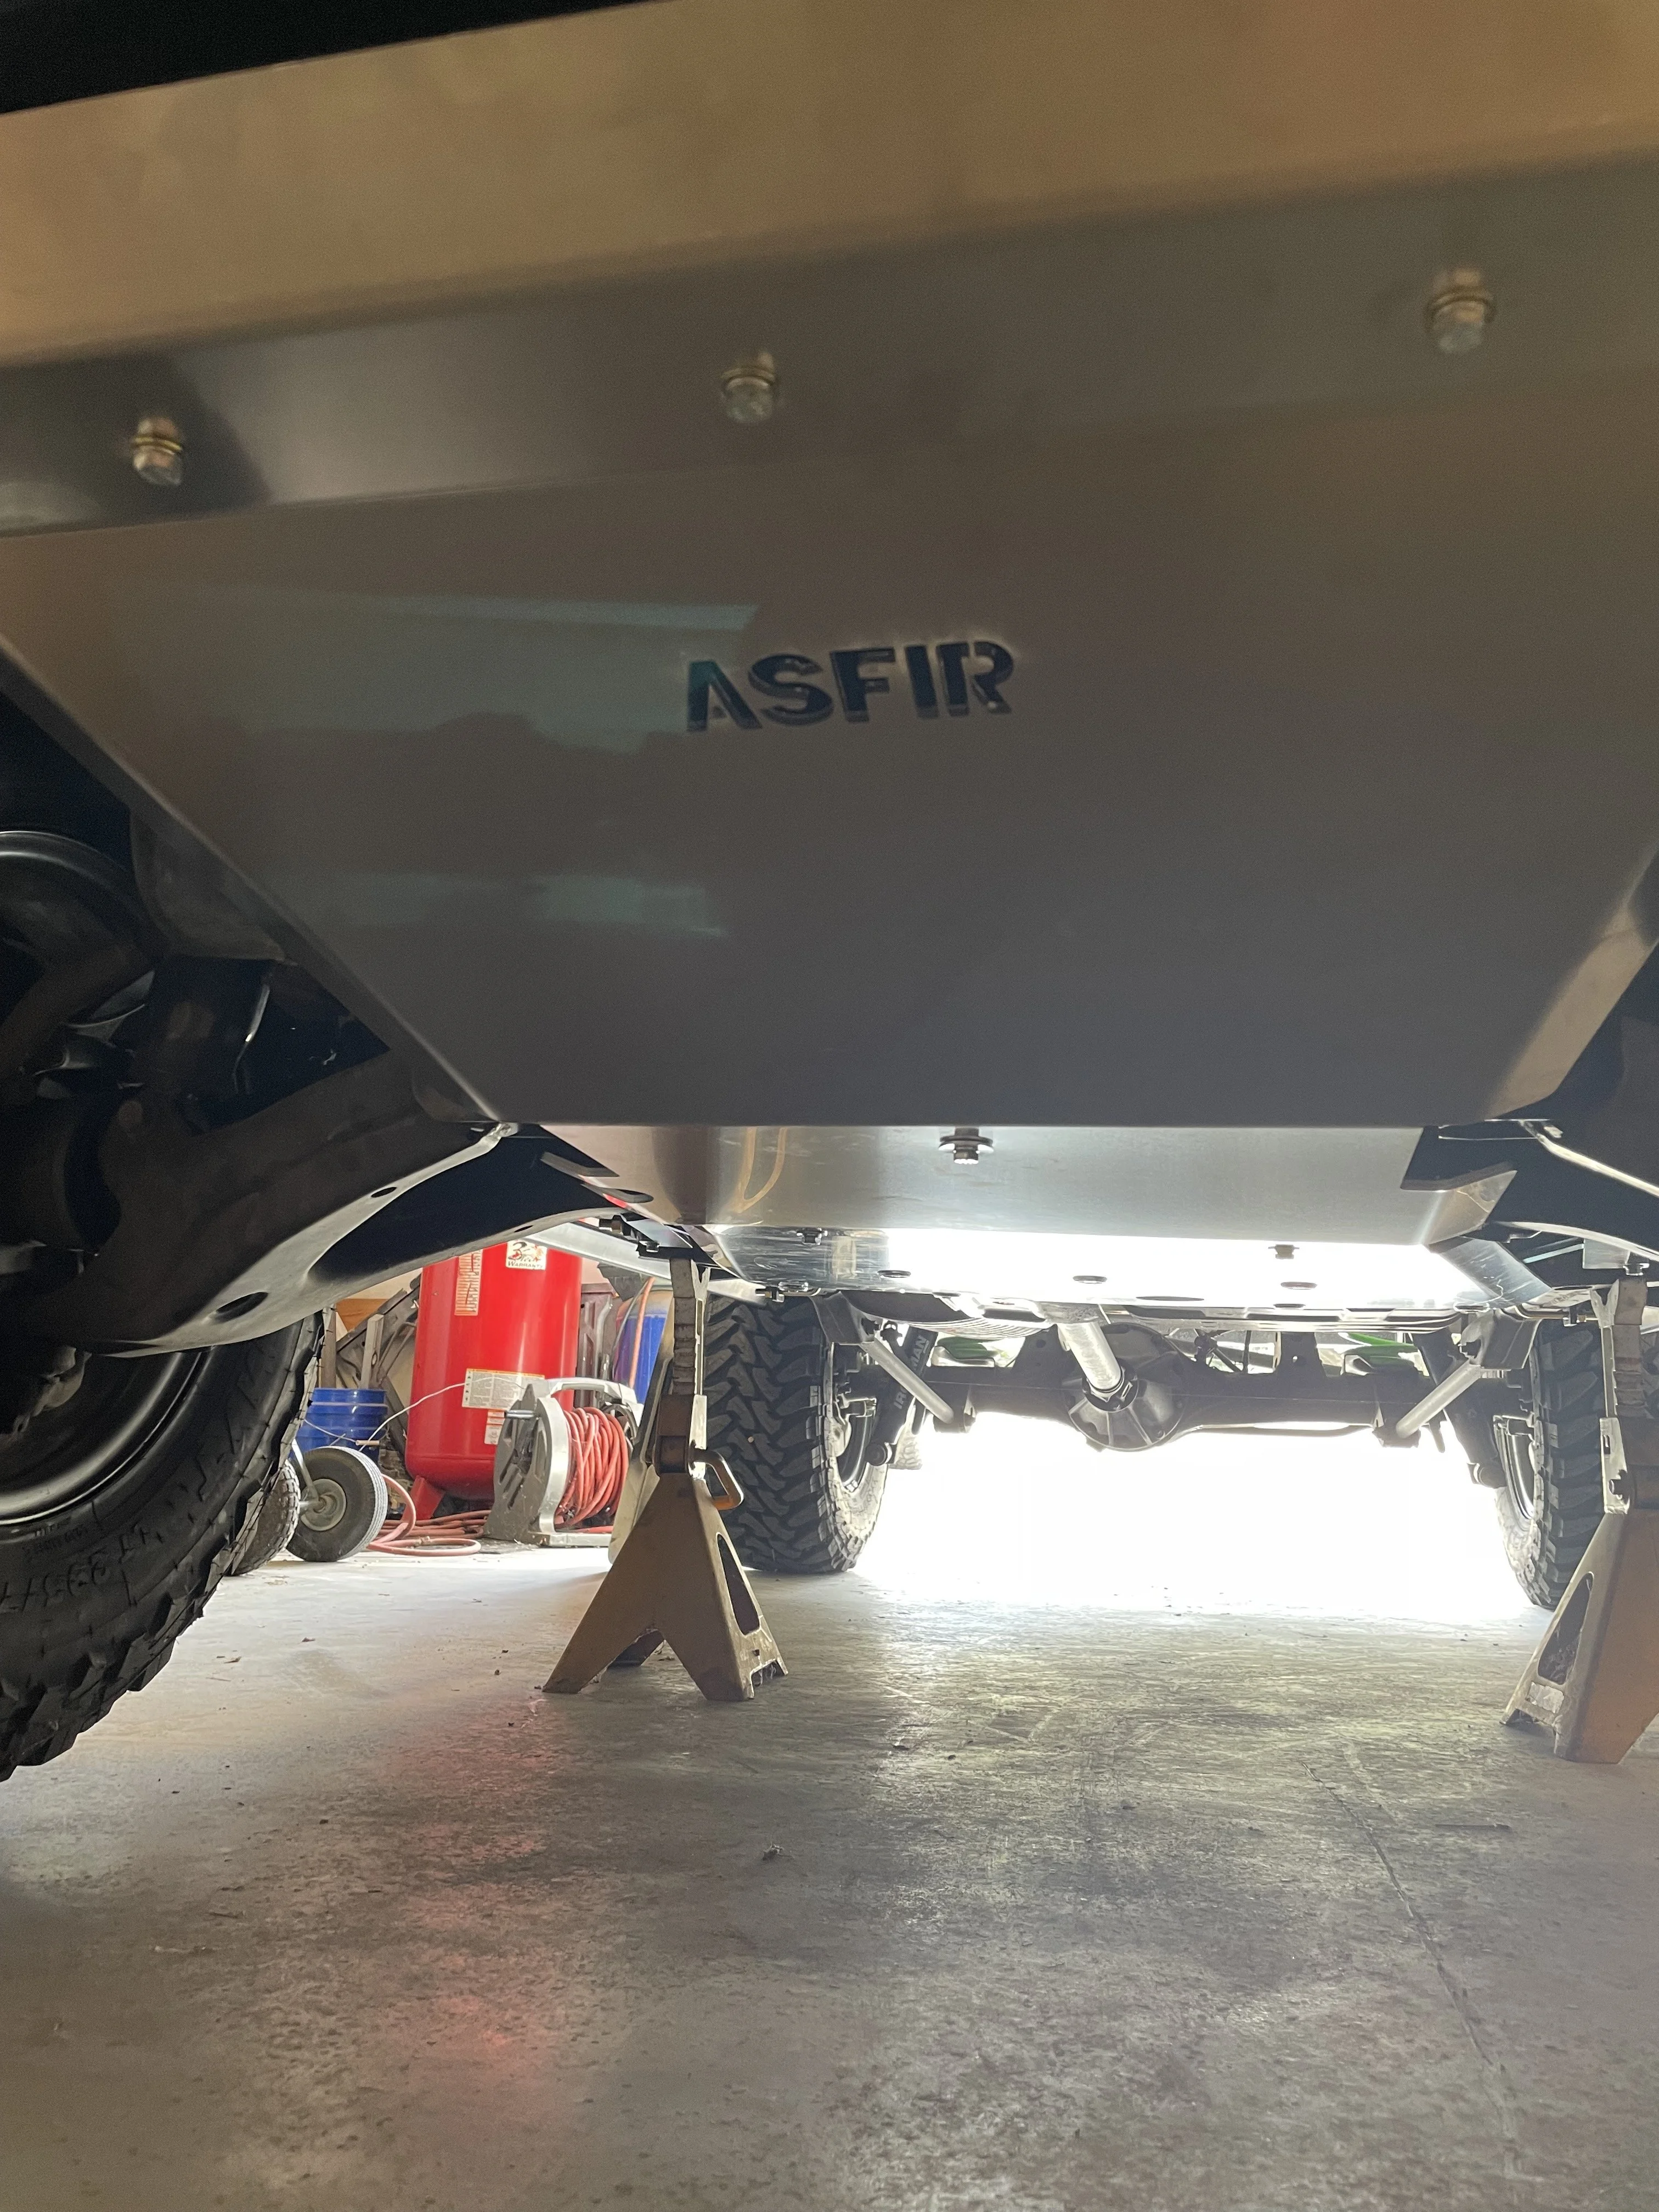
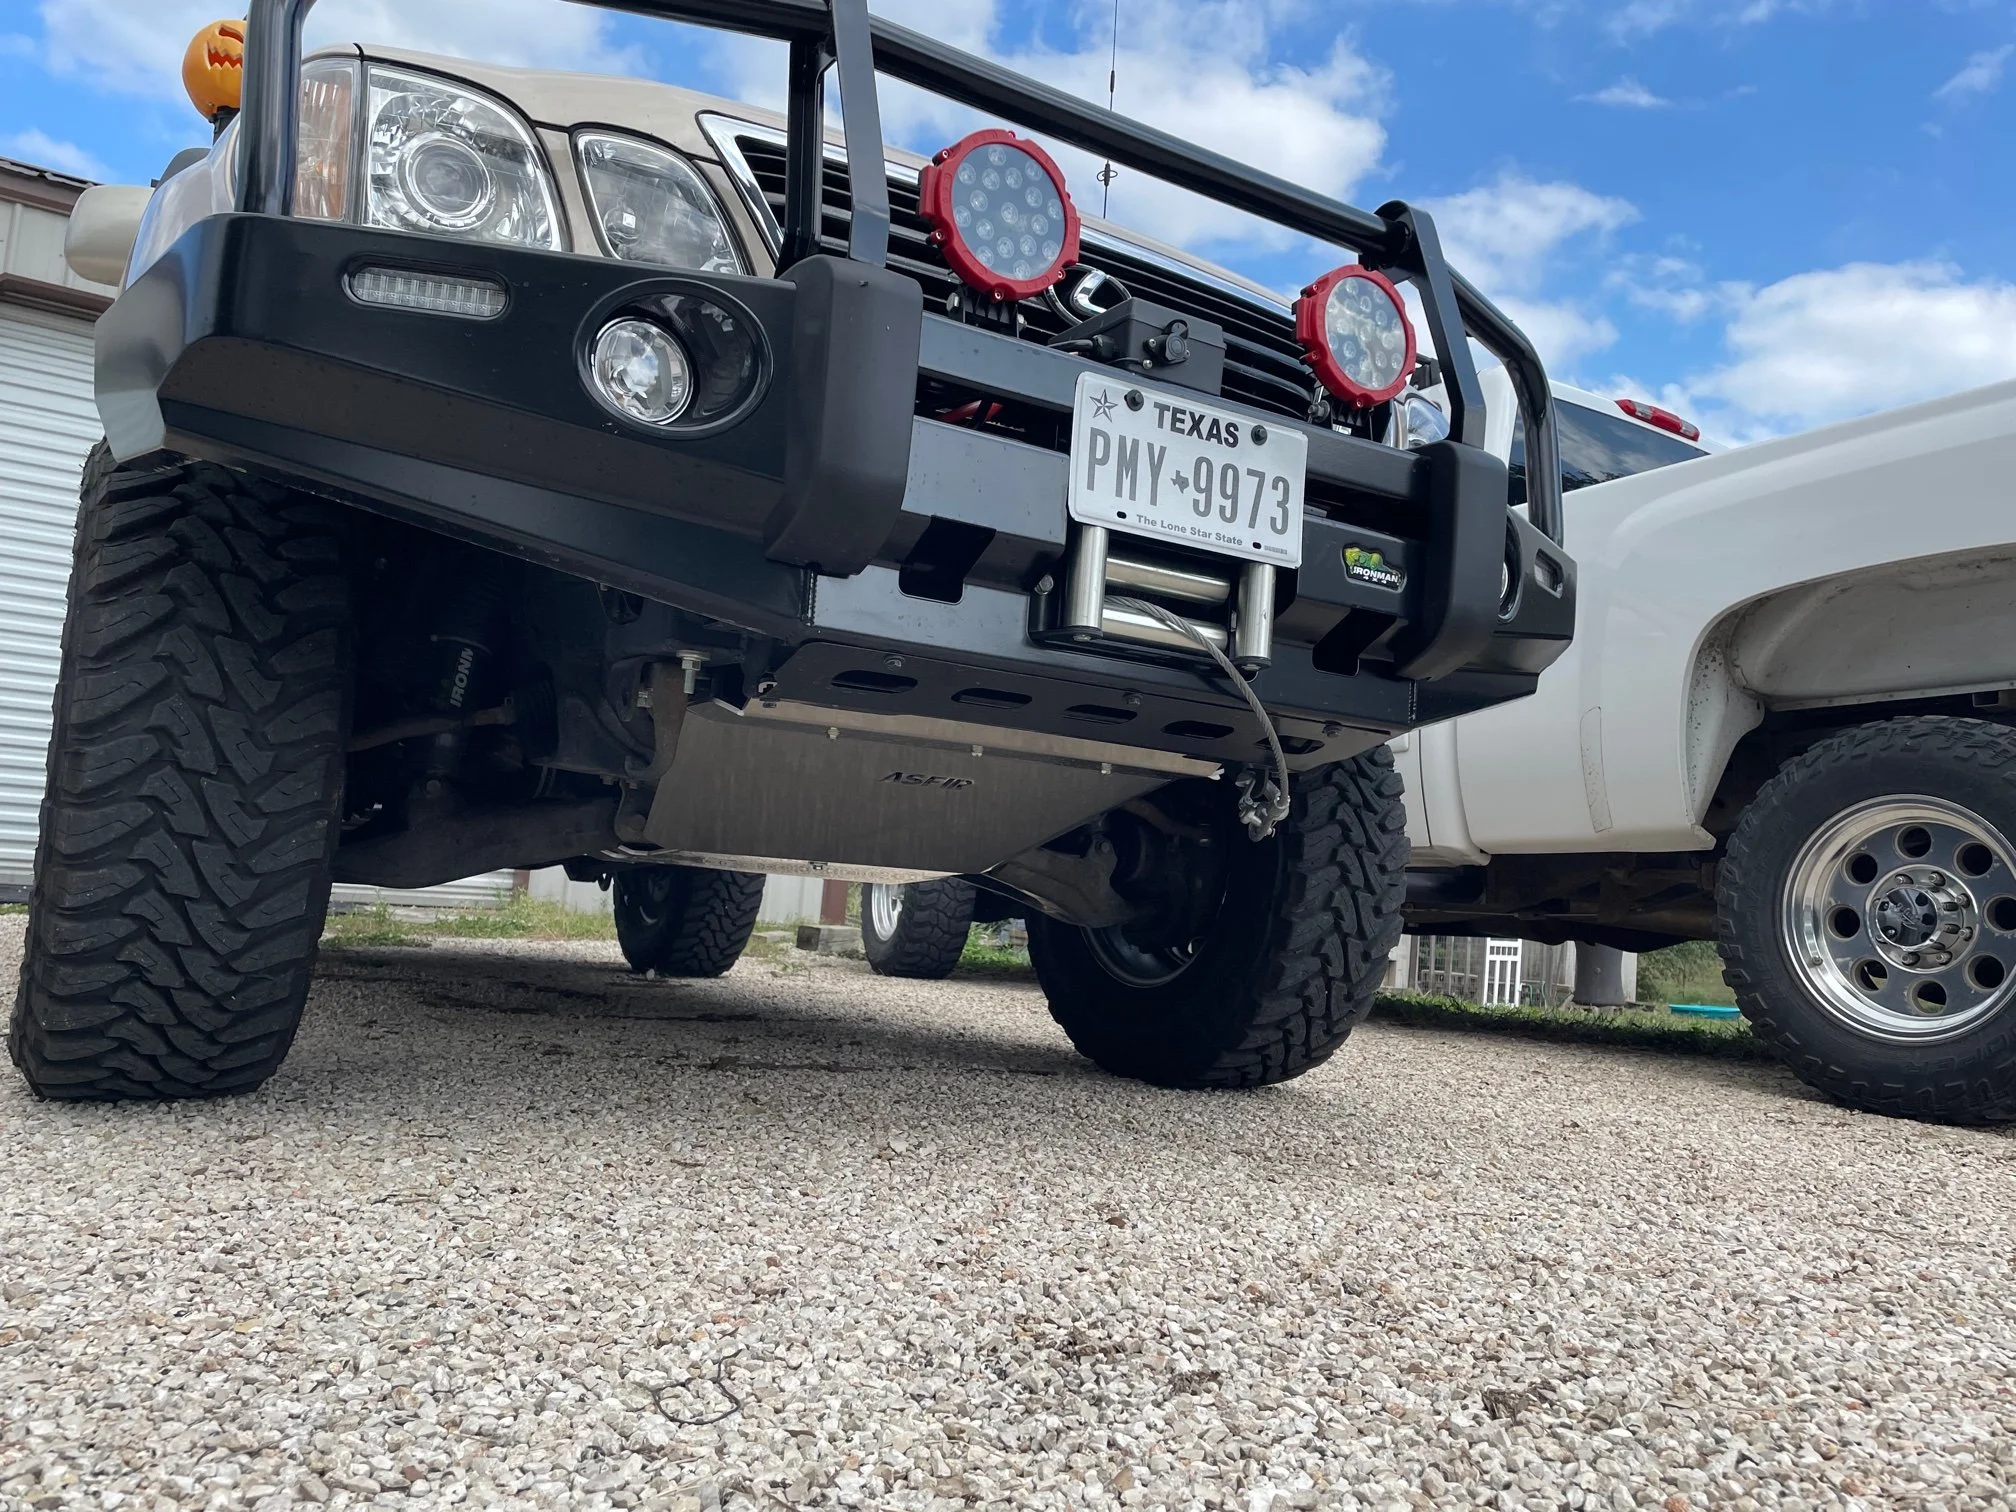
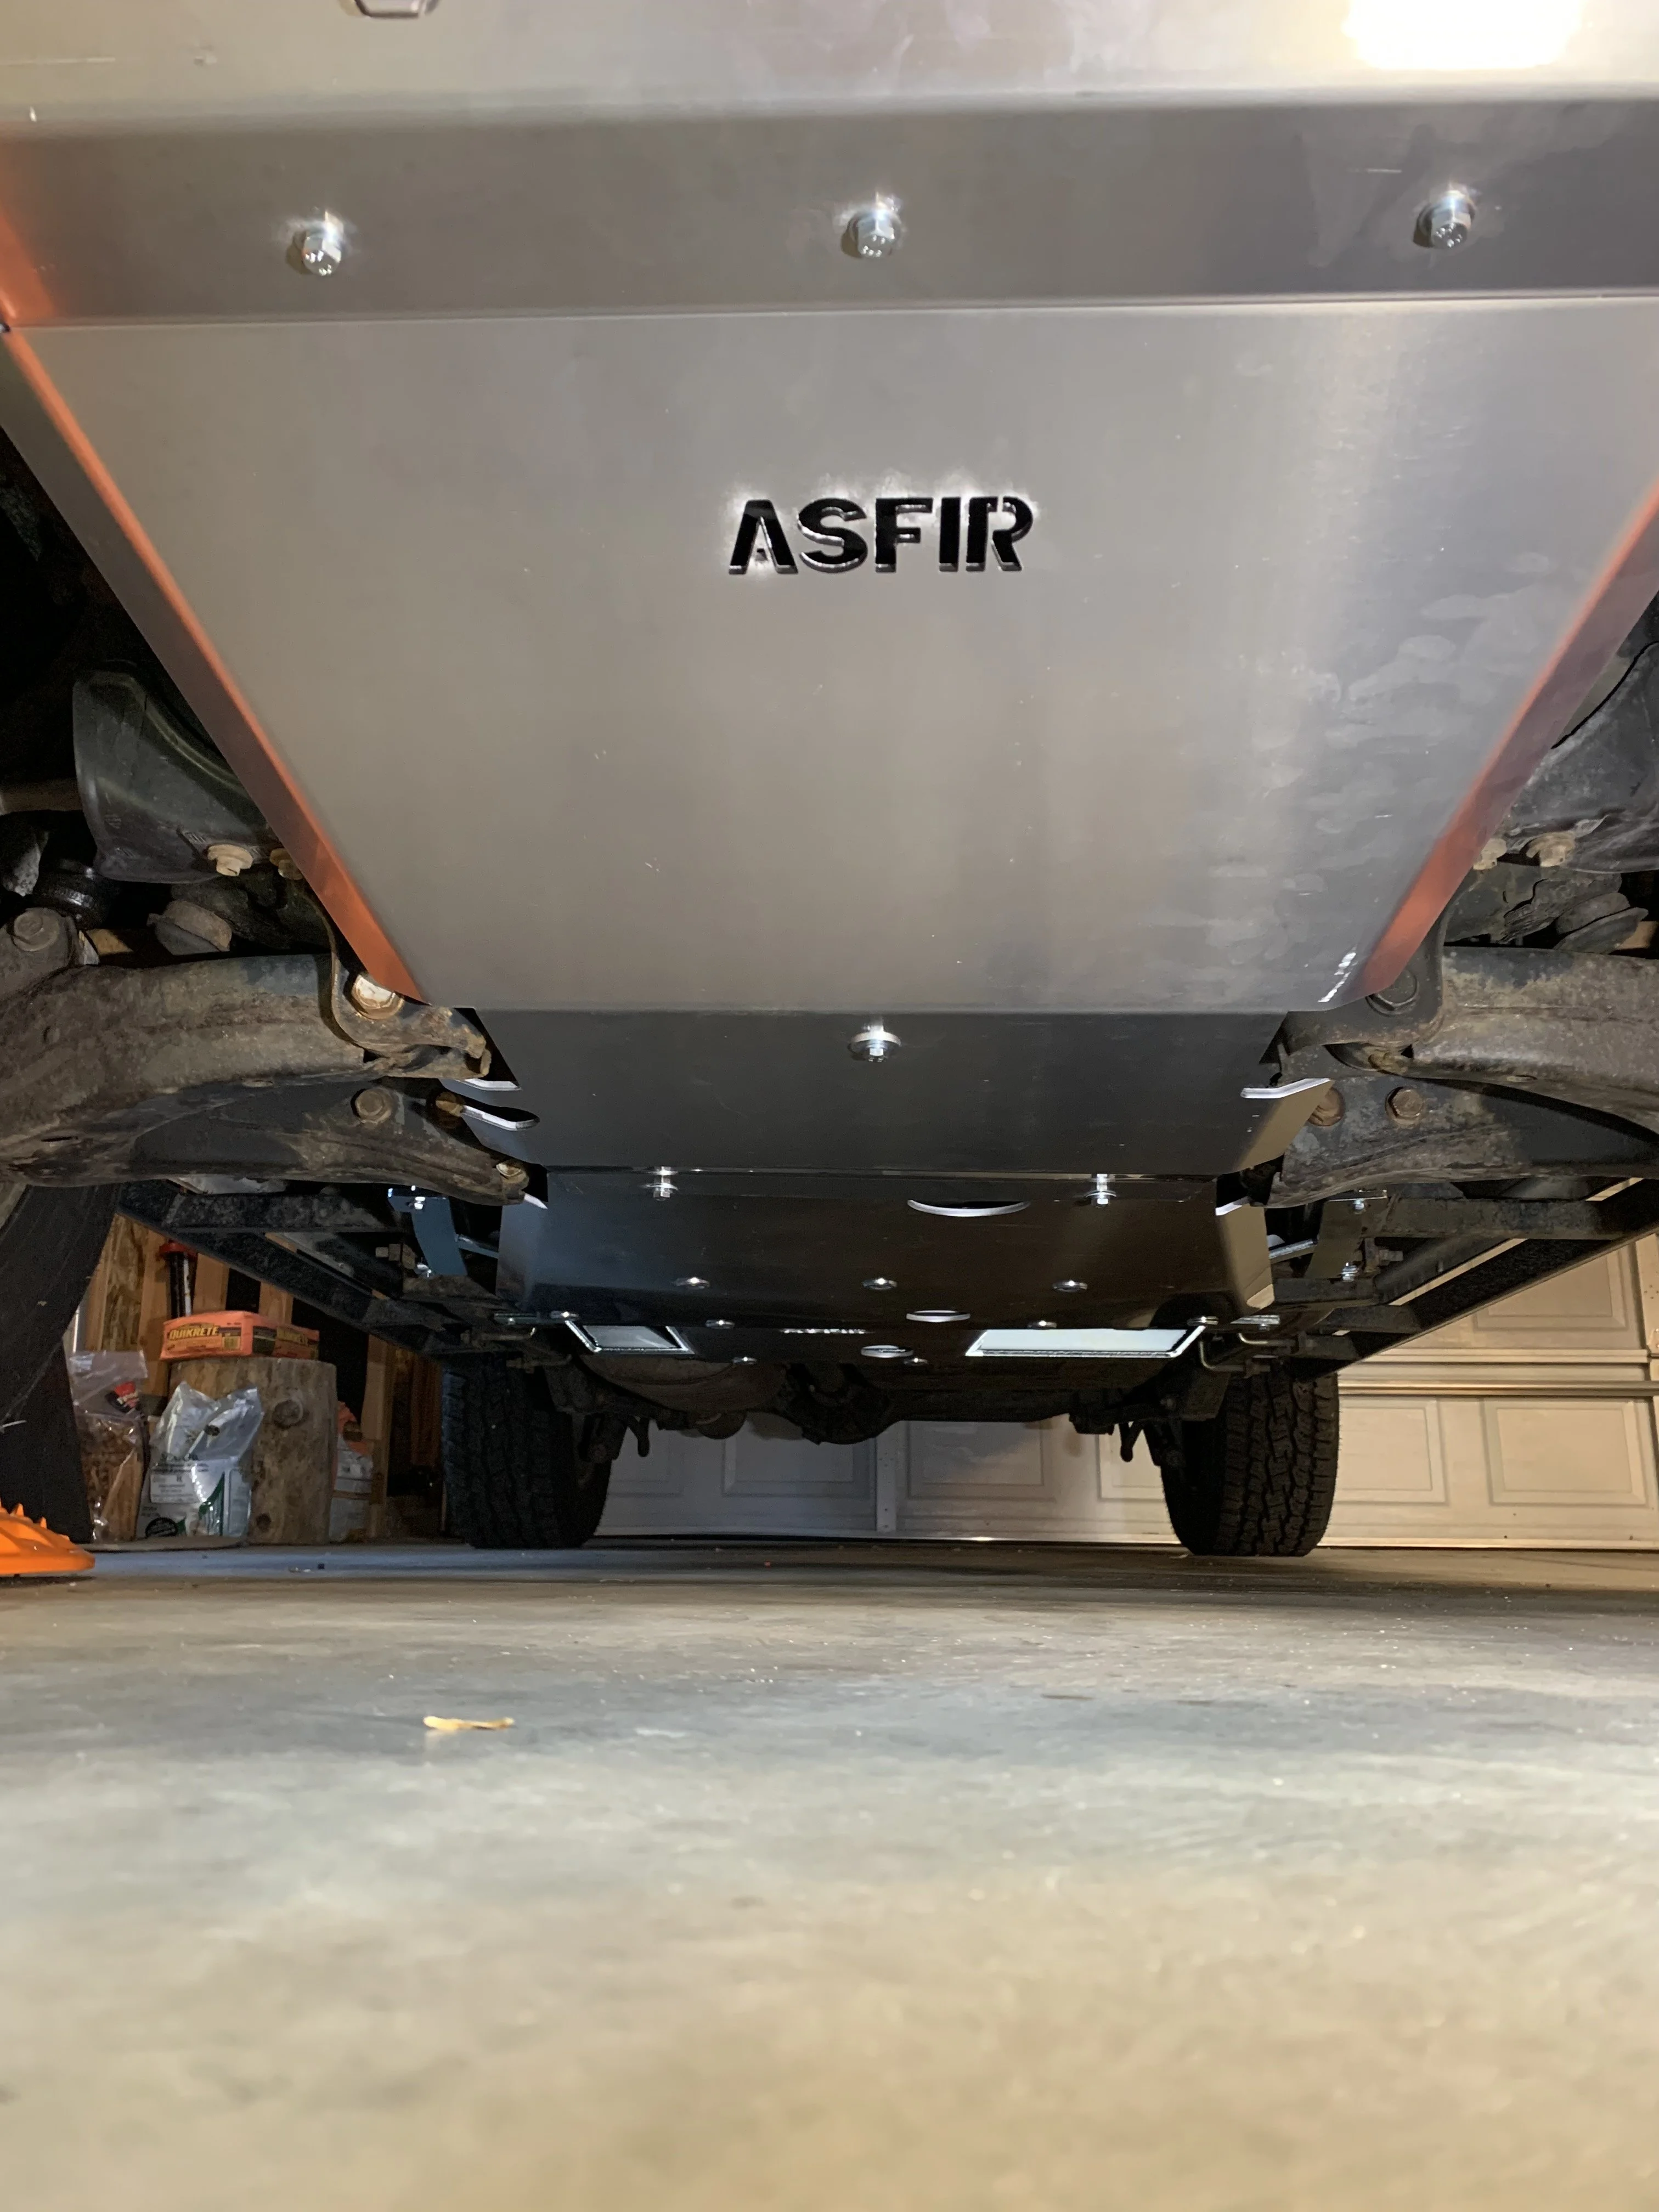
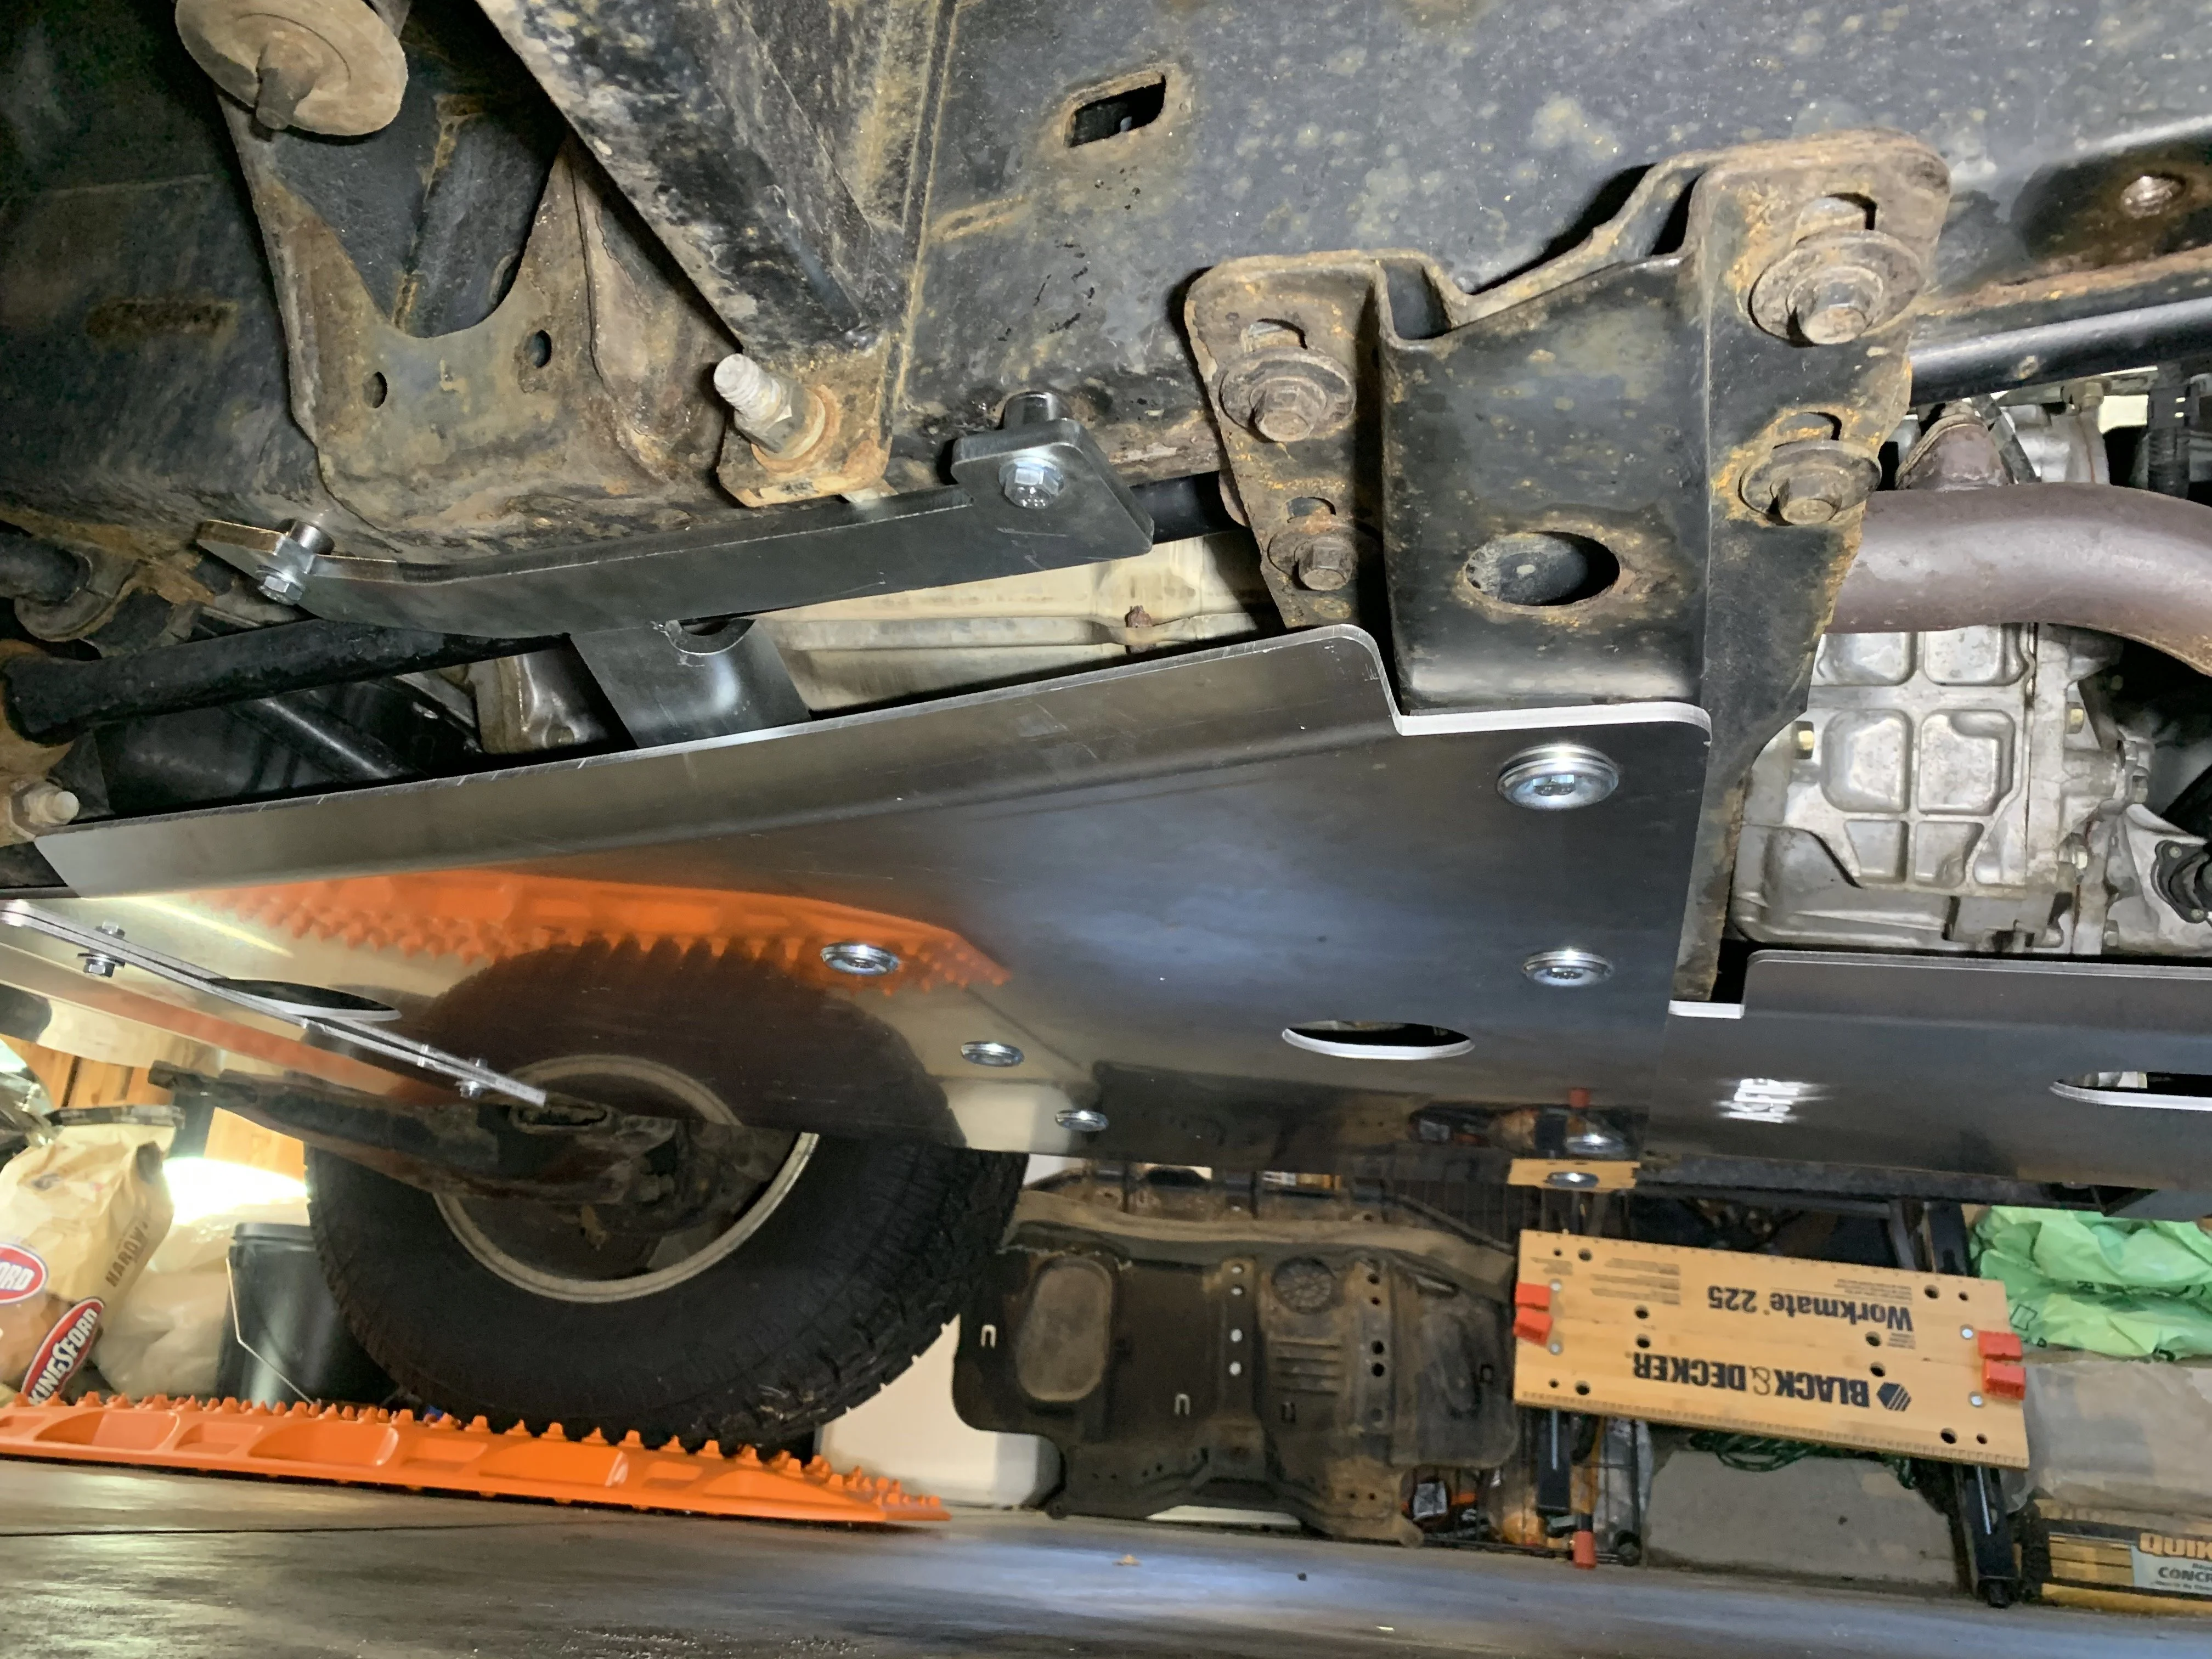
ASFIR Skid plates and front bumper

This site may earn a commission from merchant affiliate
links, including eBay, Amazon, Skimlinks, and others.

I wish these were designed for diff drops since it seems like most that are replacing skids probably have a diff drop, at least in North America. Or is that wrong?

I'm thinking I might try to TIG a bar/spacer on the front skid for the front 3 bolts. The spacers for diff drop aren't all that easy to work with on these in my experience. I thought about just trying to TIG the existing diff drop spacers on there, but I don't know if that will give me enough tolerance to get it bolted up.
McMaster Carr has some really good kit that you should check out... Spacers at every bolt and the longer SS replacements should make short work of it...

 
It seems most of the complaint on holes alignment was on the front skid plate. My experience was that it might not be the issue with alignment, but installation process engineering. On my 04 LX, I found the holes, either the front 3 or the rear 2, might be mis-aligned by maybe 5mm, at the beginning when tried to but the bolts in. However, everything seems aligned once tightened all bolts.

My conclusion was that all the holes might be fully aligned, but in a tight specs. Since the front skid plate is so long, and the front, middle, and rear holes are not on the same level of surface, a slight reclining of the plate will cause the hole looks like not aligned, which is very inconvenient for installation. I did enlarge the rear 2 hols by a couple millimeters to make installation easier. A better way might be just make the real 2 holes as open slots which:
  • not only resolving the alignment issue when put bots in
  • but also simplifying the installation so one can put the bolt in first and then hang the rear end of the plate on the bolts when working to put the front bolts in.
Thank you for this! we'll look into it.
 
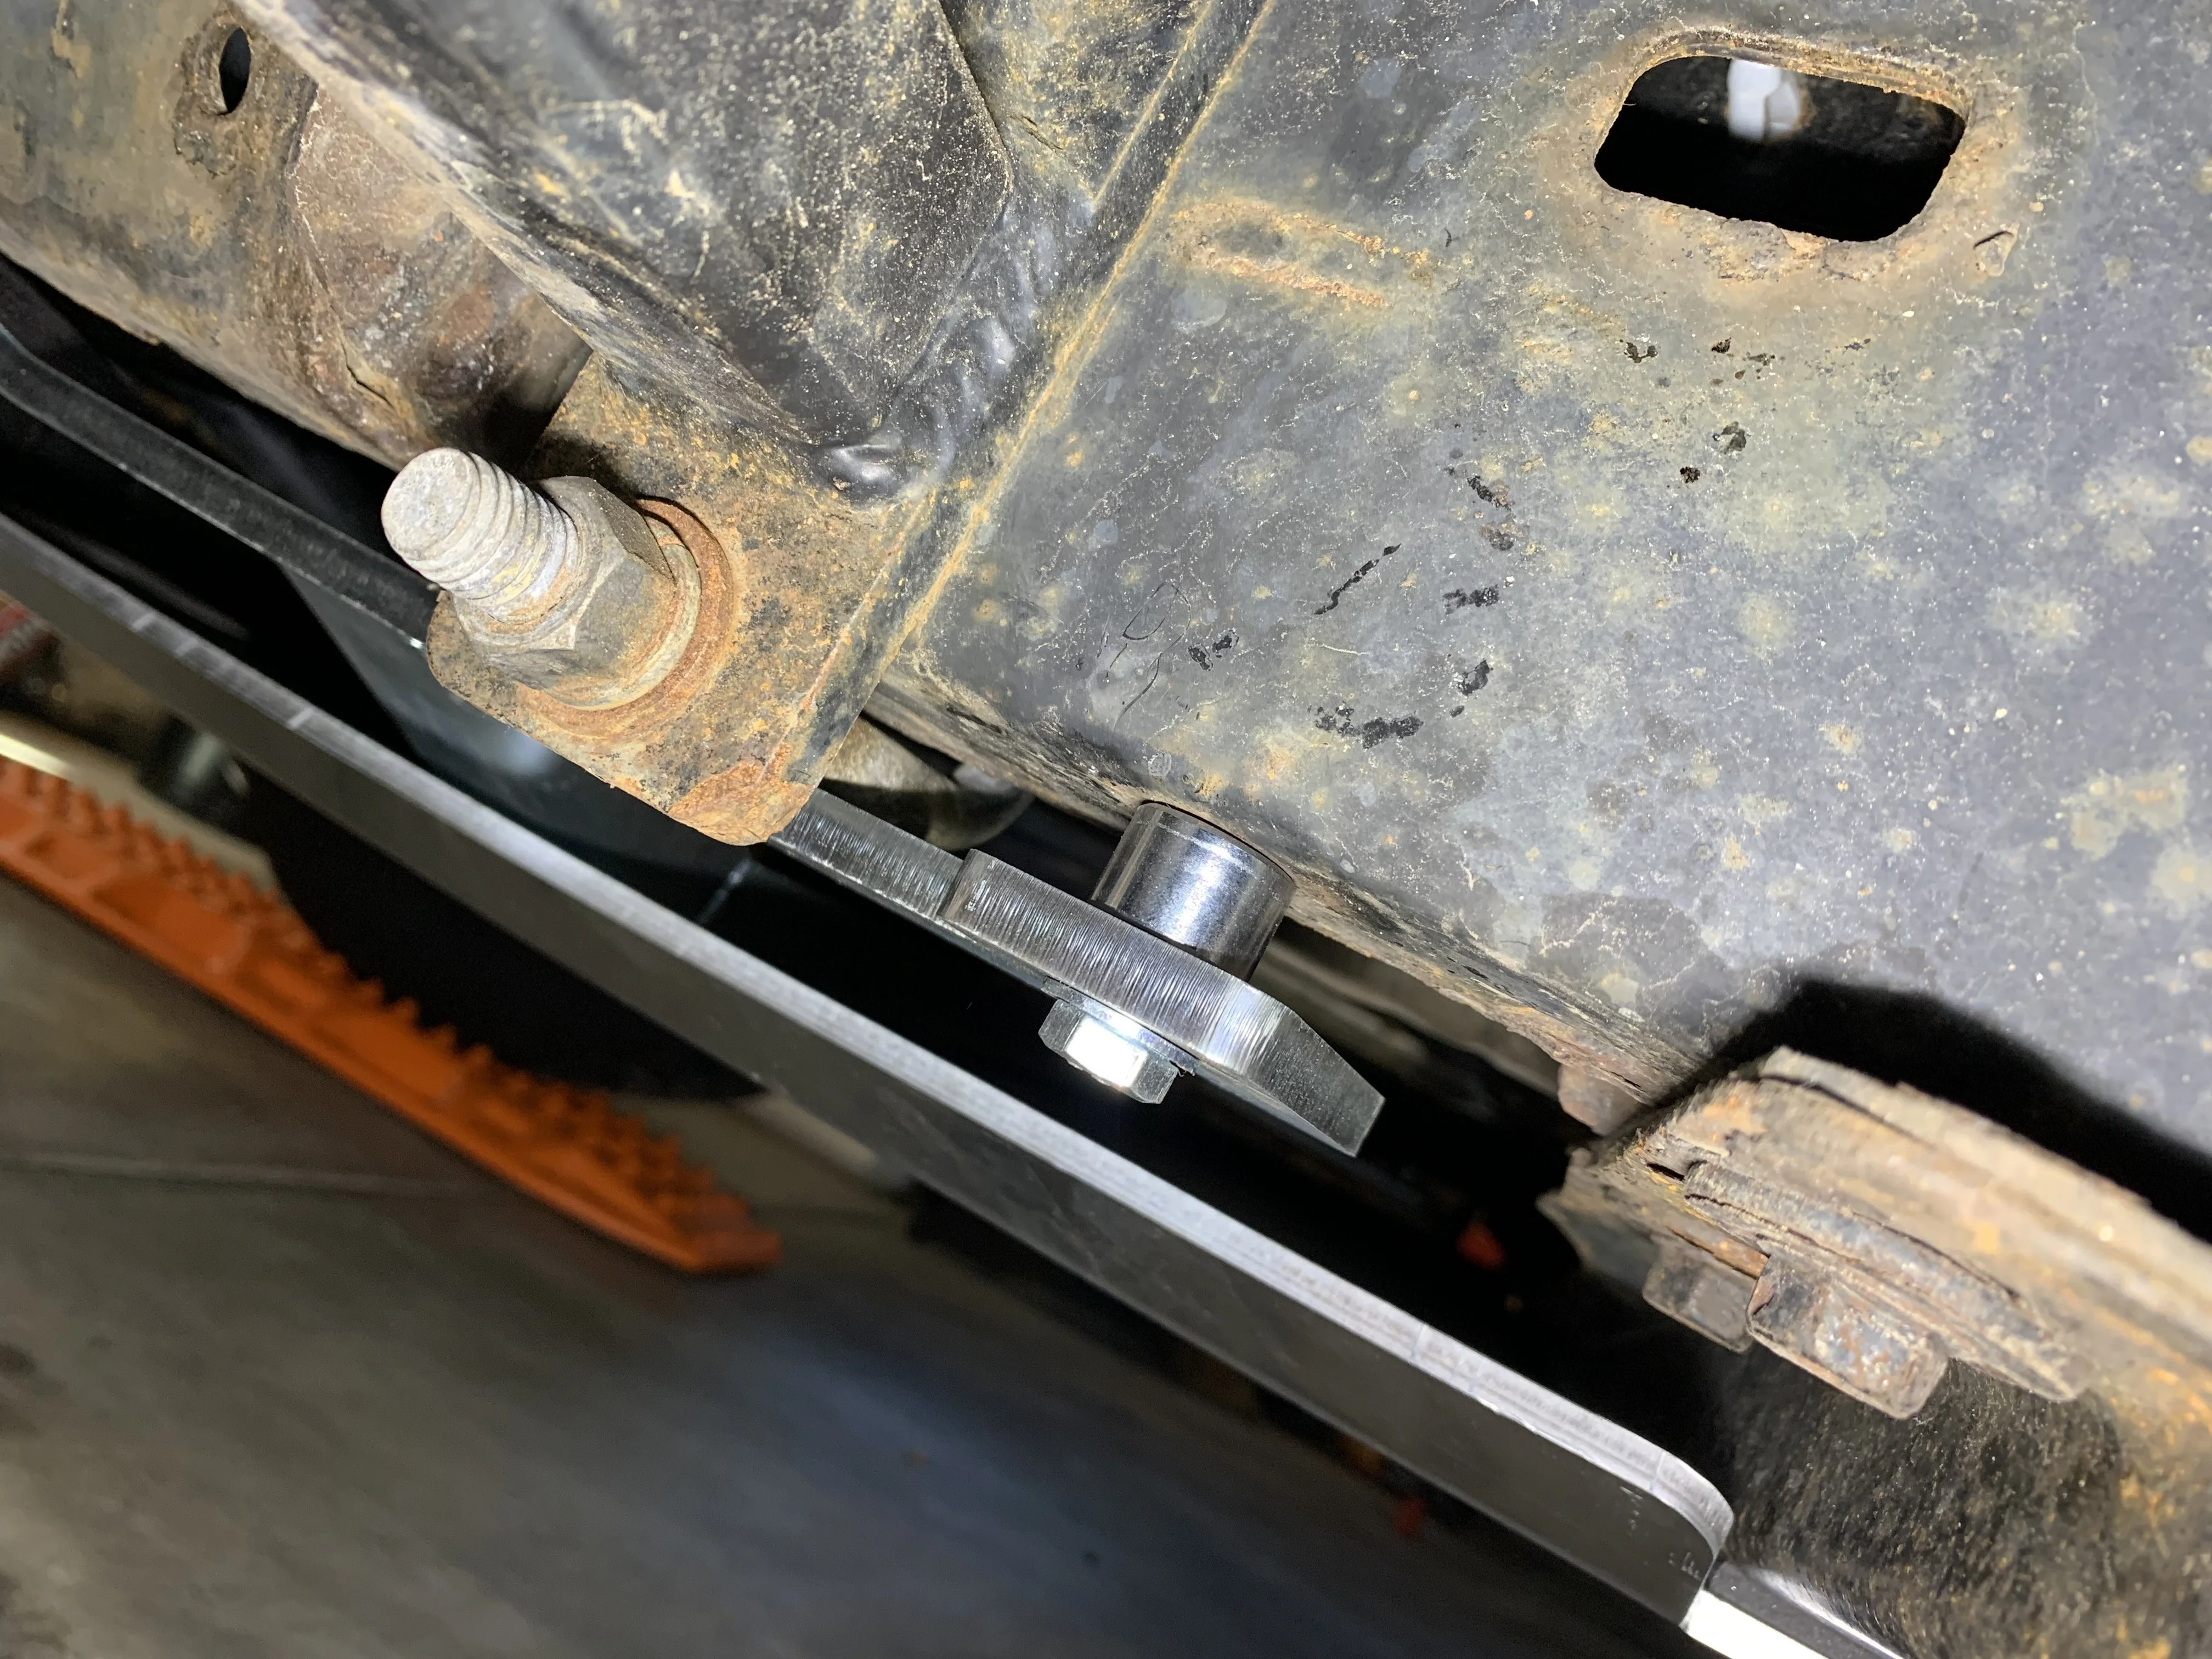
Slotting the rears helps with making install easier. For my case I am running a diff drop kit so it was needed to line the front bolts up. Had to source longer bolts. Using 50mm length bolt in the front and 120mm in the center.

PXL_20210430_010858565.webp
 
I sourced 9011908862 from partsouq. I found the key to install was start front three, tighten long middle to where head rests on lock washer and the two rears line up. Tightened long middle, tightened front and rear, and middle on more time.
Found the key to keeping washers and spacers on long middle all together was a 1" square piece of plastic from plastic packaging (rigid plastic) threaded on bolt.

20210425_171559.webp
 
I've read through this thread and I don't see where anyone states the order in which they install all three skids. From photos it looks like they overlap and I should start with the rear skid first and work my way forward?
Yes. Since you will mostly be driving in forward gears, the overlap should be in the correct direction so there is less chance of getting hung up in the trail/rocks/etc. Unless of course you bought the ASFIR skids one at a time like I did and had to loosen and reinstall each time. Ha!
 
Yes. Since you will mostly be driving in forward gears, the overlap should be in the correct direction so there is less chance of getting hung up in the trail/rocks/etc. Unless of course you bought the ASFIR skids one at a time like I did and had to loosen and reinstall each time. Ha!
Ah...makes perfect sense. Thanks for clarifying
 
Ah...makes perfect sense. Thanks for clarifying
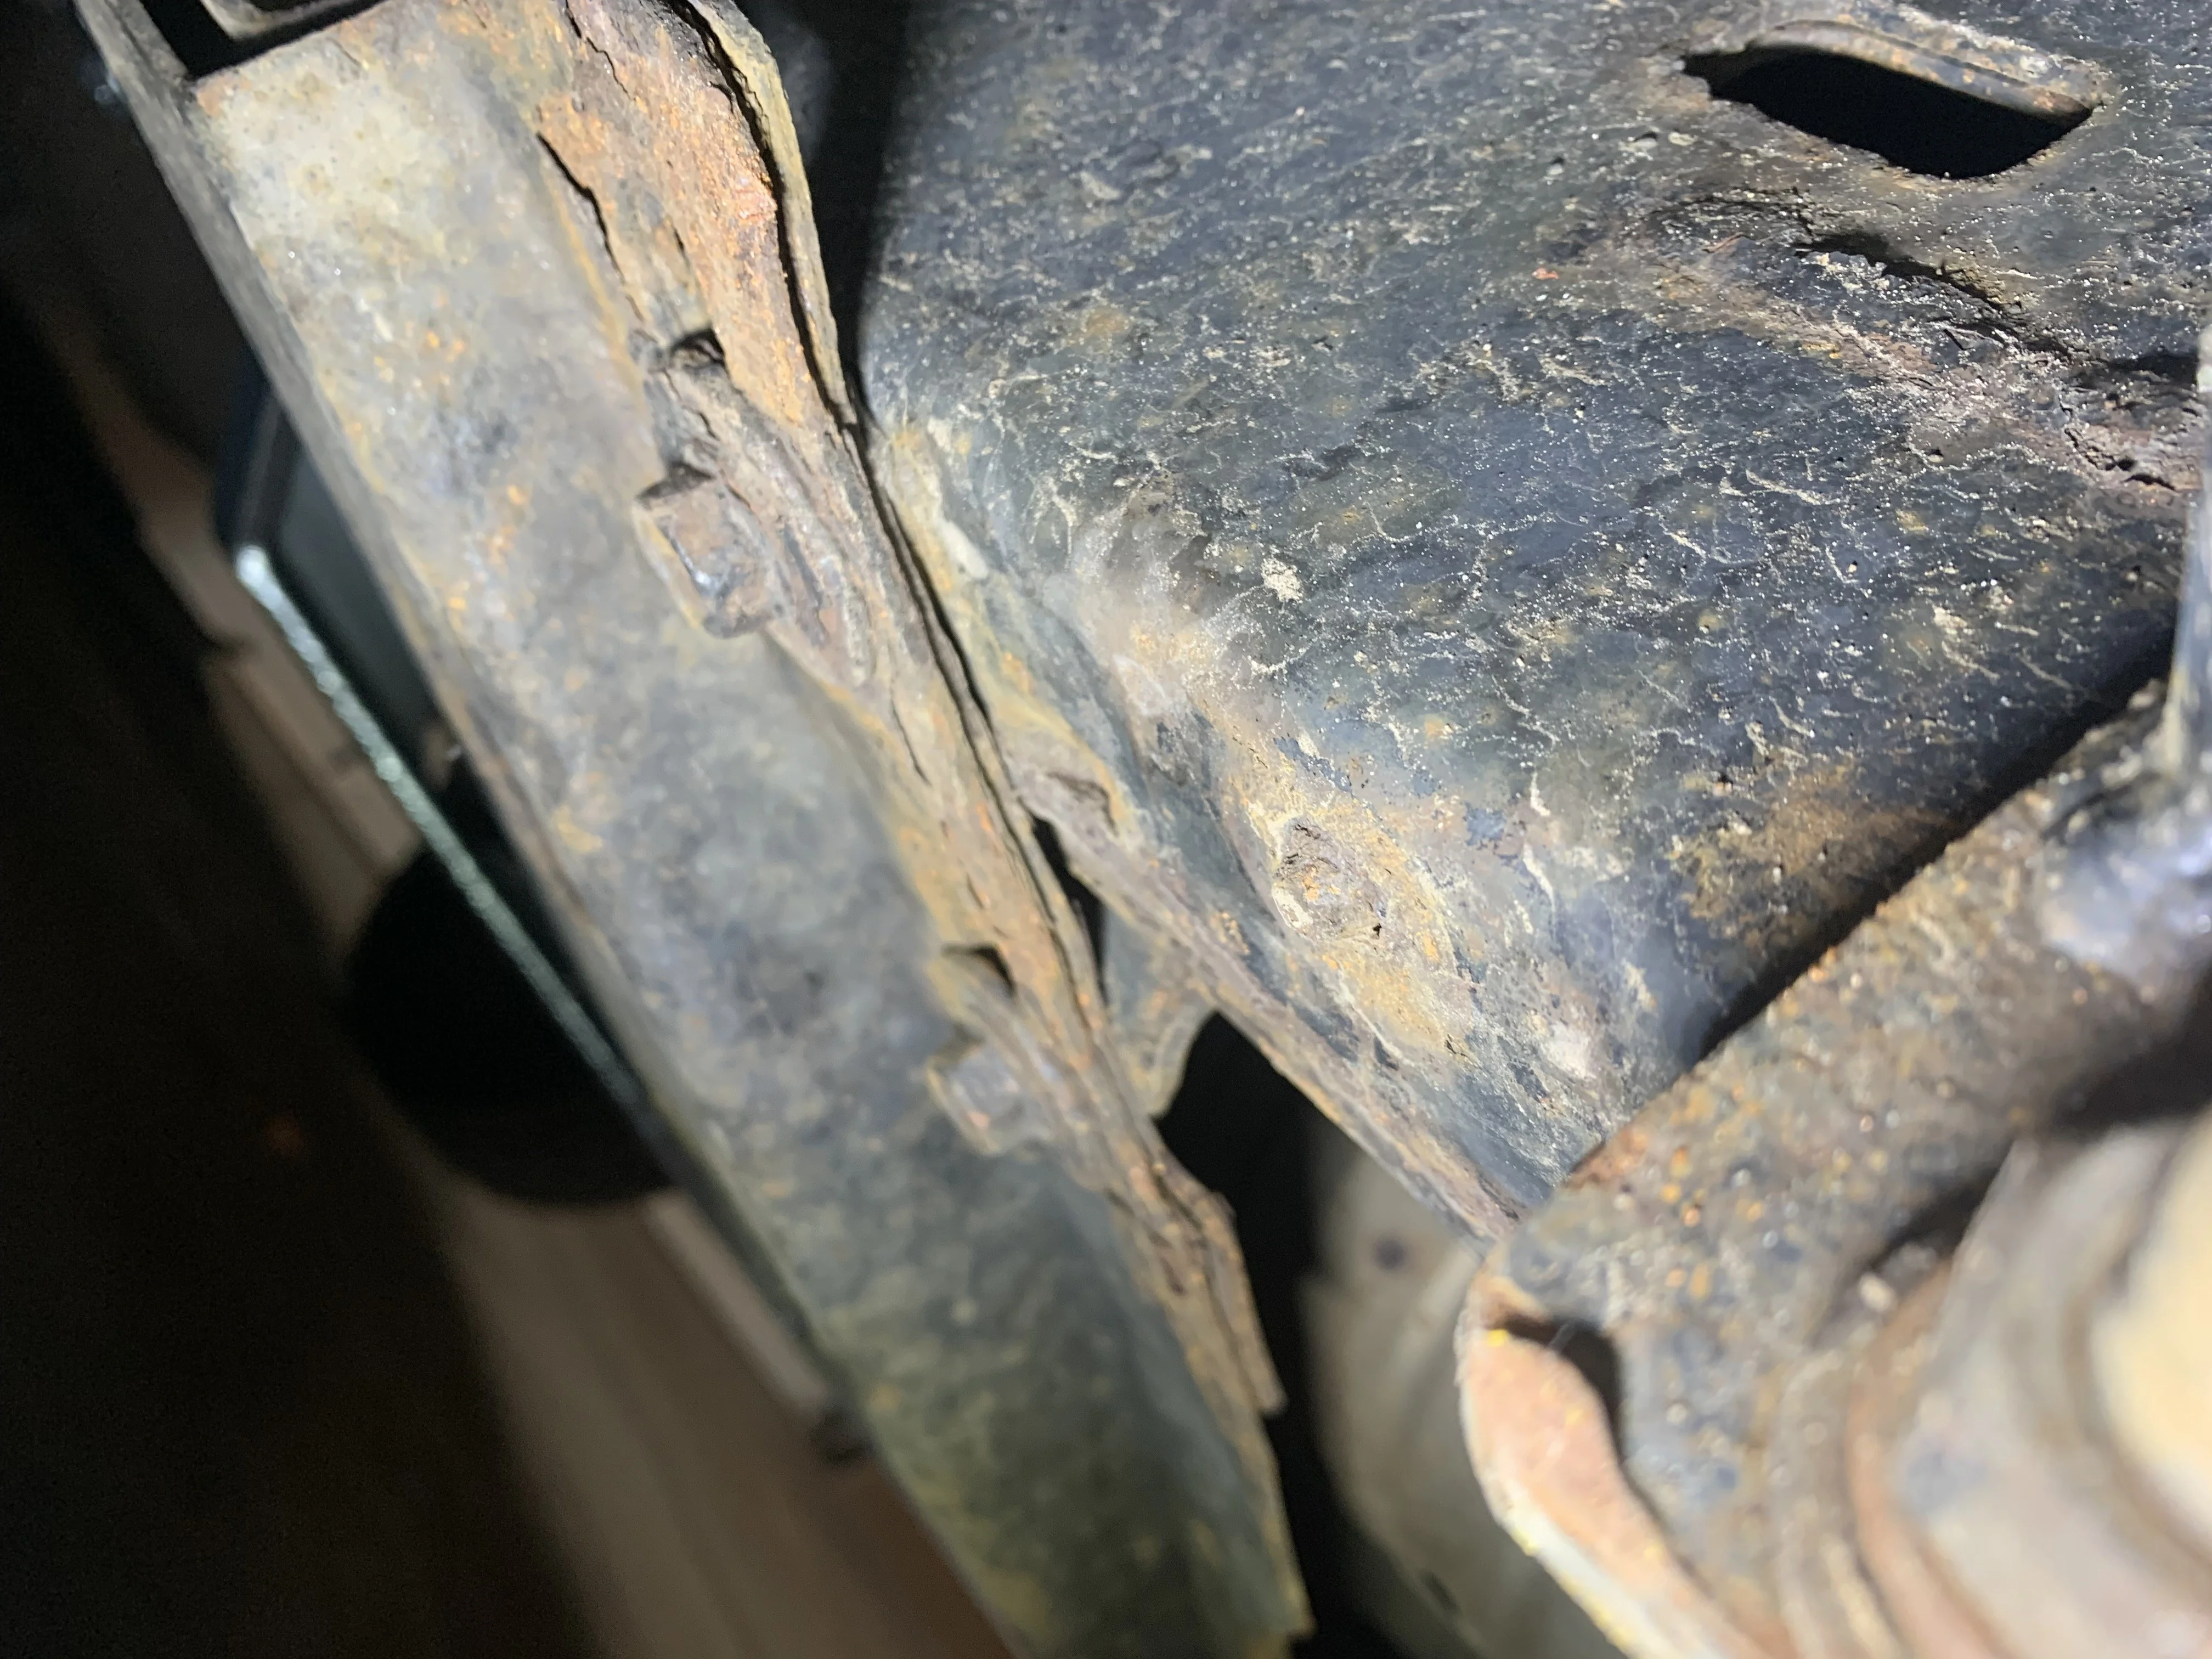
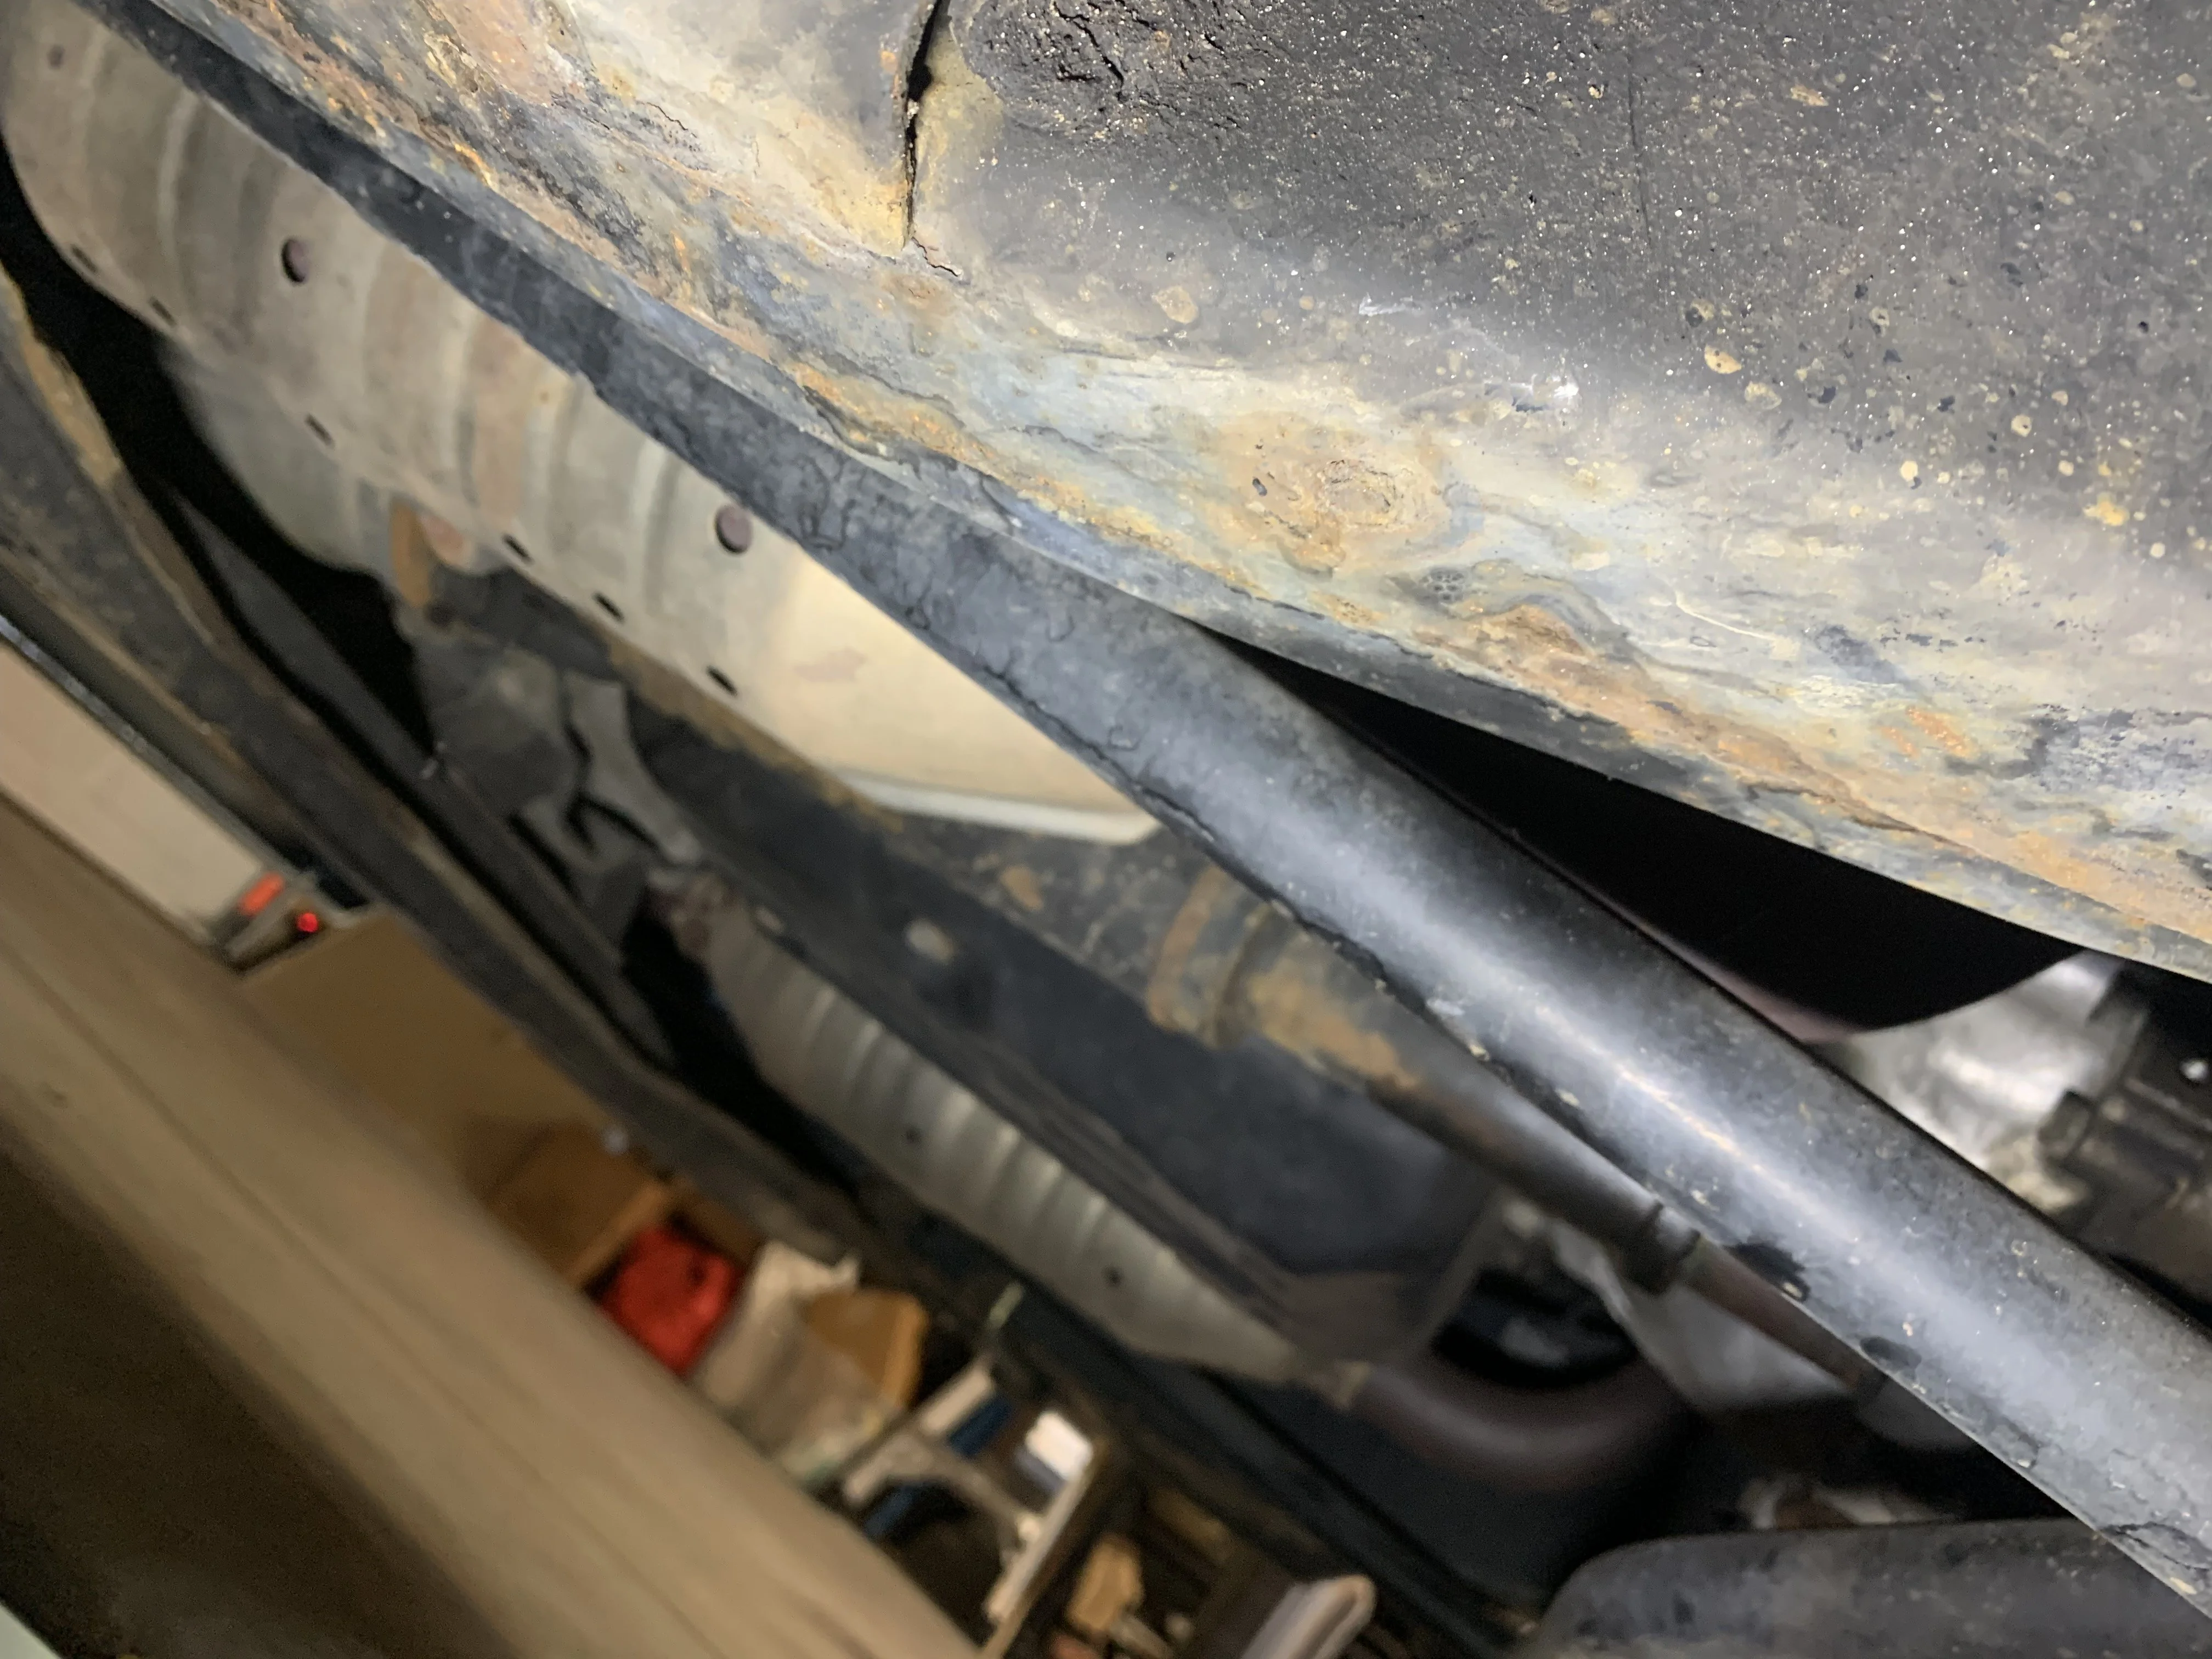
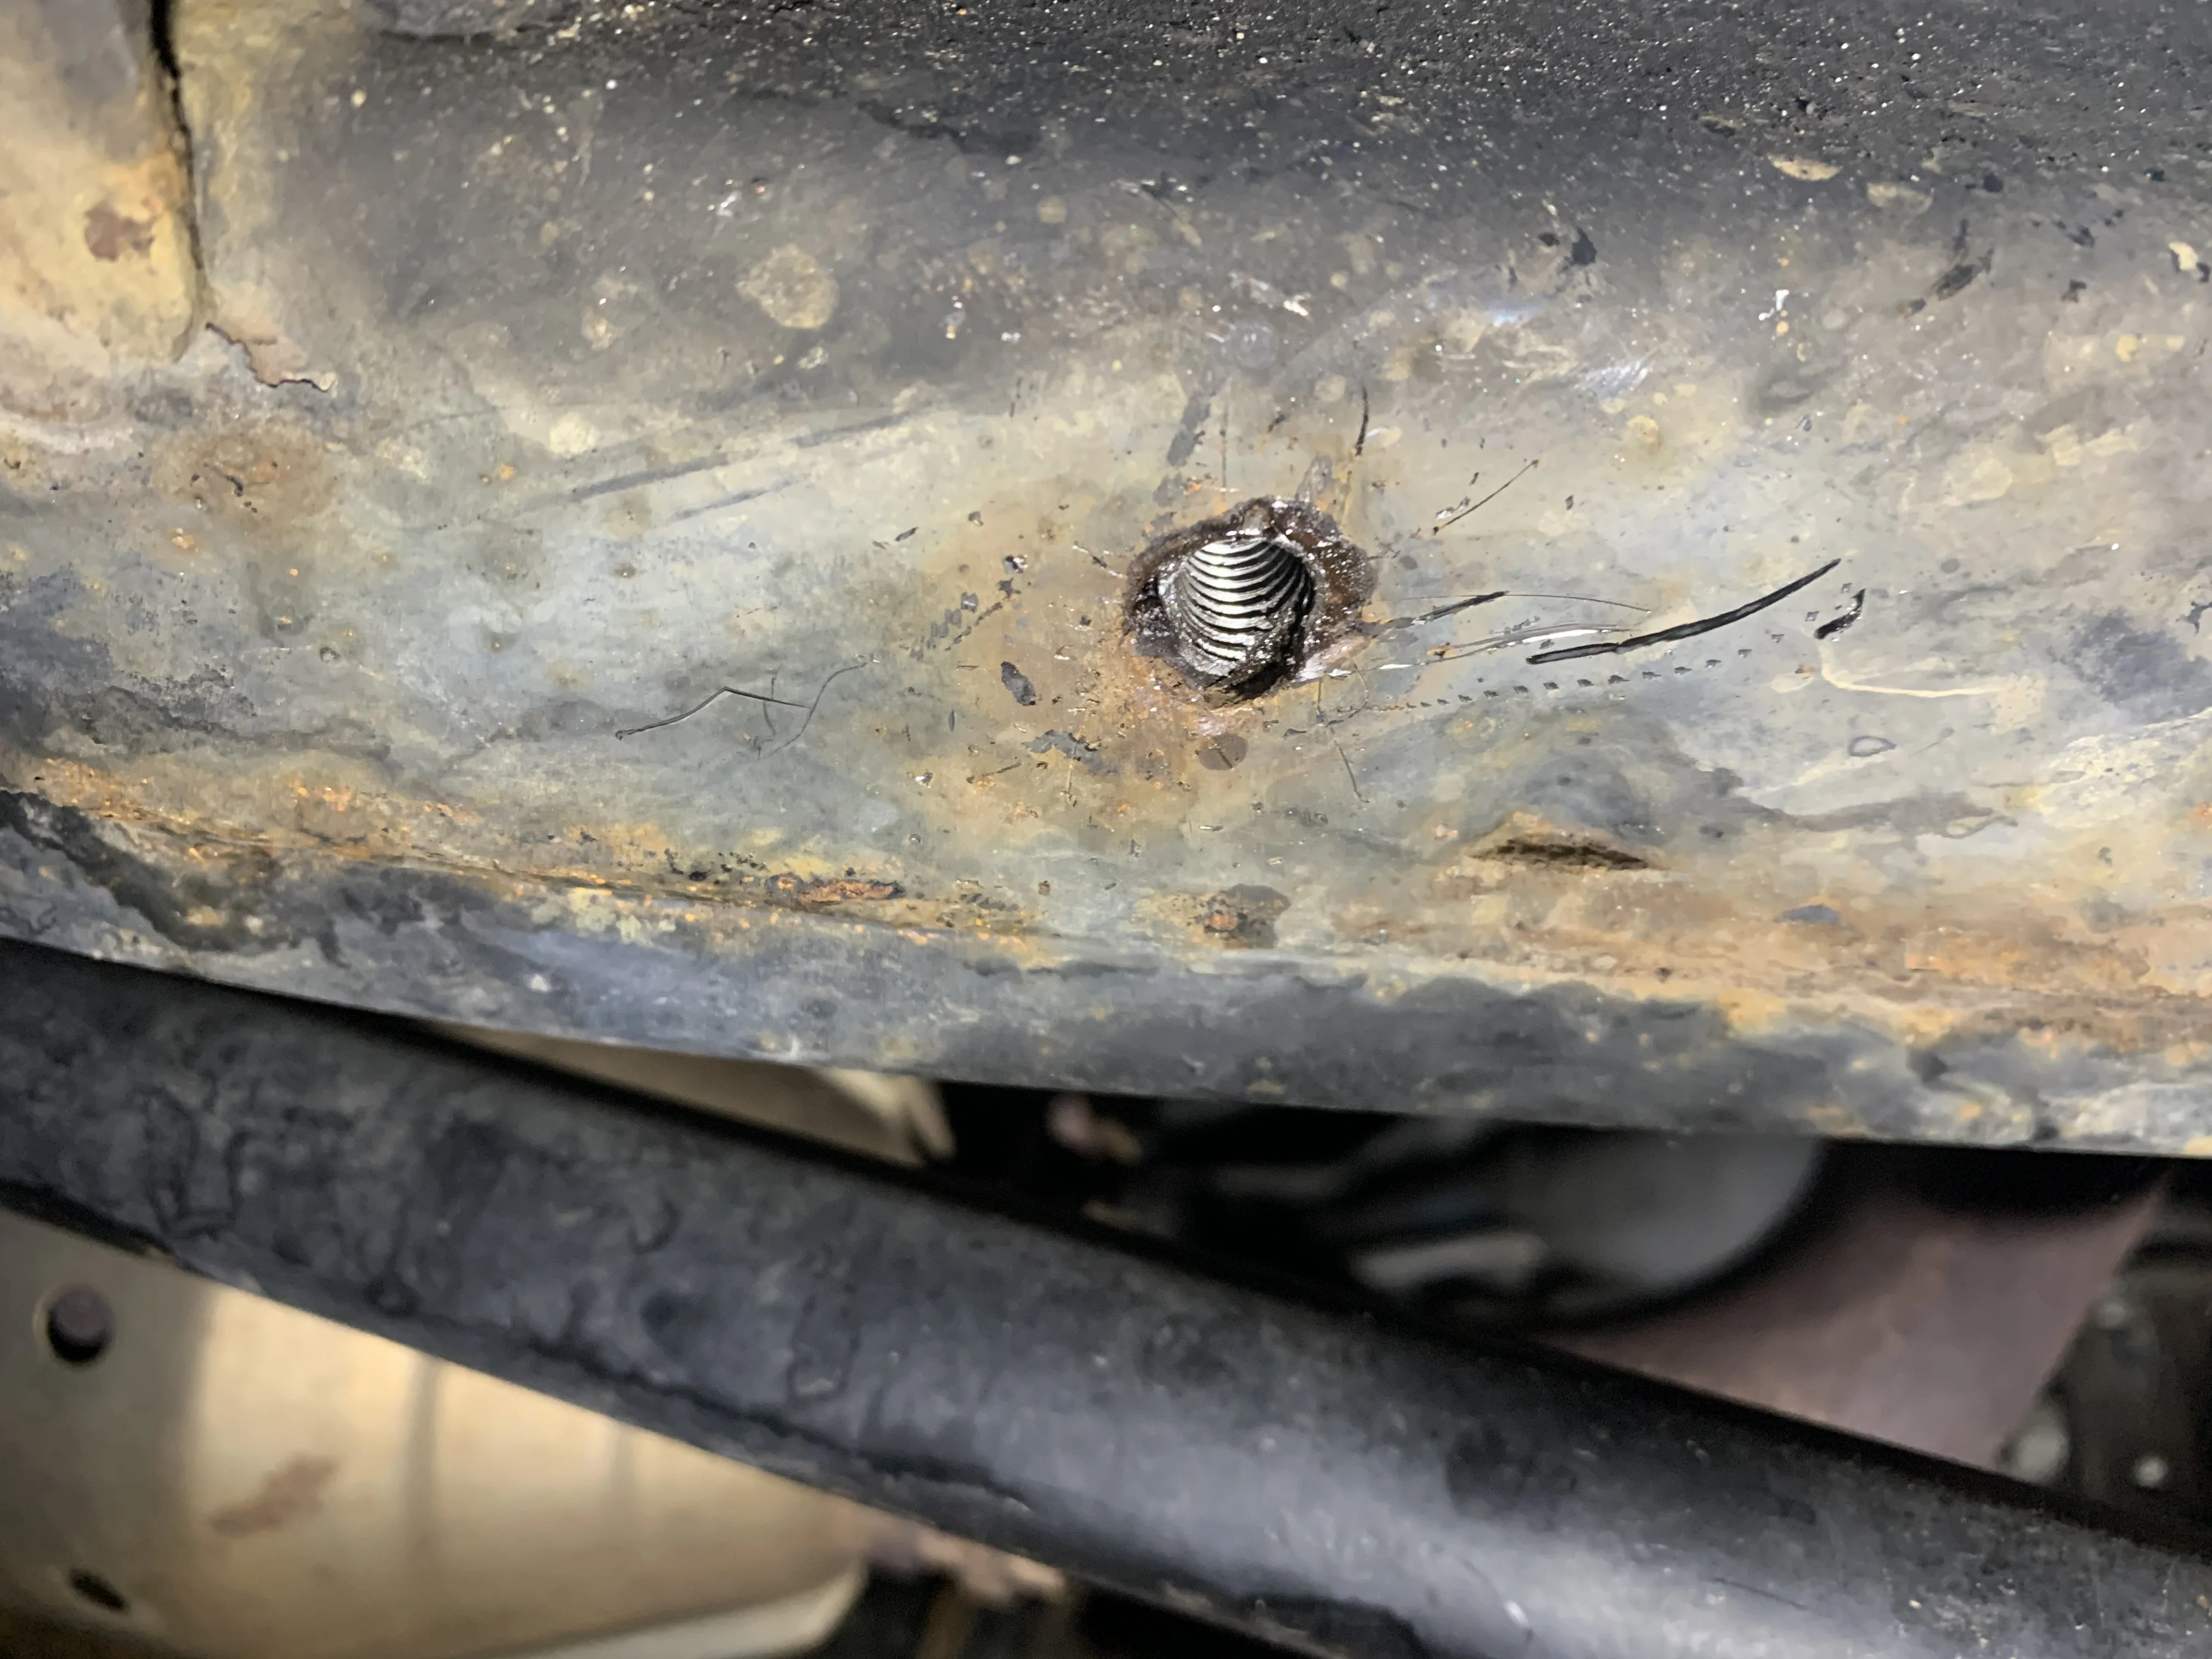
I'm about to install mine ,and on mockup, realized that the middle skid's frame bolts for the subframe member had two broken (and well -seized) bolts left inside the frame. The front skid interferes with the ARB bumper, not a big deal to cut the aluminum away to fit against the bumper - but I am encountering the rear bolt holes of the front skid needing to be opened up rearward a few mm's, and the center bolt provided not being long enough to work with the stock skid plate's hockey puck spacer.

I do have a diff drop, but with a longer bolt and using the provided spacer and the hockey puck center spacer, don't see any fitment issues. The broken and seized bolts in the frame aren't coming out (drilling and tapping them just ate the remaining bolt material) so we're going to have to get creative with the middle skid's cross member. That's in addition to my rock sliders having a U-bolt exactly where the new cross member piece is supposed to go.

Looking back, these are nice but make sure all of your factory frame threads are good to go...and consider how your sliders are mounted. I'll do a follow up photo and summary.
 
I'm about to install mine ,and on mockup, realized that the middle skid's frame bolts for the subframe member had two broken (and well -seized) bolts left inside the frame. The front skid interferes with the ARB bumper, not a big deal to cut the aluminum away to fit against the bumper - but I am encountering the rear bolt holes of the front skid needing to be opened up rearward a few mm's, and the center bolt provided not being long enough to work with the stock skid plate's hockey puck spacer.

I do have a diff drop, but with a longer bolt and using the provided spacer and the hockey puck center spacer, don't see any fitment issues. The broken and seized bolts in the frame aren't coming out (drilling and tapping them just ate the remaining bolt material) so we're going to have to get creative with the middle skid's cross member. That's in addition to my rock sliders having a U-bolt exactly where the new cross member piece is supposed to go.

Looking back, these are nice but make sure all of your factory frame threads are good to go...and consider how your sliders are mounted. I'll do a follow up photo and summary.
Can you drill bolt remnants out and use a helicoil kit to enable you to use OEM-like skid bolts for the crossmember?
 
Can you drill bolt remnants out and use a helicoil kit to enable you to use OEM-like skid bolts for the crossmember?
That'll be tomorrow's project - try and remove all of the bolt material and then introduce new threads with the helicoil. I think the plate would do "fine" even without the cross member for "casual" skid plate usage, but that cross member certainly is needed if you plan to actually smash the bottom with any force 🤣. My LX barely has any rust on it, but you can tell its spent some time in the midwest just by the condition of some of the fasteners.
 
That'll be tomorrow's project - try and remove all of the bolt material and then introduce new threads with the helicoil. I think the plate would do "fine" even without the cross member for "casual" skid plate usage, but that cross member certainly is needed if you plan to actually smash the bottom with any force 🤣. My LX barely has any rust on it, but you can tell its spent some time in the midwest just by the condition of some of the fasteners.
Insert of futzing with helicoils, I'd recommend using rivnuts. Just drill out the old stuff and pop a riv nut in there, done!
 
Yeah…expanding threaded fasteners are certainly an option, we use those daily building vans, just not too excited about taking a 3/8” bit into that mangled hole of bolt bits and frame threads 🙈
 
On my 99 LX, I installed the front and trans skids with no hole alignment problems at all. I have a Trail Tailor diff drop, WKOR sliders, and the IronMan front ARB knock-off bumper.. I just went to the local hardware store and bought some longer bolts and some more spacers that were the same size as the ones that came with the TT diff kit. I believe I had to use 55mm bolts all around and then 110mm for the middle long bolt.


Installed a full set of skids on my 100. Didn't have any alignment issues. No lift/diff drop yet, but have WKOR sliders. Did have 3 frame bolts that had sheared off a long time ago and were rusted in. Had to drill those out and re-tap.

full


full


full


full


full


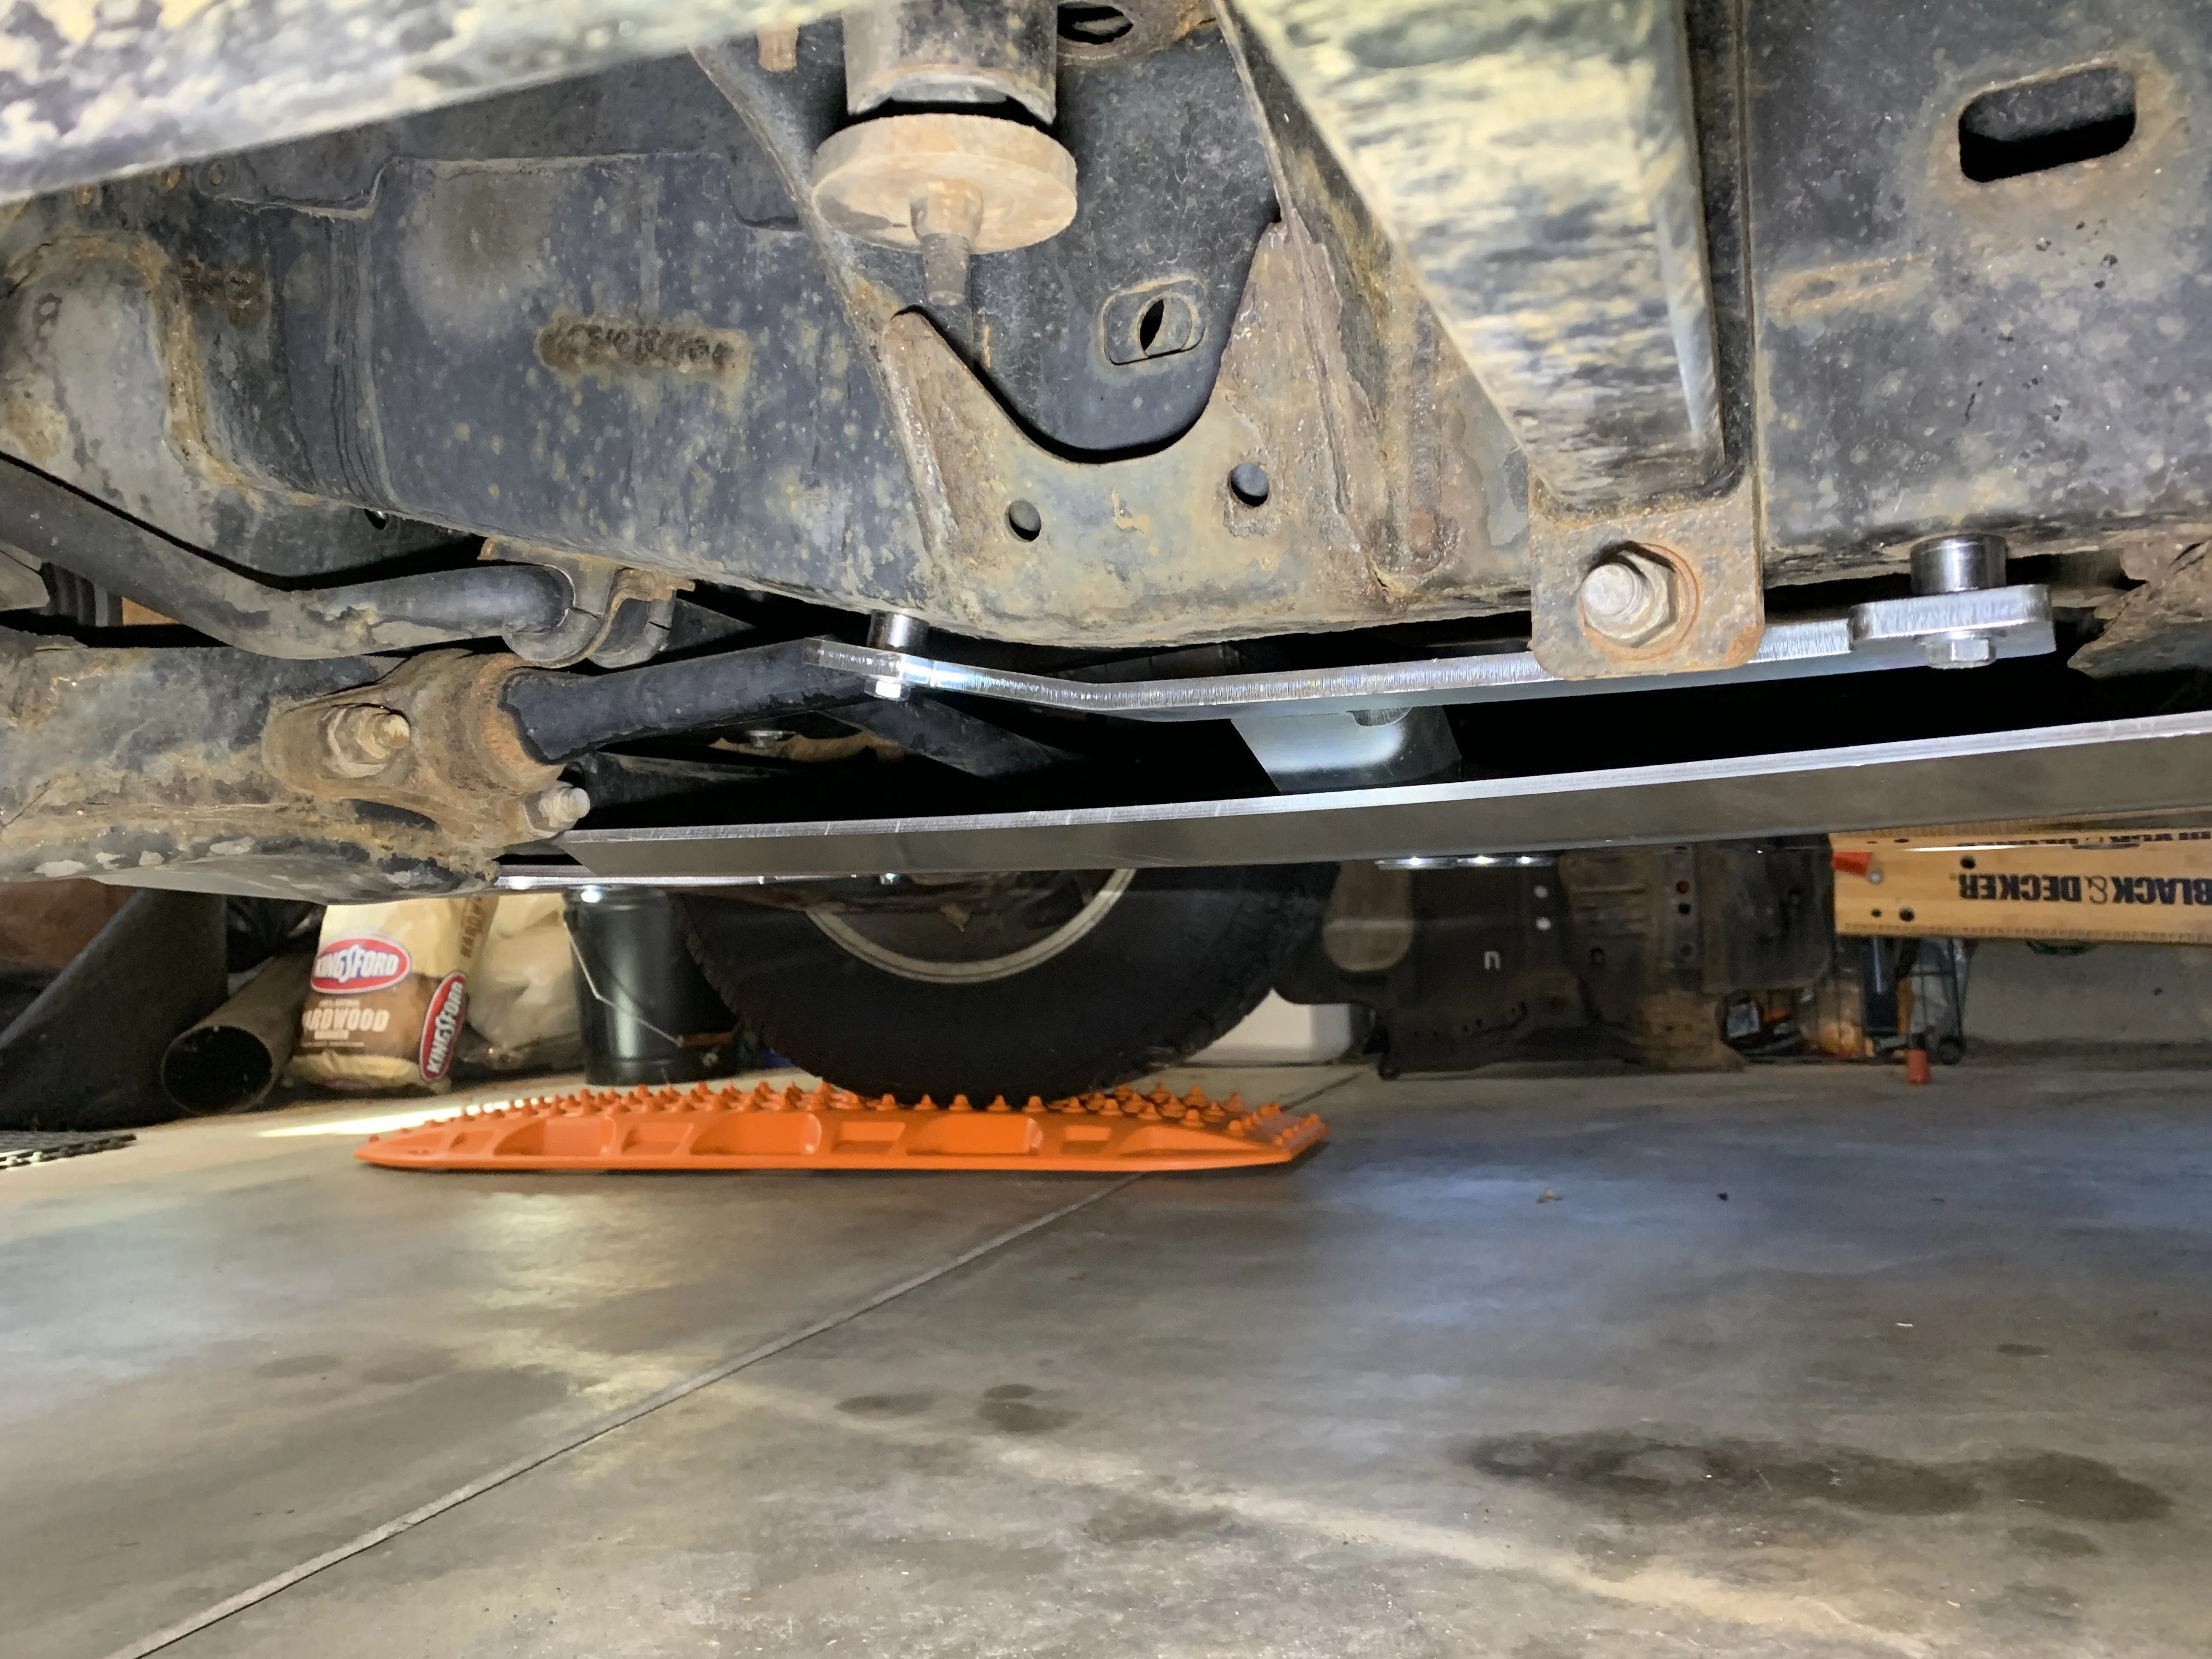
Used some spacers I found at Home Depot to clear the U-bolts.

full


full


My process for install was the following:
- Install the cross members, but leave them a little loose.
- Install the rear skid with the bolts loose
- Install the middle skid with the bolts loose
- Tighten the cross members
- Tighten the rear skid, then the middle skid
- Used a bottle jack to help raise the front skid, trying to keep the flat part horizontal
- Install the front 3 bolts hand tight, but loose enough to be able to shift a little
- Use the bottle jack between the rear bolts to push the skid against the frame. Once the skid was against the frame and horizontal, the rear bolts lined up.

full


full
 
Quick question, on the cross member what size bolts and spacer did you use to attach it to the frame? My kit didn’t come with 4 bolts for the cross brace and I don’t see them under my truck to reuse. Thanks!
Installed a full set of skids on my 100. Didn't have any alignment issues. No lift/diff drop yet, but have WKOR sliders. Did have 3 frame bolts that had sheared off a long time ago and were rusted in. Had to drill those out and re-tap.

full


full


full


full


full


Used some spacers I found at Home Depot to clear the U-bolts.

full


full


My process for install was the following:
- Install the cross members, but leave them a little loose.
- Install the rear skid with the bolts loose
- Install the middle skid with the bolts loose
- Tighten the cross members
- Tighten the rear skid, then the middle skid
- Used a bottle jack to help raise the front skid, trying to keep the flat part horizontal
- Install the front 3 bolts hand tight, but loose enough to be able to shift a little
- Use the bottle jack between the rear bolts to push the skid against the frame. Once the skid was against the frame and horizontal, the rear bolts lined up.

full


full
,
 
Quick question, on the cross member what size bolts and spacer did you use to attach it to the frame? My kit didn’t come with 4 bolts for the cross brace and I don’t see them under my truck to reuse. Thanks!

,
Spacers were 3/8" x 1/2". I think the bolts I used were 50mm.

I didn't reuse any of the factory bolts. Bought a bunch of new ones ranging from 30mm to 50mm
 
Back
Top Bottom