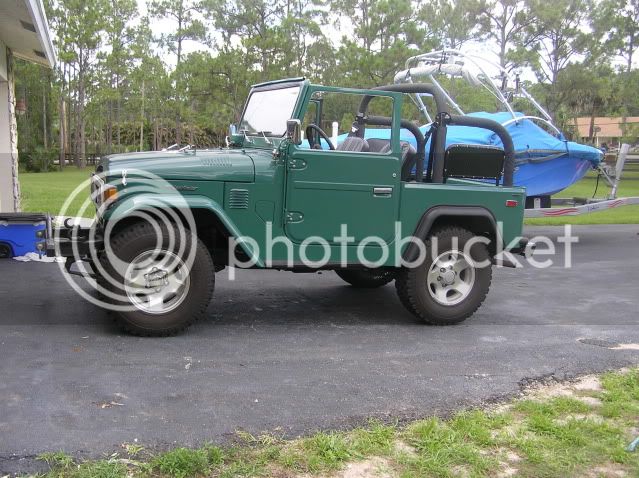
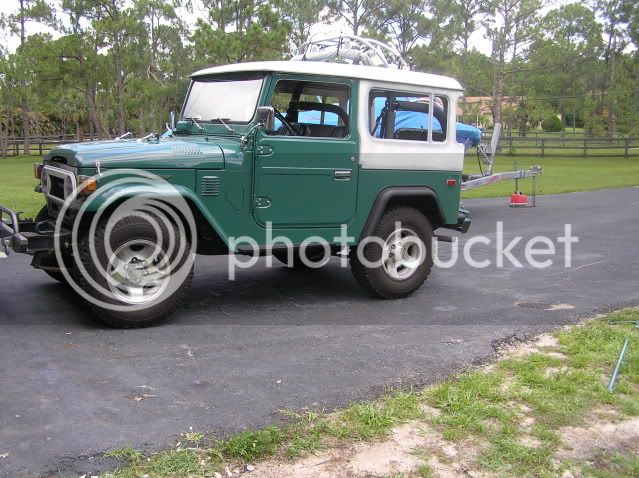
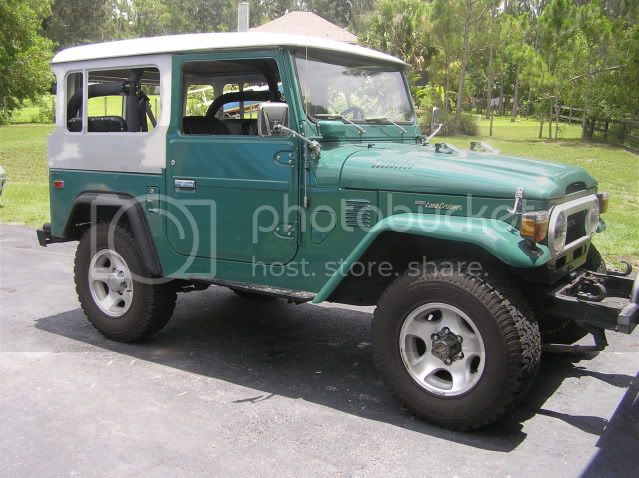
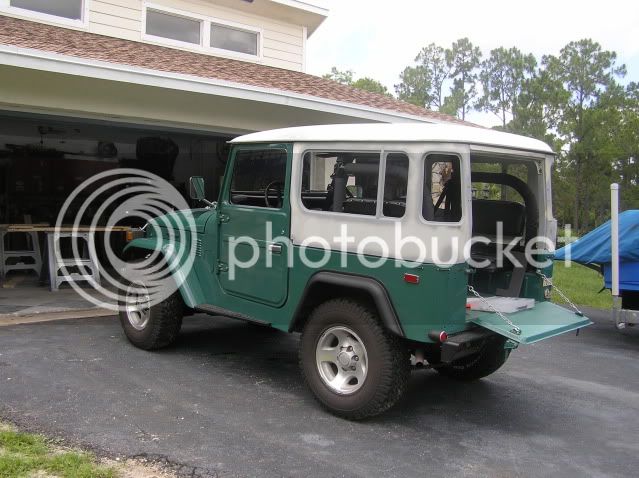
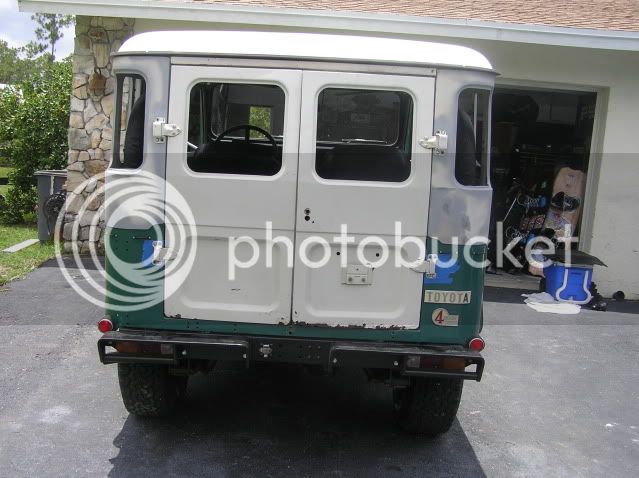
'75 FJ40 - First Project

This site may earn a commission from merchant affiliate
links, including eBay, Amazon, Skimlinks, and others.

I've been looking for a Paki Top locally. I'm down in Boca Raton. Let me know when you want to sell it. Also, if you're selling the grey oem wheels, I'm interested. I'll pick up this week if it helps.

Todd
toddblosser@gmail.com
 
Thanks Todd, I'm getting lots of PMs from people on the soft top, bows, tailgate and hardware, even got a couple last night from local people such as yourself, it will be several weeks before I am ready to sell them. I am keeping the stock wheels and caps. The bumpers in the first pics are available though...
 
Sounds good. Let me know when you're ready to get rid of the top and bows. The bumpers aren't too functional for me.
 
I got my rain gutter from SouthBostonFJ today, very nice quality, well protected for shipping, straight as an arrow when I got it. I also got his stainless steel rivet kit, didn't need the visor, mine was in good shape. Here it is laid out on the garage floor, prior to getting it ready to be welded up.
fj40 green restoration 012.webp
fj40 green restoration 013.webp
 
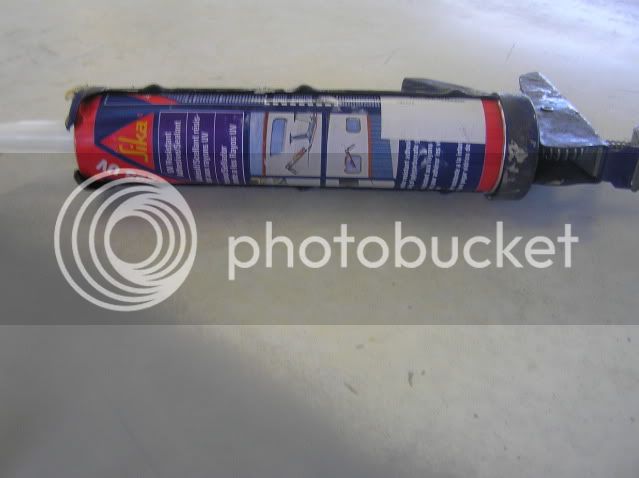
I placed the rain gutter on a 2x6 frame that I made and lined up all the seams, then I placed the fiberglass top on top of the rain gutter squared everything up then traced around the outside of the rain gutter on the 2x6 with a Sharpie. Then I removed the top and lined it up with the Sharpie lines and tacked it together. Then I put the top back on the rain gutter to make sure everything was square still before welding it up. Cleaned up the welds a bit, primed it, roughed up the primer and then laid down a bead of Sikaflex before putting the top back on and clamping it all together. I'll let the Sikaflex set up good tonight and tomorrow before starting the riveting.
fj40 green restoration 014.webp
fj40 green restoration 015.webp
fj40 green restoration 016.webp
 
I got the same rain gutter over 1 year ago. I am about to start working on my roof in a couple of weeks. Its all welded up but I did not want to start until the tub was on. I did not want it sitting around just to get dinged up after painting it.

You really should put this in a new thread. I am sure lots of us would appreciate it. I still have not decided weather to rivet or screw/bolt gutter to top. For sure stainless either way.
 
I let the Sikaflex set up (the instructions say 7-8 days for full cure).
P1010249.jpg


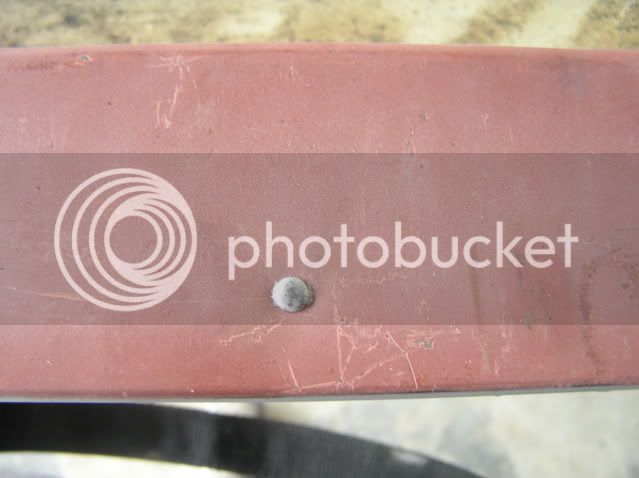
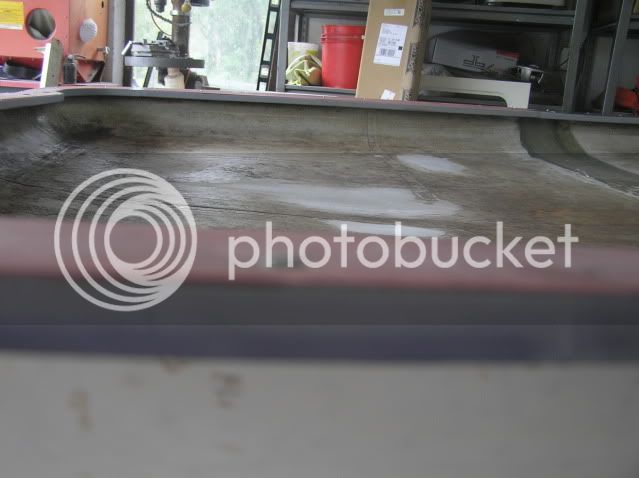
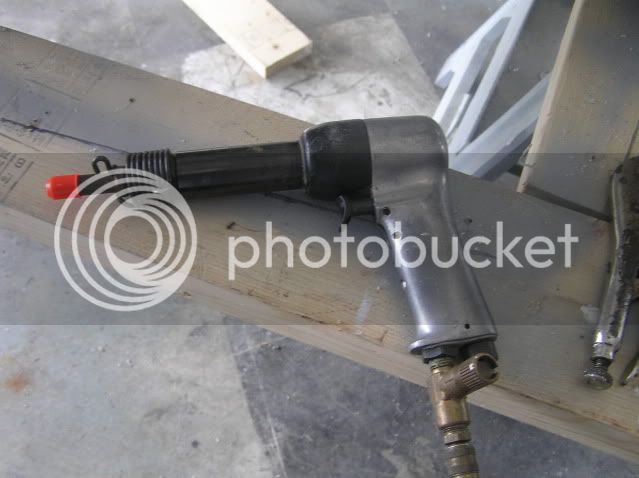
Then it was on to riveting. I read more than a dozen threads regarding the proper installation of the rivets (rivet head on the fiberglass or rivet head on the rain gutter), I decided to install the rivets from the top down, rivet head and stainless washer against the fiberglass and then buck the rivet from under the rain gutter. I chose this method so I would be air hammering against the fiberglass and so that the washer would have more surface against the fiberglass. I practiced on some scrap to get the air pressure just right prior to setting off on the top. Other than being a really boring job, it wasn't that bad. Here is the rivet hammer I used and a few shots of the bucked rivets, horrible quality but the best my camera would do.

P1010251.jpg


P1010252.jpg
P1010250.jpg
 
So, with the rain gutter riveted on, the next step should have been seal the rivet heads and the rain gutter to fiberglass gap, but I couldn't resist test fitting the new top.

Here it is with the Pakitop and bows removed.
P1010253.jpg


Test fit,
P1010254.jpg

P1010256.jpg

P1010255.jpg


I got a little carried away and put the doors on to. Very happy with the way it looks.
P1010257.jpg
 
Yes, sealent and adhesive in one. This was my first time using this product, very long working time and seems very durable.
 
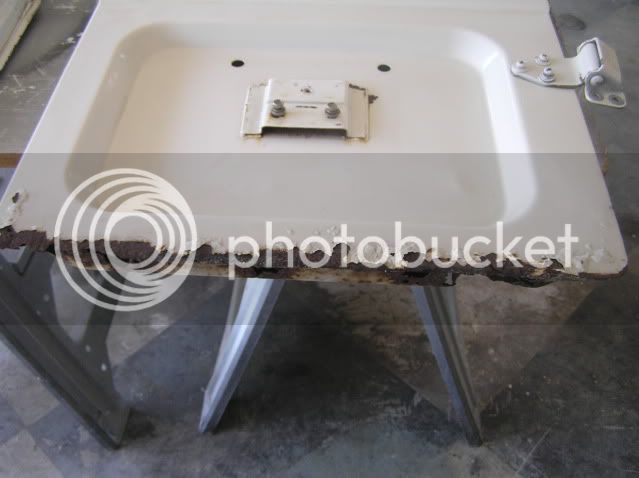
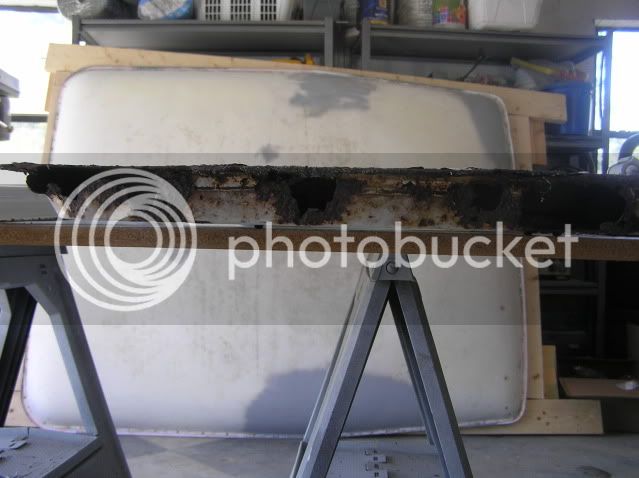
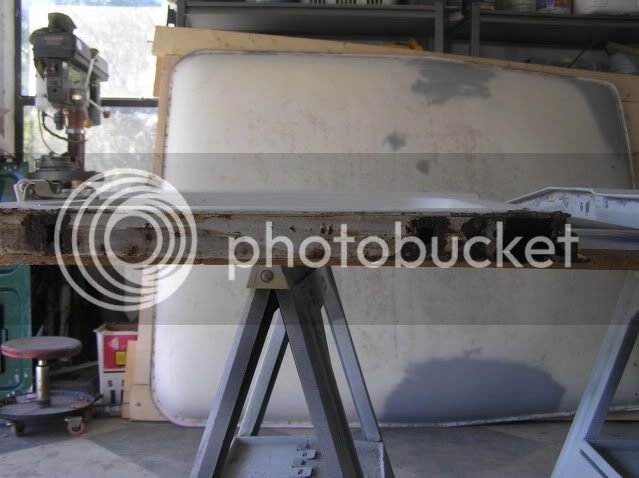
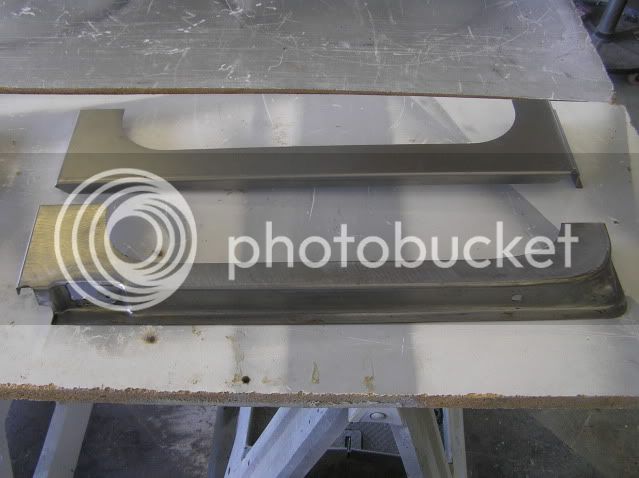
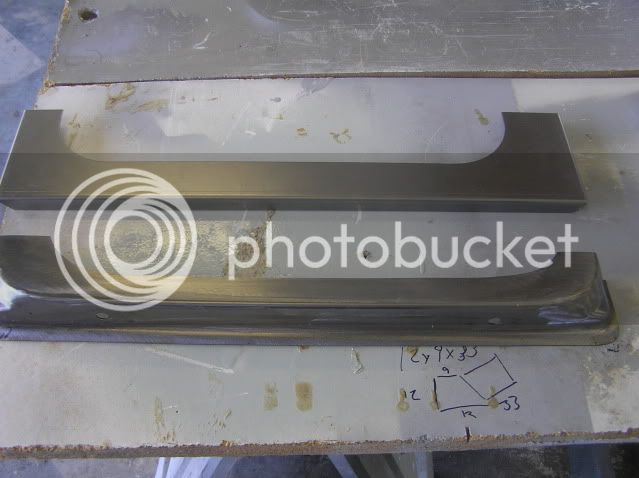
Got started on the ambulance door bottoms today, the new repair sections from CCOT came today too.
P1010258.jpg

P1010260.jpg

P1010261.jpg

P1010264.jpg


P1010265.jpg

The steel is real good quality, the fit wasn't perfect though, but close enough.

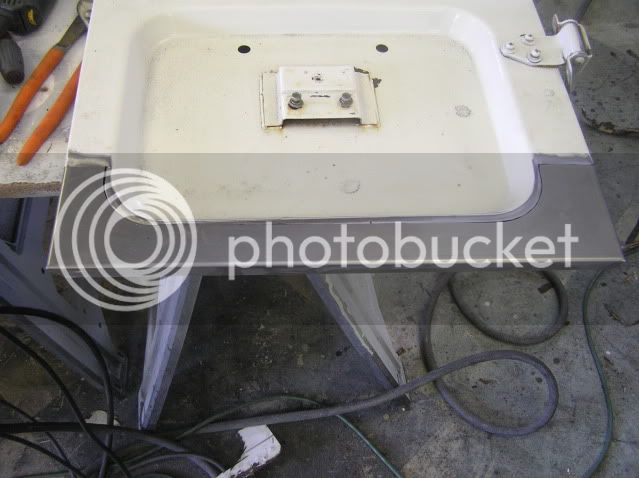
I used the new sections to make my cut lines for on the doors. Then used an angle grinder to cut out the rotted stuff. Cleaned up the insides and sprayed some weld through primer on them and the inside of the new pieces.
P1010268.jpg


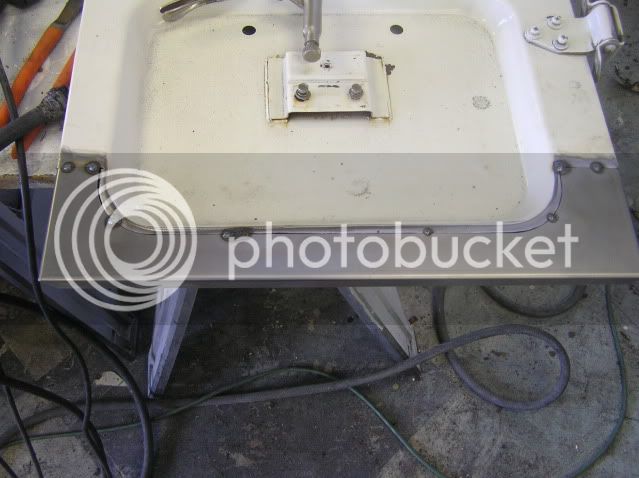
Fit the new sections and tacked them in with the MIG welder.
P1010269.jpg

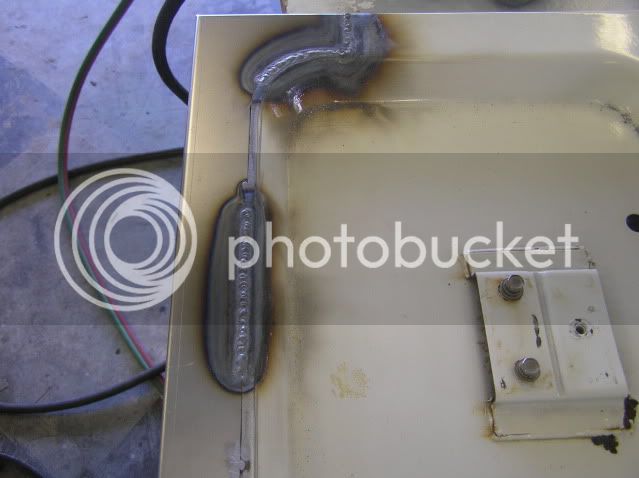
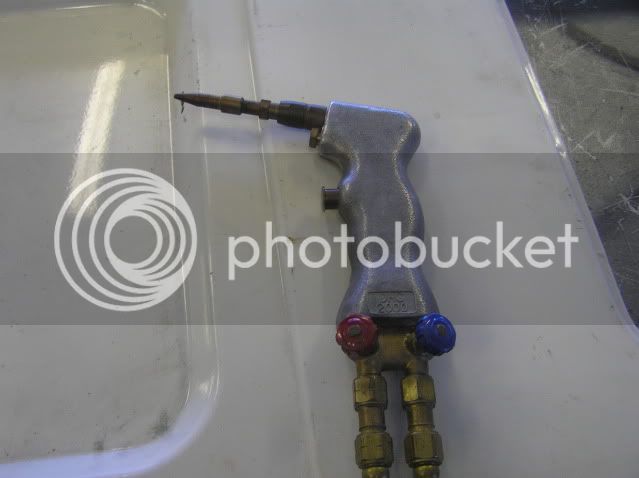
Did all the seam welding with my gas set and this, a sweet little tool for this stuff, it's a Cobra 2000, it runs at 4 PSI, with the flow set properly it runs a nice bead without burn through and doesn't warp the surrounding metal.
P1010270.jpg

P1010271.jpg

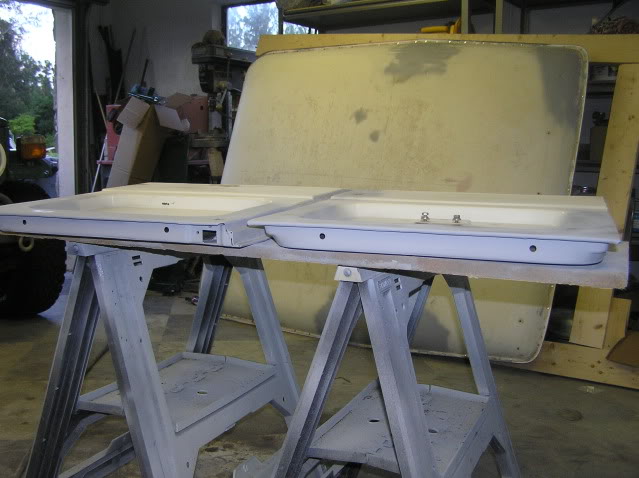
Here they are ready to be cleaned up.
P1010272.jpg
 
It was a good weekend. Got the door bottoms all done and on primer, and I got a new IPad for Father's Day! I hope to get the remainder of the body work done on the sides and top during the week so that I can final prime everything this coming weekend and maybe paint the following weekend. I hate paint and body.

P1010275.jpg


P1010274.jpg
 
I have used that torch mainly on thin gauge mild steel, very thin, down to 22 ga. I have used up to 1/8" mild steel and it's as effective and pretty as TIG.
The cutting torch attachment works good, but on thin gauge stuff an angle grinder is just as fast (since you have to change the tip and adjust the pressure a bit). I have played with it on aluminum too, but I have a really good TIG machine that I use for all of my aluminum stuff. The torch is high quality and IMO, leaves you with weld that is softer to clean up and doesn't put near as much heat on the panel that you are welding. The other thing is that it is very comfortable, no welding hood, just a pair of gas welding glasses (from DHC) and some thin work gloves. And at 4 PSI, you use hardly any gas, compared to Stargon/Argon for MIG stitch welding. So, I'm a fan.

 
Back
Top Bottom