The Hand-Me-Down Cruiser Build

This site may earn a commission from merchant affiliate
links, including eBay, Amazon, Skimlinks, and others.

Joined
Feb 22, 2014
Threads
20
Messages
102
Location
Spokane, WA
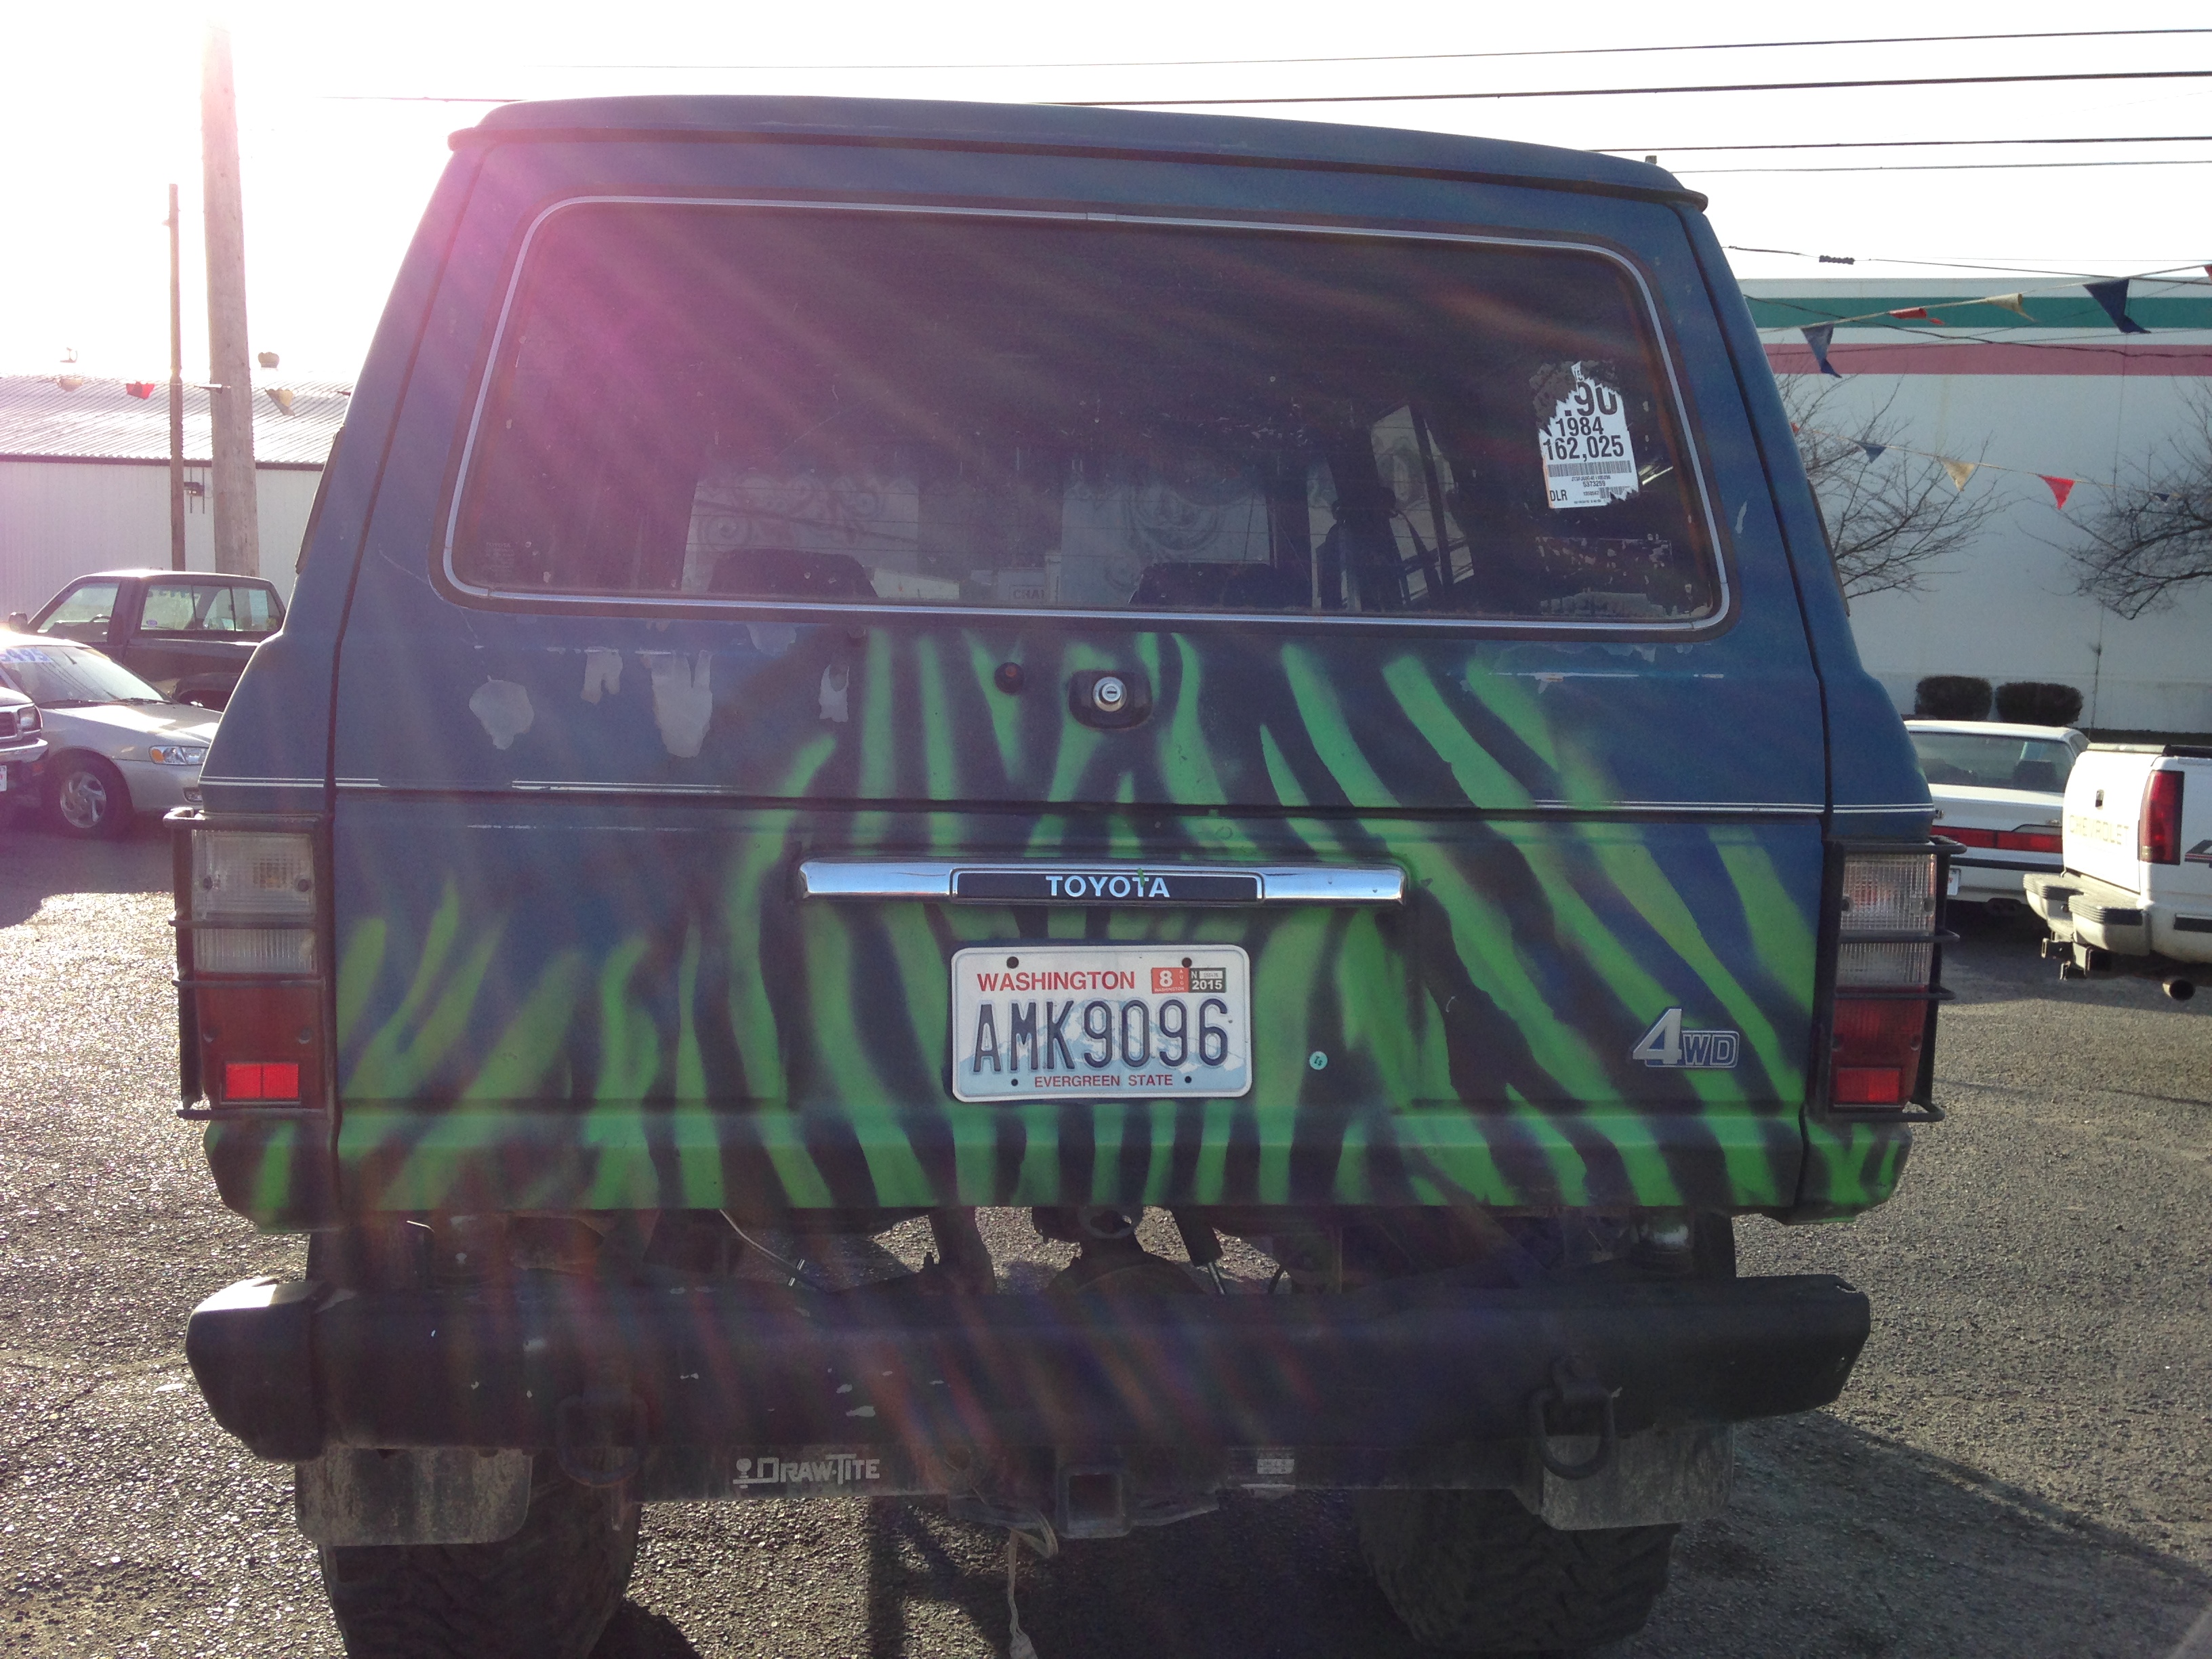
So this is when I first got the rig. This was 2014-ish, and it had pretty much been driven into the ground. Ran awful, burned oil, leaked everywhere, and was SUPER low on power. Had a nasty hard misfire...
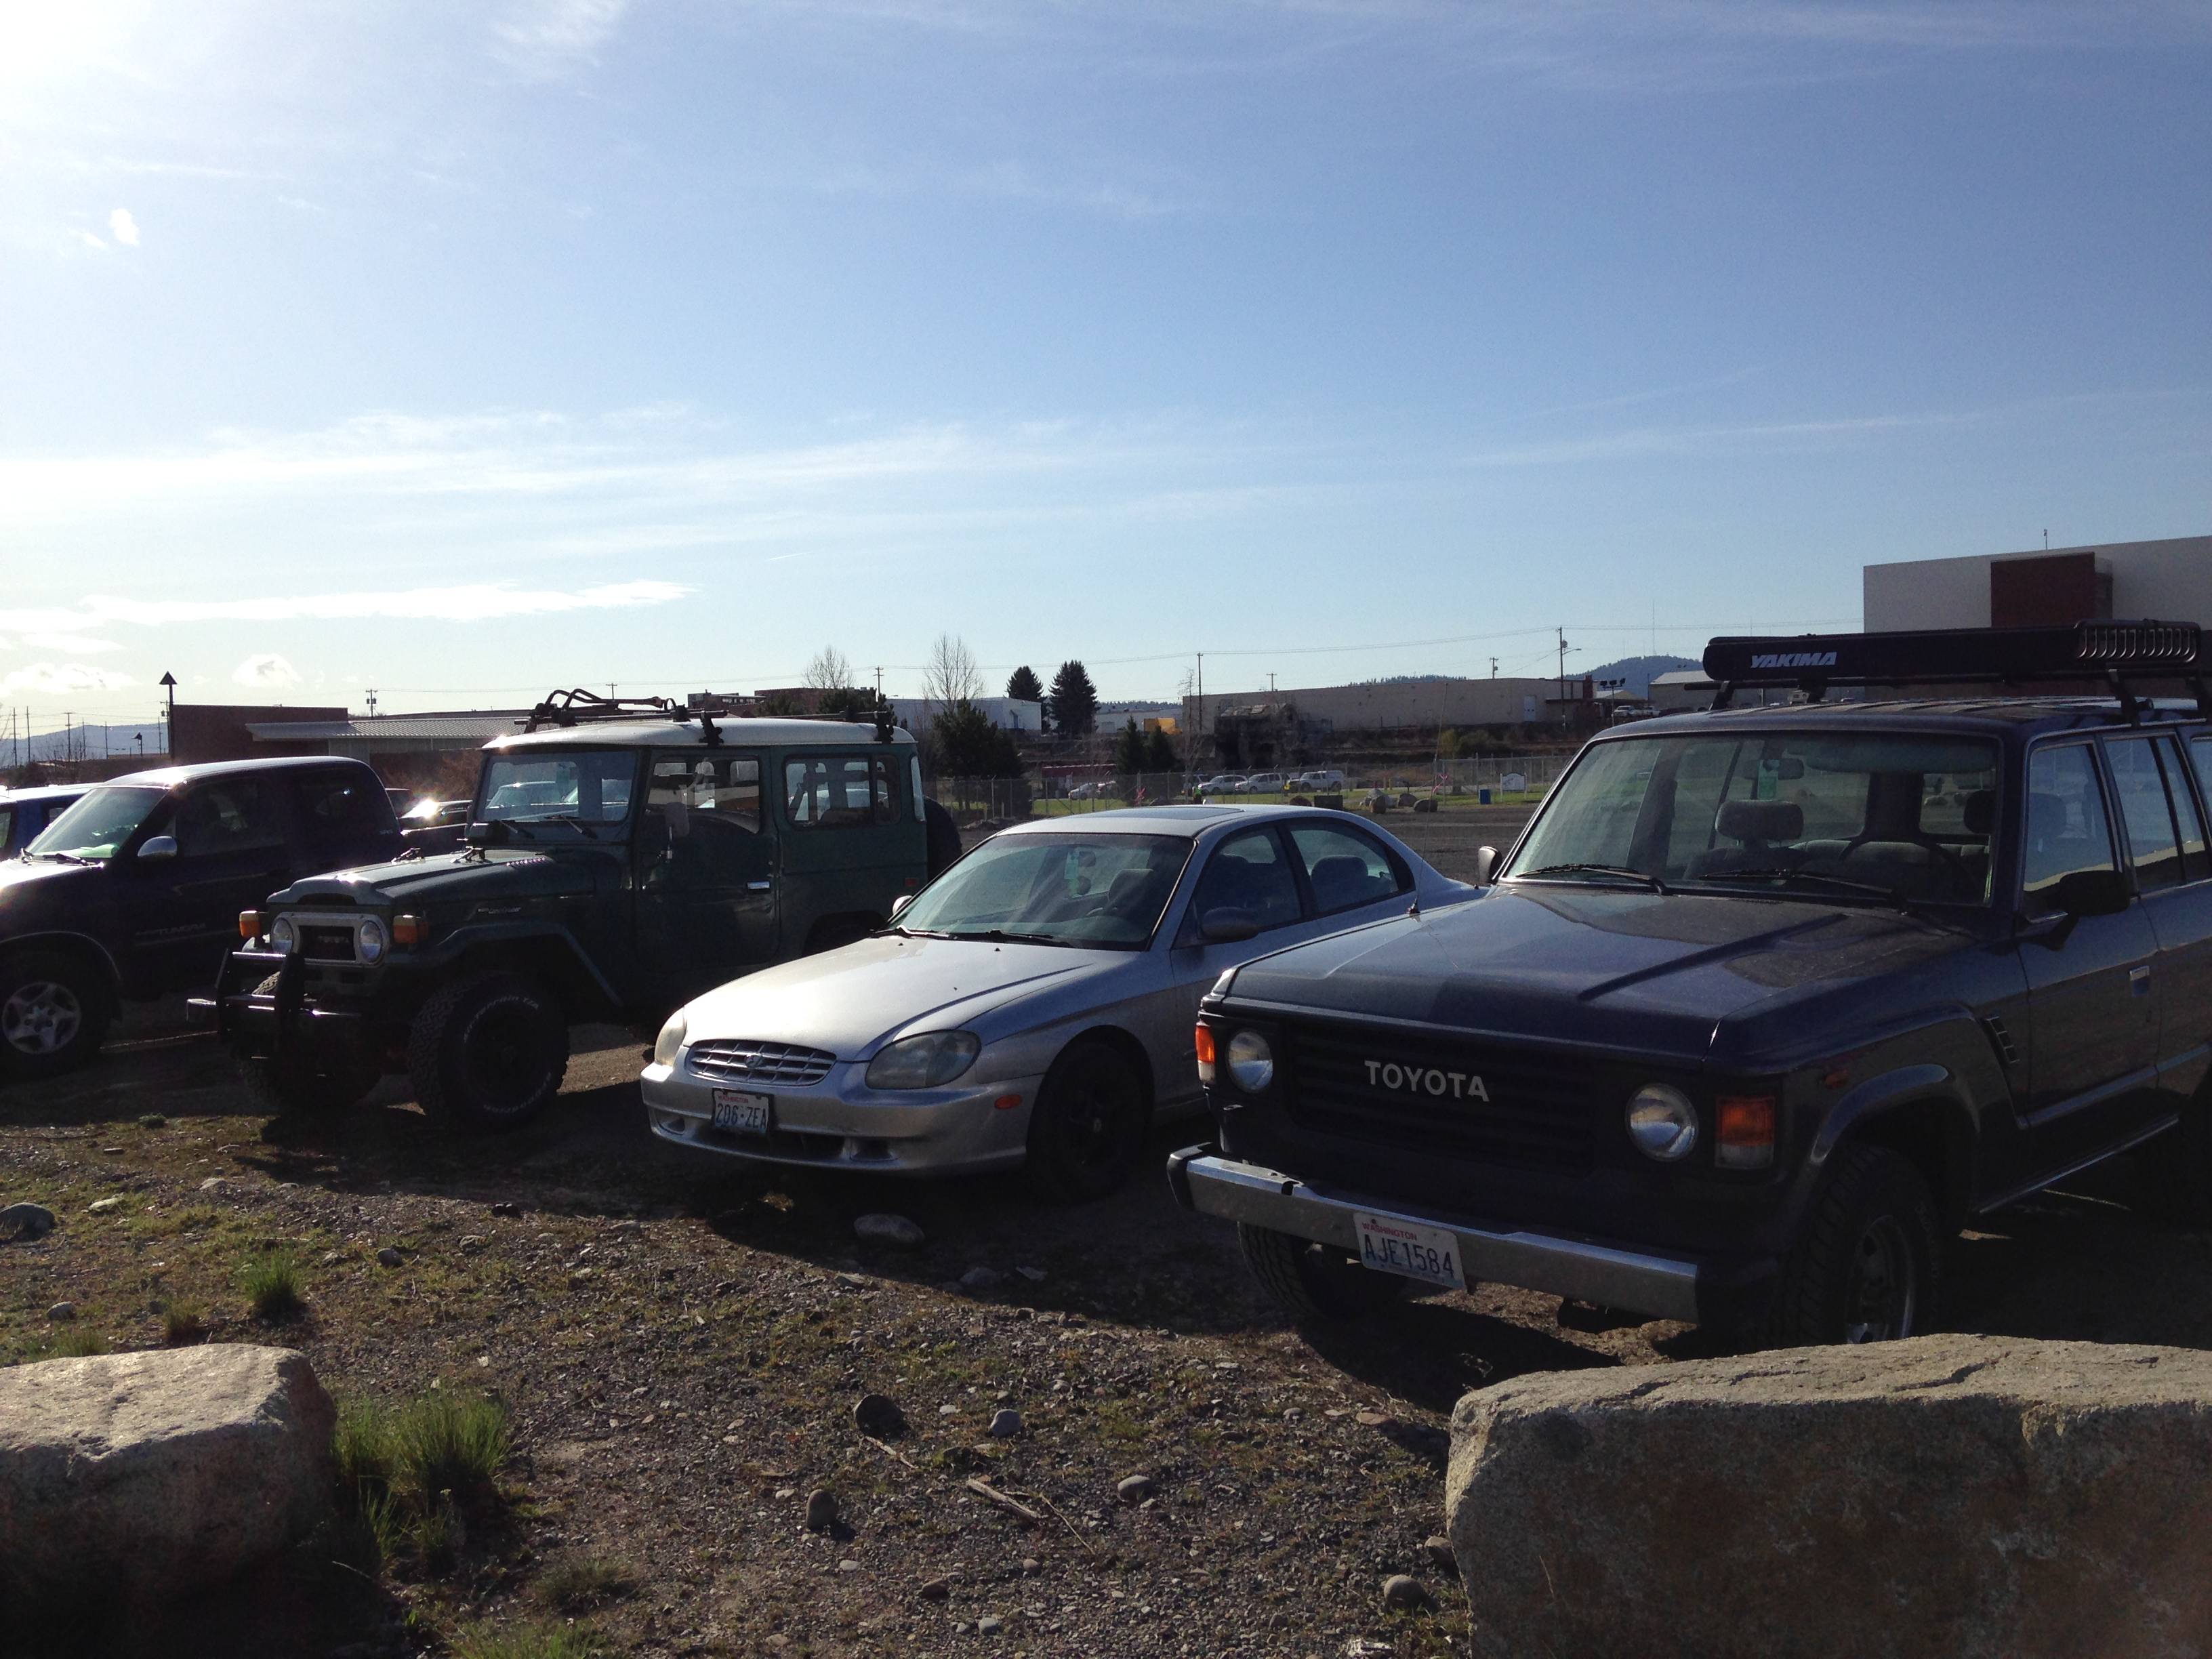
nlrUazC.jpg

The first order of business was doing a compression test.
Cyl 1 - 155
Cyl 2 - 35
Cyl 3 - 150
Cyl 4 - 150
Cyl 5 - 155
Cyl 6 - 40

Oof.

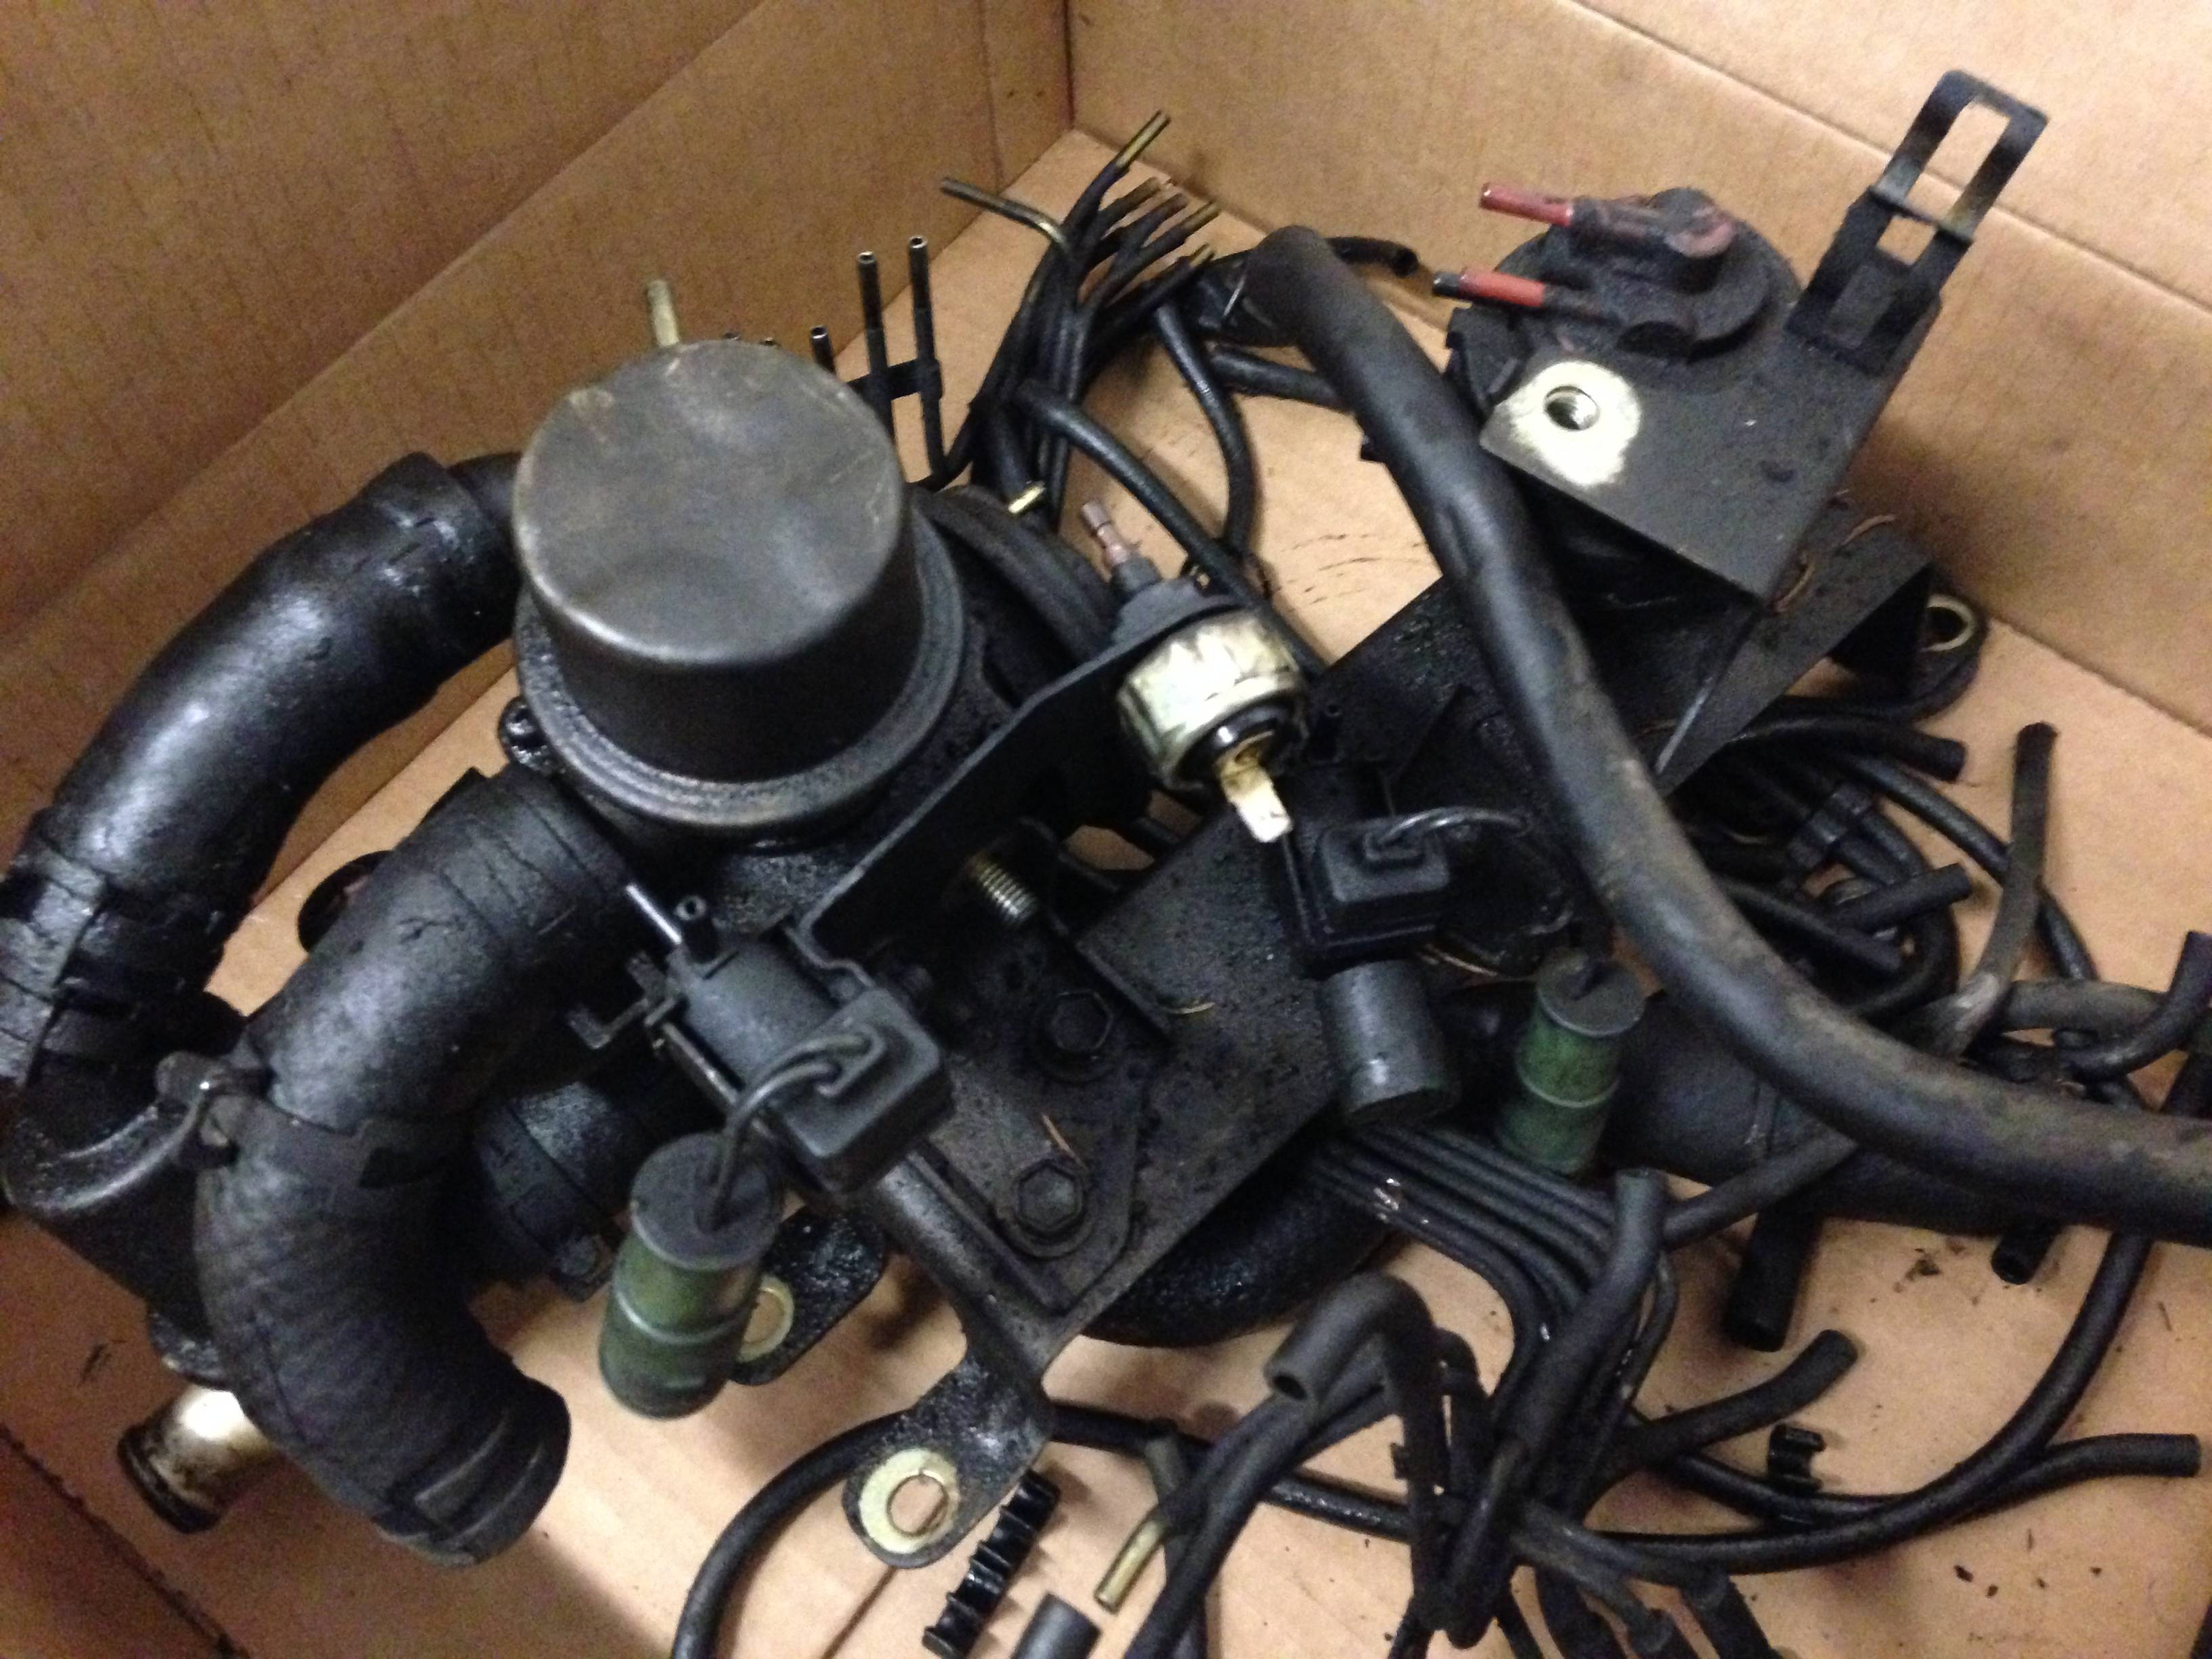
While I was in there, I figured it was as good a time as any for a desmog. At the time, I had no idea what I was doing, so I followed FJ40Jim's Desmog guide as best I could (still need to get a recurved Dizzy and retuned Carb eventually). Waiting till I'm graduated before touching the Carb.
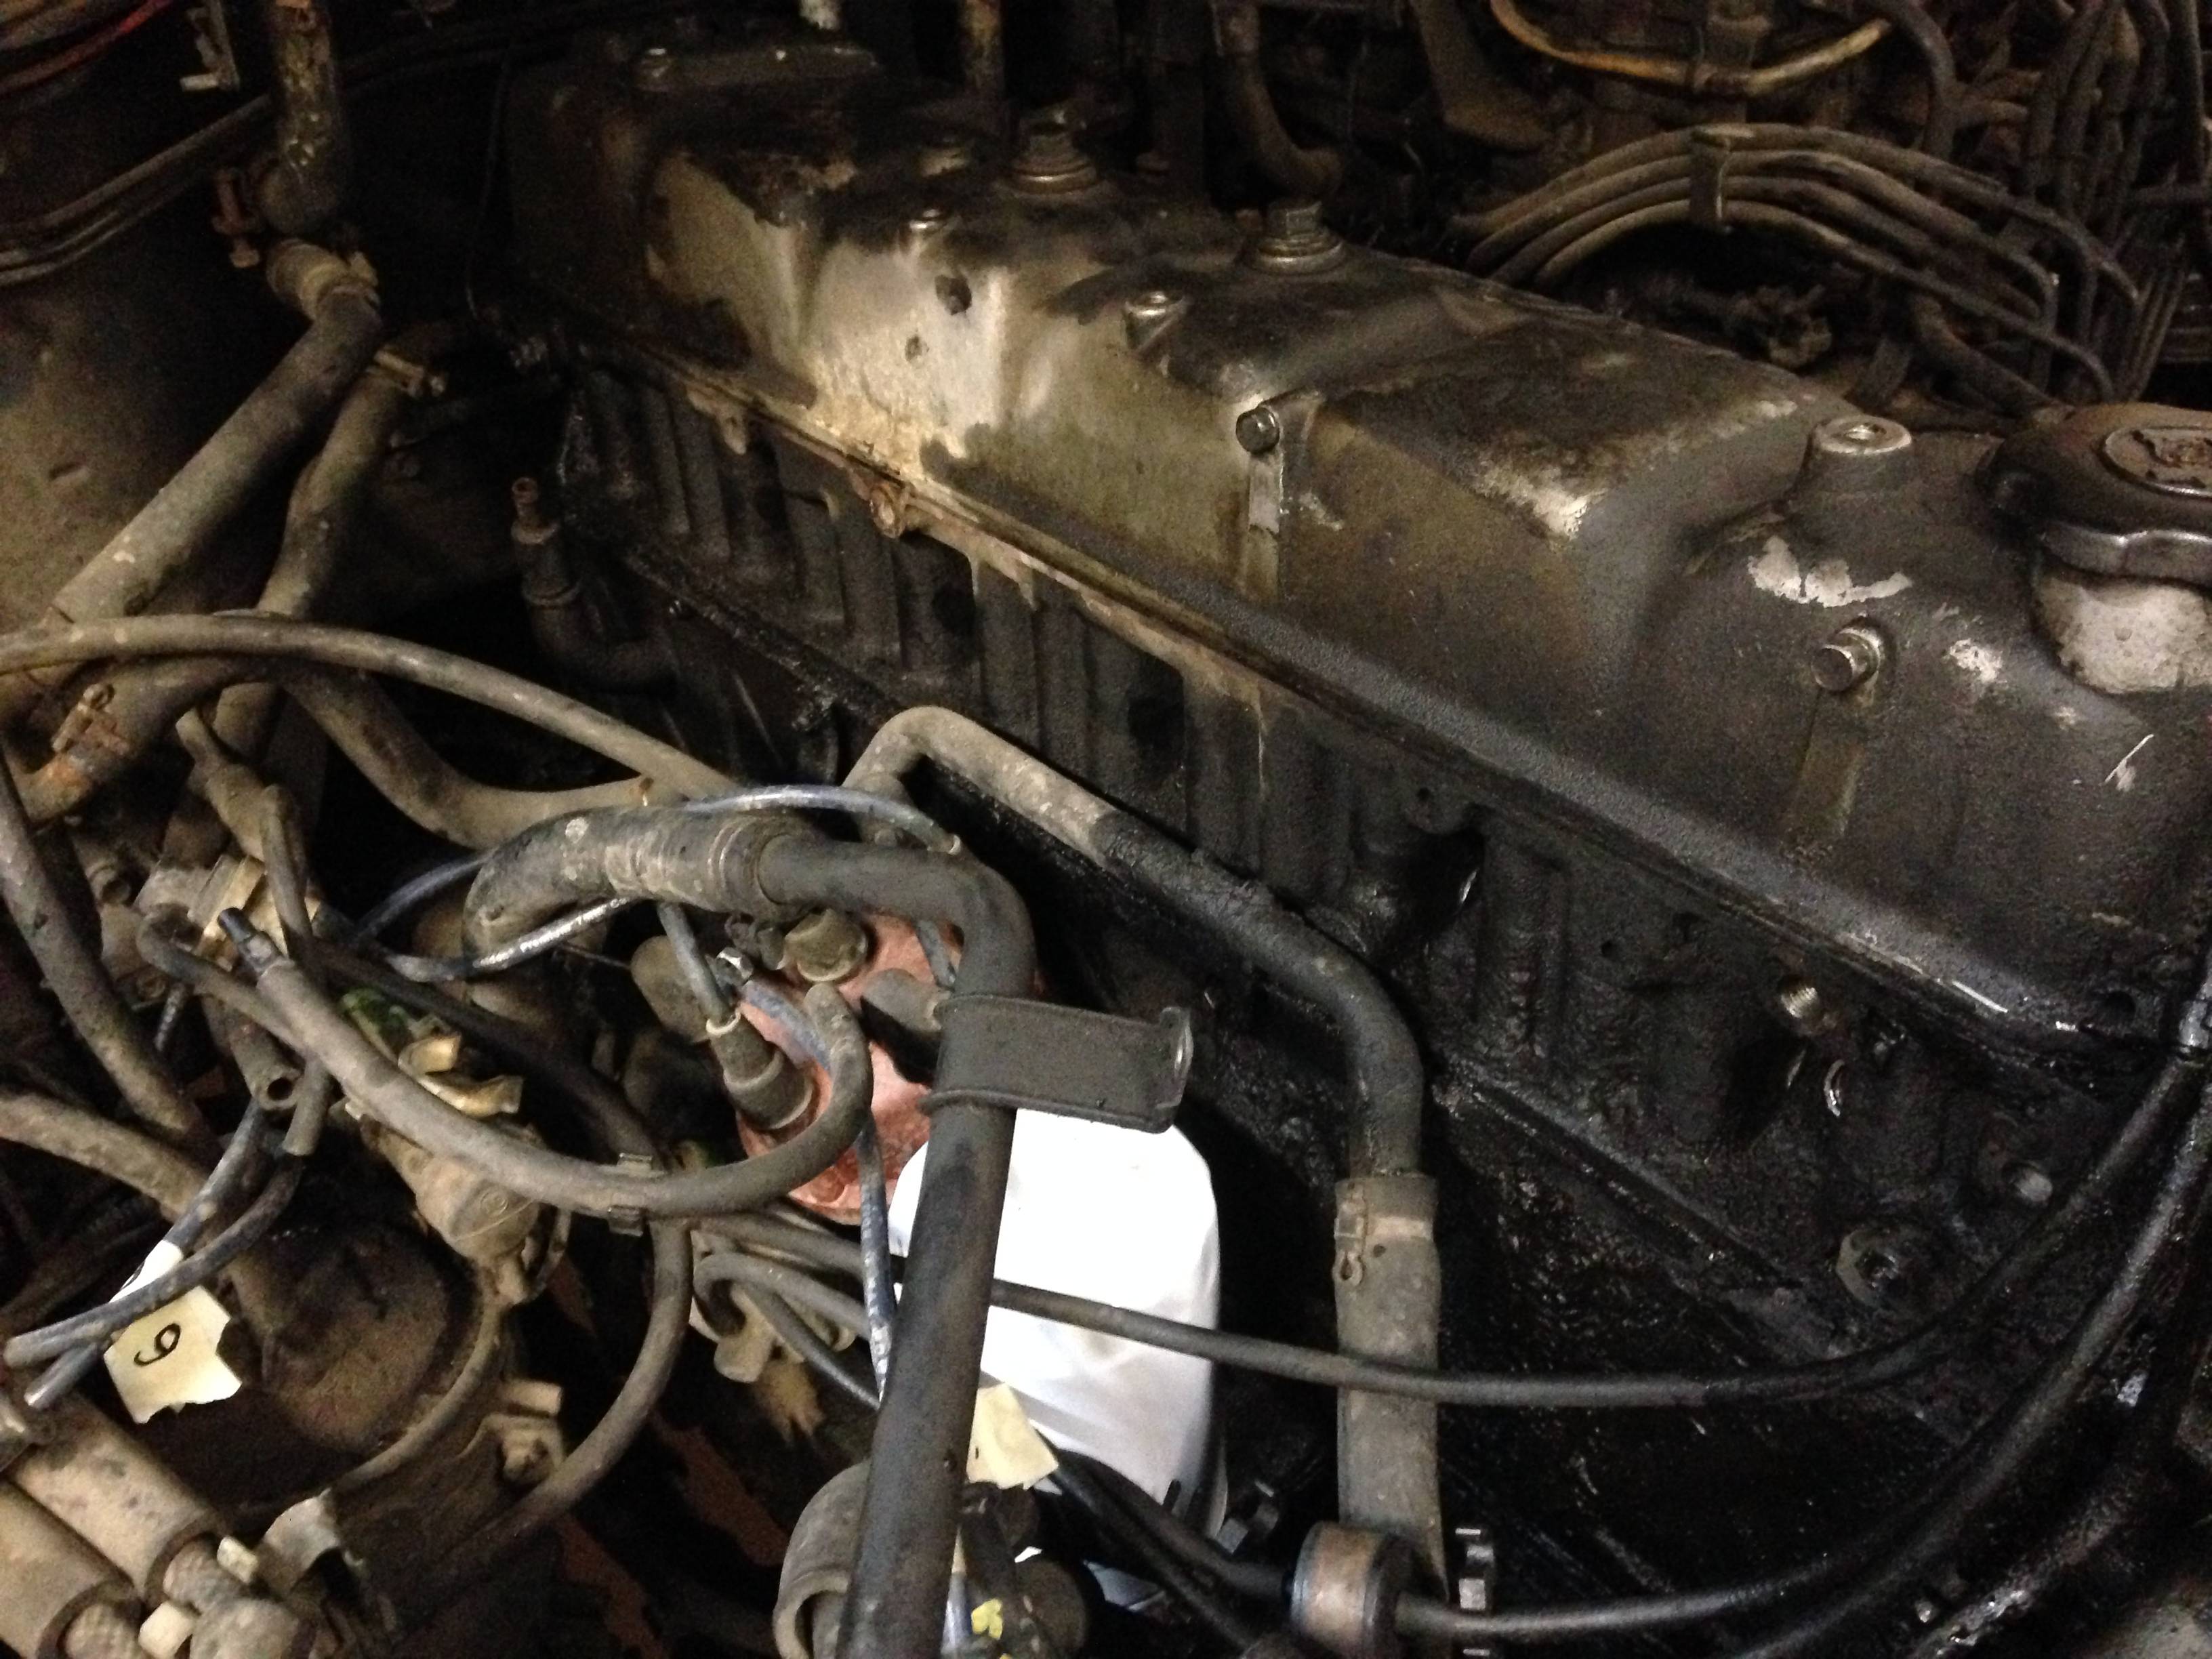
FIHy2GO.jpg

wqHTdub.jpg

8xlA1ld.jpg

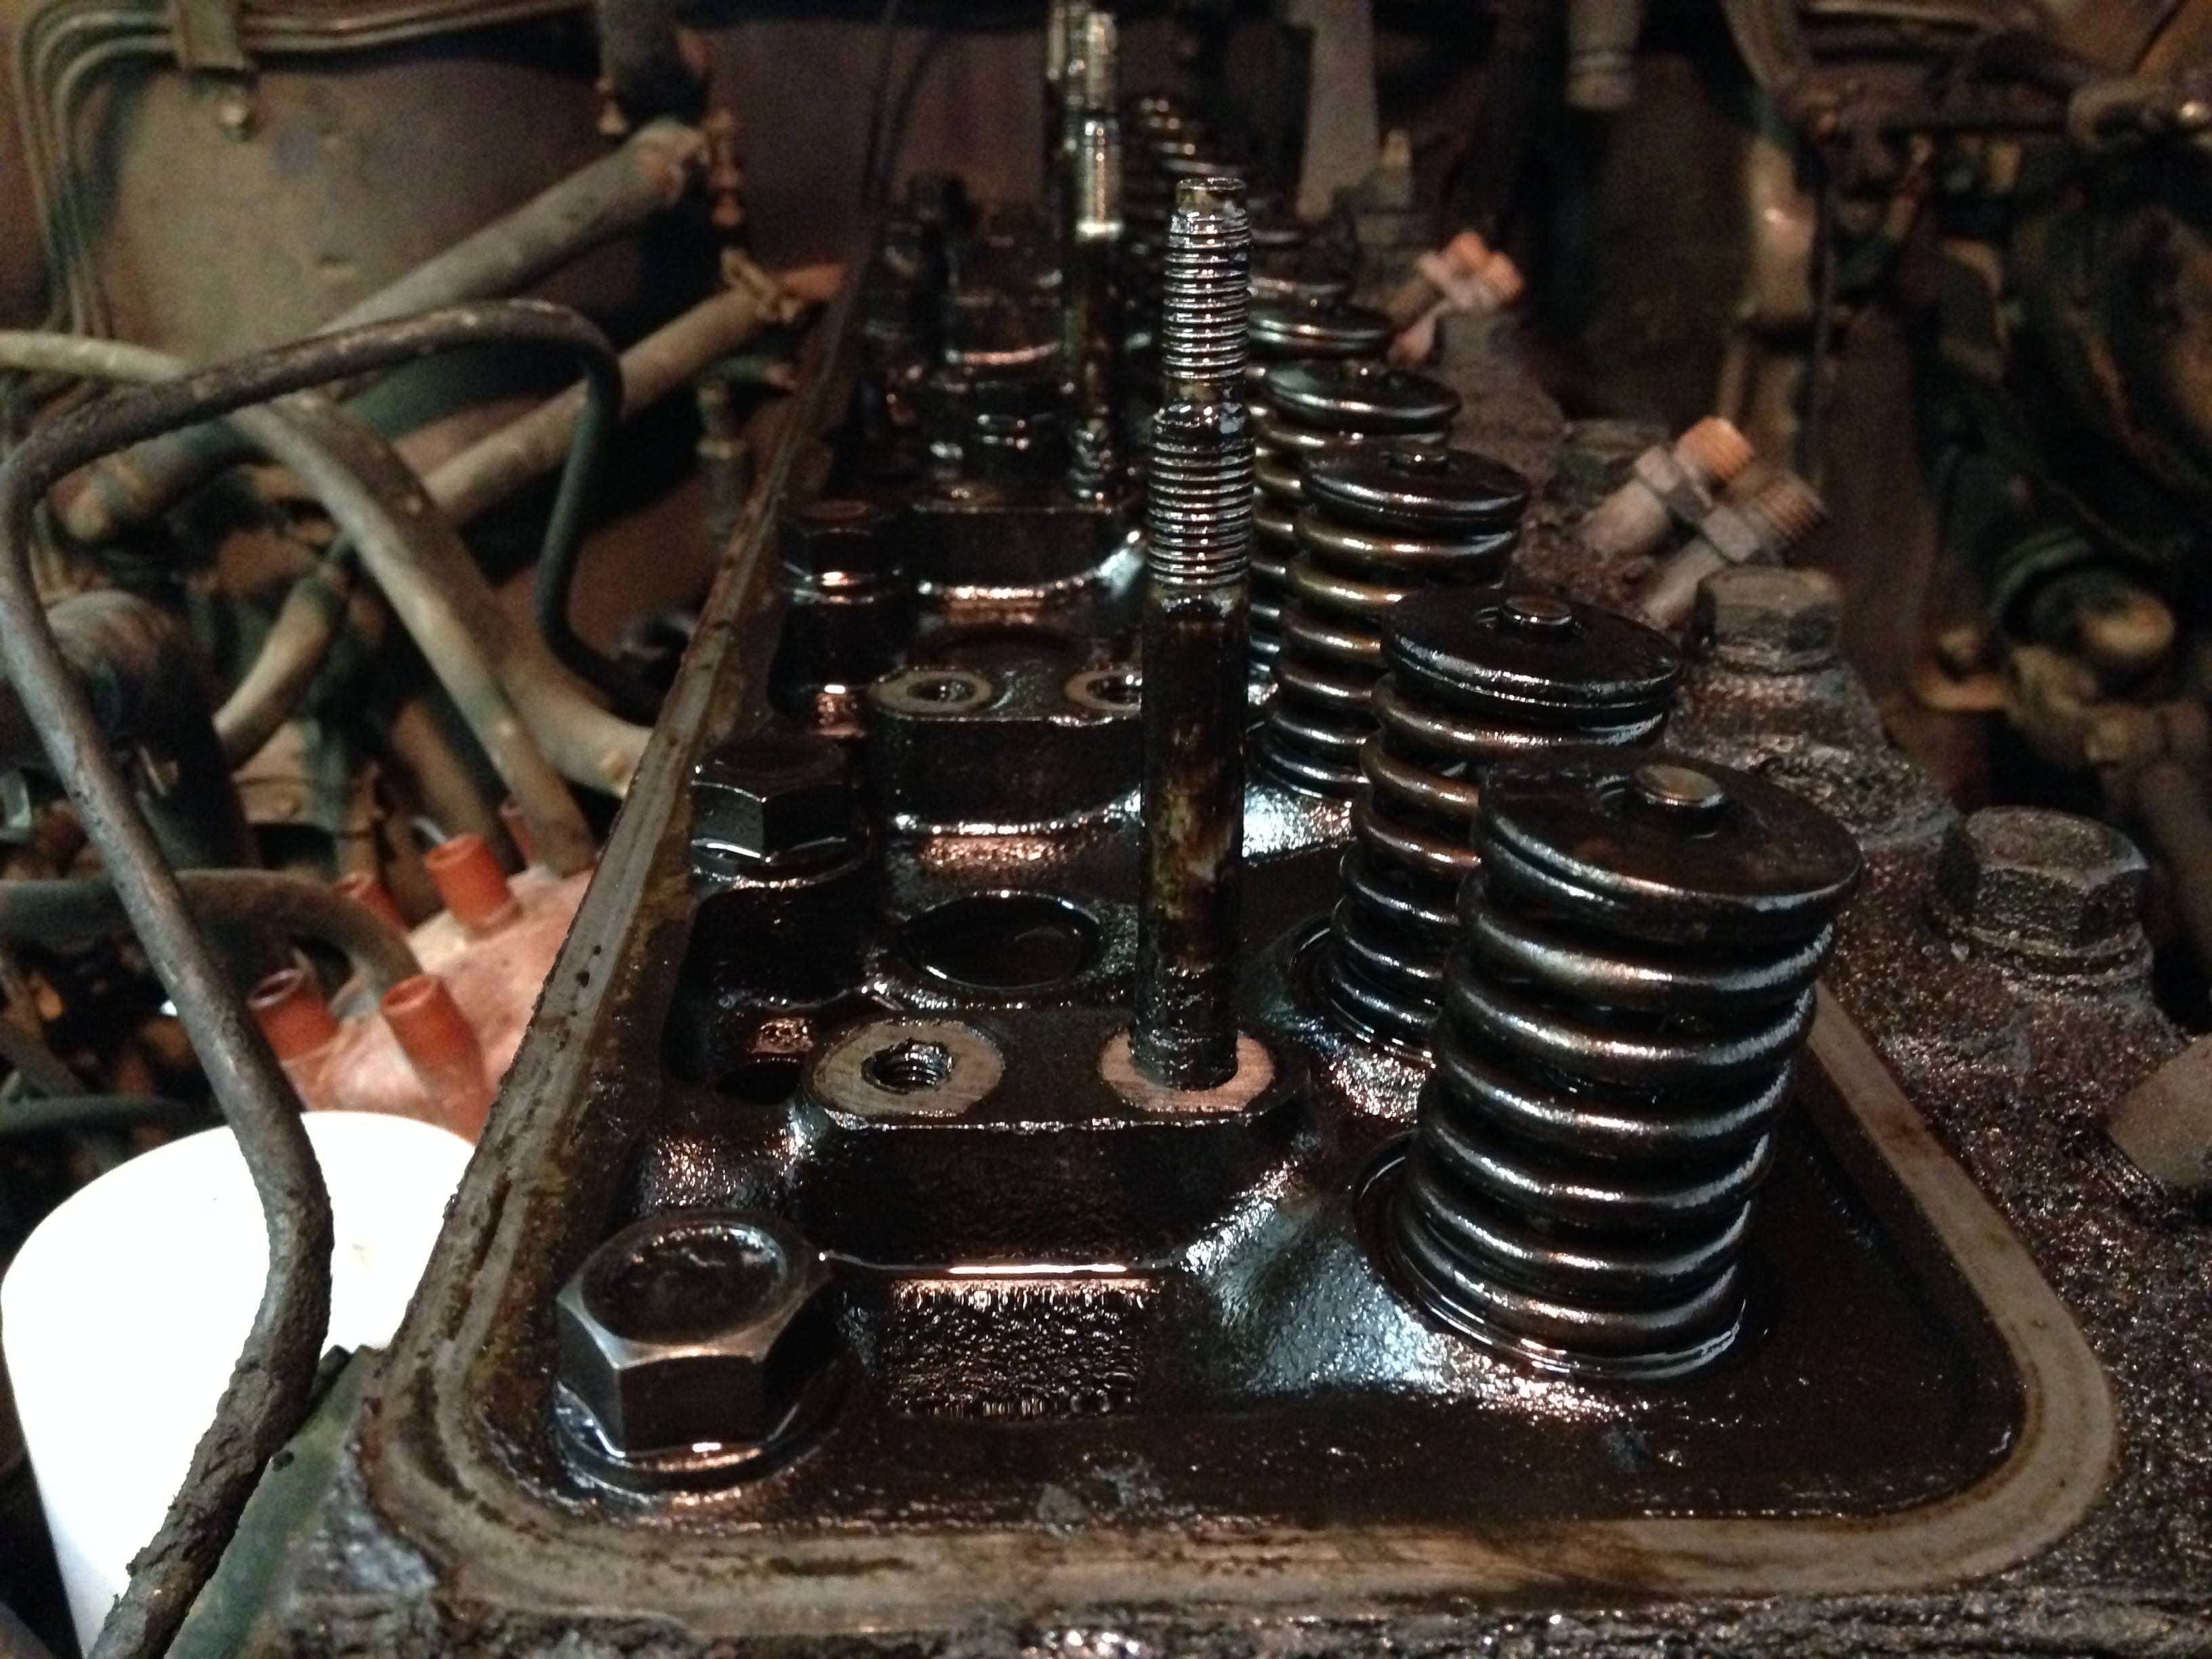
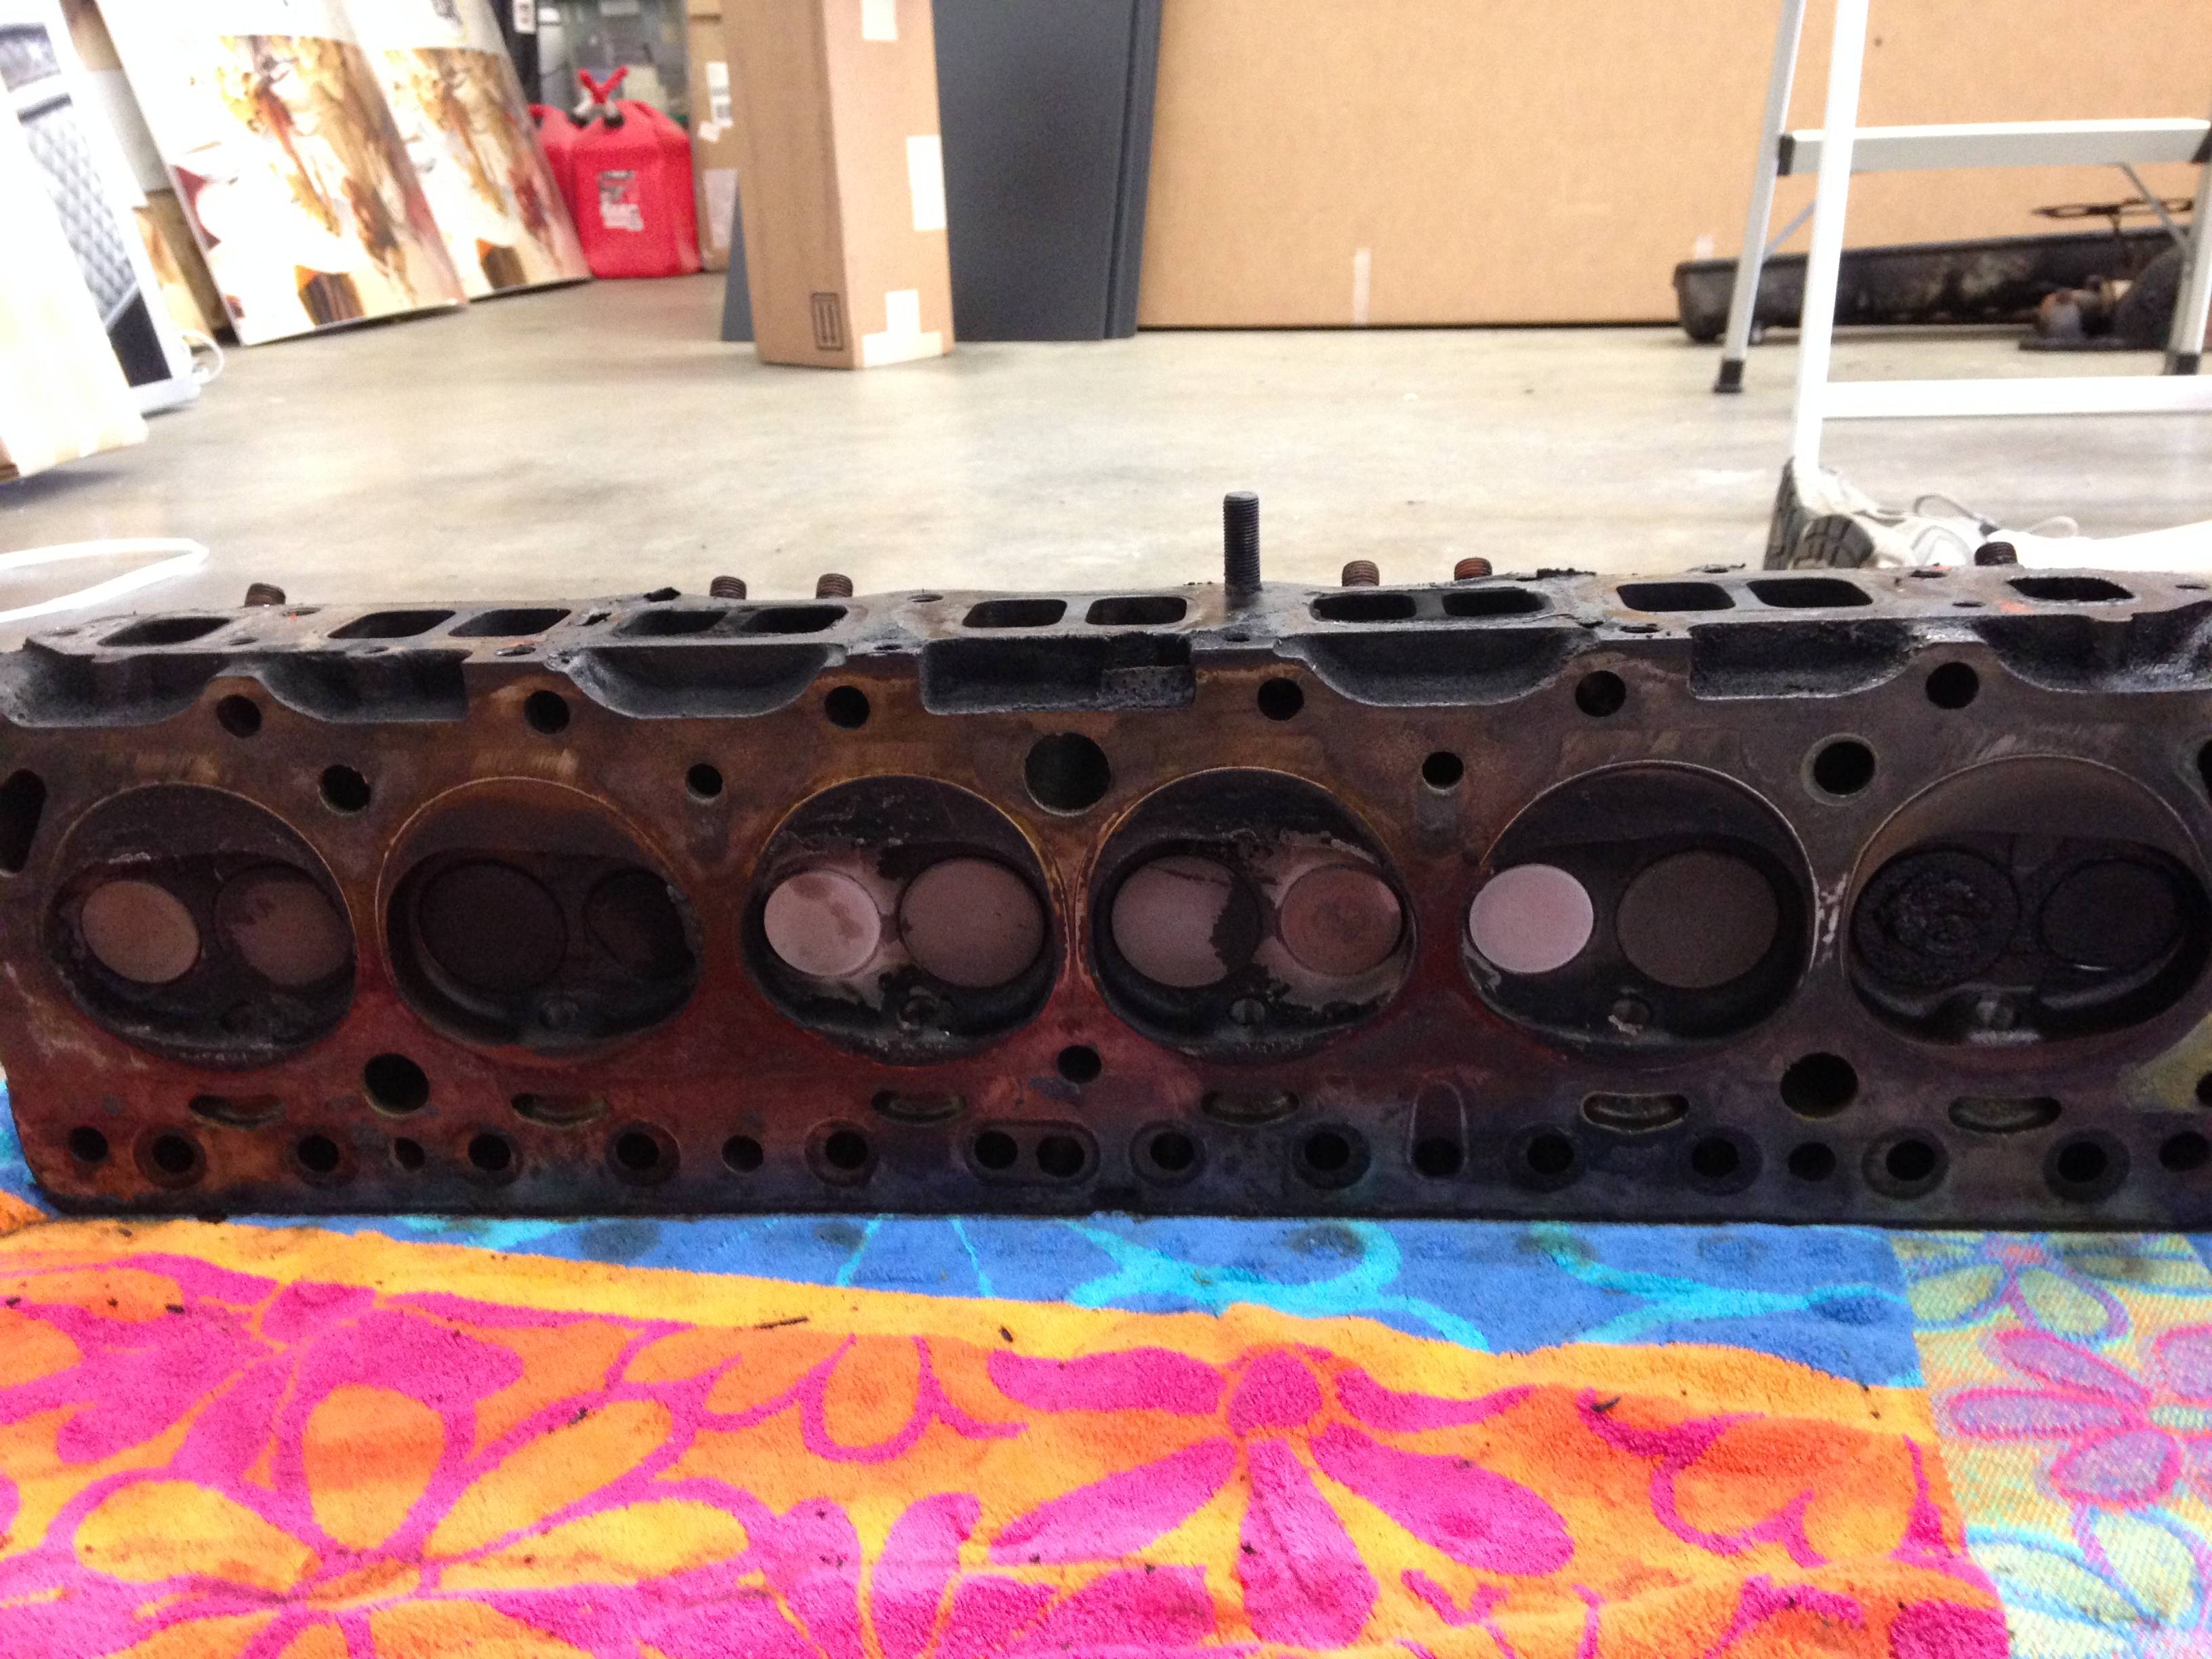
Some sludge and carbon buildup, but nothing un-saveable.
Szyiytc.jpg

TTXK05T.jpg

Gummed up valves in 2 and 6. Exhaust valves burnt pretty badly.

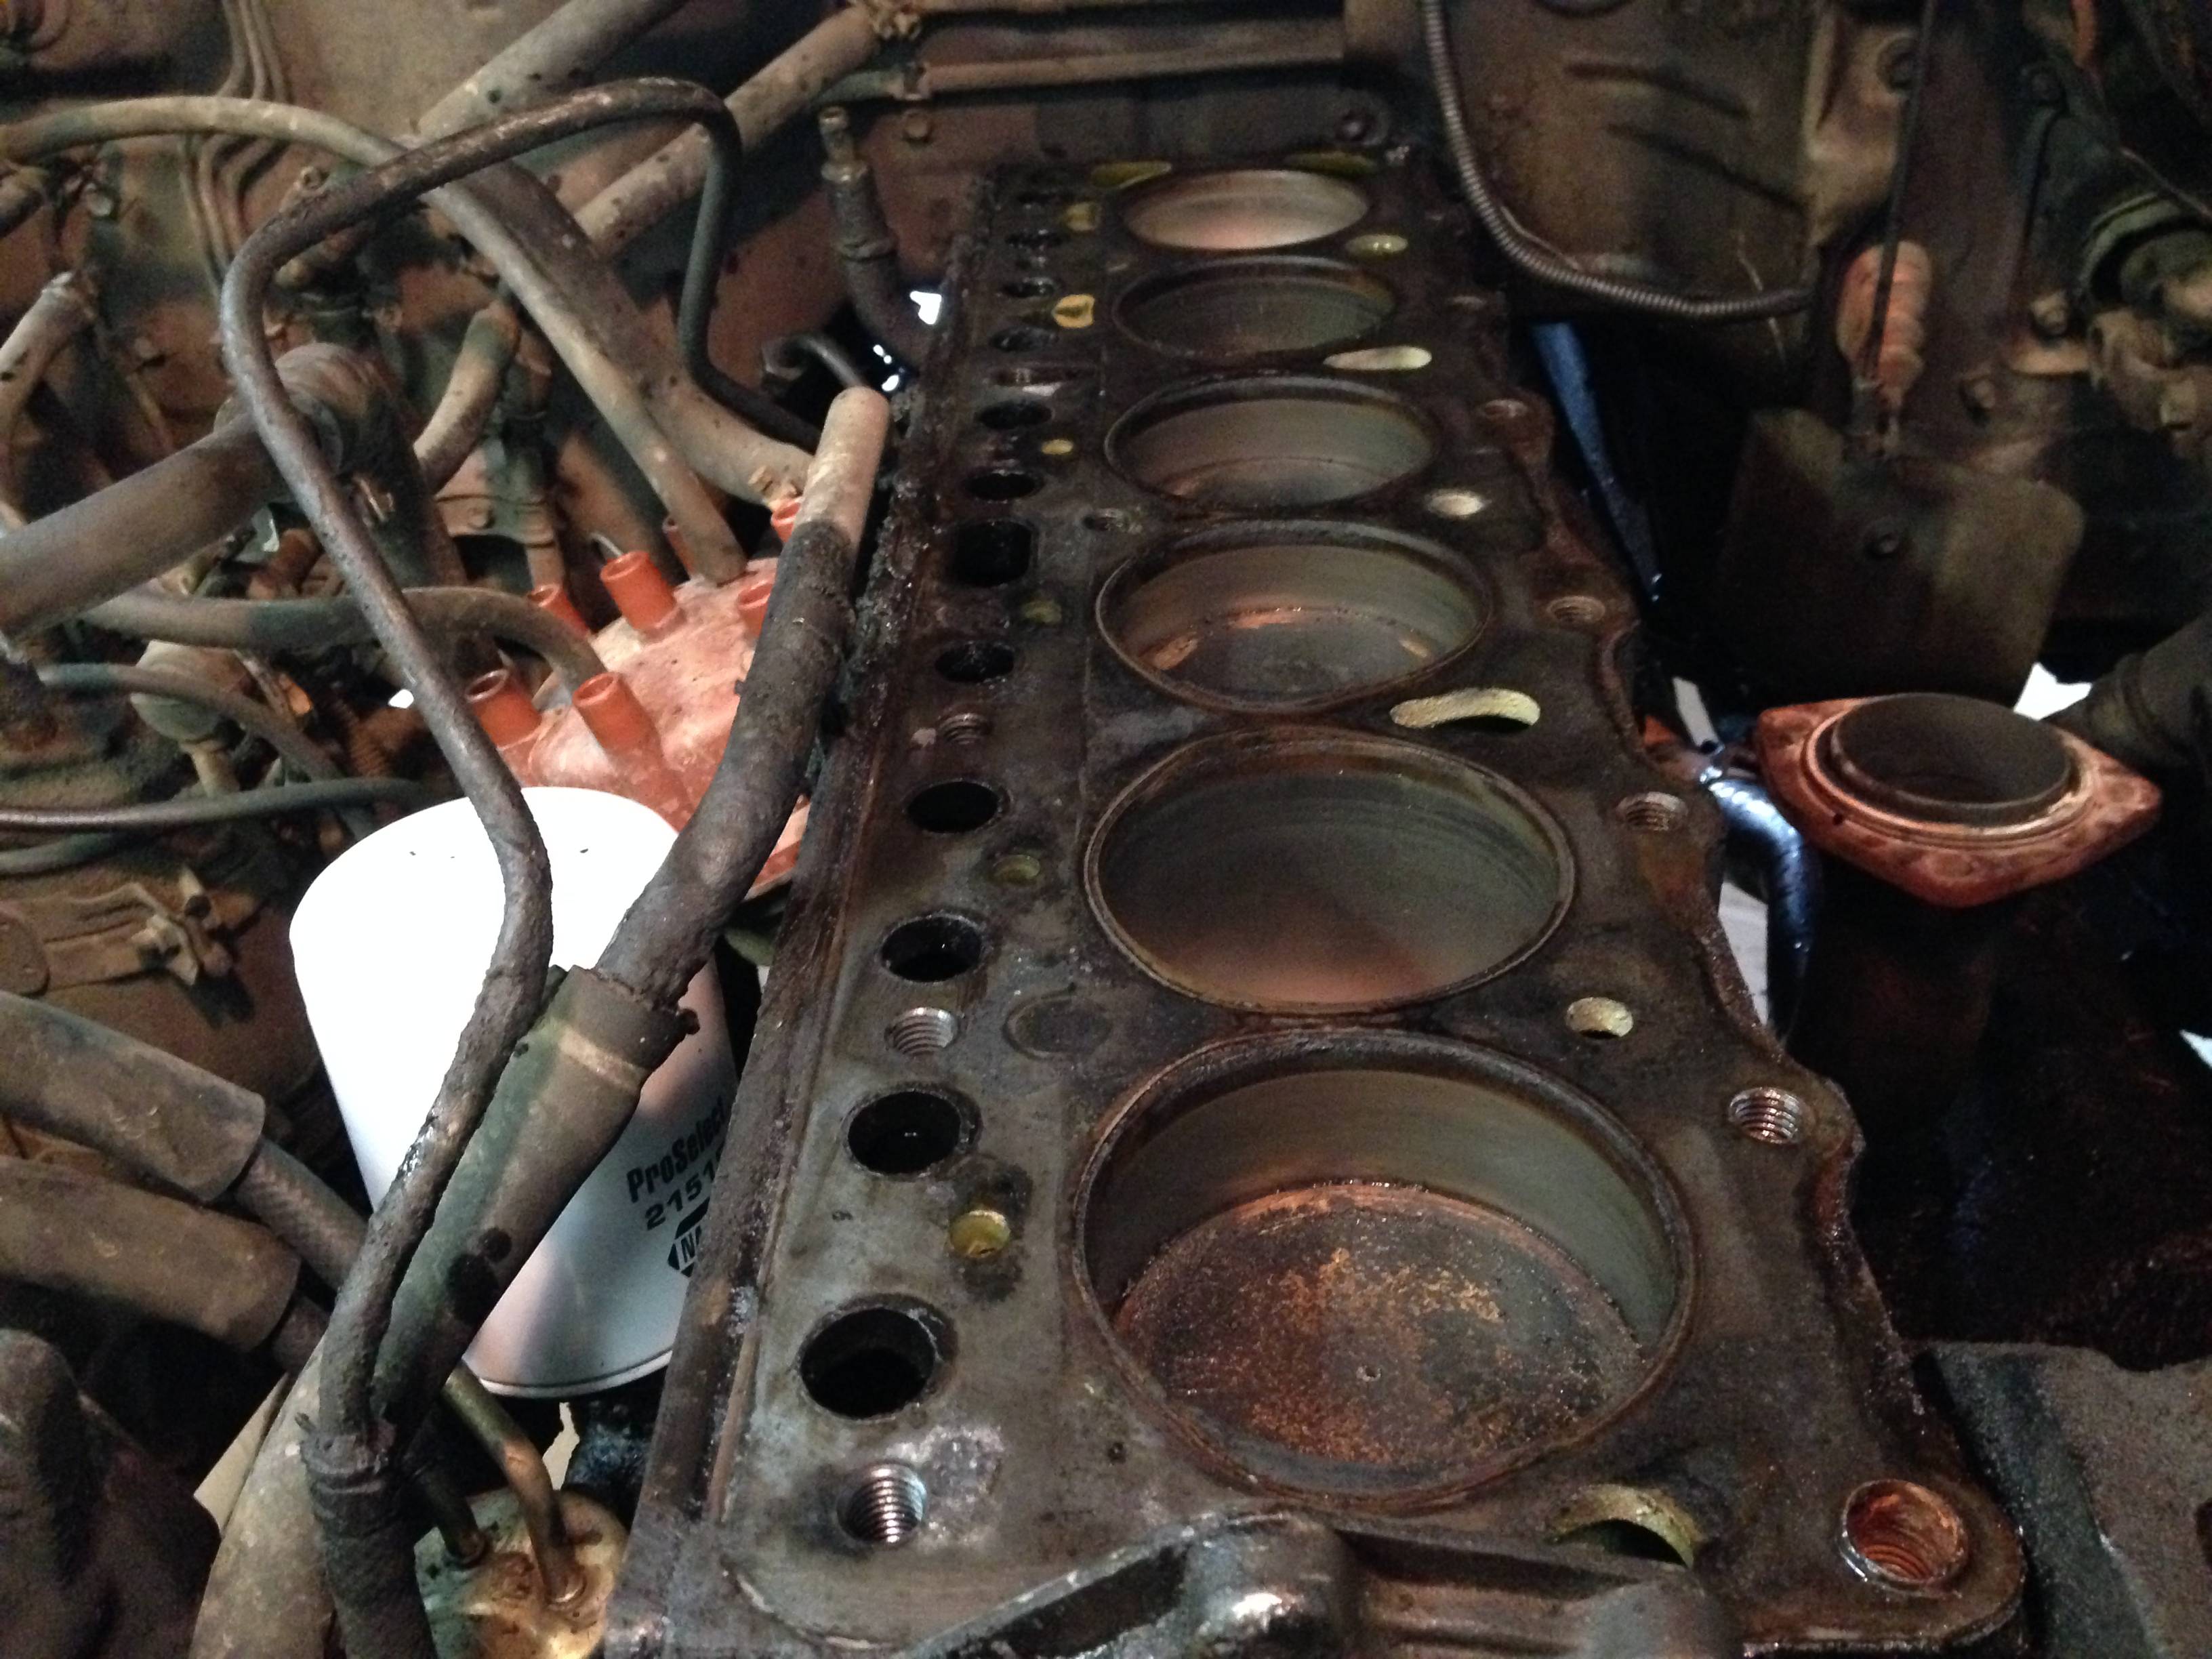
Original cylinder head had a crack running from the exhaust to intake in Cylinder 6. Failed the pressure test immediately. Got a used one from Bowser late 2014. Also had a crack, but was salvageable - welded up right and came out nice!
 
Last edited:
It was at this point that I ran the car for about 3 months. I started going through oil faster and faster, and started noticing white smoke out the tailpipe on start-up every morning. Rings probably took a dump. Figured as much.

UpQND2M.jpg

Good god this thing pig is greasy.
7khA2CI.jpg

GGE6Fxl.jpg

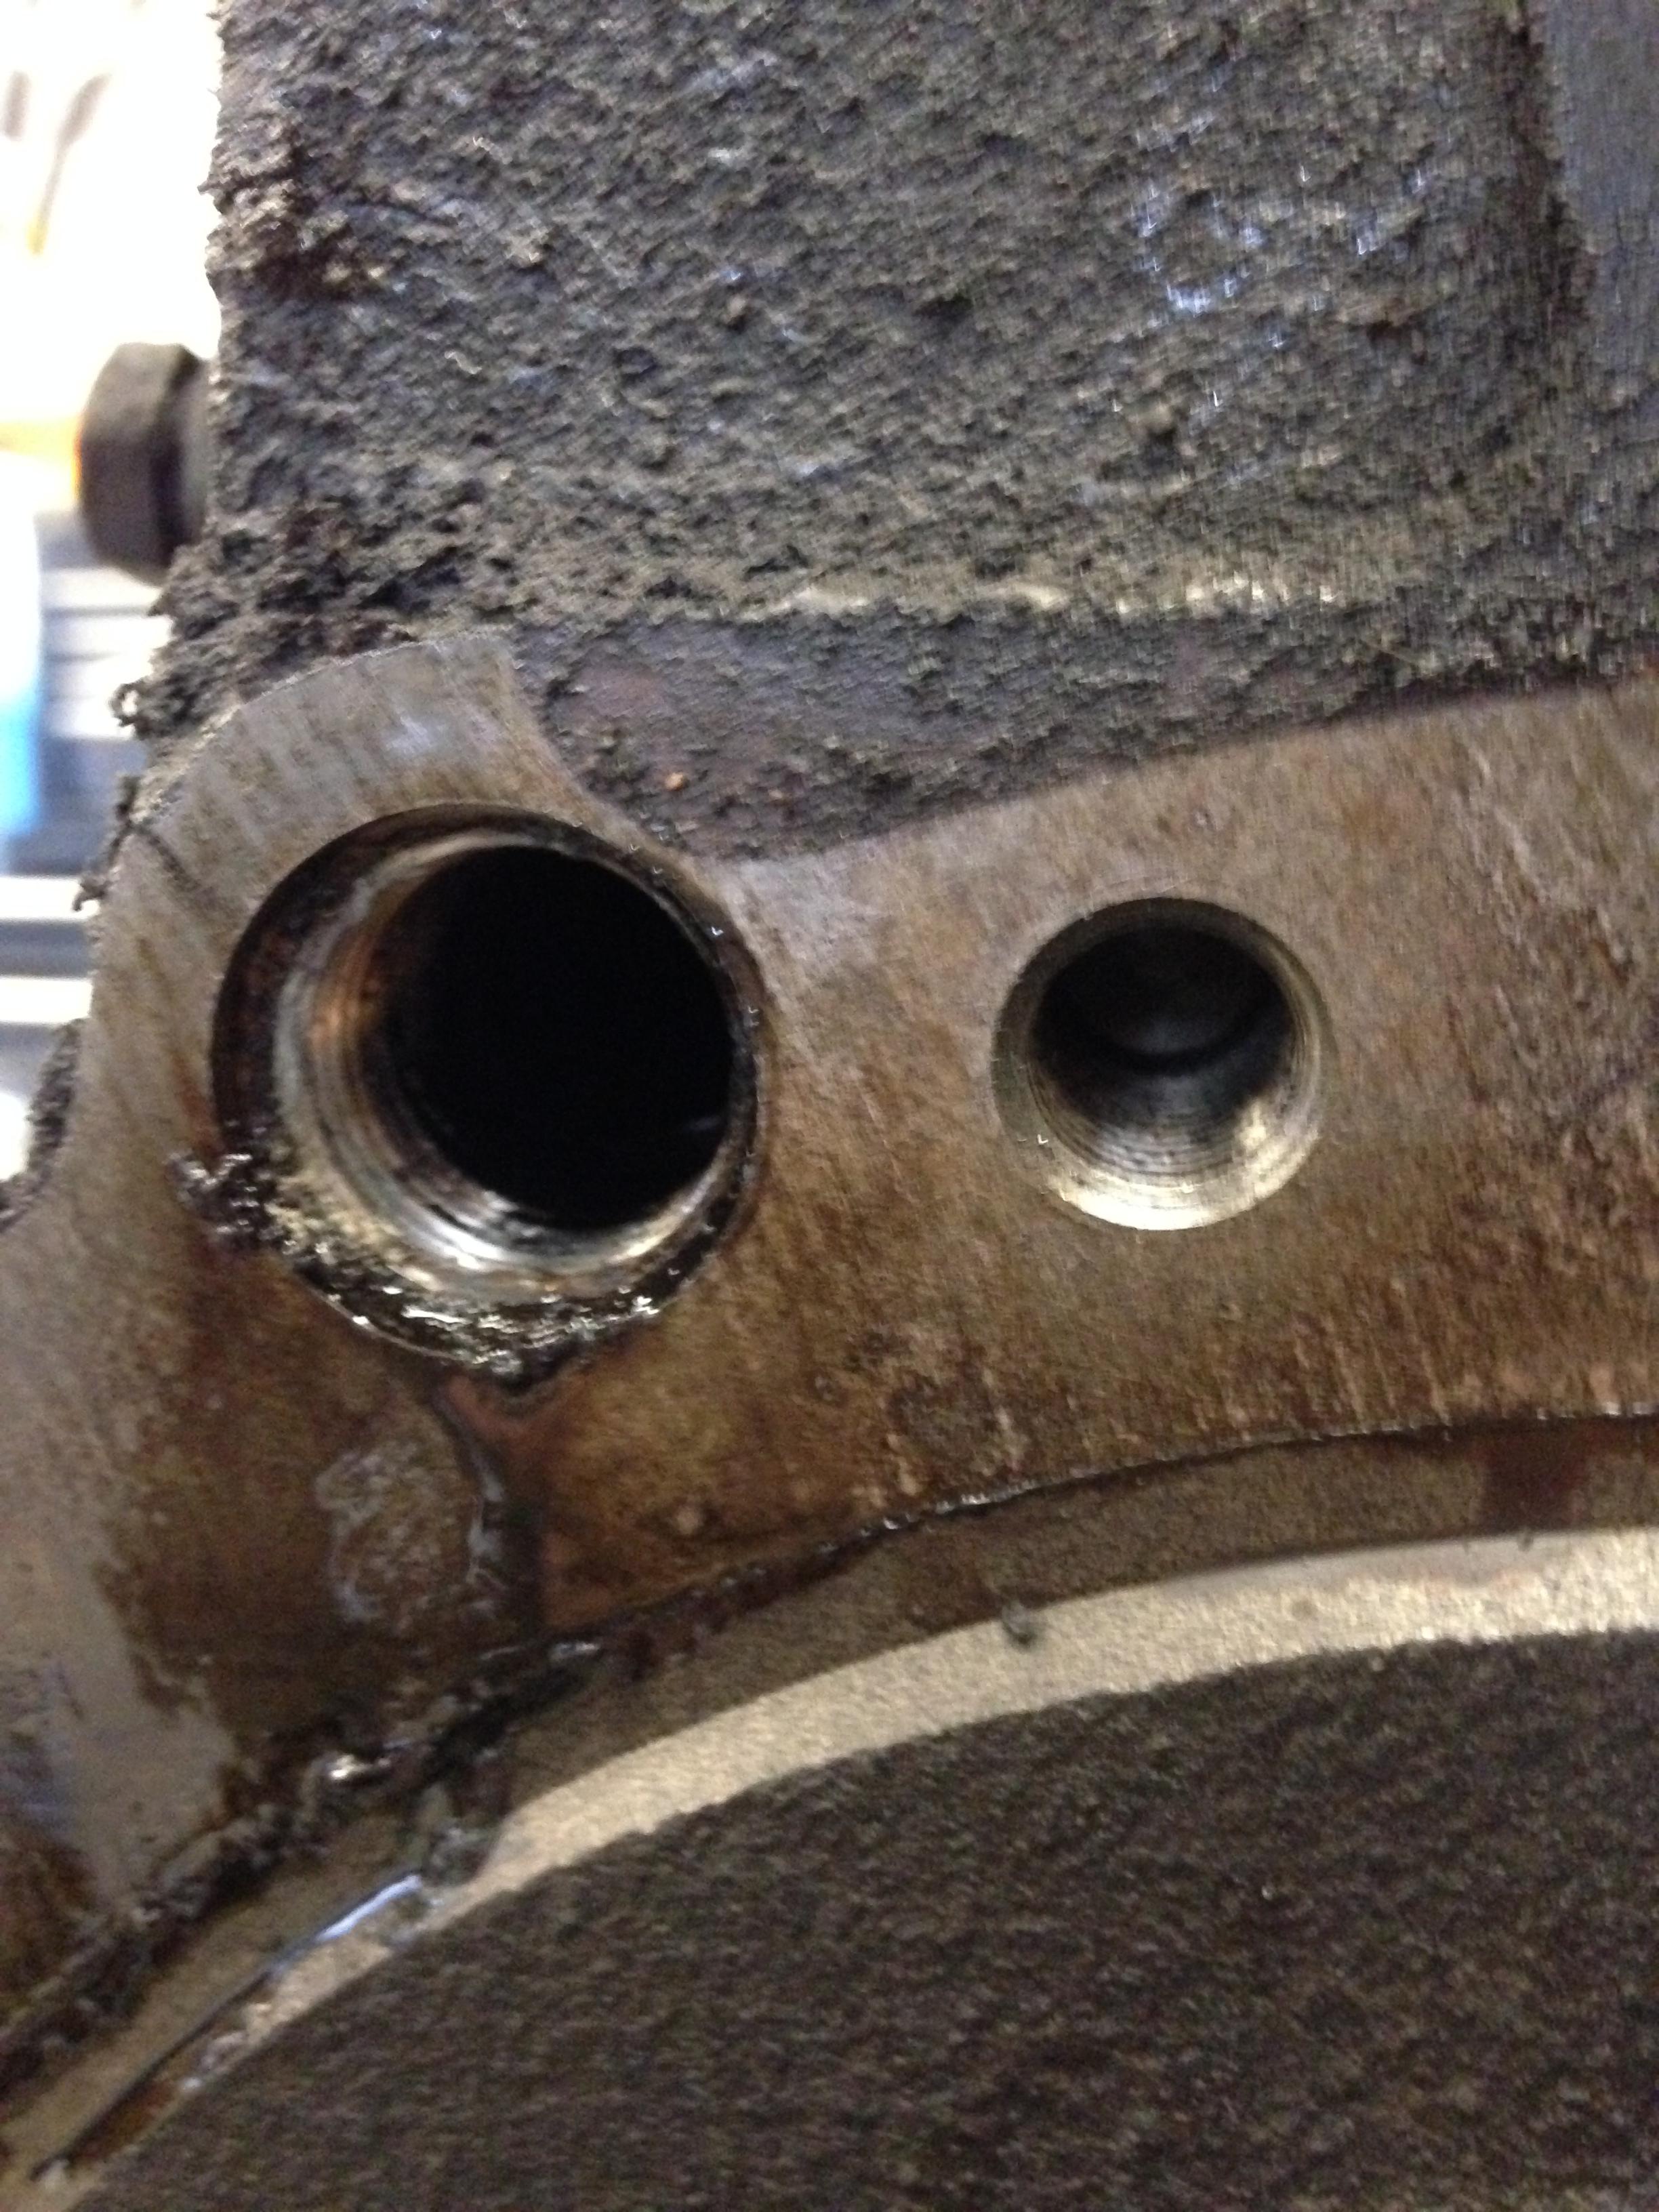
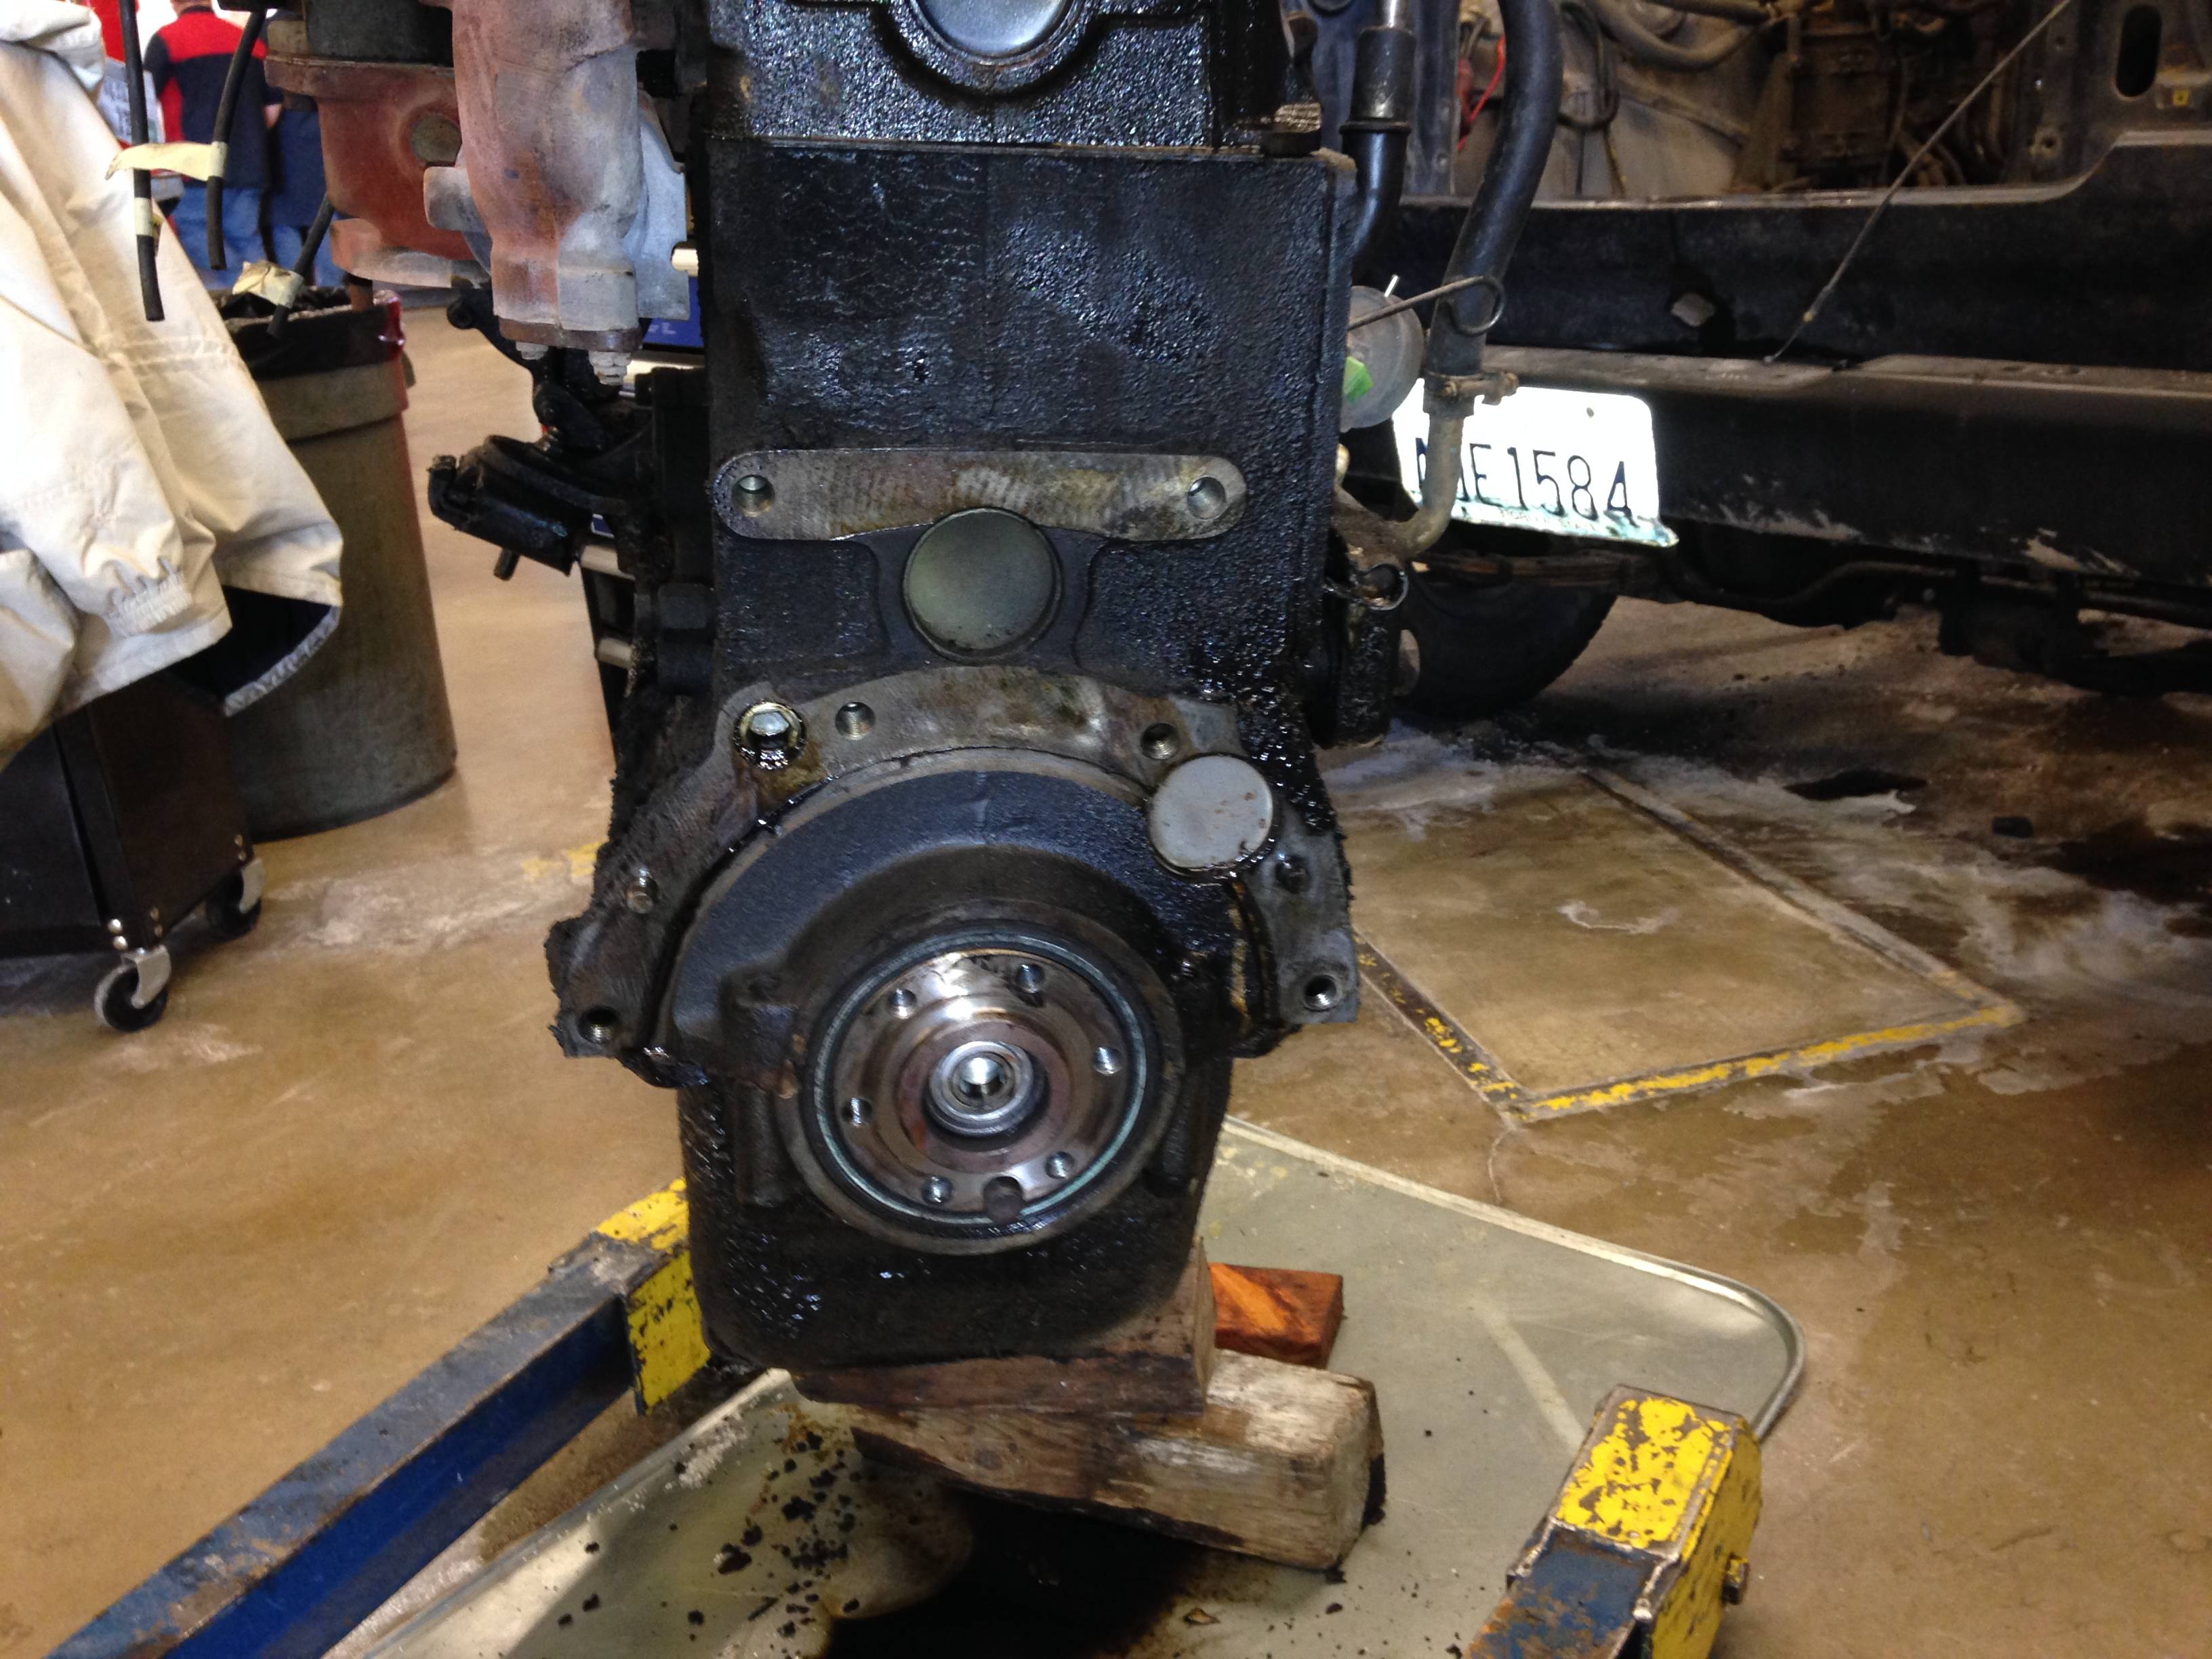
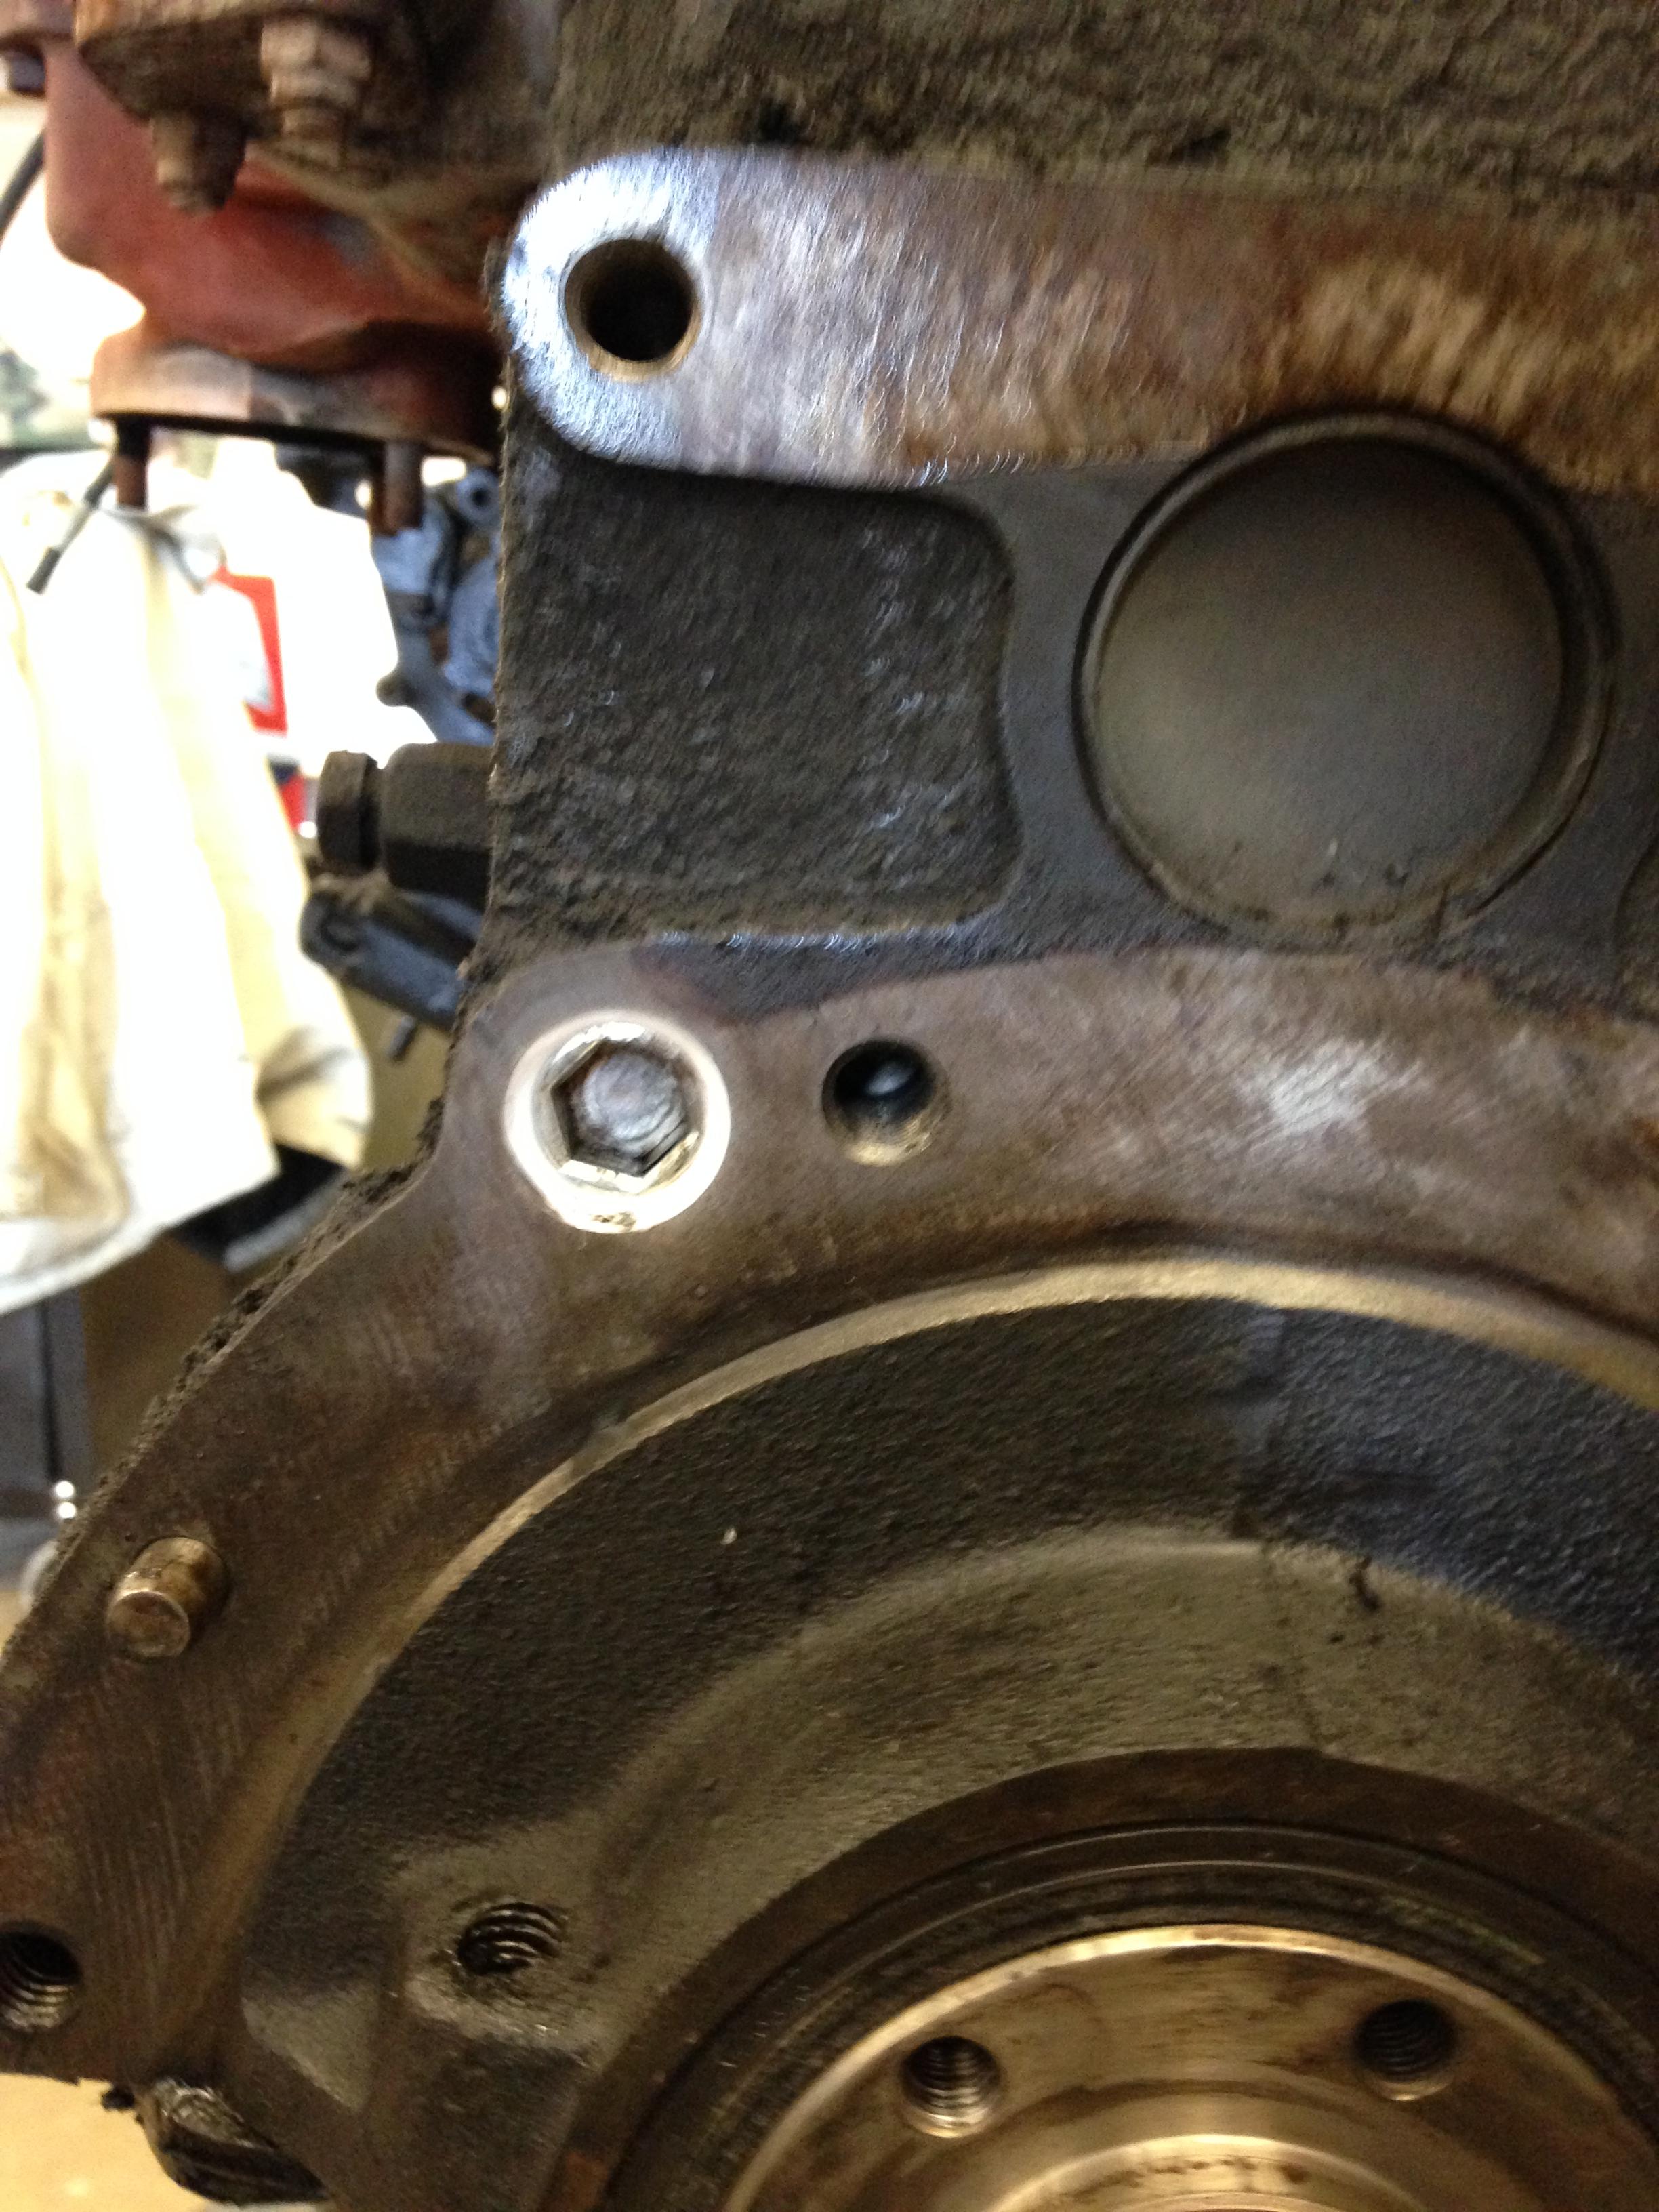
And the rear main seal leak wasn't a rear main.
1ZFGg29.jpg

New plug and rear main seal. Hopefully stops the external leaks for a bit.
 
Last edited:
Will be updating as I progress through the quarters. Brakes and Suspension is up next. Working extensively over Spring Break to get an OME 2.5-3" lift, greasable shackles, etc. Might be a summer project depending on how quickly I can get through the required material, but will try and keep things as updated (and hopefully interesting) as I can.

Working on a few minor electrical gremlins that have had me stumped, as well (most likely due to alternator issues), but we shall see.
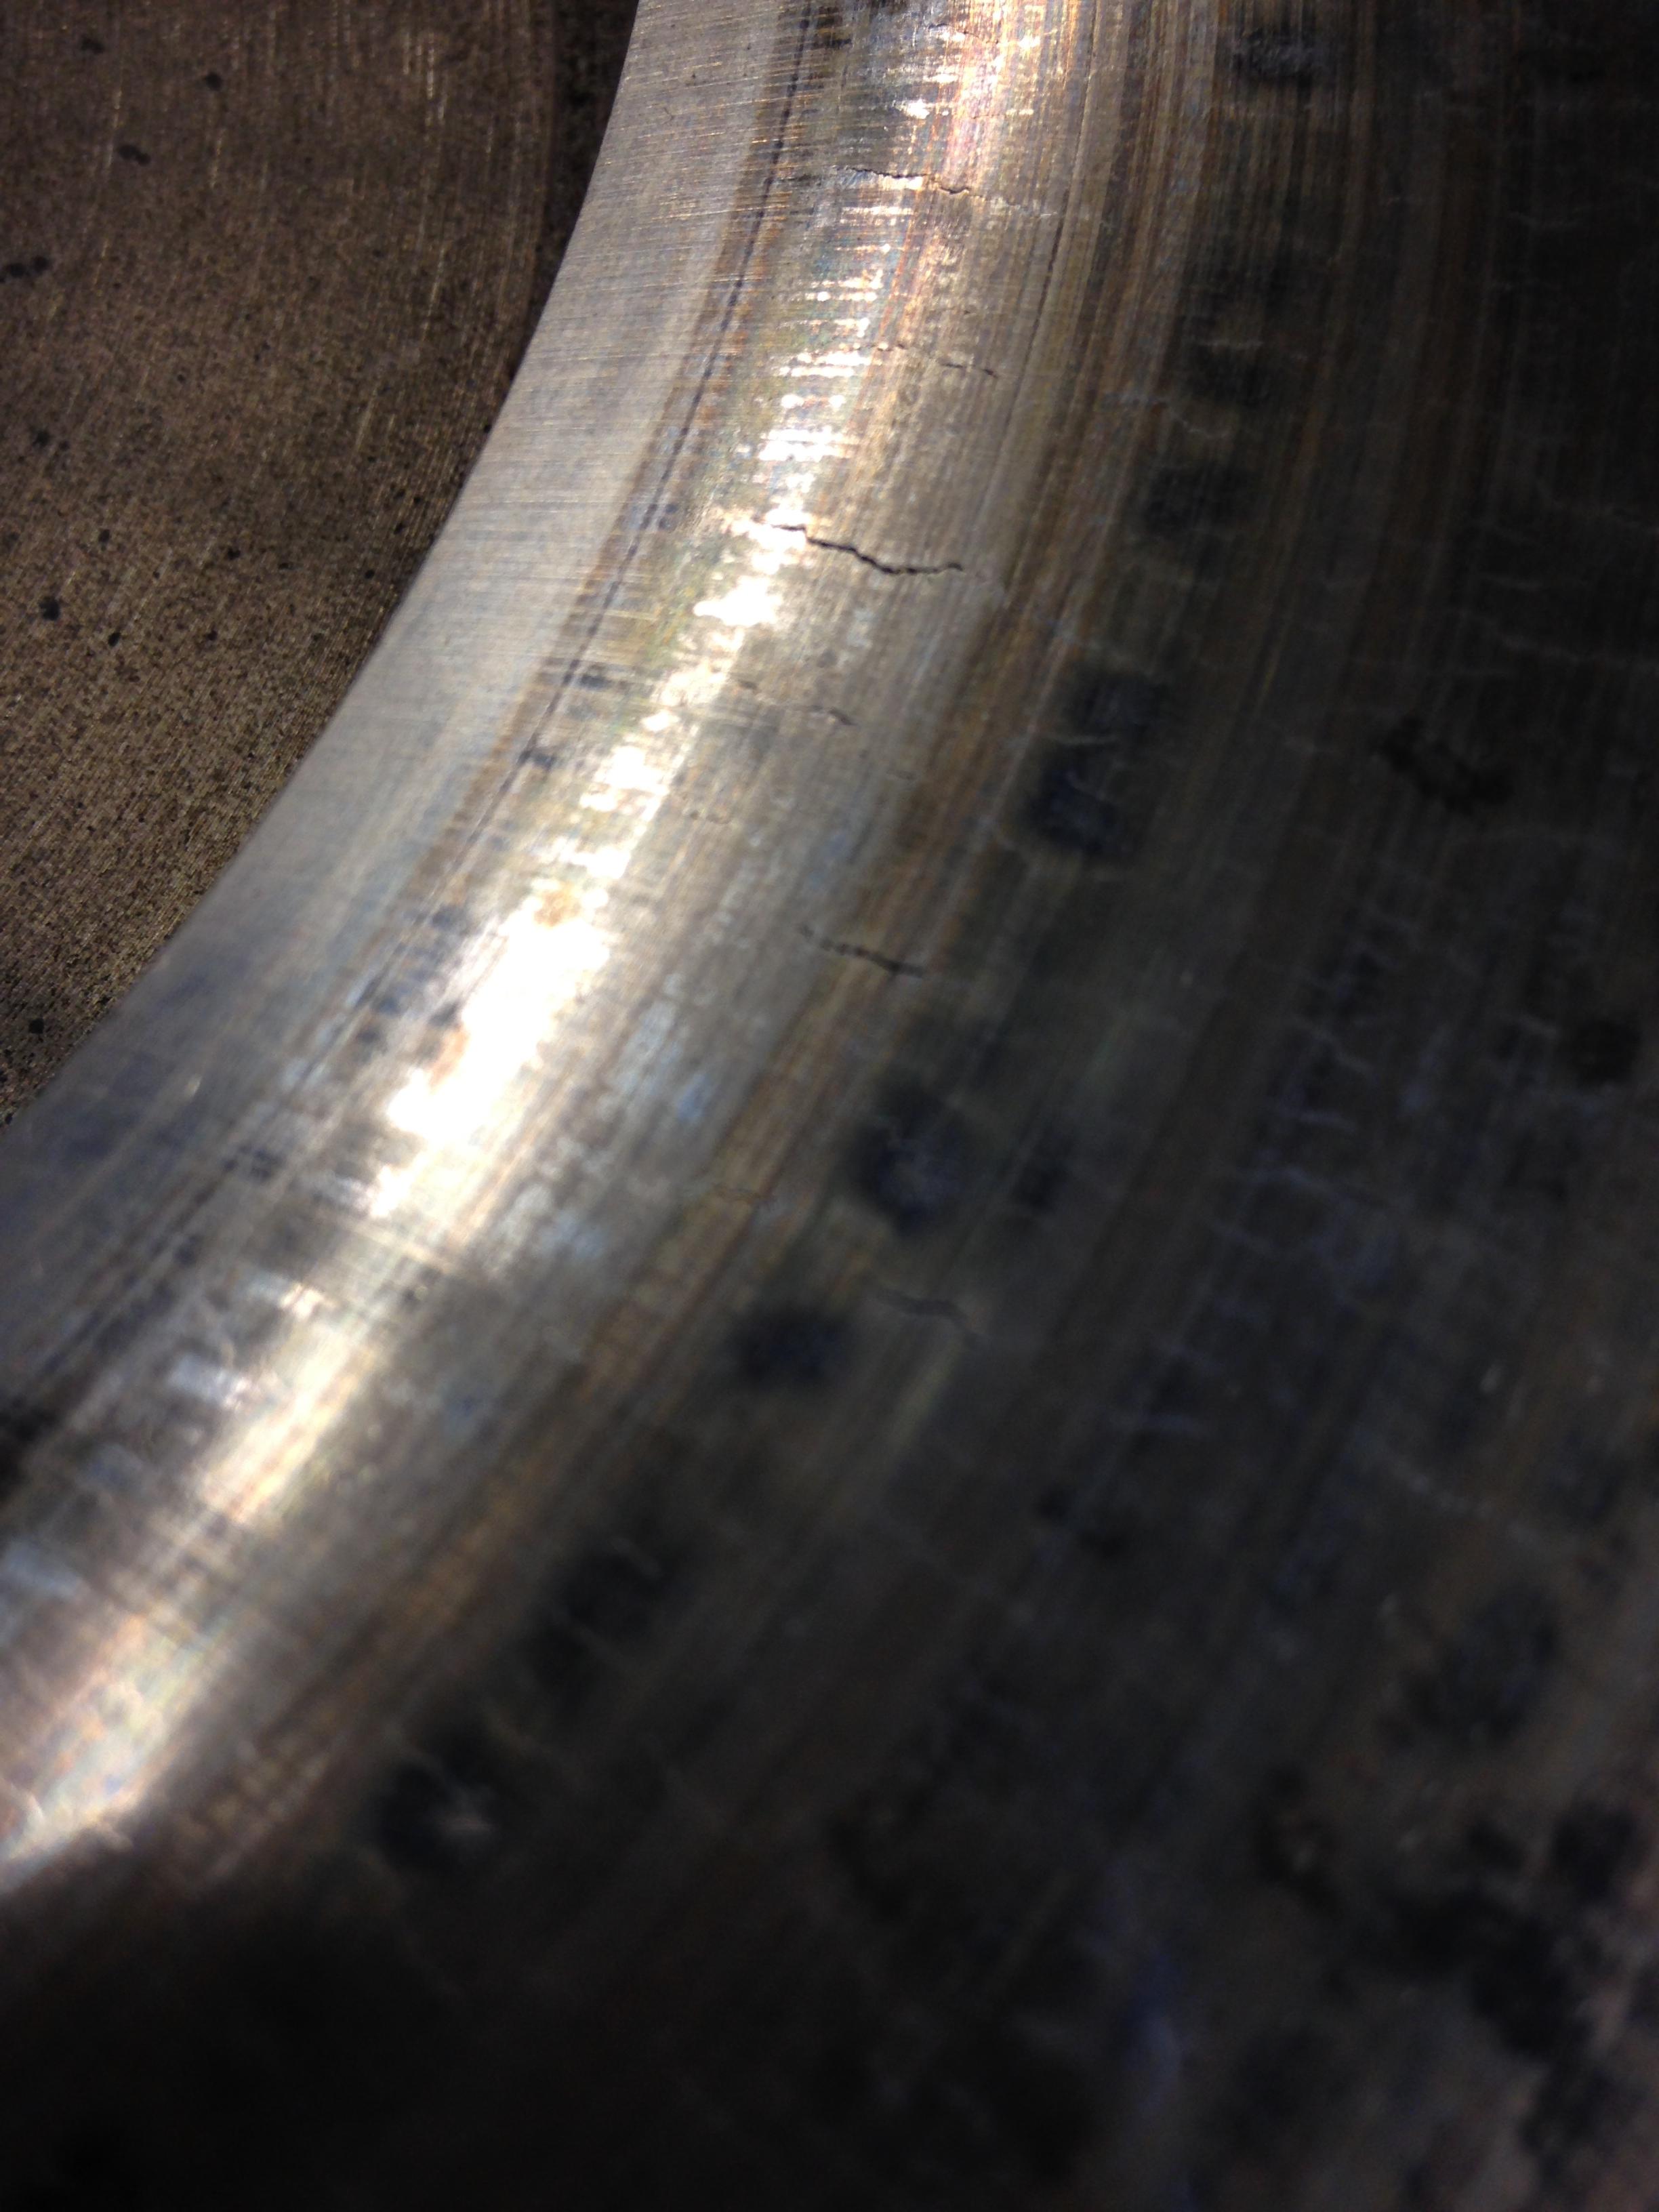
Also noticed this on the flywheel surface as I was installing the new clutch. Thoughts?
Wc8Wkbo.jpg
 
fairly common on high mileage abused trucks to have the stress cracks in the flywheel, they look fairly bad in the pic but i'm not there to be sure, looks like it should be replaced, but depending on who you know you might be able to have it turned out but then it would always be in the back of your mind when your driving down some lonely road.....
 
Good work so far. You should always start with a machined flywheel when replacing the clutch. I know a certain someone who has a flywheel that has 300 miles on a fresh machine job. Clutch too.
 
I'm about to send you a case of engine cleaner, just out of sympathy. ;) Good job for diving right in and identifying the problems.
 
Took the advice and got the flywheel machined out by our machinist program shop, cracks were awfully shallow, couldn't find any post-machining.
Much better!

Got the engine in and started, but waiting until Monday till I'm back in class to take it out - thermostat got stuck and would only partially open, resulting in high engine temps. Got a replacement thermostat, but was told to look at my fan clutch. How do I diagnose one of these (isn't it either working, or not?)

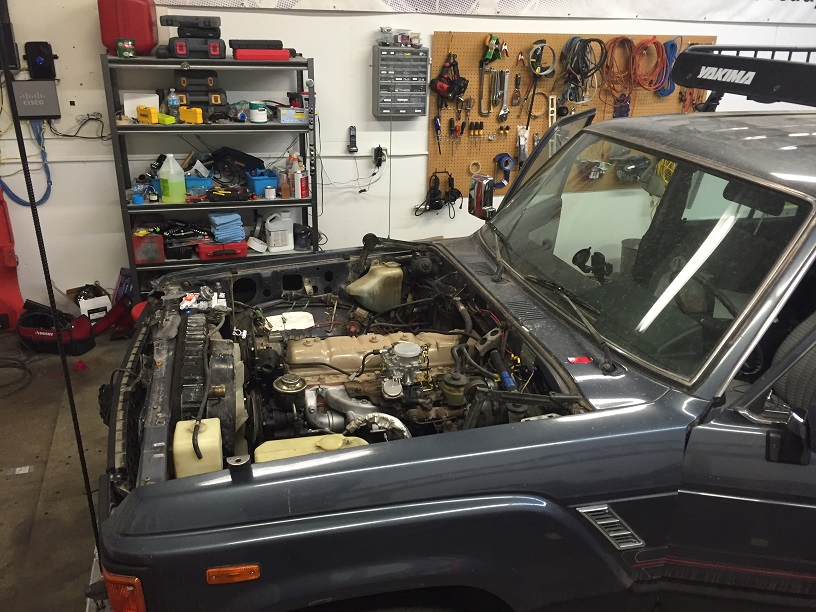
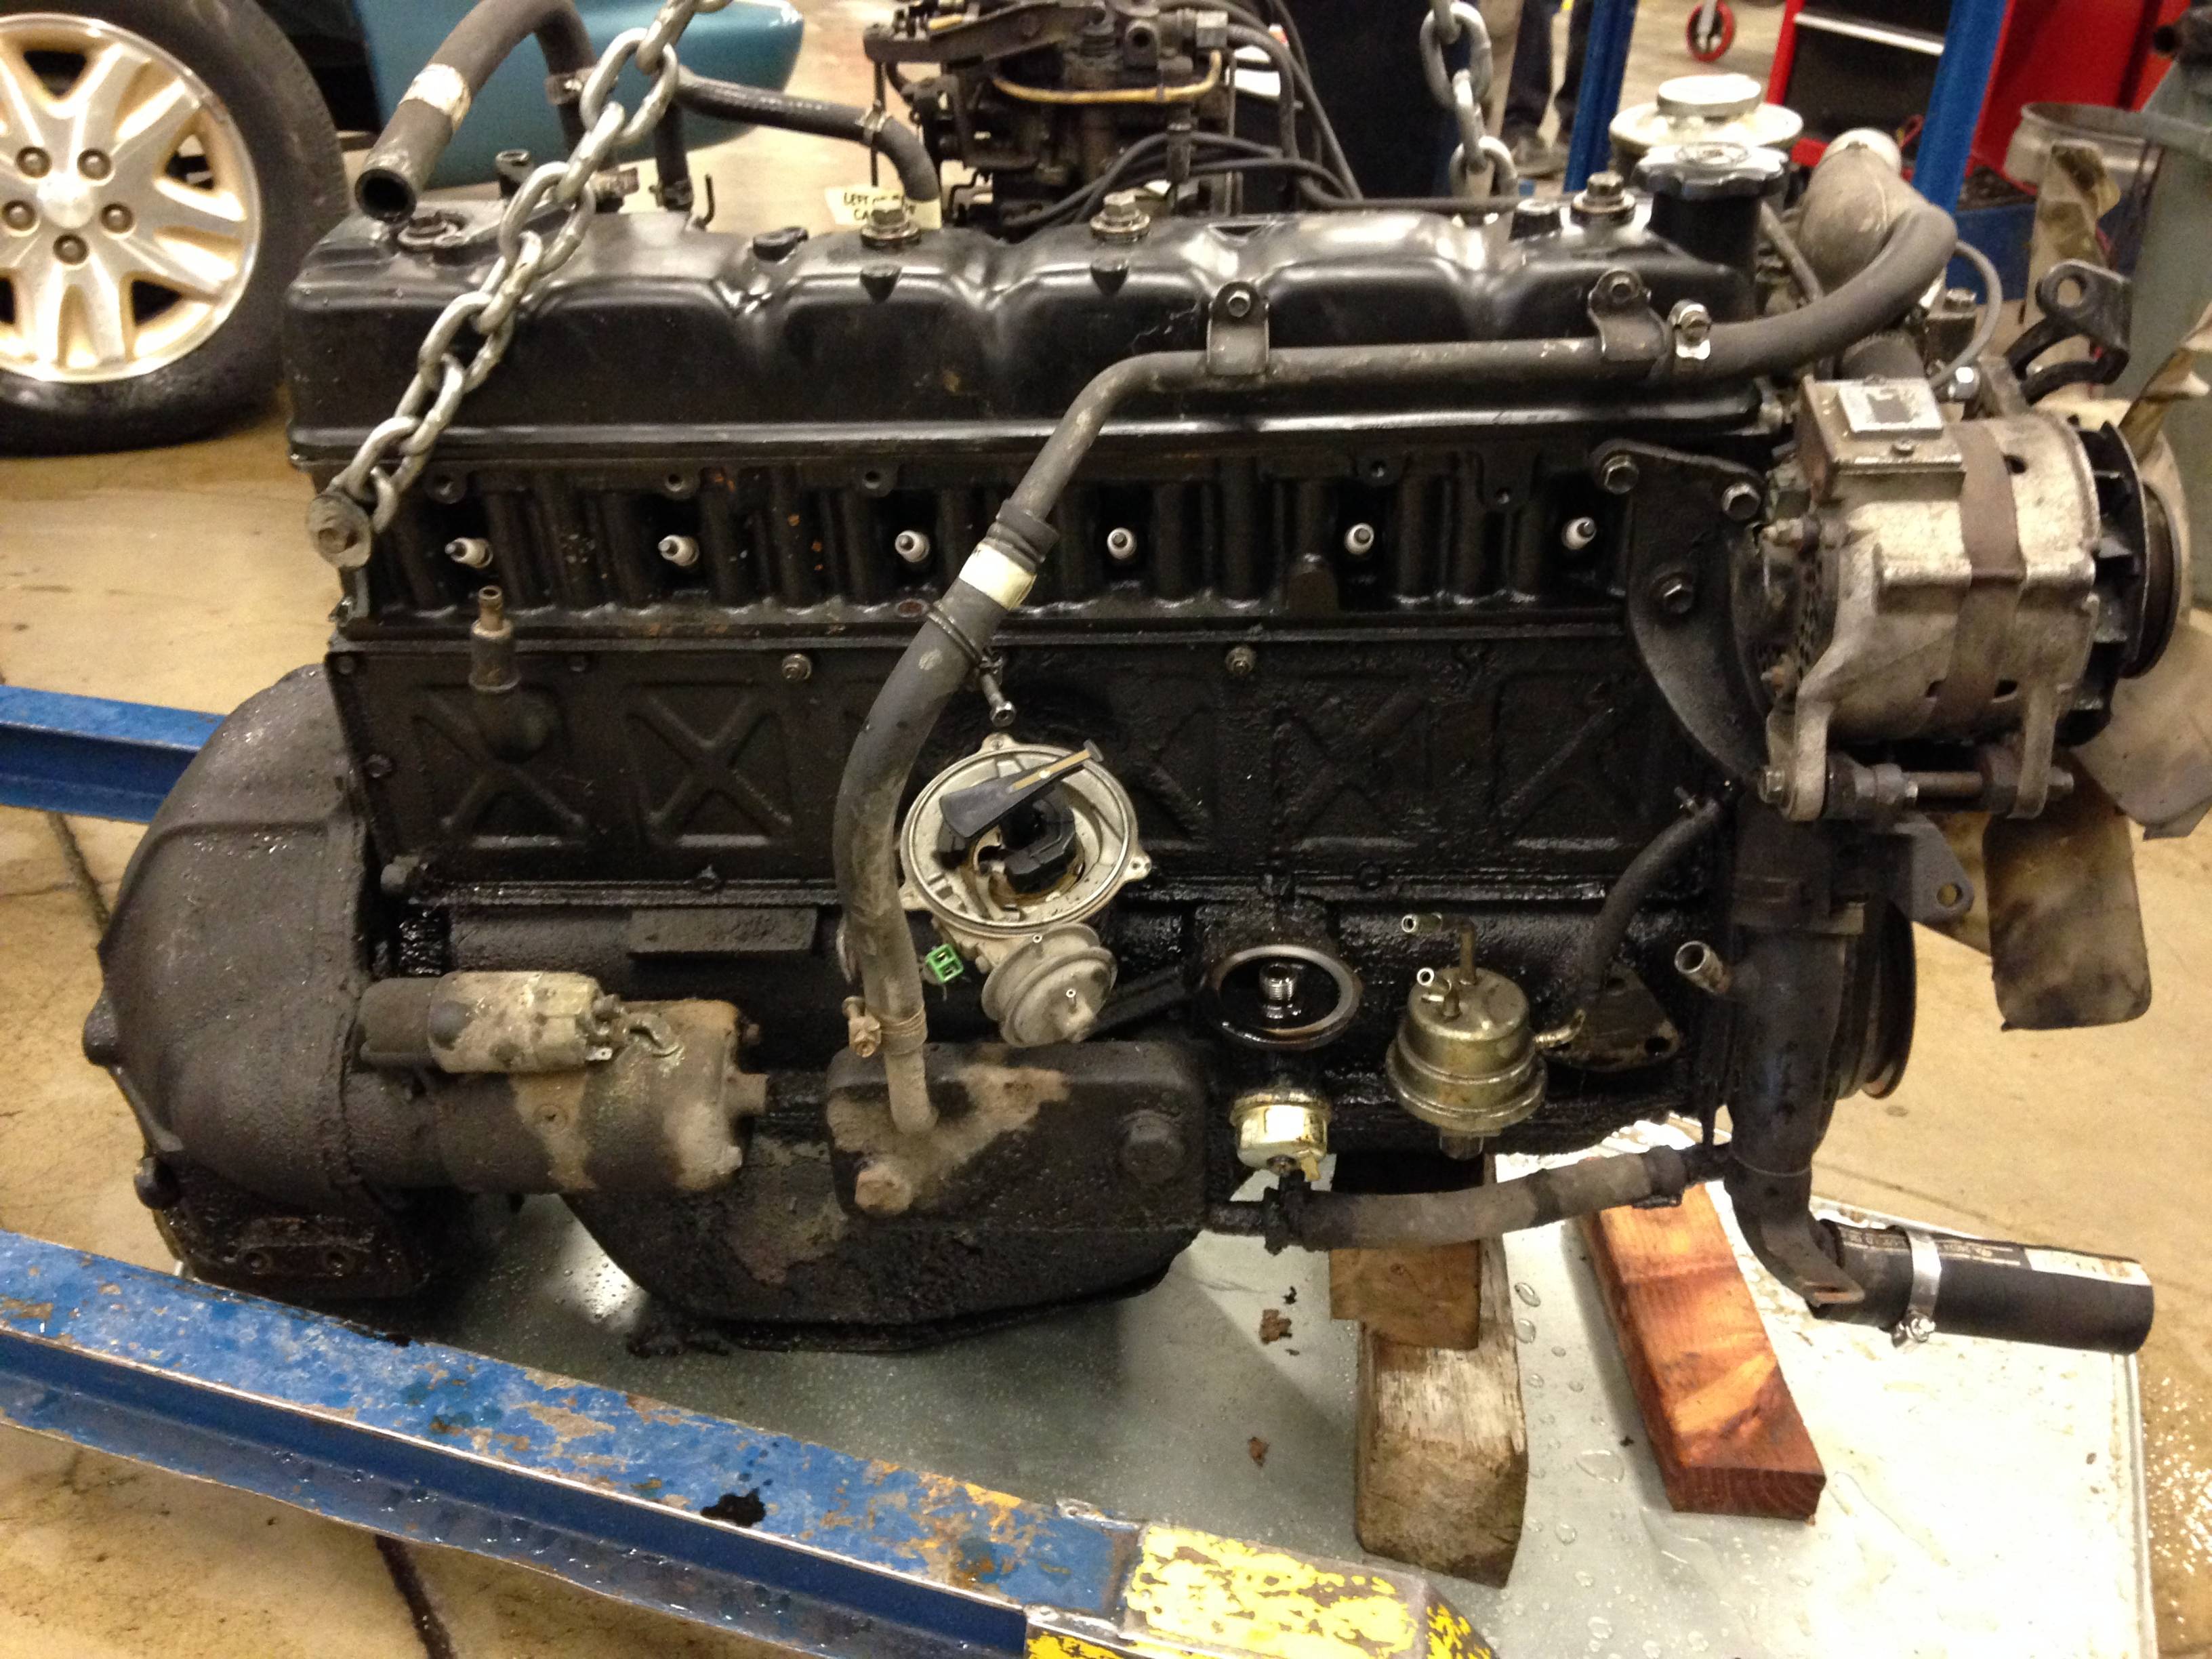
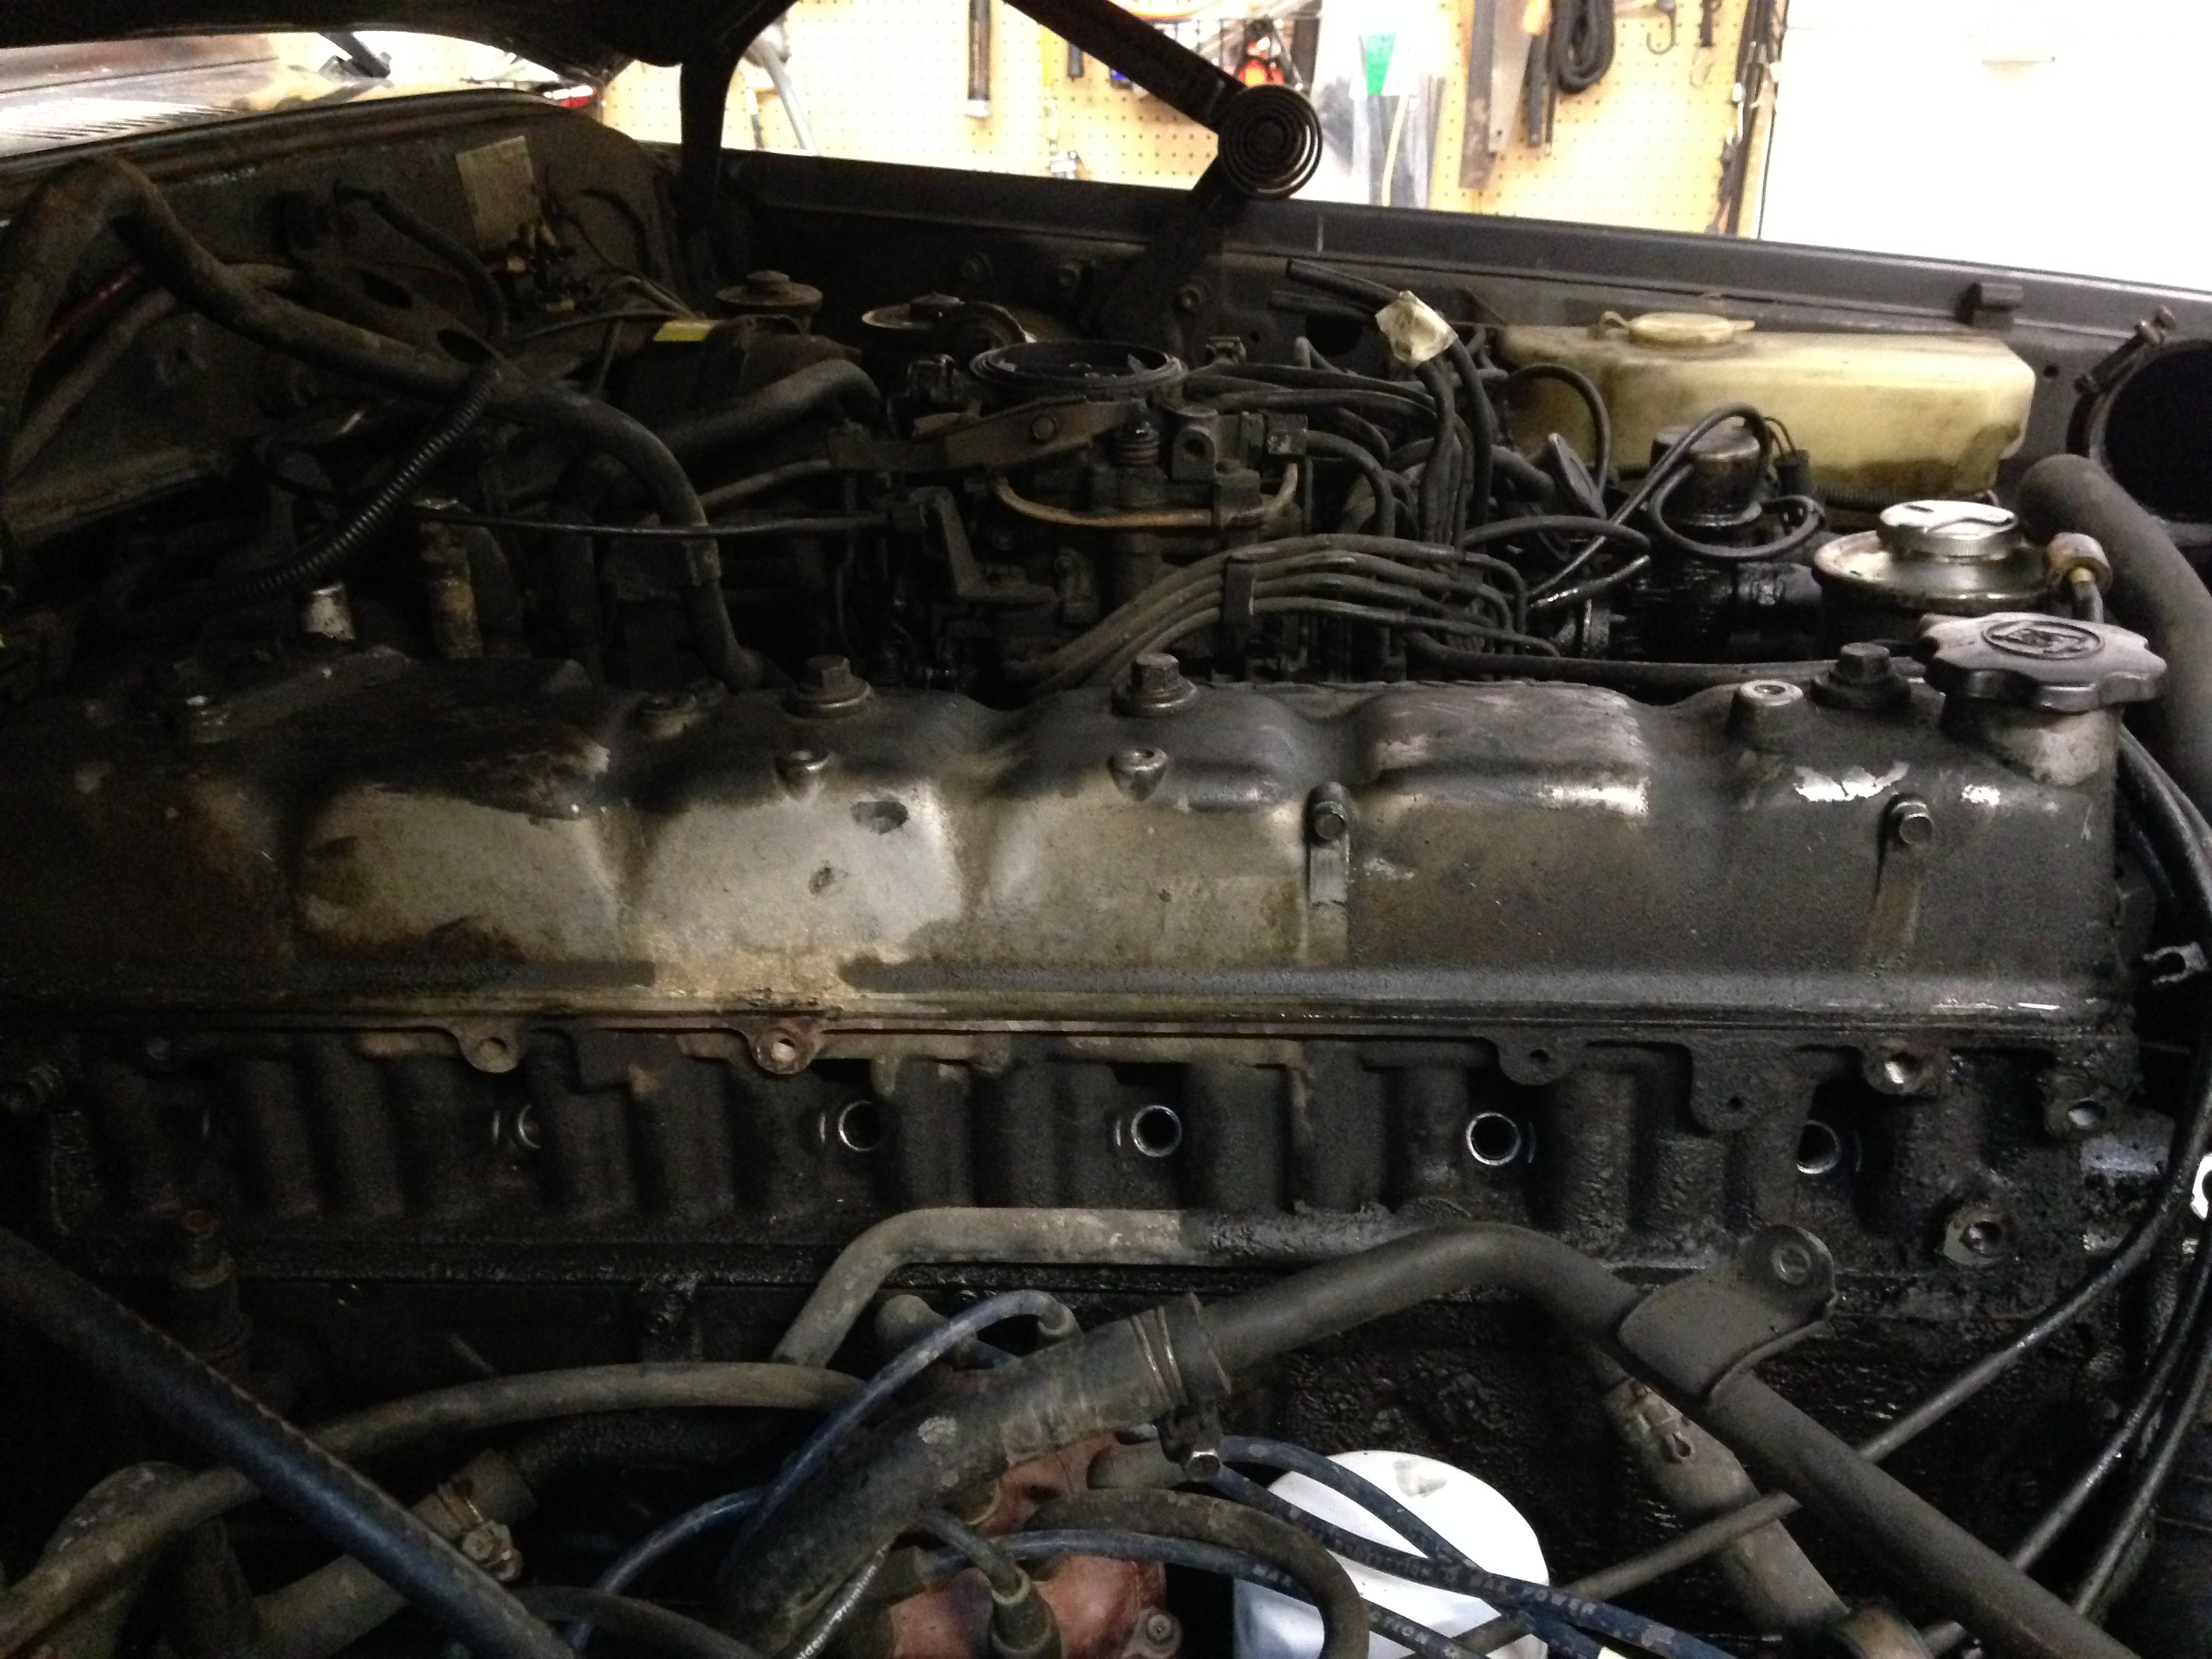
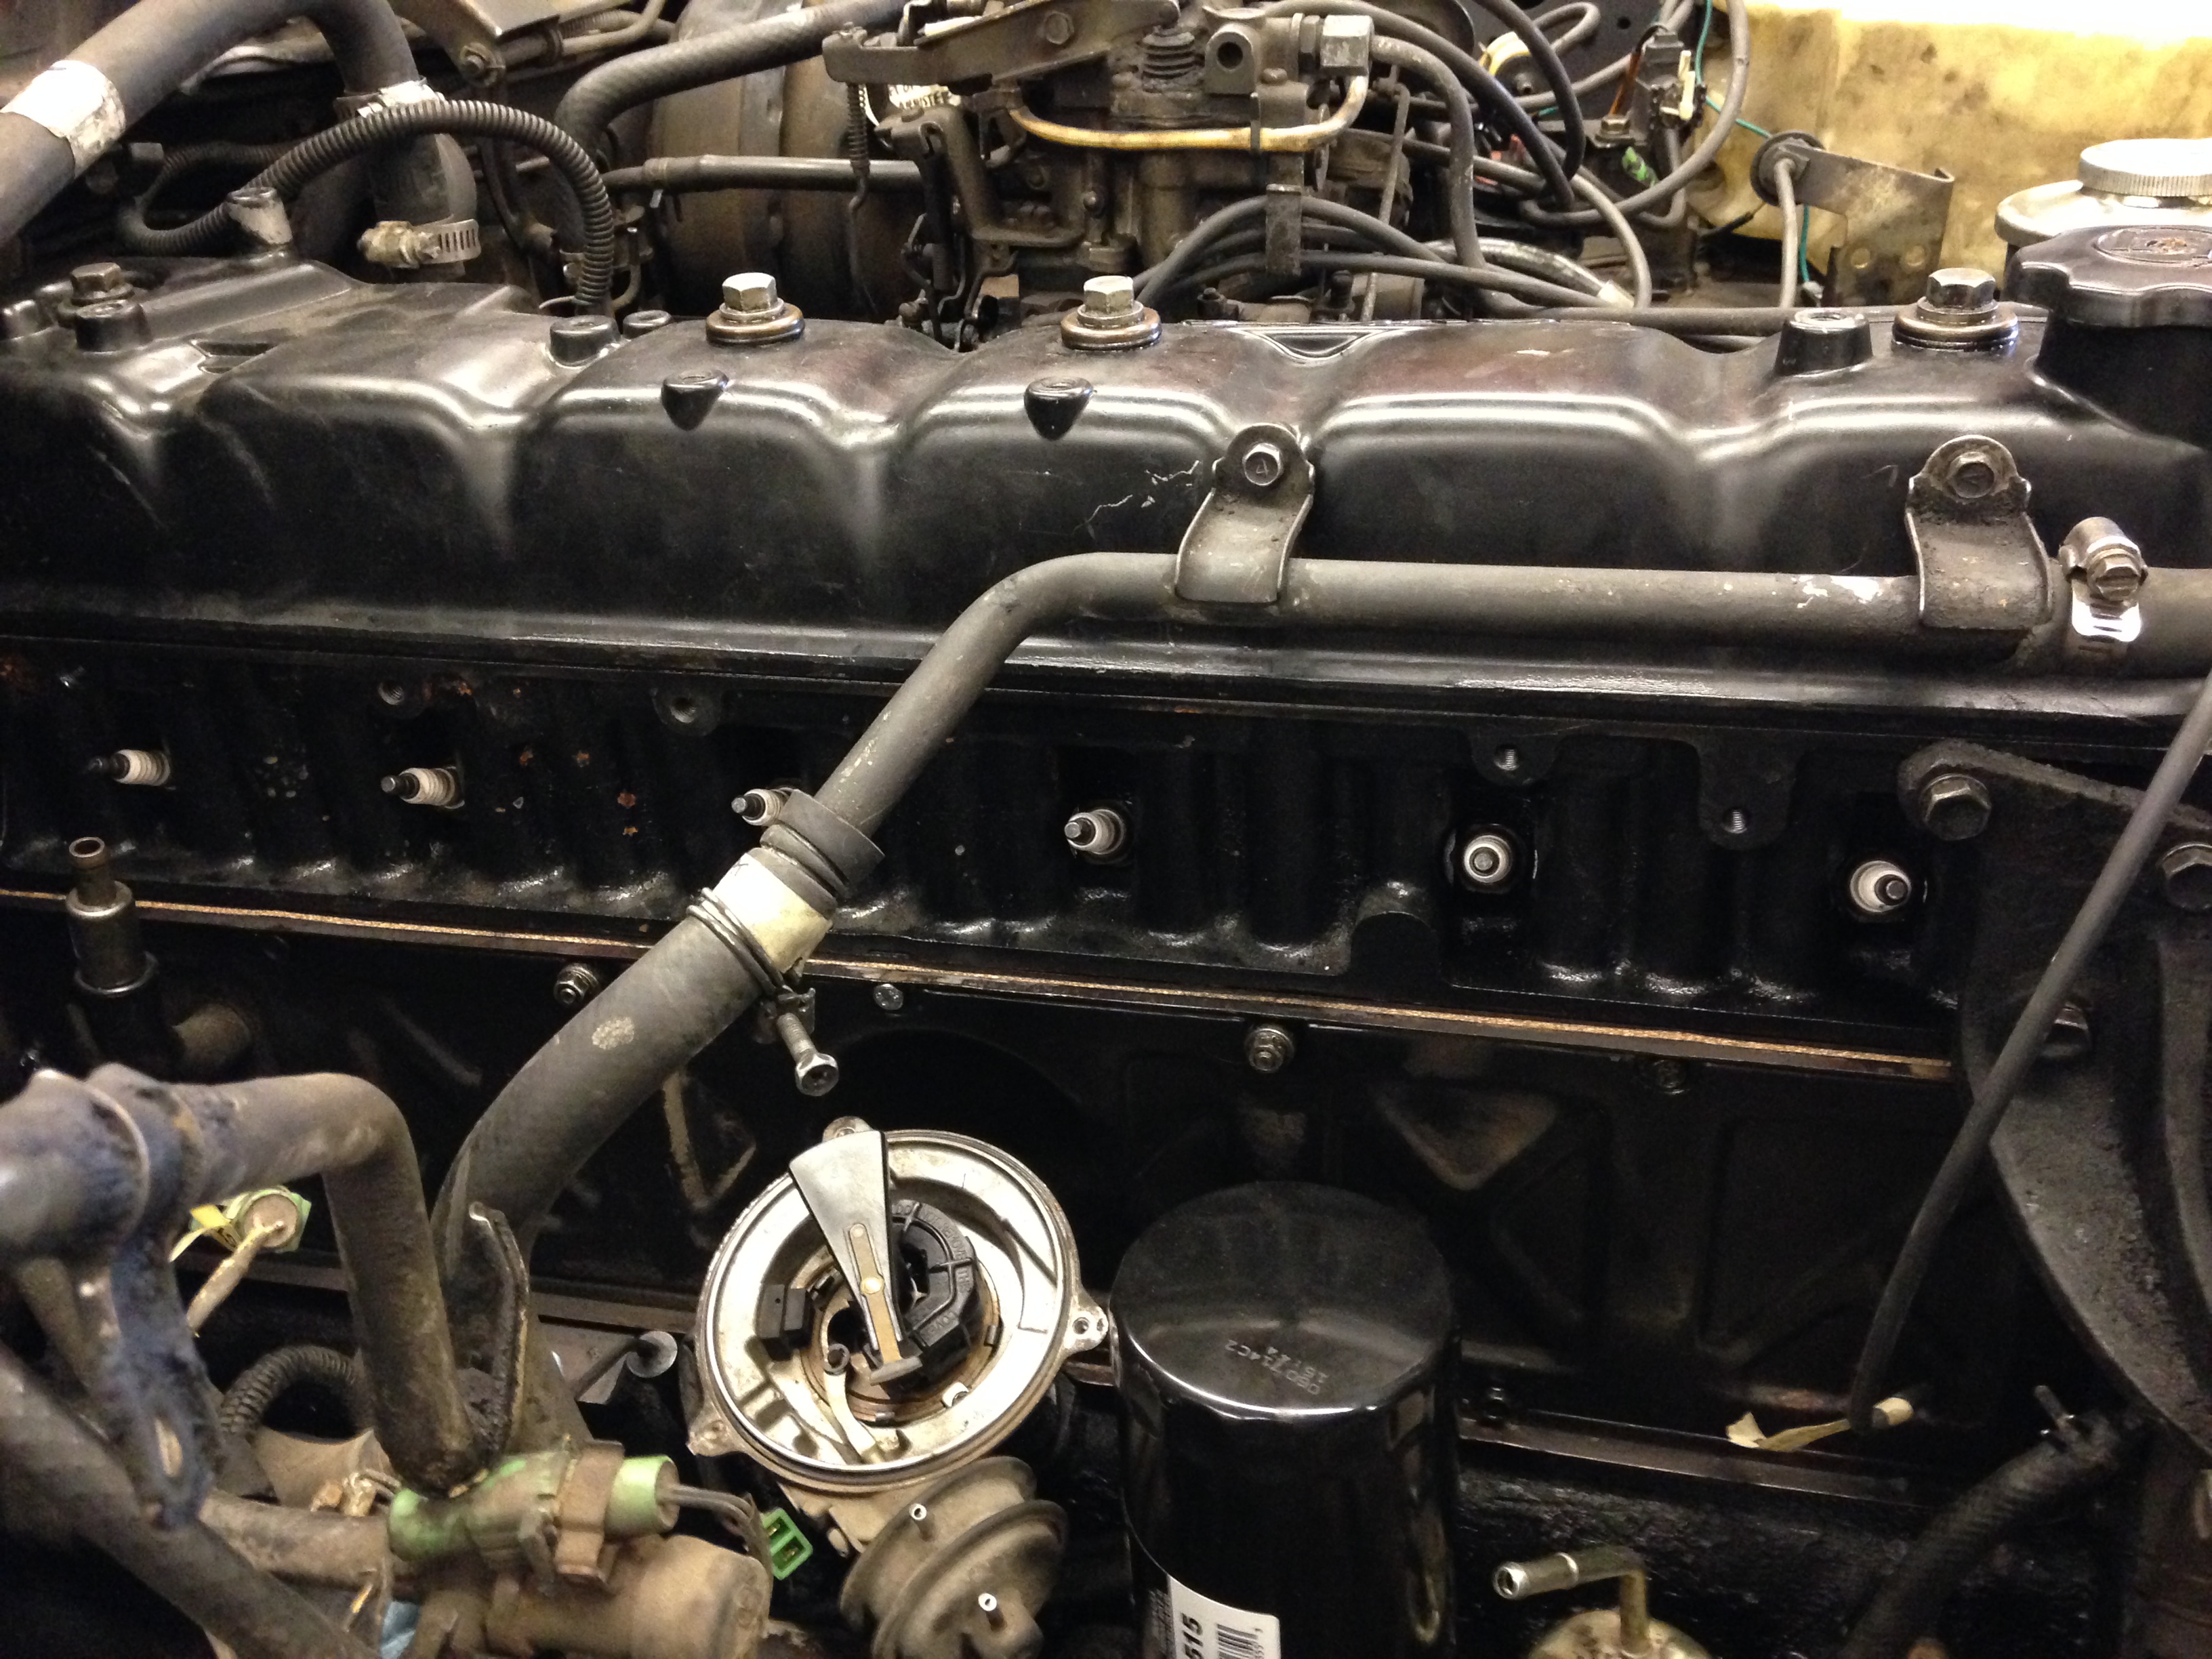
Quick before-and-after of the engine and bay:
Before-
Opq2nLq.jpg

After-
BlSC8AX.jpg


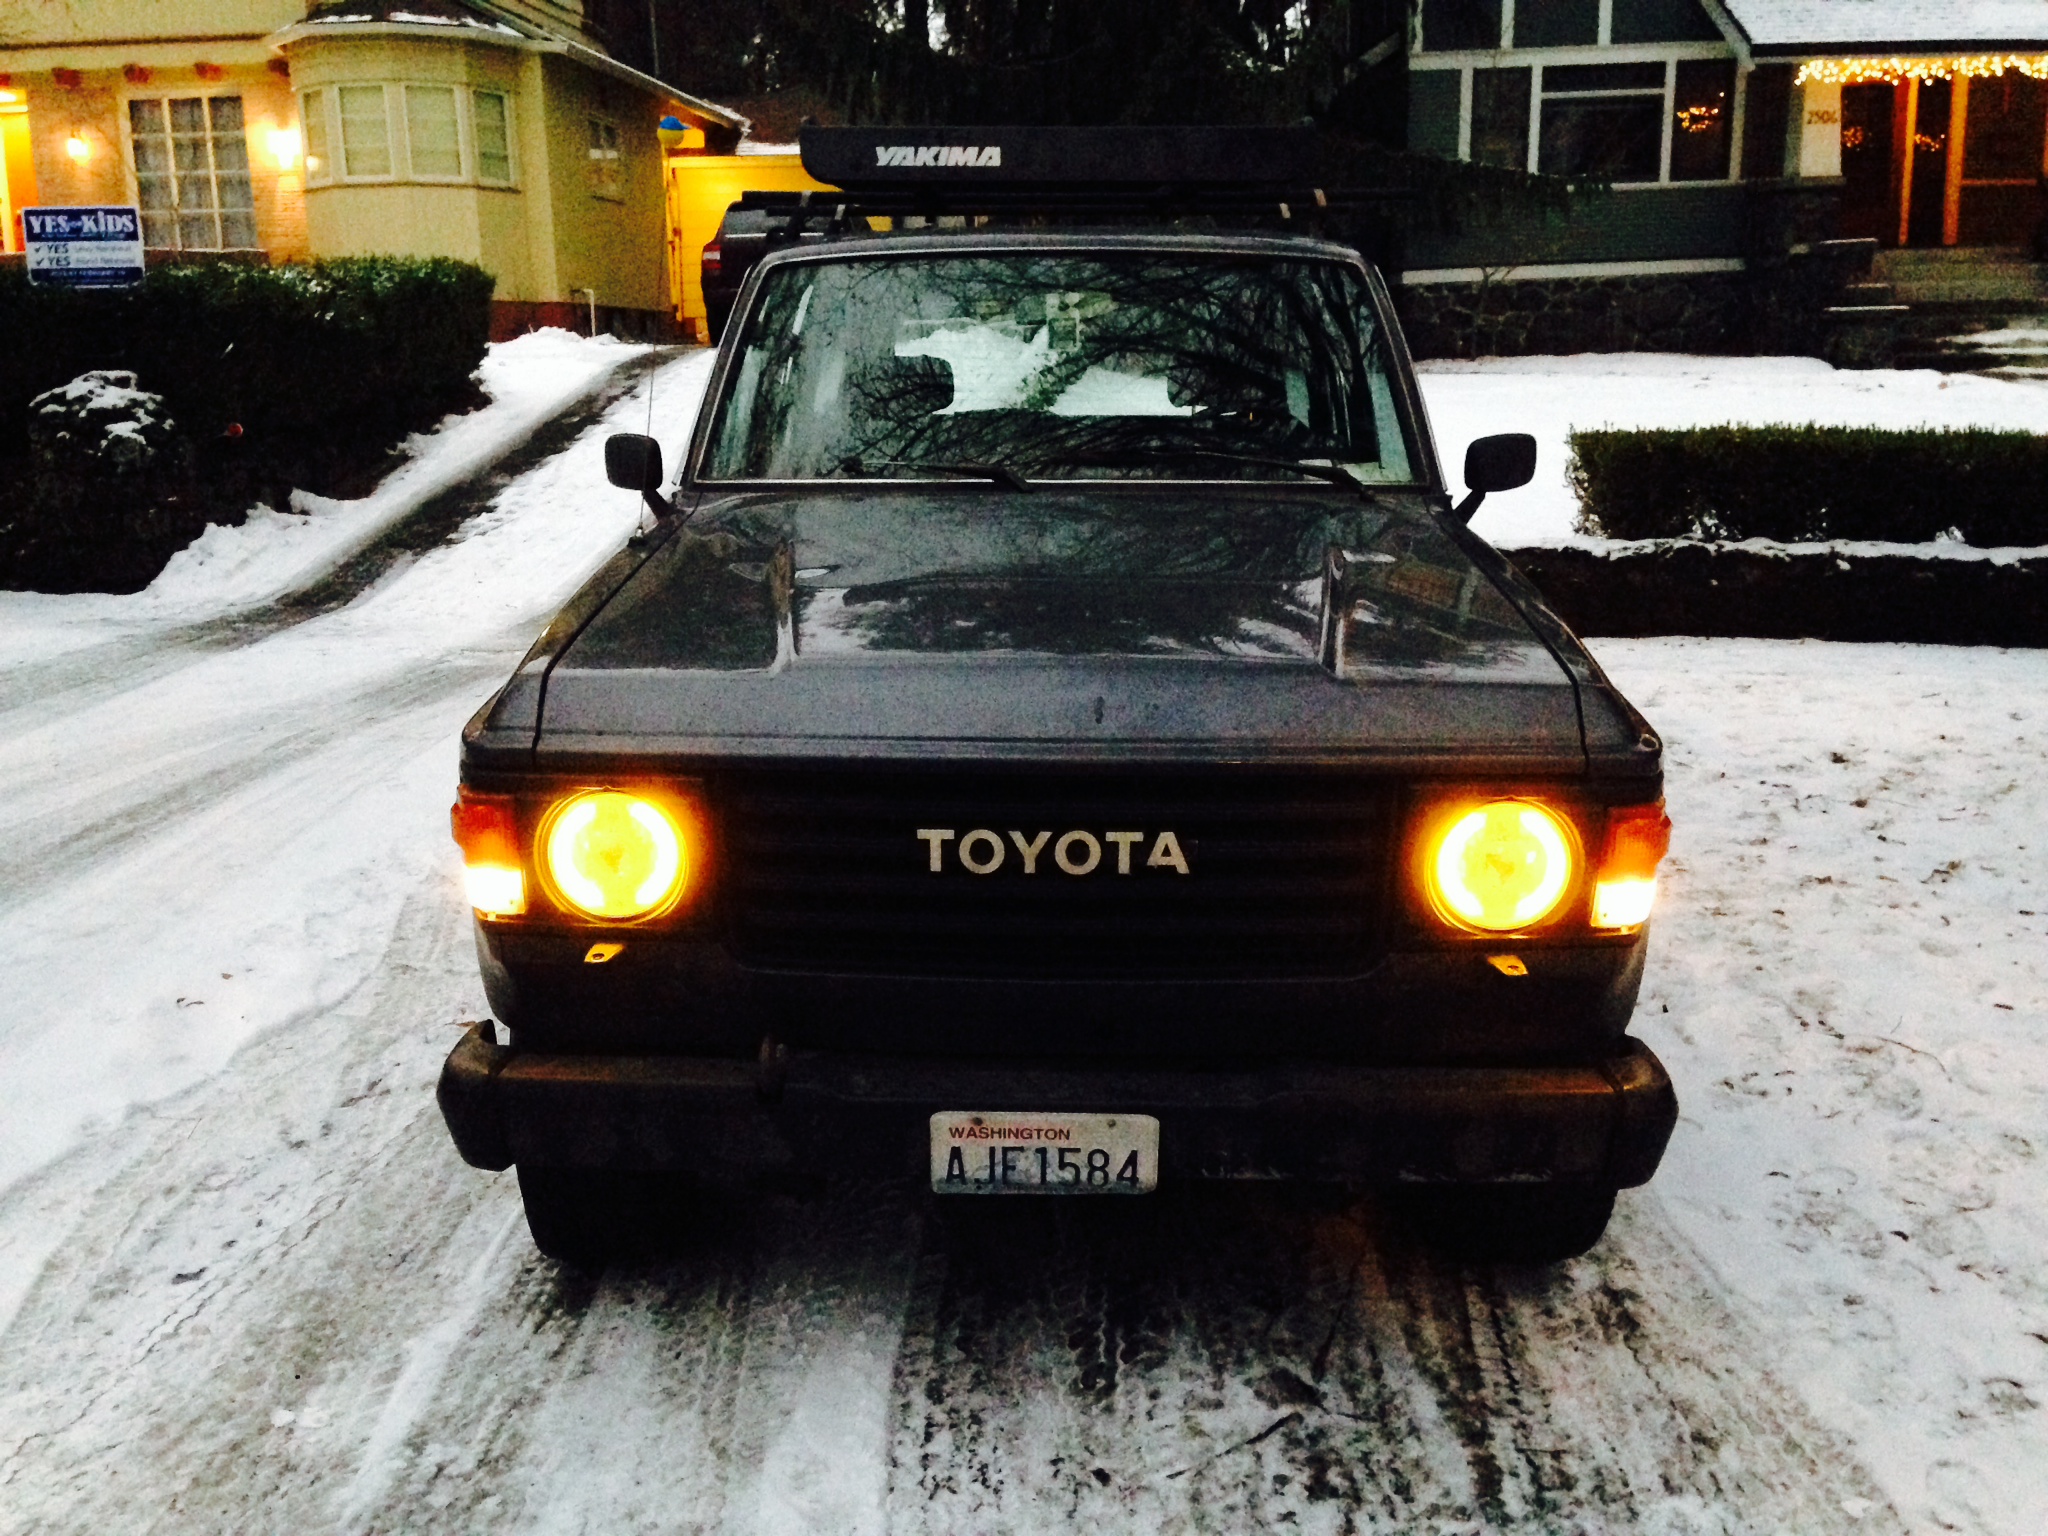
My front bumper is pretty beat, and was thinking about paining it black. Can you post a full body shot with the painted black factory bumper? Can't decide and haven't seen a good pic yet. Did you paint the rear bumper too?
jHUaIkV.jpg

Nope! Only front bumper. Got it stuck in a ditch this winter and had some of it start flaking off so it'll be coming off shortly, until I can afford a legit black bumper/ARB/bullbar damage multiplier. :rimshot:
 
Forgot to mention, on my way back from classes a while back, I noticed an SOA LC (painted bumper, too) at a used car lot. Apparently the guy got it out of the Seattle area.
Anyone know what the taillights are out of? Possibly BJ60/61, or some other kind of non-US import? Would be very interested in getting a pair like that.

Aside from the body lift and paintjob, everything on it looked relatively well done (spring over axle, low mileage, desmog, rebuilt carb/dizzy, etc.). Is this anybody's on here?
JxWaPZj.jpg
 
but was told to look at my fan clutch. How do I diagnose one of these (isn't it either working, or not?)

Diagnosis is easy. It is ancient. Replace it. The silicone fluid inside breaks down over time.
It is a 100% certainty that an old fan clutch is not working as well as a new one if it has over 60,000 miles on it due to fluid breakdown.
 
Diagnosis is easy. It is ancient. Replace it. The silicone fluid inside breaks down over time.
It is a 100% certainty that an old fan clutch is not working as well as a new one if it has over 60,000 miles on it due to fluid breakdown.

This... they are relatively cheap too... Aisin FCT017 (I believe) is the aftermarket OE part number.. While you are at it do the fan shroud split mod, will make your like a whole hell of a lot easier down the road.
 
Been sitting on this project a while and decided to tackle it head-on this time.

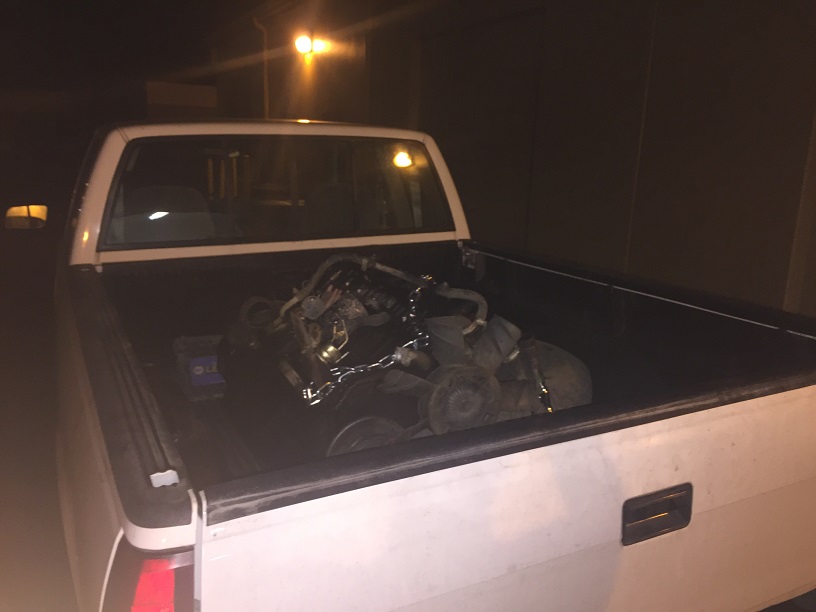
Long story short, the bottom end of the engine gave out shortly after the new head was put on. Started smoking profusely and developed a decent knock. I'd tired of doing half-fix after half-fix and decided to bite the bullet while I had some time this summer.
S37LFHp.jpg


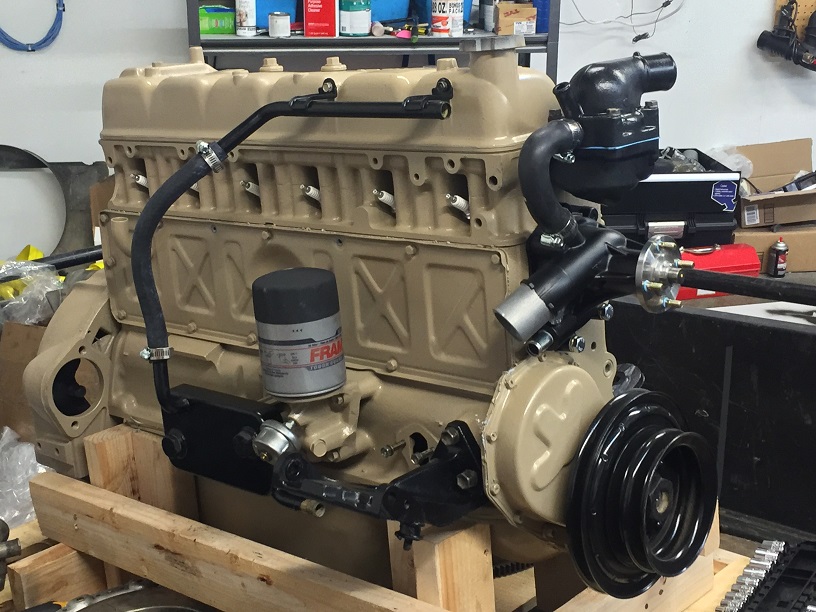
Had the same friend I went to school with rebuild my engine (he got hired at a performance truck engine rebuilder). In and out in 4 weeks and got a great deal. I let him choose the color and I'm damned happy with how it turned out.
rH3xDhq.jpg


Been waiting a couple parts here and there (as well as a dizzy recurve from Jim the Cruiser Whisperer), and have managed to complete/install:
-Smittybilt locking center console
-Optima Red Top
-Trollhole desmog carb
-New shocks front/rear
-New brakes front/rear
-Rebuilt front knuckles
-New water pump, fan clutch, etc.
-New Amsoil GL4 for trans and diff
-SOR oil cooler, heat riser and intake/exhaust kit
-NTK AFR monitor
-Cobra CB radio/Firestik whip
-Hands-free Bluetooth and SatNav
-LED everything ($$$$ :eek:)
-Cobra Alarm and GPS

Should be another couple weeks and she'll be back where she belongs on the road! Just in time for winter.
xMQUC83.jpg


Going to let this be it for now, but I've got my eye on an OME lift and new tires in the Spring.
 
Last edited:
Totally forgot I had a thread or anything on here. I had a little laugh when I saw the title - very glad not to be a poor ramen-munching college student any more.

Just wanted to update and share some progress pics of the weekend project. Rebuilt the carburetor about two years ago, and been running and driving great since then. But 'tis time for a change -- I was REALLY close to ripping out the TBI system from the Astro van in the background, but apparently EFI has advanced a bit since I last browsed the forums...

image0 (5).jpeg


I was out sick with the 'rona for a week or so, and had a LOT of spare time to browse the internet and see all the fun stuff people have been doing with their cruisers. Since mine's been on the back burner, and I've been daily-driving my Lexus, the boredom got the best of me.

image10 (1).jpeg
image14.jpeg


Pretty stoked to have been able to install all of this with no custom bracketry or anything. A $3.49 framing brace is literally the perfect throttle cable bracket if you punch out the ball/stud on the OE throttle pedal. Makes going back to stock much easier.

image19.jpeg


This is how she's sitting as of today. Everything except for the coolant temperature sensor, and the fuel pump are installed. Should be all wrapped up by tomorrow morning. Very hopeful that this will all be worth it.

Side note: Chopped the brake booster vacuum hose about 1" on each side. Hopeful that an Edelbrock air cleaner (something like a #4273) will fit on there now.

image18.jpeg


Also took the opportunity to properly desmog. I don't know what 6-years-ago me was thinking, but literally nothing was done right. Cleaned up a lot of wiring, vacuum lines, and routed everything properly.

Next weekend: Mounting my 12,000lb Apex winch.
 
Back
Top Bottom