



I've been building a set of sliders for my FJ40 for a while, and thought I would share with the community. I wanted to maintain the steps, as I think they are one of the defining looks of the 40, but still wanted to protect them from too much abuse.
I chose for my main tube a 1 7/8 tube with a 1/4 inch wall. I thought it would be really able to take some beating if needed. The smaller tube that protects the steps is a 1 1/4 diameter pipe with a 3/16 inch wall. I would like to tell you what type of pipe it is, but really, it was scrap pipe we had around the shop, I could have it for free...that made the decision to use this pipe.
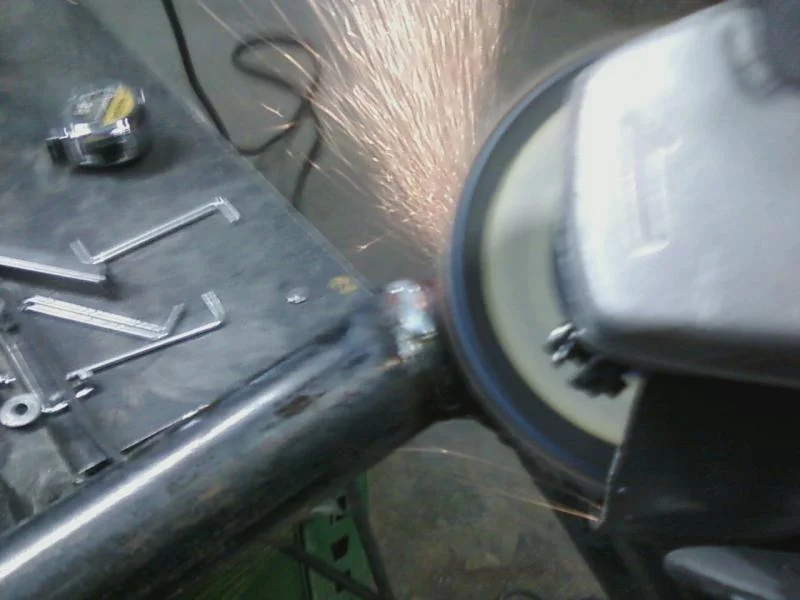
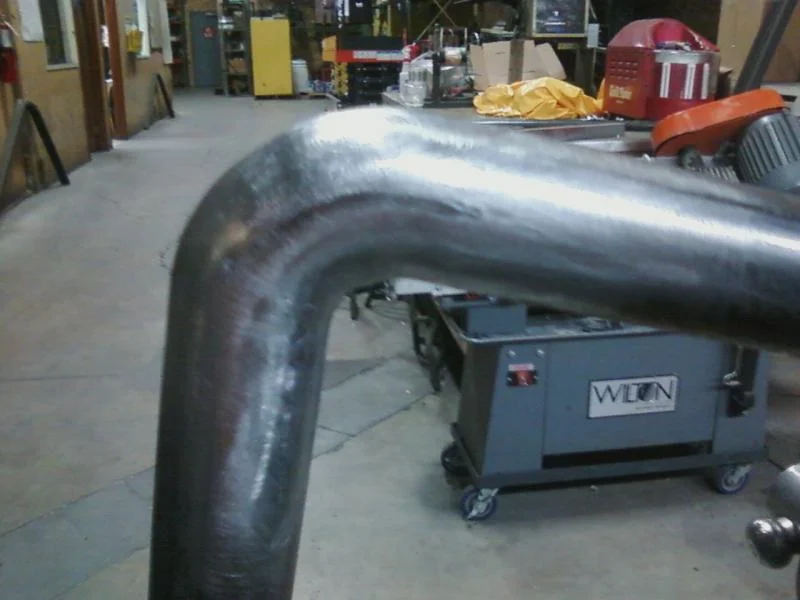
I tried to make my initial bends for the step protectors by heating the pipe, but it would collapse when I tried to go too tight. I read about filling the pipe with sand to keep the integrity of the pipe on a tight bend, but that didn't work for me either. I ended up cutting small sections of the pipe at 11 degree cuts, grinding the sidewall to create a "V" and welded together. I was able to keep the integrity of the pipe, and keep a very tight turn. Put the grinder to it to smooth out, and had the protectors I wanted.

I chose for my main tube a 1 7/8 tube with a 1/4 inch wall. I thought it would be really able to take some beating if needed. The smaller tube that protects the steps is a 1 1/4 diameter pipe with a 3/16 inch wall. I would like to tell you what type of pipe it is, but really, it was scrap pipe we had around the shop, I could have it for free...that made the decision to use this pipe.
I tried to make my initial bends for the step protectors by heating the pipe, but it would collapse when I tried to go too tight. I read about filling the pipe with sand to keep the integrity of the pipe on a tight bend, but that didn't work for me either. I ended up cutting small sections of the pipe at 11 degree cuts, grinding the sidewall to create a "V" and welded together. I was able to keep the integrity of the pipe, and keep a very tight turn. Put the grinder to it to smooth out, and had the protectors I wanted.


