Shaky side mirror - step 1

This site may earn a commission from merchant affiliate
links, including eBay, Amazon, Skimlinks, and others.

Joined
Nov 5, 2006
Threads
404
Messages
1,234
Weather has turned cold here in AK, and I’m looking for projects that are a few minutes outside, then I can bring inside & work.

I need to do the shaky mirror fix, but need extreme caution in these temps working with plastic parts (and maybe by headlamp)

Any more details on the initial removal of the mirror ? This thread implies a single screw and some upward pressure.

shakey sideview mirror FIX

Anybody done this recently ? Any more info on the initial mirror removal? How easy should I expect the mirror to release ? I’d hate to be levering up, in the cold & dark, and bust up more plastic.

Do I understand the 3/8x3/8 weatherstripping cheater fix, is to put the weatherstripping in the “gap” between the mirror and the housing, with the sticky side against the glass side. The other side will slide within the housing ?
 
Last edited:
1 screw in the middle on the bottom. Stick the screwdriver up through the hole in the housing. It comes all the way out so don't drop it in the snow. Didn't have a good picture of the L hooks but there are 2 where the red arrows are in the picture that capture the holes (that at least one of is probably broken). The mirror is hanging upside down in this picture. Screwhole might be broken as well - one of mine was. If they haven't already been ziptied in, once the screw is out just lift the mirror (not the housing) up a little bit to clear the L hooks, push in on the bottom and it should come right out top first. Then unplug the three wires shown with the yellow arrow.

InkedIMG_20180822_164924[1173]_LI.webp
 
In the pic above, the broken loop at the bottom left of that pic is the cause of the shaky mirror.
Should be symmetrical to the one on the right.
Fix the loop, you'll fix the shake.

shakey sideview mirror FIX

In did similar to this, used wire to reinforce the tab, but built up the missing piece with some epoxy, and filed it to shape
 
I did this for my 1997 LX450 and it worked great. Now the mirror housing only moves if I move it.


To fix the floppy mirror itself I recreated the broken plastic with epoxy, then drilled the keyhole I needed back into it.

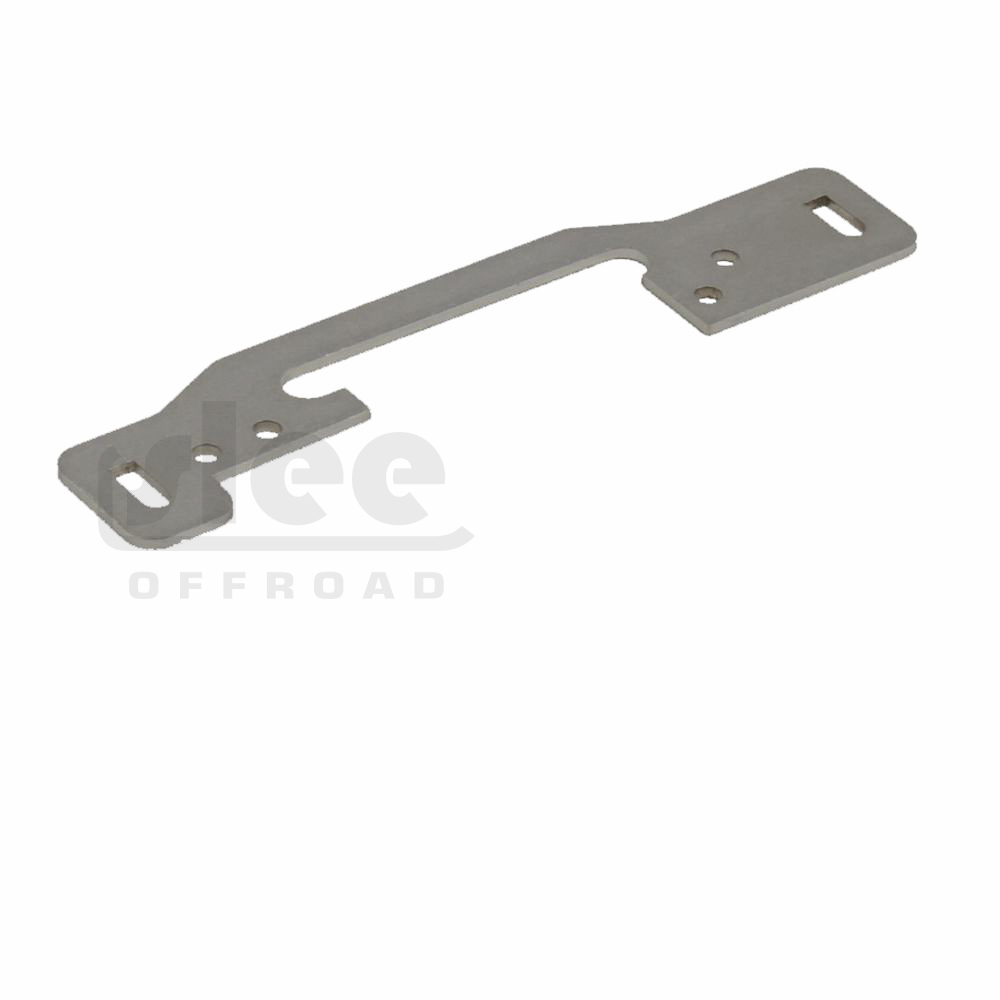
Now I have another mirror I need to fix and I'm going to try this product from SLEE

 
To fix with epoxy I wrapped the broken section, from front to back, in clear tape show in green. This created a cavity that I filled with epoxy, shown in red. Once the epoxy set I drilled out the keyhole needed to fit, stopping as I went to check for fit until it was correct.

Now that I have to do this again I'm going to try SLEE's bracket instead. If it works, and I'm sure it does, it will be a huge time saver over DIY methods.

lx450-land-cruiser-mirror-fix.webp
 
FYI, I don't know if we have it in the instructions, but if one of the little holes/tabs are still in tact, I believe you have to cut that one off as well, otherwise the resulting piece with plastic and stainless will be too thick to hook on.


DSCN7938.JPG
 
Back
Top Bottom