

OEM Shock help

This site may earn a commission from merchant affiliate
links, including eBay, Amazon, Skimlinks, and others.

Joined
Jan 17, 2015
Threads
11
Messages
34
Hello Fellow Mudders,

I have a 96 FZJ80 that I'm looking to replace the front shocks on. I've purchased the OEM shocks, bushings, and retainers from Toyota, and I'm hoping to get some guidance on doing this job myself. Can someone point me toward a video or step-by-step picture post with some instructions on this job? I've already searched mud and youtube with no luck.
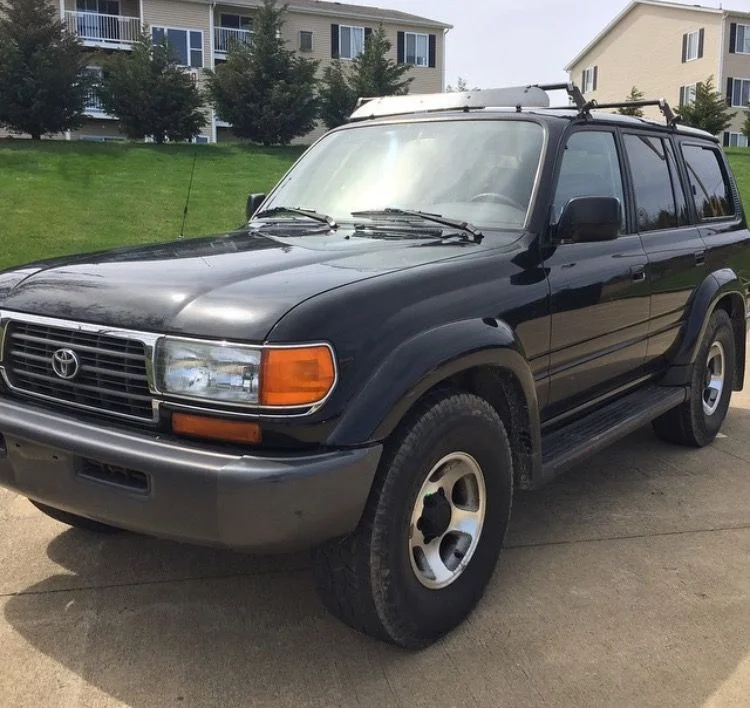
truckpic.webp


If so, I would greatly appreciate it!

-Zach
 
Slee has a good install guide with some pics here:
Slee - OME Suspension Installation (Toyota 80 Series Land Cruiser)

That's what I used for my stock height suspension. Most you won't need and the front shock install is right near the beginning. Just make sure you lift the truck and set on jackstands safely. It's a :banana: type job, just take it slow and ask questions if something's not clear.
 
Do you have impact?
Do you have junk clothes and a piece of Large Cardboard?
Set of Wrenchs and a crescent wrench.
PB Blaster and Torch.
Work Gloves

Take some pics on your phone of how washers are arranged so you can replace the same (or look at Slee pic)

Remove top Nuts using an impact (Preferred) or Wrench and Vise Grips or Crescent Wrench that holds flattened top.
Next Remove Bottom Bolts and collapse shock to remove.
If you can fit under truck no need to put on Jacks.

If nut does not want to come off heat with hand torch then spray with a quick shot of PB Blaster.
 
SNIP
If you can fit under truck no need to put on Jacks.

SNIP

You know, I could do that easily back when I had my FJ55. Not recently, though...
unless it can't be avoided:lol:
 
Just did this this past weekend. Also did the rear shocks and pulled the front driveshaft. Front shocks took maybe 15-20 minutes total. No video should be needed. Easiest to put the shock in from the bottom and push up until you compress the shock enough to get the bolt to fit in the hole. Put the one washer and rubber bushing on before you out it in the hole. The other after. Tighten the nuts. Drive.
 
If you have problems with the top nut on the shocks just use a piece of aluminum stock and vice grips on the shaft of the shock.
 
Thanks guys! I'm going to get after this this weekend! I greatly appreciate your help, and see how easy it will be now!
 
Good luck!
If you haven't already doused the fasteners in penetrating oil (JBBlaster or equiv) do so ASAP. Better that it soaks as much as you can give it. Heck, I'd go do it now, if you plan on hitting it early, but even 6 to 12 hours, along with a good spray as needed during disassembly, saves much grief. Don't make a mess, but make sure every fastener is wet.
 
X3 (or however many) on the PB Blaster. Soak it. Over and over. Soak it. Let it sit. Soak it again. Let it sit. Etc.

And have a grinder with a cut off wheel handy. I ended up cutting the bottom bolt of my front shocks rather than mess with the rusted bolt. Grinded it off in about 10 seconds.
 
Thanks guys! I ended up just grinding off the top nut on the PS shock. (Pics below) I wish I wouldn't have wasted time attempting to PB blast & pipe wrench that bastard free, but at the end of the day the job got done! The bottom nut was rusted off and the bushings were gone, so once I cut the top nut it was just a matter of shoving the new parts in the right order and voila! Thank God for Mud!

I didn't have time to locate the necessary snap on/flex joint/deep socket necessary for the DS shock, but I eventually will. I wish I could just grind it off like the other side, but I can't really get my grinder far enough away from the master cylinder to be comfortable with that method. I can't believe the difference a new shock and bushings has made to my ride....All for $35 per side.

Screen Shot 2015-09-14 at 9.12.57 PM.webp
Screen Shot 2015-09-14 at 9.13.08 PM.webp
 
Thanks guys! I ended up just grinding off the top nut on the PS shock. (Pics below) I wish I wouldn't have wasted time attempting to PB blast & pipe wrench that bastard free, but at the end of the day the job got done! The bottom nut was rusted off and the bushings were gone, so once I cut the top nut it was just a matter of shoving the new parts in the right order and voila! Thank God for Mud!

I didn't have time to locate the necessary snap on/flex joint/deep socket necessary for the DS shock, but I eventually will. I wish I could just grind it off like the other side, but I can't really get my grinder far enough away from the master cylinder to be comfortable with that method. I can't believe the difference a new shock and bushings has made to my ride....All for $35 per side.

View attachment 1134056 View attachment 1134057

Where do you live?

And the tools needed for replacing your shocks should be tools that you have because you will need them again. 15mm socket and/or 15mm combination wrench. You can pick up decent ones at Harbor Freight for fairly cheap. They aren't great tools but they are decent. Use the money you save doing things yourself to invest in tools so that you have the proper tools. It makes working on your truck much more enjoyable.
 
Where do you live?

And the tools needed for replacing your shocks should be tools that you have because you will need them again. 15mm socket and/or 15mm combination wrench. You can pick up decent ones at Harbor Freight for fairly cheap. They aren't great tools but they are decent. Use the money you save doing things yourself to invest in tools so that you have the proper tools. It makes working on your truck much more enjoyable.

Hey man, I live in Opelika, which is right next to Auburn, AL. Definitely trying to invest in tools like you advise, I just stay busy with kids and graduate school. I learned to love Harbor Freight when I built fences and decks at our place because even though the quality is lacking, you're going to use it so rarely that you don't really even notice. Whereabouts are you, sir?
 
Back
Top Bottom