

High Beams Fixed

This site may earn a commission from merchant affiliate
links, including eBay, Amazon, Skimlinks, and others.

Joined
Aug 25, 2015
Threads
80
Messages
1,385
Location
Northern Virginia
I was having an issue with snoopy this week. The high beams only worked when the combination switch leaver was pulled back in the temporary flash mode. When locked forward for permanent high beam, nothing. Because it worked when flashing I decided to dive into the switch and hope it was a contact issue. Here is what I did and it worked for me. Feel free to chime in or point things out that I missed. I am just happy everything is working.

Step 1: Disconnect battery
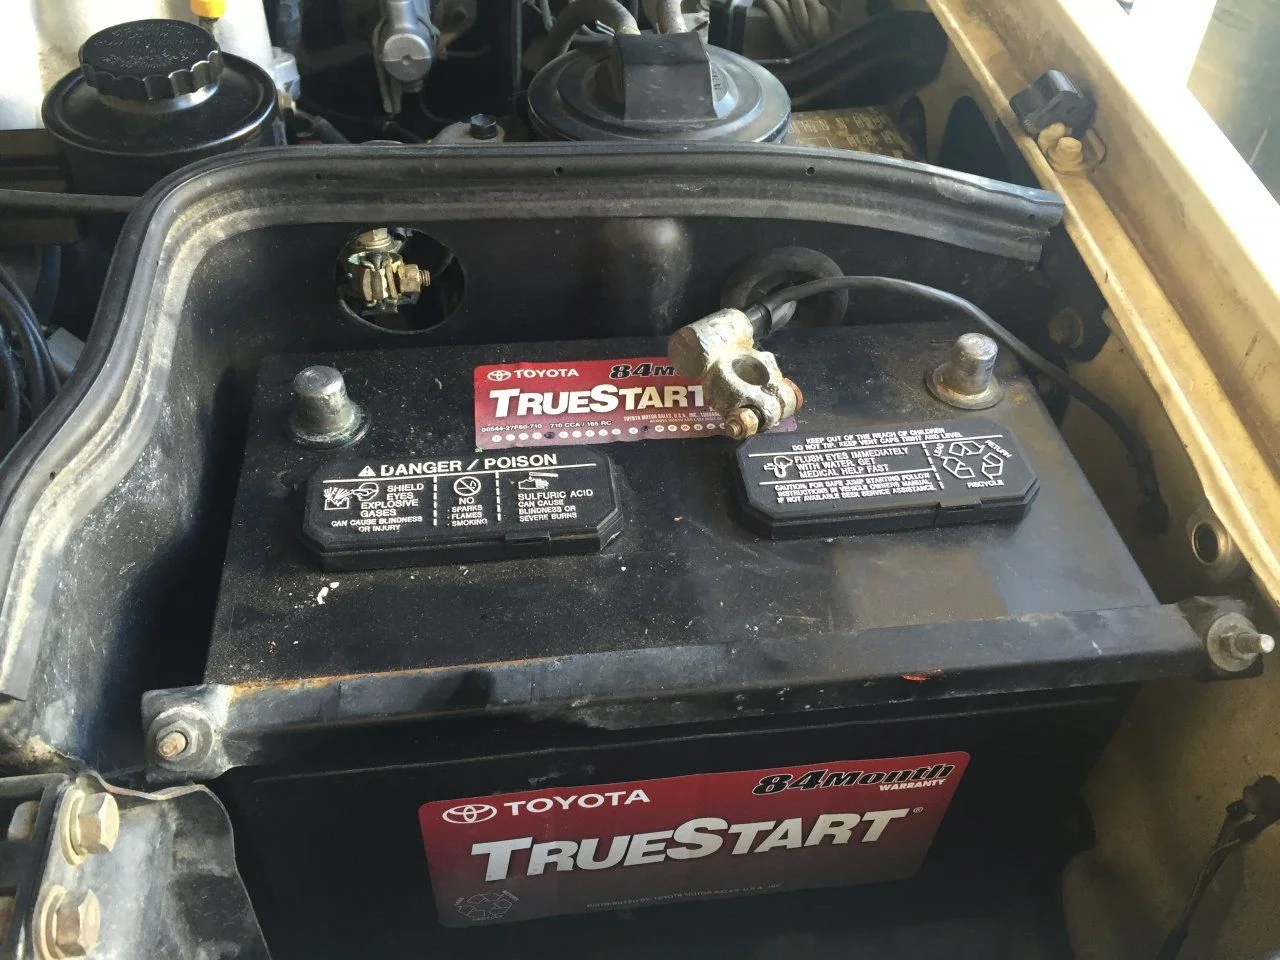
IMG_4342.webp


Step 2: Remove the covers on both sides of steering wheel. There is a tab on the side closest to the wheel. Just insert a thin flat head and it should pop out... see tab below.
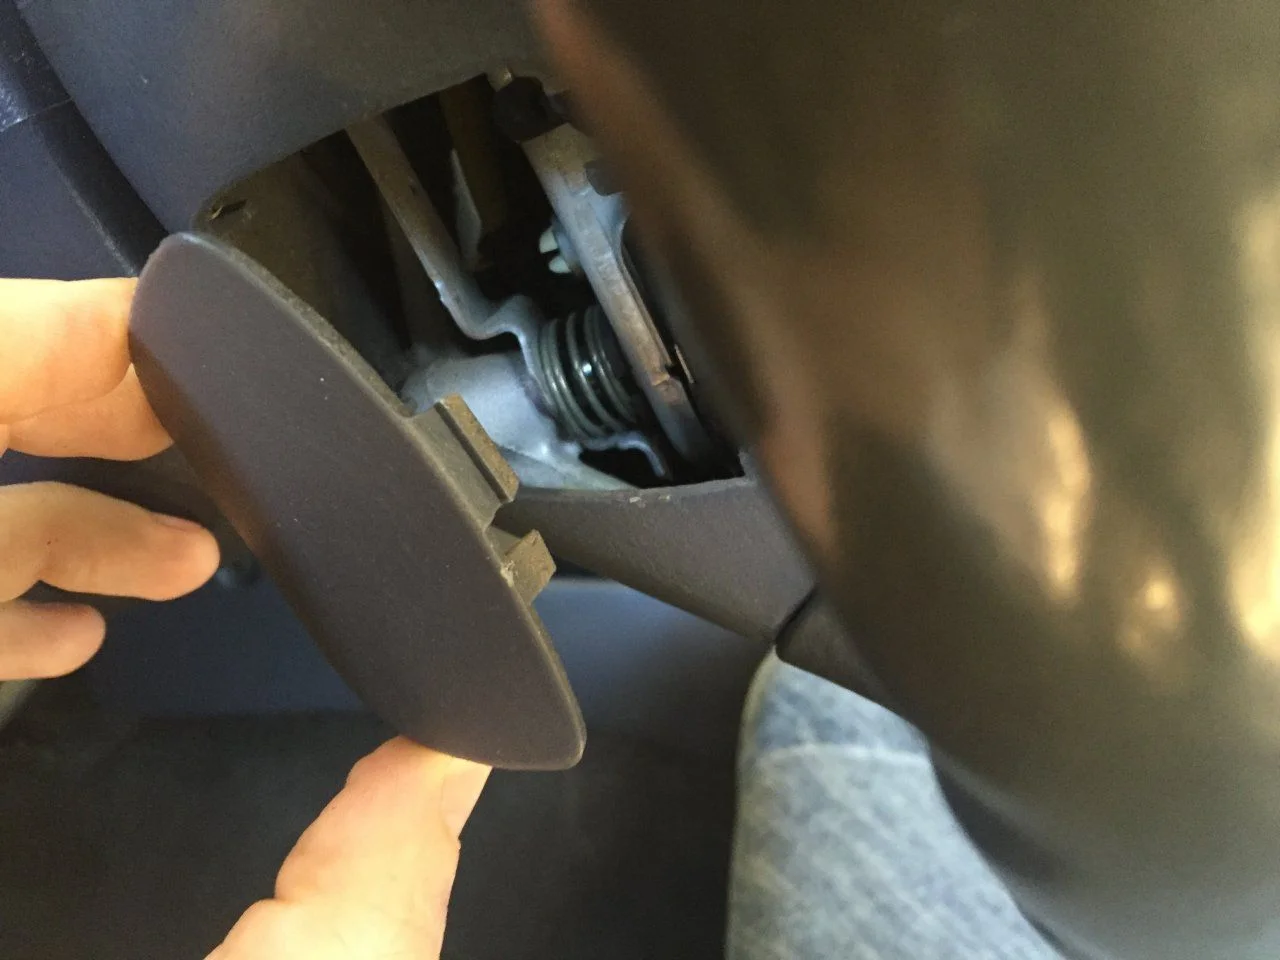
IMG_4345.webp


It is the same on the other side.
 
Step 3: Use a T30 Torx and loosen but do not remove the screws. There is only 1 on each side.

IMG_4346.webp


Step 4 : Reach in and squeze / push out the little white tabs holding the steering pad in. BE CAREFUL HERE! DO THIS GENTLY AND DO NOT TUG THE PAD! THE AIRBAG CORD IS NOT LONG!

IMG_4347.webp
 
Step 5: After removing the pad gently, disconnect the yellow cable carefully. Don't take out the large yellow clip from the pad, it is connected inside the pad. Instead, remove the smaller yellow clip by swinging up the white retainer (squeeze the sides). Place the pad gently in a safe location with the pad facing up per the FSM.

IMG_4349.webp

IMG_4350.webp
 
Step 6: Use a 19mm socket, hold the wheel and loosen the center nut. Your wheels should be straight and the wheel properly aligned.

IMG_4352.webp


Step 7: Once that is removed use a steering wheel puller or method of your choice for removing the wheel. Some people just loosen the 19mm nut from the center stud and yank. I don't like that method, but if you need to you need to. If you do it that way try and figure out a way to disconnect the white Cruise Control clip first so you don't yank it out. Leaving the nut on should prevent this, and injury, but just play it safe. Again, use a puller if you can.

IMG_4353.webp
 
Step 8: Mark your wheel and stud for reassembly before you take the wheel off. Once you have done that, gently pull the wheel off and up to expose the bottom of the CC clip mentioned above. You have good access to it now. I'm paranoid about damaging clips if you can't tell.

IMG_4354.webp


IMG_4355.webp


I just used a thin screw driver and pushed up on the clip claw and it slid right out.
 
Step 9: There are 5 screws on the under side of the steering column. Go ahead and get a long phillips and remove those. Then just pop off the lower and upper trim. This should be what your looking at now.

IMG_4357.webp


Yes I keep a candle in the cruiser for an air freshener. No I do not light it.
 
Step 10: I went ahead and removed the 4 silver screws holding on the center spiral housing and gently pulled it off without disconnecting any clips. there is just enough give to safely pull it over the center stud and let it hang. This will expose the combination switch mounting area.

IMG_4358.webp


Step 11: Be careful here!!! When you remove those 2 little screws covering the switch spring and contacts there is a tiny ball bearing. DON'T LOSE IT! I got real lucky here. It fell out in front of me but that NEVER happens to me. So anyway, being butt careful, remove that metal clip and catch the bearing in there.

Step 12: Remove the 4 larger screws holding the entire Combination Switch Assembly on. Again, there should be just enough slack to safely pull it off and let it hang without un-clipping anything else.

IMG_4361.webp
 
Step 13: There is a little gray box with 4 screw holding the high beam flasher spring and the wire contacts. I went ahead and opened it up and inspected everything in there...seemed fine...I did go ahead and shoot a bit of canned air in there to tidy up. I exercised the spring quite a bit too.

IMG_4363.webp


I took some superfine sandpaper and did a couple gentle swipes over those points next to the red wire. I cleaned up pretty well in there.
 
Step 14: Remove the light switch leaver, it should now just be slid in the plastic housing with the mounting pin. Just slide it forward and out. Then clean it, again a couple gentle sandpaper swipes on the very end. Go back to the clip and little ball bearing that was holding that leaver in and clean it also. Again i used ultra fine sandpaper with just 2 or three swipes.

IMG_4364.webp


IMG_4365.webp
 
Step 15: Clean everything up in that general area of the plastic switch housing. I used Q-tips and blew out any fuzz left over with canned air.

IMG_4366.webp


Step 16: Put the leaver back in and and tilt the whole thing sideways so that tiny ball bearing sits on the tip. Then replace that clip and snug it all up.

IMG_4368.webp


The picture above have the wrong camera angle. I had it where gravity was helping keep the ball sitting in the leaver divot.
 
Step 17: Screw the clip back in nice and snug.
IMG_4369.webp

Next, clean everything down with a dry cloth very well. I dusted all that dirt off carefully. It only takes a sec.

Step 18: Put the center spiral assembly back on. Spin that bad boy counter clockwise until it gives you tight resistance. Then do 3 full clockwise turns and line up the red arrows. Screw it back on.

IMG_4370.webp


Connect your CC clip now.
 
Back
Top Bottom