Hellwig 68 Bronco Project

This site may earn a commission from merchant affiliate
links, including eBay, Amazon, Skimlinks, and others.

God I love shiny new parts :)

I know! And it's weird not having rust and grime on all the bolts and stuff just unthreading/threading no problem. I'm getting spoiled...

So we've basically just been catching up on R&D stuff all week and will be for probably the next month or so. We've knocked out 7 new sway bar kits this week! Unfortunately that means slow progress on the Bronco.

To hold you over, here's a video of our last 6 day reassembly rush to get her done before SEMA: Click For YouTube Video

Also, we have all our SEMA pics in an album if you want to check them out (no Facebook account needed): Click For Album
 
nice attention to detail.
the truck will perform well

only performance issue potentially are those rear coils. they may perform better if they were outboard more. a good swaybar will take some of that out- but only some.

Thanks, I agree I would have preferred the shocks more outboard, but having them inboard improves flex while not having to have an extra long shock though the body and improves tire clearance. The priority for this rig is rock crawling, not go fast desert so we went this way. We also went with some stiffer coils to compensate along with the sway bar. I know I've drive the Icon Bronco which has the same set-up and the rear felt good when cornering on road. We've run some numbers and it should work but as Yogi Berra said "In theory there is no difference between theory and practice. In practice there is." We'll just have to get it moving under it's own power and see for ourselves!:bounce:

 
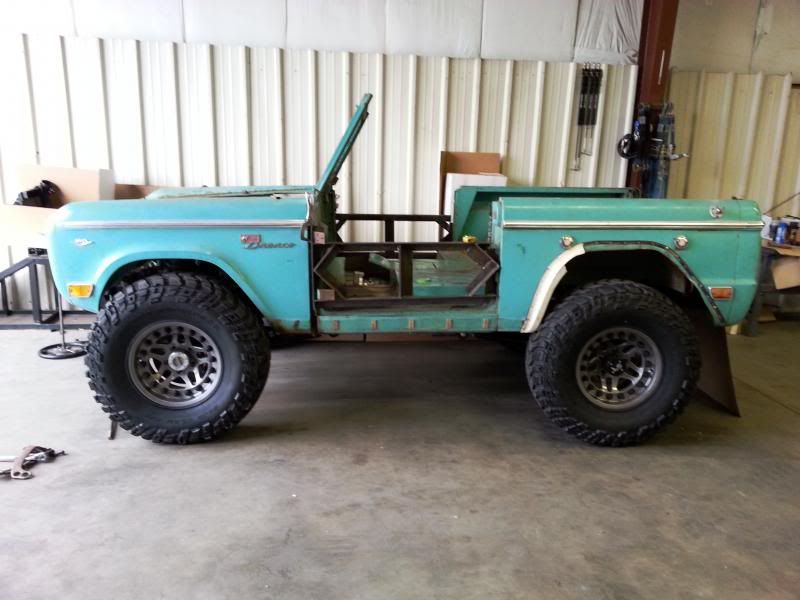
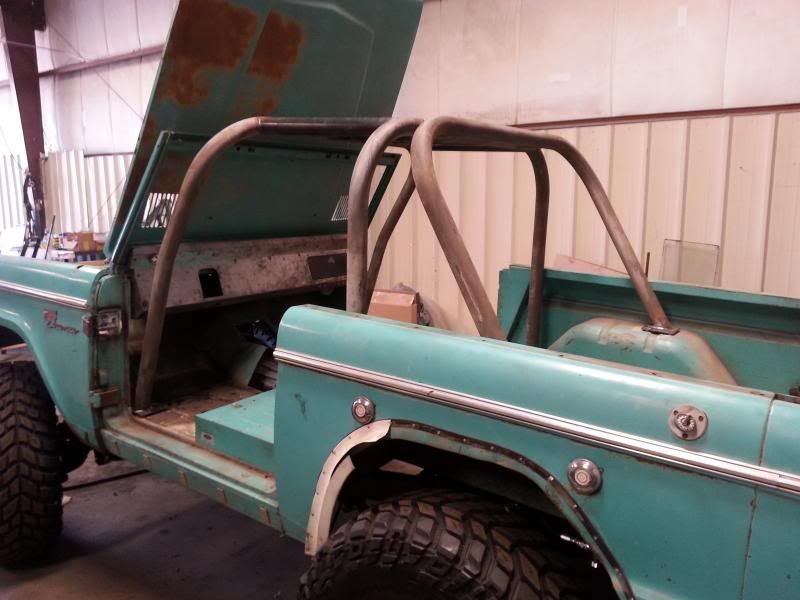
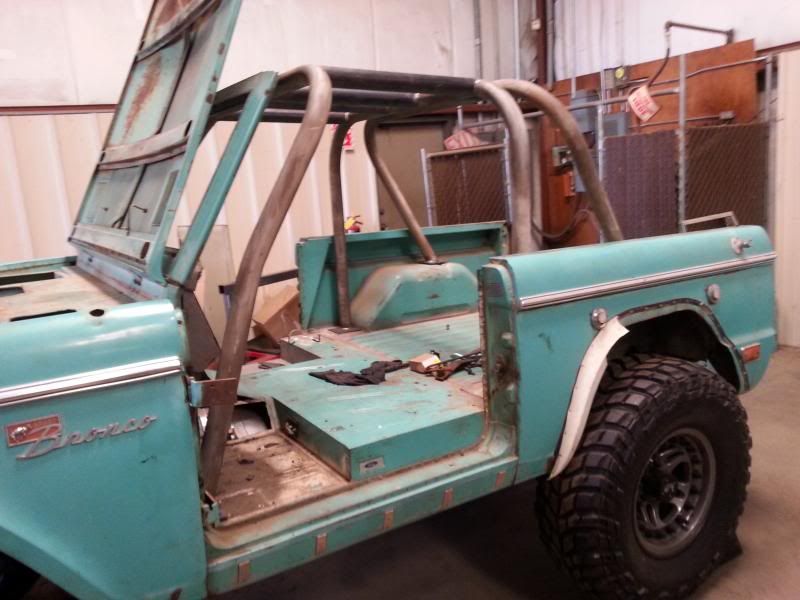
Ok, in the past couple weeks we've found a little free time and started chipping away at this again. It seems like we keep finding more to do and adding to the list faster than we're marking stuff off, but that's the nature of the beast.

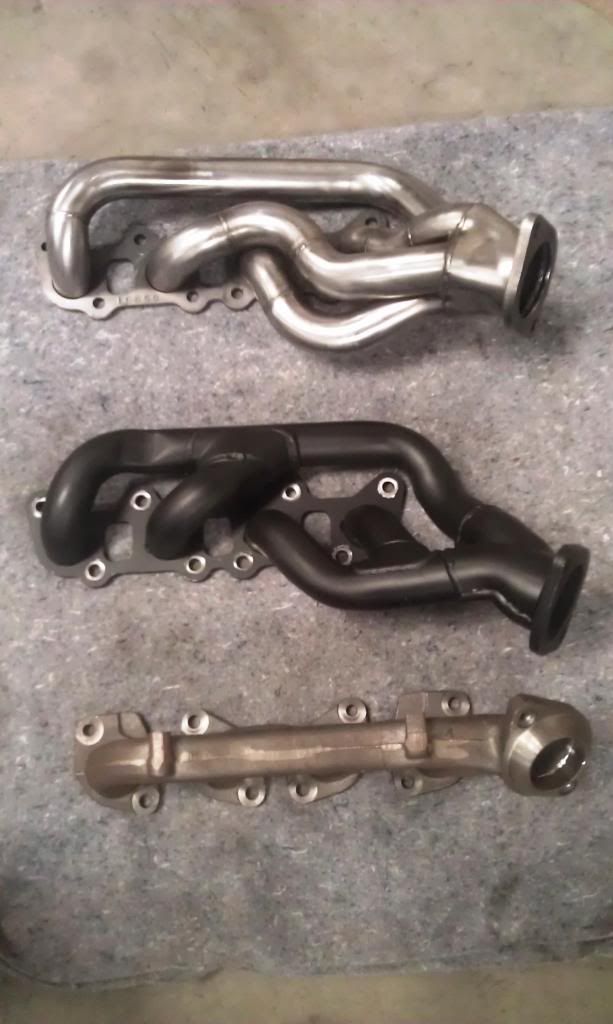
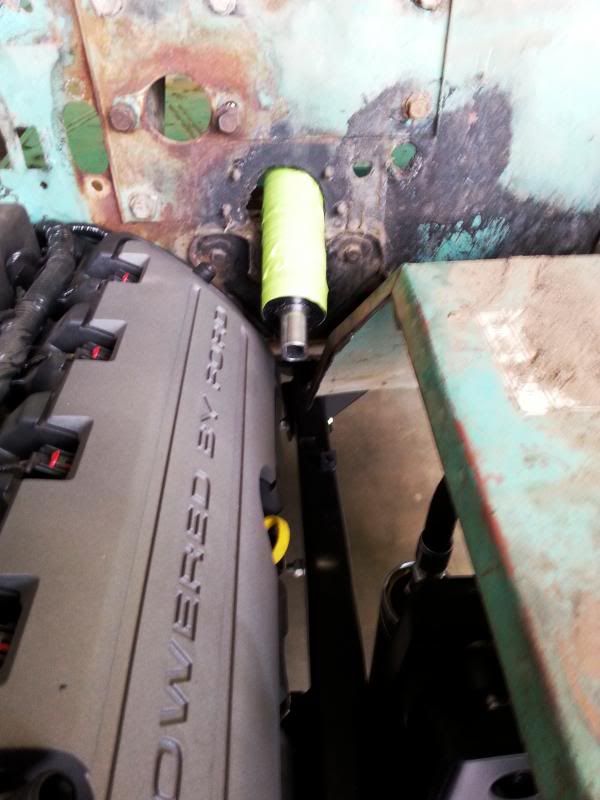
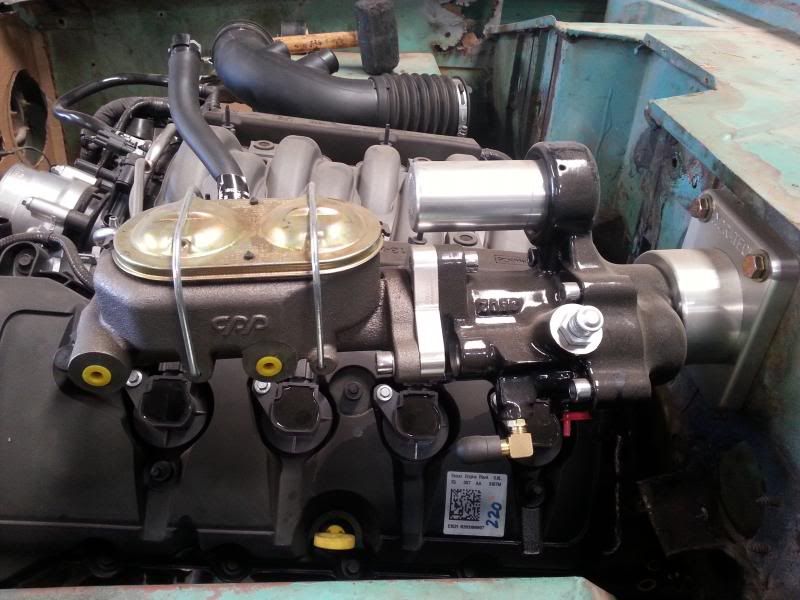
One of our big things we're trying to make a decision on is the driver side exhaust. We know where we want to route it and right now we have a factory Ford header (tri-y), a Ford Racing cast exhaust manifold and JBA header. None of these do exactly what we want, both the headers want to dump directly into the front driveshaft at full bump and the cast ones are too wide and hit the frame. We're either going to modify one of the three or start from scratch, still deciding what's easiest/best.


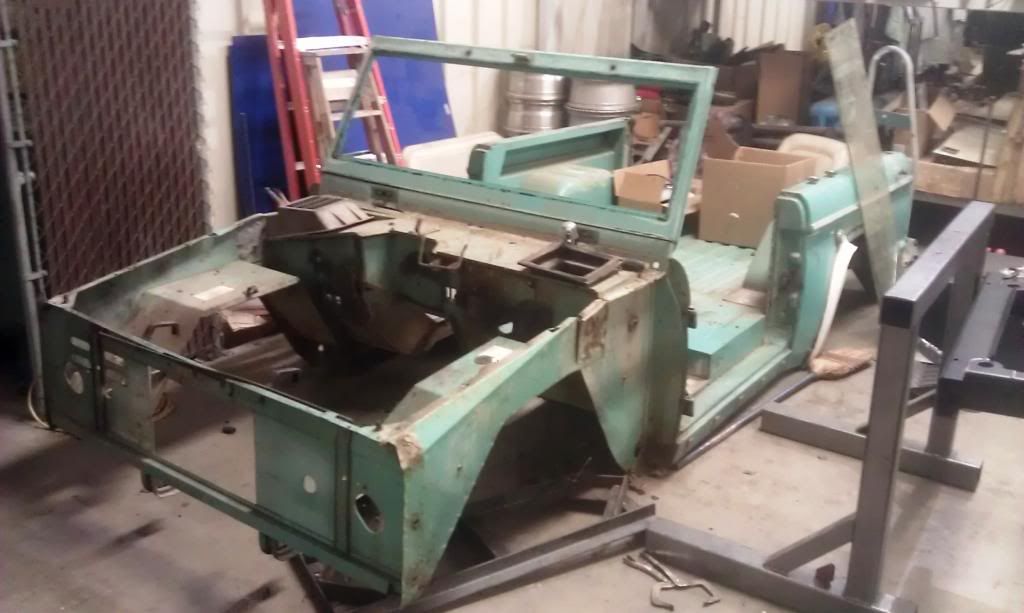
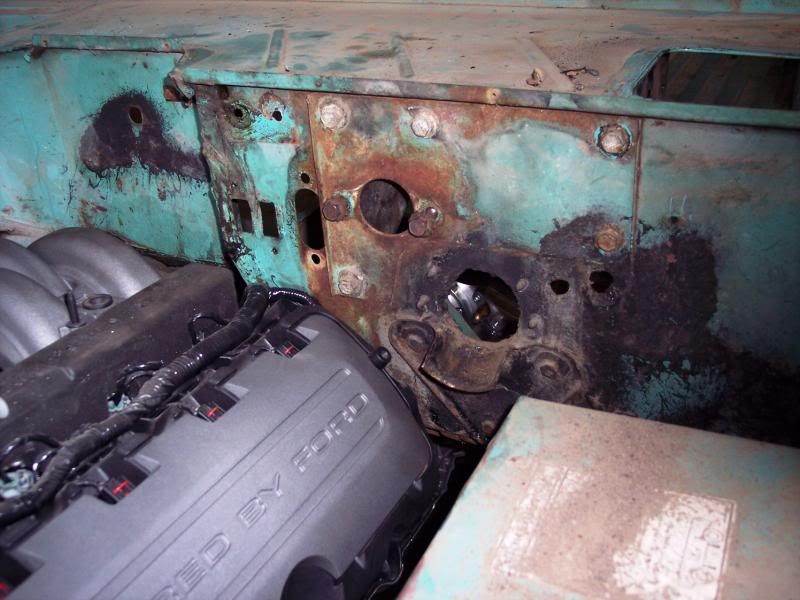
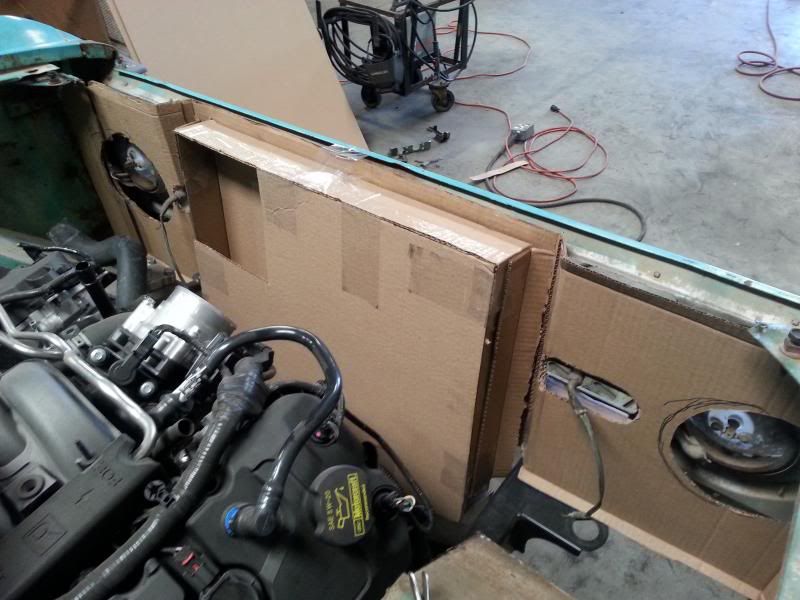
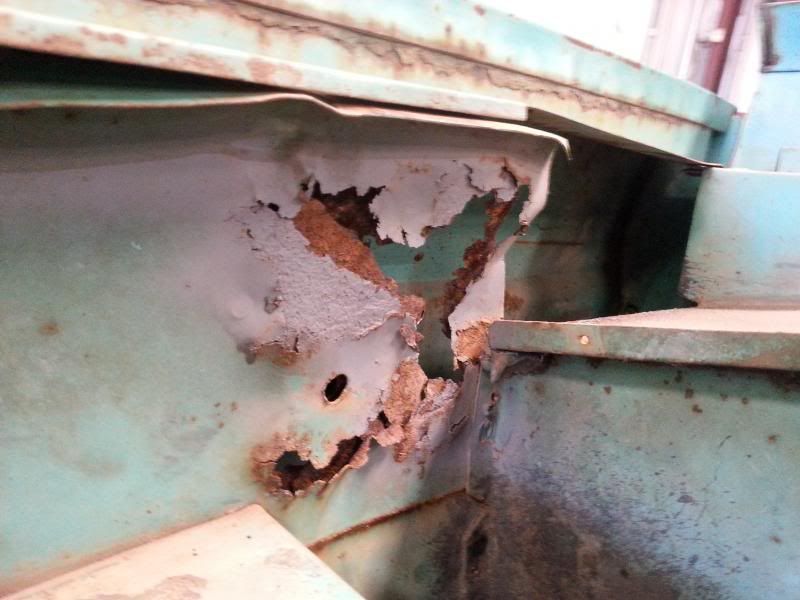
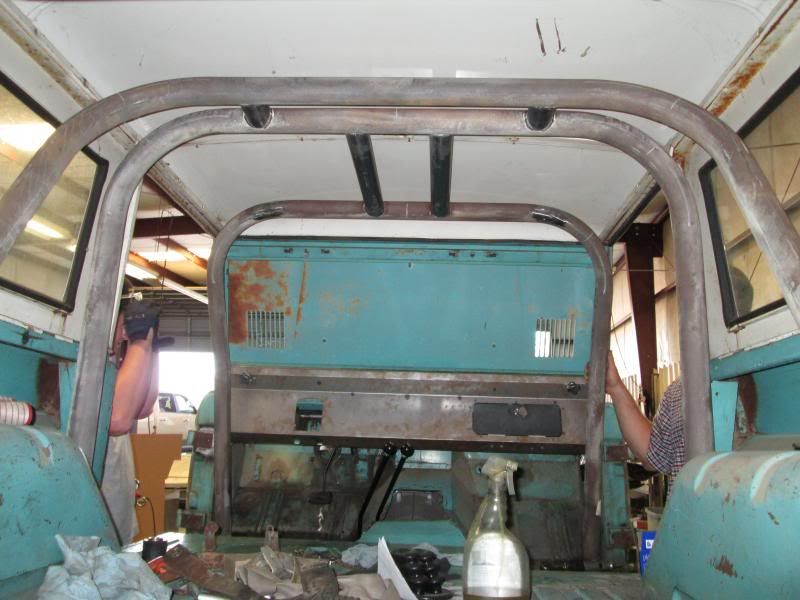
We've stripped the body even more, took out all the wiring, heater core, dash, weather stripiing etc. Unfortunately our windshield got cracked so need a new one of those too. We found tons of old ammo (both fired and not), some ear rings, bottle openers, nail clippers, an old rusty hide-a-key, etc. It's been quite a treasure hunt, and that was just stuff in the air vents... We're also finding more and more rust that needs to be fixed :frown:


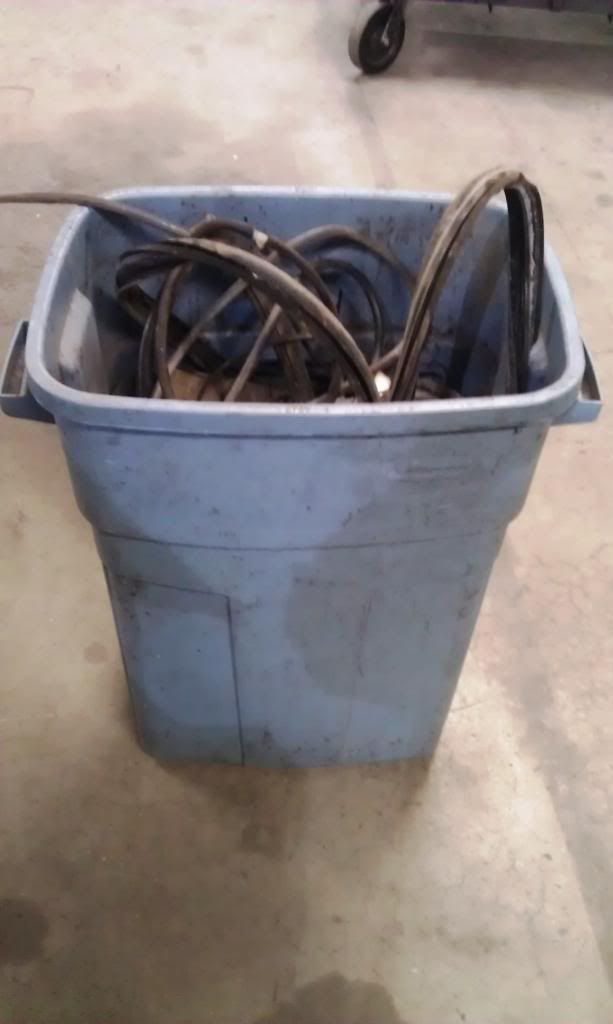
This trash can is full of just old wiring and weather stripping.


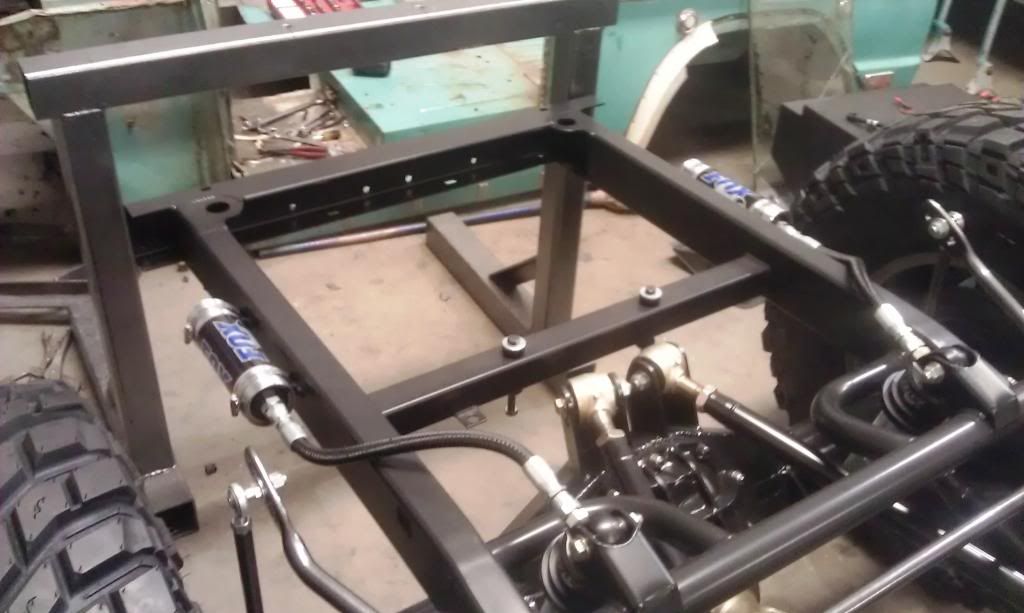
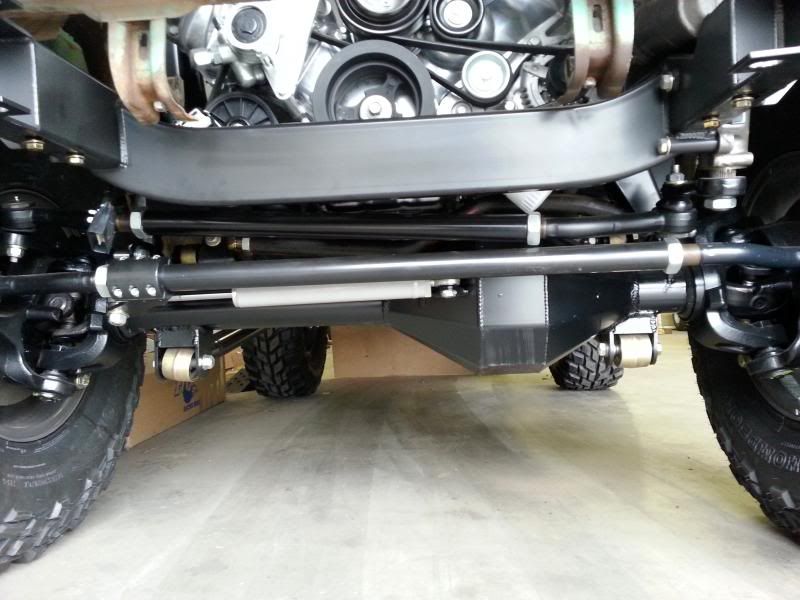
We're also going to have to move the rear crossmember some, there was miscommunication and our crossmember needs to be another 1" forward to fit our custom gas tank from TransferFlow. We are going to have to sandblast the frame off anyway for more welding for plumbing, cage etc anyways.


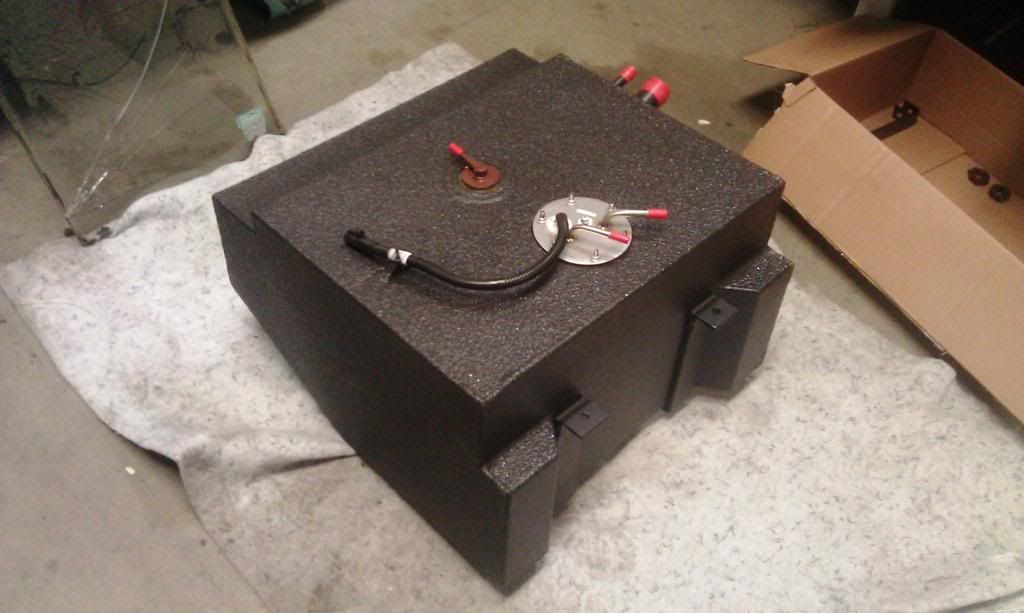
21 gal TransferFlow gas tank


Otherwise, Happy Valentine's Day! Don't get too distracted pleasing your wife/girlfriend and make sure to take your favorite lady for a ride (and by that I obviously mean your rig).
 
Lol .... Nice builds comming along oh and what's a rust free /grime free bolt? Is that somthing new they just started doing?
 
We spent a few minutes unwrapping and putting the dash from BC Broncos in today. Went really smooth and now we just need to get some hole saws and make a final decision on which gauges and their locations. This is the first shiny new part out of many for the body...

Dash.jpg
 
We did more work yesterday. Redid the panhard, now at full, extreme bump with the coils pulled it barely kisses the oil pan, not even enough to scratch the paint and at full flex it just barely kisses the diff so we can't make it any better without using a lot smaller tube. At full bump bottom of the frame to ground is 21.5"

Here's worst case, flexed, full lock-ish. 37's still don't hit the suspension!
20130307_150508.jpg


These pic really show how a sway bar works, flexing the front and rear with a forklift.
20130307_151548.jpg


20130307_151233.jpg


The rear's a lot flexier but with coils and more weight on everything it will be a little different
20130307_151556.jpg


As soon as I'm done with this we're going to put the body on at full bump (no coils) and trim the fenders a little more.
 
I think that's just a wheel chalk to keep it from rolling forward
 
If full flex is achieved on a 6" car ramp, you may want to rethink a few things.

You don't like our super intense RTI ramp? Haha

Full bump with body. The front clip still needs to slide back another inch or two and this is no flex with wheels straight forward before trimming/bulging the fenders which obviously will have to happen


Full bump with all the front junk. No room for anything else! It now has stops to keep it a little higher and keep the panhard off the oil pan.


The real reason we were putting on the body, test fit the Ididit steering column. It's fine inside...


...but too long in the engine compartment. Would have worked fine a with the factory engine but this engine's just too far back. Returning it and getting one a couple inches shorter and now that it's going to be custom, probably going to spline instead of the double D.


The good news is we measured and we have room to run hydroboost so that's on order from WildHorses and will help with our tight space issues


Also trying to figure out where to run the air intake. The factory Mustang one we have is HUGE and doesn't fit in the engine compartment but has a bunch of sensors we need so we can't just do a tube and a conical filter. We're checking to see if aftermarket ones are smaller or how we could modify this one.
 
We have actual progress!!! Finally...

We are test fitting the Baja Custom cage from Wild Horses. Fits in perfectly up top, now we're figuring out sandwich plates, where we want to tie it into the frame, etc etc underneath.


We also swapped out our Eibach coils from 350# to 200# after some calcs. This dropped our ride height some, gave us more droop travel and will let us do more tuning with the valving instead of it just being stiff from the coils (I hear this is what all the cool kids are doing now). A big thanks to PolyPerformance for helping us out with the switch and giving us lots of advice! No real pics of that...

We hacked up the body a little more (sorry to the purists). We were having trouble finding room for the factory air intake between the engine and the radiator. We realized from the factory the core support has a lot of extra space to lean the radiator some and allow for the hood latch mechanism. The answer, cut out the factory core support and make our own! We'll now just use hood pins. We made patterns out of cardboard for the radiator and core support and then built it up in SolidWorks to cut out of 14 gauge on our new CNC Plasma Table. Now you can see we have room for the radiator and the air intake tube.


Removed core support pieces


Arts and crafts


Just clears! (fan will fit below it)


This thing speeds up custom brackets and prototypes from weeks/days to minutes. It's awesome

I also don't think we posted pictures of the Hydroboost setup from WildHorses. We're still on the fence about it hanging so far out but it sure will work and the parts are very well made.

 
Verry awesome build!

I am planning to build a fj45 lwb on coilovers.
So i was wondering what length coilovers you use under the bronco?

Thanks. For coilovers we actually just have little short 10" ones. If you want it to be more flexy rock crawler I would go longer than that. The other big factor is if you're mounting them on the axle or the links because that will affect the motion ration and change the amount of travel you get from the same length shock. I wanted to do longer on this build too but it didn't happen.

Here's some more progress. Messing with the mounting tabs on the Griffin radiator/e-fan
20130807_142641.jpg


20130807_142702.jpg


New core support in, went surprisingly well although we may make another one since now that it's in there we see a few things that would make it better.
20130807_142625.jpg


Edges and everything still need to be cleaned up, this is just the quick initial test fit.
20130807_142908.jpg


Reinstalled the Atlas shifters. The shifter linkage seemed a little short and was binding slightly so we're making a longer one with new handles to make it an easy reach from the seat
20130807_142609.jpg


We're tweaking distances on the tubes to maximize head clearance
 
Our intern redid the core support and I think it looks badass with the Griffin Radiator peeking out. We adjusted some dimensions from the last core support and got rid of the center "X" since it wasn't doing much. Now he's working on doing a shroud across the top to clean it up and protect some edges and that will be done.

20130816_151925.jpg


20130816_151946.jpg


We also extended the shift linkage on the Atlas which makes shifting a TON easier. They were just too short with too much angular change before and were binding, now it's nice. We added a tab to support it off the tranny since it is longer now too so it's nice and stable. Knocked out some new shifter handles too to compensate for the extra length and make better knee clearance (may have to be tweaked a little more once the seats are in)

20130816_152353.jpg


20130816_152358.jpg
 
Thanks. For coilovers we actually just have little short 10" ones. If you want it to be more flexy rock crawler I would go longer than that. The other big factor is if you're mounting them on the axle or the links because that will affect the motion ration and change the amount of travel you get from the same length shock. I wanted to do longer on this build too but it didn't happen.
]

I would go to make a overlander with good off road performance. The 10" look good to me. I had 12" in my mind. But I think they are to long especially on the rear side. Did you what TlC icon use on the bronco en fj40? They said 12" wheel travel on the site but they look same length as you uses.

I see you have single rate coils. Then you have 18" coils on the Bronco?

Thank you,

It's the same shocks as on the Icon Bronco, I'm not sure about the FJ. We are doing single rate right now but if it was mine I'd think about going dual rate. For all that stuff I usually call PolyPerformance, they do a really good job getting you set up for coilovers. I've talked to them too many times already. They also will switch out coils if you want to change rates really easily so you don't have to panic about getting the rate perfect on your first shot.

Some people were complaining about us cutting up this "pristine" Bronco (mostly on ClassicBroncos.com) and also asking us to keep the color and not repaint it. Here's a pic showing that the Bronco has some pretty solid rust in places (mostly inner fenders) so it's getting cut! We will try to keep it nice though, comp cut is not in the plans...


Otherwise, we threw the roof on to check cage clearance and it seems perfect. There's a little over an inch gap so even if the roof moves up and down a little it won't rattle against the cage.


We're also switching the brake calipers on the rear axle from the rear to the front of the axle. This Currie axle has D60 outers with JK brakes and the JK brakes have the e-brake cable pulling out on the front of the axle. Unfortunately that pulls directly into our lower link mount so to get the e-brake to work we have to flip it all 180 degrees. We had to grind down an ABS sensor mount on the back of the axle for this to clear (ours won't have ABS) but otherwise it was just tearing it down and flipping it.

 
So I've been majorly slacking on updating this. Let's just say we we've gone through body shop Hell and back. I have lots of pictures from all the stages but they're depressing so I'll just jump to the current stuff. There was a ton more rust than expected and we ended up replacing the entire floor, firewall, rear quarters, inner fenders, rocker panels, etc. It really is noo longer a 68, probably 95% is 2011 or newer but the VIN is 68 and that's all that matters! Also, we has some custom fender flares made out of metal so we didn't have to cut the fenders and run bushwackers for the 37s.

It's finally back at the shop after a couple body shops and is 100% rust free! All in primer now and looks great imo. Love the fender flares and the filled seams and shaved trim. Also, exhaust is all done and installed with the coffin mufflers dumping before the axle. Now plumbing, wiring, bumpers, cage and interior left (along with final paint)...

Look what showed up!
IMG_1376.jpg


IMG_1365.jpg


IMG_1366.jpg


IMG_1367.jpg


The flares
IMG_1369.jpg


Headers, we ending up having to run the exhaust outside the frame to fit. We'll be wrapping sections in heat proof material where it comes close to the body
IMG_1379.jpg


Dumps before the axle, coffin mufflers
IMG_1373.jpg


Engine just waiting...
IMG_1381.jpg
 
Back
Top Bottom