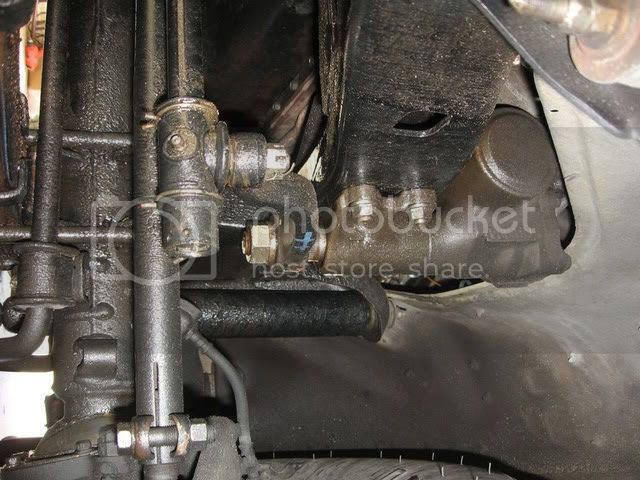
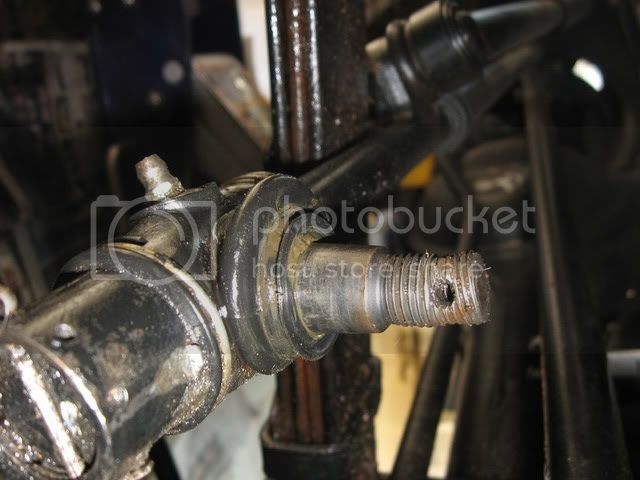
Here's some pictures.
Here's my leaky PS gear box. Note: I changed out the hoses already and I think the previous owner had the PS pump seals replaced.
1. Block rear wheels, set parking brake, use sturdy jack stands to lift front of vehicle.
2. Remove DS front wheel.
3. Remove steering shaft cover- 2 12 mm bolts on outside of frame, and it hinges on the inside.
4. Mark steering shaft and PS gears. I used yellow marking paint pen from NAPA.
5. Remove steering shaft- 1- 12 mm bolt.
6. Loosen and remove high and low pressure PS hoses- I think the fittings were 16 and 17 mm. Most of the PS fluid will run out from the pump. It's a good idea to be prepared.
7. Remove the Relay rod. Here's what I used.
I was so proud of myself after having tried the pickle fork trick and damaging the rubber relay rod boot.
Here's what happened:
Squished, just like grape!

In retrospect, I think leaving the nut flush with the top of the threads would have prevented this, as ellington suggested.
8. Loosen 4 nuts holding gear box to frame- may need to secure the bilts on the other side of the frame, 17 mm.
For the time being, I'm driving with the used unit. Seems to be working well. Hopefully I'll have mine back in 7-10 days and will post more pics and details then.