This is a build I'm doing for work and I have a couple threads going for this on Pirate and Classic Broncos. The people on those forums have a lot of opinions but I have no idea if they are master fabricators or drive a Prius and just watch the Top Truck Challenge DVDs. I figured I'd post up here where I might have an idea if you know what you're talking about or not. Also, this has been going for a couple weeks now so bear with me on the tons of updates right away and forgive me for the lack of Toyota. Any opinions or ideas are appreciated!
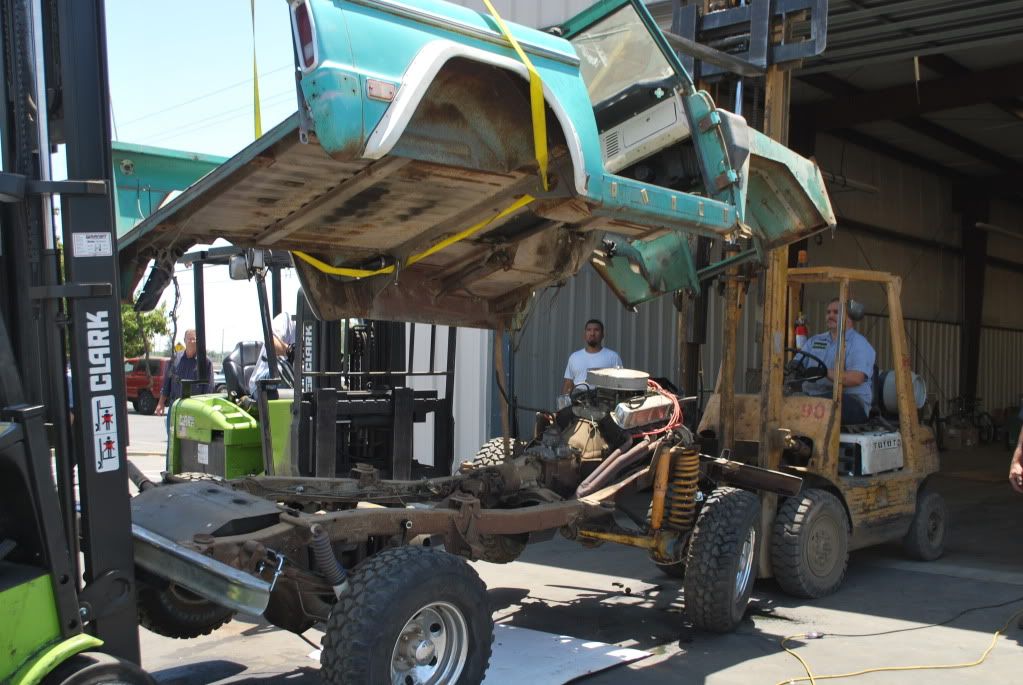
We basically have a Bronco that we're just keeping the body and VIN and everything else will be new. Our plans is to have the suspension on the frame with the drivetrain mounted by SEMA (10/25) to have in the Hellwig booth. Then get back, finish everything else including body and then take it to Moab!
Plans:
2011 Ford Coyote 5.0 crate engine
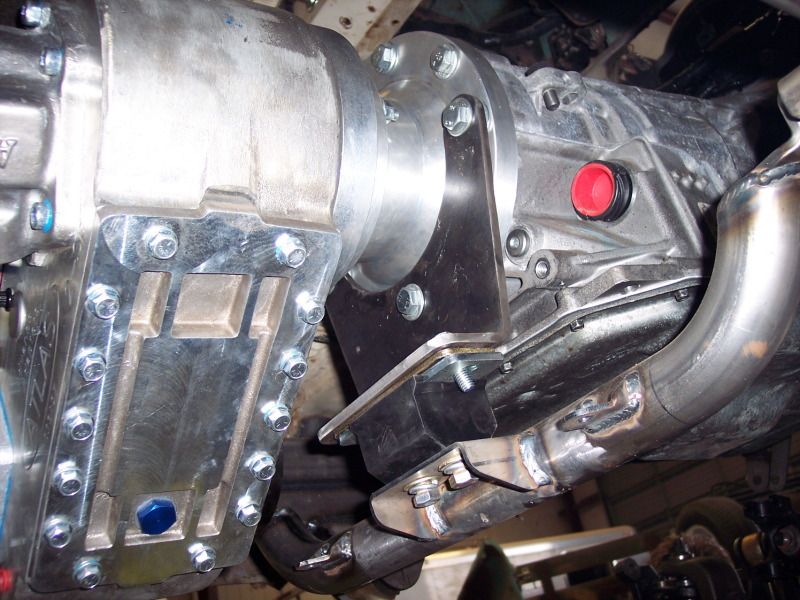
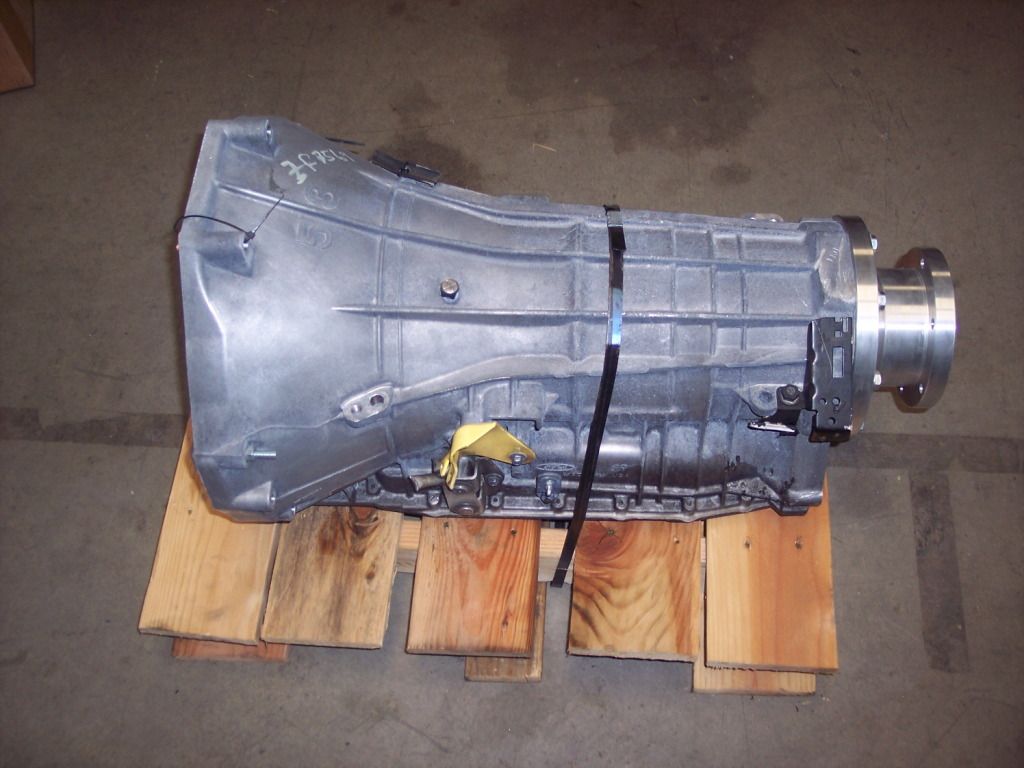
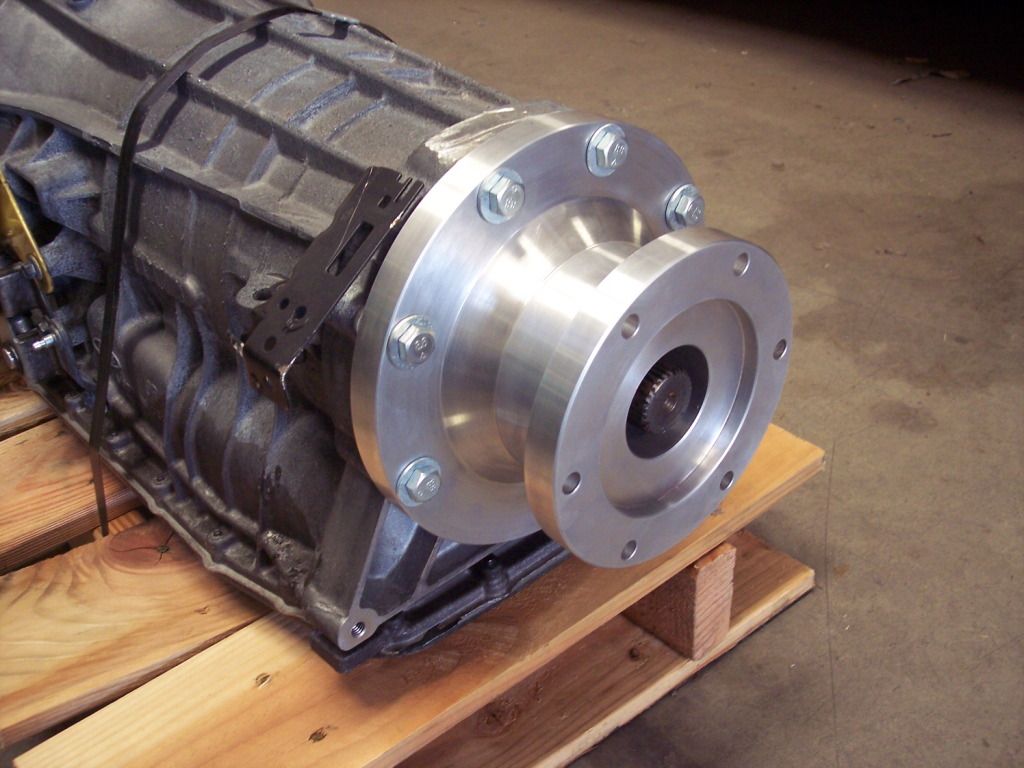
6r80 Tranny (6 speed auto w/ 4.17 first gear)
3:1 Atlas T-Case
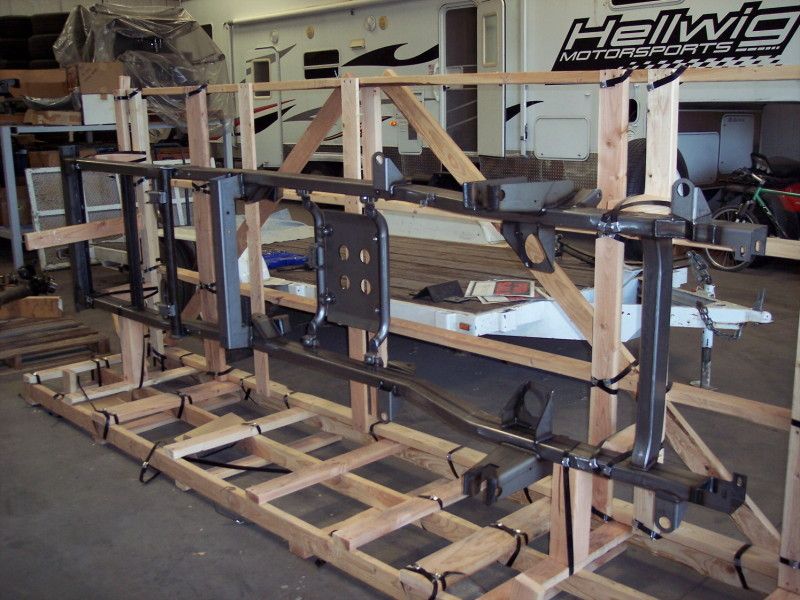
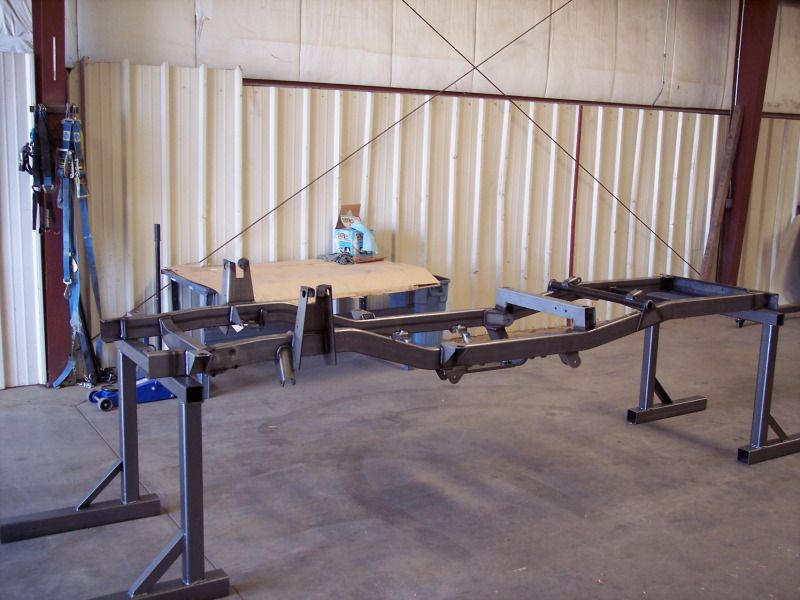
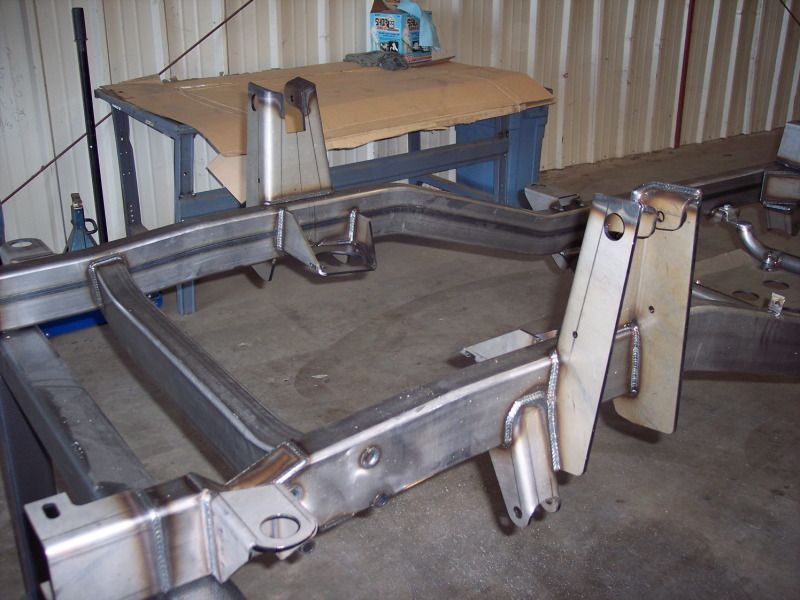
Art Morrison Frame
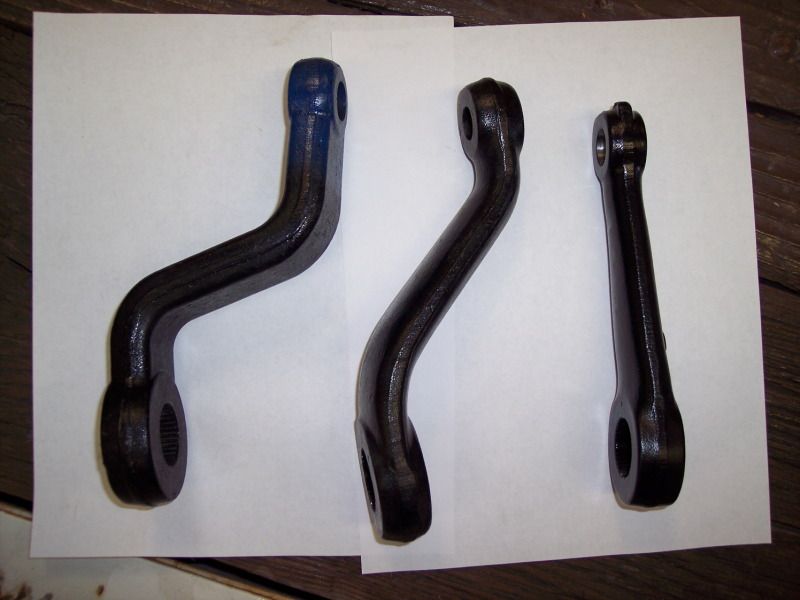
Delphi steering box w/ ram assist
Fox Coilovers
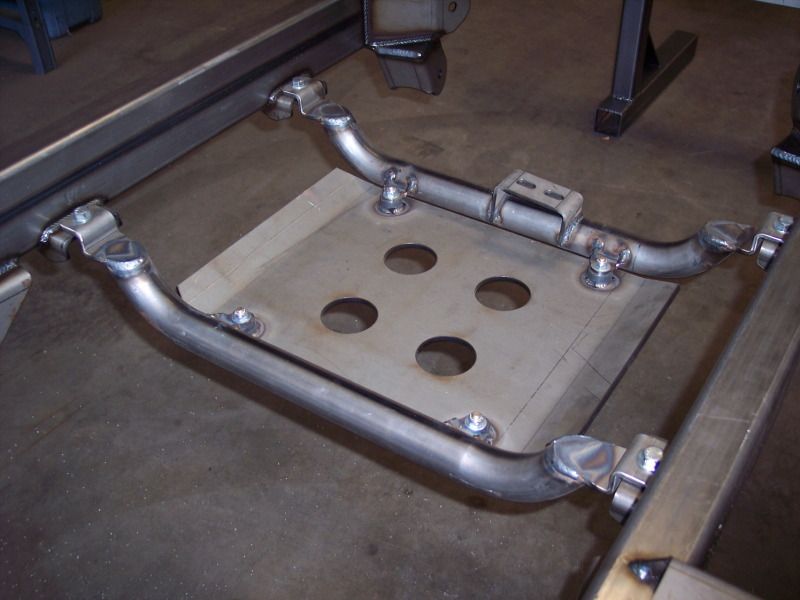
Hellwig Sway Bars (obviously)
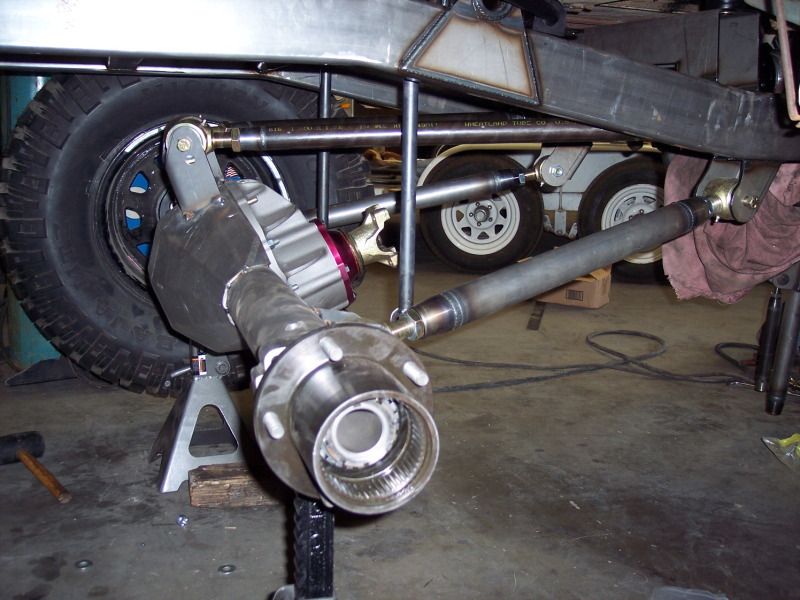
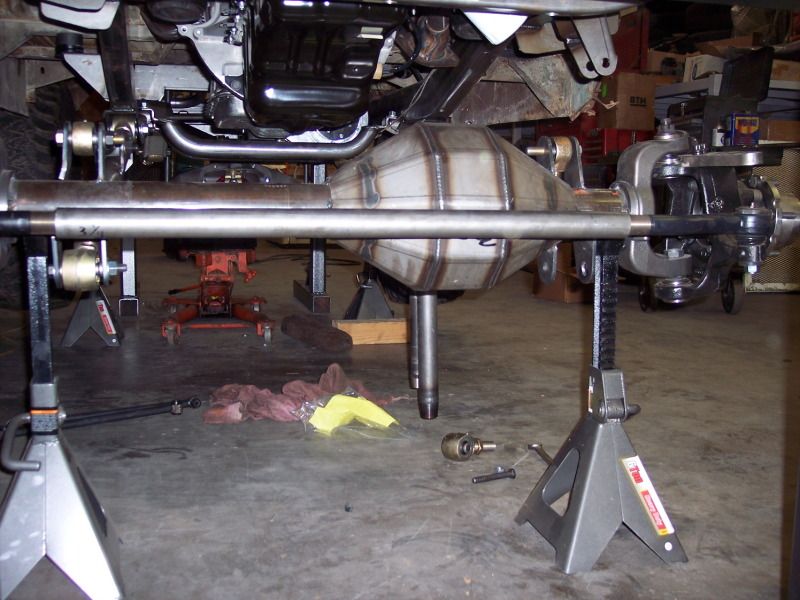
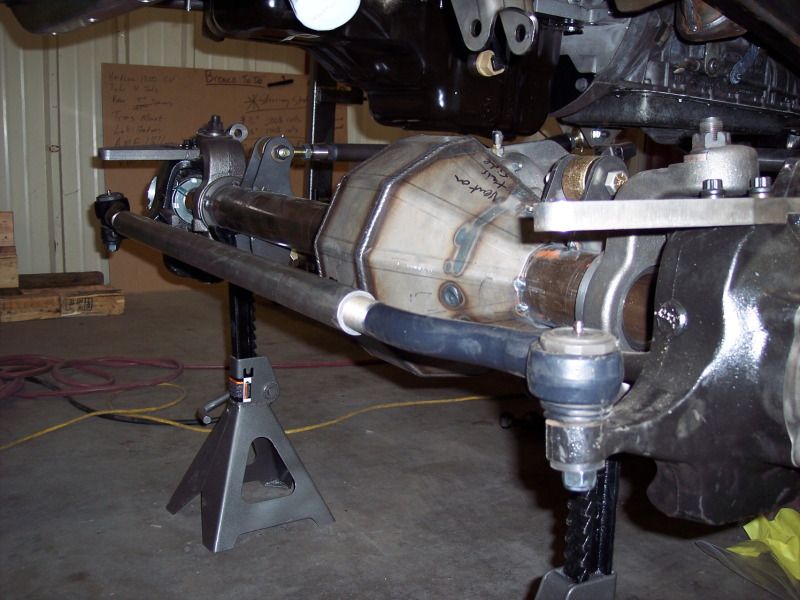
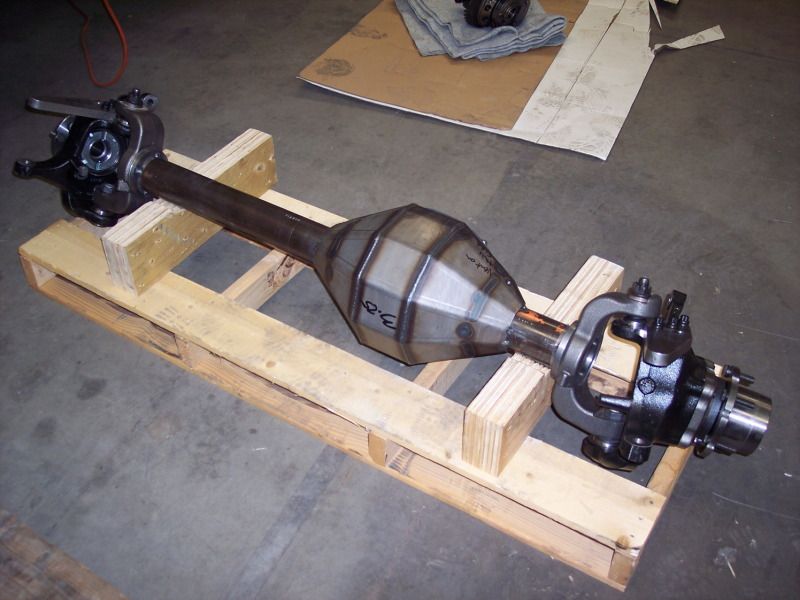
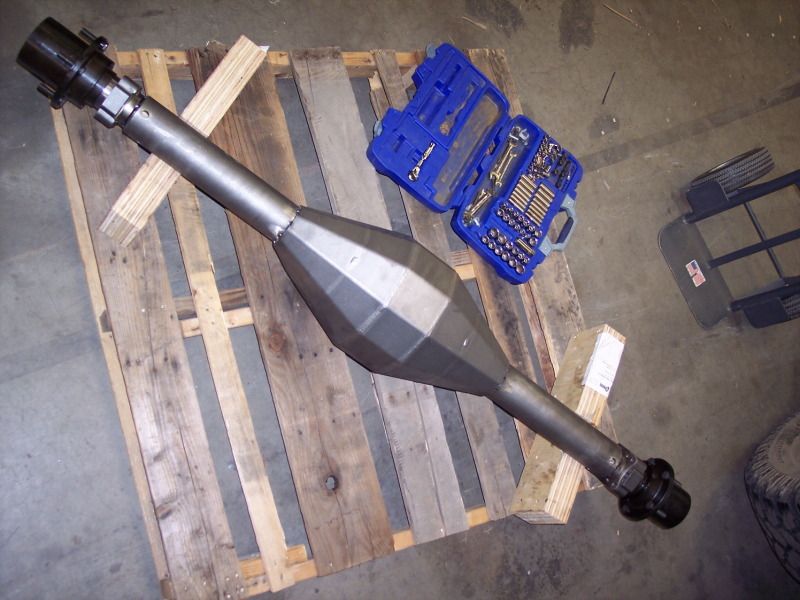
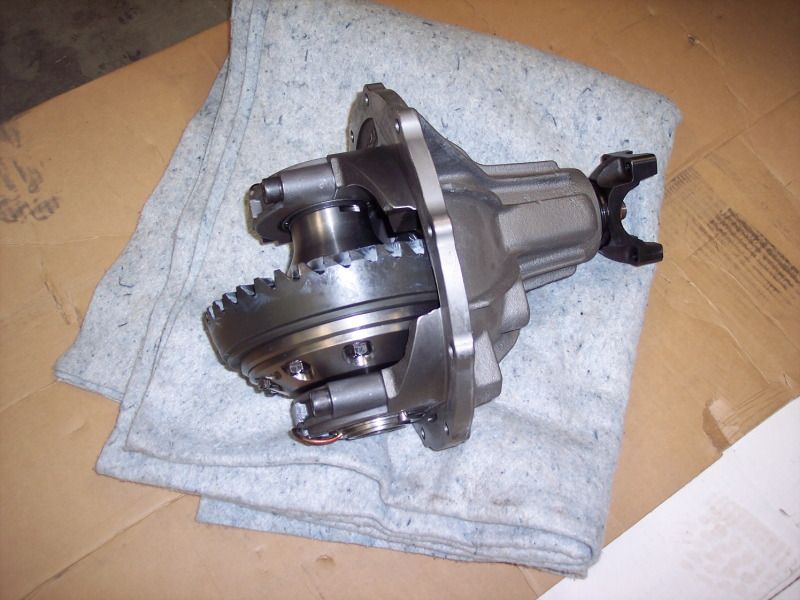
Currie 9 Inch Axles with 1 ton outers
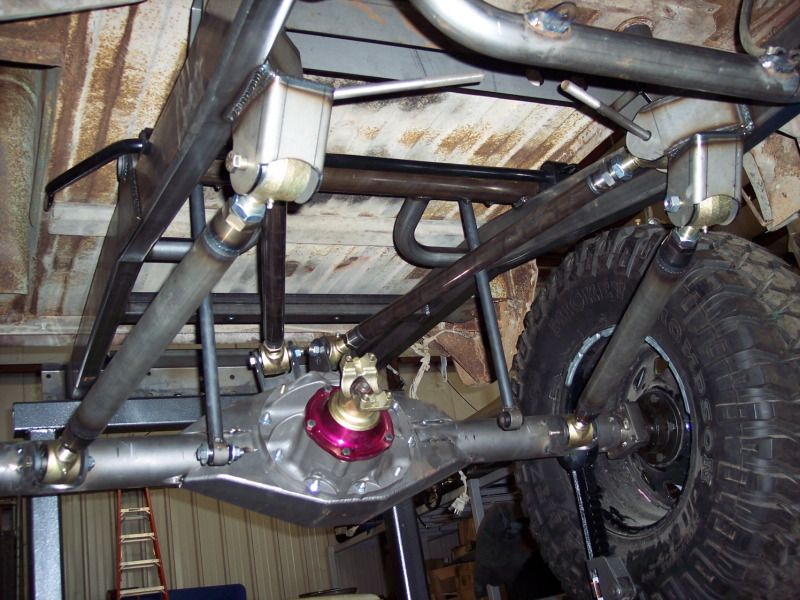
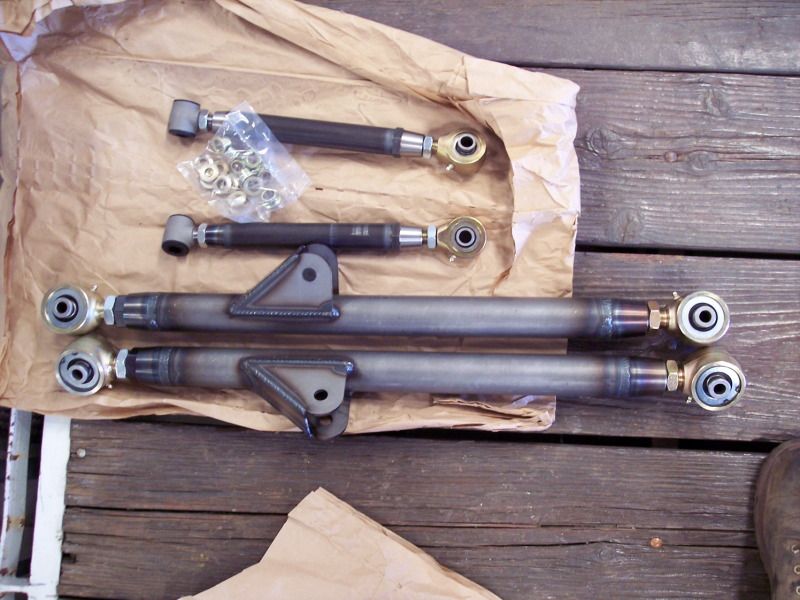
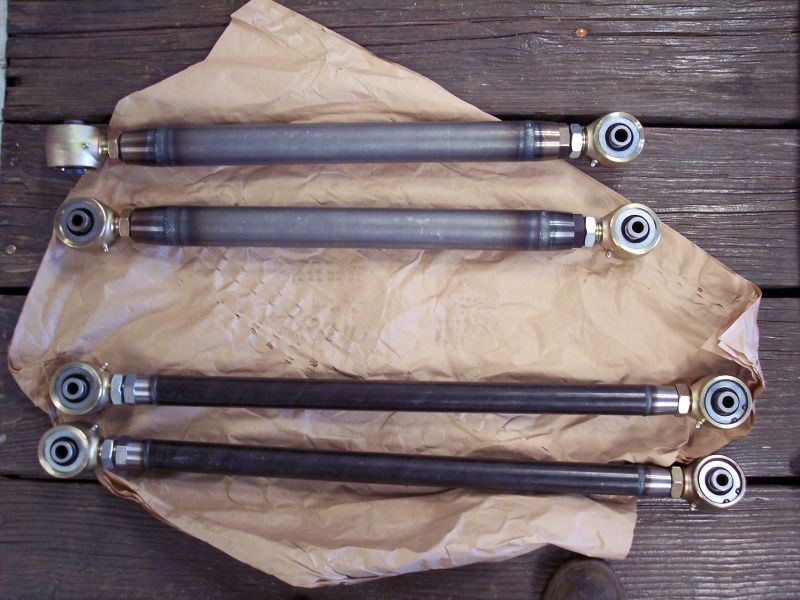
4link rear
Radius arm front
And a million other details
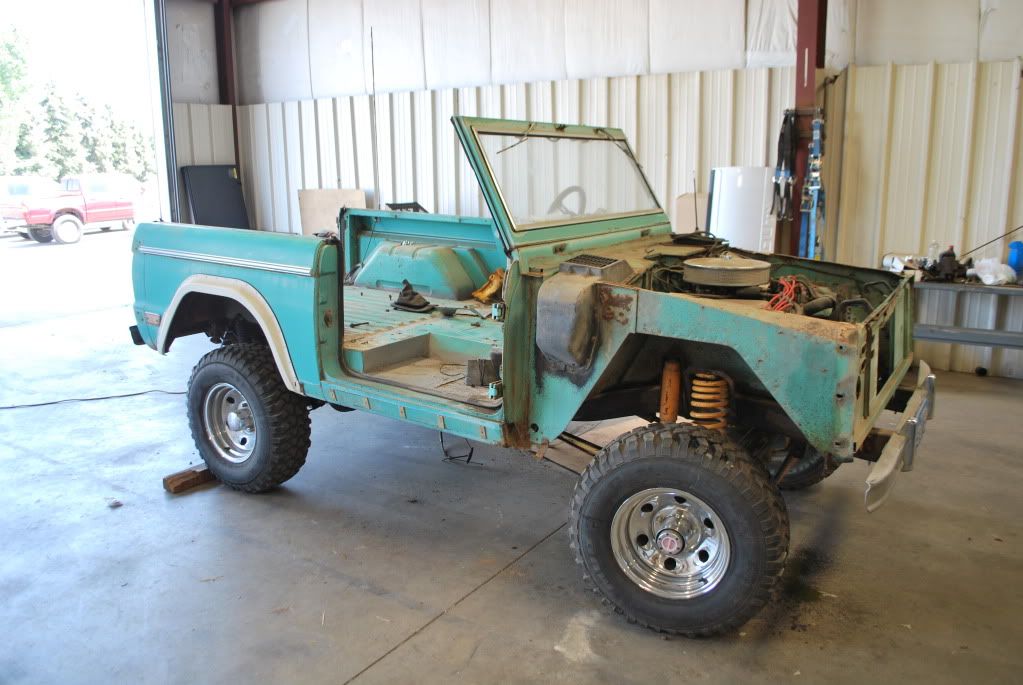
Now, pics of how she started:

How it showed up, plates with Feb 1988 stickers...

Playing a little before teardown and to check clearance on our Bronco sway bars. LOTS of frame flex put the fan into the radiator...

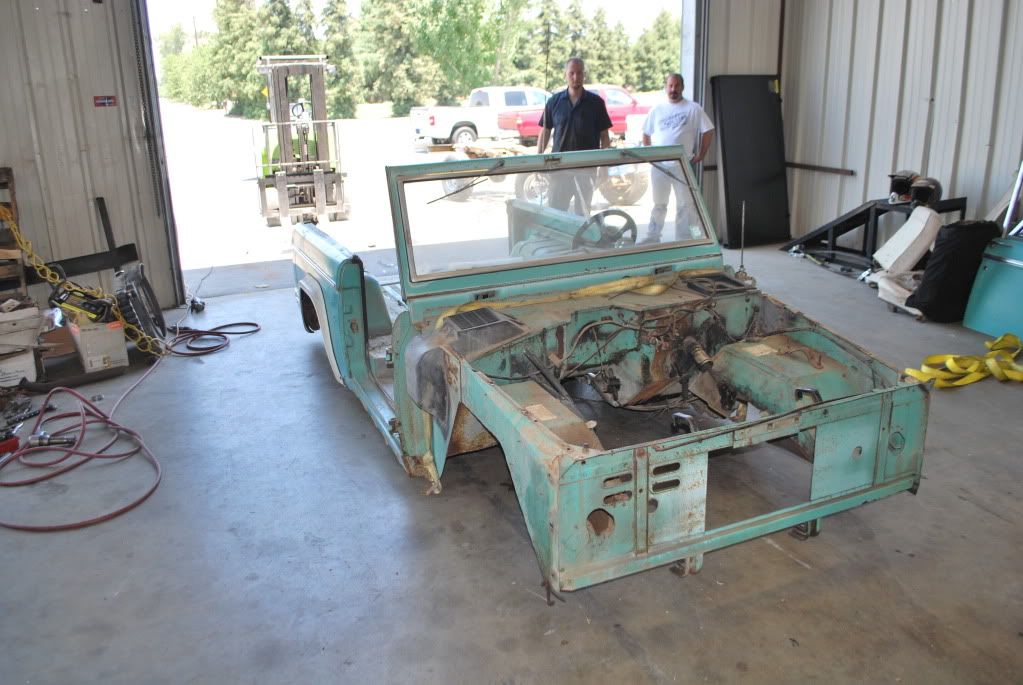
Interior

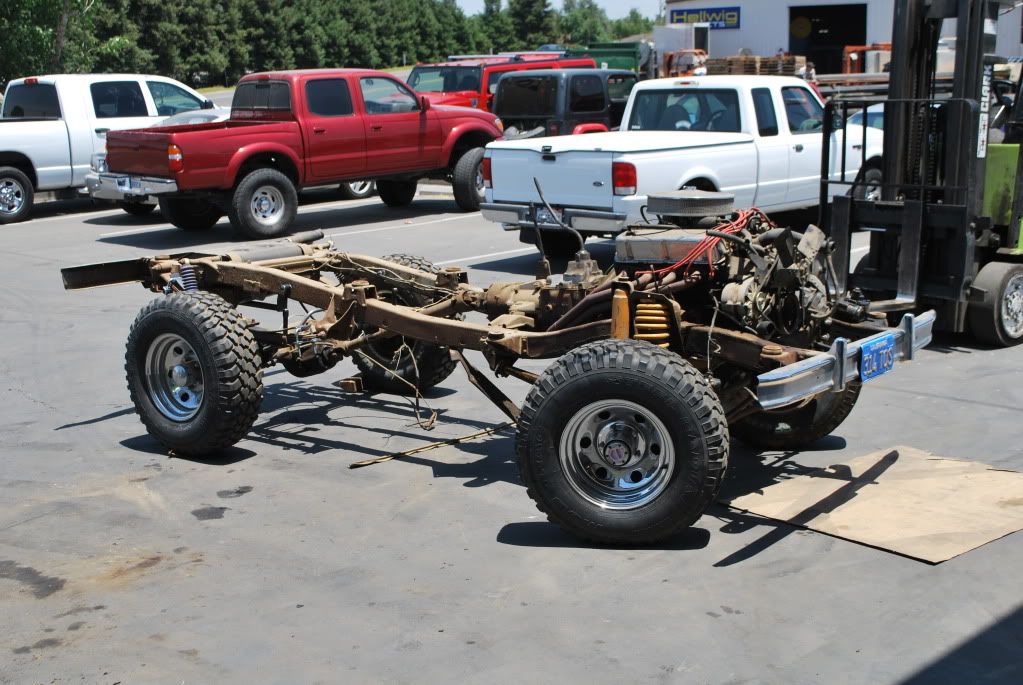
Original 289 with X23,000 miles. Your guess on the first digit...
We basically have a Bronco that we're just keeping the body and VIN and everything else will be new. Our plans is to have the suspension on the frame with the drivetrain mounted by SEMA (10/25) to have in the Hellwig booth. Then get back, finish everything else including body and then take it to Moab!
Plans:
2011 Ford Coyote 5.0 crate engine
6r80 Tranny (6 speed auto w/ 4.17 first gear)
3:1 Atlas T-Case
Art Morrison Frame
Delphi steering box w/ ram assist
Fox Coilovers
Hellwig Sway Bars (obviously)
Currie 9 Inch Axles with 1 ton outers
4link rear
Radius arm front
And a million other details
Now, pics of how she started:
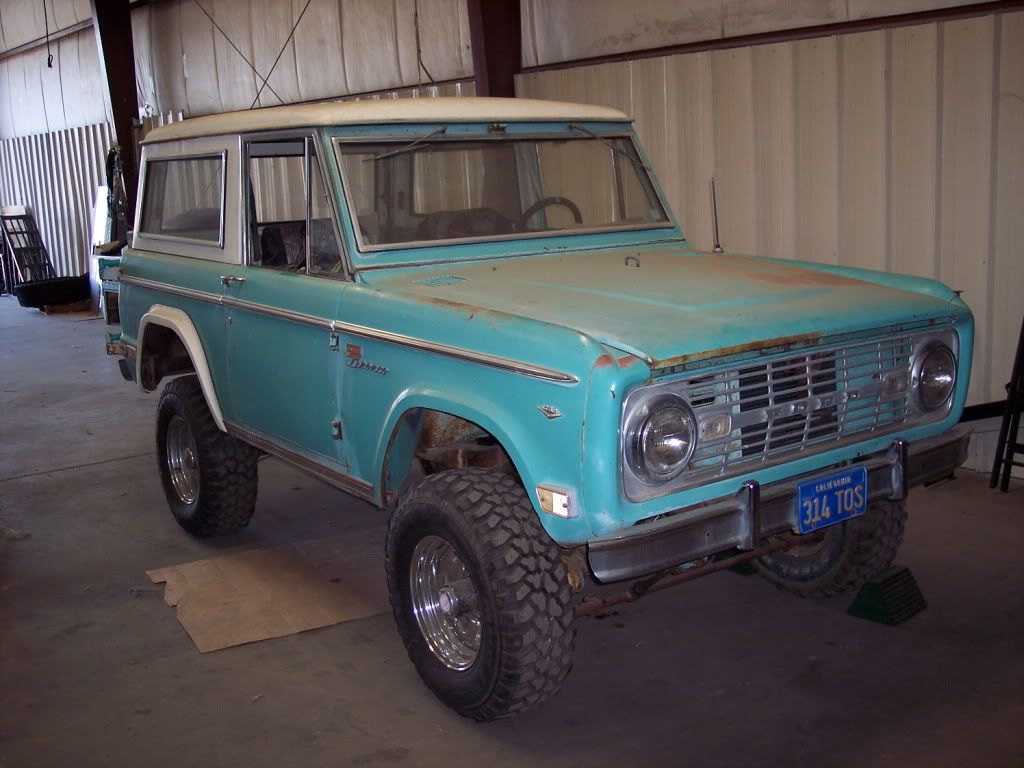
How it showed up, plates with Feb 1988 stickers...
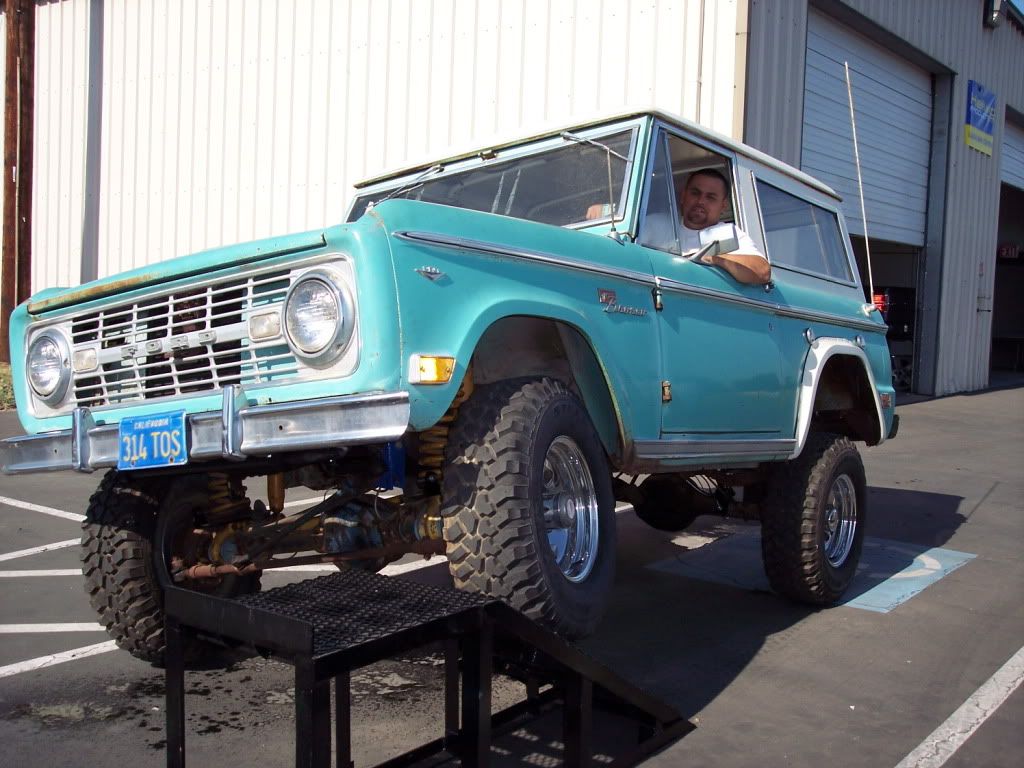
Playing a little before teardown and to check clearance on our Bronco sway bars. LOTS of frame flex put the fan into the radiator...
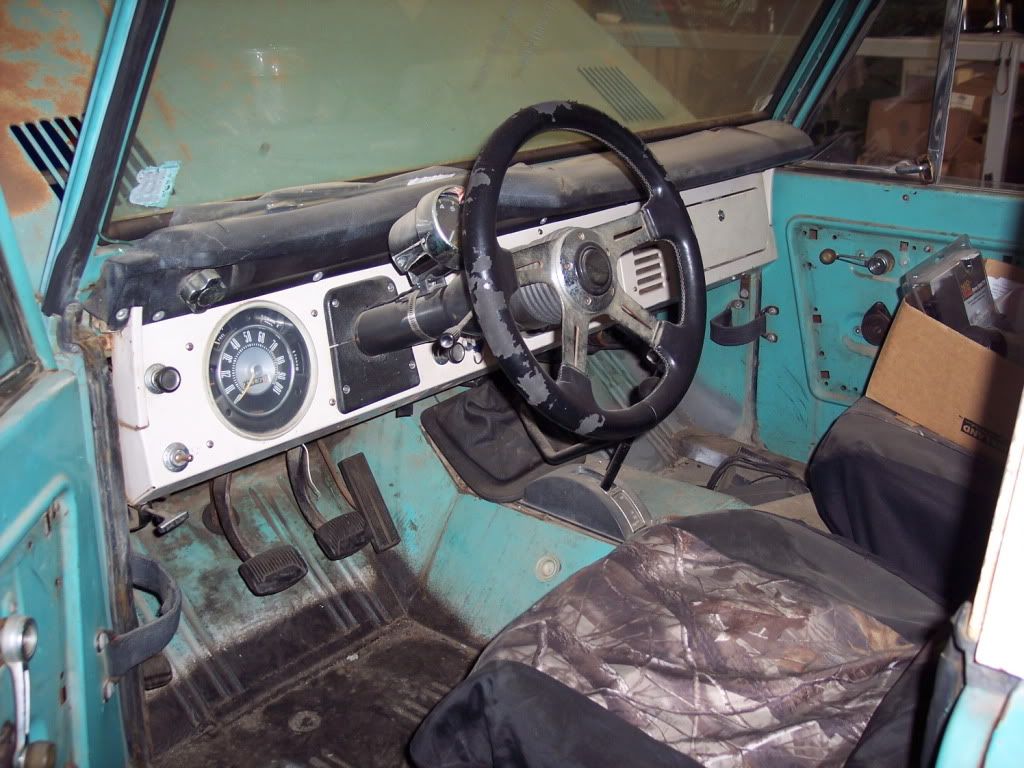
Interior
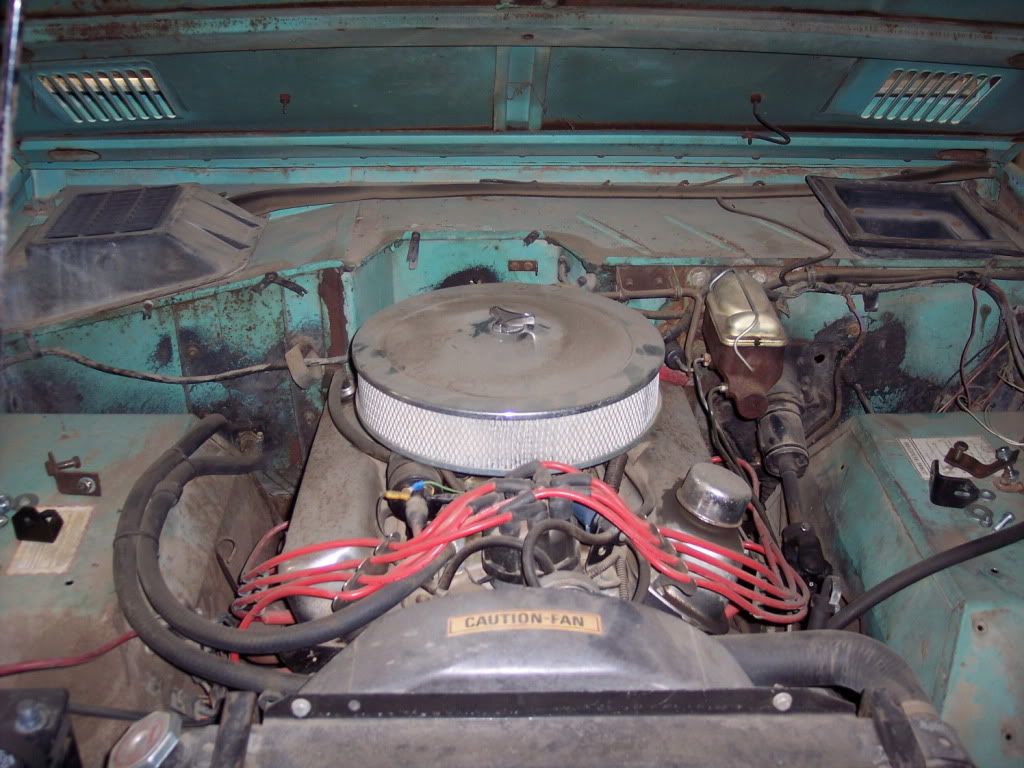
Original 289 with X23,000 miles. Your guess on the first digit...
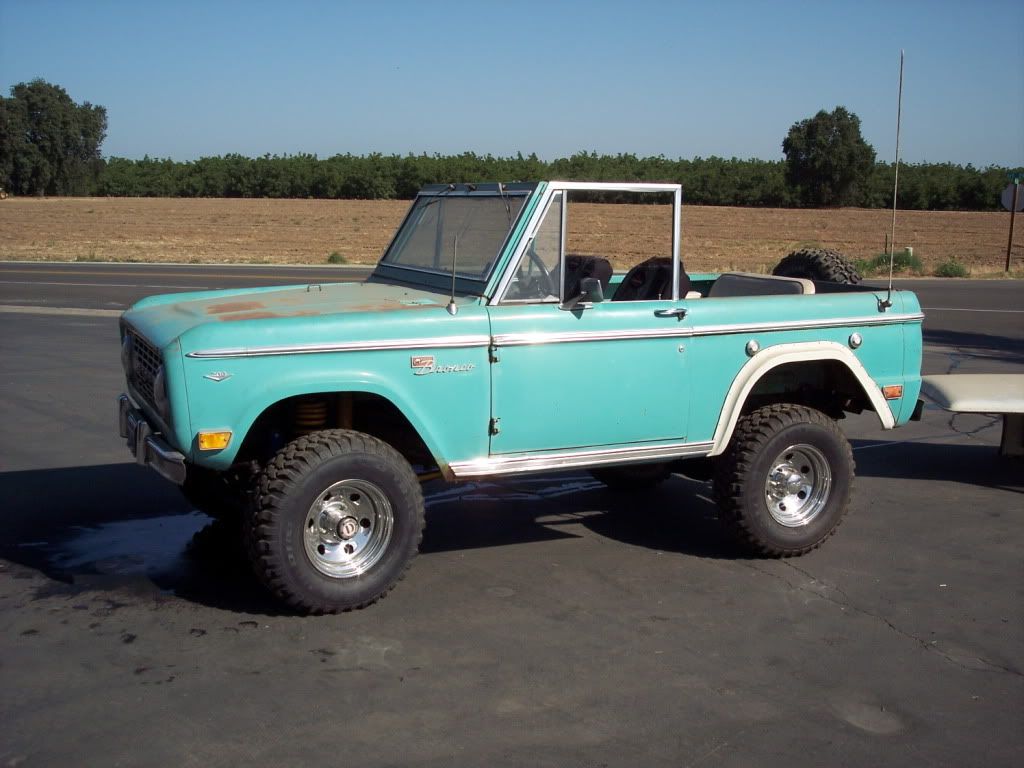


") ). We will have to do something with the front fenders but we're still talking about different options. This will be about ride height.
). We will have to do something with the front fenders but we're still talking about different options. This will be about ride height.