
why is there 10 bolts in an unlocked front diff and 11 on a locked front diff please?
also, aside from the harness and the locker switch - converting to OEM locked requires a front and rear locking differential? what else?
edit: links here:

 forum.ih8mud.com
forum.ih8mud.com
forum.ih8mud.com
 forum.ih8mud.com

also, aside from the harness and the locker switch - converting to OEM locked requires a front and rear locking differential? what else?
edit: links here:
Retro fit Locking Diff to Non Locked Housing
Ok well my dad just got the front and rear locking axles off a crashed '97 LX450. However the front of the wagon took such a hit, like 60mph+ into a concrete bridge pole. And with the axles off the wagon the front housing has a few hits front the tie rod cross bars. So looks like he'll have to...
forum.ih8mud.com
Outdoor Recreation Network - Off-Highway, Jeep, and 4x4 Fun
Toyota Tech: Installing a Toyota Electric Locker
www.4x4wire.com
lx450 rear locker wiring
some have asked for pictures of what exactly I have or don't have. I have a single pin connector plug very close to the e-locker motor (picture 1) I have 2 plugs coming from the axle, they are about 3 feet long. Once is the ABS plug (has gold pins) and the second is the wiring for the...
forum.ih8mud.com
retro-fitting OEM lockers -Wiring Harness
Today I retro fit the main floor harness for the installation of OEM lockers. I am not sure if anyone else has done this. I know the 5 wire fix can be done but I wanted to replace the OEM harness. It was suprisingly painless. I still have the rear sill harness to do, that will come later in the...
forum.ih8mud.com
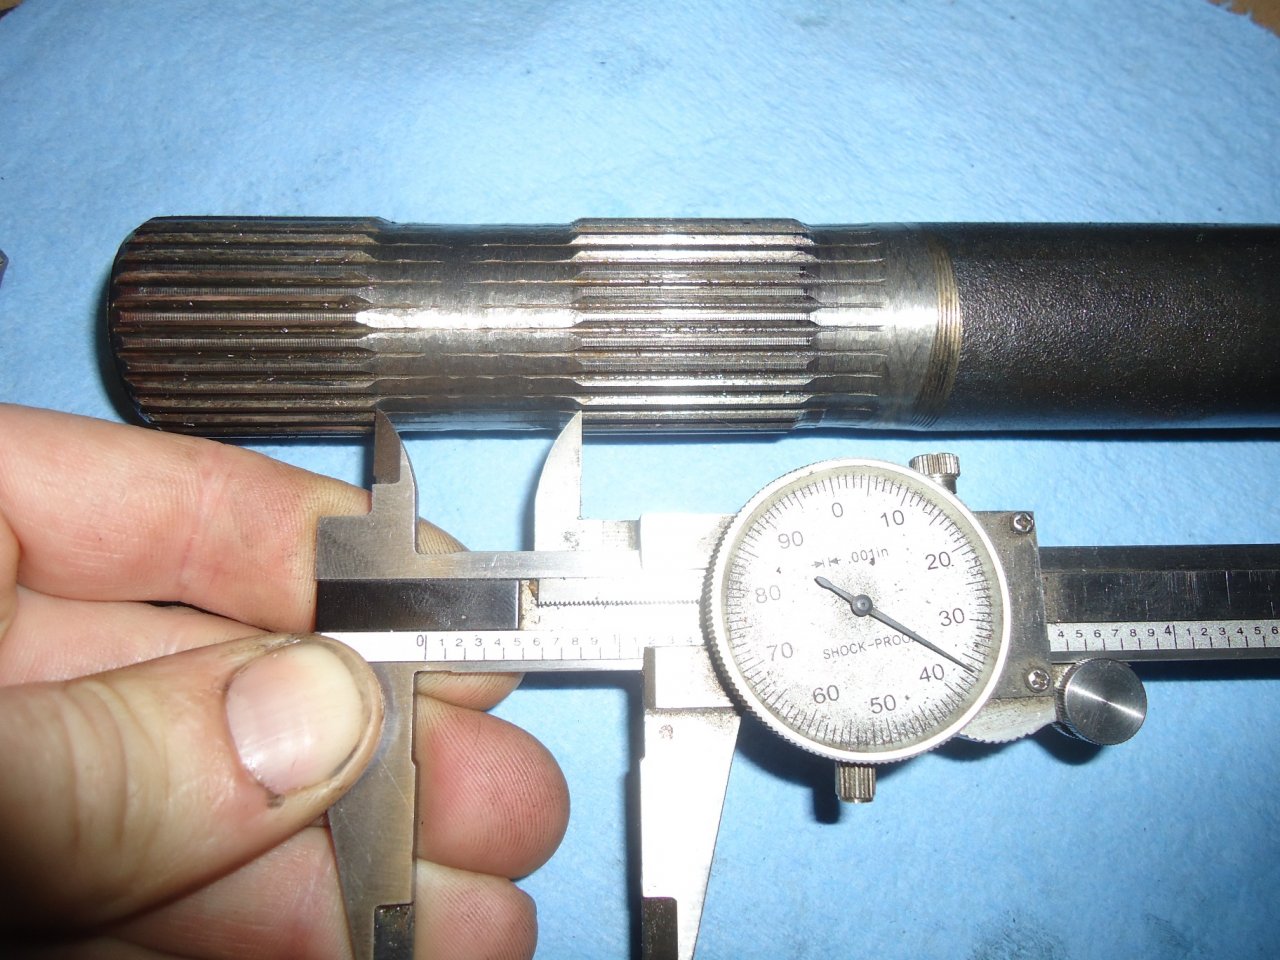
Rear Factory Locked Axle Shaft Mod
I wanted to share some knowledge that I acquired from a friend regarding modifying your rear passanger side axle shaft. This will allow you to remove the twisted portion of the axle shaft if it breaks under load. My friend Kenny documented the process and dimensions where to modify the shaft...
forum.ih8mud.com
Last edited:


