Skersfan's build for Old Sarge, May 2012

This site may earn a commission from merchant affiliate
links, including eBay, Amazon, Skimlinks, and others.

Joined
Jan 28, 2011
Threads
16
Messages
241
Location
New Braunfels, TX
I looked but didn't see this, so I guess we haven't brought this to MUD yet. If I missed it somewhere this'll be one helluva deletion, lol...

Well Folks, the new build has begun, and once again I have the honor of bringing you the first pics. But first a short word from our intrepid builder...
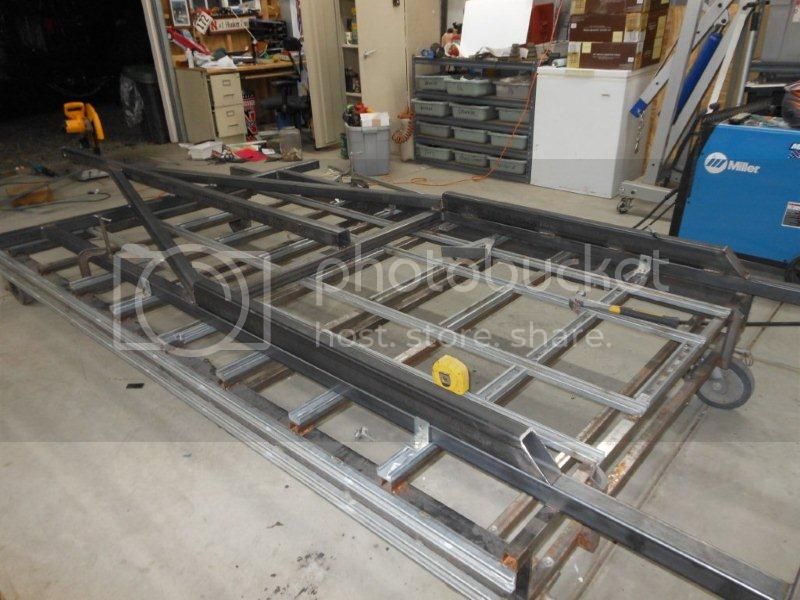
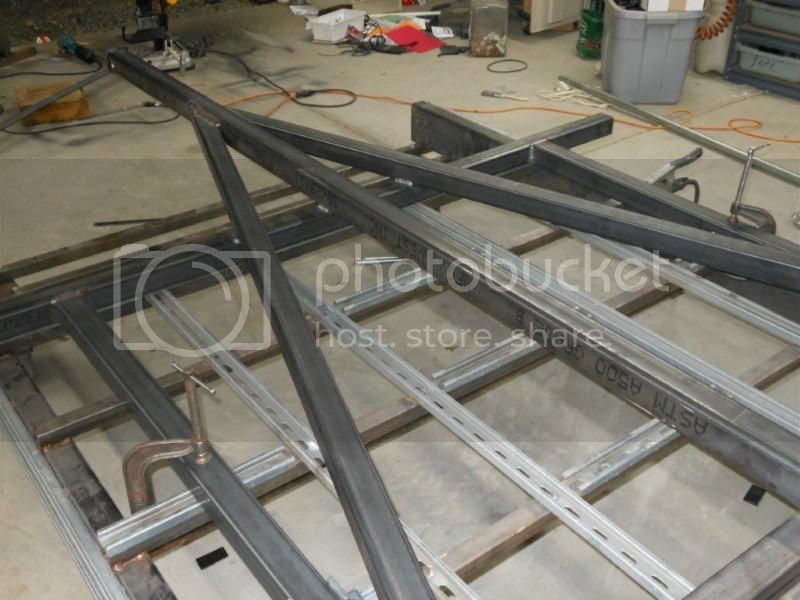
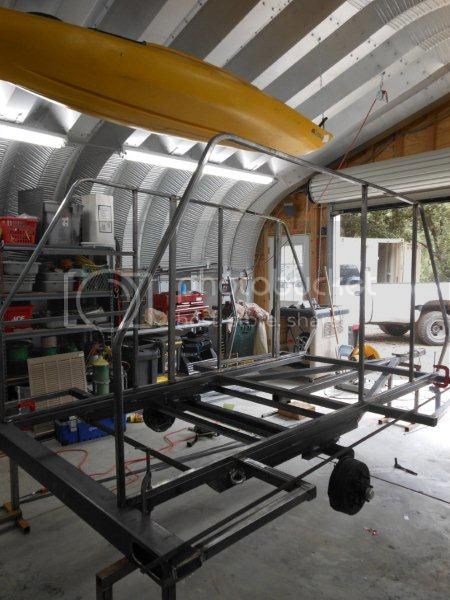
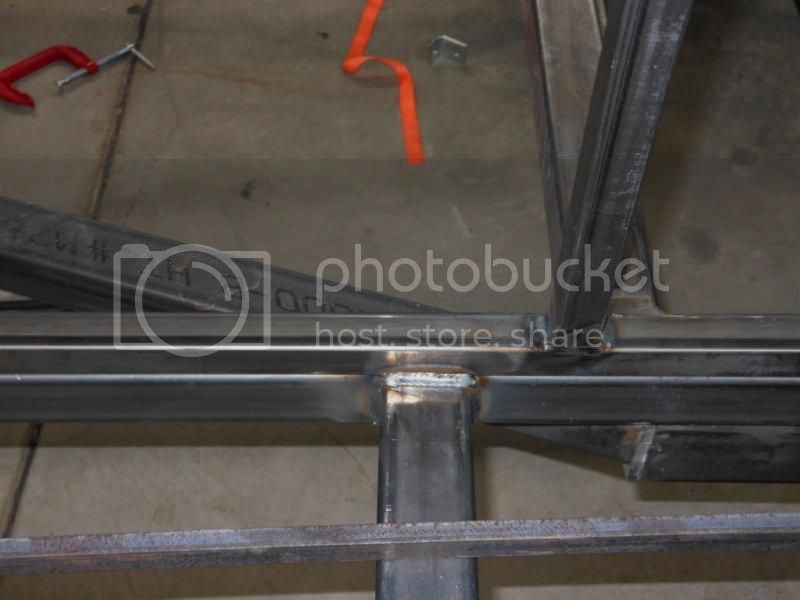
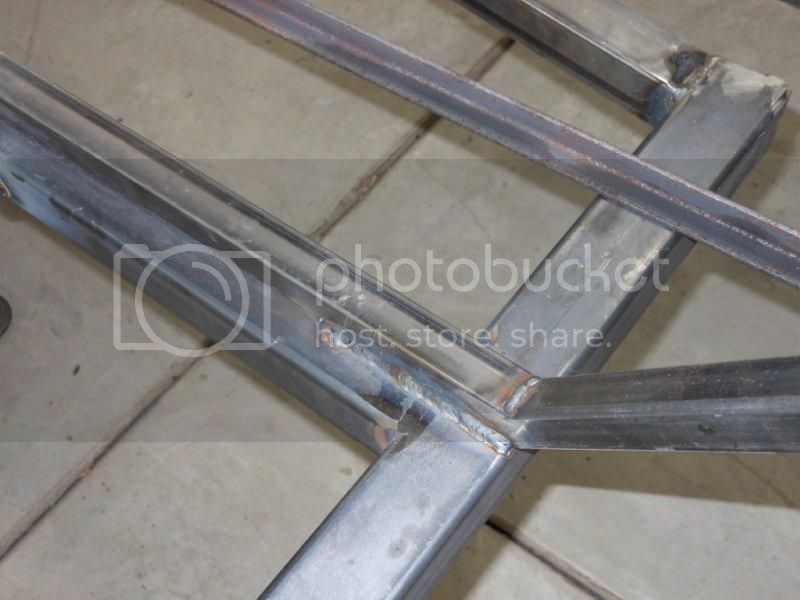
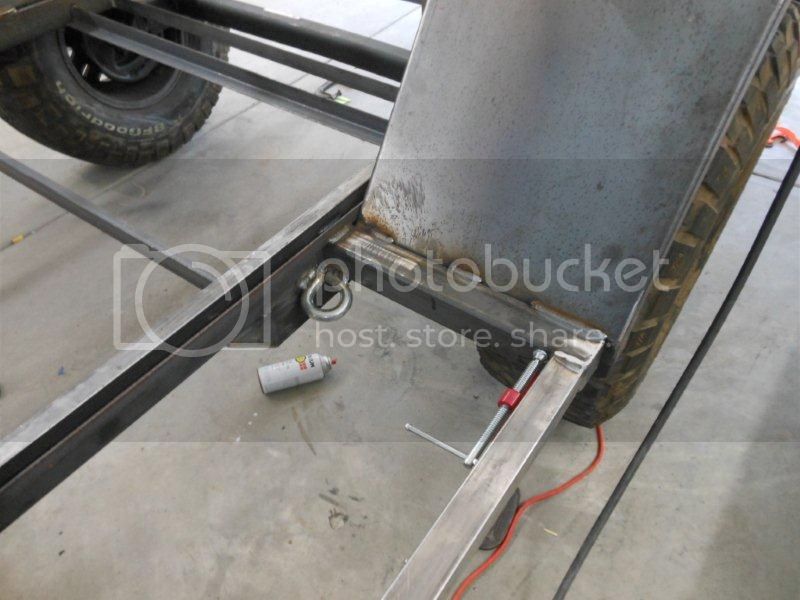
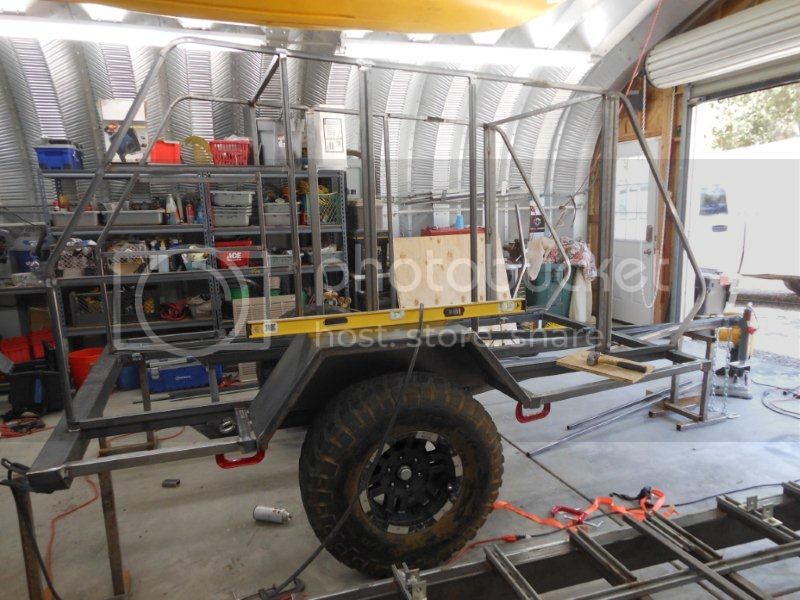
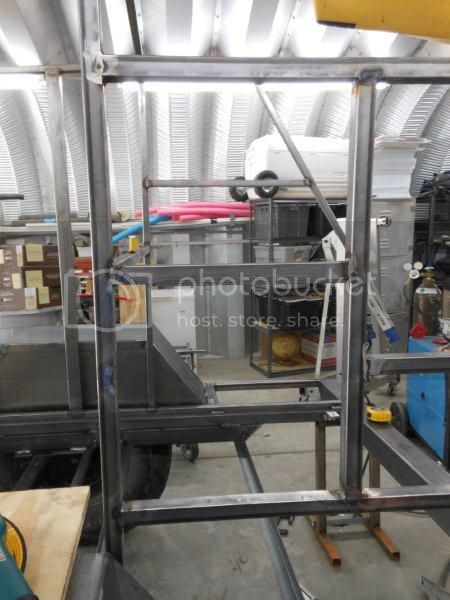
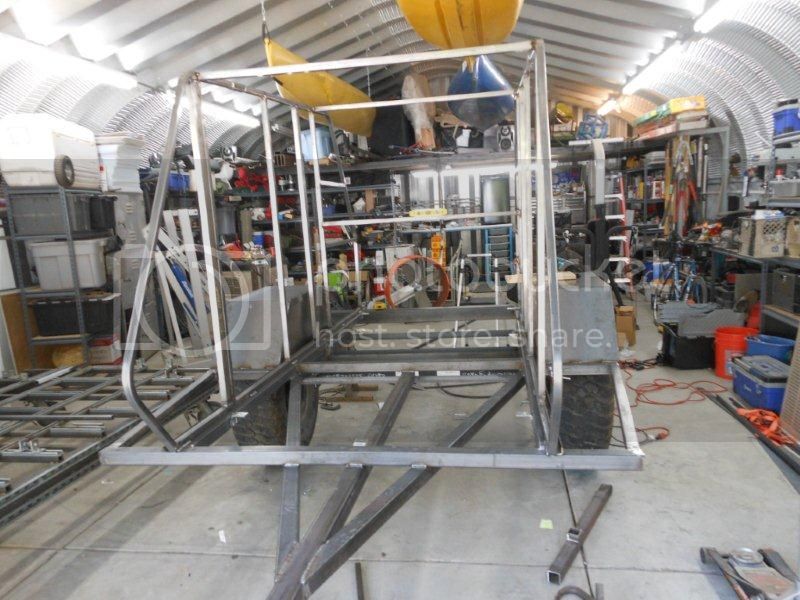
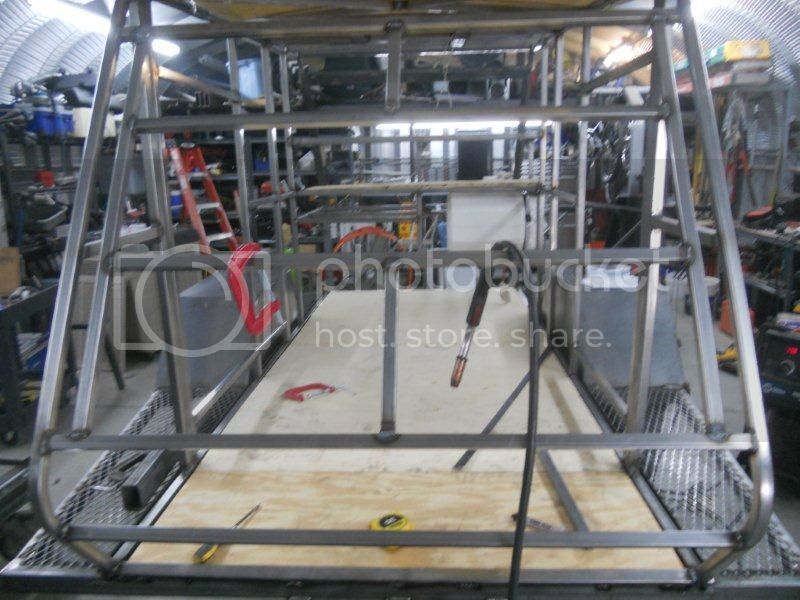
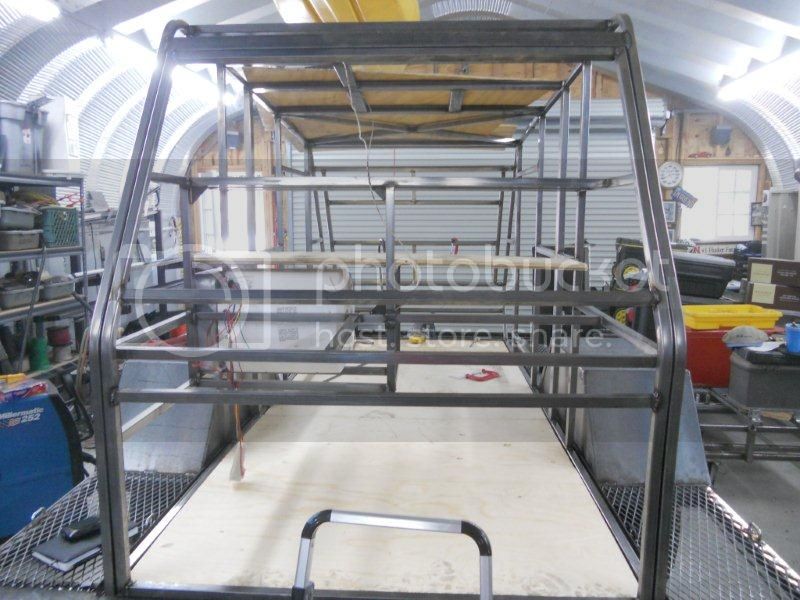
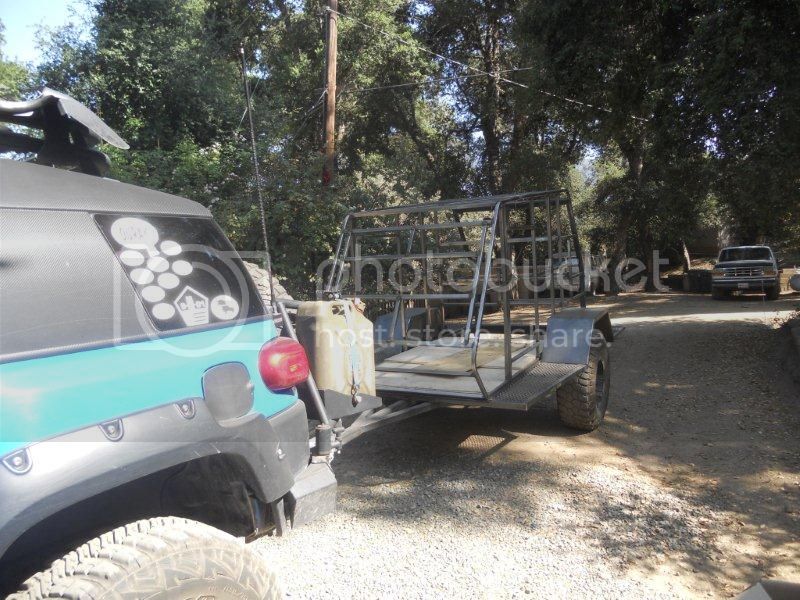
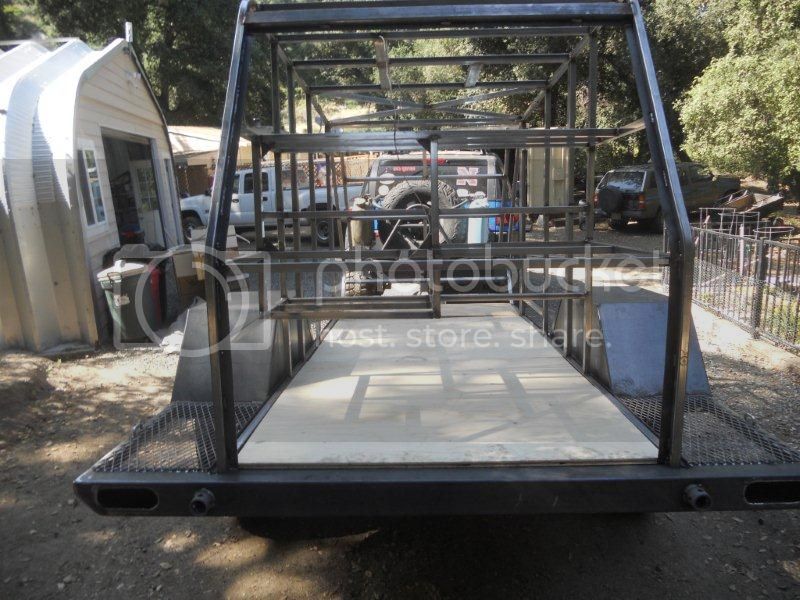
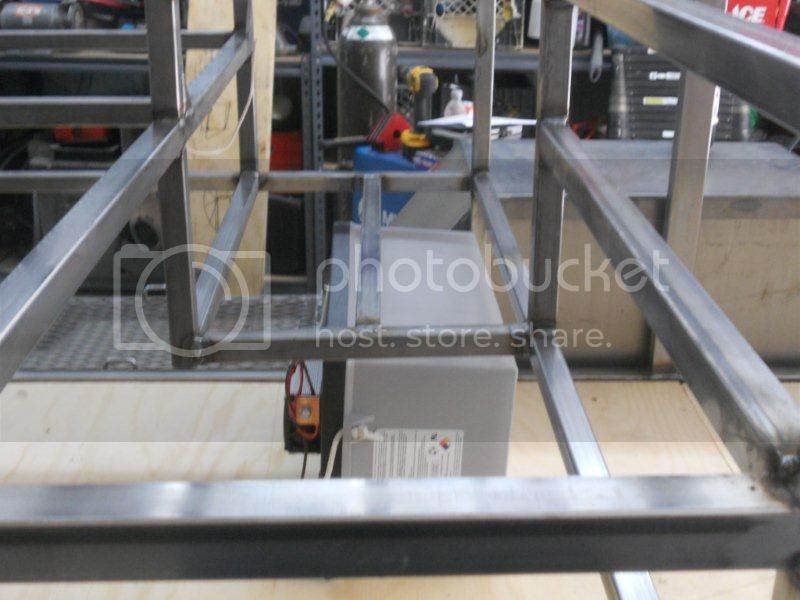
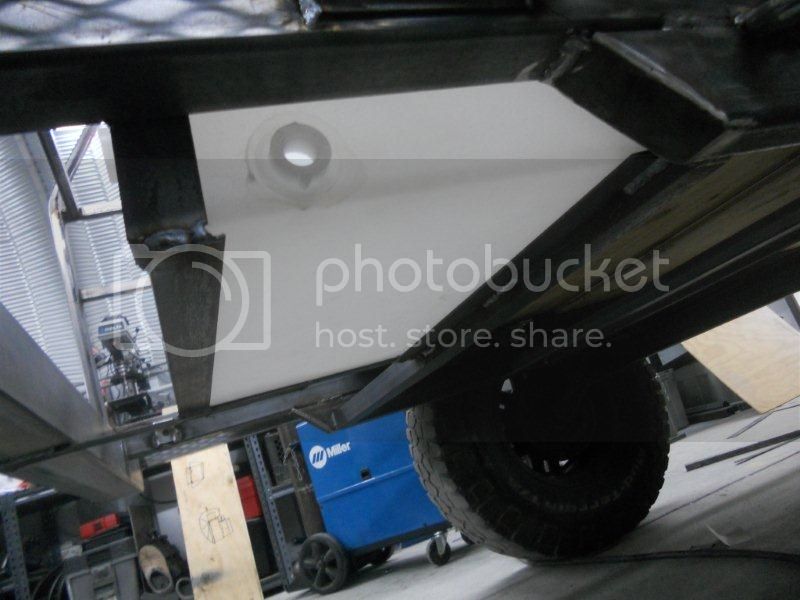
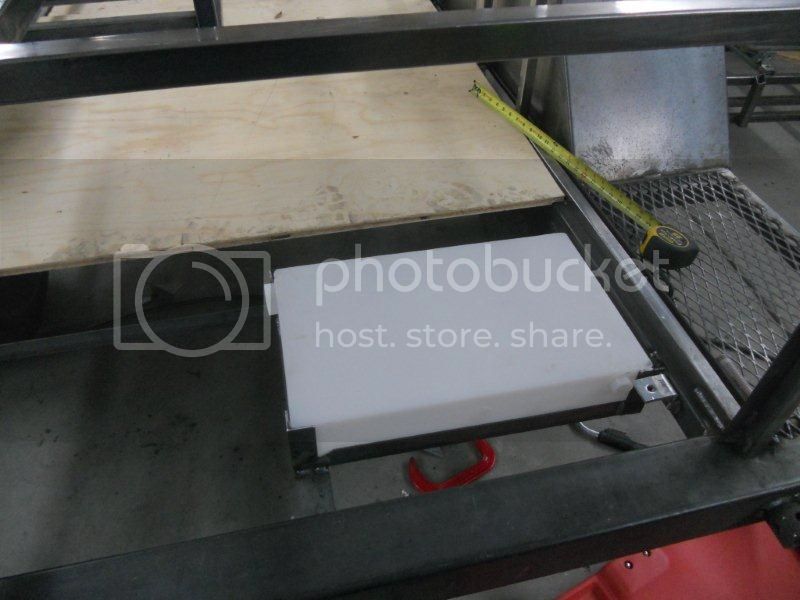
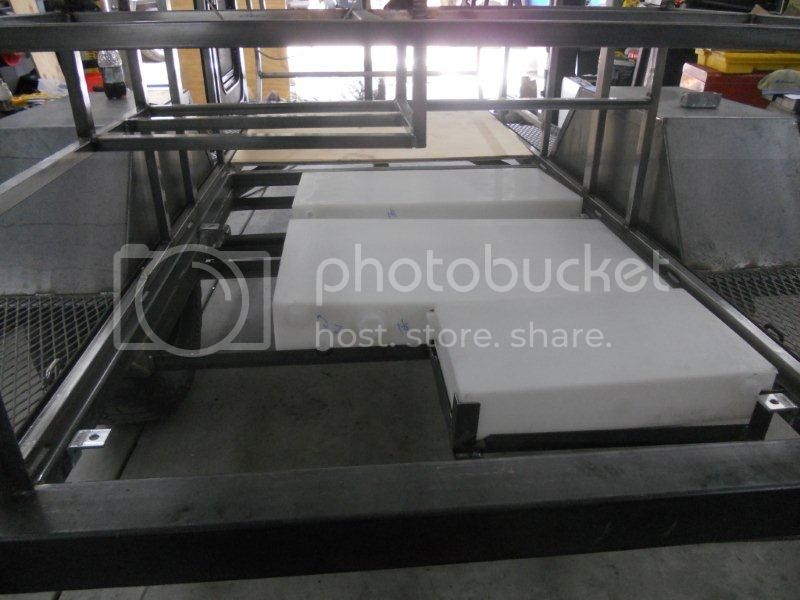
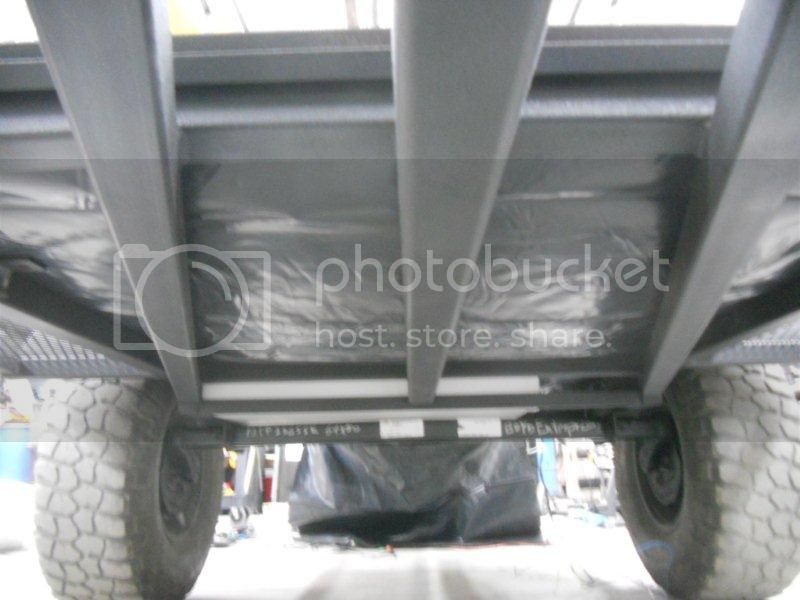
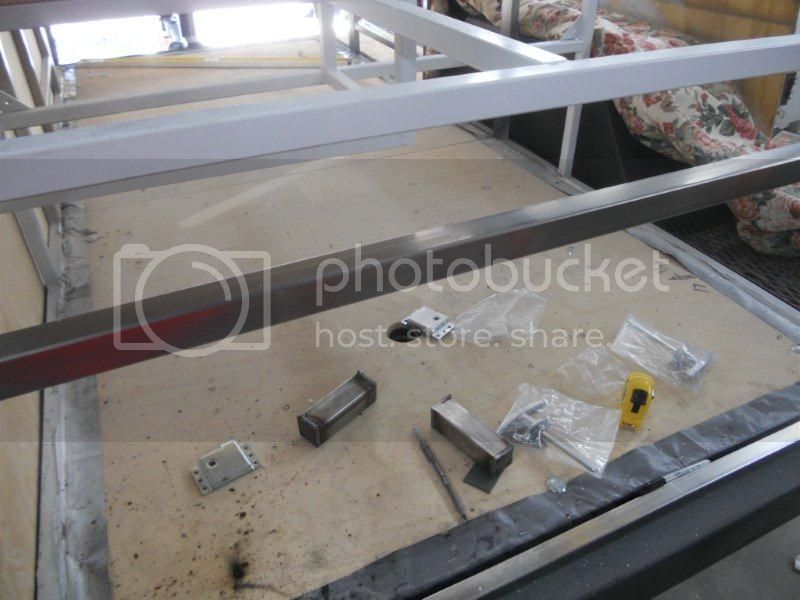
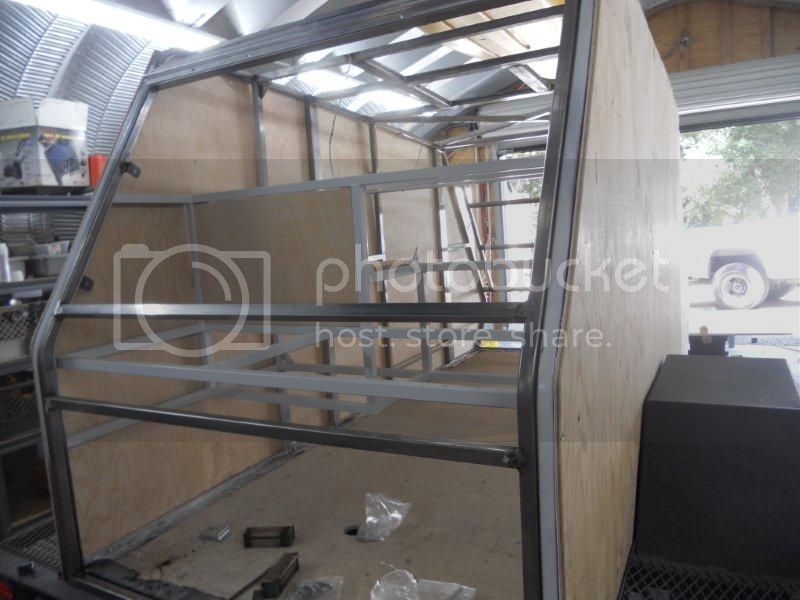
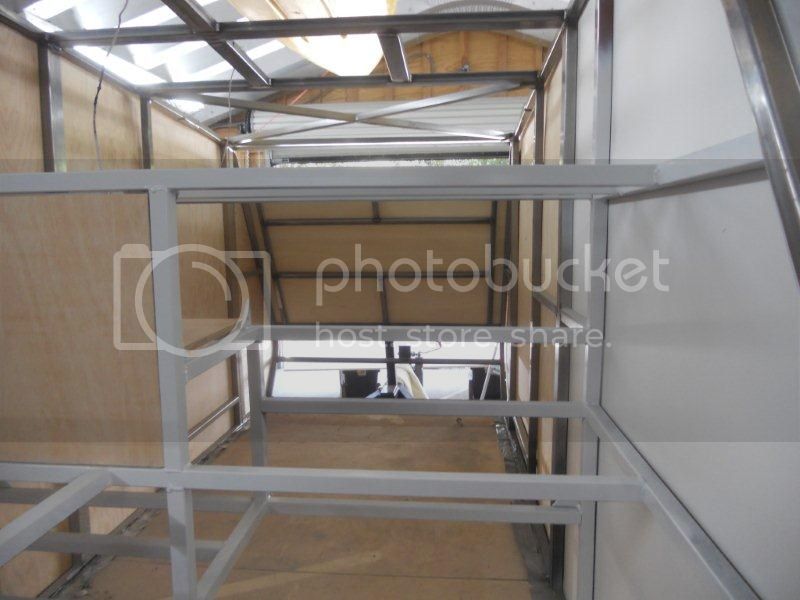
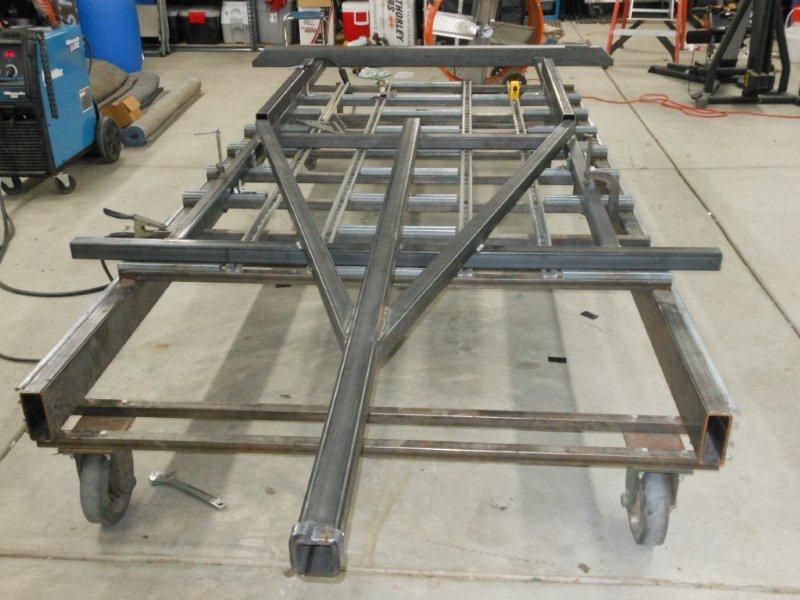
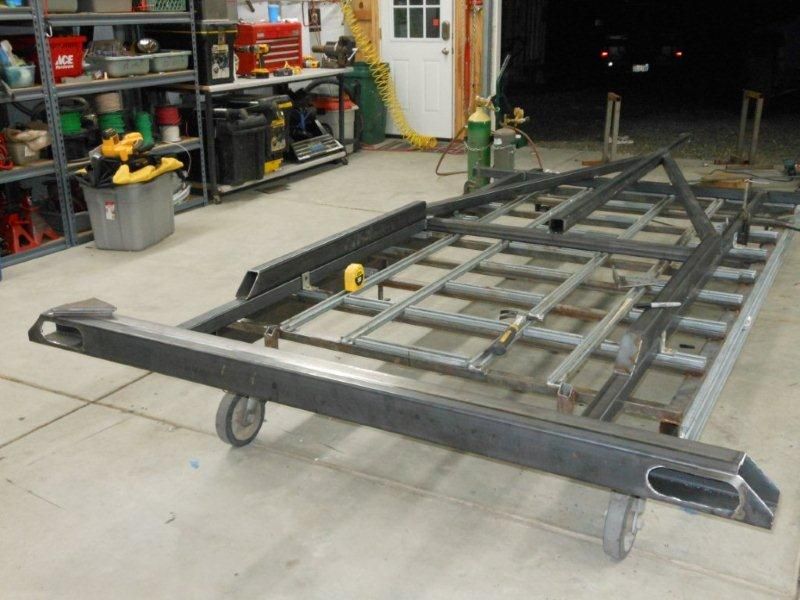
"This is production trailer number 1. Some major changes in the frame. The first one was extremely strong, but had some rough points for me. This is smoother and stronger. 2 inches longer, which will allow for a small bumper in the back. Water tanks farther forward. It may be just a little heavier, but I never want to see a broken frame." - Skersfan


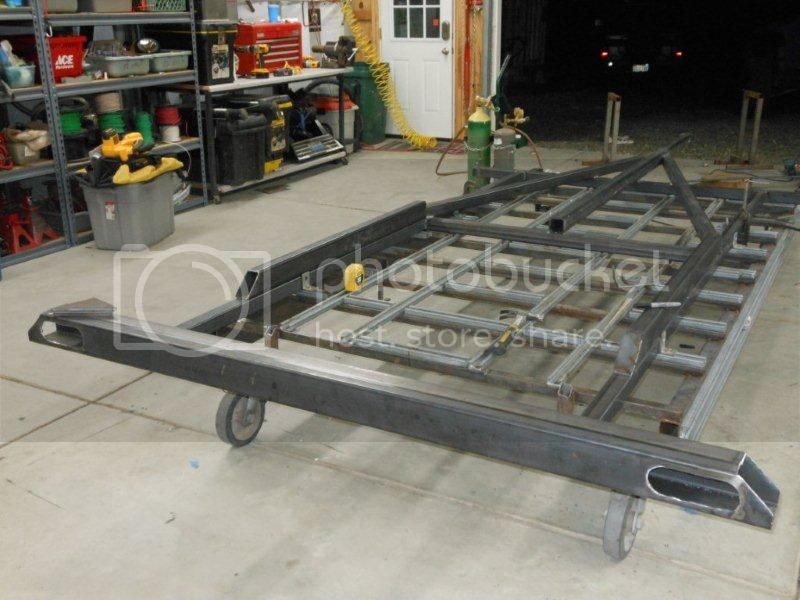
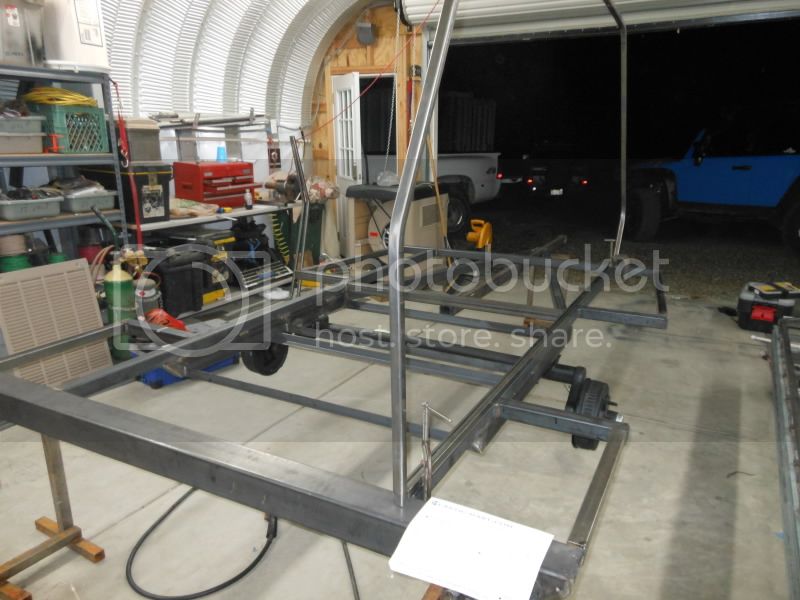
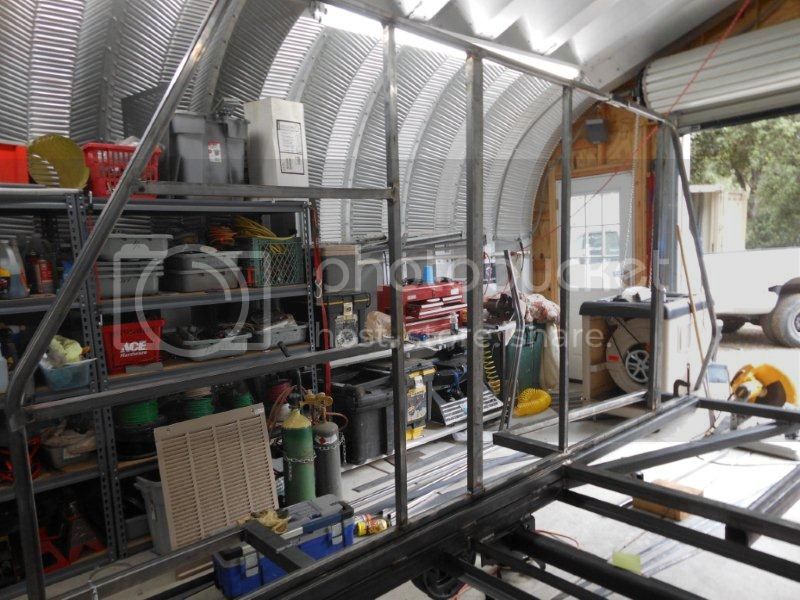
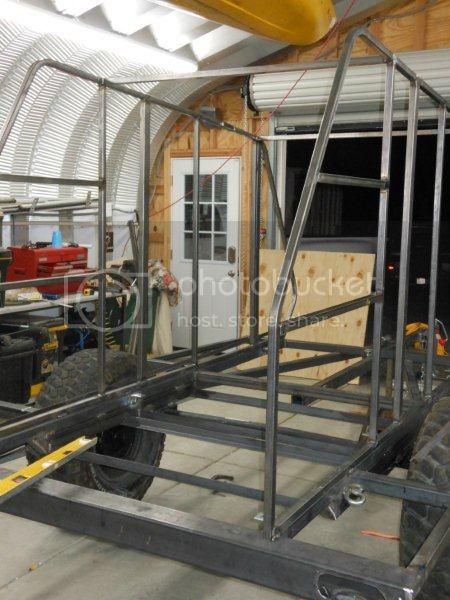
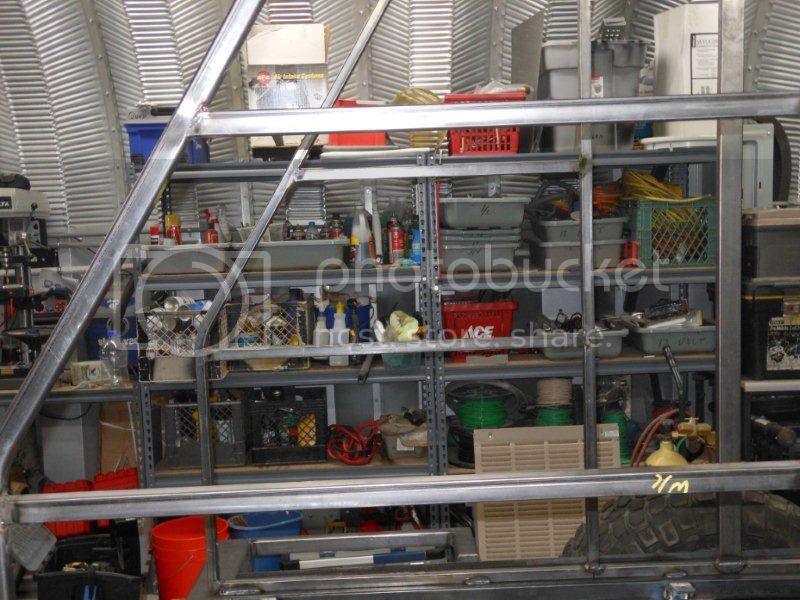
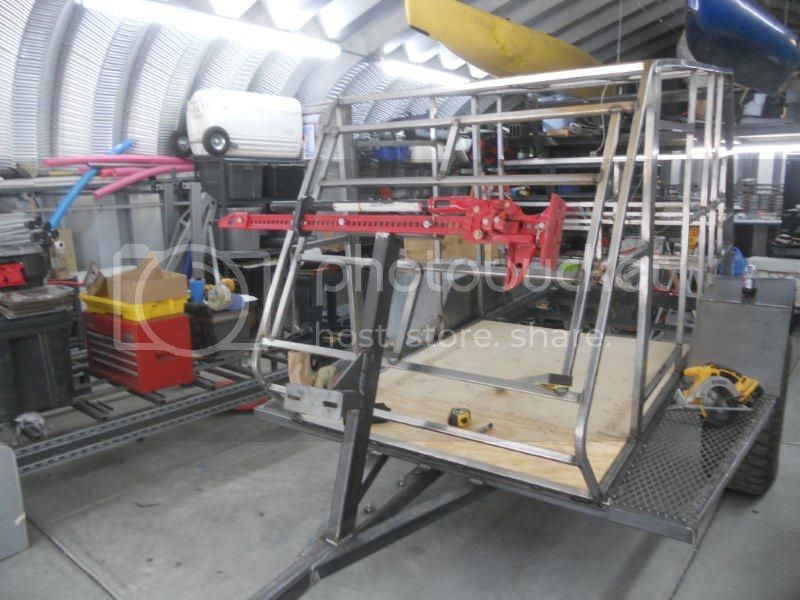
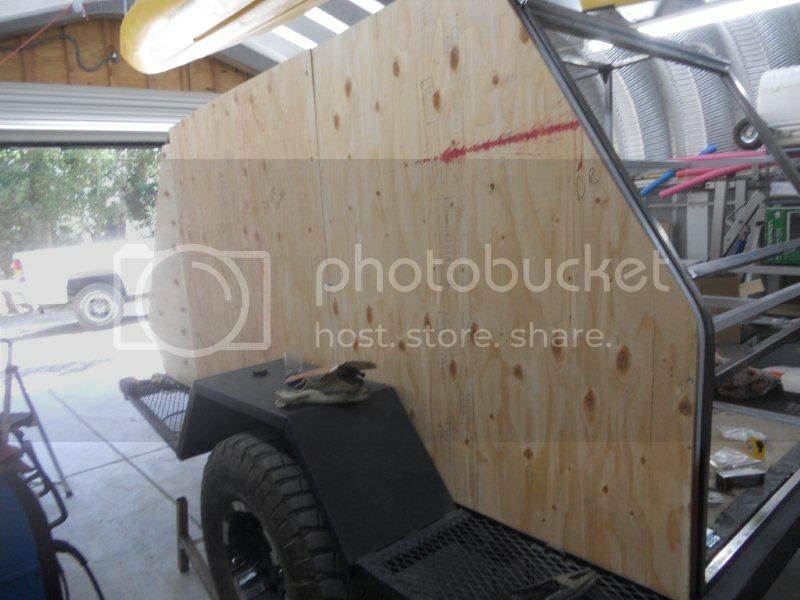
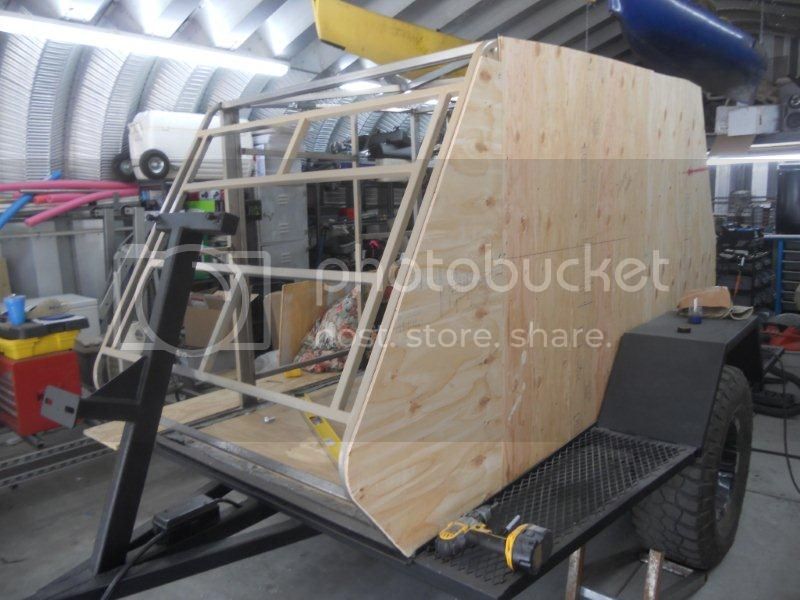
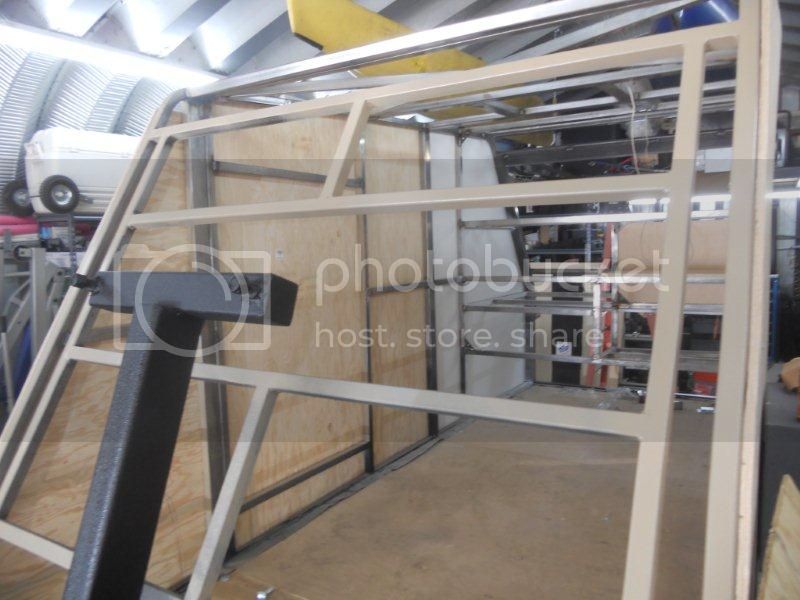
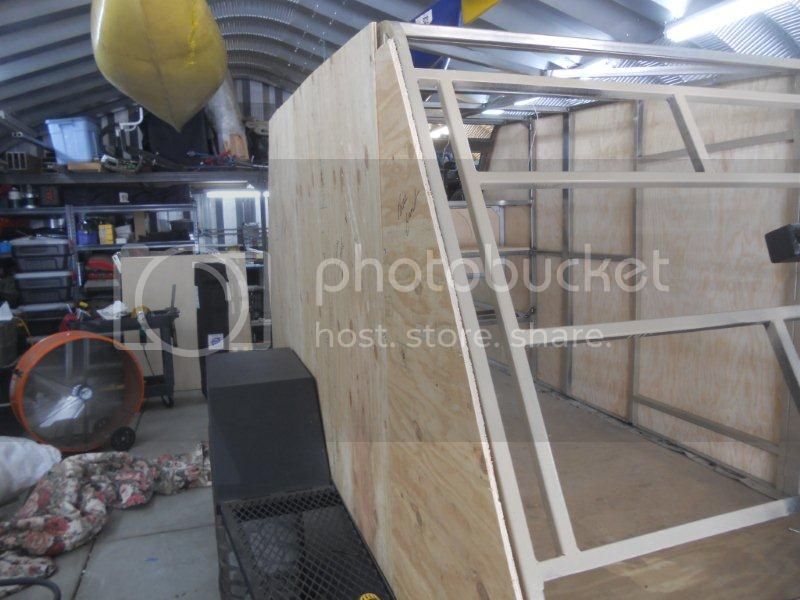
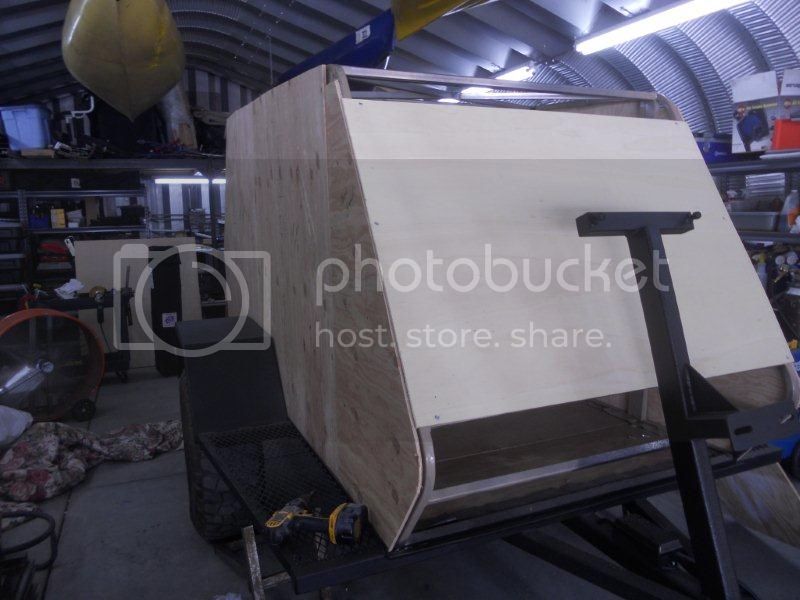
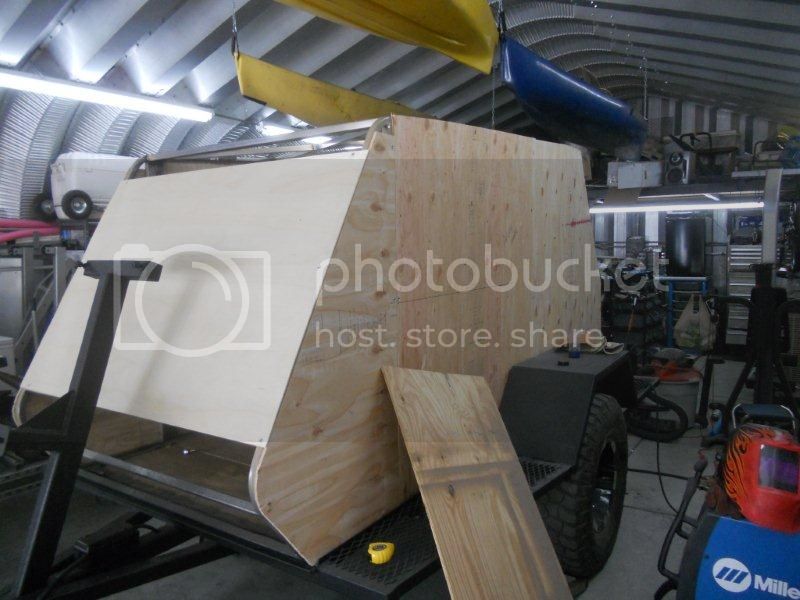
05/13 from the Blue Room... "All of my trailers are built on a jig. You are looking at the frame on the jig. I sent Old Sarge some off the jig. Tomorrow pick up the top bows being bent by All Pro, hope to have the walls on it by tomorrow nite with luck, if not will be shut down until after Overland Expo, as the prototype has been put through the paces for the last 8-9 months so she needs a good cleaning, touching up of the scratches, to make her presentable." - Skersfan

As you can see this started several weeks ago, so we've already got a good run of pictures. More to come shortly...:beer:
 
Last edited:
Oldsarge000001008.jpg

Oldsarge000001002.jpg
 
Holy crap you have more steel in this rig than I do in my motorhome,,NICE..You pulling it with a bobtail??
 
I just weighed the frame with 35's torsion axle and spare carrier. It weighed in at 1040 pounds. I am guessing the trailer will weigh between 2300 and 2500 complete. This will be heavier than the prototype. Sarge is taking this thing to Alaska, solo so I need to know it will make it without question. Due to the design with the water above the axles, the battery 159 pounds of it all right over the axle and the snubbed front end it tows much easier than you would think.

My prototype is right at 2200 pounds, but I get better mileage with it than I did with my tent box trailer and it tows better, due wind turbulance being less.

I hope to be a sponsor on this site very soon so will leave the sales side out for now, just informational stuff if asked.

I tow mine with an Fj Cruiser and have no prolems with it anywhere, just finished the Kokopellie and it has done John Bull and Carveacre trail. Many other tough ones as it has over 14000 miles on it already.
 
Fascinating. Gonna keep an eye on this. Not in the market for a trailer, but definitely enjoy following an interesting build.:popcorn:
 
06/09... "Here are a couple of pictures, I forgot to take pictures of the set up in the bumper. I welded a bolt to the top of the 4"x4" on the inside, this way the ground will always be dry and out of water or rust that develops on the inside, also all wiring was soldered. I used crimp type, split them, but crimped and then soldered over them.

The Plywood is marine grade with water seal on it. Then I take 8mil black plastic and cover the bottom, after that I will run a heavy bead of construction-grade black silicone around the base, sealing water out from the bottom, then I will cover the top with black plastic and aluminum insulation, that will be last before installing the mattress. The silicone will be placed in the little troughs made with angle iron to see the water out from the outside.

Will send a couple more pictures shortly. - Bob
"

sealingoffloortotheupperareataillights002.jpg

sealingoffloortotheupperareataillights003.jpg

sealingoffloortotheupperareataillights001.jpg
 
"This is the underneath with the plastic. I have done this for years, and it really works, just keep an eye on it to be sure no holes develop. If it gets torn just staple it up and silicone in-between the sheets. - Bob"

Oldsargebuild010.jpg
 
"Here is a picture of the Rhino Lining. Not terribly impressed with the job, missed some areas underneath, so I'll take it back when I'm done and have them reshoot the areas missed. - Bob"

Oldsargebuild002.jpg
 
More progress and pictures...

Pictures show some progress, walls temporarily up for cutting and fitting. The board in the middle of the trailer covers the wiring system, all openings will be covered with this plain sanded board. I will stain it when I am done and then seal it in. I have found a thin plastic seal sheet that is waterproof. The side walls in the galley area will have it on if I can get it to fit, not much room in the trough that it sets in on the side.

Working on the back door, setting locks and putting in gas struts to keep the back door up. Cannot find the ones I used on my prototype, so I will have to go shop for them today. Have not received the ARB fridge slider, which is not a bad thing. I discovered that I will need to make a bracket for it as I can no longer drill through the floor now that the gray water tank is there. And the learning process goes on... Not a big deal but I just realized it would make a change to the inside compartment as well as the under flooring setup.

I will continue to work on the siding, the small filler box fronts and possibly the wiring today. Will find the struts and get the back door done by tonight hopefully. I have to pick up the accessories box, so I'll do that when I pick up the glass.

Got a lot done yesterday and this morning, moving at a good pace. Still
looking for outside lights, not easy to find. - Bob


sealingoffloortotheupperareataillights001-1.jpg

sealingoffloortotheupperareataillights002-1.jpg

sealingoffloortotheupperareataillights003-1.jpg

sealingoffloortotheupperareataillights004.jpg

sealingoffloortotheupperareataillights005.jpg

sealingoffloortotheupperareataillights006.jpg

sealingoffloortotheupperareataillights007.jpg
 
These are pictures of the walls being attached for fitting, they are not permanent and will be removed to do wiring and have light in the trailer. Will rough in one of the doors possibly yet today, but need to get the rear struts figured out, so need to drive to town.

Once I am ready to attach the walls, they will get a #10x1" self-tapping screw every 10in around the outside of the trailer, then the same on all uprights and horizontal runs about every 15in. Around the doors, I do not attach the door itself this was as it has more than enough to make it solid and sealed. When the glass goes on the system is used for the outer rim, but alternating so none are on top of each other. I will also run screws into the fender wells to attach the uprights when the fiber glass is on. Those will not be visible, but it just makes me feel better about the seal on the trailer. All joints of the plywood will be siliconed under and between the junctions, making the trailer as water-resistant and airtight as possible.

I have realized that I have made a huge mistake, welding the spare carrier in place already is going to make installing the window a huge pain in the arse. I will have to jig saw it in where I normally just router it in. Oh well that is what you get for thinking out of the box.

I will try to get the barrier wall in this afternoon, but I wanted to get walls up to stop the overspray from the kitchen and side walls. All have been painted on the outside and now just the inside and top remain. The top will be the last to go on as I need light to do the wiring and soldering.

Moving at a good pace, but doing everything I can think of to make this the soundest Alaskan trip trailer ever. - Bob


initialwallattachmentfrontnoseconeon001.jpg

initialwallattachmentfrontnoseconeon002.jpg

initialwallattachmentfrontnoseconeon003.jpg

initialwallattachmentfrontnoseconeon004.jpg

initialwallattachmentfrontnoseconeon005.jpg

initialwallattachmentfrontnoseconeon006.jpg

whitevynlinstalledononeside001.jpg
 
Last edited:
Well this really looks nice, and will make keeping the kitchen clean easier. It is water proof and supposed to be fire retardant. One thing it does is increase time on the build. I had to spray it with 3M 90 grade contact cement then wait one hour for it to dry, trim it, and then stick it on the trailer. I have not sawed through it or used a router on it yet, that will be the extreme test of whether I use it as a regular part of the trailer or not.
Again this was not on the prototype, and this is just another step to make it better than what I had in mind originally. My concern is the trough for the walls. It adds about a 16th of an inch so I may have to do some grinding to get the fiberglass to slip in. Can work around that on the next trailer, but this one is the guinea pig so to speak. I hope it fits and works out as it does make the kitchen look much nicer.

I will let it dry a little longer then cut away the excess and see what happens. - Bob


whitevynlinstalledononeside002.jpg
 

Users who are viewing this thread

Back
Top Bottom