Razor One's Pink Panty Adventure (1 Viewer)

This site may earn a commission from merchant affiliate
links, including eBay, Amazon, Skimlinks, and others.

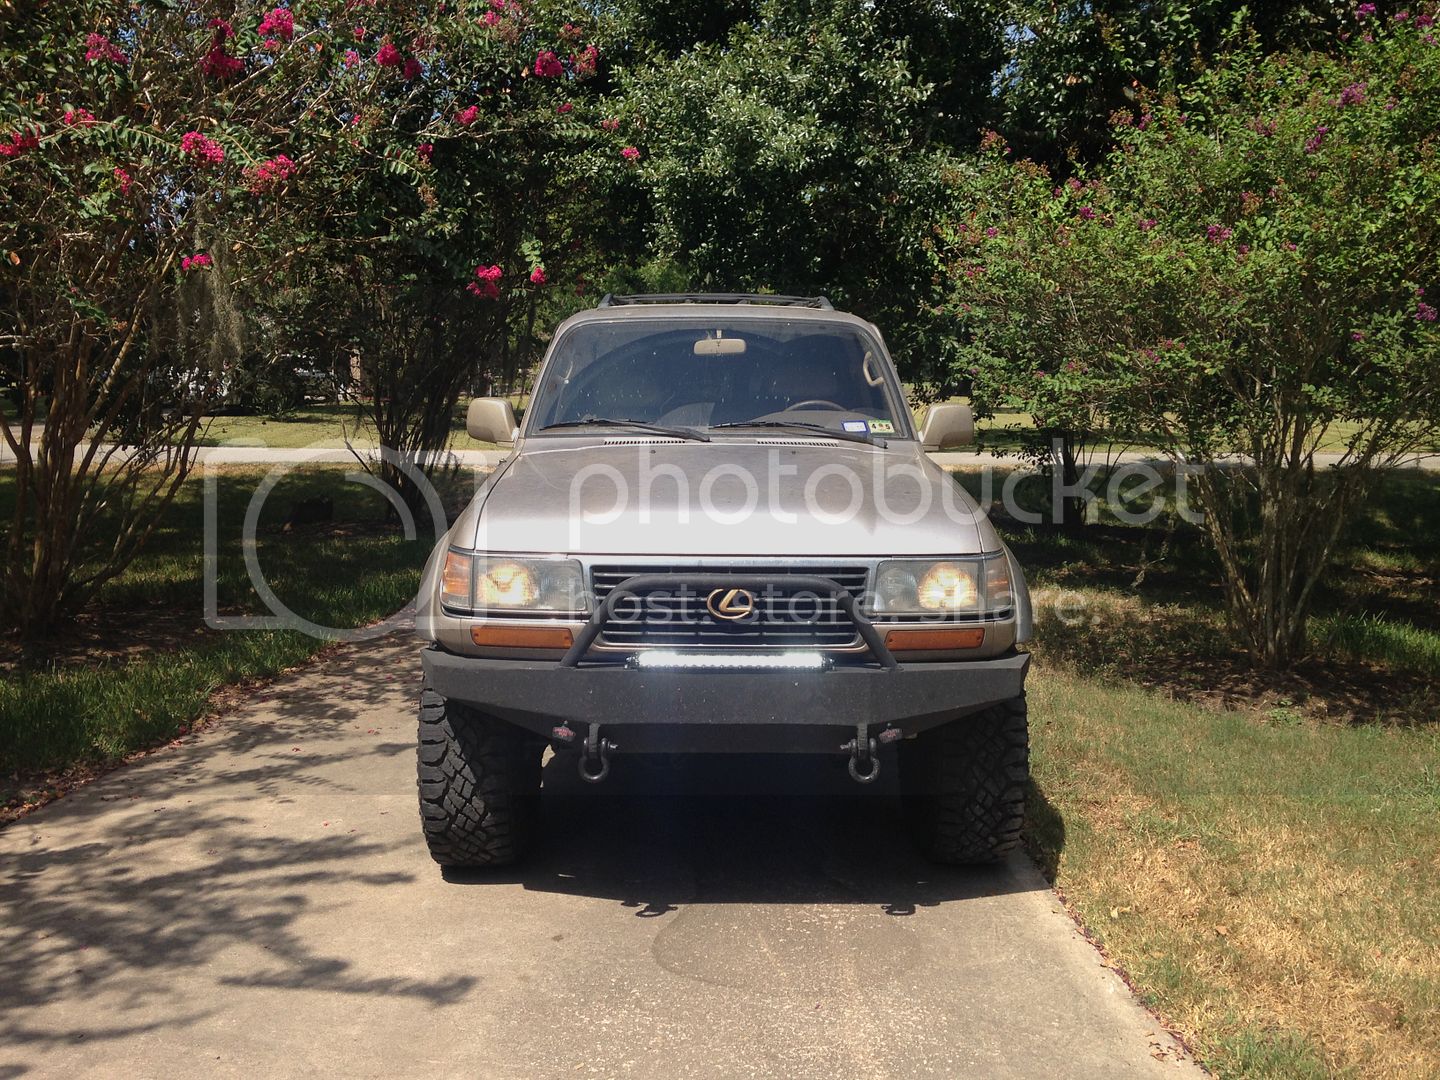
Nice. I tried to keep the other cars out of it, but good eye. s2000's are awesome. That one was my daily driver until I started commuting to UH. Then I realized I needed something different. Without getting too off topic, here you go:

P1160020.jpg


P4260009.jpg


DSC_0486.jpg


Very nice S2000 you have over there :) Feel like getting one too;)
 
NICE thread!
OME & the pervirbial stinkbug... why do the do that? Yep you have to use a front spring spacer or switch the combo of springs. 851/866, 850/860, 850J/863...

As far as 37s/2" lift no rub vs. 6"/35s rub is as you said bump stopping up travel & back spacing of the wheels. It all about tucking them in rather than a wide stance. Those fenders are approx. 38" as I have measured, so a 37 done correctly can fit without major body work. Check out the official 37s & up thread & check out there build threads. Here is a stuffed 37.
2015-02-01-21-28-42.png

Another thing a lot of the 37" crew does is a that 1" in the fender via a 1" body lift. I really didn't understand until I did my own BL. It adds the 1" in the fender that you need for the 1" of the 37 from the 35.
After doing my 1" body lift I'm ready to go with less lift by removing my front spacer from my 851/860 medium lift.

Hope this helps.
Misspeld from my fat fingers...
Gary
 
It helps, but I think I might just leave the lx450 as a daily and keep it 35's. My new stepdad has a late 80's model Toyota pick-up with 4wd that needs some work, and he asked me to fix it up and show it a little TLC for the dear lease trails in Junction, Texas when we go. I'm already dreaming of the things I would do to that truck in the hardcore corner!

:bounce:
 
Rigid Industries SR-Series 20" Combo LED Light Bar

I want to give a shout out to Glen at Low Range Off-Road for awesome service and a great price!

7B896502-3F6E-4D33-AE0E-FB115CE039FC_zpsowcusd2v.jpg


038129F8-6904-4163-907B-3009884A7569_zpsywvvxjcb.jpg


FFAA8518-80C0-404A-AA51-B61BDCC2527D_zpsxayzflw5.jpg


45BE1D0F-03B0-48A0-BF85-10DE73FBCC3B_zpsbsxwadwq.jpg


B3A1E06F-94A0-4032-B4CD-0B07C8FC1CDE_zpsn9yepmoo.jpg


The following pictures are to give you an idea on just how much light output this is. In the above picture I am standing 20 yards away on a clear, sunny day at 11:30am.

53CFE787-68BF-4C39-855C-CCC5AF609AF1_zps68bju79c.jpg


This is the same spot on my driveway at night, with my garage about 30 to 40 yards away.

0CA0B849-9F65-4F7C-82C6-E91185949322_zpsappaotuc.jpg


This is what you would see from inside my garage. It's pretty ridiculous. The beam reaches out to at least a half a mile. I want to add a couple things that I noticed about the light when I installed it.

First, it's so easy a caveman could do it. Once you figure out where and how to get it mounted, it's just a matter of time before you're blinding the s*** out of everyone. Seriously. This can get you into trouble if you use it on the road.

Second, road signs reflect this light really well, and you can occasionally blind yourself. I think because of the position of the light, and the angle of the beam, some of the spot pattern is able to reflect directly back into the cabin. Again, it's fun and I still do it, but this is not meant for the road! Some states they don't even let you drive on public roads without it covered. Check your state laws before installation!

Third, it's freaking awesome! With low beams, high beams, and the 20" combo, it's like a whole new world driving at night. Totally worth it, and I giggle inside every time I flip the switch.

Anyway, speaking of switches, the OEM auxiliary light switch should be in Thursday and once the install is completed I'll snap a few pics of how I routed the wires and the switch. I'll also do a brief review and offer a few tips on the installation.

Thanks, Glen!
 
Installation finished. Here's how I did it.

ImageUploadedByIH8MUD Forum1439669970.685097.jpg


Bolted this way, the bumper needs to be unbolted in order to uninstall the light. Unless you cut the cable, and cut the mounting brackets, that light isn't going anywhere. I just used the standard mounting brackets. The "security kit" isn't needed, especially at the price they offer it at.

ImageUploadedByIH8MUD Forum1439670418.612797.jpg


One zip tie behind the grill

ImageUploadedByIH8MUD Forum1439670458.024188.jpg


ImageUploadedByIH8MUD Forum1439670482.922813.jpg


Relay

ImageUploadedByIH8MUD Forum1439670527.774776.jpg


Through the rubber grommet in the firewall. I don't know if that's factory or not, but it made install a breeze.

ImageUploadedByIH8MUD Forum1439670605.125191.jpg


Extended the wiring for the switch.

ImageUploadedByIH8MUD Forum1439670716.735501.jpg


OEM Toyota Light Switch

ImageUploadedByIH8MUD Forum1439670823.586188.jpg


Done!
 
Did that relay overheat? Just noticed the pic. Otherwise, looks great. I just picked up the same head unit with bluetooth and I live it. I upgraded the 4 door speakers, and the rears as well. Didn't do the dash speakers as that's way too much high's for me. No boom boom yet, as the budget is thin. Need a space saving sub, like bazooka tube, or a contoured box, which I haven't been able to find one for the 80.
 
Light works great! What makes you think the relay would overheat? And what speakers did you go with?
 
Decided to NOT build a swing out tire carrier on my bumper, and I'm entertaining options of how to mount the tire in the cargo area. Up or down?

ImageUploadedByIH8MUD Forum1439764952.075295.jpg


ImageUploadedByIH8MUD Forum1439764963.509038.jpg
 
Up. You can get more cargo in their. Make a 3/4 drawer set for the rest. Here's my quick and dirty unfinished. I have a 315 in there now.

20150214_130759.jpg
 
Last edited:
That light bar looks awesome. Glad it all worked out for you. good looking cruiser.
 

Users who are viewing this thread

Back
Top Bottom