
Navigation
Install the app
How to install the app on iOS
Follow along with the video below to see how to install our site as a web app on your home screen.
Note: This feature may not be available in some browsers.
More options
You are using an out of date browser. It may not display this or other websites correctly.
You should upgrade or use an alternative browser.
You should upgrade or use an alternative browser.
Builds OL'BETSY ZX: 1991 HZJ77 (2 Viewers)
- Thread starter JDM Journeys
- Start date
This site may earn a commission from merchant affiliate
links, including eBay, Amazon, Skimlinks, and others.
More options
Who Replied?Nice truck!
That 1hz is barely broken in, you should get a lot of life out of that thing.
A lot of the older 70's I've seen down here have those real lower quarters rusted out. Have you checked inside the rear fender wells? They typically accumulate rust around the reinforcement plates for the seats and seat belts.
JDM Journeys
Moderator
- Thread starter
- #23
Nice truck!
That 1hz is barely broken in, you should get a lot of life out of that thing.
A lot of the older 70's I've seen down here have those real lower quarters rusted out. Have you checked inside the rear fender wells? They typically accumulate rust around the reinforcement plates for the seats and seat belts.
Thanks! After seeing yours, and getting some locations from Ian, I think I'm just going to completely dismantle the interior, to have an even better look than I did previously.
You've done some great work. Not sure I can emulate that, but I did blow the dust off my never used new three year old welder.

I had intended on buying patch panels, but for what they cost from aus, and only made for the troopy anyways, I may just try and bend up my own.
Today's job though... I have a buddy with an extra ARB bumper (for a range Rover classic) that we are going to try to make fit... Oh boy...
JDM Journeys
Moderator
- Thread starter
- #24
I don’t like the OEM flares which unfortunately my 77 has. After reading this thread, I really, really don’t like them now.
Yeah at the moment I have a love/hate relationship with them.

Thanks! After seeing yours, and getting some locations from Ian, I think I'm just going to completely dismantle the interior, to have an even better look than I did previously.
You've done some great work. Not sure I can emulate that, but I did blow the dust off my never used new three year old welder.
I had intended on buying patch panels, but for what they cost from aus, and only made for the troopy anyways, I may just try and bend up my own.
Today's job though... I have a buddy with an extra ARB bumper (for a range Rover classic) that we are going to try to make fit... Oh boy...
Probably a good idea to pull the interior out and at least give it a good cleaning.
Anyways if you take your time and don't rush, you'll learn along the way with minimal mistakes.
One thing I noticed when I pulled the interior was the under carpet insulation was in bad shape. Changing that out was one of the greatest things I could've have done. It has made the truck some much quieter and much more comfortable on the longer trips.
JDM Journeys
Moderator
- Thread starter
- #26
Well, yesterday we decided to offer up a Range Rover Classic ARB bumper to see how close it was.

Unfortunately, "not very". The uprights are 1/3 of the way into the lights, the mounts would need customizing. The factory winch would be practically entirely below the bumper. If some parts of it lined up, we might have started cutting, but it is so far off that I don't think it's worth the effort. I really really want a proper 70 series ARB but budget is not there yet, esp in light of the body work that I still have to do.
This was simply a whim, since we had the bumper... so back to the more pressing issues.
STILL waiting on my right fender from the courier. I was told it was in stock two weeks ago when I drove 3 hours to get the pair. Someone had mixed up lefts and rights, so they promised to make it right (was that a pun?) and ship it on their dime. Twice I've been told it's been shipped but I still only have one fender. My first impression of this shop is going downhill... Won't name the shop - mistakes happen. But how errors are fixed separates the good shops from the "other" shops.
Ordered some sheet metal, and refreshed my cutting, grinding and sanding supplies, so I'll soon be tackling the rust.
JDM Journeys
Moderator
- Thread starter
- #27
First of my two orders has arrived.

This one is mostly interior bits... Replacement pedal pads, new drivers side sunvisor and clip, hood prop rod stay, interior window gasket, interior rear grilles, dome light diffusers....
Plus... New fender flare for right rear to replace one that was cracked/repaired long before I got the truck.
None of this was essential but does a nice job of sprucing up what was already a tidy interior.
The other order on the way includes a complete set of fender flare hanger brackets for both sides.
Both new front fenders are ready to go on too. Gonna be a busy weekend.
JDM Journeys
Moderator
- Thread starter
- #28
Old lowers are now removed. Not a huge amount of fun. Wheel wells are in great shape. Some surface rust but solid underneath. Hit it with a flap disc and down to bare metal quickly. Just need to wipe down the rust dust now and then paint, before installing my factory fresh new fenders.

JDM Journeys
Moderator
- Thread starter
- #29
Sometimes it's the little things that add up to total happiness?
Old visor was floppy and wouldn't disenage from its mounting peg without using two hands. Not ideal. Still can't believe I could buy an OEM one, brand new. I did swap the 4wd shifting instruction card to the new visor, because someday I might learn to speak Japanese?
Oh, and the best dollar or two I spent this week was on my new hood prop rod clip. Yep. Installed it myself. I know you're impressed.
Sometimes it's the little things that add up to total happiness?
Old visor was floppy and wouldn't disenage from its mounting peg without using two hands. Not ideal. Still can't believe I could buy an OEM one, brand new. I did swap the 4wd shifting instruction card to the new visor, because someday I might learn to speak Japanese?
Oh, and the best dollar or two I spent this week was on my new hood prop rod clip. Yep. Installed it myself. I know you're impressed.
Hello,
Usually, the little things and repairs that only you know are either replaced or done bring a special satisfaction.
There is a special kind of happiness in this little/not so evident stuff.
Juan
JDM Journeys
Moderator
- Thread starter
- #31
Some of you on the 70s fb group may have seen this already, but I write a column for the Gearhead Project Magazine. Here are a few stories I've written lately about the 70 series.
Part 1:
 www.thegearheadproject.com
Part 2:
 www.thegearheadproject.com
They fit in this build thread since this truck is featured in both stories.
Meanwhile, progress!
Another parts cache has arrived, this one with all new hardware to hang my factory flares from. Also, there's a box from "santa-wifey" under the tree, from Odd-iron offroad. Woohoo!
Part 1:
They Don’t Make ‘em Like They Used To. Or do they? - The Gearhead Project
What if you could step back in time, to a simpler vehicular era? Could you do it? And would you want to? (A brief History of the 70 Series Land Cruiser)
www.thegearheadproject.com
Part 2:
They *Still* Make 'Em Like They Used To - The Gearhead Project
A 70 Series made for the JDM, but revived in Canada. If you want to take a step back in automotive history, this is a pretty good way to do it
www.thegearheadproject.com
They fit in this build thread since this truck is featured in both stories.
Meanwhile, progress!
Another parts cache has arrived, this one with all new hardware to hang my factory flares from. Also, there's a box from "santa-wifey" under the tree, from Odd-iron offroad. Woohoo!
JDM Journeys
Moderator
- Thread starter
- #32
Lots of updates to document on this project. Christmas was very busy, and I've gotten a lot of boxes ticked. I'll start with a story though, for those who prefer a narrative to a laundry list. Here is the third entry about this rig on the "The Gearhead Project".
 www.thegearheadproject.com
Project Adventure - Part 3: Fall Seven Times, Stand Up Eight - The Gearhead Project
This Japanese idiom was likely coined by someone who was getting their posterior pummelled by their project.
www.thegearheadproject.com
JDM Journeys
Moderator
- Thread starter
- #33
First I had to get some tools...

Then it was time to start practicing forming panels...
Bear in mind this is not my dayjob, and I am a complete neophyte in bodywork. Goal was to keep away from fibreglass etc, and replace metal with metal. Longevity trumps pretty.
Here's my first attempt at a corner. Mig welder with flux core wire certainly takes practice, and I've burned through a lot of wire.
And once mated to piece number two, I tried mocking it in place. Not bad for a first attempt. Much more massaging to come on this one., before it is put in place for good... but call it a good start?
But.. that was the "good side". So here we go, to the hard part. If rust makes you squeamish, cover your eyes...
Next up, we'll cut this out, and see what needs to be done underneath...
- Joined
- Sep 9, 2004
- Threads
- 186
- Messages
- 11,031
- Location
- Boise - Idaho
- Website
- www.snlandcruisers.com
Yeah at the moment I have a love/hate relationship with them.
Personally, I like OEM flares.

Cheers
- Joined
- Sep 9, 2004
- Threads
- 186
- Messages
- 11,031
- Location
- Boise - Idaho
- Website
- www.snlandcruisers.com
First I had to get some tools...
View attachment 2601756
Then it was time to start practicing forming panels...
Bear in mind this is not my dayjob, and I am a complete neophyte in bodywork. Goal was to keep away from fibreglass etc, and replace metal with metal. Longevity trumps pretty.
Here's my first attempt at a corner. Mig welder with flux core wire certainly takes practice, and I've burned through a lot of wire.
View attachment 2601757
And once mated to piece number two, I tried mocking it in place. Not bad for a first attempt. Much more massaging to come on this one., before it is put in place for good... but call it a good start?
View attachment 2601758
But.. that was the "good side". So here we go, to the hard part. If rust makes you squeamish, cover your eyes...
View attachment 2601766
Next up, we'll cut this out, and see what needs to be done underneath...
Really not bad for first time my man.

You want some tips, I bet you do!

Get off that flux core wire first and get on some gas. You will not regret that. Jump on the Eastwood website, for not a lot of cash you can get a bench top brake and several other tools that will help you a lot. I am sure you have noticed, Toyota used a lot of seam sealer on panels. Go to your local automotive paint supply shop and get SEM seam sealer in tan, it’s almost the exact same as Toyota used. POR15 or anything similar on any rust, the idea is to encapsulate the rust. I never have had any luck with “rust converters”. You can also use weld through primer which you can get from the auto paint shop. They are also usually helpful and willing to give advice in those stores.
*edit: never mind I see you got a brake. I got old eyes and short attention span.

Good for you for going for it!
Cheers
Last edited:
JDM Journeys
Moderator
- Thread starter
- #36
Thanks for the encouragement, Ian. And the tips. Much appreciated. Since I'm just getting caught up with my progress, some of your tips are coming post-process, but that's still helpful since in some cases it reinforces some of the things I did. In others, it'll be advice for next time.
So I was about to get into the LHS (I won't say "driver's side" because JDM yo, but it sure does mess people up in Moab when they're trying to spot you through an obstacle, and they yell "drivers! No.. passengers! No LEFT! So funny!) Where was I? Oh right, driver's side... or is it left?
I could see before I even cut the outer, that the inner had been impacted on this side as well. And the lower wheelwell too. Some reconstructive surgery was in order.

Time for the flap disc, to see where the good stuff began! It seemed the best way forward was one part at time, since the outer structure depending on the inner for its shape. So I began with the lower wheelwell. Cut off the offending (and withered) lower part, and fashioned a replacement. My cheapo brake and some pipe clamped in my vise helped with the shape, although my decision to use 18 gauge to match the truck instead of the more malleable 20 guage was momentarily called into question. LOL. Ultimately I welded in my patch panel and it looked like it was going to be okay.
I didn't attach it to the inner wall just yet, since that was the next thing to be exorcised! Here's the inside wheelwell view after a bit more massaging...
More cleaning up would be necessary, but at least we had some structure back. Next up, it was back to the flapdisc, and unearthing the line of demarcation, so to speak... I felt it was important to be liberal with my cuts, rather than conservative, current political climate be damned, so there'd be no risk of the tin-worm creeping back in. I might've gone a little lower, but it hardly mattered, since a vertical piece is a vertical piece?

So I was about to get into the LHS (I won't say "driver's side" because JDM yo, but it sure does mess people up in Moab when they're trying to spot you through an obstacle, and they yell "drivers! No.. passengers! No LEFT! So funny!) Where was I? Oh right, driver's side... or is it left?
I could see before I even cut the outer, that the inner had been impacted on this side as well. And the lower wheelwell too. Some reconstructive surgery was in order.
Time for the flap disc, to see where the good stuff began! It seemed the best way forward was one part at time, since the outer structure depending on the inner for its shape. So I began with the lower wheelwell. Cut off the offending (and withered) lower part, and fashioned a replacement. My cheapo brake and some pipe clamped in my vise helped with the shape, although my decision to use 18 gauge to match the truck instead of the more malleable 20 guage was momentarily called into question. LOL. Ultimately I welded in my patch panel and it looked like it was going to be okay.
I didn't attach it to the inner wall just yet, since that was the next thing to be exorcised! Here's the inside wheelwell view after a bit more massaging...
More cleaning up would be necessary, but at least we had some structure back. Next up, it was back to the flapdisc, and unearthing the line of demarcation, so to speak... I felt it was important to be liberal with my cuts, rather than conservative, current political climate be damned, so there'd be no risk of the tin-worm creeping back in. I might've gone a little lower, but it hardly mattered, since a vertical piece is a vertical piece?
GTSSportCoupe
2LTE abuser
Enjoying this thread
Ditto!
Great work @JMDJourneys . Funny, a lot of those same interior bits you ordered I've also bought over the years. Also was surprised I could still get that stuff. Sadly I need to do some similar rust repair on mine, so I'm watching your work closely. Thanks for posting all those details.
JDM Journeys
Moderator
- Thread starter
- #39
Fabbing this panel was a challenge because of the currugated structure, so I started with some doodling to try to fashion some matching tabs.
Here's my embarrassing first run at tacking it together with flux core (you are so right Mr Westmoreland! I need gas!)
I went back after this pic and did some cleaning up, and it looked passable, if not purty...

It was time to start fabbing a replacement. Or at least, I thought it was. Turns out I'd spend about 3 weeks off and on trying to fab something that would look right in this space. Those of you with experience in this area can probably see above that I clearly need to cut more out, but at the time (this was mid-January past at this point) I was trying to save the corner that wrapped under the tail light...
Here was attempt number one, partway through...
And here's attempt number two, a week later, mocked in place. (Yes, I know, still crap.)
At least I was learning as I went? I needed a break from the rear quarters, so I went back to the front.
Here's my embarrassing first run at tacking it together with flux core (you are so right Mr Westmoreland! I need gas!)
I went back after this pic and did some cleaning up, and it looked passable, if not purty...
It was time to start fabbing a replacement. Or at least, I thought it was. Turns out I'd spend about 3 weeks off and on trying to fab something that would look right in this space. Those of you with experience in this area can probably see above that I clearly need to cut more out, but at the time (this was mid-January past at this point) I was trying to save the corner that wrapped under the tail light...
Here was attempt number one, partway through...
And here's attempt number two, a week later, mocked in place. (Yes, I know, still crap.)
At least I was learning as I went? I needed a break from the rear quarters, so I went back to the front.
JDM Journeys
Moderator
- Thread starter
- #40
Thanks guys. Just as long as you don't get the notion in your head that I have any idea what I'm doing! LOL. This for me is a hobby, and so my best resource is time. And my hourly rate is cheap. Heheh.Ditto!
Great work @JMDJourneys . Funny, a lot of those same interior bits you ordered I've also bought over the years. Also was surprised I could still get that stuff. Sadly I need to do some similar rust repair on mine, so I'm watching your work closely. Thanks for posting all those details.
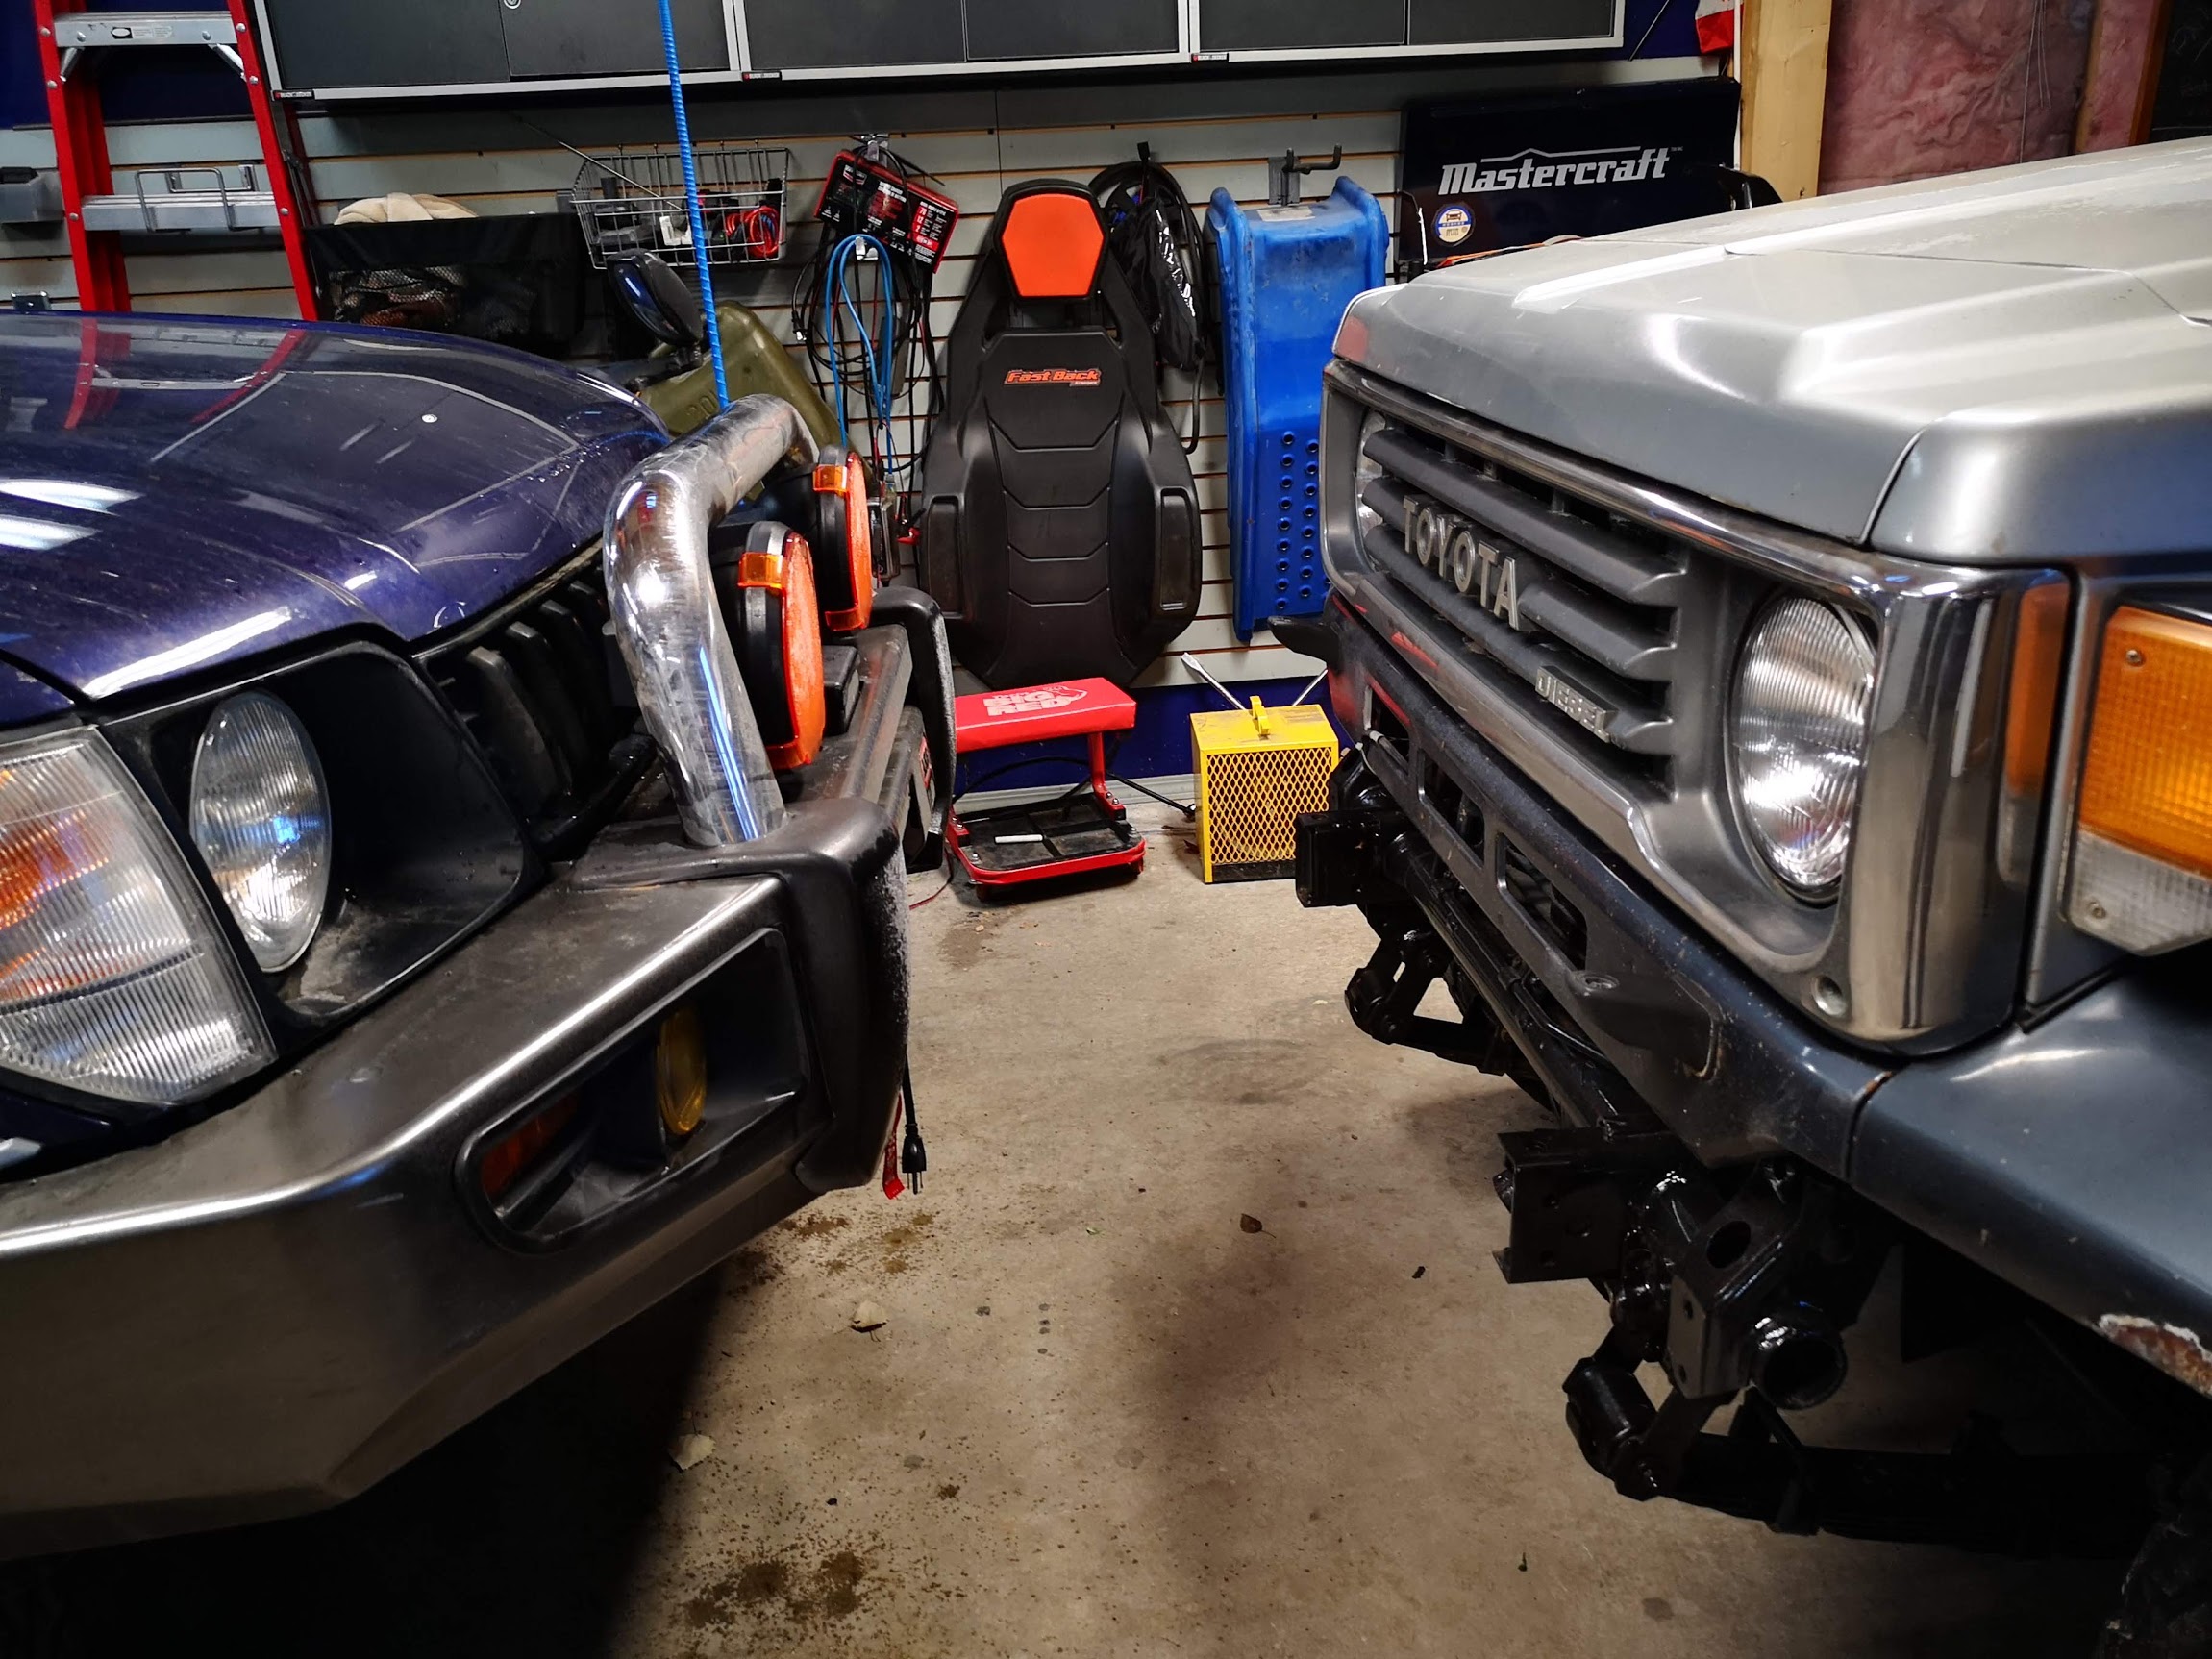
As you can see from my last pic above, I also have a KZJ90 which is my daily, and it is a cherry example of a 1999, with only 90k kms (auction grade 4) on it when I got it a year ago. So the HZJ77 can take as long as it needs to. (Wifey drives a UZJ100, so she's also covered, except the few times when I'm taking up all three bays with this beast, and she has to park outside...) But I'm really anxious to drive it, so I'd like to at least get it waterproof again soon.
Similar threads
Users who are viewing this thread
Total: 3 (members: 0, guests: 3)