perrobravo
SILVER Star
- Thread starter
- #81
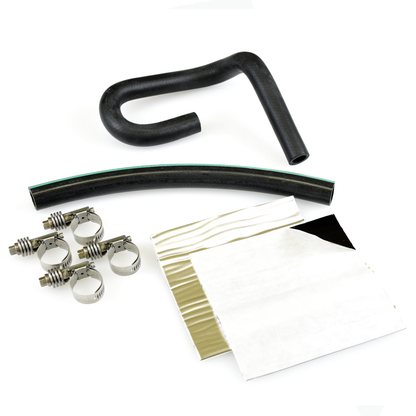
The Gates part number is apparently super-unicorn secret, but you can get one from @LandCruiserPhil here which is what I did. Alternatively if you want the whole kit, and can wait a few days, Joey from Wit's End aka, @NLXTACY can hook you up with this kit. Be warned. In either case, you're going to be tempted to buy a bunch of other stuff you didn't know you needed, but now you're adding to your cart then obsessively clicking refresh on the order tracking information.