My New 1990 HDJ81, Diesel (1 Viewer)

This site may earn a commission from merchant affiliate
links, including eBay, Amazon, Skimlinks, and others.

A little update:
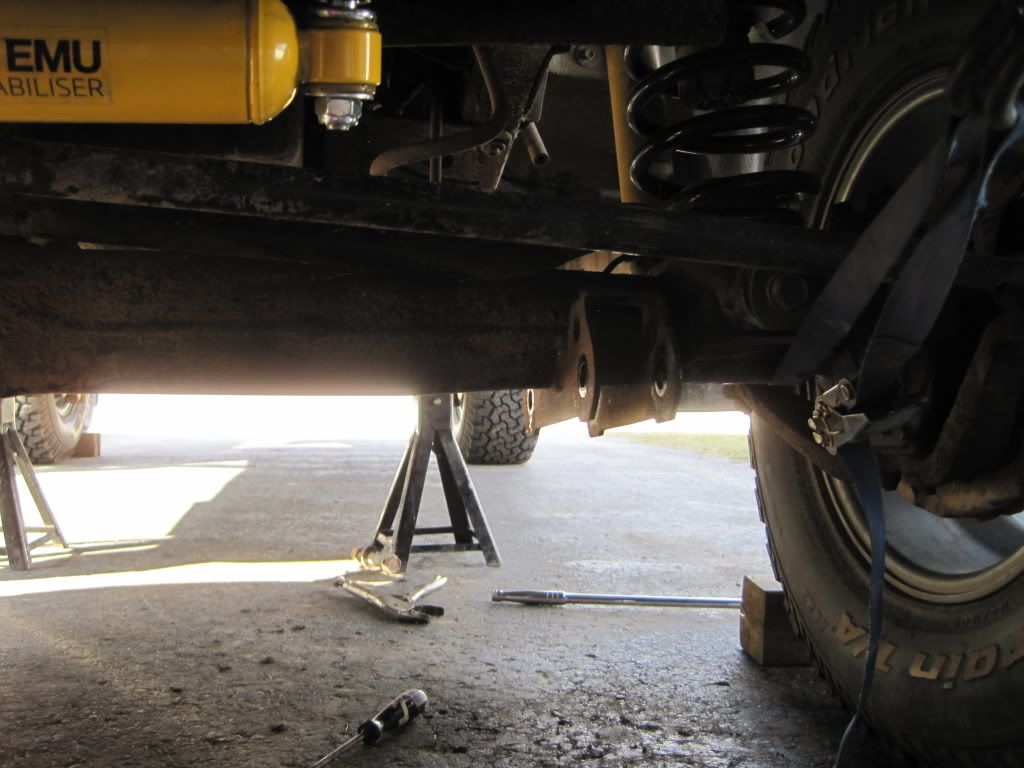
Completed front axle service, new bearings, and seals.
Leaking water in from somewhere, so I chalked/ water sealed all windows and rain gutters.
New Alternator, and lots of little things!
Things still to fix:
hunt down electrical gremlins, I still have no radio or dome lights. (except when it pours down rain) Because water is soaking the carpet I know its messing with the electronics.
I still have to pull the oil pan and replace the big end bearings, I have all the parts just need the courage.
Change the fuel filter (need large filter remover) and replace rear diff oil and transfer case oil.
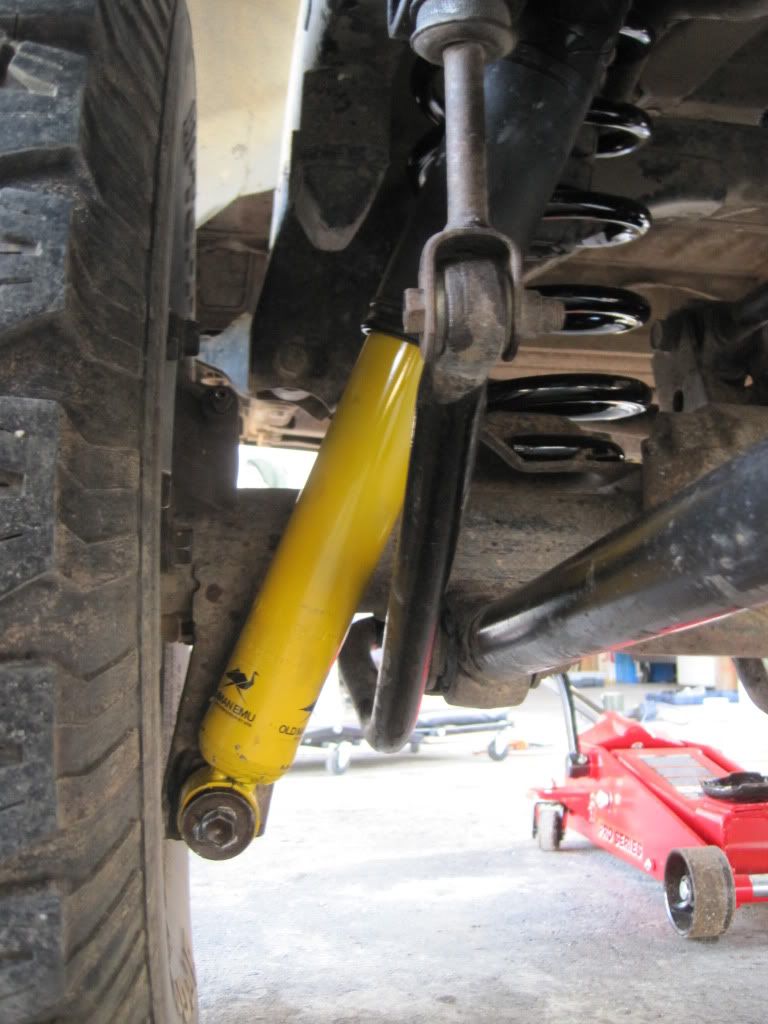
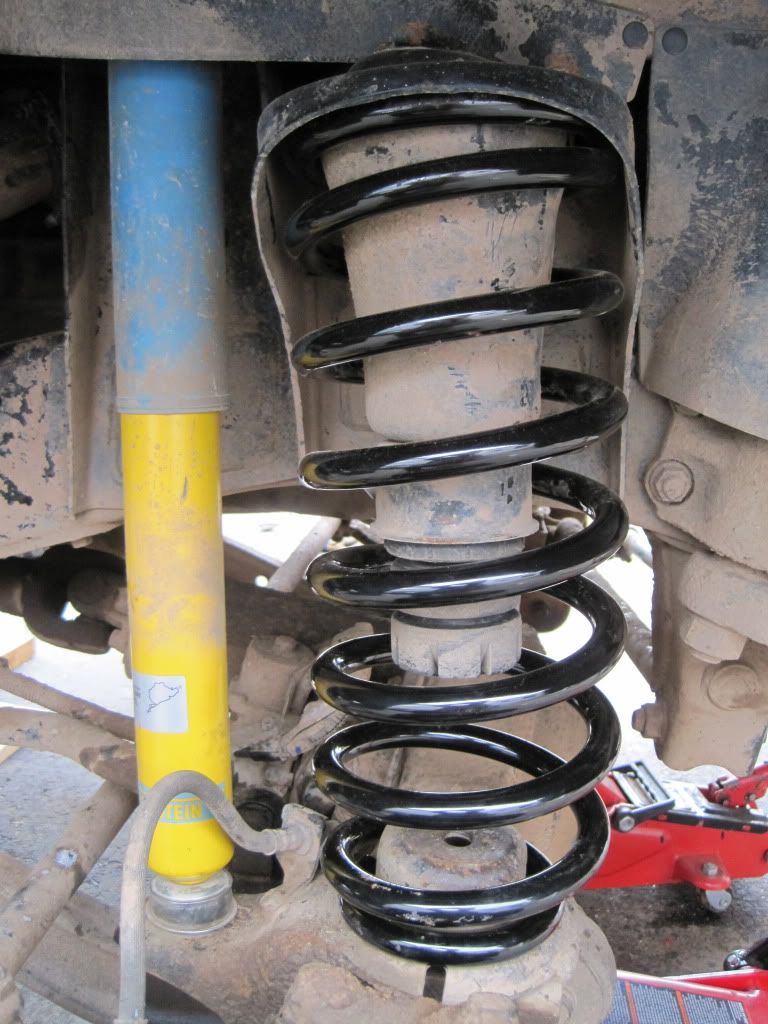
I would love to get a 2 1/2 inch OME lift, but money will be the determining factor here.
Needs and alignment.
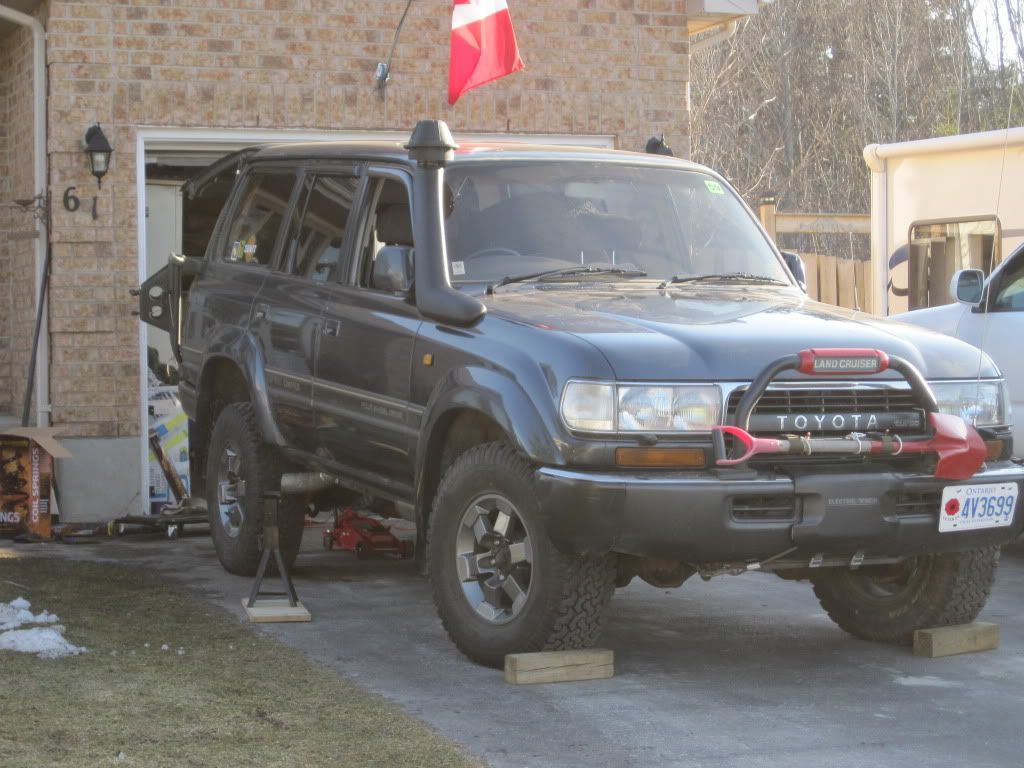
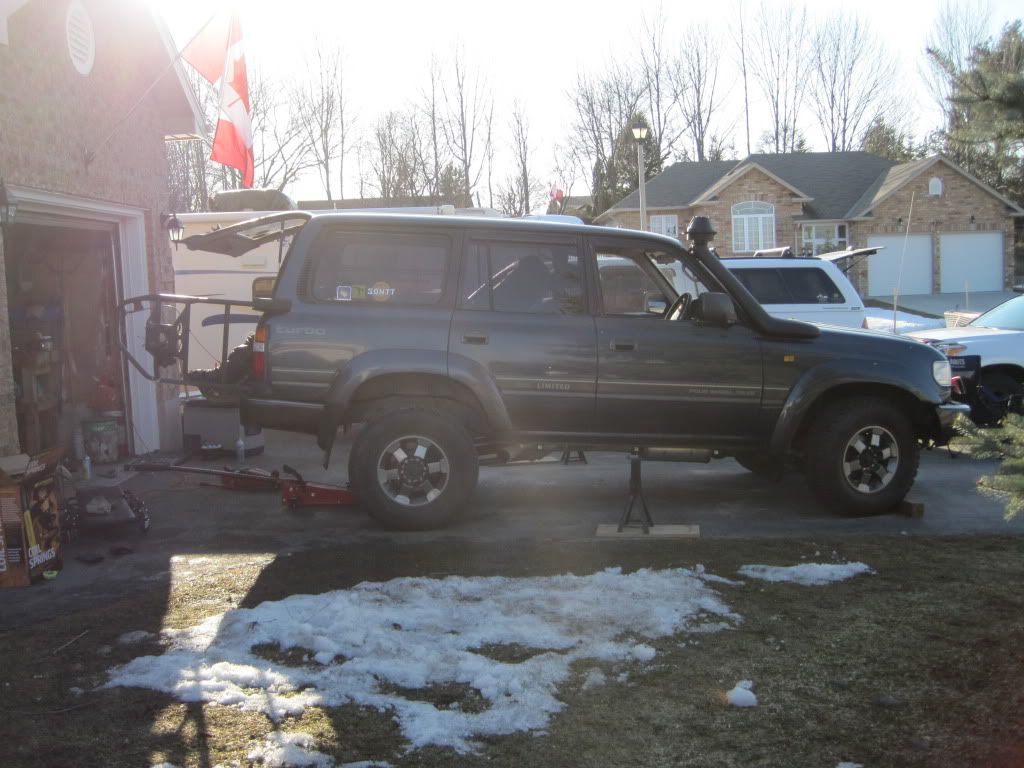
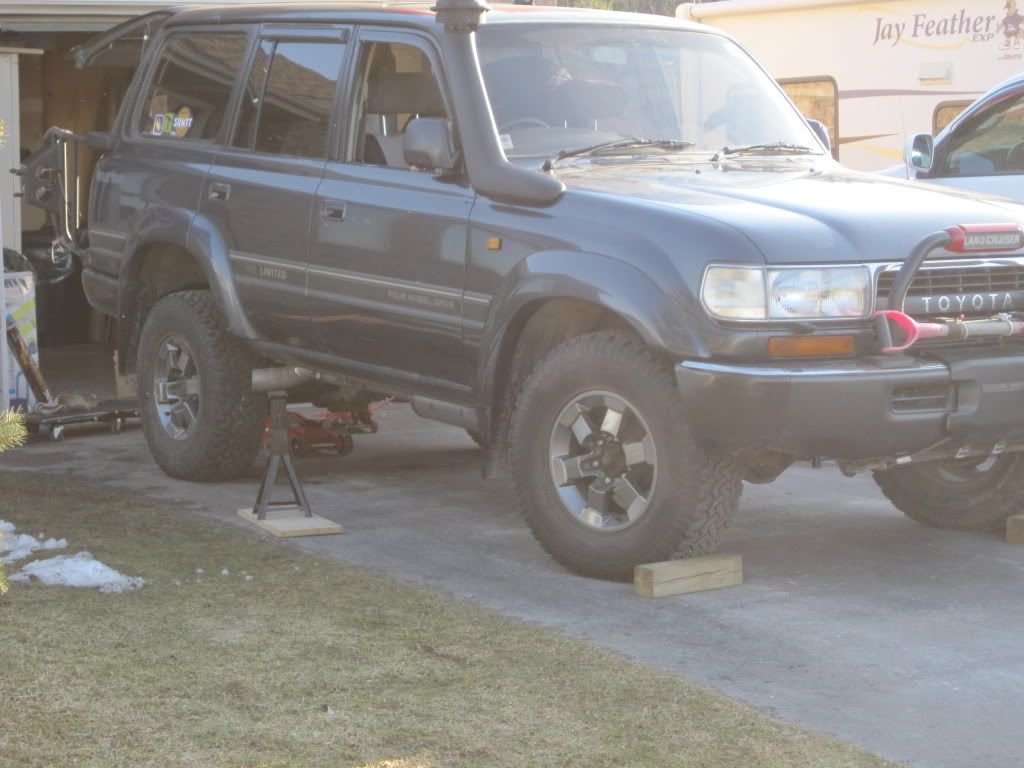
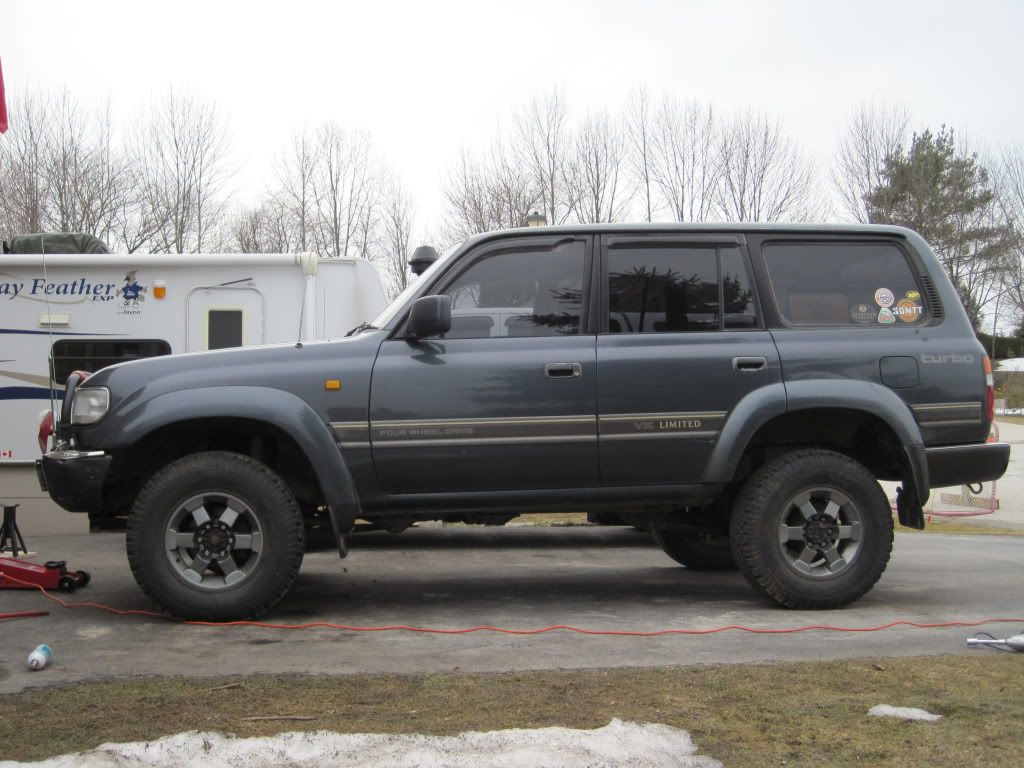
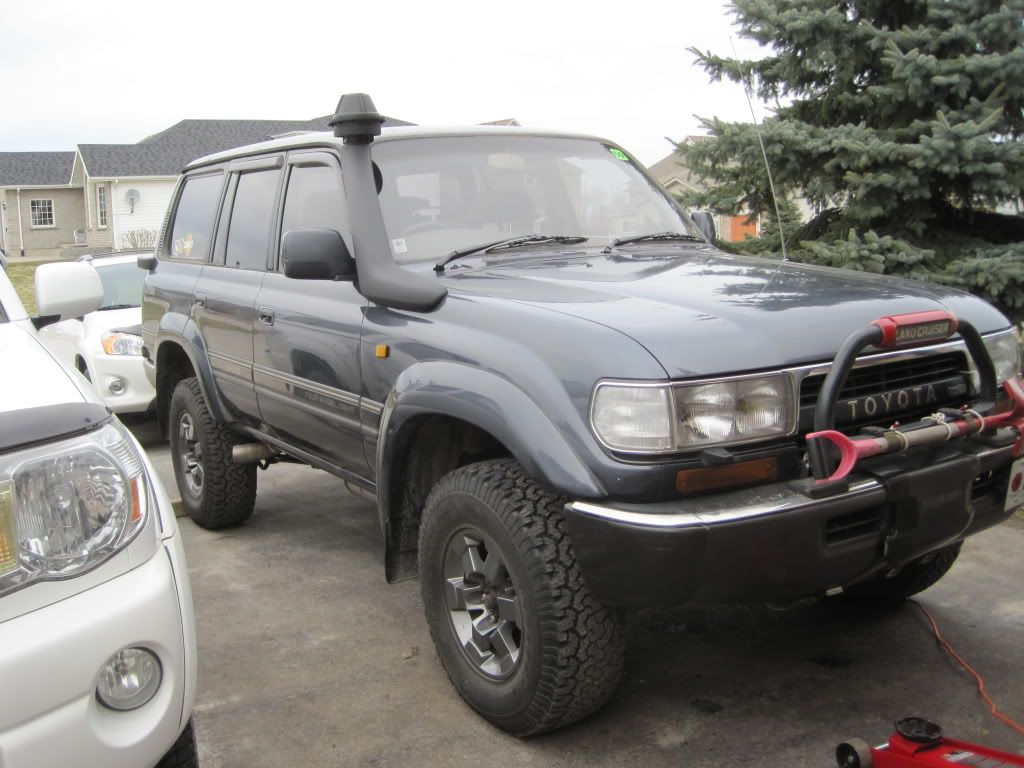
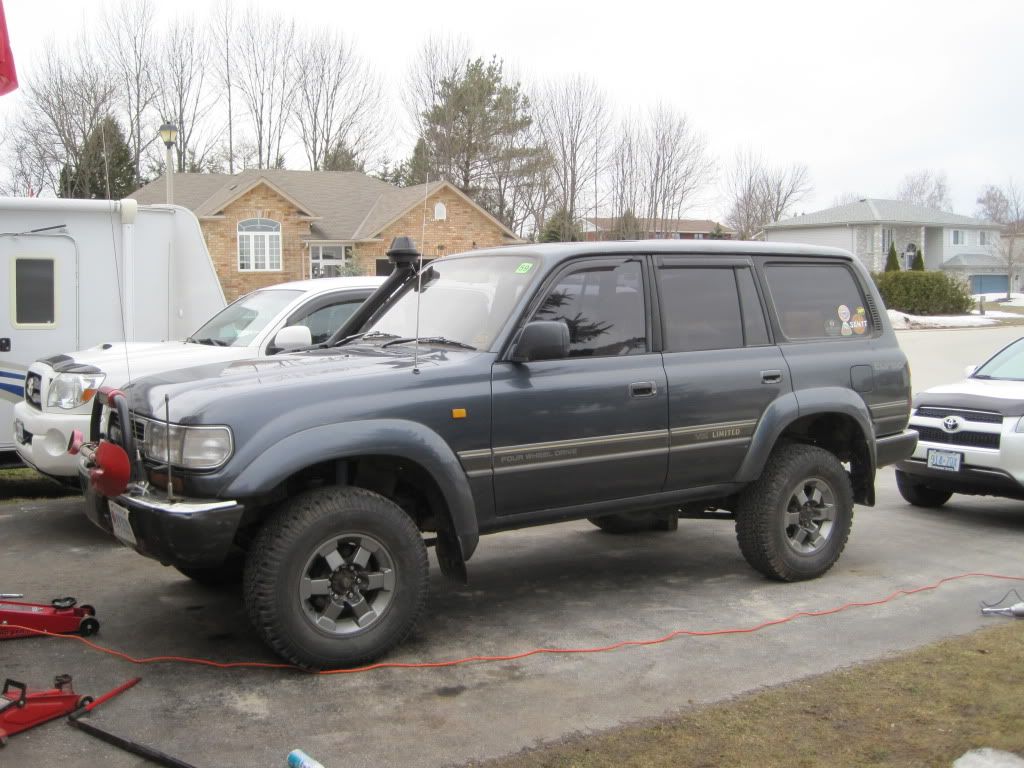
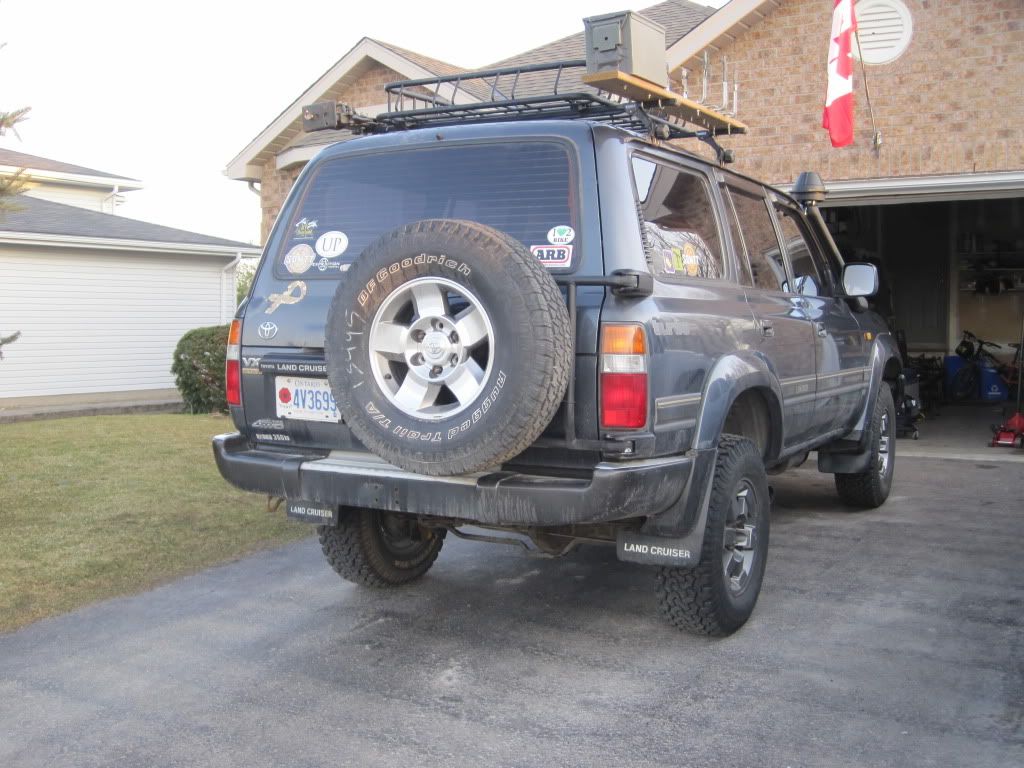
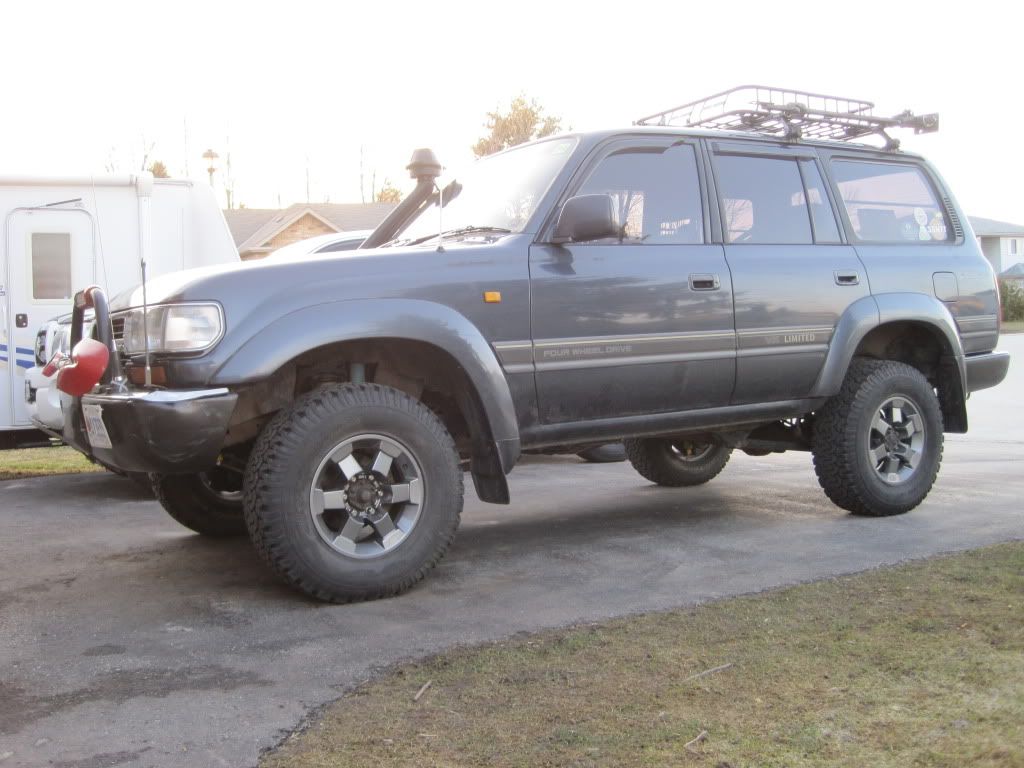
Well some new photo's: posing on the lawn and a little mud/ and water today (this is what I got the Land Cruiser for :D )
IMG_1727.jpg

IMG_1725.jpg

IMG-20110501-00007.jpg

IMG-20110501-00008.jpg

IMG-20110501-00005.jpg
 
As for leaking water search here on mud about clogged sun roof drains, that could be one of your problems. Also it could be front windshield as my dads is doing the same.

Cheers.
 
x2 on Sunroof drains, I had the same problem.
There are small holes in either front corner of the inner roof in front of the sunroof (hope that description makes sense...)
Mine were plugged up, and I thought my windshield was leaking. Found them and cleaned them out, no more "leaky windshield":)
P.S. Great rig!
 
Nice truck!

I'll be making a BEB change video tutorial as soon as my buddy gets his bearings in and his truck over here. It'll put things in perspective for you - pretty easy when you've done it a dozen or more times.

Regards,

Louis
 
As for leaking water search here on mud about clogged sun roof drains, that could be one of your problems. Also it could be front windshield as my dads is doing the same.
I found the holes and pushed weed wacker line down them to ensure they were not clogged. What else can I do?

Cheers.

x2 on Sunroof drains, I had the same problem.
There are small holes in either front corner of the inner roof in front of the sunroof (hope that description makes sense...)
Mine were plugged up, and I thought my windshield was leaking. Found them and cleaned them out, no more "leaky windshield":)
P.S. Great rig!
I found the holes and pushed weed wacker line down them to ensure they were not clogged. What else can I do?

Nice truck!

I'll be making a BEB change video tutorial as soon as my buddy gets his bearings in and his truck over here. It'll put things in perspective for you - pretty easy when you've done it a dozen or more times.

Regards,

Louis
I am going to complete this soon! but a video would be great:D
Thanks
 
When I pulled the gunk out of the top drainholes I didn't see anything else down there, and they seemed to work well after that. Maybe I should go a little further myself...
 
I found the holes and pushed weed wacker line down them to ensure they were not clogged. What else can I do?

Mike,

The rust/corrosion along the windshield gasket that you currently have is more than likely the issue. I had the same issue, so my windshield was removed, the frame sandblasted and repainted, and a new rubber gasket installed to eliminate the leaking I had in that area. Now, my glass is not original Toyota and so I have had some recurring issues along the glass because the dimensions aren't perfect, but none along the frame. The windshield issue is a real pain in the :censor:

I meant to comment on this earlier - make sure to extend your diff breathers and your fuel filler breather (lots on this in various threads).

If you're not already, also use a lubricity additive on every fill-up (Stanadyne, Power Service, etc) to keep the rubber seals in the IP (Injection Pump) happier.

Cheers!
I have caulked the windshield, and extended my diff Breathers. Are there breathers for the Transfer case and Transmission? And I will have to look into the fuel filler breather!
I am putting an additive into the fuel (just a cheap diesel clean all), but I will have to check out one of your suggested ones

For the oil filter wrench, head to your nearest Princess Auto (or order online) and get this:
http://www.princessauto.com/workshop/hand-tools/automotive-tools/auto-repair/8104028-adjustable-oil-filter-wrench

Works like a charm..!!
I like it, I may order online, as the closest princess is 2 hours away

.
 
Started the BEB's tonight! It's going well so far; I removed the stiffening brackets and removed all oil pan bolts/nuts. I started to use a putty type knife to remove the FIPG but ran out of light and it started raining. It's not my DD, so it can sit in my driveway a few days till I get back to it.
The Cruiser is coming along with all fluids changed and front axle service complete.

I have a question for the great Cruiser minds out there to ponder while I complete the BEB's: I still have electrical problems, which I will try to explain!
I have not had radio; dome lights; clock; since 3 days after I got the truck. I know they are all on the dome fuse and the fuse is good, with good power going to it. There is an after market amp under the Pass seat which gets power from the battery into after market fuse to amp (getting good power)
All above mentioned devices were working a little while raining (I was getting water in rear and Pass side panels). I have since fixed all leaks with lots of caulking, and now never get radio and stuff. I also had a hard time running my ARB fridge this weekend, because of power problems.
I have a new 140 amp Tercel Alt in it (but have not personally tested output) Batteries are charging to 14 something and hold 12.6 while shut off.
I have a FSM which makes no sense to me!
I think it may be a bad ground somewhere as the rain was making it work, but I am a soldier not an electrician.
What can I check to get this stuff working again?
Sorry for the long post, and yes I have searched and read hundreds of post on this.
 
The FSM has a clock section...no lights, lights with key, fades.

Mine had the same problem with dome, clock and radio, so I fused a line from + source to cig circuit and all is well.
 
The FSM has a clock section...no lights, lights with key, fades.

Mine had the same problem with dome, clock and radio, so I fused a line from + source to cig circuit and all is well.

Do you know what section in the FSM? I dug through and couldn't find it. I also have had noon funtioning dome lights, pwr mirrors, and clock (a few others too) since I got the truck, but haven't had the time to get into it.

I know the PO hacked and slashed the wiring for some gawdy JDM fog lights and the grounding is all messed up.
 
Looks like its getting well used! Good luck on the issue
 
A little update:
As you can see here the BEB's were done last summer:https://forum.ih8mud.com/diesel-tech-24-volts-systems/484370-real-time-beb-question.html#post6655808
The Cruiser has been parked in the garage all winter and was able to complete a few tasks off my list:
ACSD (Automatic cold start device) removal, with new blanking plate on the injection pump.


Snorkel install (Christmas gift from wife :D ) Figured it was time after Bobcagen last fall!

Today a lift, OME 2 ½ heavy lift. I know I got some wicked “stinkbum” I only got the rear installed today. I would of completed it today, but I broke every #@$% bolt on the cruiser, so a long day of drilling and tapping. :angryfire: I had to leave for hockey, so figure I will do the front some time this week.

There is no jacks under the truck in this picture! this is the lift height of the new rear.

You can probably see my crappy 3" exhaust, with side exit. didn't turn out as good as I would of liked. oh well you can't win them all.

I did try to change out the steering damper. No go, I could not get the tie rod separated. I think I will go buy a nice tie rod separator tool, like the one we used a few years ago when doing my diff seal on my Taco.
Things to do in the next month or so:
1. Finish the lift
2. Get the new steering damper installed
3. Install castor correction bushings on the panhards, need to use someone’s shop press, but I may try using the Hi lift jack as a press, but heard that I need a heavy duty press.
4. Need new flex brake lines, all 6. (most are scary cracked) waiting for cash
5. Front axle job, again.
6. New front rotors and pads. Waiting for cash.
7. rear calliper rebuild, fronts may need it also, but I will have to see once removed.

I was planning to park the Cruiser back in the garage, but I don't think it will fit anymore :tongue3:
 
Last edited:
Looking good! You just need some nice JDM bolt on's for your light bar!
 
So this morning I got the front lift on, no problems!:D The rear is still quite a bit higher, but for anyone that knows me, I will pack enough stuff that it will level out. \(read beer):beer:


I still need to replace steering damper ( need tie rod separator)
And then correct castor with my new bushings for the panhards (need heavy duty shop press)
 
Looks great Mike!! I'm looking forward to catching up to you with the upgrades ;)
 
Lift complete!
I pulled the Panhards today and installed the OME castor correcting bushings.

Once I removed the panhards I made a fancy jig out of wood.


Then I took them to get pressed out and new ones installed at a local shop. 30$ well spent, it took us (I helped) 1 ½ hours to do this.

Cruiser drives great, went for a family drive tonight.


That’s it for the lift. Next job, Front brakes on order (rotors/pads/ flex lines/ calliper rebuild), along with front axle job.
I will try to check toe in the next few days in the driveway with a measuring tape and a few tools .
If I adjust my LPV, will bringing it down give me more rear brake pressure?
 

Users who are viewing this thread

Back
Top Bottom