- Joined
- Sep 26, 2005
- Threads
- 16
- Messages
- 86
- Location
- JP, MA 02130
- Website
- www.interrobangletterpress.com
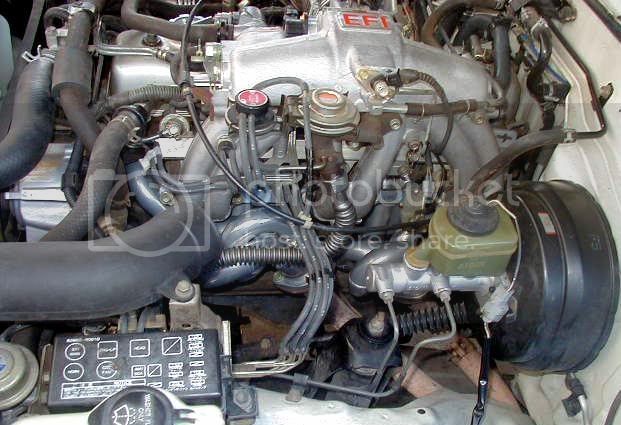
after the OEM head pipe was discontinued, I decided to move to the tuned port ceramic coated two-piece headers Man-a-Fre sells.
First pair and Y were installed 8 years ago by a shop in Medford along with a fluid heat riser.
The ball on the front header set rotted through a few months ago but was missed by my local shop when he did a winter checkup. What he found instead was a exhaust manifold leak, and that the cup connectors on the Y pipe were shot.
Ordered a new Y from MaF. Took delivery of shiny new Y pipe, and brought it in.
I was told 1. it wouldn't mate with the headers, and 2. headers were shot.
Another call to MaF and headers ordered to mate with new Y. It should be noted that MaF has apparently used a couple manufacturers for headers and that was a possible reason new Y wouldn't align with old headers.
Delivered Friday, unseasonable warmth, and a new shop space to work in meant I cracked it open Saturday morning.
So easy I'm sorry I paid hacks to do the work in the past:
A. Fender off. Air cleaner off, carb off, insulator plate off, manifold nuts/ bolts off.
B. Drop exhaust headers in scrap pile.
C. Completely and thoroughly clean up manifold port face. (It was left looking like s*** by the previous mechanic. The install 8 years ago used two gaskets and RTV. New gasket install a month ago with two generic gaskets and shellac. No clean up, so face still had residual RTV etc. from initial install. ayfkm?)
D. Blew out bolt holes and cleaned up bolts and studs.
E. Fresh gasket provided, refit manifolds and under-tighten, to hang somewhat loosely. (That's important. You don't want to have to dis/assemble everything twice.)
F. Slide under and fit Y to loosely hanging headers. Draw balls into cups with hardware supplied.
G. Once the balls/cups are drawn together, tweak down manifold nuts/ bolts balls tight. Follow tightening sequence in factory manual, or Haynes.
H. insulator plate, carb, ac assembly, and fender back on.
I. Fire it up and enjoy the sound of tuned headers. The open pipe idle and drive to the muffler shop this morning sounded so f'ing beautiful, I hated to have to muffle it.
Here's the ongoing saga of my old truck.
http://www.flickr.com/photos/interrobang918/sets/72157603108003604/with/8374751028/
Shots of header install are at the end.
mjb
Last edited: