After a bit of a break, I'm back working on my FJ40. My first build thread was here: First Thread.
I have a bunch planned and I decided that I should post my progress here and get some help before making some bad decisions on the second phase.
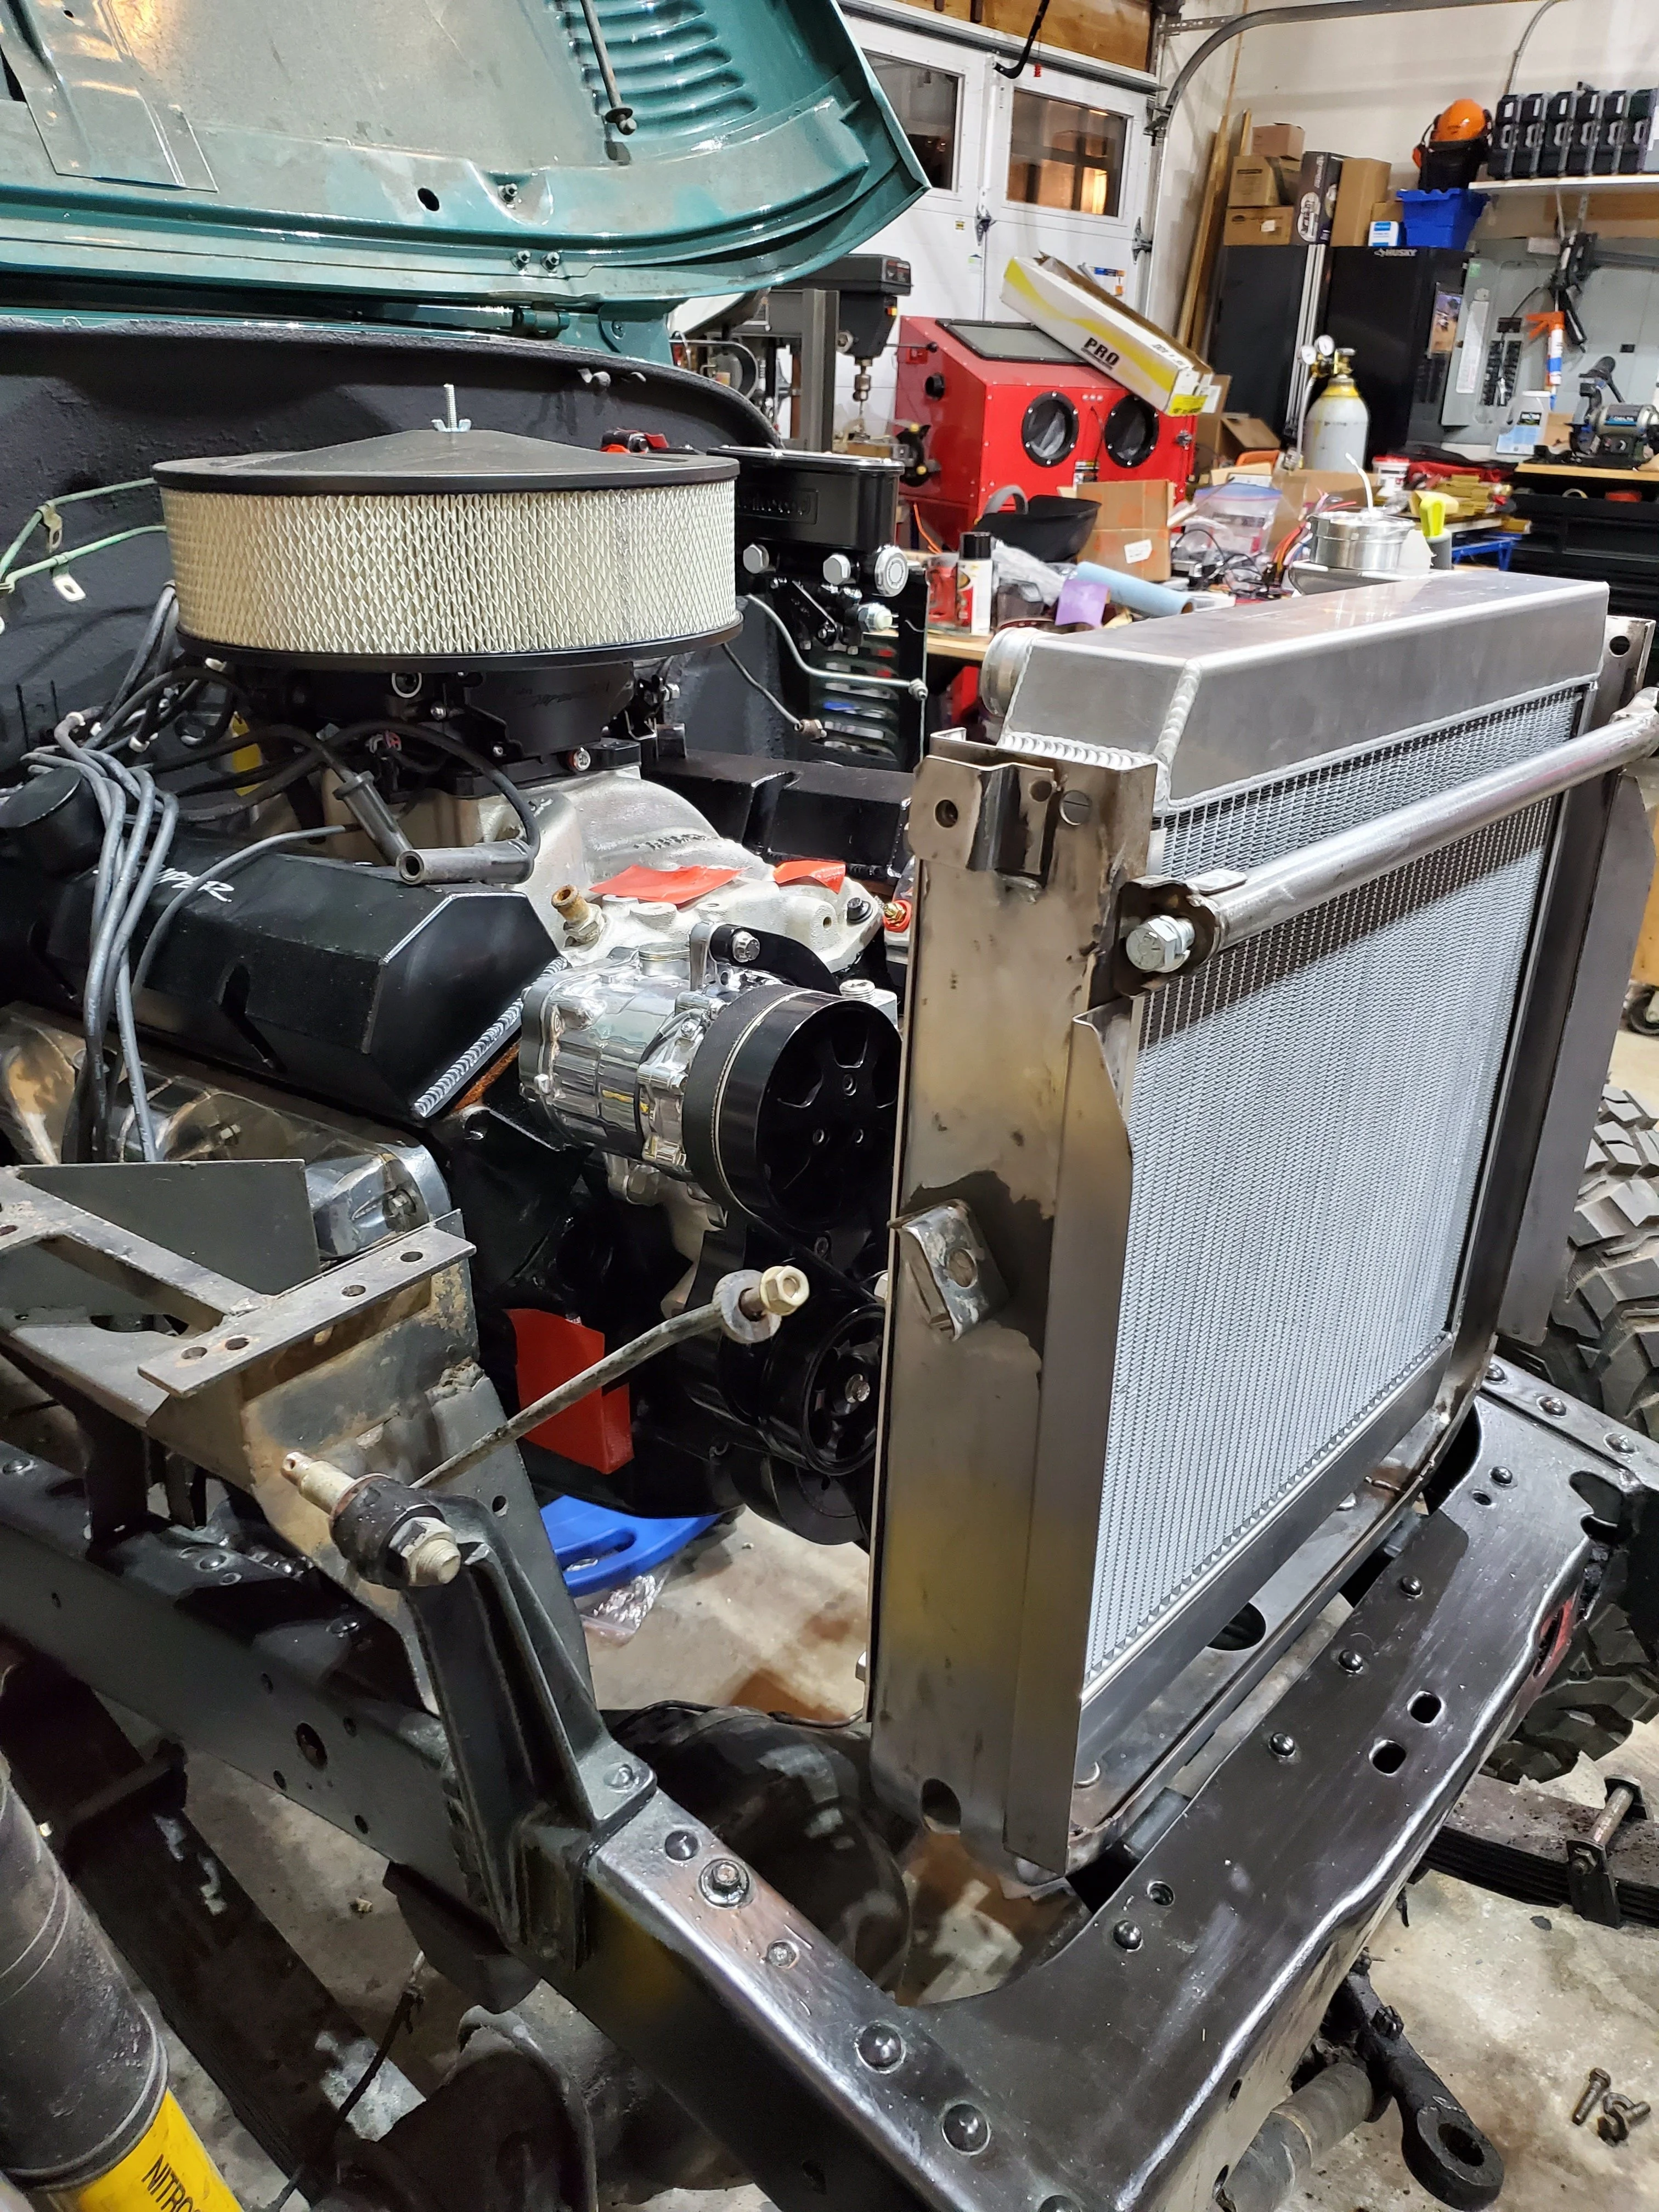
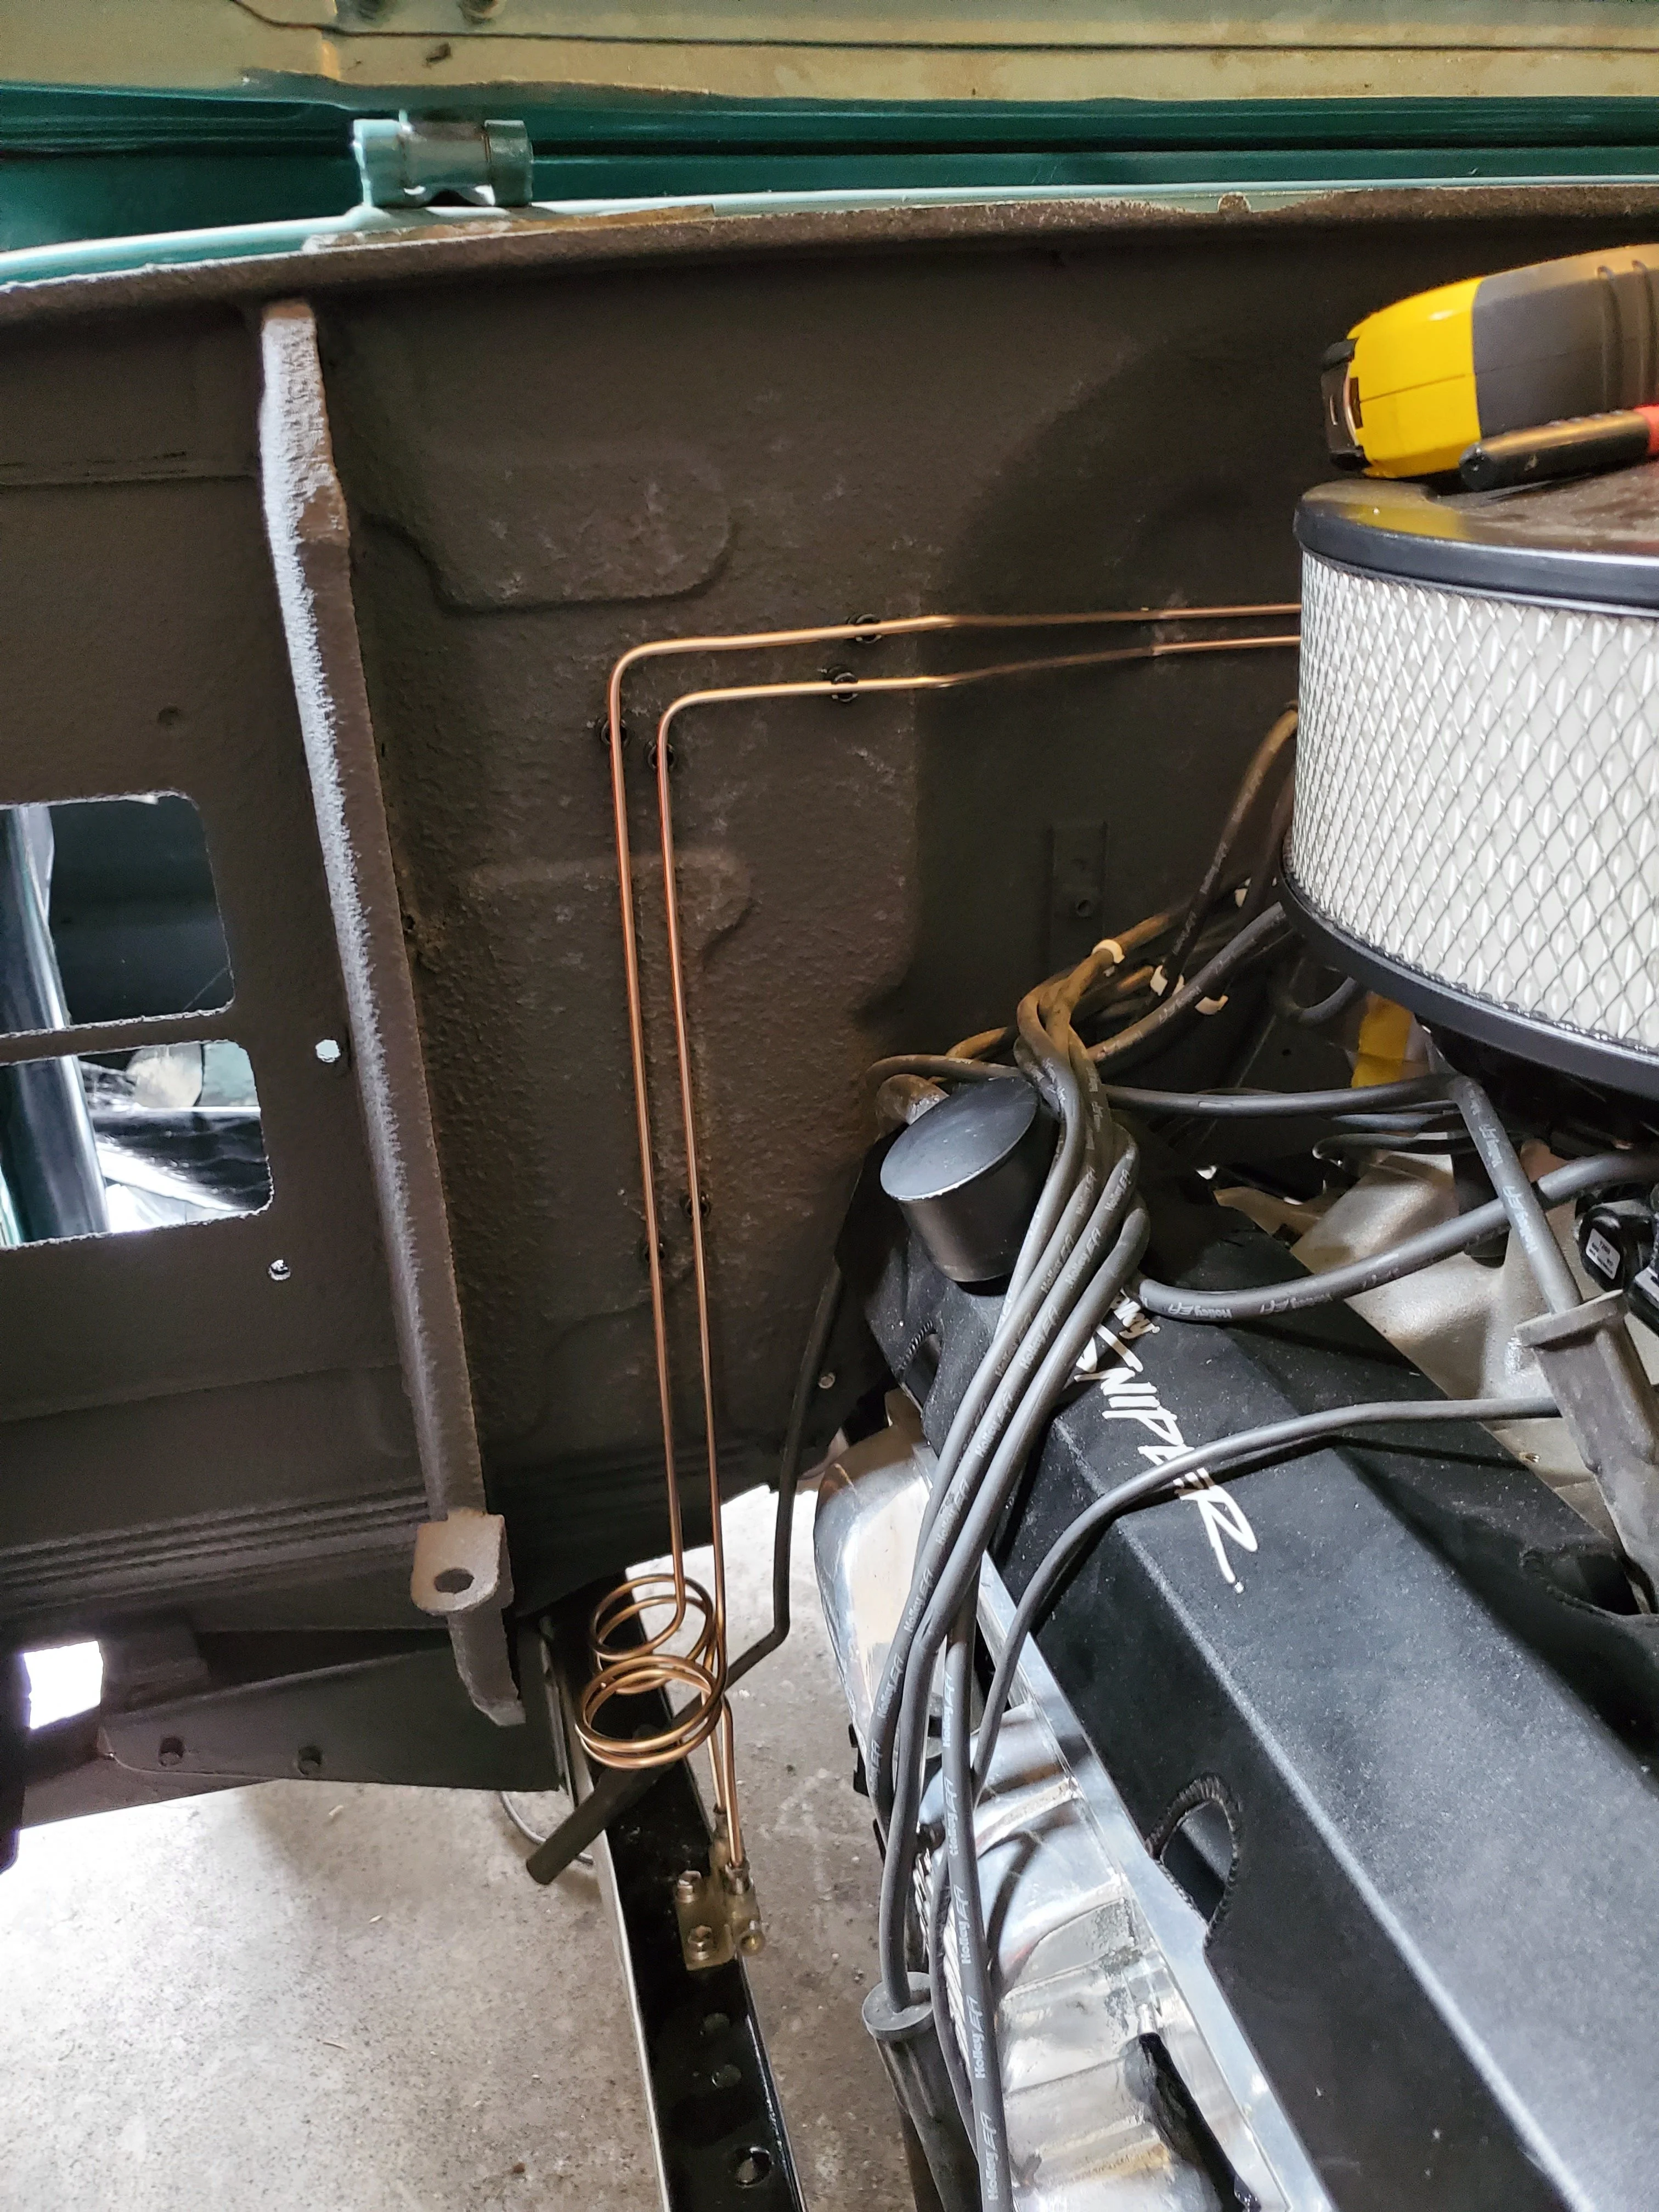
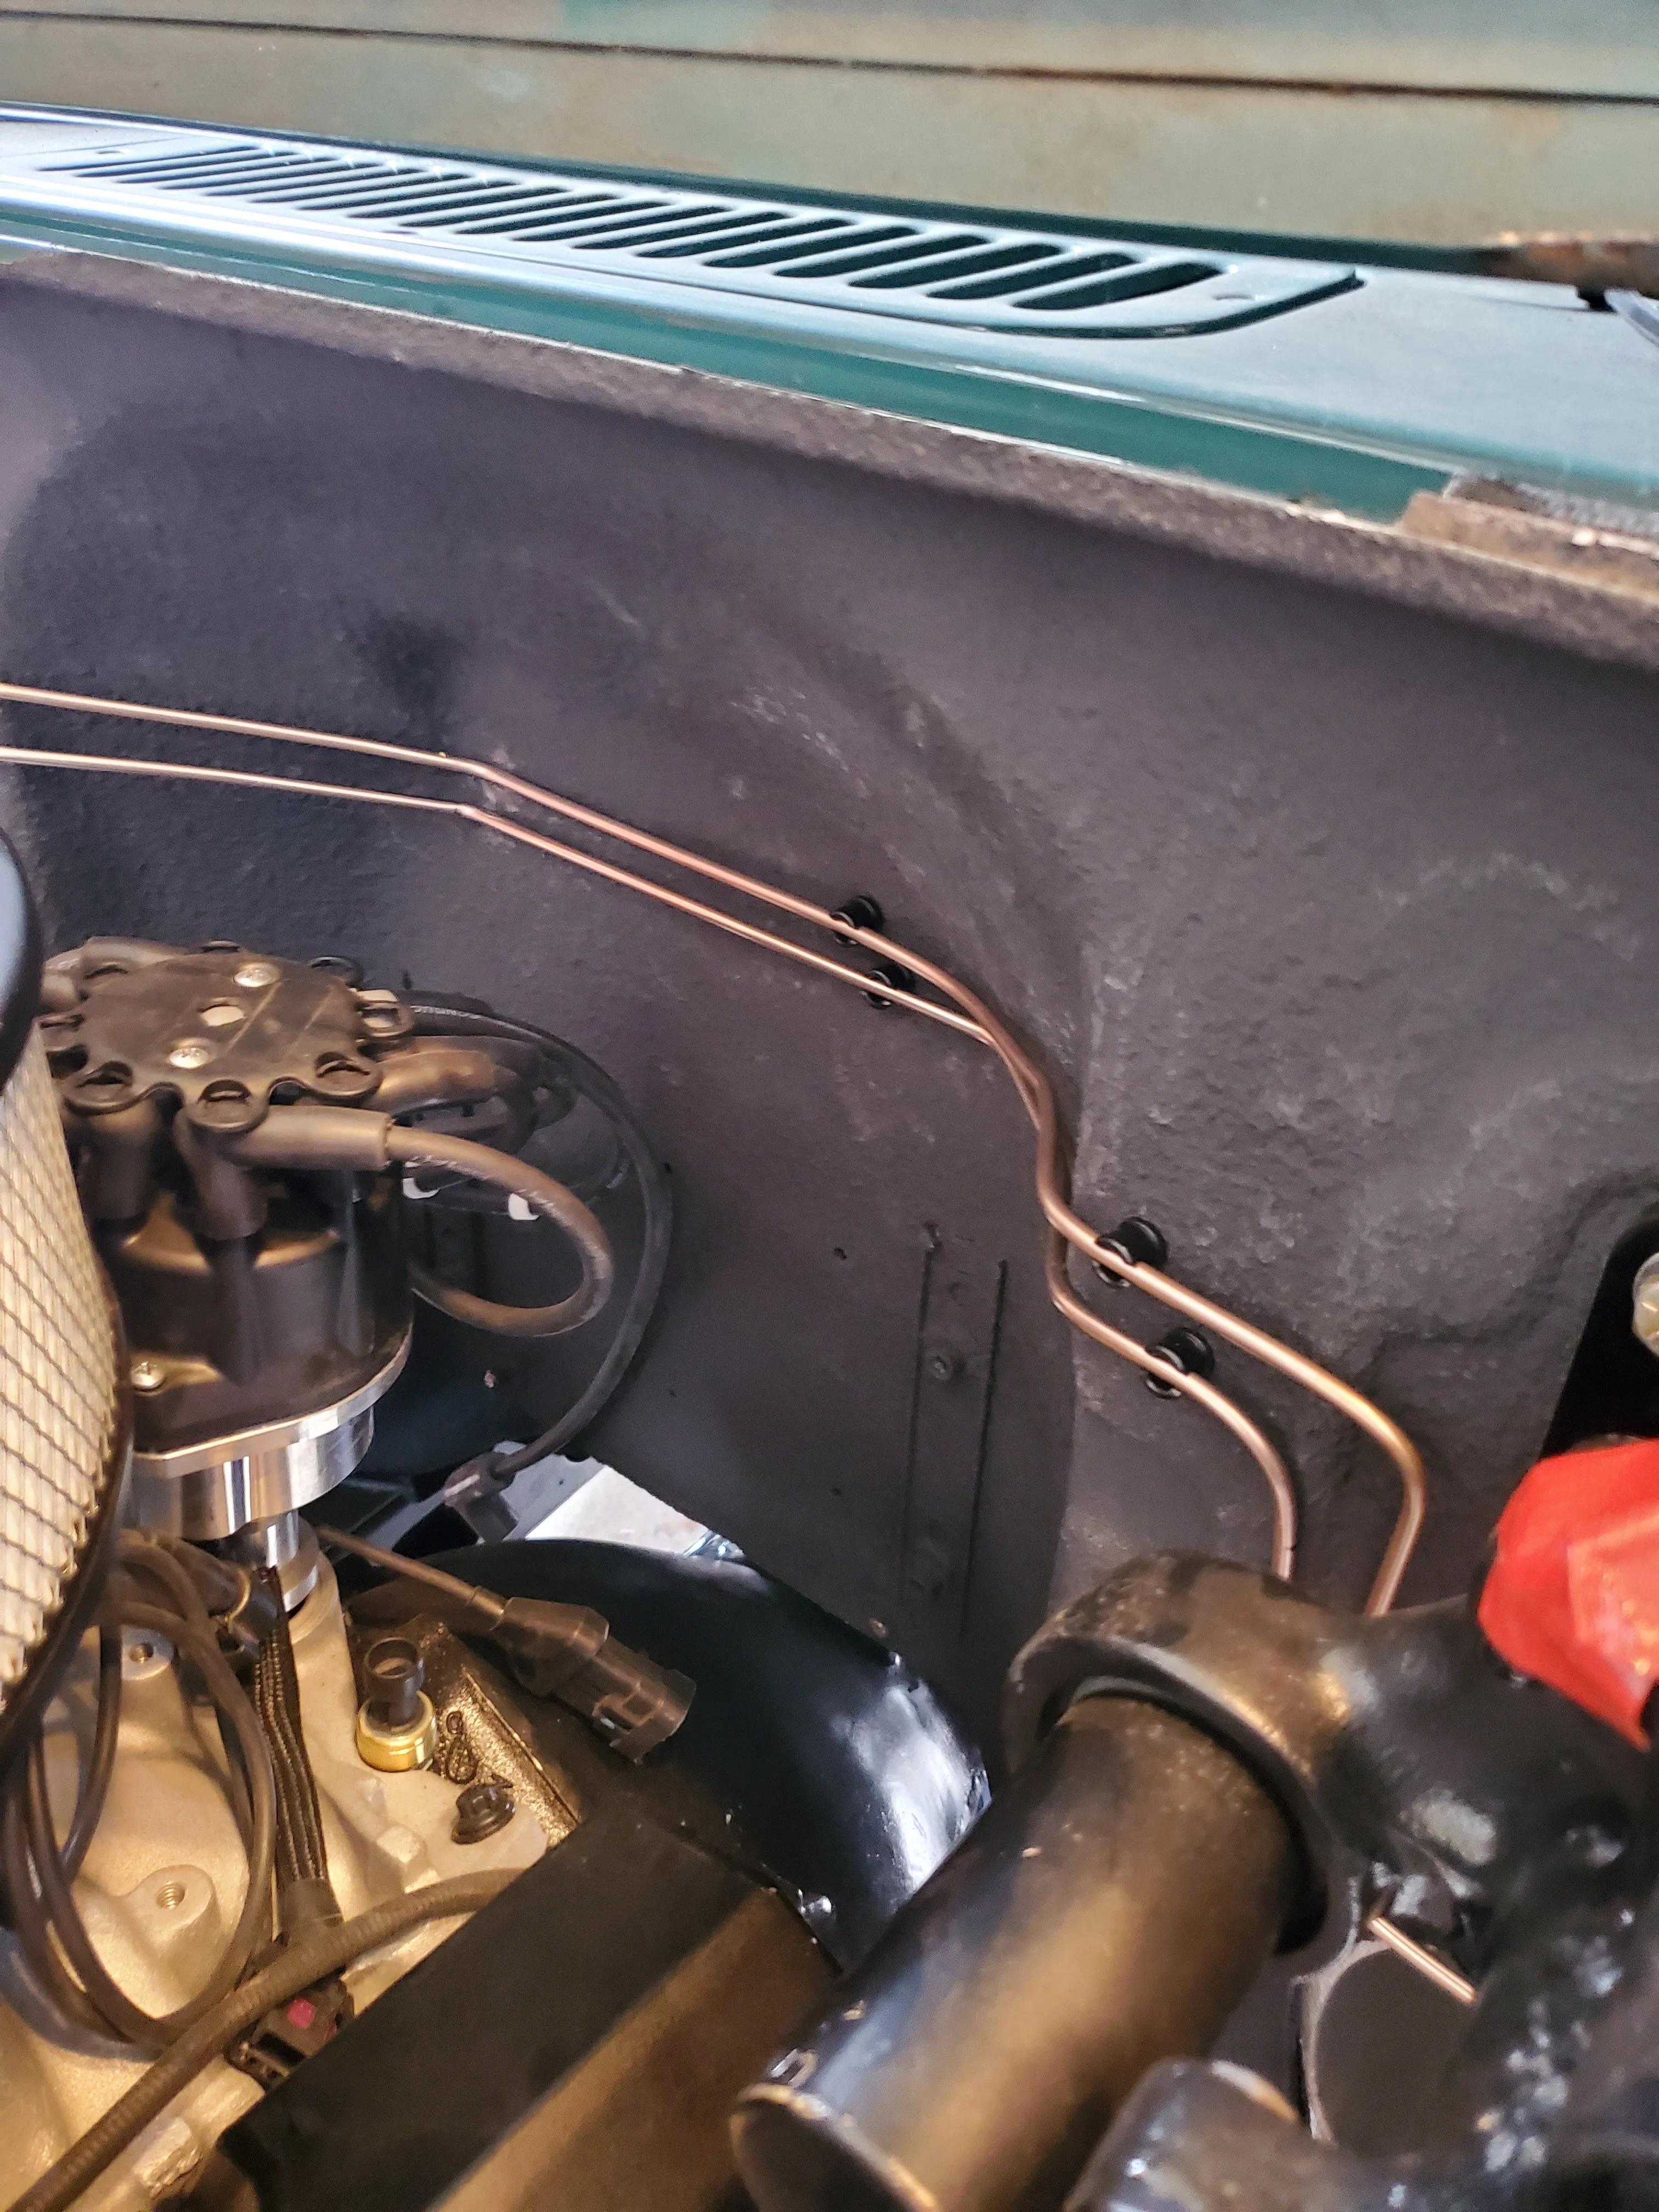
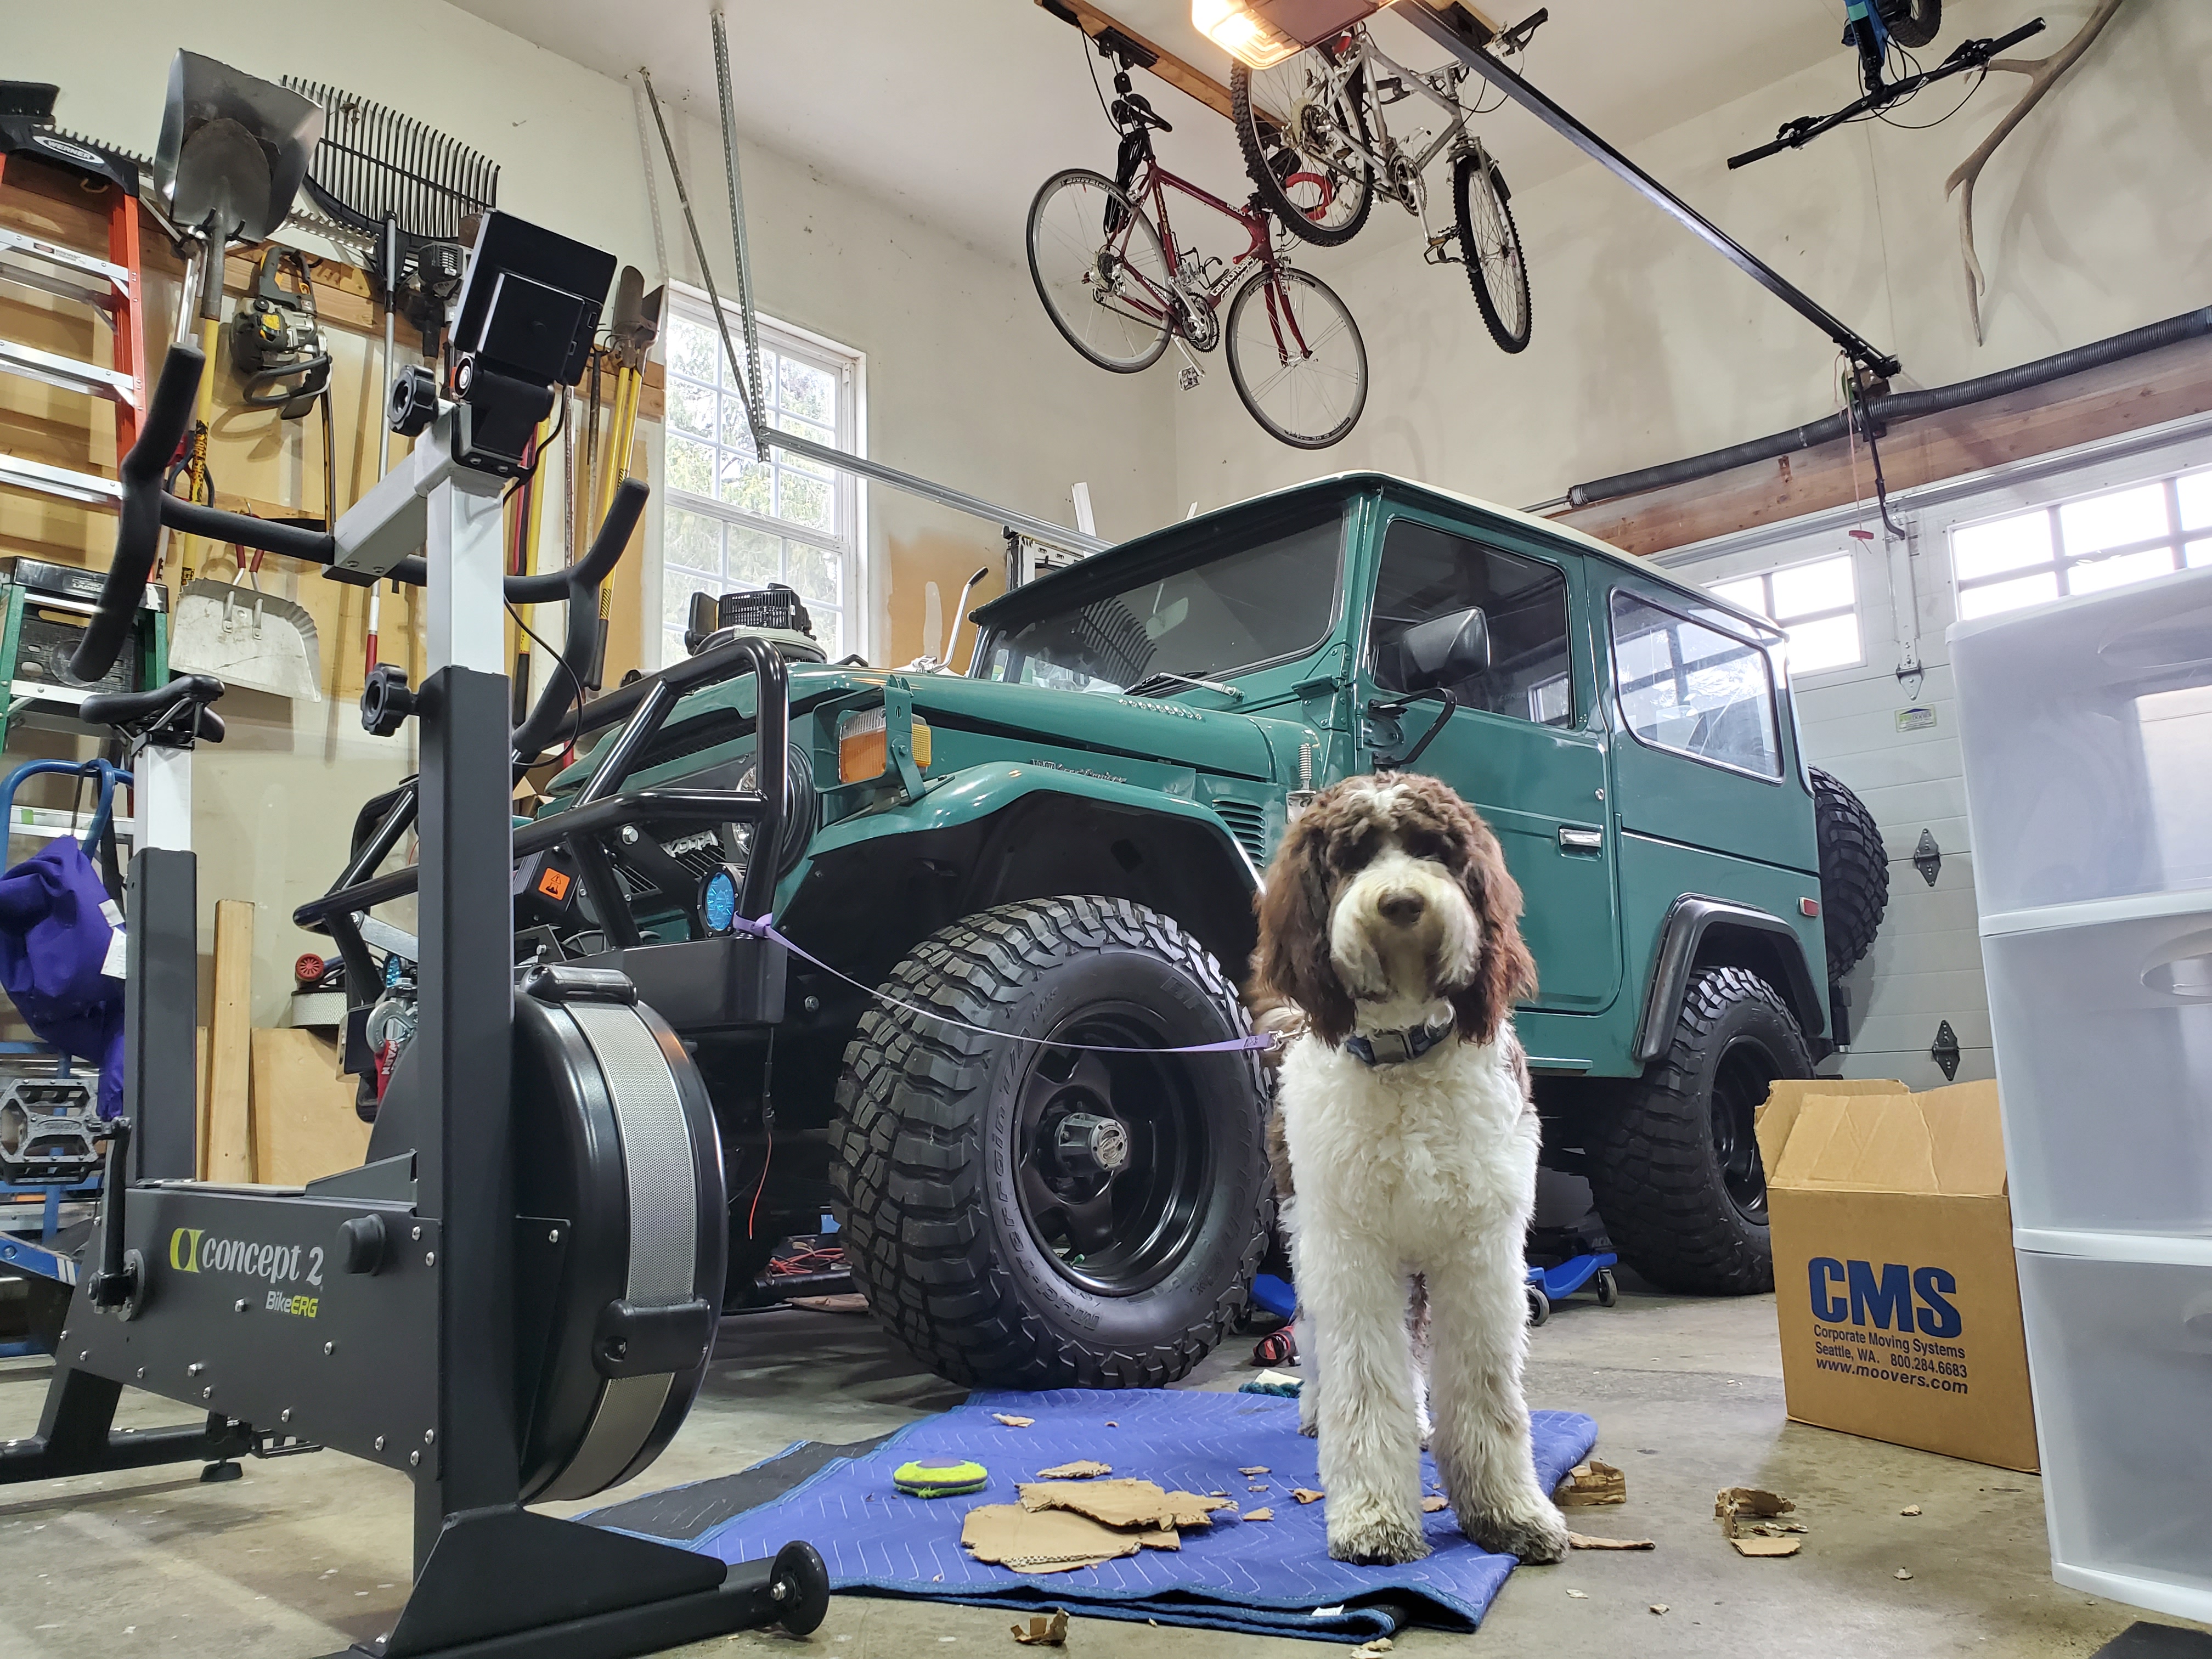
First, I'll update where I'm at. After spending way too much time on wiring up my sniper, I got it running. This is a chevy 4 bolt main 400 ci block. I installed the sniper efi, ignition, hyper spark coil and distributor.
I hopefully learned a bunch hooking this up. My initial start was delayed multiple time:
1. First attempt, power wire pulled out from fuel pump, so no gas
2. Sniper hand held was not completely connected, total dead
3. No enough fuel in tank for fuel pump to pick up
4. Finally started up and purr'ed
5. "Re-wired" by adding wire wrap and harness wrap, pulled hand held loose again and had to trouble shoot
6. Tried to time it, but so far off that I realized the distributor is a tooth or two off.
7. After finding TDC and resetting distro, realized that my plug wires are in the wrong order
8. Finally runs strong through RPM range, but pre ignites at higher RPMs
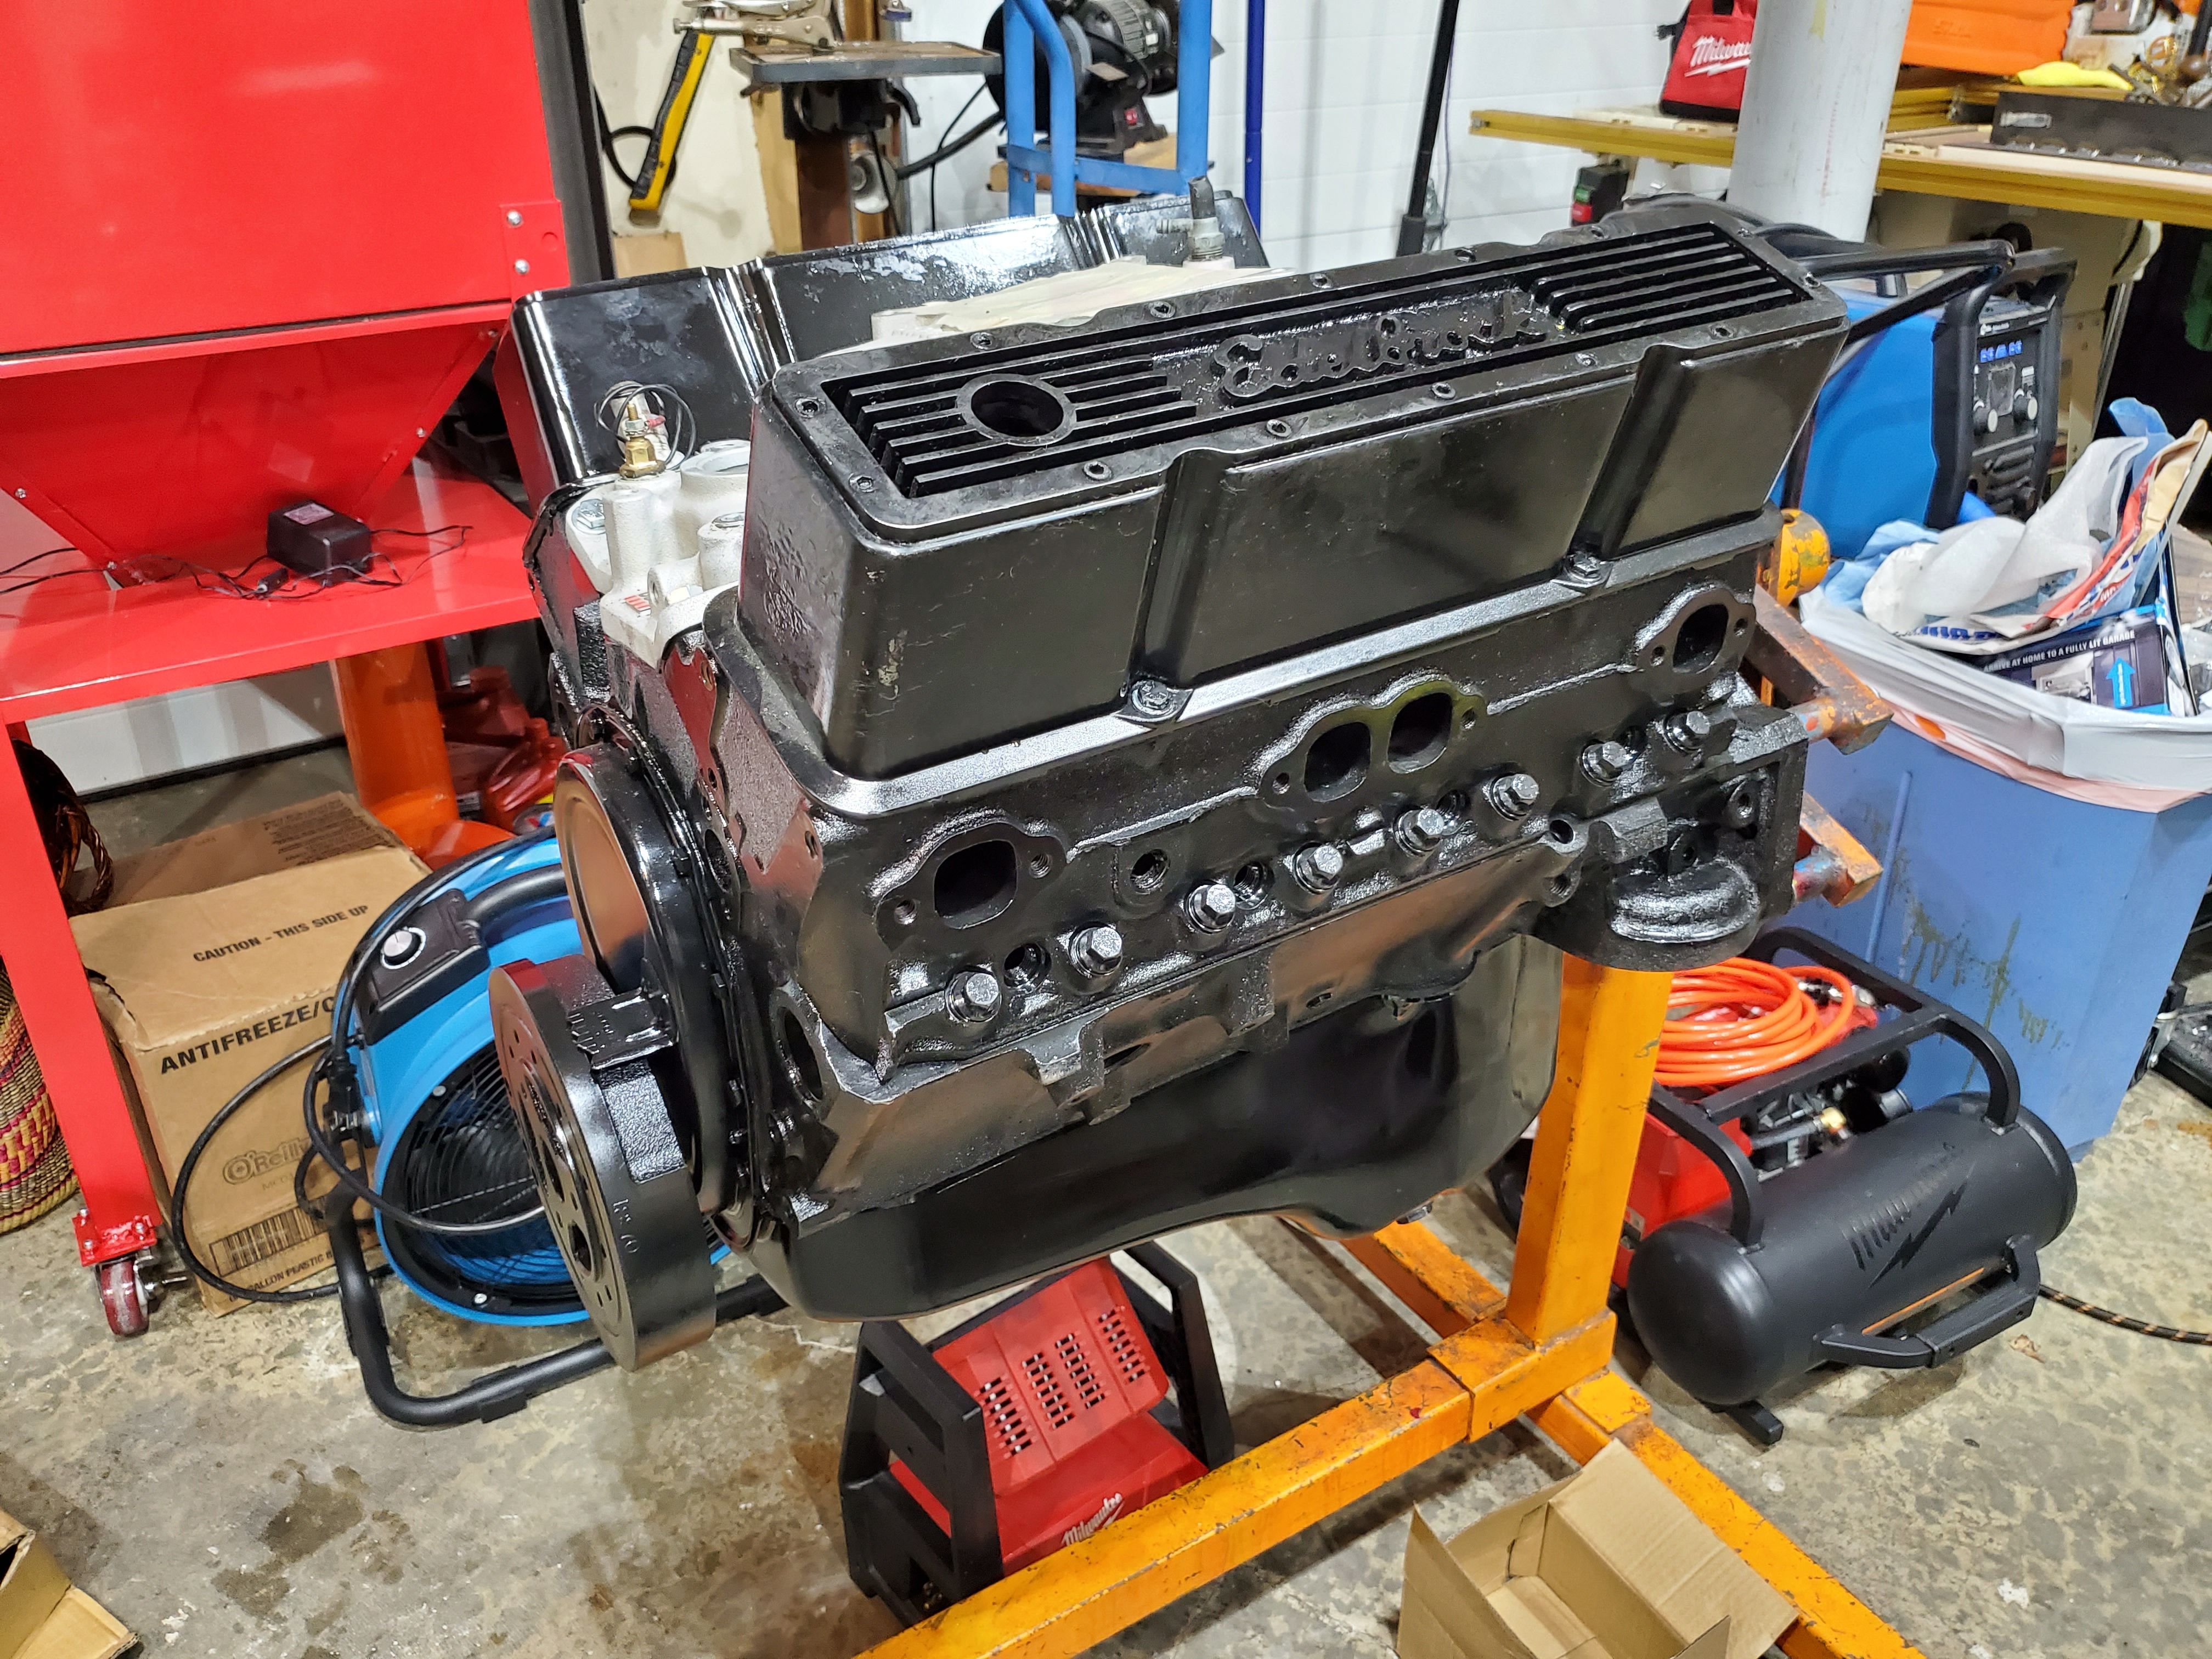
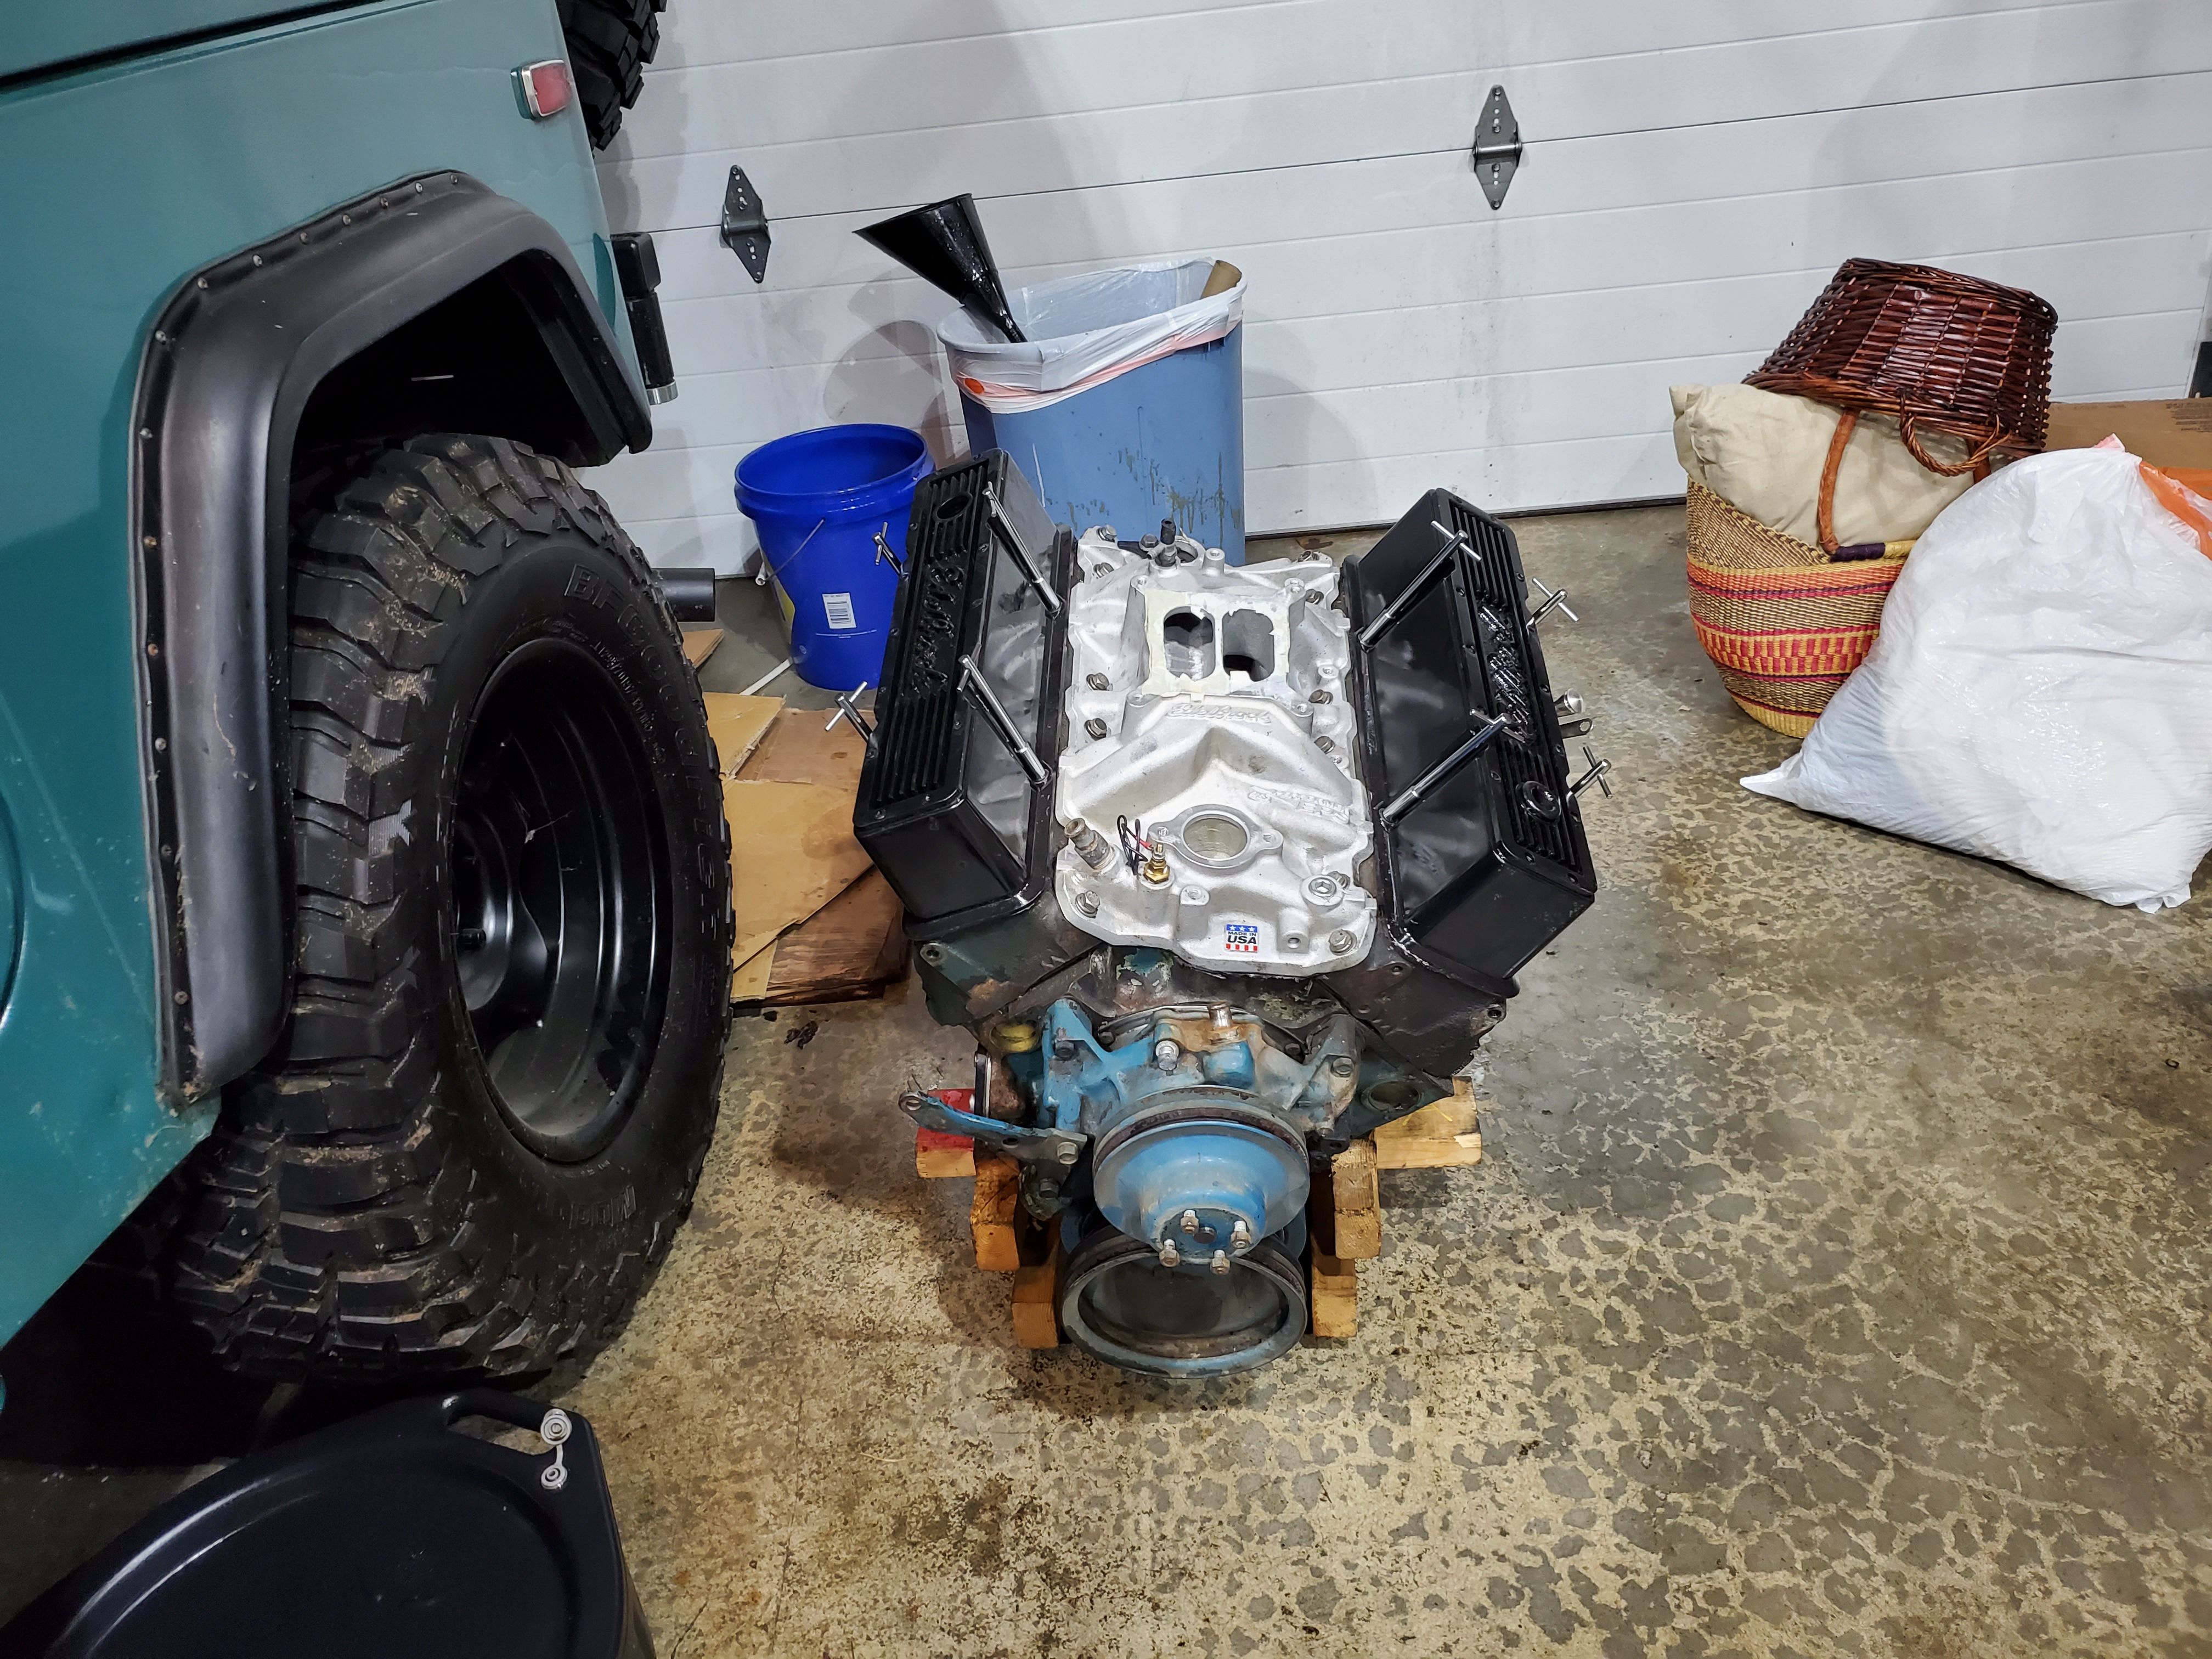
Now that the motor is running again, it's time to replace it . While the 400 is my fathers dream engine, the 383 stroker is mine. I stumbled onto this one:
Eagle stroker kit, sast iron heads, roller cam and hydraulic lifters and a mild cam. I don't have the build sheet on it, but my neighbor knows the guy who build it and no expense was spared. I'll move all the sniper stuff from the 400 on to the 383. Hopefully, I'll find out how to reset the sniper map table to the new engine.
Why the change? It's part of my dream machine. The 400 is still strong with compression between 175 and 210. Oil pressure is 58 at idle. I'm waiting on a buyer before I pull this engine out.
Once the engine is out, I plan to take the Th400 and transfer case to a transmission shop and ask them to take a look, fix anything wrong and reseal them up. If anyone in the PNW has a good recommendation, I'm all ears and would appreciate any help.
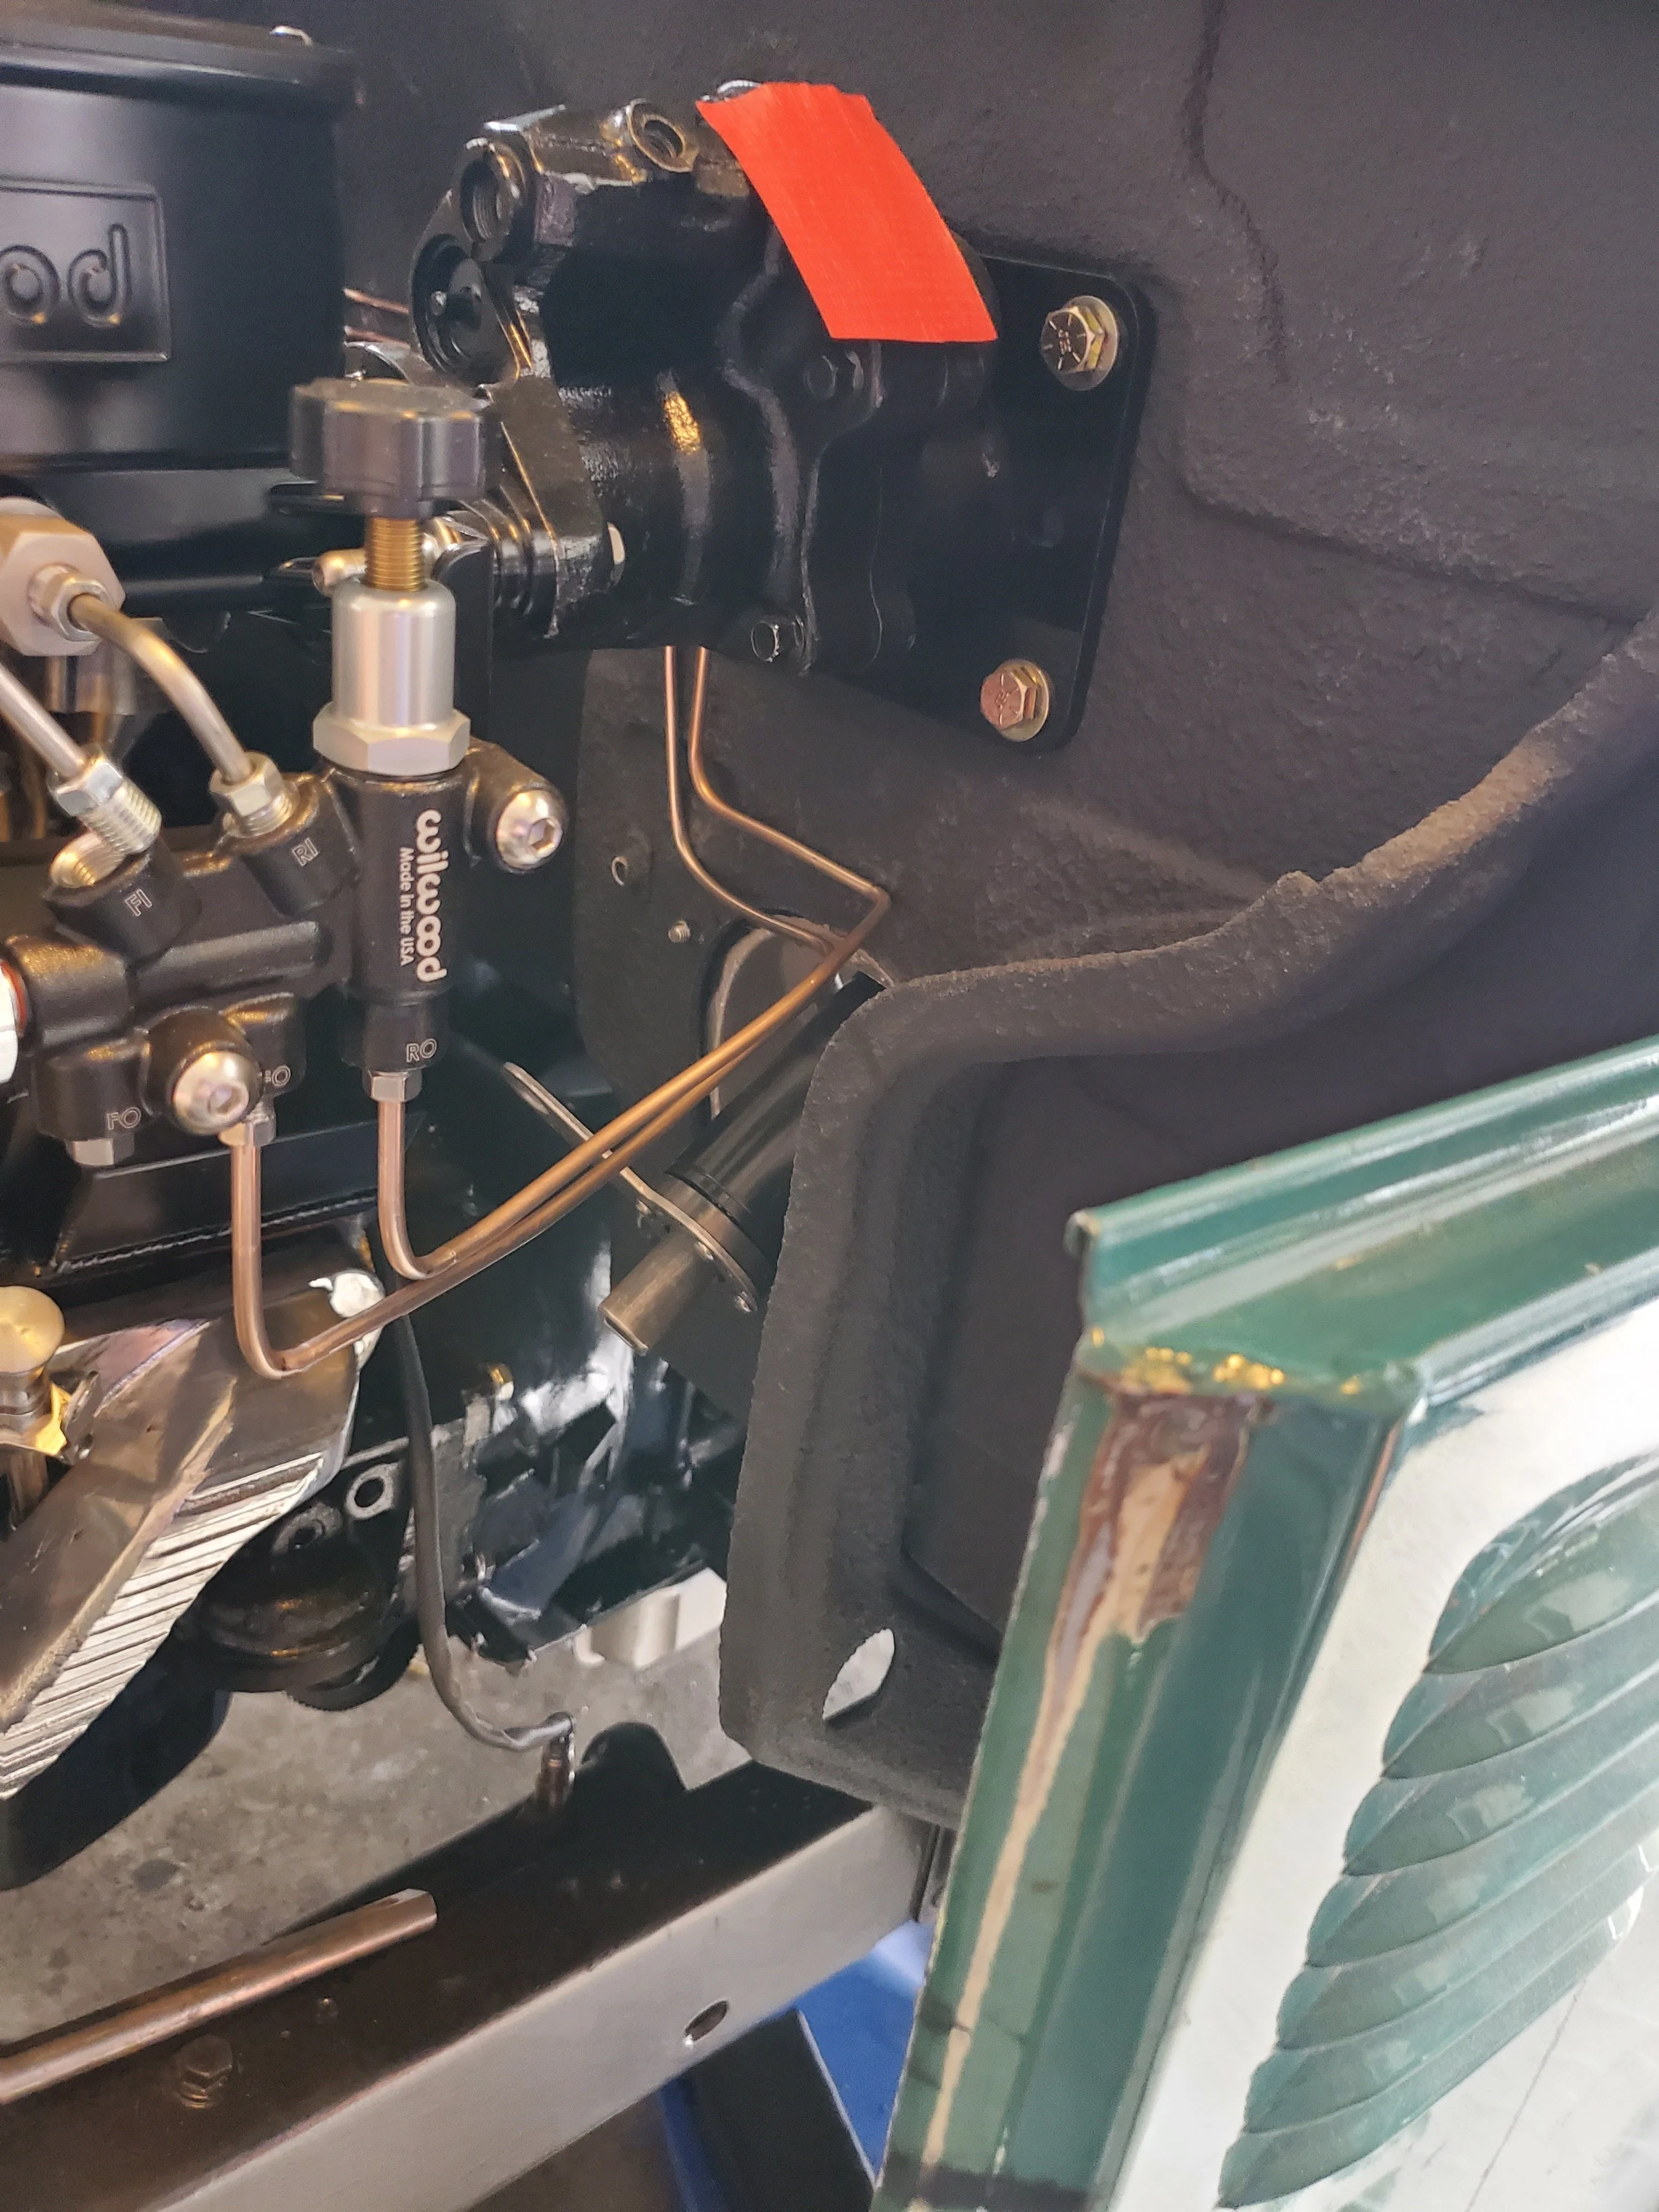
The wiring under the dash is a complete mess. Pieced together fuse block with wires everywhere, connected, disconnected, spliced, hanging, stuffed...it's just bad. I got a wiring kit from JTOutfitters and plan to re-wire everything. I have a weather pack kit, but my neighbor convinced me the deutch kit is the move, more waterproof and smaller connections. It came in the mail today along with seamless butt connectors. He recommending crimp, solder, then heat shrink the connections. I need a lesson.
With the engine and transmission out, I'll pull the old GM steering column and add it a flaming river push button ignition column along with the momo fighter steering wheel:
I know the enthusiasts blood pressure is getting pretty high so I'll add some more logs to the fire. Since the fuse block for the EZ wire kit with likely occupy the majority of the glove box, I'm replacing the heaters with a This AC, along with a new steering column (column shifter) and Dakota Digital cluster, vintage air gen IV system. The passenger side will be stuffed with wires and AC. I'm bailing on the OEM instrument cluster in favor of the Dakota Digital second gen unit. I'm hoping all of these components should make the wiring job a little easier.
There is so much to do, I'm over whelmed on where to start. I appreciate you reading this thread. Please drop me a note if you think I'm going the wrong way or have some advice.
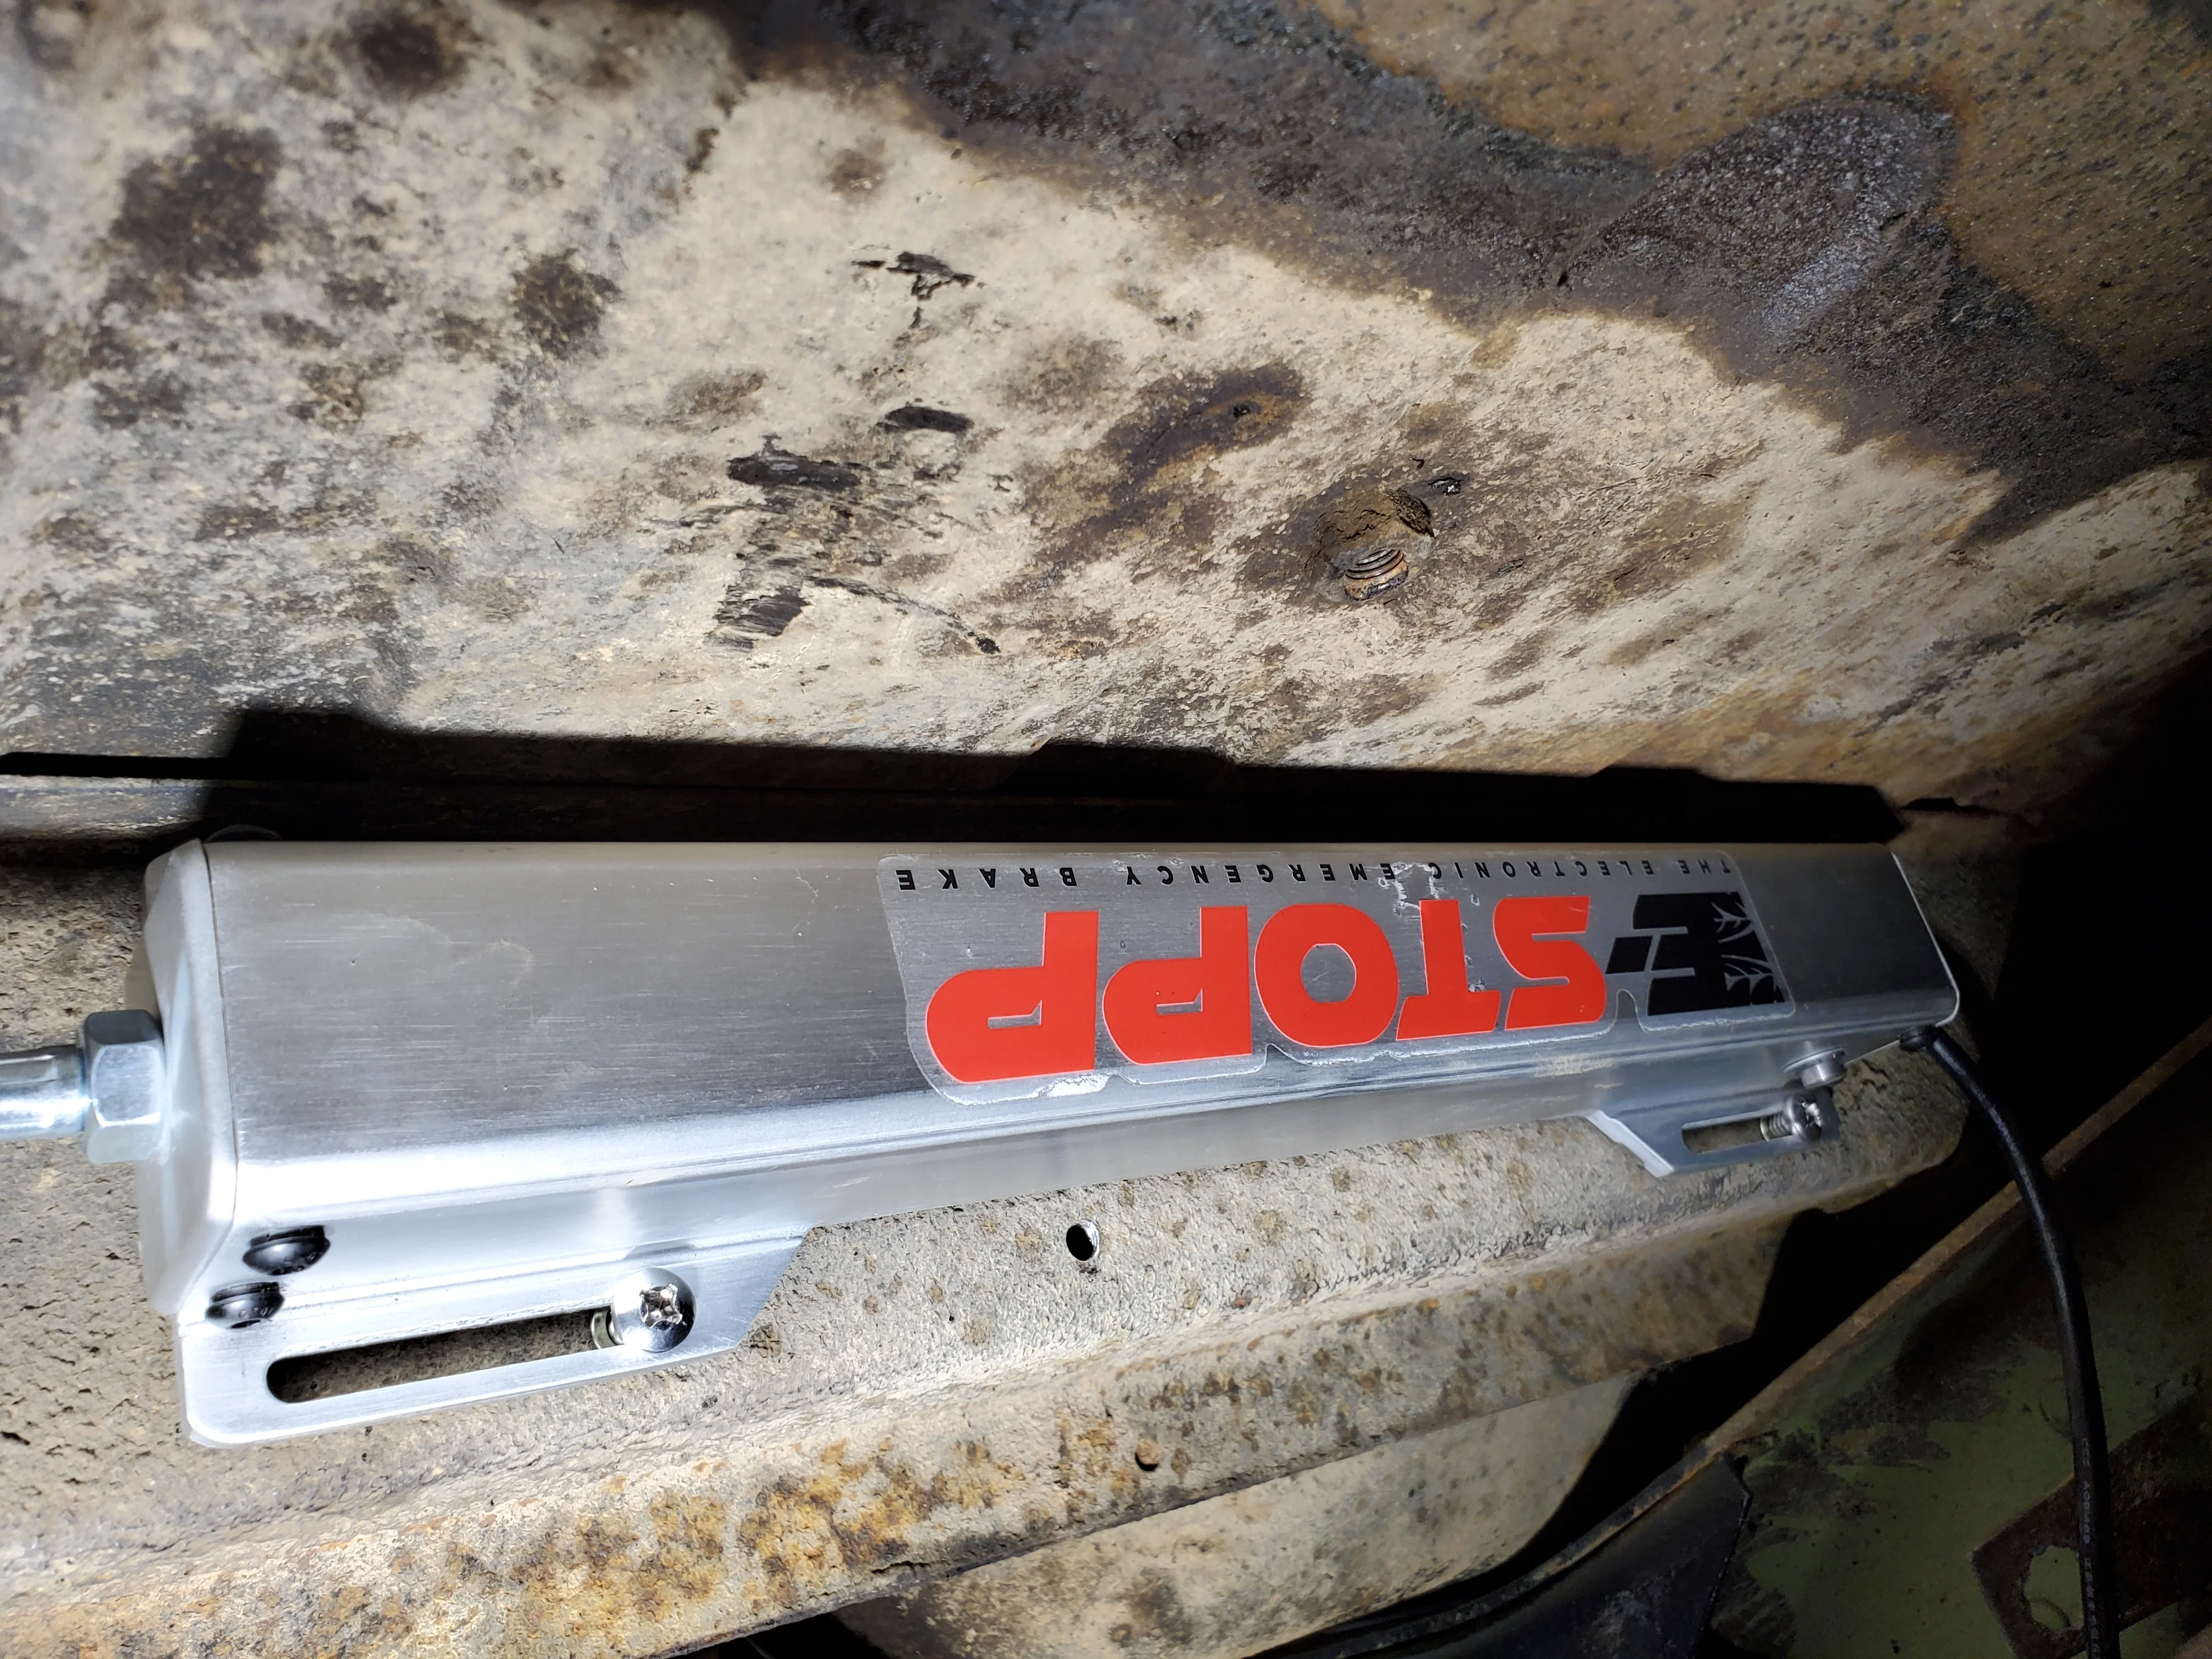
Final shot of the security system.
I have a bunch planned and I decided that I should post my progress here and get some help before making some bad decisions on the second phase.
First, I'll update where I'm at. After spending way too much time on wiring up my sniper, I got it running. This is a chevy 4 bolt main 400 ci block. I installed the sniper efi, ignition, hyper spark coil and distributor.
I hopefully learned a bunch hooking this up. My initial start was delayed multiple time:

1. First attempt, power wire pulled out from fuel pump, so no gas
2. Sniper hand held was not completely connected, total dead
3. No enough fuel in tank for fuel pump to pick up
4. Finally started up and purr'ed
5. "Re-wired" by adding wire wrap and harness wrap, pulled hand held loose again and had to trouble shoot
6. Tried to time it, but so far off that I realized the distributor is a tooth or two off.
7. After finding TDC and resetting distro, realized that my plug wires are in the wrong order
8. Finally runs strong through RPM range, but pre ignites at higher RPMs
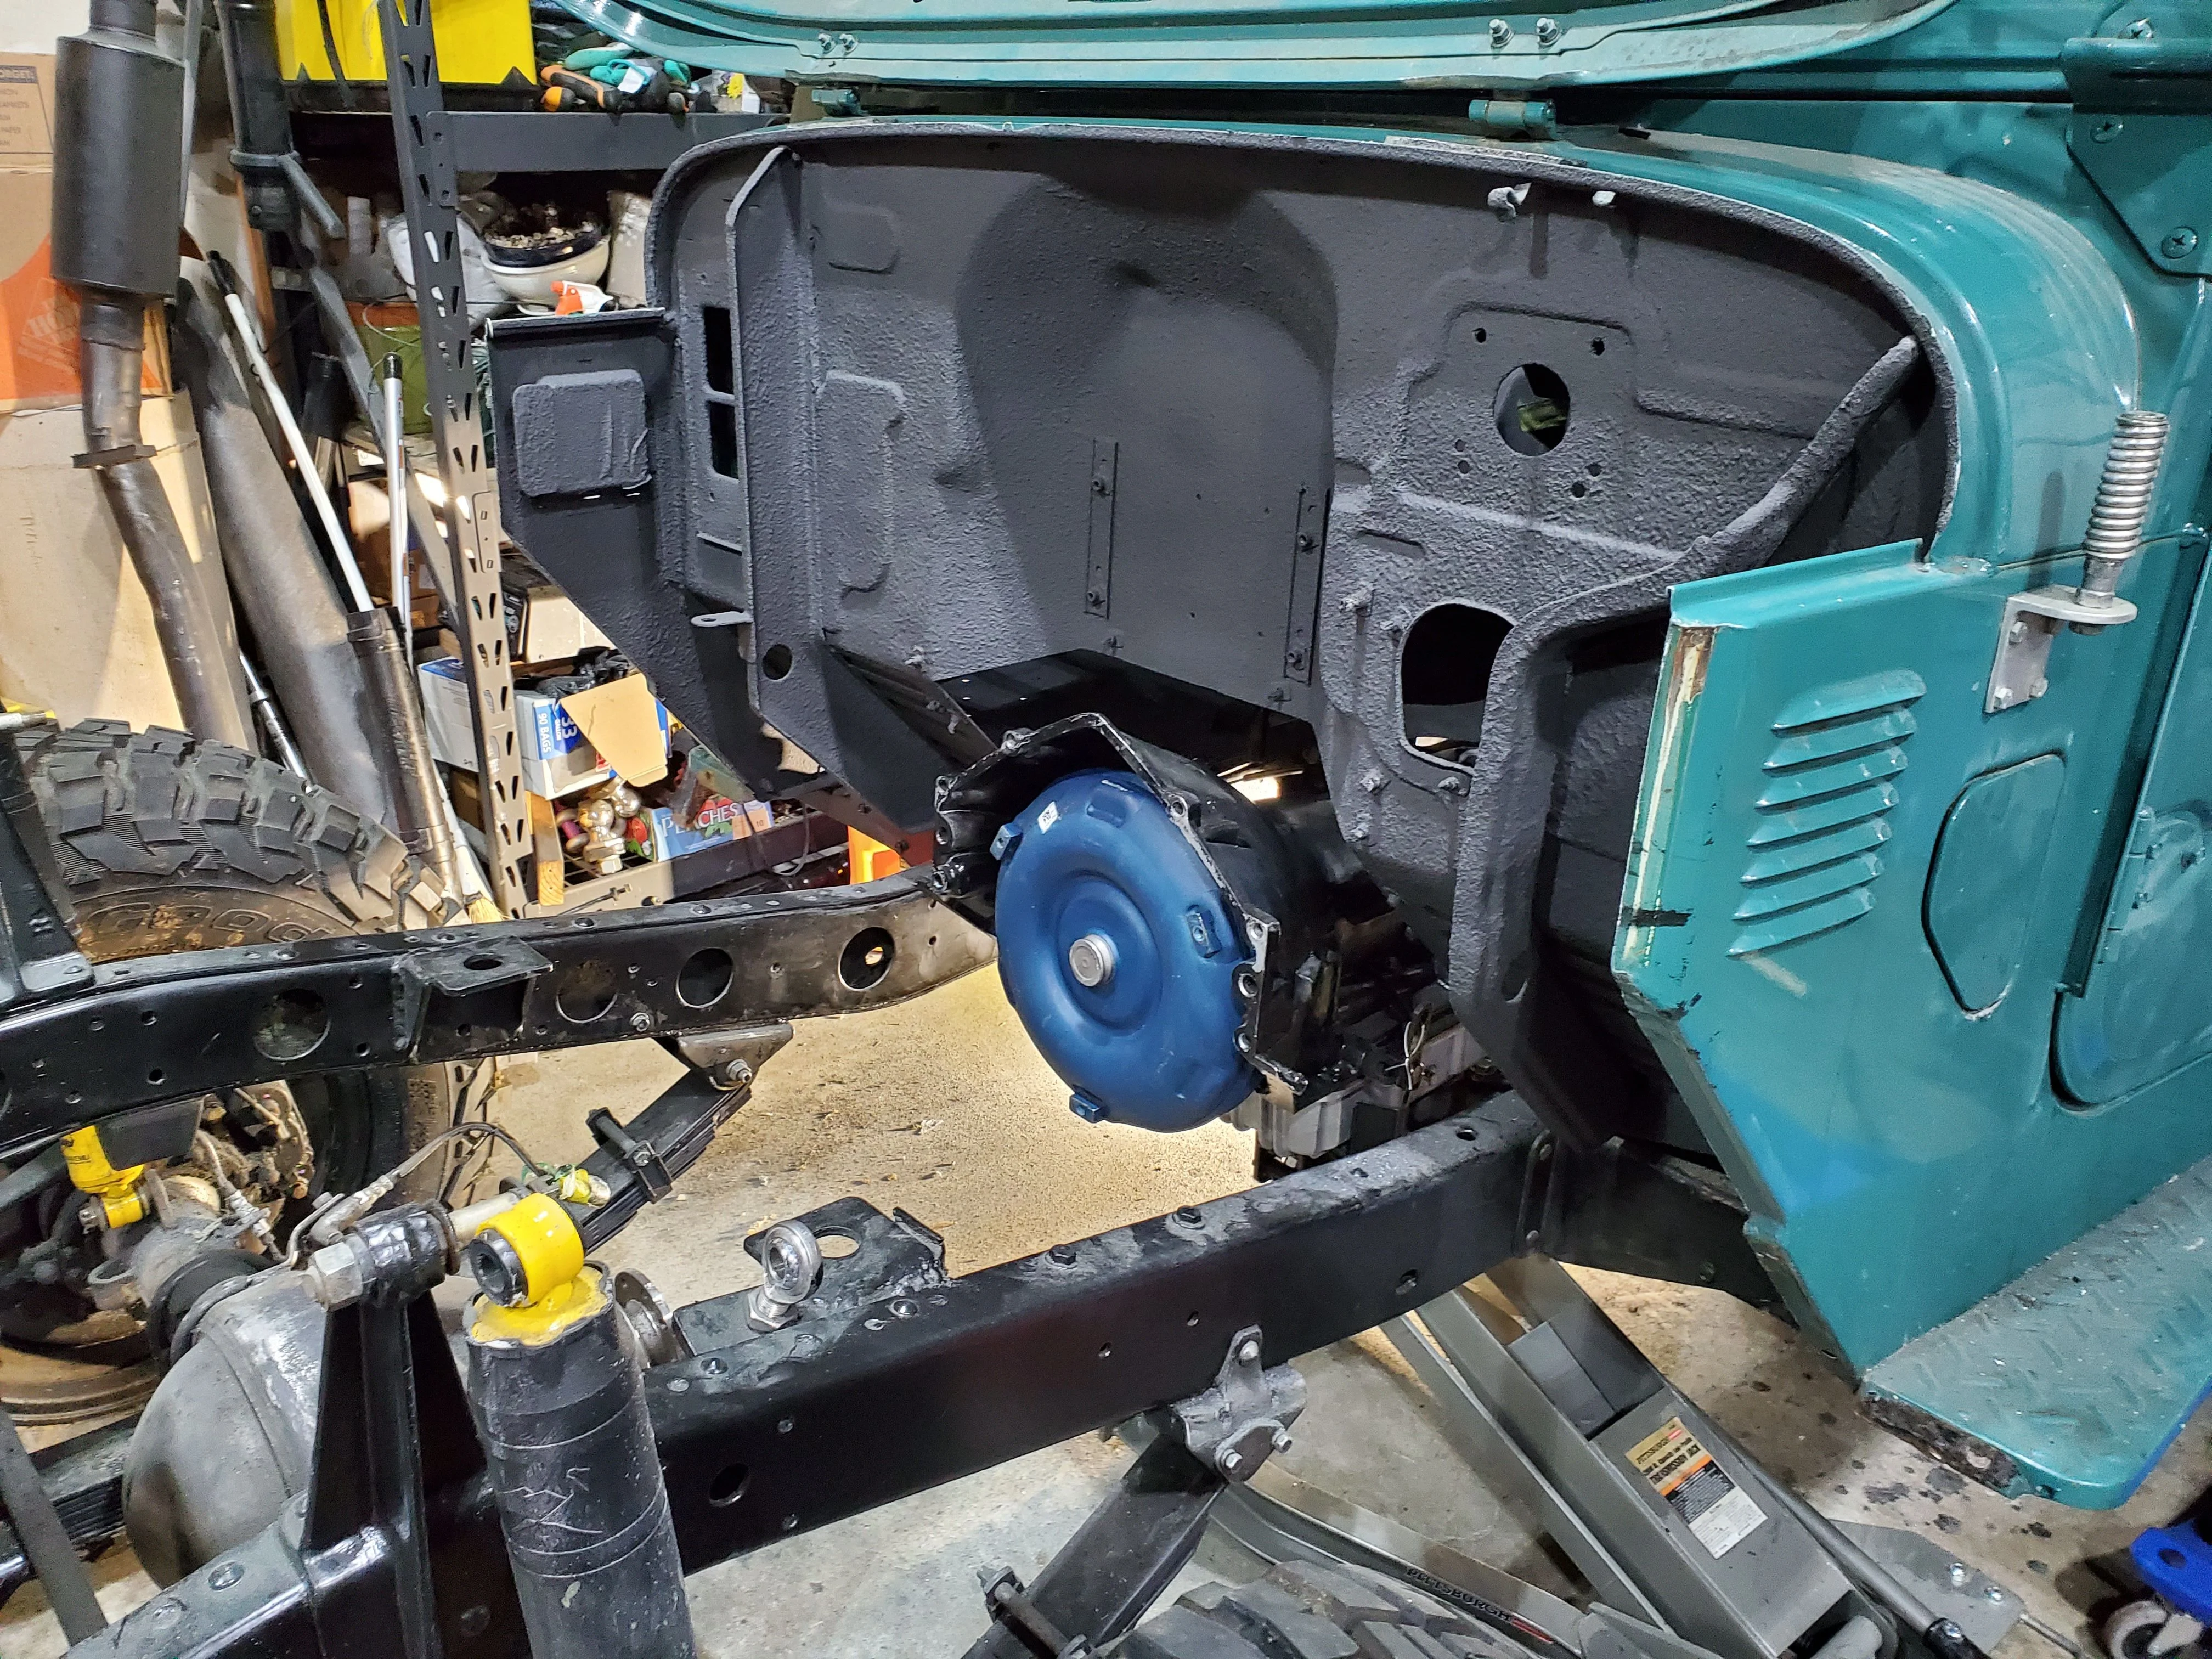
Now that the motor is running again, it's time to replace it
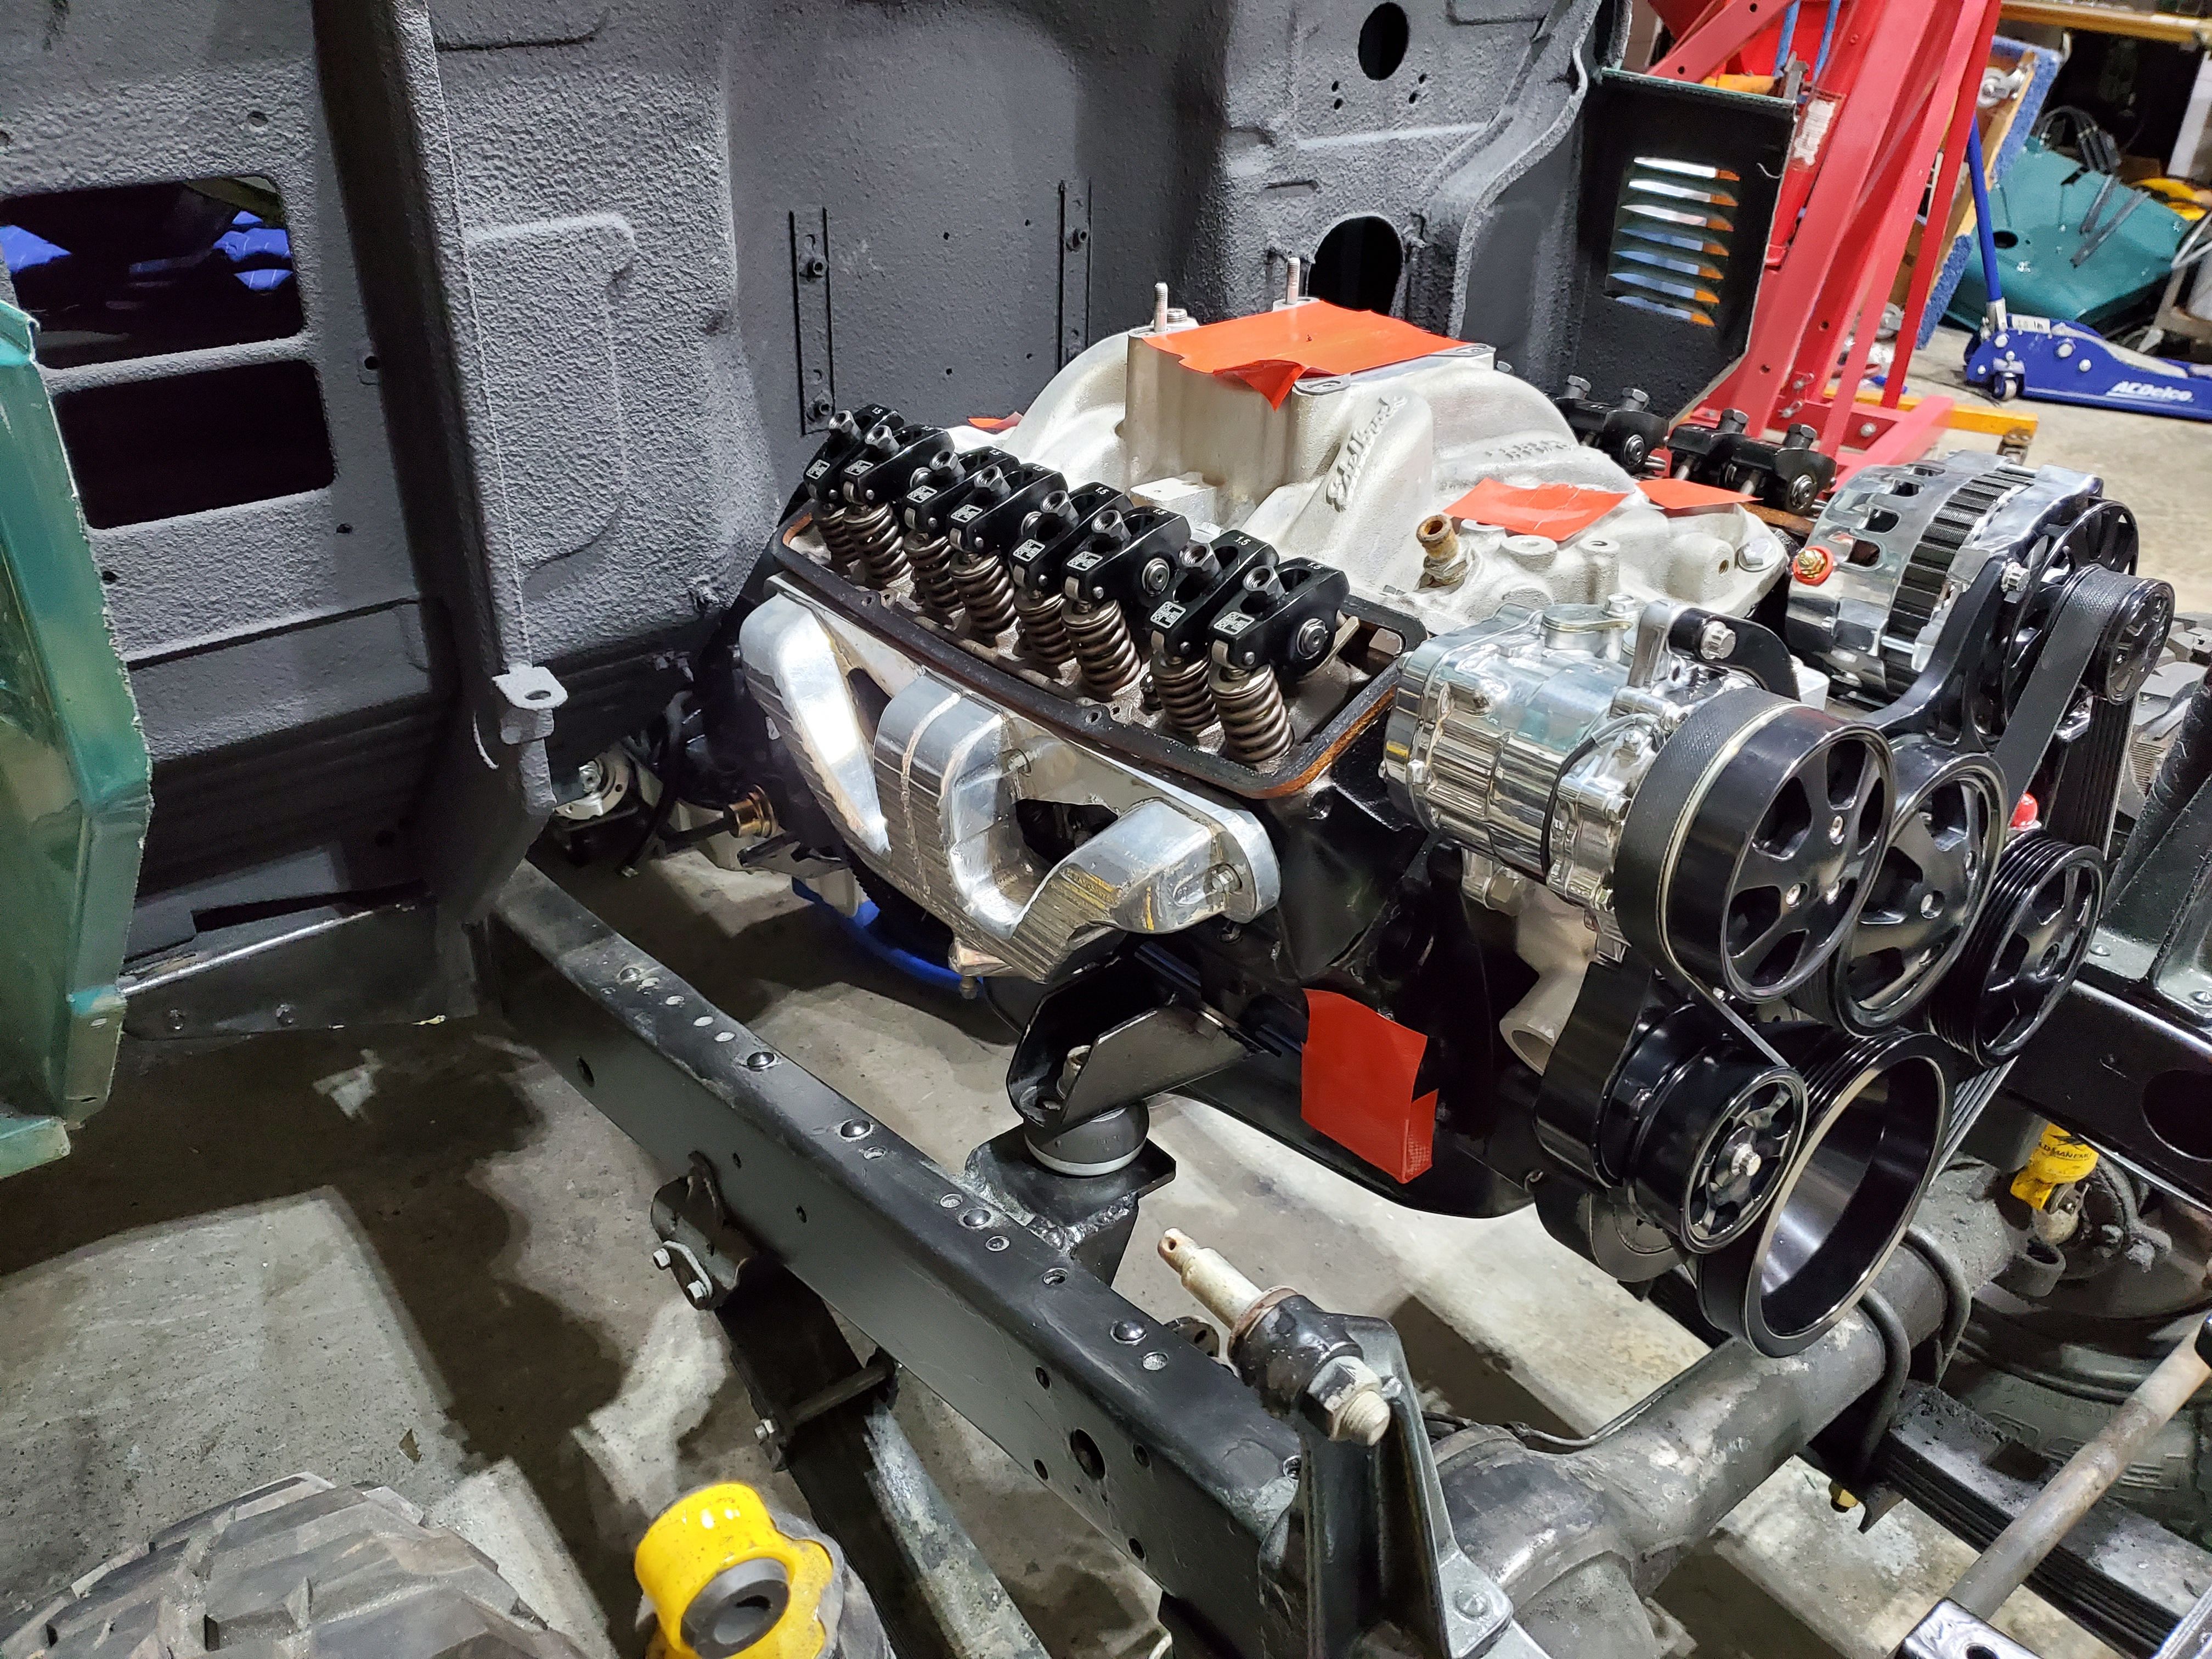
. While the 400 is my fathers dream engine, the 383 stroker is mine. I stumbled onto this one: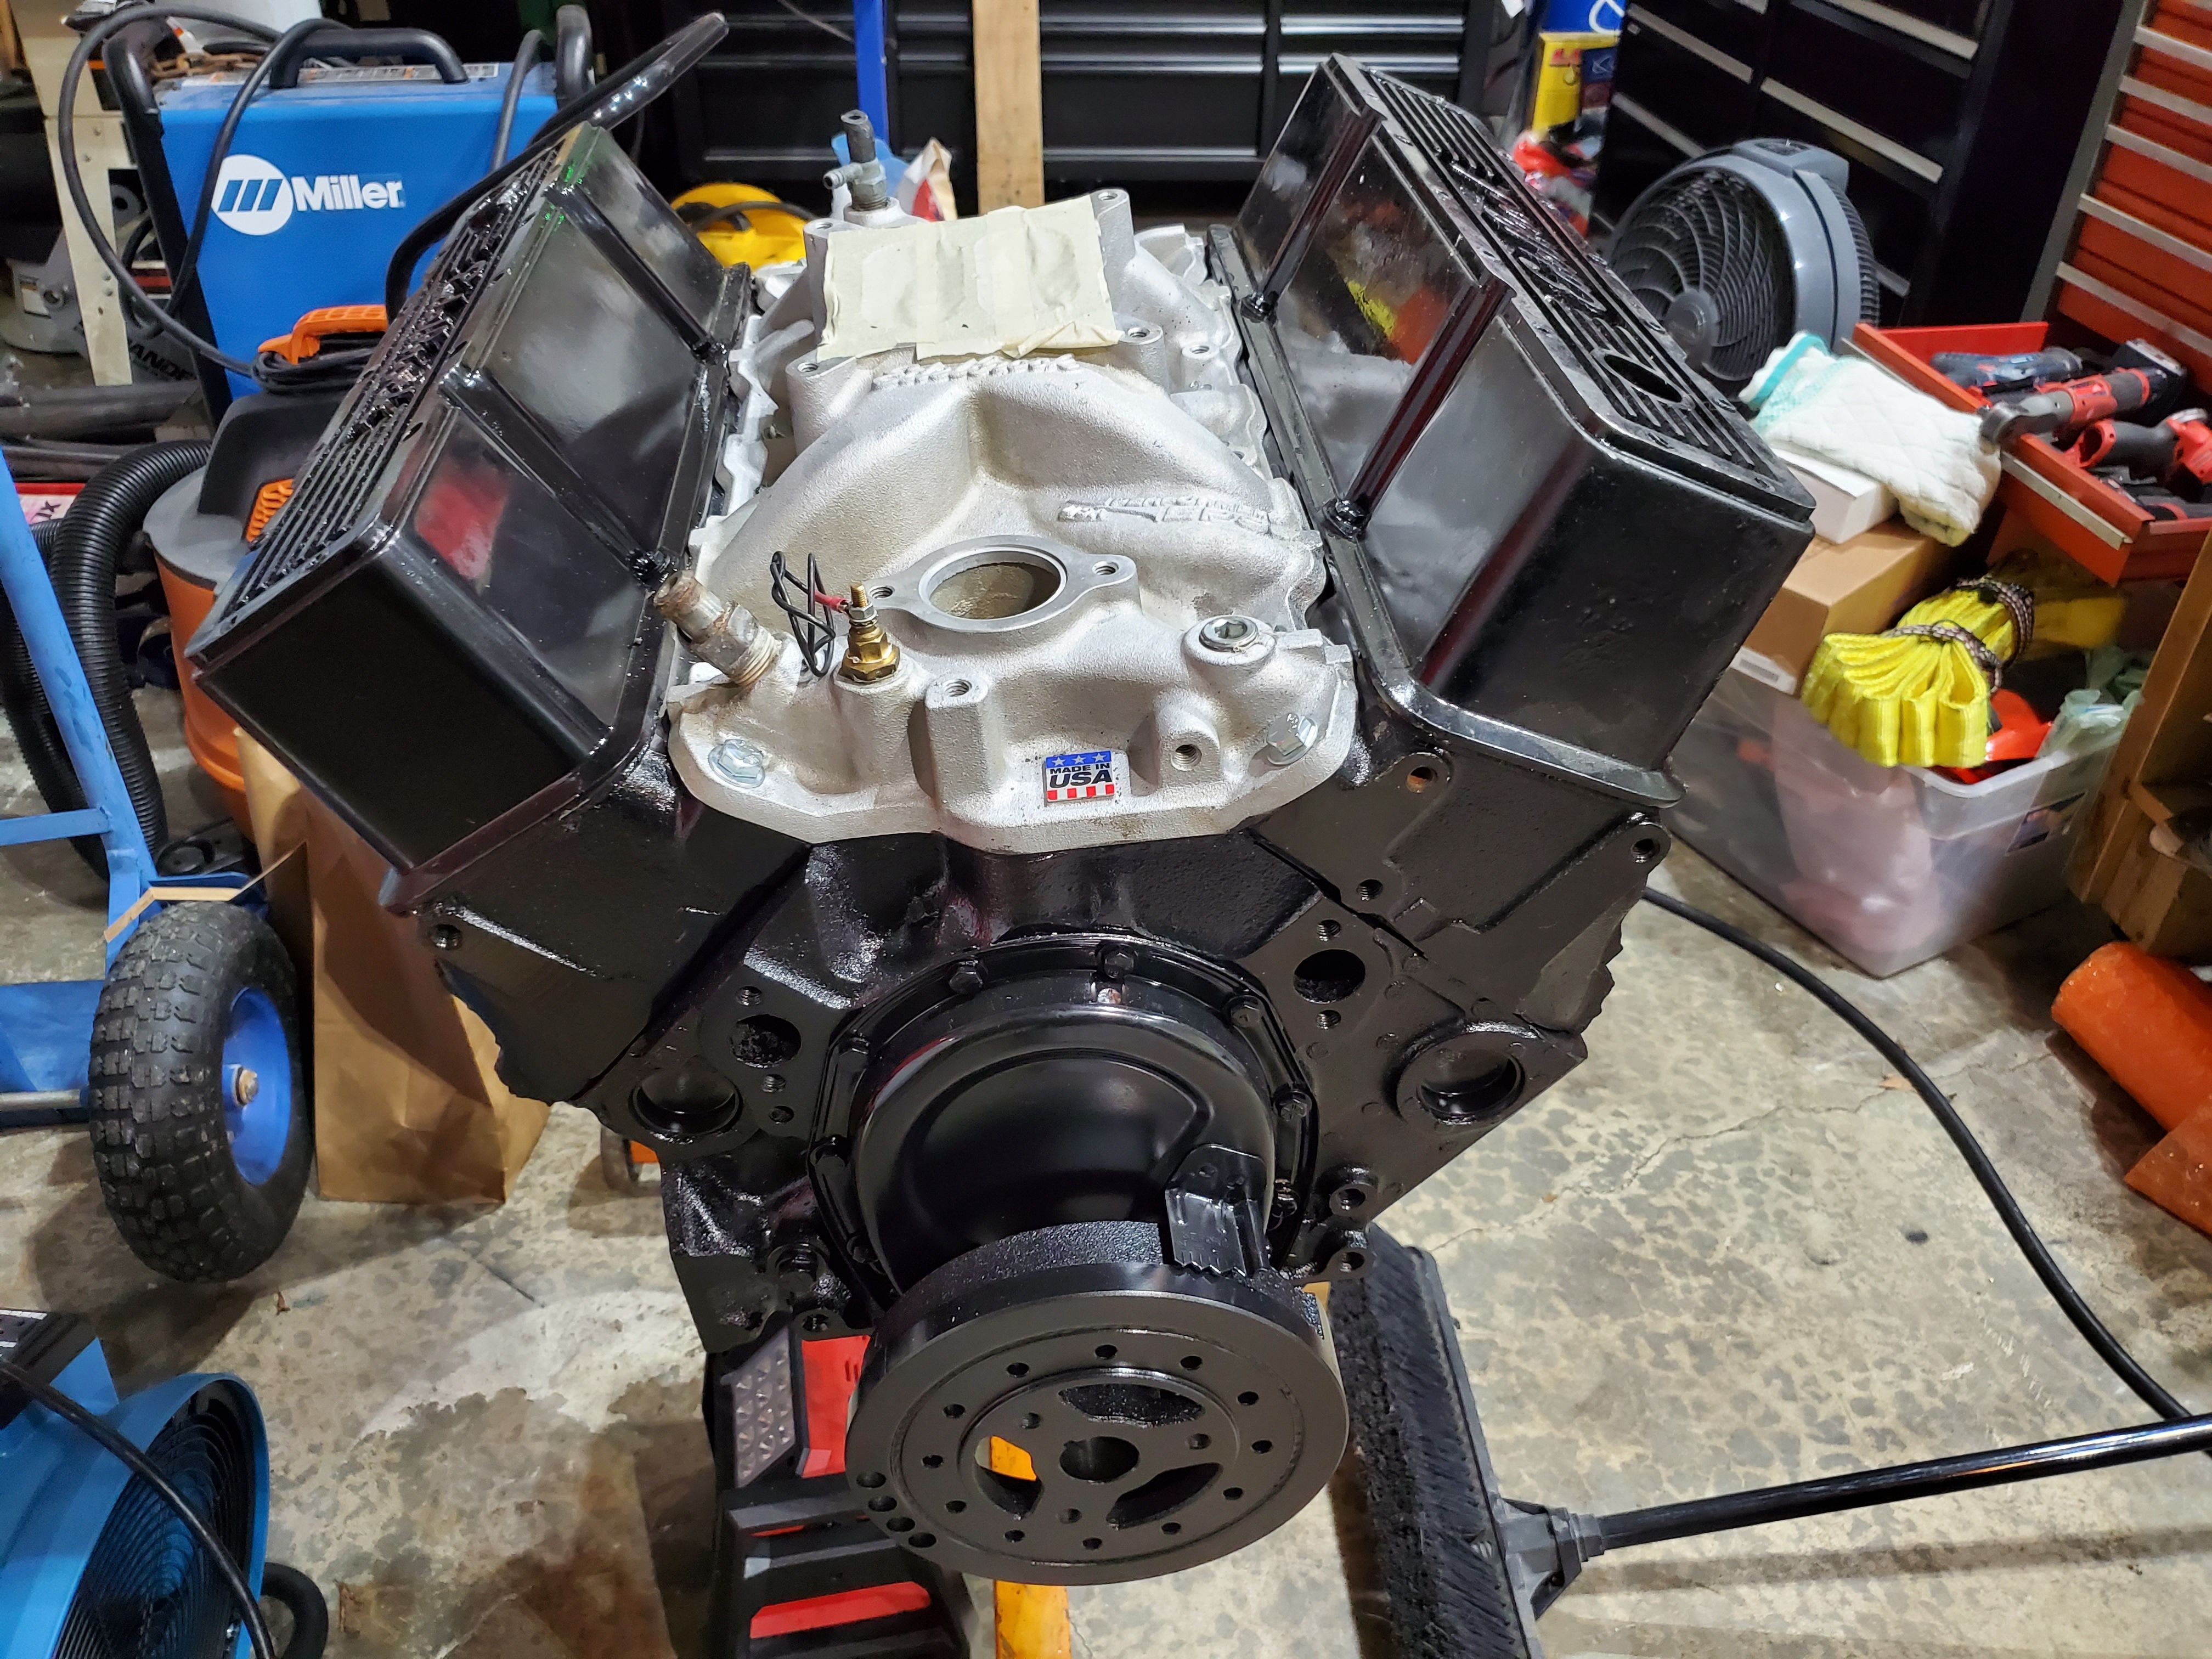
Eagle stroker kit, sast iron heads, roller cam and hydraulic lifters and a mild cam. I don't have the build sheet on it, but my neighbor knows the guy who build it and no expense was spared. I'll move all the sniper stuff from the 400 on to the 383. Hopefully, I'll find out how to reset the sniper map table to the new engine.
Why the change? It's part of my dream machine. The 400 is still strong with compression between 175 and 210. Oil pressure is 58 at idle. I'm waiting on a buyer before I pull this engine out.
Once the engine is out, I plan to take the Th400 and transfer case to a transmission shop and ask them to take a look, fix anything wrong and reseal them up. If anyone in the PNW has a good recommendation, I'm all ears and would appreciate any help.
The wiring under the dash is a complete mess. Pieced together fuse block with wires everywhere, connected, disconnected, spliced, hanging, stuffed...it's just bad. I got a wiring kit from JTOutfitters and plan to re-wire everything. I have a weather pack kit, but my neighbor convinced me the deutch kit is the move, more waterproof and smaller connections. It came in the mail today along with seamless butt connectors. He recommending crimp, solder, then heat shrink the connections. I need a lesson.

With the engine and transmission out, I'll pull the old GM steering column and add it a flaming river push button ignition column along with the momo fighter steering wheel:

I know the enthusiasts blood pressure is getting pretty high so I'll add some more logs to the fire. Since the fuse block for the EZ wire kit with likely occupy the majority of the glove box, I'm replacing the heaters with a This AC, along with a new steering column (column shifter) and Dakota Digital cluster, vintage air gen IV system. The passenger side will be stuffed with wires and AC. I'm bailing on the OEM instrument cluster in favor of the Dakota Digital second gen unit. I'm hoping all of these components should make the wiring job a little easier.
There is so much to do, I'm over whelmed on where to start. I appreciate you reading this thread. Please drop me a note if you think I'm going the wrong way or have some advice.
Final shot of the security system.


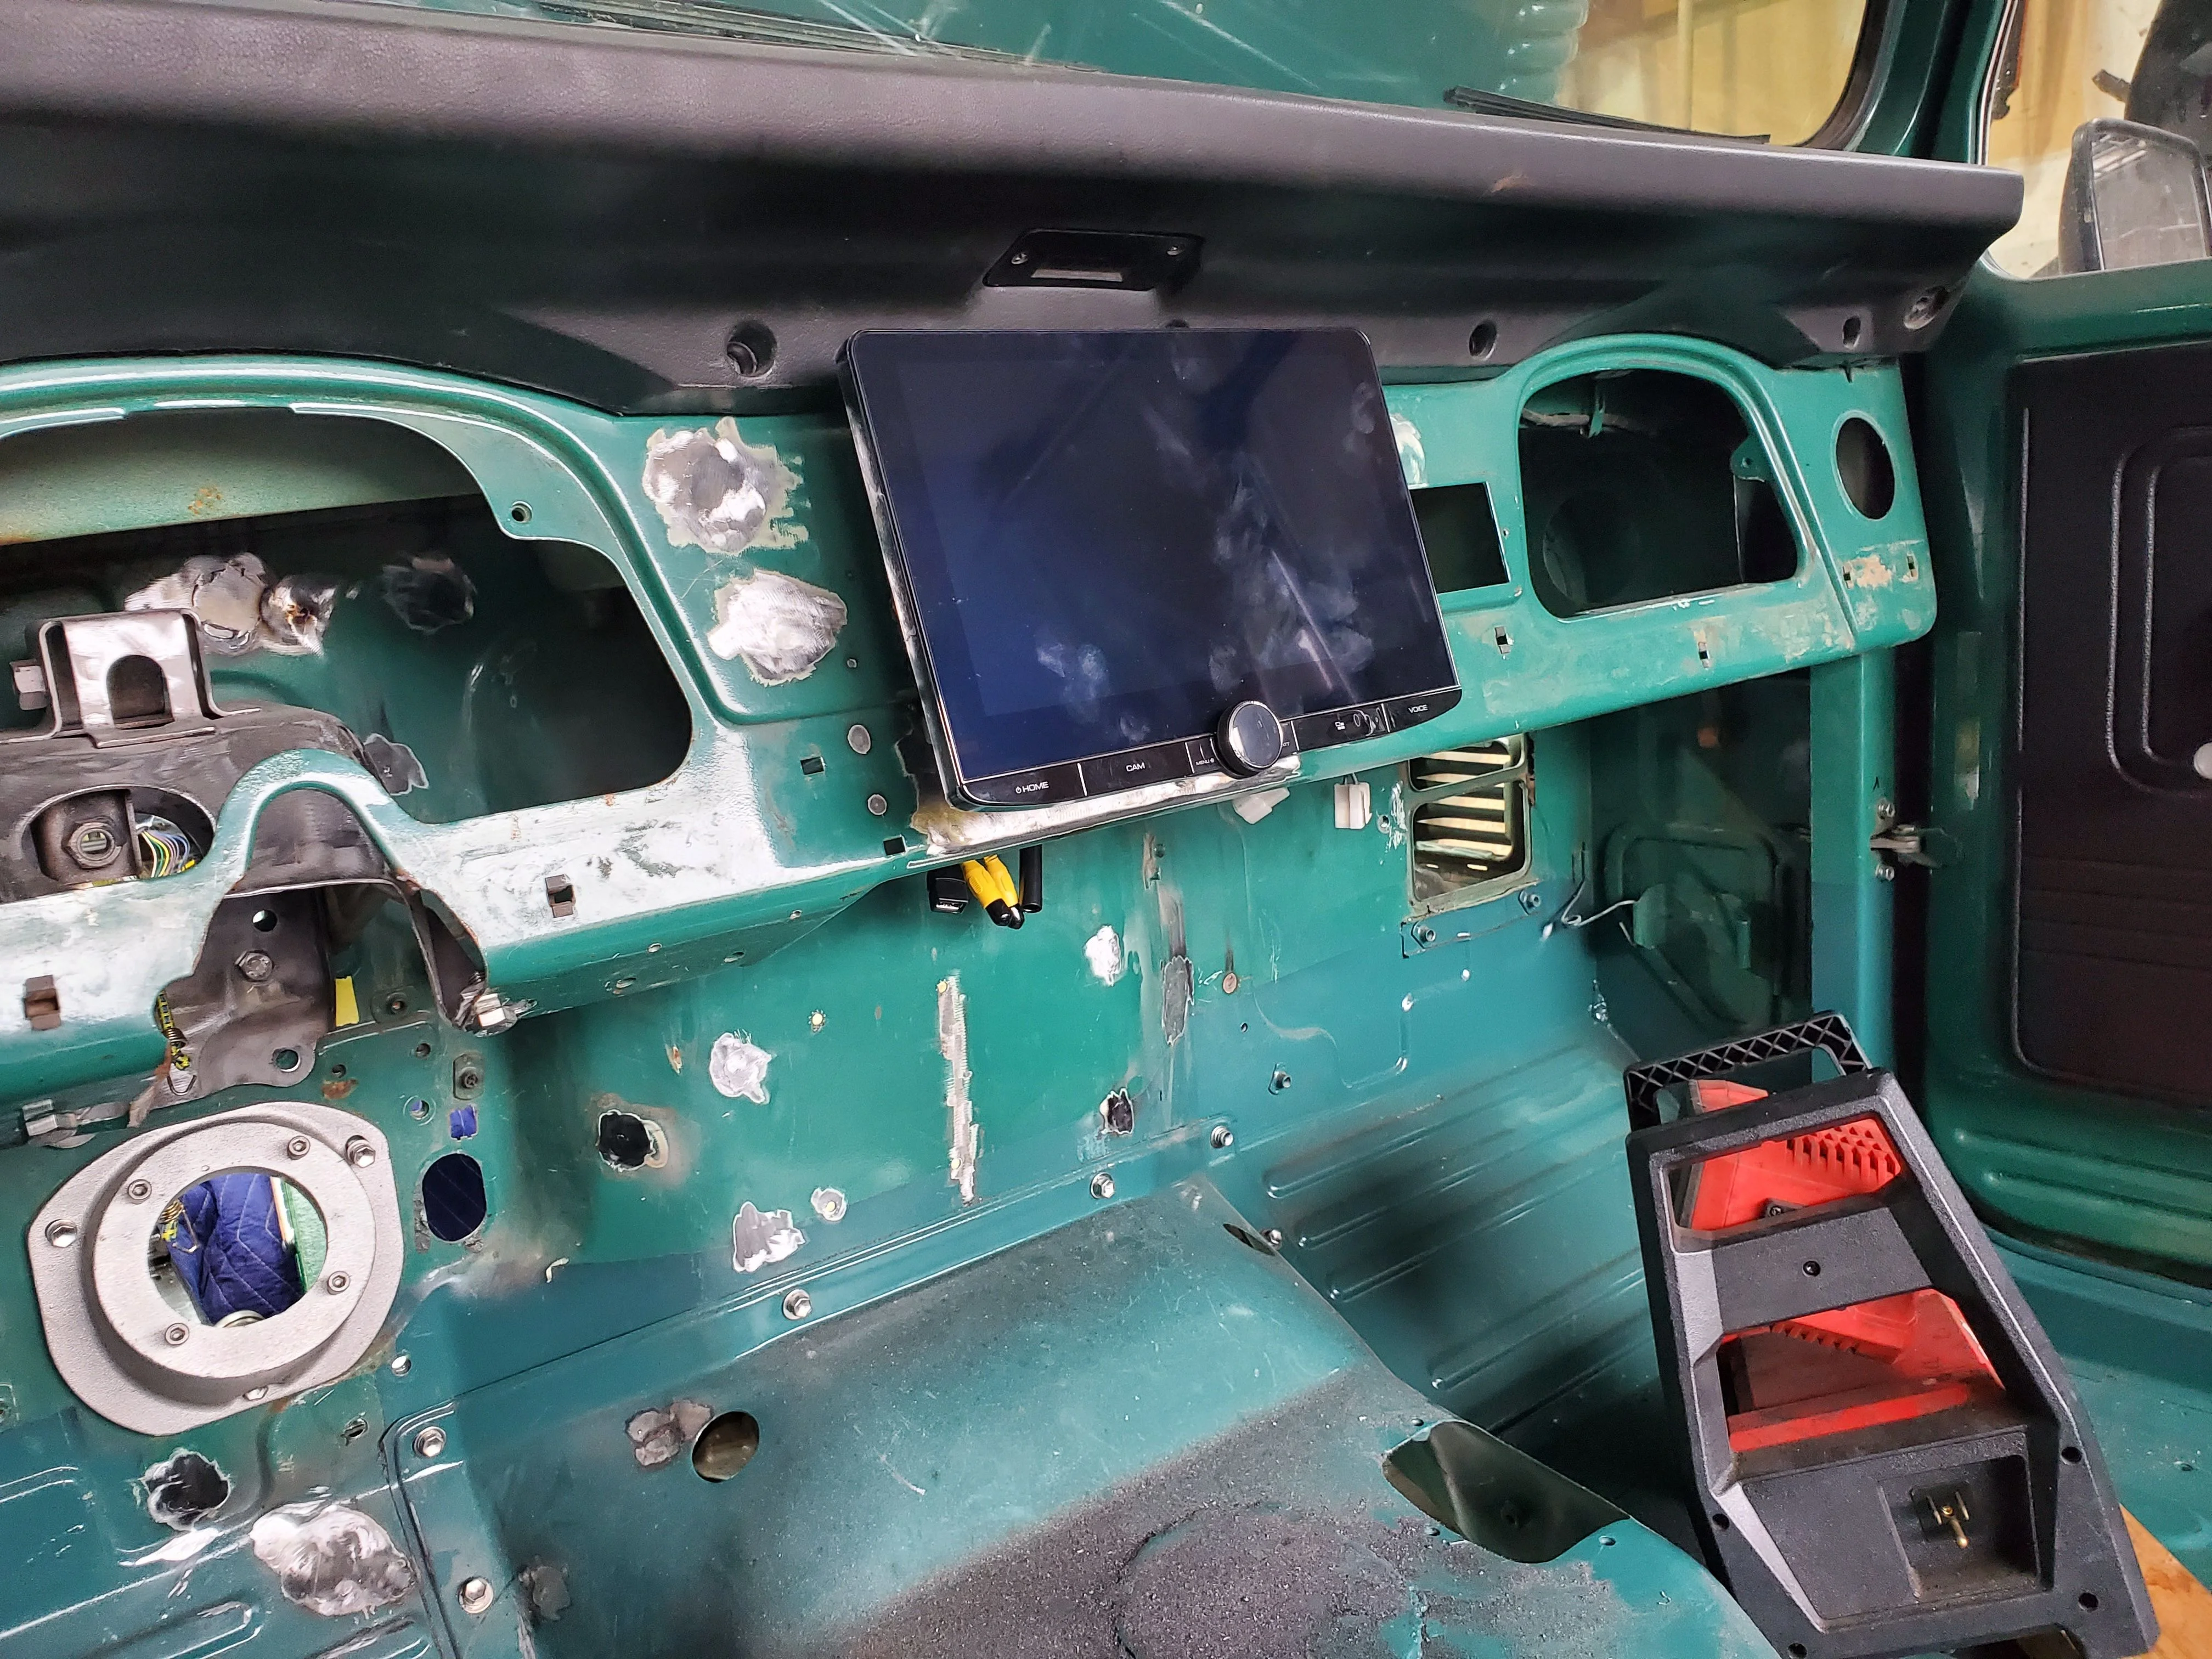
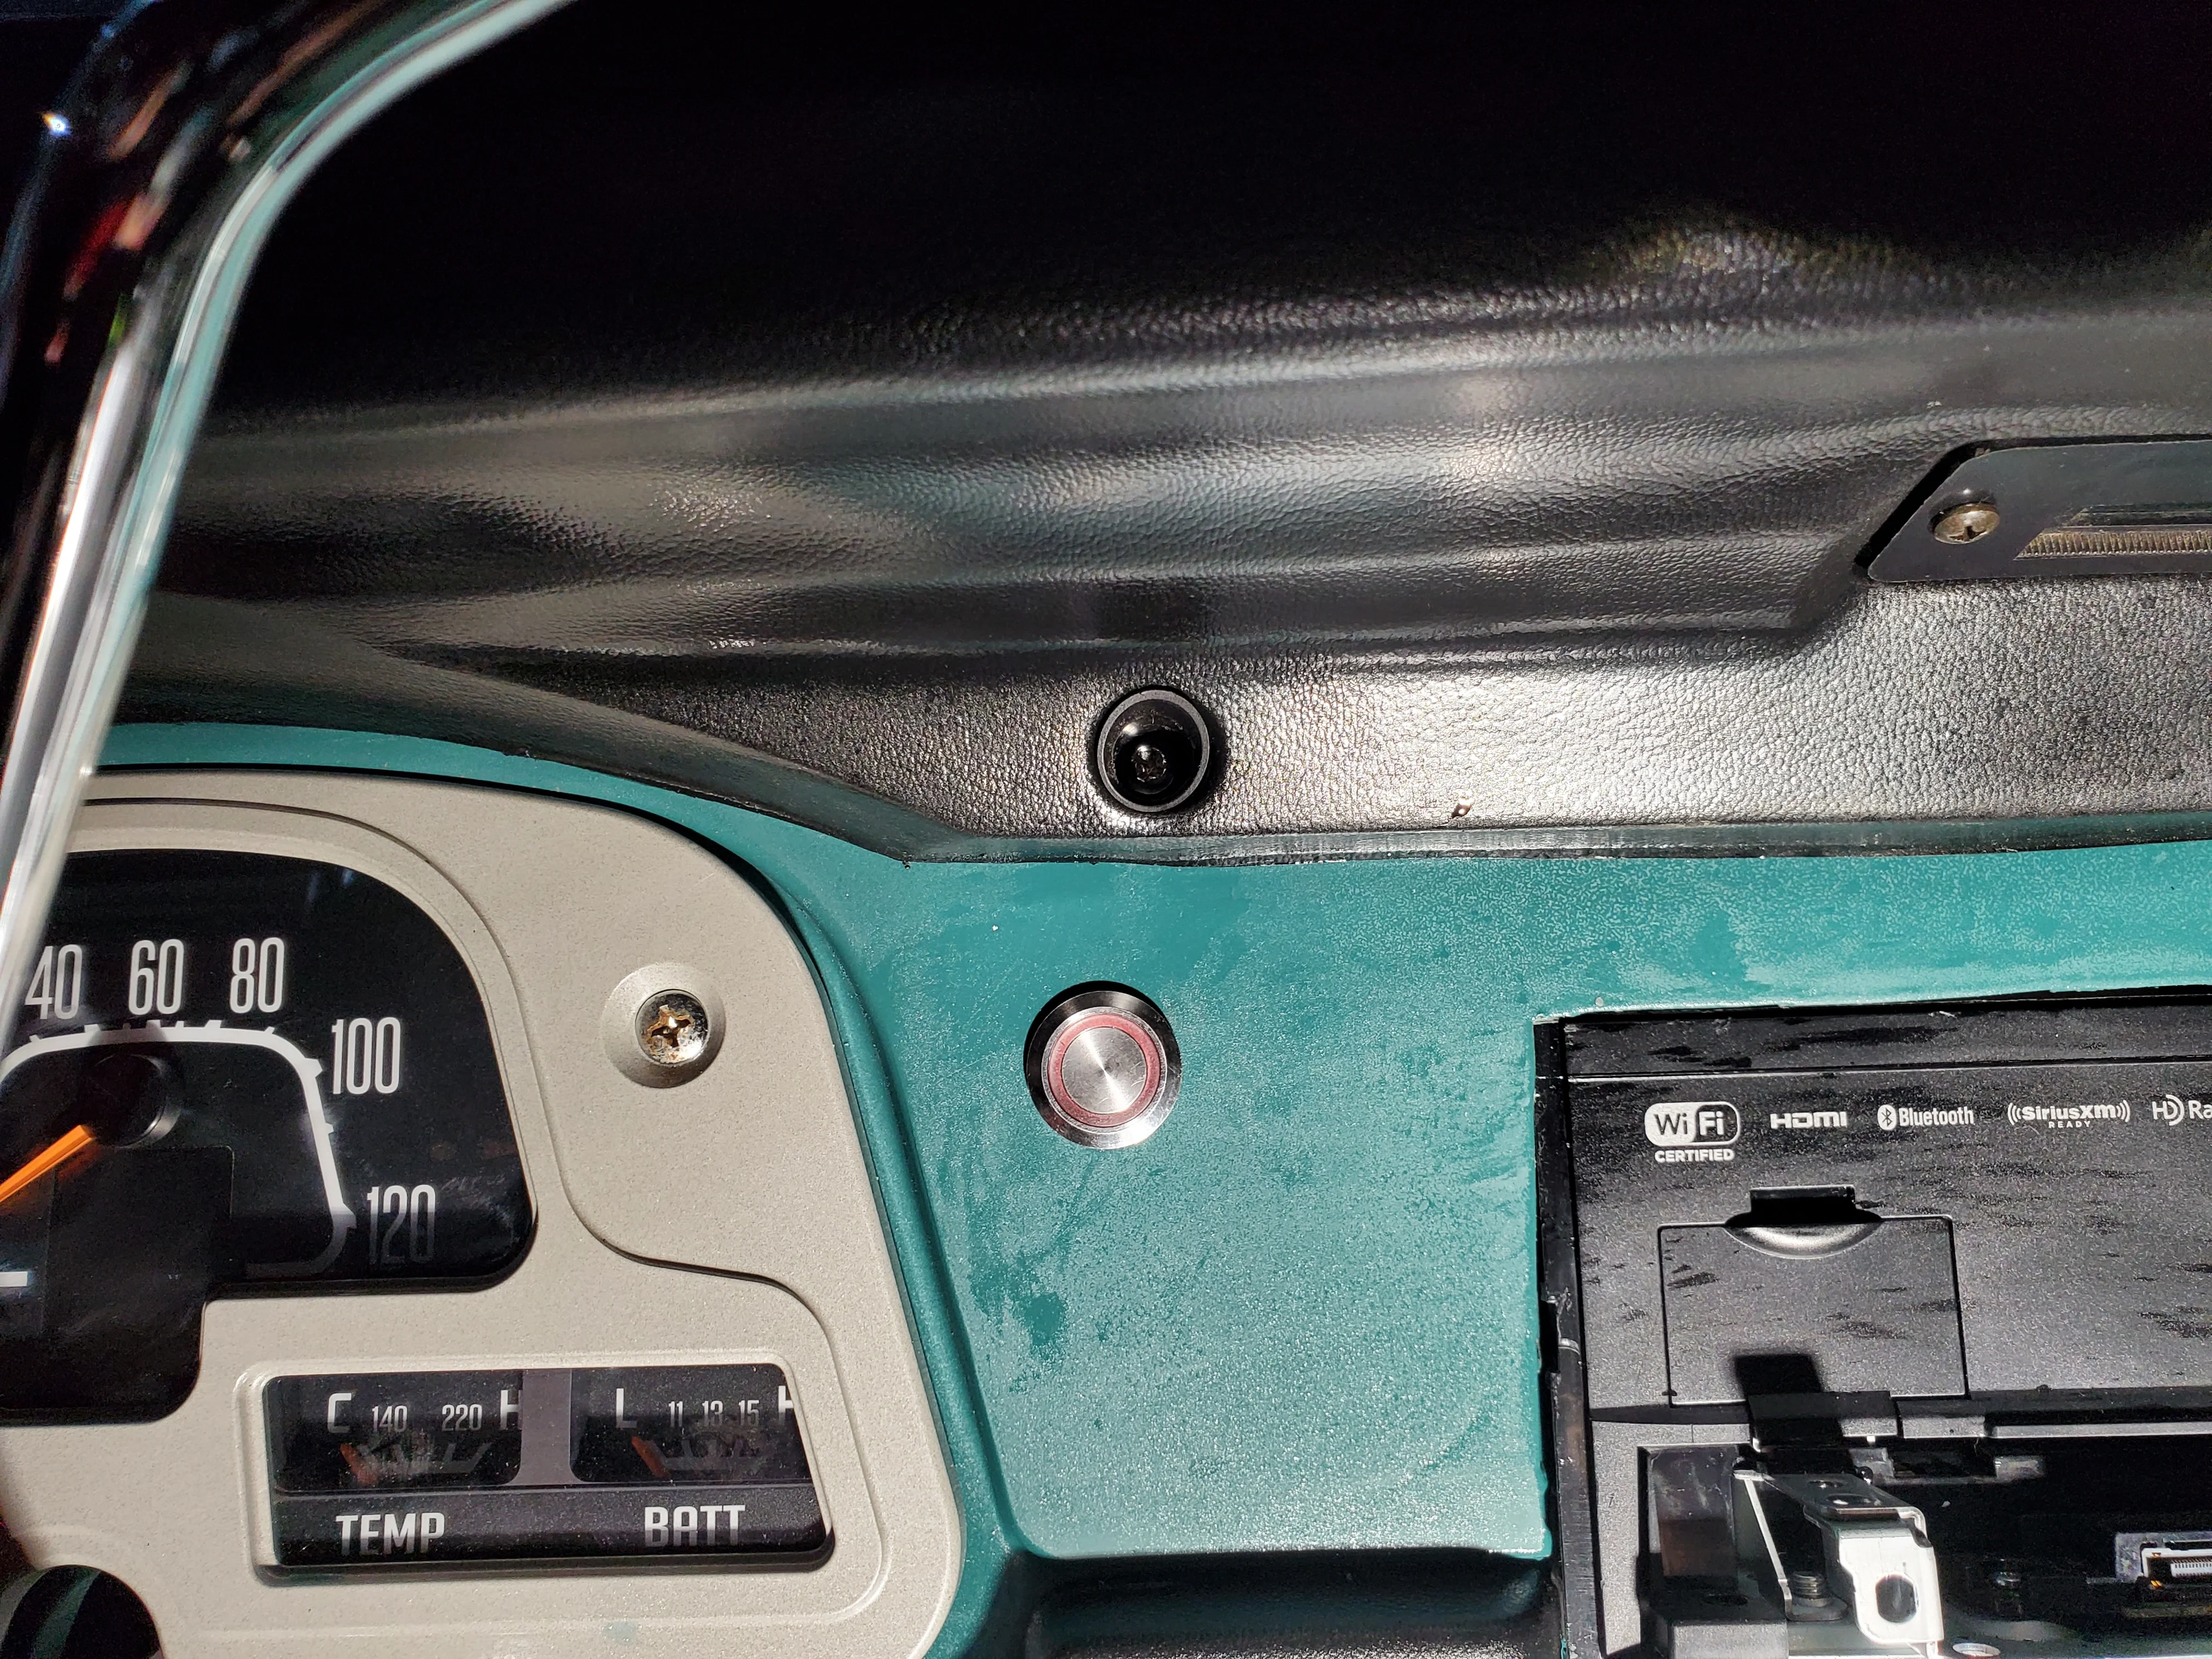
") . I don't have many toyota switches left as the PO (my dad), replaced what didn't work with schucks switches including the windshield wipers and headlights. I only have the hazard light switch and heater controls. I have a vintage air ordered, so they will be gone too. Here is the dash now:
. I don't have many toyota switches left as the PO (my dad), replaced what didn't work with schucks switches including the windshield wipers and headlights. I only have the hazard light switch and heater controls. I have a vintage air ordered, so they will be gone too. Here is the dash now: