
O.K. so please forgive me if my Spanish is lacking I have not taken a class since high school. At any rate I got my hands on the overhead console from Tech4x4 in Venezuela. Many thanks/ gracias to our Panama friend Tapage for going through the headach of getting this into the states. From what I understand it was a bit time consuming.
At any rate once it was shipped it arrived nicely packed and no damage. My first impression was that this was a nice looking unit and seemed to be well built. 3mm thick high impact ABS type plastic and the grey color matched the darker of the grey's in my rig very nicely as well.
There were no instructions in the kit just some pics, a peice of 4" by 4" wood block and a same size flat peice of metal, and some screws.
Witn the help of my wife and two boys I was able to figure out the instal in about an hour.
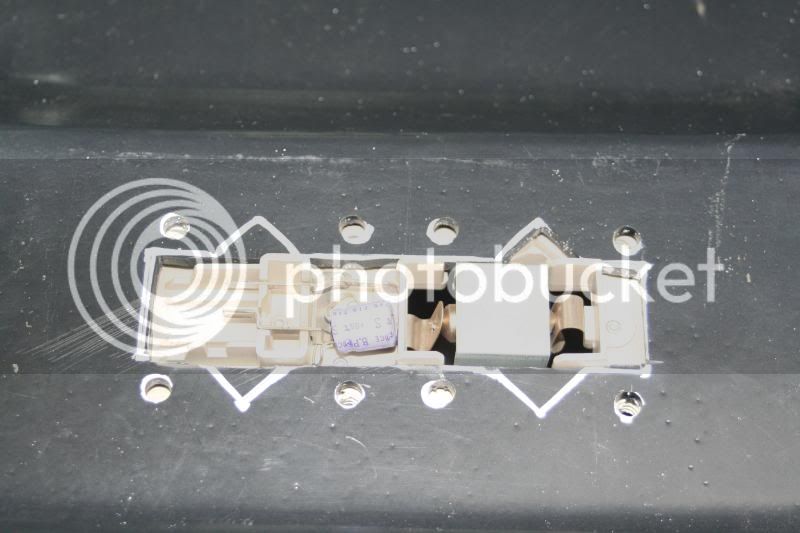
First remove the covers to the rear view mirror and door light:

After removing those match up the light to the console and decide what holes need to be drilled. There is a nice set of markings noting where the holes should go. The center needs to be cut out so the light fits flush:
The dremel works well here. Sorry I don't have pics but will update later of the wood peice but I will try to explain it. The wood peice has similar markings and needs to be cut out for the light as well. Here is the tricky part. The console is actually about 2" longer than the stock mount will allow. The wood is there to mount to the roof then the console secures to the wood block. It doesn't seem to be the best set up but does seem to be a fairly solid mount. The front of the console screws into the rear view mirror mounts and the cover slides right in place.
I have only the courtesy light hooked up now but plan on adding a mag light mount, PIAA reading light, CB radio and overhead DVD for the boys. Those will be updated as they evolve. Here are the finished install pics. It fits well with just a small gap that will snug up when I secure the wood block to the roof a bit better.
Enjoy and please ask if you have any questions!
Thanks again Tapage!
At any rate once it was shipped it arrived nicely packed and no damage. My first impression was that this was a nice looking unit and seemed to be well built. 3mm thick high impact ABS type plastic and the grey color matched the darker of the grey's in my rig very nicely as well.
There were no instructions in the kit just some pics, a peice of 4" by 4" wood block and a same size flat peice of metal, and some screws.
Witn the help of my wife and two boys I was able to figure out the instal in about an hour.
First remove the covers to the rear view mirror and door light:


After removing those match up the light to the console and decide what holes need to be drilled. There is a nice set of markings noting where the holes should go. The center needs to be cut out so the light fits flush:
The dremel works well here. Sorry I don't have pics but will update later of the wood peice but I will try to explain it. The wood peice has similar markings and needs to be cut out for the light as well. Here is the tricky part. The console is actually about 2" longer than the stock mount will allow. The wood is there to mount to the roof then the console secures to the wood block. It doesn't seem to be the best set up but does seem to be a fairly solid mount. The front of the console screws into the rear view mirror mounts and the cover slides right in place.
I have only the courtesy light hooked up now but plan on adding a mag light mount, PIAA reading light, CB radio and overhead DVD for the boys. Those will be updated as they evolve. Here are the finished install pics. It fits well with just a small gap that will snug up when I secure the wood block to the roof a bit better.
Enjoy and please ask if you have any questions!
Thanks again Tapage!


