Coastal Offroad Bumper Kits (1 Viewer)

This site may earn a commission from merchant affiliate
links, including eBay, Amazon, Skimlinks, and others.

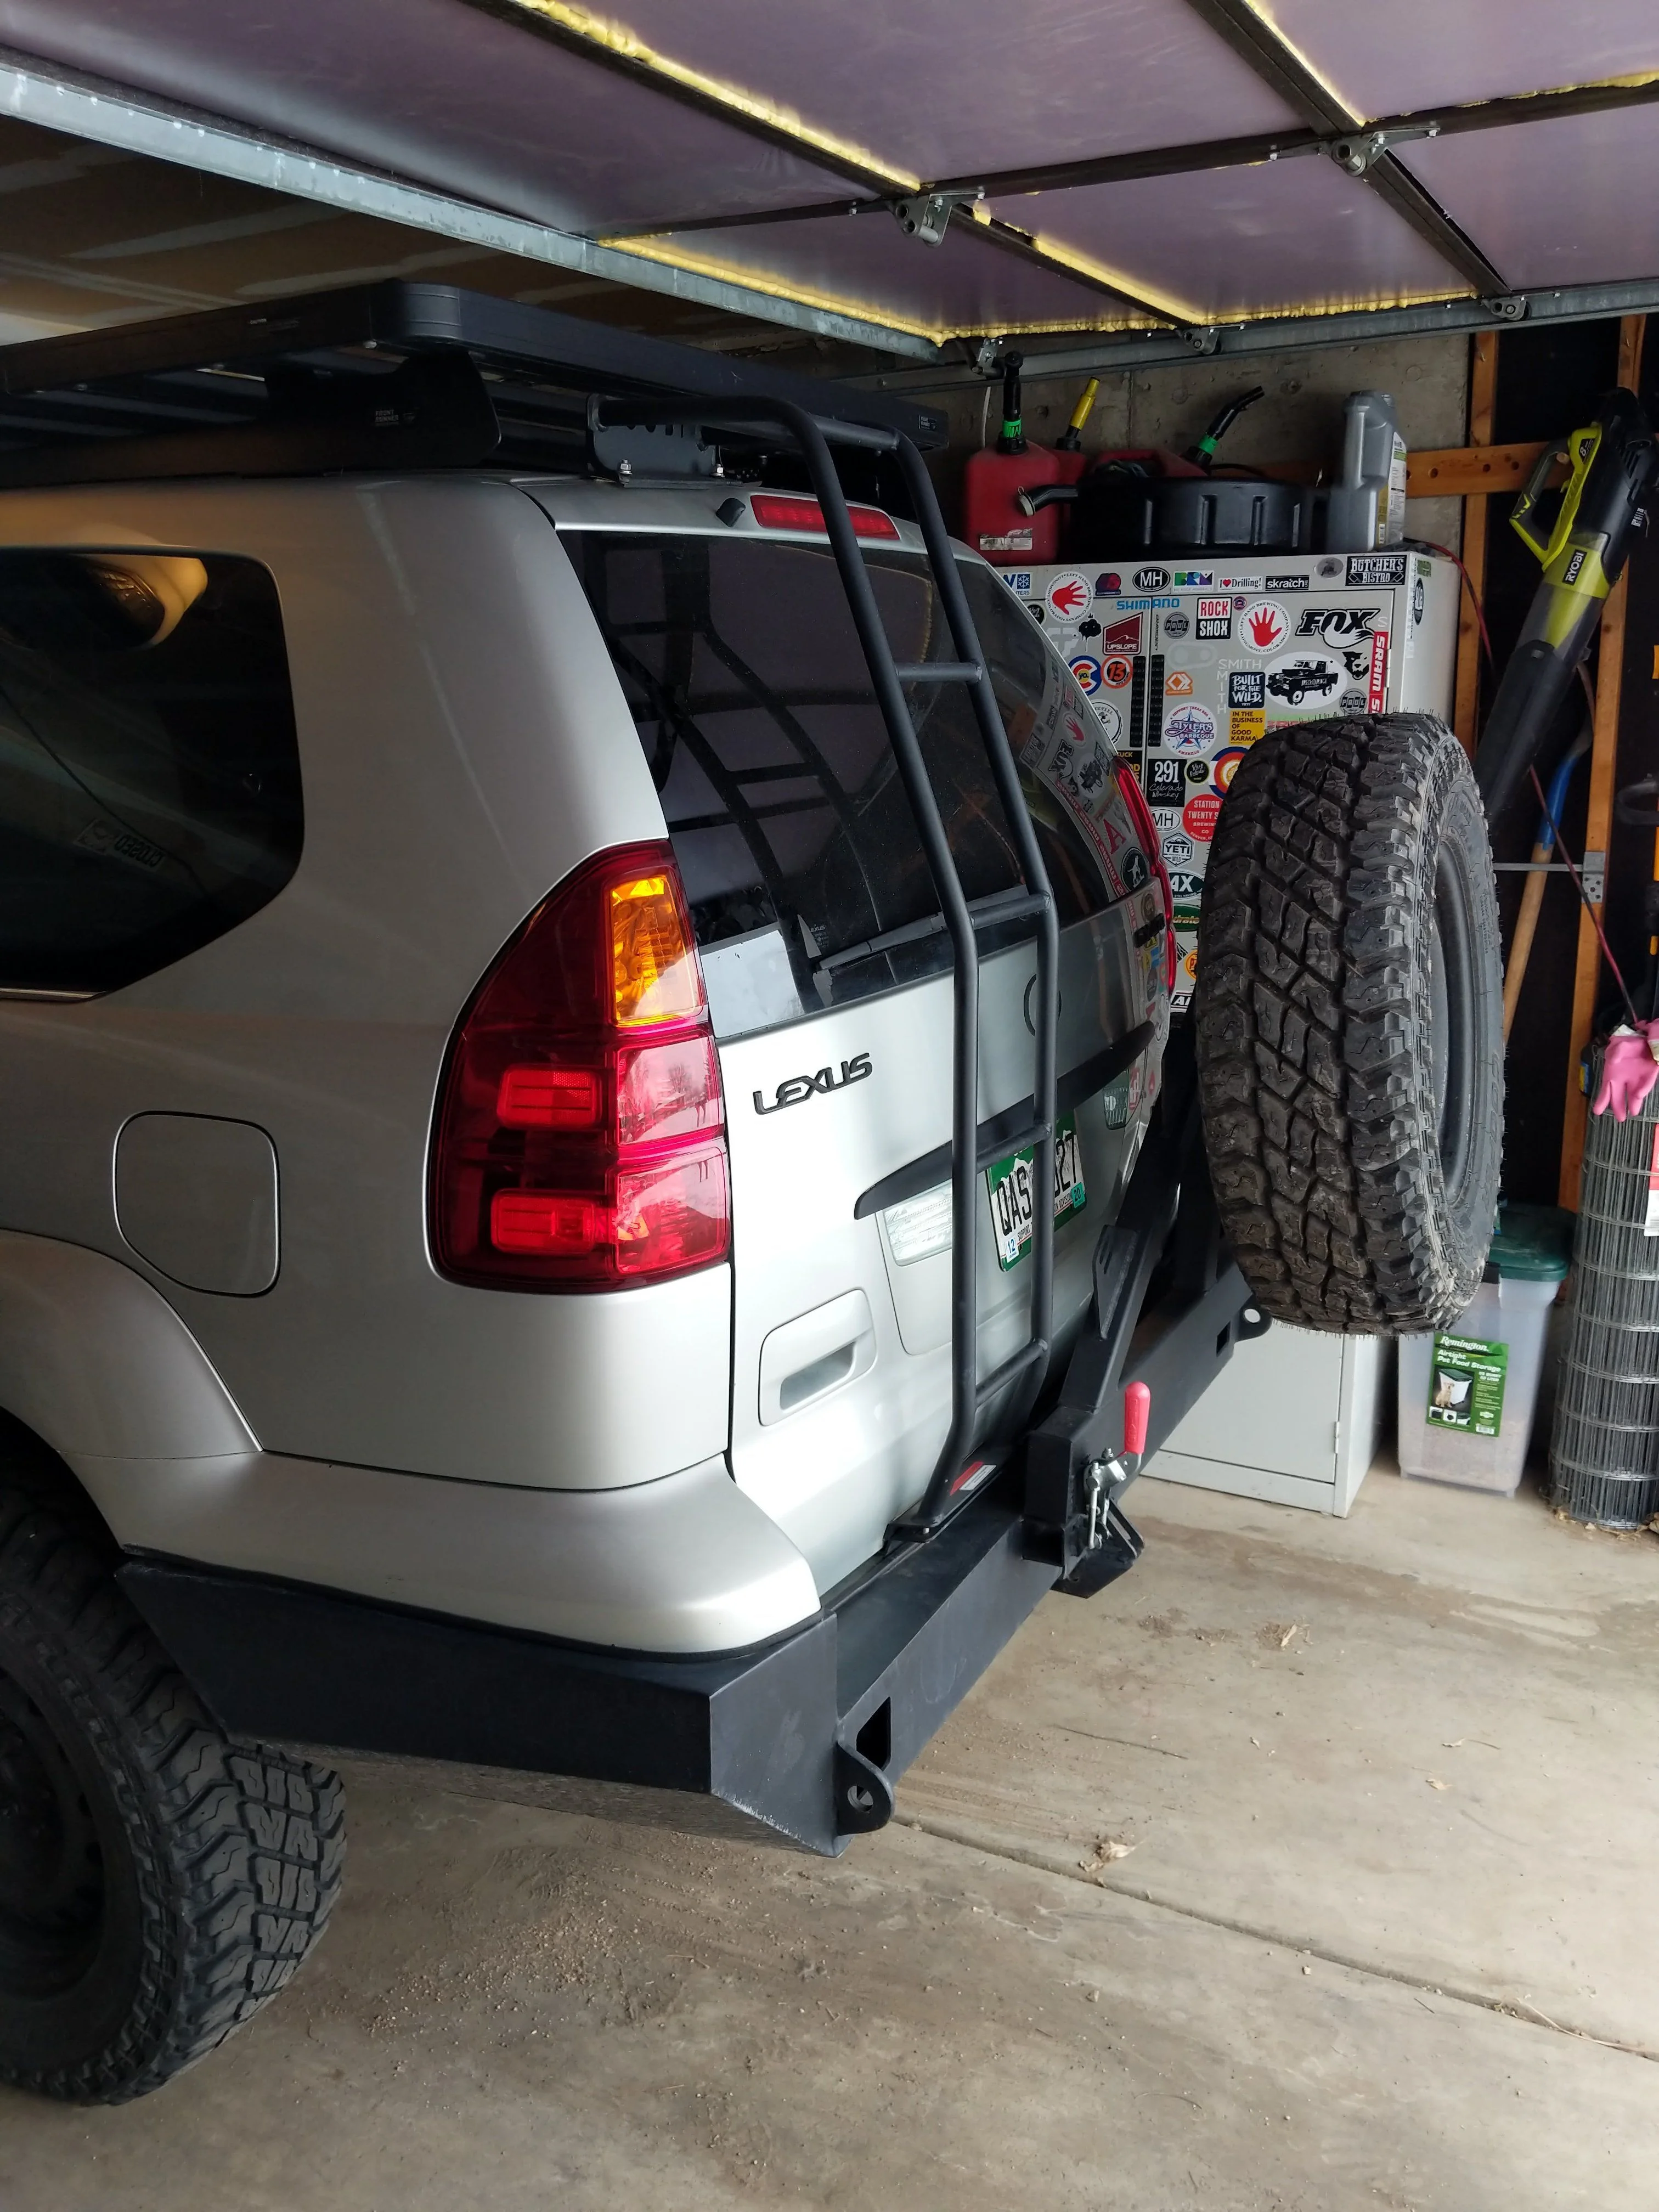
Any one else having issues with the hiem joints ? I am noticing a lot of movement of the spare tire and have had to reajust the joints several times, I am thinking of eliminating them and going with 4xinnovation set up. I have emailed with Brandon and he is saying that movement is normal, maybe I am just being picky but I just want it to be a little stiffer.
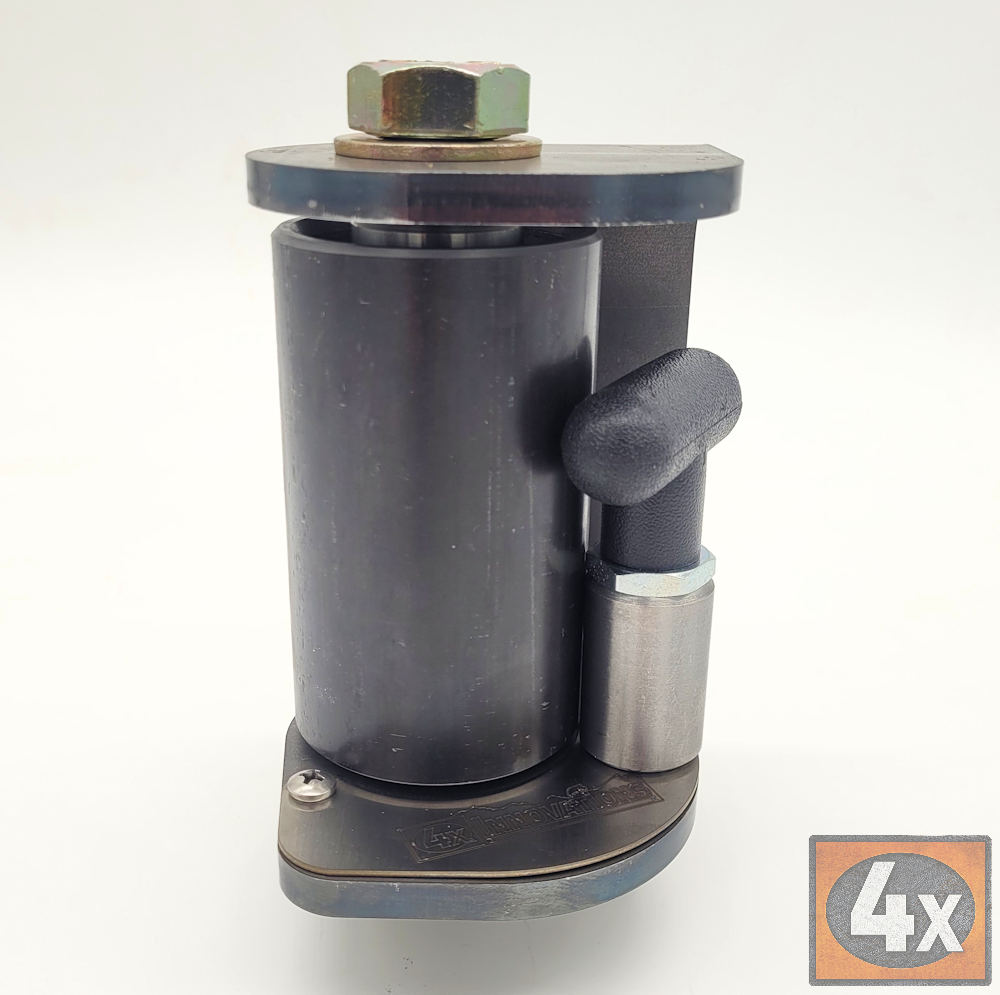

I'd be curious to see a video of this movement, if you feel like it!
 
So this C.O. rear bumper is a heavy weight! Still not done with it have some details like installing back-up LED's, license plate light mount, and rear back-up camera before I can prep and paint. But with my full length swing out, gas basket, and stock tow hitch welded to the underside she's gotten HEAVY! And my rear 2" ICON springs drop about 3" in back! So I am toying with the idea of going 3" ICONS in back or seeing if I could put some heavier duty 2" springs.

If I go 3" springs what other suspension items do I need to address in back? I have adjustable Toytec's up front that are as low as I can set them and I already installed MT extended braided brake lines in back. I also have helper bags inside my springs but I don't want to drive with those filled all the time.

Does anyone know what the weight rating is on the 2" or 3" ICON springs?

Pictures are before I had the tow hitch welded to the bumper.
IMG_2012.JPG


IMG_2013.JPG
 
Here are pics of the Coastal long arm kit with removable jerry can holder. I also reinforced the the hinge area like Bluetribal did. The lock pin is my addition and not part of the kit. I also reinforced the vertical part of tire holder with angle on each side plus the back of all verticals. Just a little extra cheap insurance. I added these foldable steps on both sides of the bumper and think these will come in quite handy.

C0290C6F-826C-4CED-9F57-0B8B138EEB9B.jpeg


A5F688C3-00B0-45D5-8E1C-384587DFE09B.jpeg
 
So this C.O. rear bumper is a heavy weight! Still not done with it have some details like installing back-up LED's, license plate light mount, and rear back-up camera before I can prep and paint. But with my full length swing out, gas basket, and stock tow hitch welded to the underside she's gotten HEAVY! And my rear 2" ICON springs drop about 3" in back! So I am toying with the idea of going 3" ICONS in back or seeing if I could put some heavier duty 2" springs.

If I go 3" springs what other suspension items do I need to address in back? I have adjustable Toytec's up front that are as low as I can set them and I already installed MT extended braided brake lines in back. I also have helper bags inside my springs but I don't want to drive with those filled all the time.

Does anyone know what the weight rating is on the 2" or 3" ICON springs?

Pictures are before I had the tow hitch welded to the bumper.
IMG_2012.JPG


IMG_2013.JPG
We did our BUC on the underside of the spoiler. I can post up a photo if you would like.
 
We did our BUC on the underside of the spoiler. I can post up a photo if you would like.

Sure that is a location I didn’t think of so yeah please share. BTW I hate acronyms as I use one, took me a couple of minutes to decipher Back Up Camera BUC
 
Sure that is a location I didn’t think of so yeah please share. BTW I hate acronyms as I use one, took me a couple of minutes to decipher Back Up Camera BUC
Ha, I have to keep you on your toes :) Here are the photos of the Back Up Camera mounted on the Spoiler.

fullsizeoutput_5a2.jpeg


U+NaYngvTuq3ISQDz19eag.jpg
 
Here are pics of the Coastal long arm kit with removable jerry can holder. I also reinforced the the hinge area like Bluetribal did. The lock pin is my addition and not part of the kit. I also reinforced the vertical part of tire holder with angle on each side plus the back of all verticals. Just a little extra cheap insurance. I added these foldable steps on both sides of the bumper and think these will come in quite handy.

View attachment 2004933

View attachment 2004932

That looks great and like the idea of the added steps! Do they stay latched up or do you think they will rattle and fall down? You should share a pic of the swing out open so people can see the added supports.
 
Here are pics of the Coastal long arm kit with removable jerry can holder. I also reinforced the the hinge area like Bluetribal did. The lock pin is my addition and not part of the kit. I also reinforced the vertical part of tire holder with angle on each side plus the back of all verticals. Just a little extra cheap insurance. I added these foldable steps on both sides of the bumper and think these will come in quite handy.

View attachment 2004933

View attachment 2004932
I thought about adding the foldable steps as well. Are you finding them useful?
 
Haven’t driven it much. Main motivation is for easier access when stowing the RTT. They fold up securely so I don’t think they will move on their own. Time will tell though.
 
This looks interesting. Anyone know what it would roughly cost to have this kit welded up? Also, wondering if the single tire carrier mounted on the passenger side would clear a Gobi ladder mounted on the drivers side?
Just wanted to add that I just built this similar kit for my 80. It is quite a project. Took me about 8 hours to build in an outfitted welding shop, but that included removing the old bumper and the required removal of some (welded metal) crap that was in the way. And also cutting a hole in the frame and bumper to mount a receiver that was not included on an 80. Grinding the welds took a while. Personally I would never be able to charge someone to do this. My rate would not be worth it. I hope I never have to do it again. I would say that if anyone could build this for $400-$500 US, then that is a decent deal. Mounting was tricky but not difficult. Truck needs to be left with the fabricator and that does not include painting or powder coating. Or any swingouts.
 
I agree, it is a lot of welding and it felt like even more grinding. I made my front bumper first and used my MIG for that project. The front was a ton of grinding. For the rear, I used TIG and had much better results. I used 3/32" filler and ~160amps. The filler seemed to be well suited for the amount of reveal between the various plates and gave a fairly rounded finish weld which means less grinding. I am still learning to weld but I am happy with the result. I agree with @toadshade, it is quite a project and not for everyone but, I like the base product it gave me to adapt to my liking.

IMG_2714r1.JPG
 
Yeah I Tig welded a couple places that were either flat or nearly so. But that takes more time than a Mig. I agree though. It would be easier to clean.
 
It was dramatically better to TIG than MIG in that it was much much less grinding. I did stitch weld the inside with MIG to be sure I had as much structural strength as possible.
 
Just recently purchased a new to me 2004 GX that has a Coastal Offroad rear bumper. Welds seems to be bomber but once the weather is a bit better, I think I'll take a off and really check the welds and installation as I will be doing some towing with the GX in the warmer months.

With that said, who has towed with the coastal offroad rear bumper and did you add any additional strength points, weld on receiver, etc...

Look forward to hearing from yall
 
I towed a few times this year with mine, see below. I dont think CO certifies their hitch for any weight due to the fact that they didnt weld it. I used a Metal tech hitch with mine. If you are unsure, you can always add an aftermarket bolt on hitch such as a CURT or DrawTite.
IMG_2699.jpg
 
It is a Locost Super 7 which is based on the Lotus 7 to which Caterham bought the rights to in the late 70's. I built the chassis and designed the suspension using mostly junkyard parts. BMW 1.8L and trans, T-bird IRS, Toyota Pickup front spindles, etc. 1350lbs and 148bhp. I am tearing it apart over the winter to finish welding, paint, and make body panels.
 
I towed a few times this year with mine, see below. I dont think CO certifies their hitch for any weight due to the fact that they didnt weld it. I used a Metal tech hitch with mine. If you are unsure, you can always add an aftermarket bolt on hitch such as a CURT or DrawTite.
/QUOTE]

only reason I didn't want to add an additional hitch on there was because it lowers the clearance in the rear. Might talk to the welding guru at our shop and see what he thinks about beefing up the attachment points where the current CO hitch sits. Thanks all
 
Last edited:
Also have an additional question: has anyone or do any companies make a steel filler for the location circled below? Was thinking of maybe trying to fab something up to fill that in since the plastic there just doesn't work as well as it could.

IMG_20191228_123058~2.jpg
 
I will try to remember to post some pics of the modification I did to my hitch. Might be a few days. A little different situation in my 80 series, but I went through the frame where the stock hitch is supposed to mount and bought a new receiver that is 24" in length. I fabricated a brace that bolts across the same place as the spare tire bracket and bolted that to the receiver so I can remove the bumper if necessary. I pull a lot of crap on a 6x10 trailer over a lot of rough terrain and no problems yet. I wouldn't mind bringing my bracket that goes across from right to left all the way to the frame mount over the rear axle. Then I would not have any doubts. But that might actually be overkill. I welded the receiver to a brace plate through the outside center of the bumper. It saves all the clearance. It was a lot of work though. I was a little miffed when I got the receiver "kit" and found it just welded to the bottom of the bumper. Even the instructions say for off road use only. No way I would tow a heavy load with that.
 

Users who are viewing this thread

Back
Top Bottom