
WIKID has eyes for you... Baja Camera System install
From the Beginning.
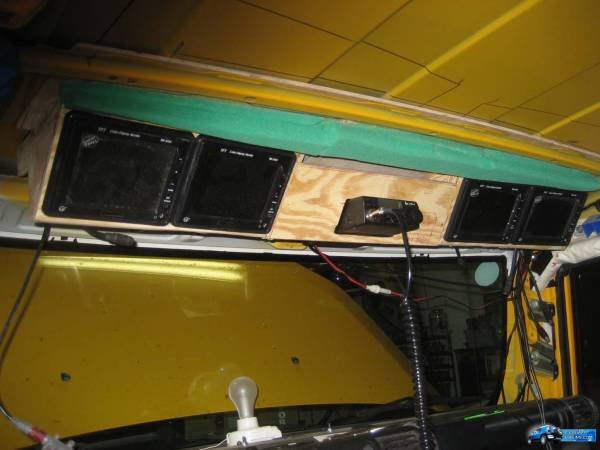
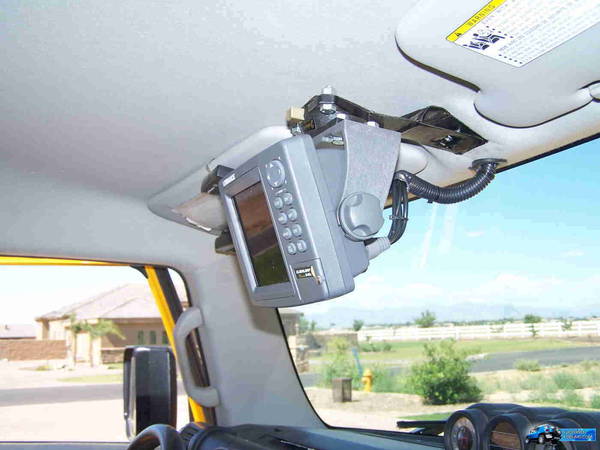
I made several configurations of this OH console this is what I went with. Its actually secured from the lip of the front roof frame to the first cross support It will not come loose or down
While I am doing this project I am adding stuff as I go
Since the headliner is down I am doing a few things to make life easier.
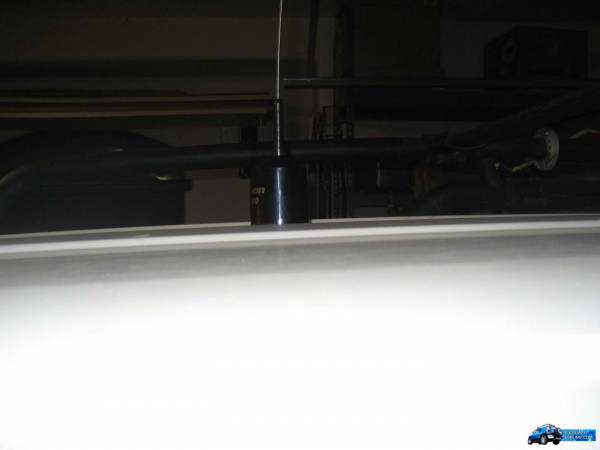
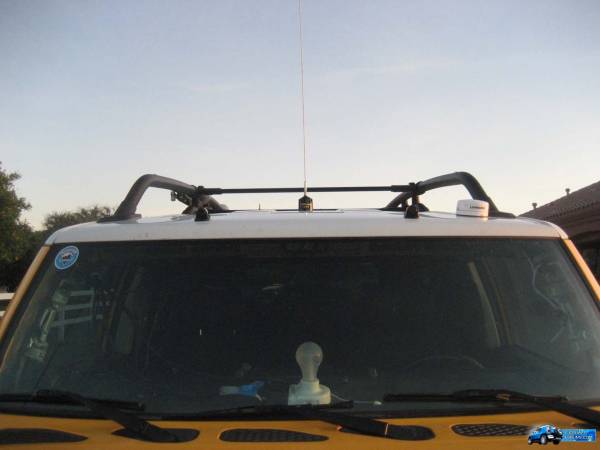
Wilson 1000 antenna roof mounted. Say good bye to the lil will Mag mount. You won't see cables on the roof now. This antenna is about the best you can get for a CB The really nice feature is that you can unscrew the base of the antenna with you hand and screw a cap on the stub so you don't have to have the antenna up all the time. Its just a little black cap that is left.
Next will be one more set of cables to run then the headliner can go back up.
I am waiting for the cables though
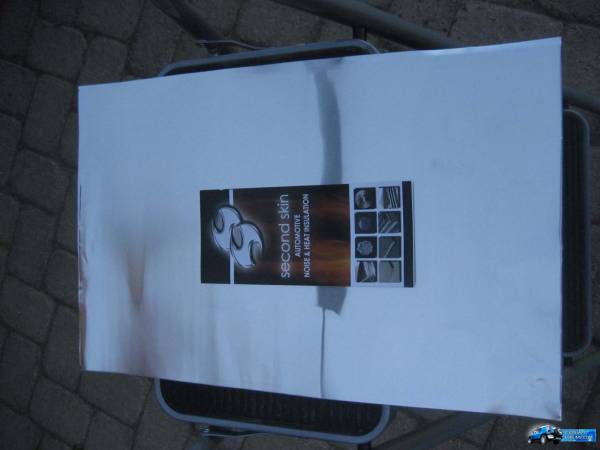
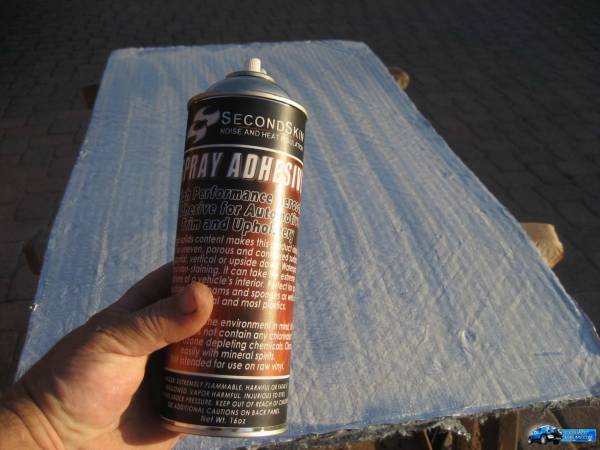
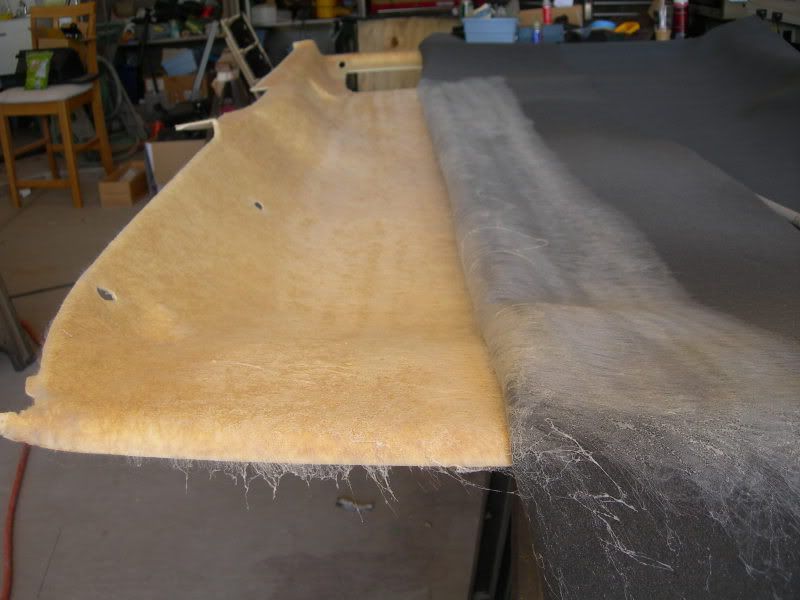
I decided to quiet the beast some with a product from Second Skin Audio
Sound Deadening Materials for Noise Reduction from Second Skin
The product is called Damplifier Pro. kills, vibration, heat and noise
It comes in 12"x20" sheets that have paper you peel to adhere to the roof. Its very sticky and I cannot see it coming off even if you begged it.
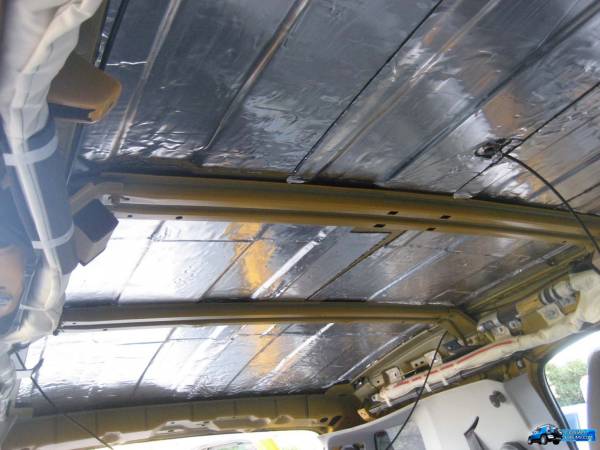
Next will be another insulation product I glue to the face of the Damplifier Pro
Its about 1/2 to 5/8th thick called "heat wave" and has great insulation properties
Friday I will have all the parts and doodads to begin installing the next phase of this project
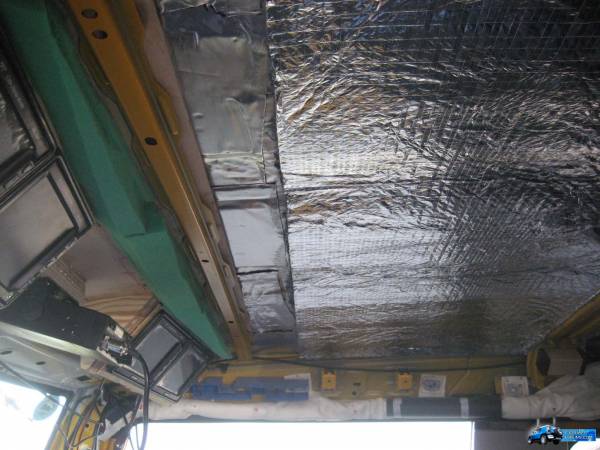
Second part of insulating
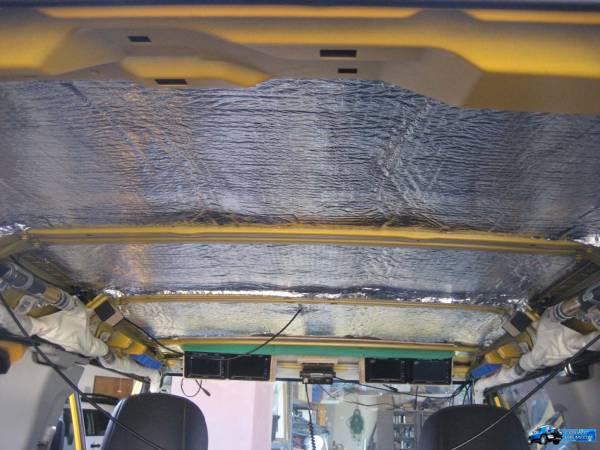
I left it short till I secure the rest of my stuff but it will be finalized after it it all done
Camera mount and wiring day. I completed 3 camera installs and ran about 80% of the wire/cables Location, location, location, was the theme of the day.
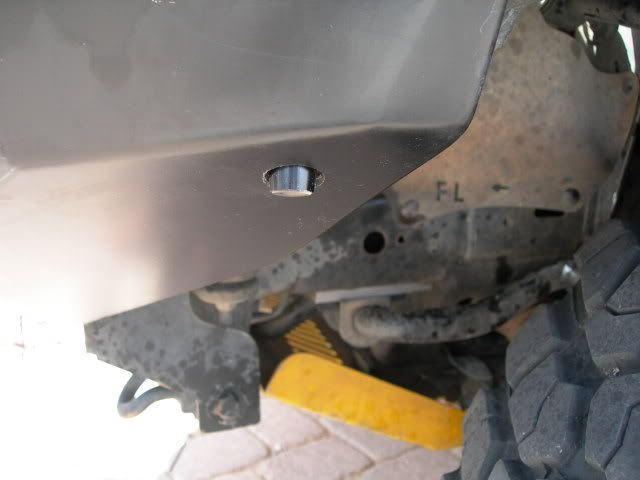
The picture below shows 2 of the 3 cameras installed today.
Camera 1
Drivers side on the roof Narrow view camera that shows lots of distance but not as much on the sides
Camera 2
Passenger side a wide angle but not much distance
My logic behind where there are mounted is..
I wanted to be able to easily clean them without having to make some kind of boom to reach the center ( remember I am short) I decided to follow the line of the washer nozzles. With that I also needed to establish an axis for where center would be in front of the truck. 8Ball and I worked it out with much effort
Side view Note: the covers have not been placed untill they are sealed with silicone into place.
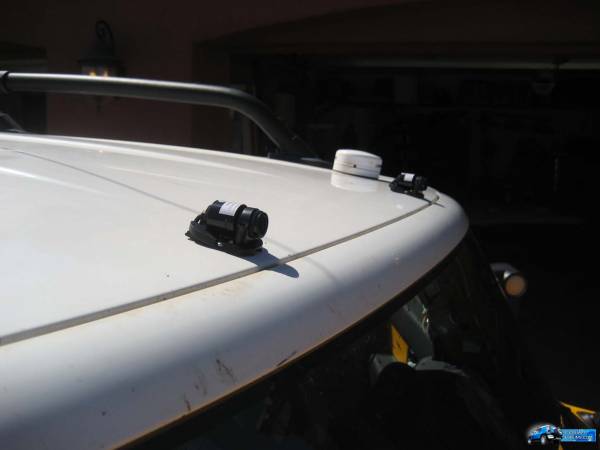
A longer view

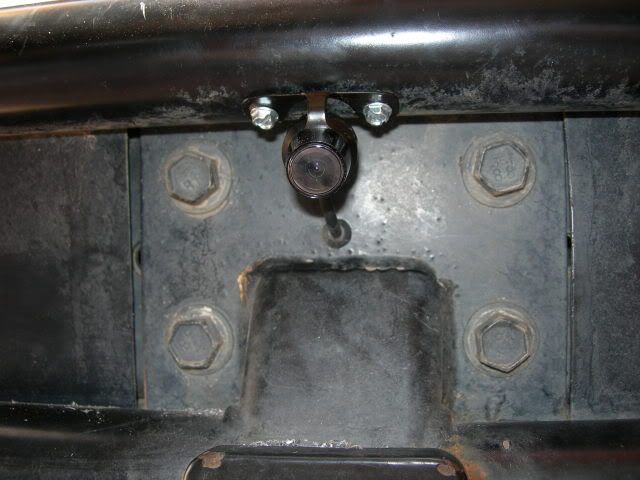
Camera 3
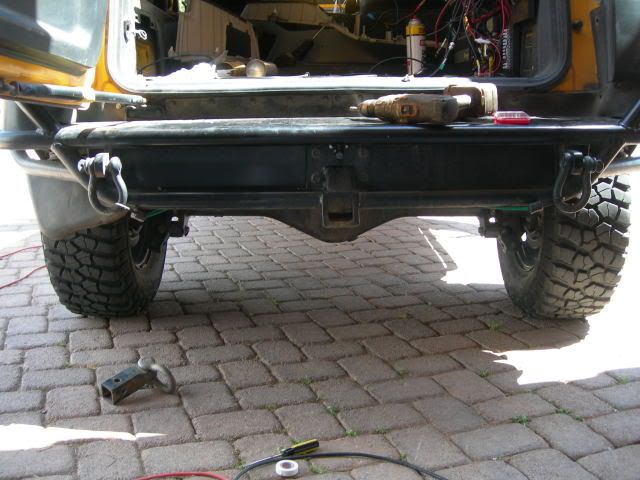
Rear roof . I decided a narrow view camera would be best for most conditions since I will also have a wide angle camera on the bumper

Cable and wire runs were also done today pictures to follow
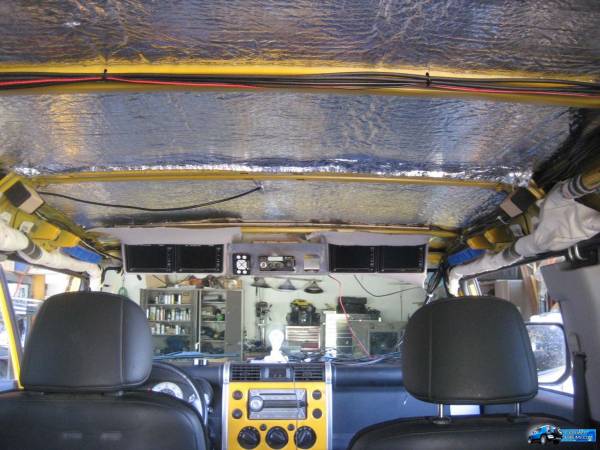
Progress on the overhead console
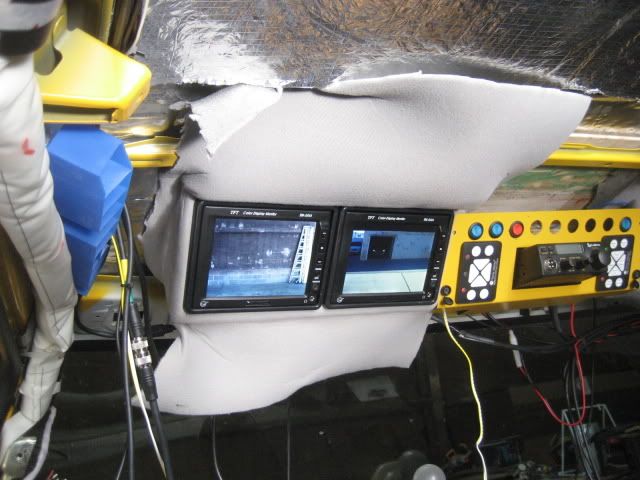
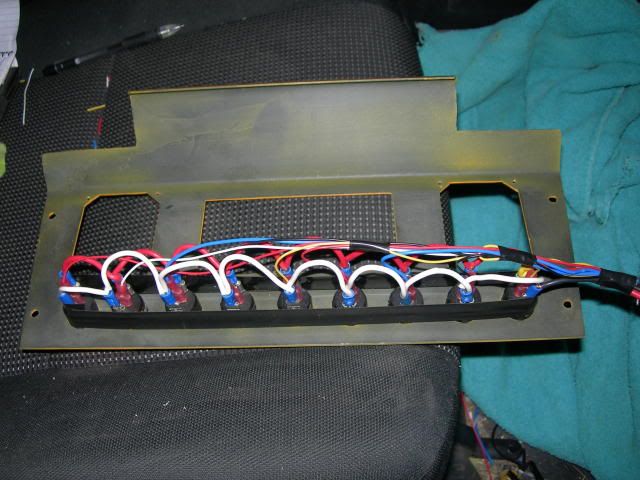
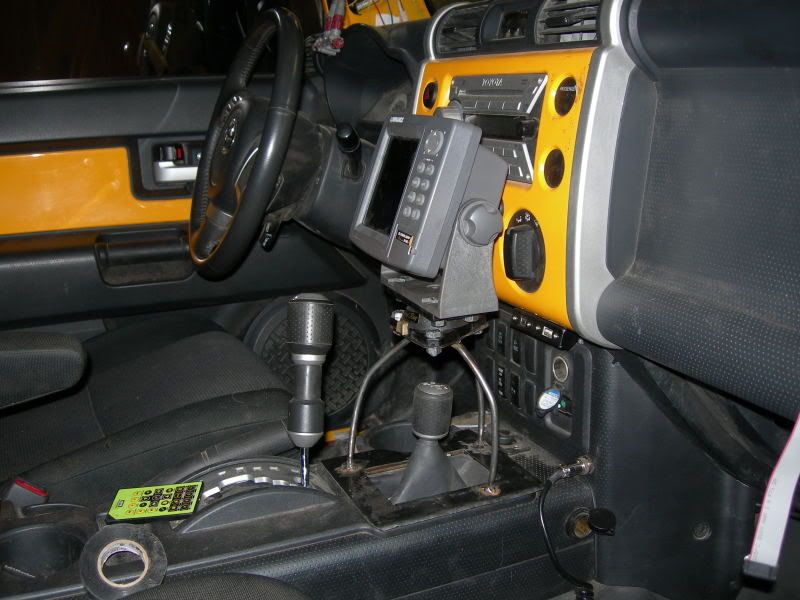
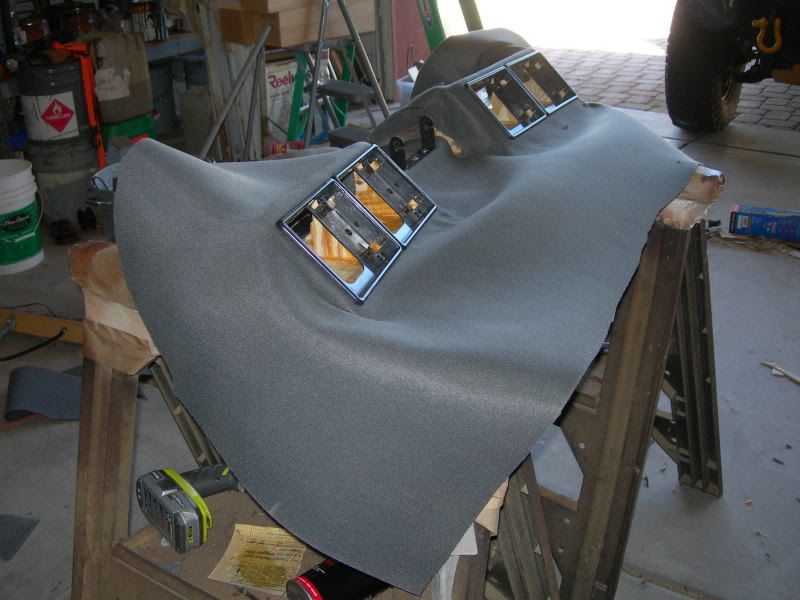
I used headliner material to cover the monitor pods and made a center section which will house both of the keypads, cb radio and a few other goodies I have planned for it.
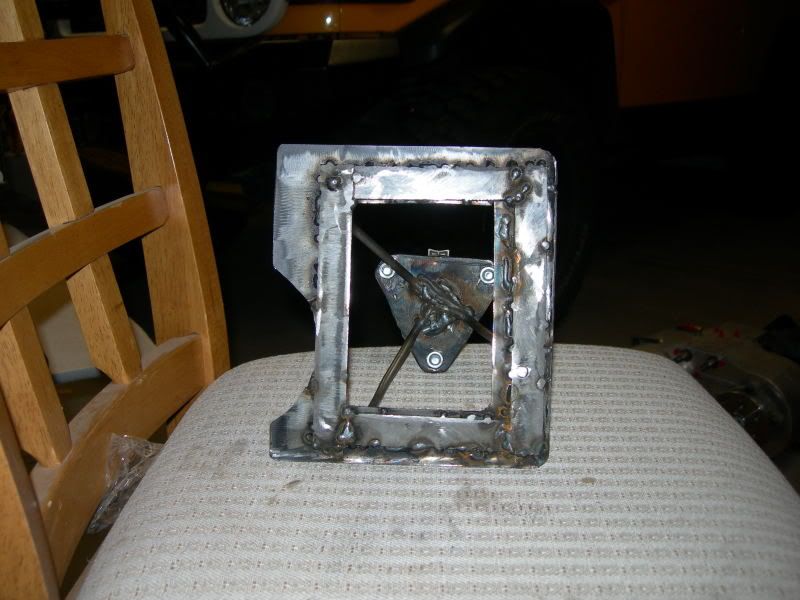
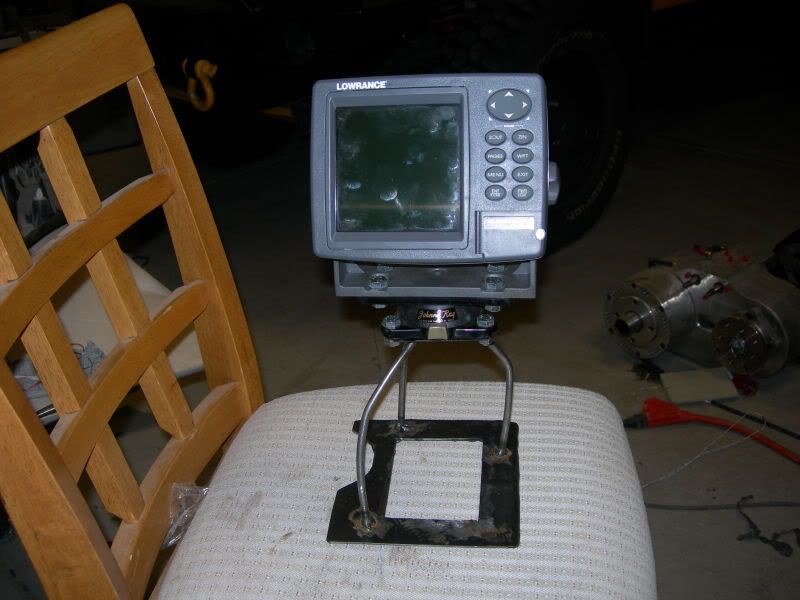
Here is a sample Keypad that will control the cameras. The center was cut and formed from 18 gauge steel. Angles were important along with forming a rigid back edge

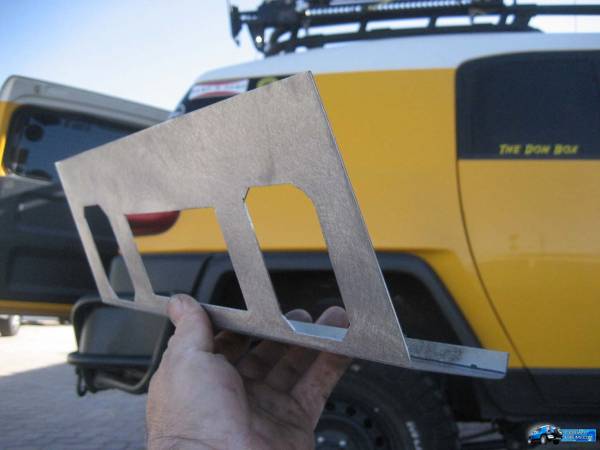
One more view from the back of the truck.
The top edge should be the approx height of the headliner
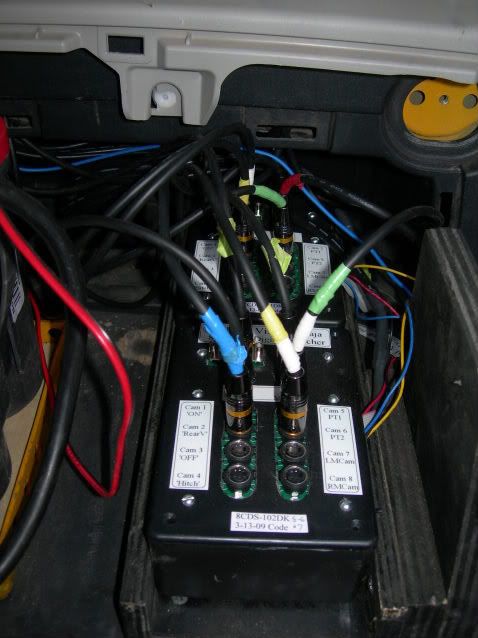
I am working with Rod from Total Vision of Tucson, AZ. Total Vision Products: The new standard in mobile vision products I gave him the thoughts I had and he developed the system. We are working together with the install. So far my end of the install is almost done. Rod is designing another system that could be a great addition to the FJ crowd along with others who may want something like it. The system being designed is not this involved for the install. Mine is just over the top. I will post more details about that soon
Besides all of the wiring I accomplished the oh center console is painted and fitted.
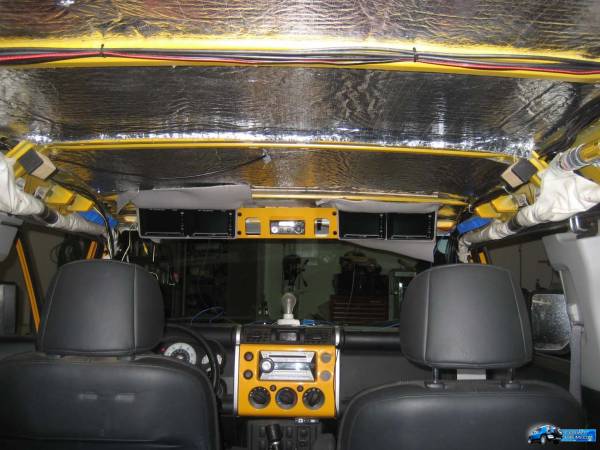
I am pleased with the way it came out. There are still some things to add to it but it is on the way to being complete.

I will start with a view from the drivers seat while driving home from Tucson. The left picture is facing forward from one of the 2 front facing roof cams. The right picture is the long view rear roof cam picture. I was hoping to catch this guy pickin his nose
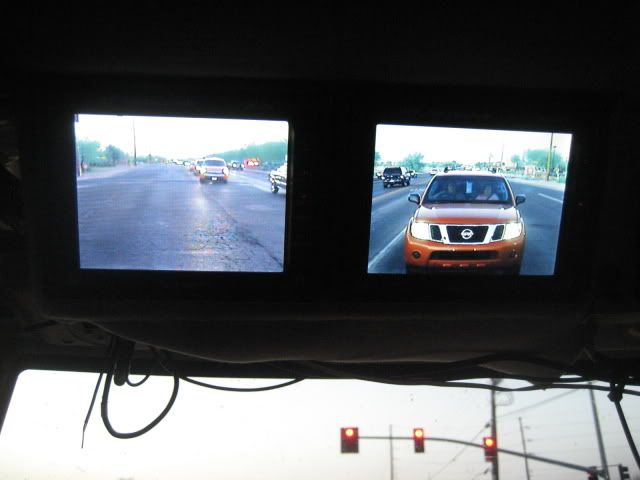
We have most of the system in and 2 of the cameras viewing.
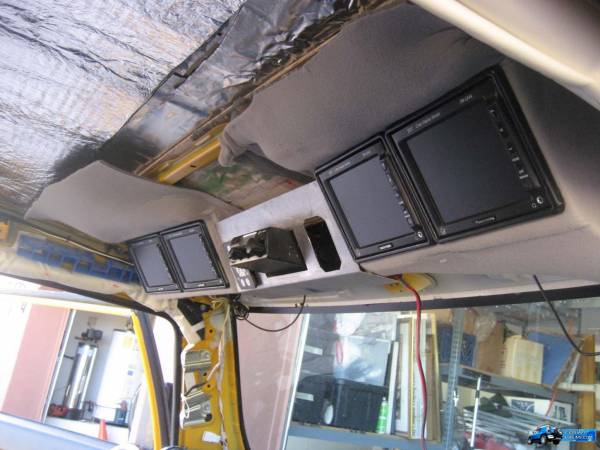
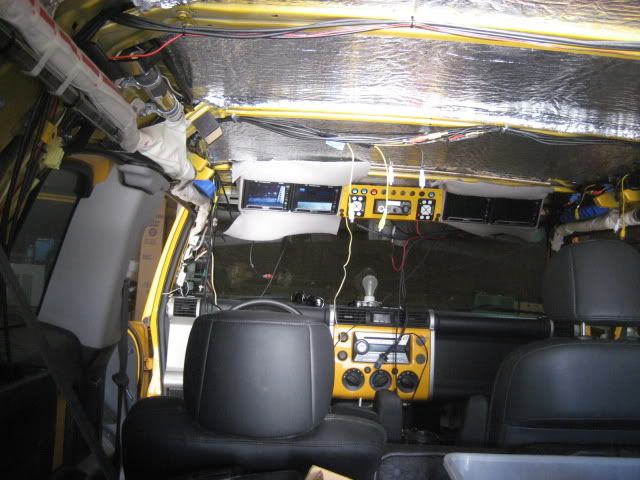
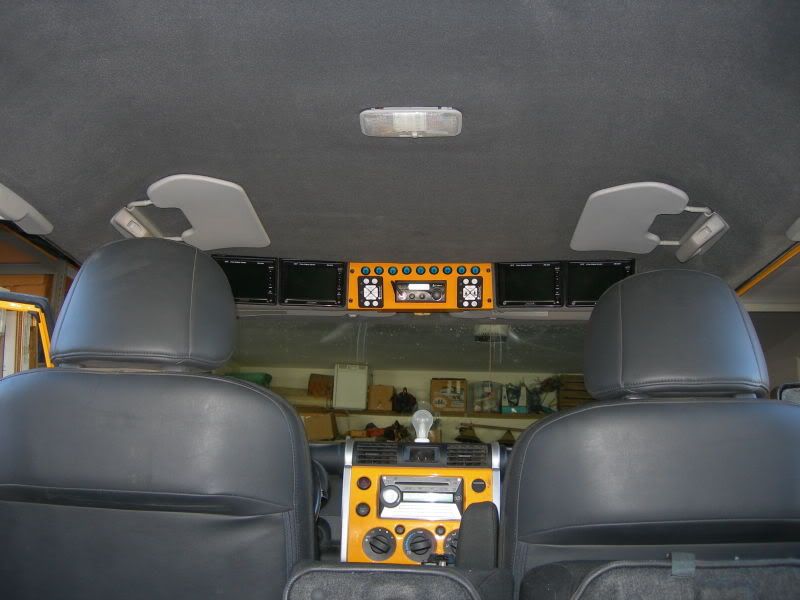
There is lots of wiring and configuring to do. This is the semi complete oh console after today's progress

Even though it doesn't look like it, we are fairly close to trimming everything out and doing final adjustments, before the headliner goes back up. Its a slow process because this is totally custom and there are many things that come up while we progress
From the Beginning.
I made several configurations of this OH console this is what I went with. Its actually secured from the lip of the front roof frame to the first cross support It will not come loose or down
While I am doing this project I am adding stuff as I go
Since the headliner is down I am doing a few things to make life easier.
Wilson 1000 antenna roof mounted. Say good bye to the lil will Mag mount. You won't see cables on the roof now. This antenna is about the best you can get for a CB The really nice feature is that you can unscrew the base of the antenna with you hand and screw a cap on the stub so you don't have to have the antenna up all the time. Its just a little black cap that is left.
Next will be one more set of cables to run then the headliner can go back up.
I am waiting for the cables though
I decided to quiet the beast some with a product from Second Skin Audio
Sound Deadening Materials for Noise Reduction from Second Skin
The product is called Damplifier Pro. kills, vibration, heat and noise
It comes in 12"x20" sheets that have paper you peel to adhere to the roof. Its very sticky and I cannot see it coming off even if you begged it.
Next will be another insulation product I glue to the face of the Damplifier Pro
Its about 1/2 to 5/8th thick called "heat wave" and has great insulation properties
Friday I will have all the parts and doodads to begin installing the next phase of this project
Second part of insulating
I left it short till I secure the rest of my stuff but it will be finalized after it it all done
Camera mount and wiring day. I completed 3 camera installs and ran about 80% of the wire/cables Location, location, location, was the theme of the day.
The picture below shows 2 of the 3 cameras installed today.
Camera 1
Drivers side on the roof Narrow view camera that shows lots of distance but not as much on the sides
Camera 2
Passenger side a wide angle but not much distance
My logic behind where there are mounted is..
I wanted to be able to easily clean them without having to make some kind of boom to reach the center ( remember I am short) I decided to follow the line of the washer nozzles. With that I also needed to establish an axis for where center would be in front of the truck. 8Ball and I worked it out with much effort
Side view Note: the covers have not been placed untill they are sealed with silicone into place.
A longer view
Camera 3
Rear roof . I decided a narrow view camera would be best for most conditions since I will also have a wide angle camera on the bumper
Cable and wire runs were also done today pictures to follow
Progress on the overhead console
I used headliner material to cover the monitor pods and made a center section which will house both of the keypads, cb radio and a few other goodies I have planned for it.
Here is a sample Keypad that will control the cameras. The center was cut and formed from 18 gauge steel. Angles were important along with forming a rigid back edge
One more view from the back of the truck.
The top edge should be the approx height of the headliner
I am working with Rod from Total Vision of Tucson, AZ. Total Vision Products: The new standard in mobile vision products I gave him the thoughts I had and he developed the system. We are working together with the install. So far my end of the install is almost done. Rod is designing another system that could be a great addition to the FJ crowd along with others who may want something like it. The system being designed is not this involved for the install. Mine is just over the top. I will post more details about that soon
Besides all of the wiring I accomplished the oh center console is painted and fitted.
I am pleased with the way it came out. There are still some things to add to it but it is on the way to being complete.
I will start with a view from the drivers seat while driving home from Tucson. The left picture is facing forward from one of the 2 front facing roof cams. The right picture is the long view rear roof cam picture. I was hoping to catch this guy pickin his nose
We have most of the system in and 2 of the cameras viewing.
There is lots of wiring and configuring to do. This is the semi complete oh console after today's progress
Even though it doesn't look like it, we are fairly close to trimming everything out and doing final adjustments, before the headliner goes back up. Its a slow process because this is totally custom and there are many things that come up while we progress


 Damn, now there's drool all over my desk.