I'd still say it's worth it to change those gaskets since everything is opened up. The baffle is not removable that I'm aware of but it wasn't an issue since I just cleaned it out with brake cleaner.
In addition to the valve cover gasket removing the valve cover makes it easy to replace the PCV valve and the brittle grommet that falls in. This seals up the vacuum system.
For the wiring I wrapped mine in electrical tape, then covered it with new wire loom, then zip tied the loom together. The key thing for people with EGR is to zip tie the harness to the clip (or if the clip is broken the clip mount) so that it won't contact the EGR pipe. Even without EGR still secure the harness so it doesn't move around.
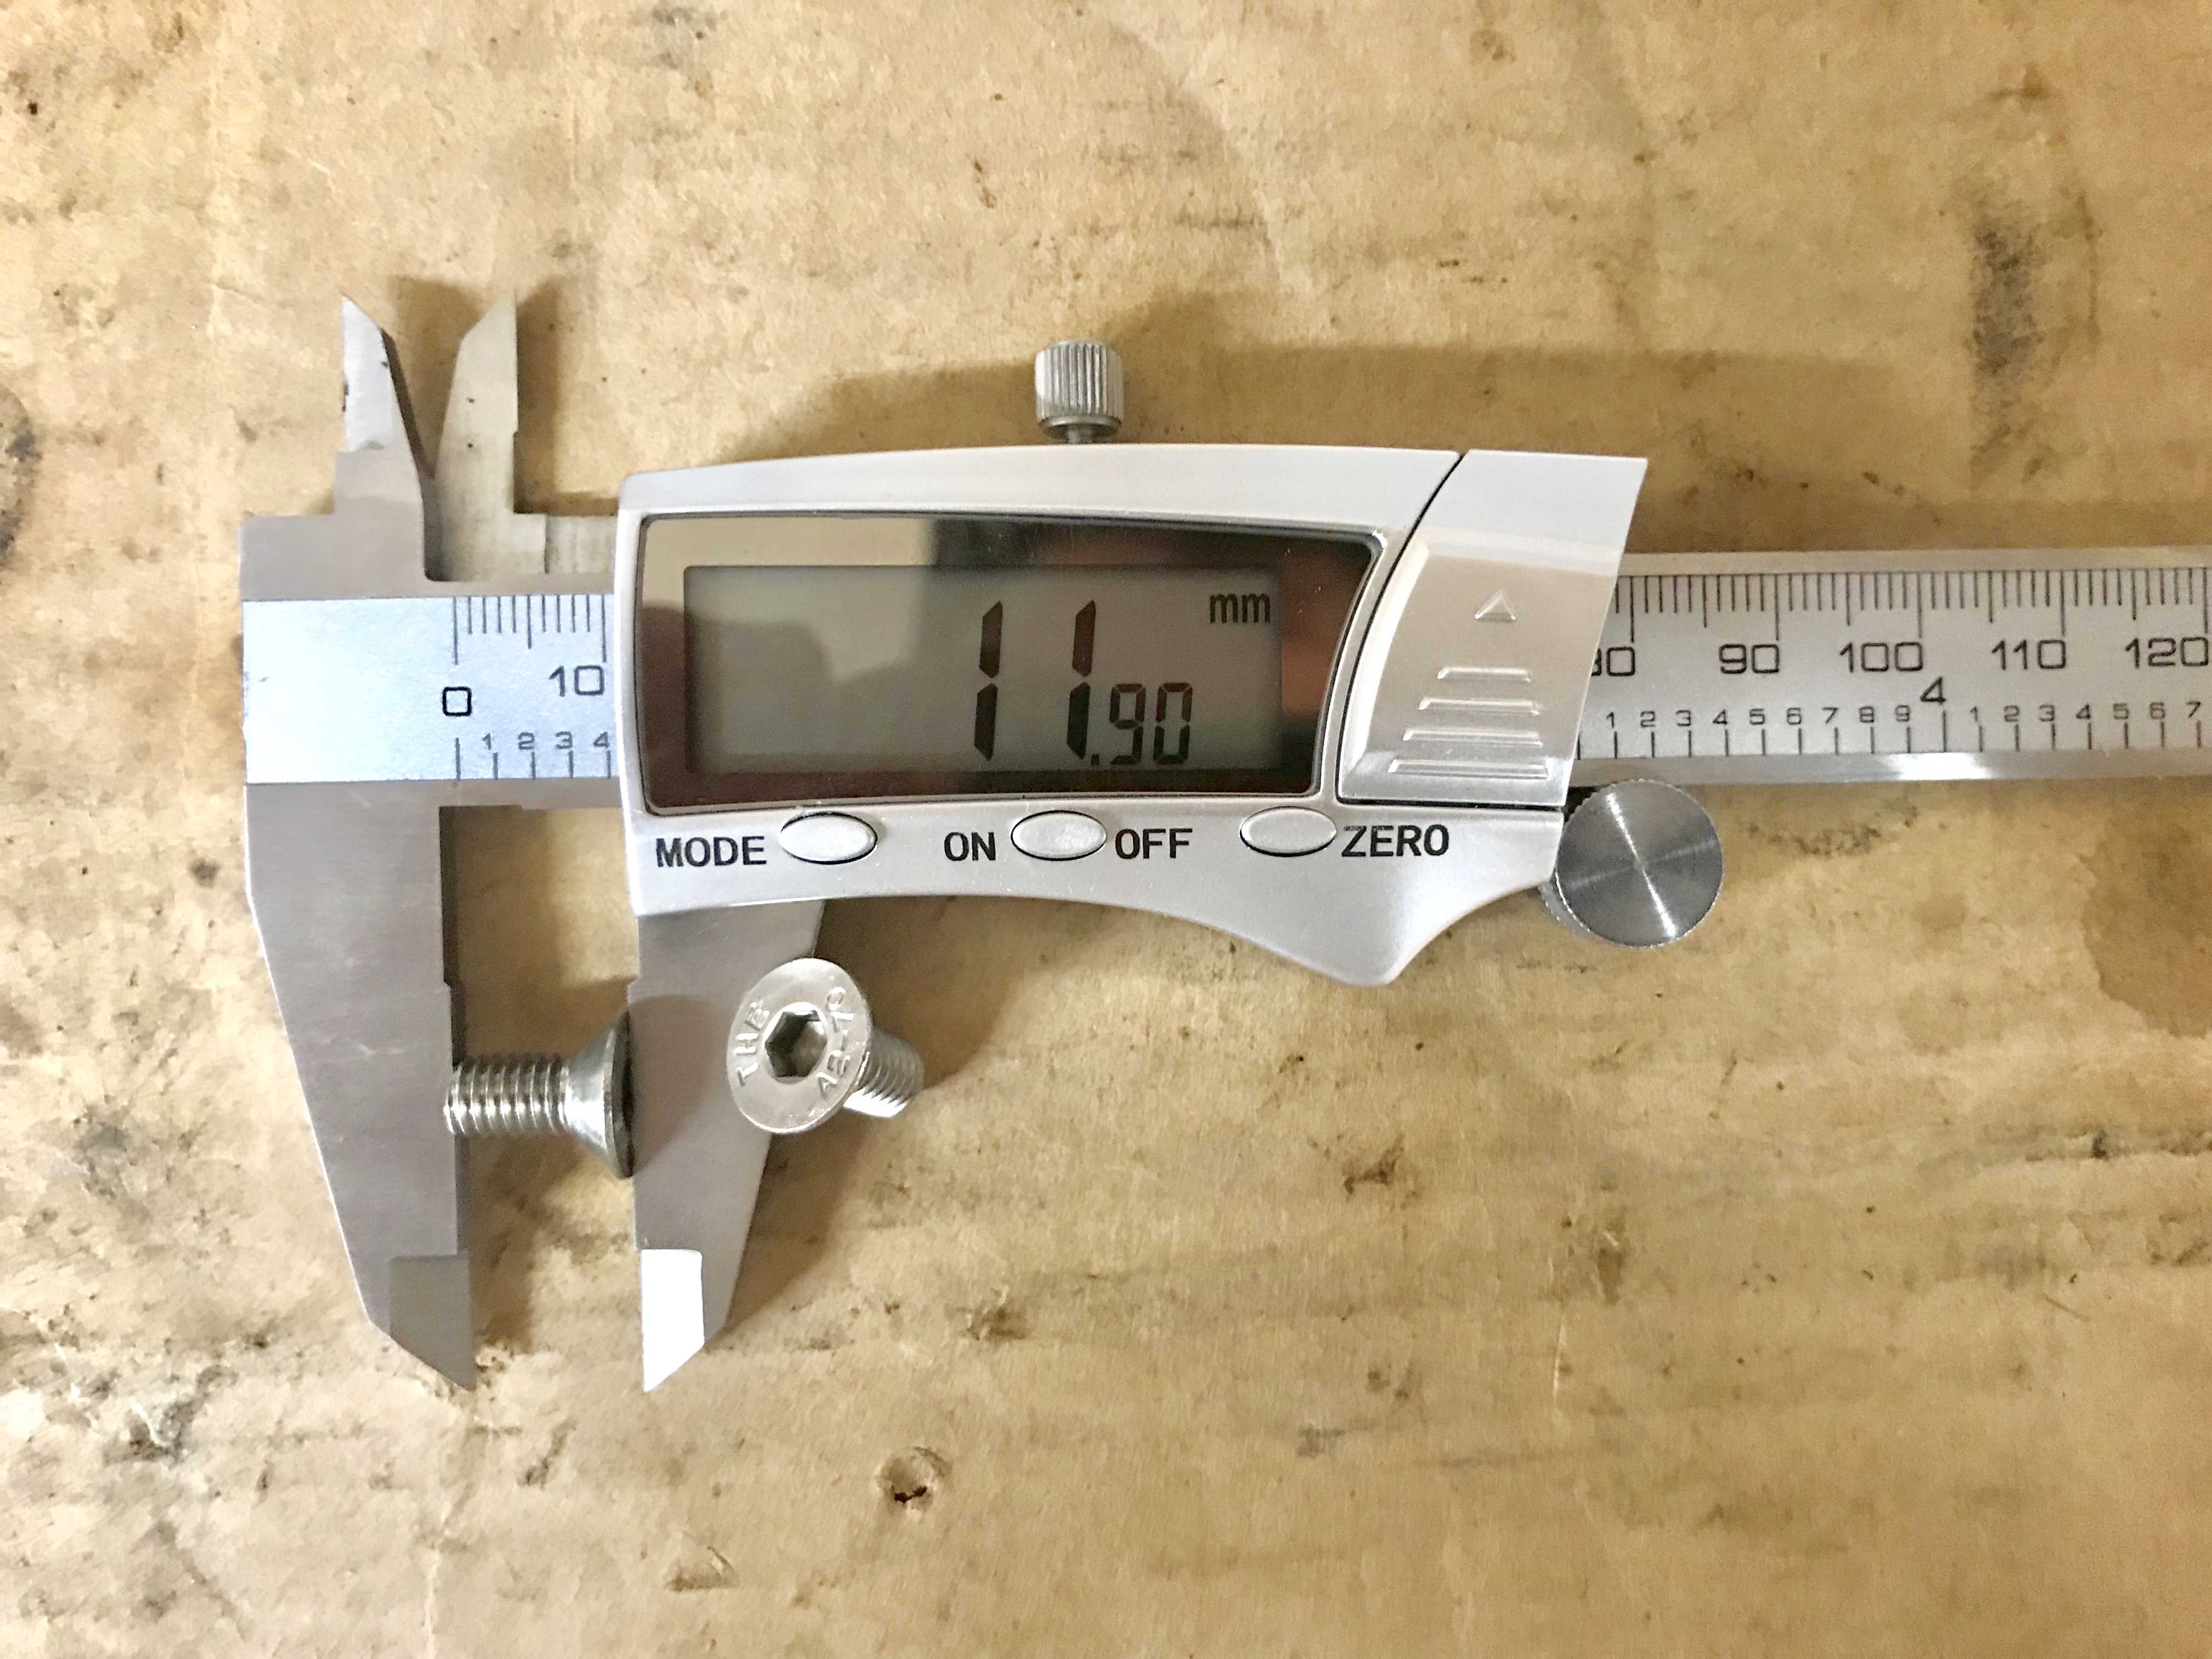
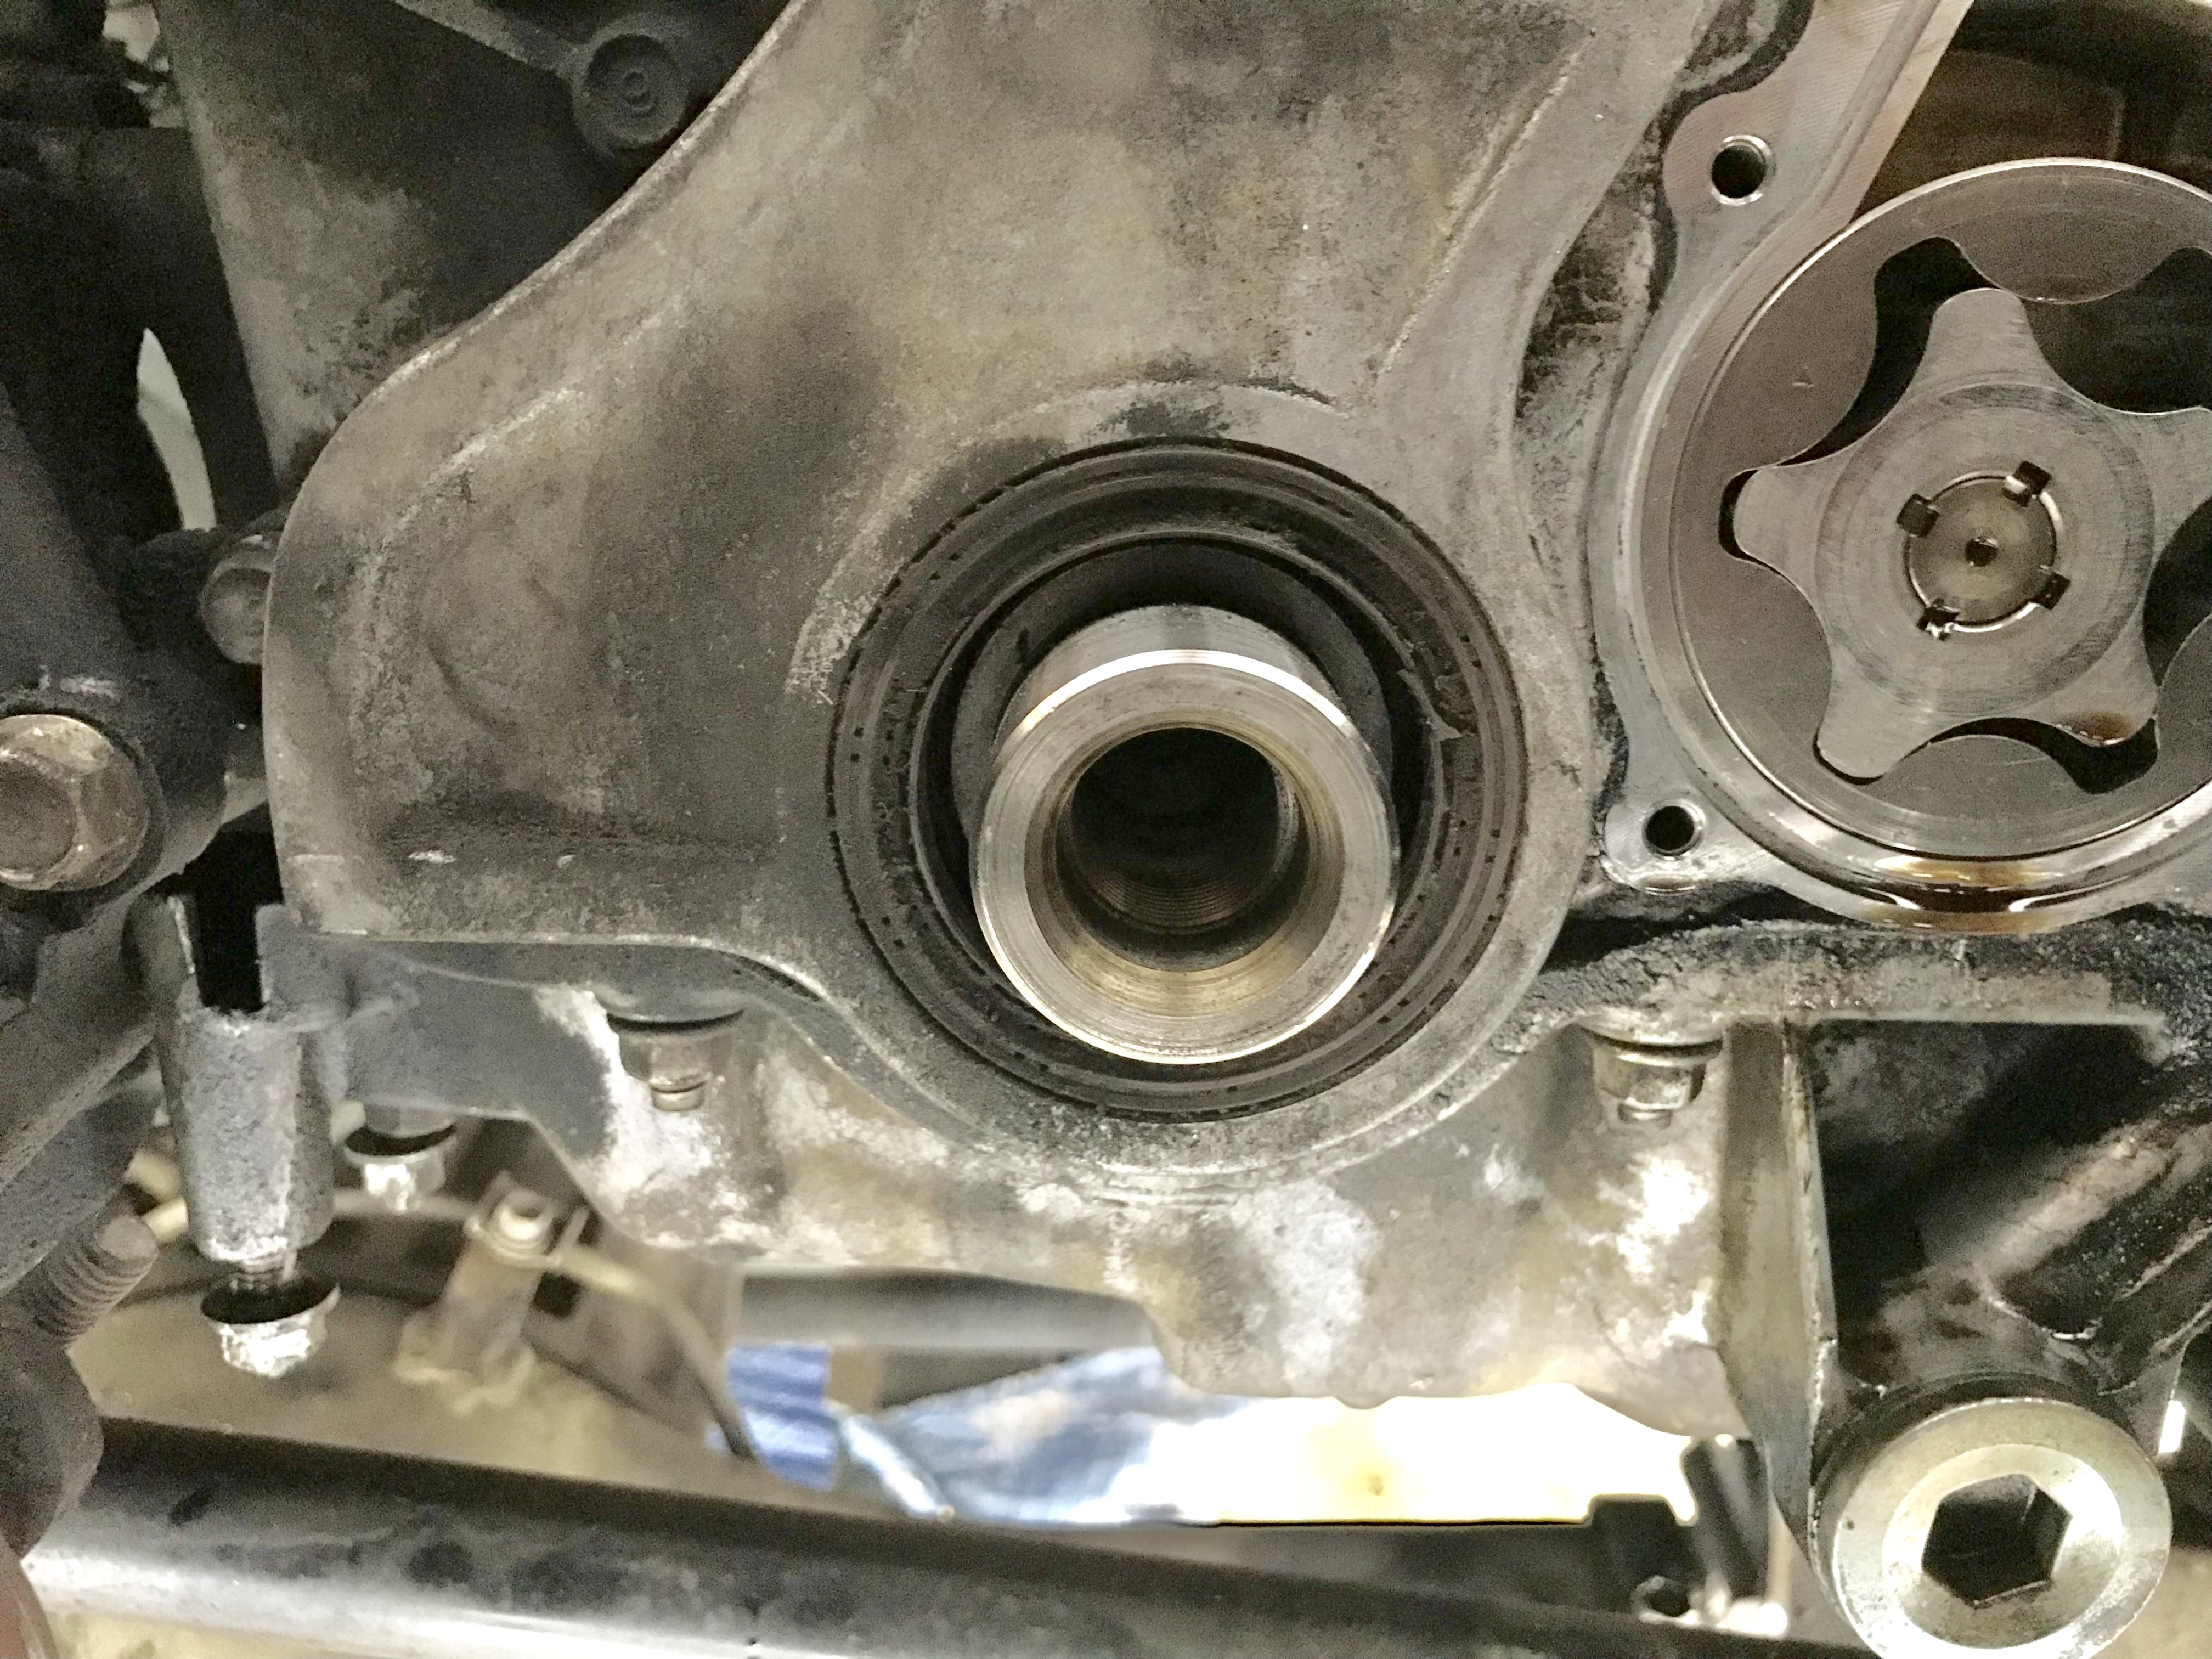
The valve cover gasket is a few hour project at most. The oil pump cover gasket is more involved but makes sense to do since its one of the top three oil leak locations (valve cover gasket and distributor O ring are the others). If you have the fan and belts removed you are right in the zone to tackle the oil pump cover. With the radiator out its even better.
In addition to the valve cover gasket removing the valve cover makes it easy to replace the PCV valve and the brittle grommet that falls in. This seals up the vacuum system.
For the wiring I wrapped mine in electrical tape, then covered it with new wire loom, then zip tied the loom together. The key thing for people with EGR is to zip tie the harness to the clip (or if the clip is broken the clip mount) so that it won't contact the EGR pipe. Even without EGR still secure the harness so it doesn't move around.
The valve cover gasket is a few hour project at most. The oil pump cover gasket is more involved but makes sense to do since its one of the top three oil leak locations (valve cover gasket and distributor O ring are the others). If you have the fan and belts removed you are right in the zone to tackle the oil pump cover. With the radiator out its even better.