1974 FJ40 BUILD "UNTRNABLE" - JUST GET IT GOOD ENOUGH SO THE NEIGHBORS DON'T COMPLAIN (1 Viewer)

This site may earn a commission from merchant affiliate
links, including eBay, Amazon, Skimlinks, and others.

Joined
Dec 30, 2014
Threads
3
Messages
35
Location
Franklinton, NC
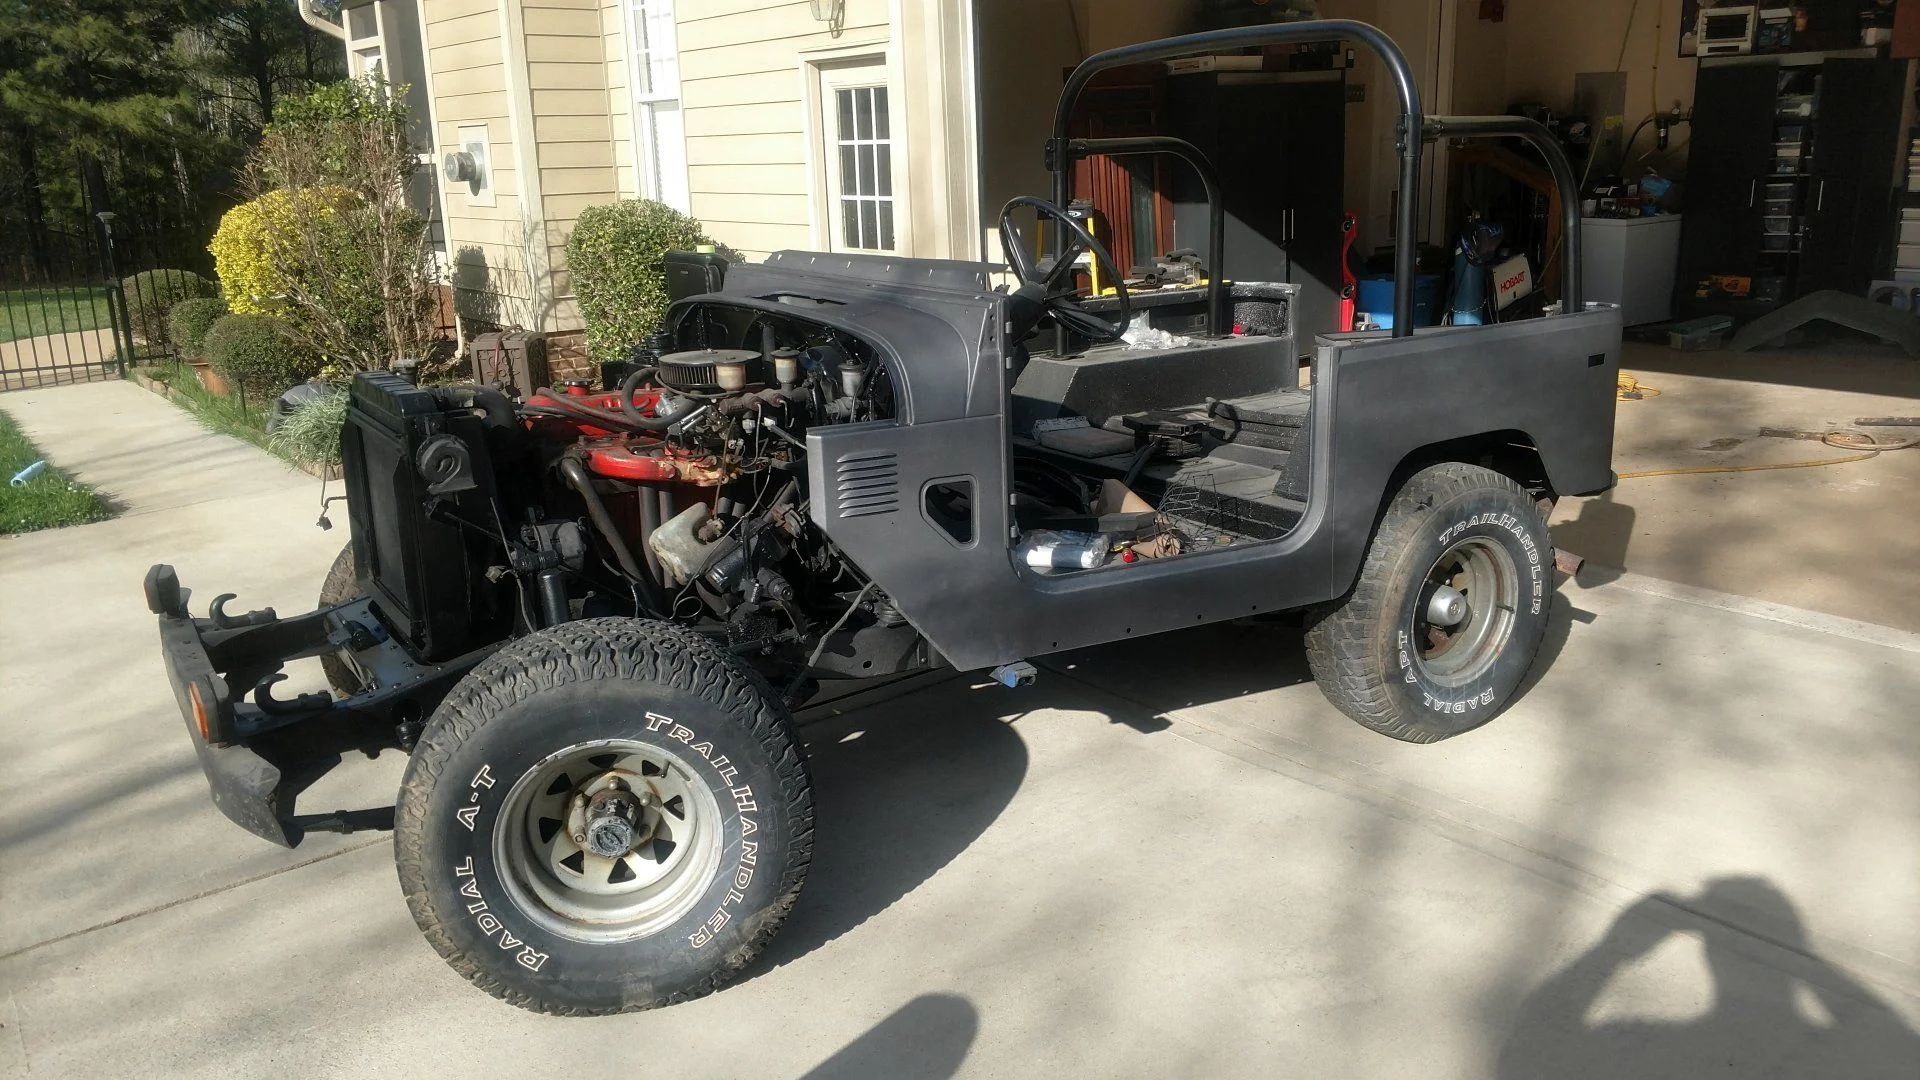
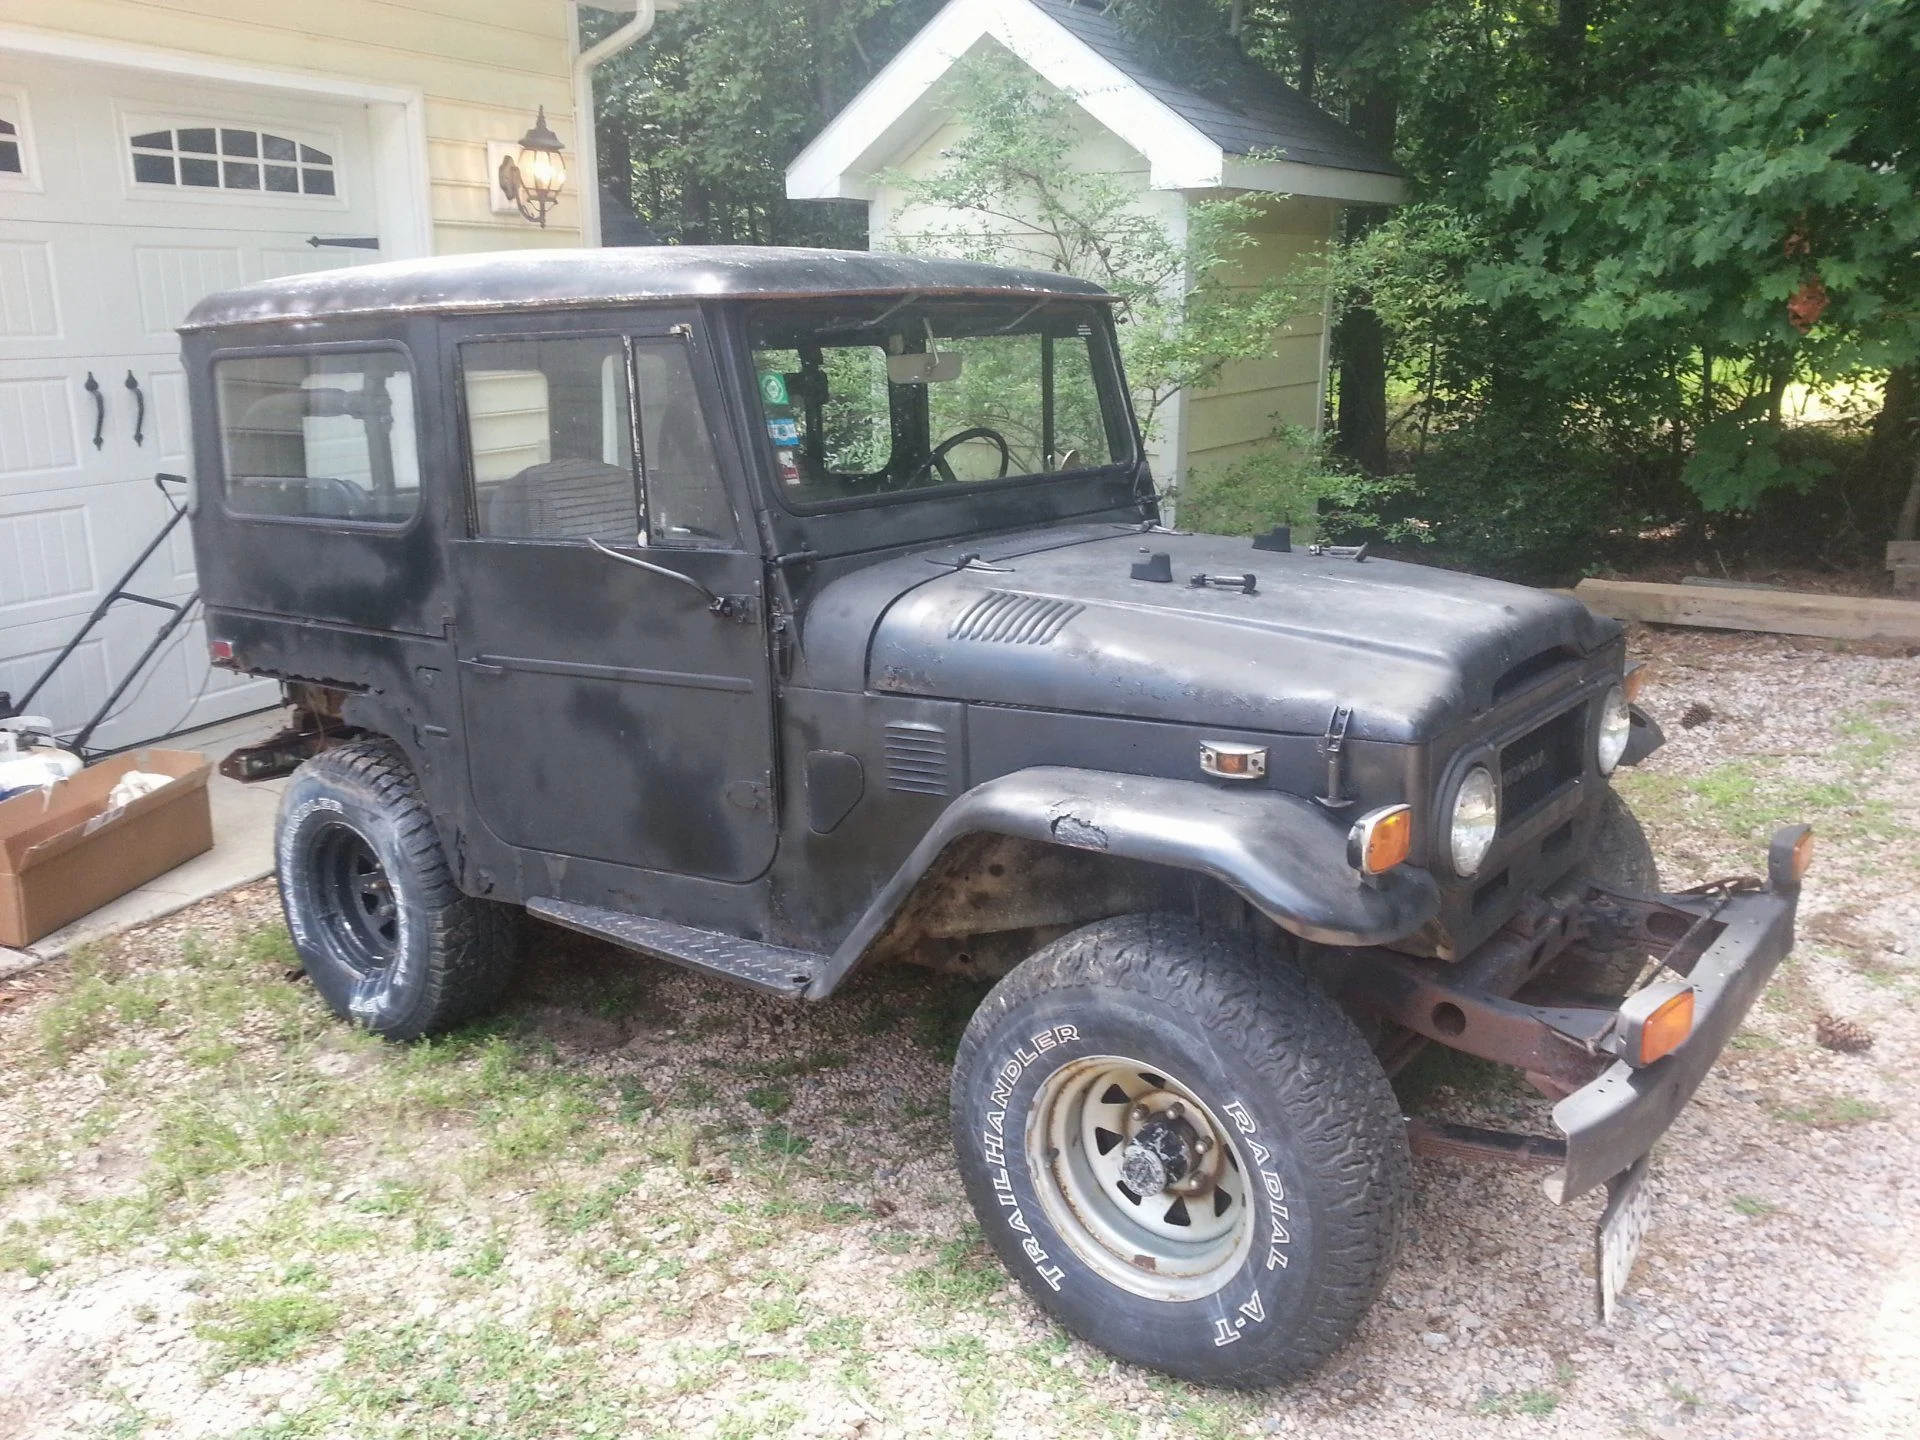
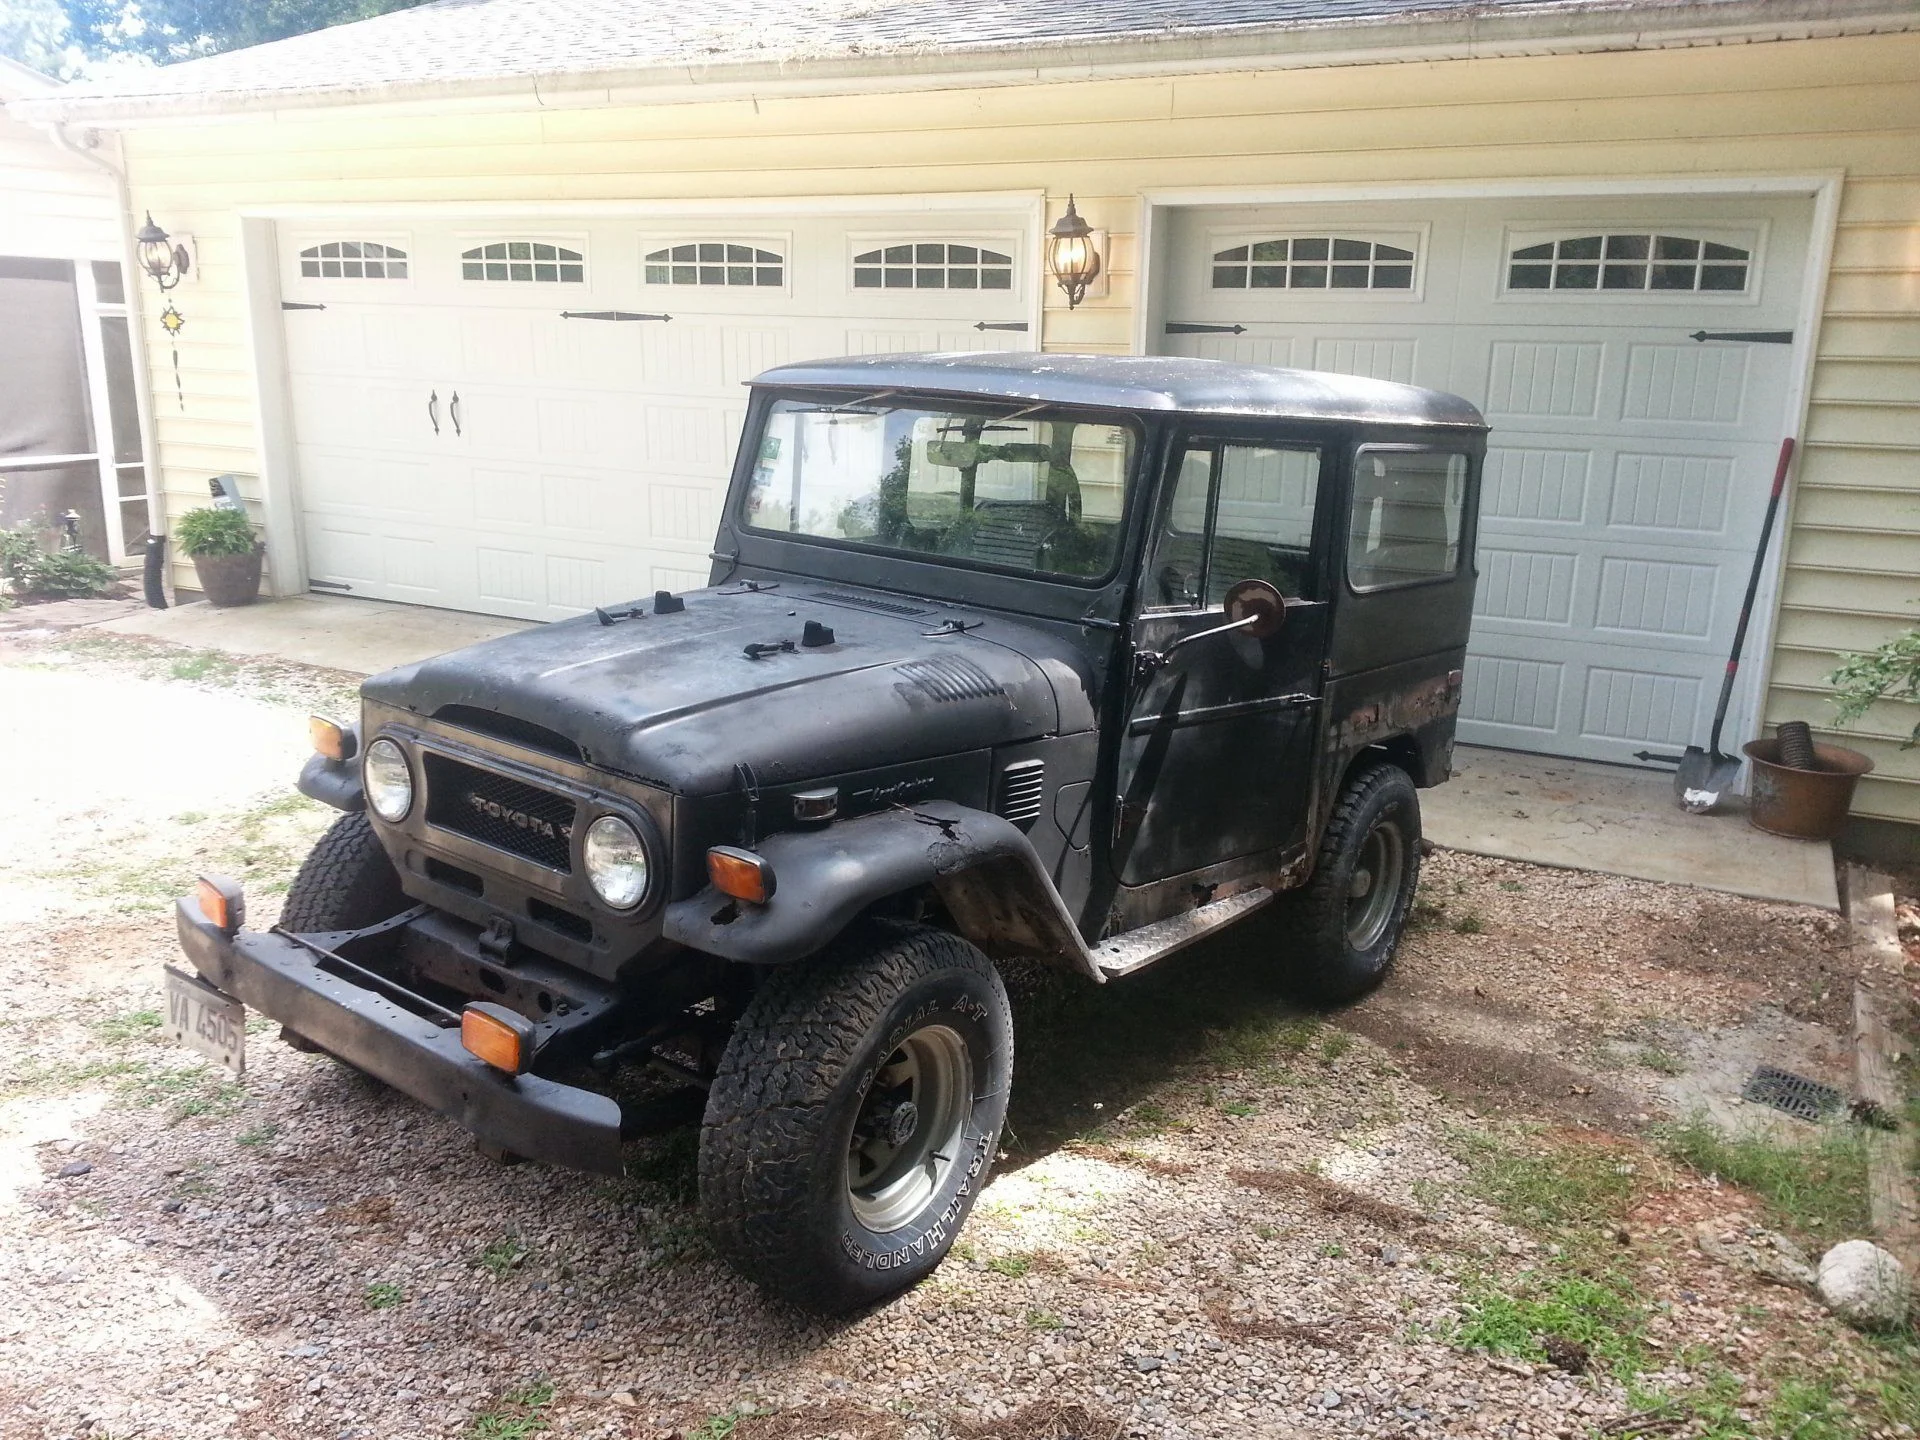
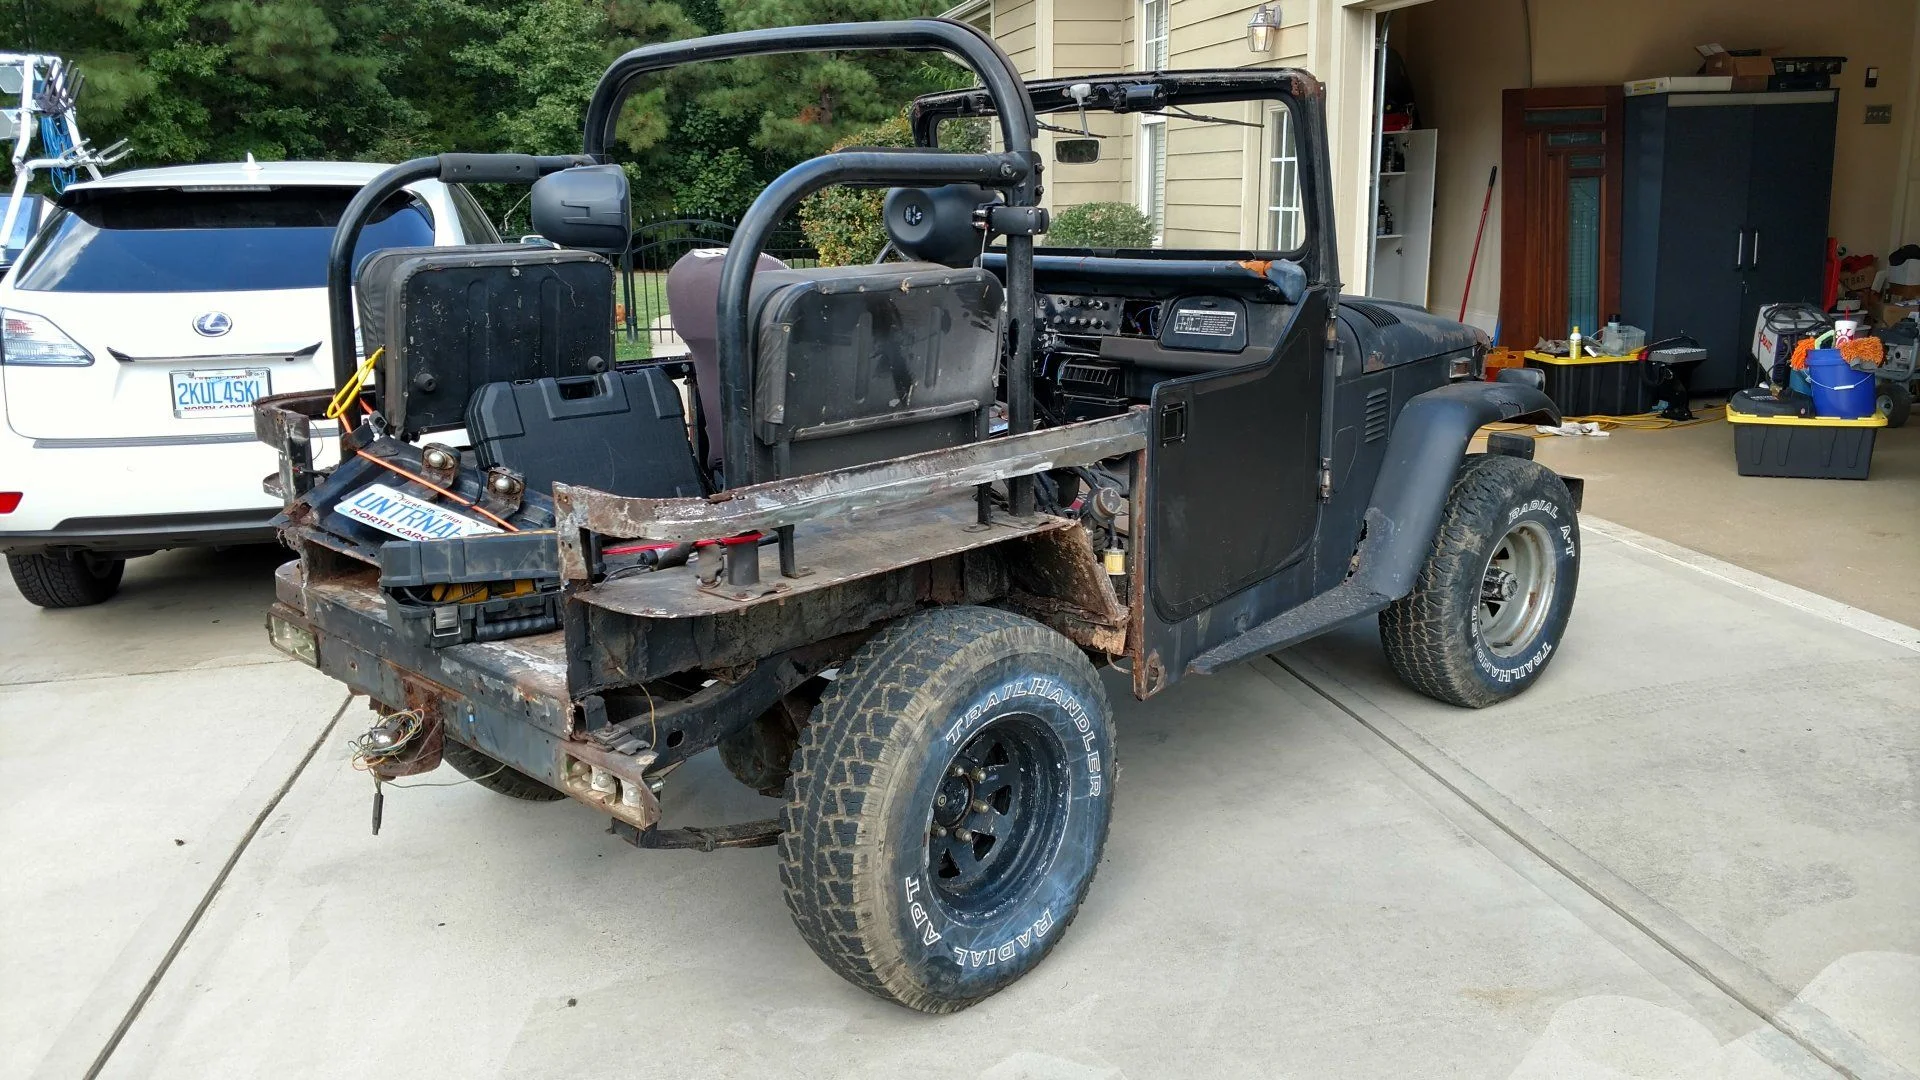
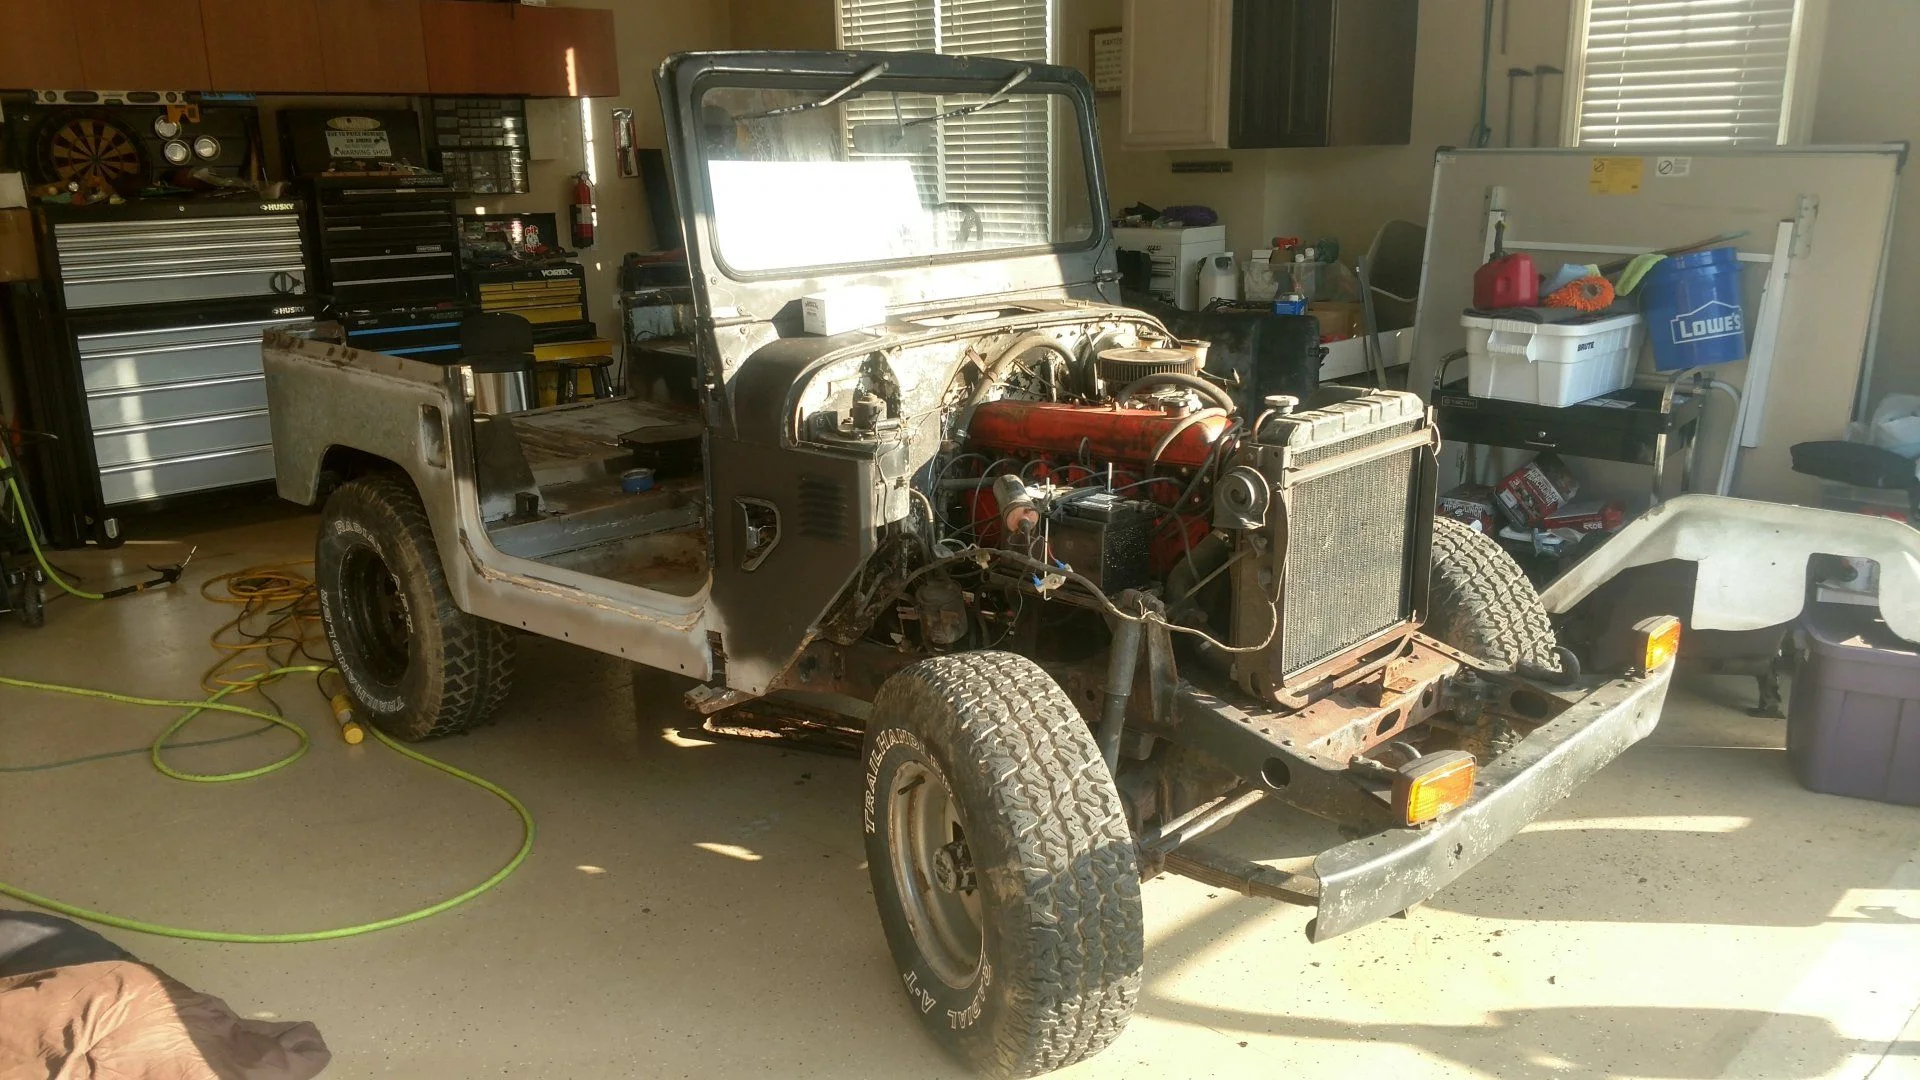
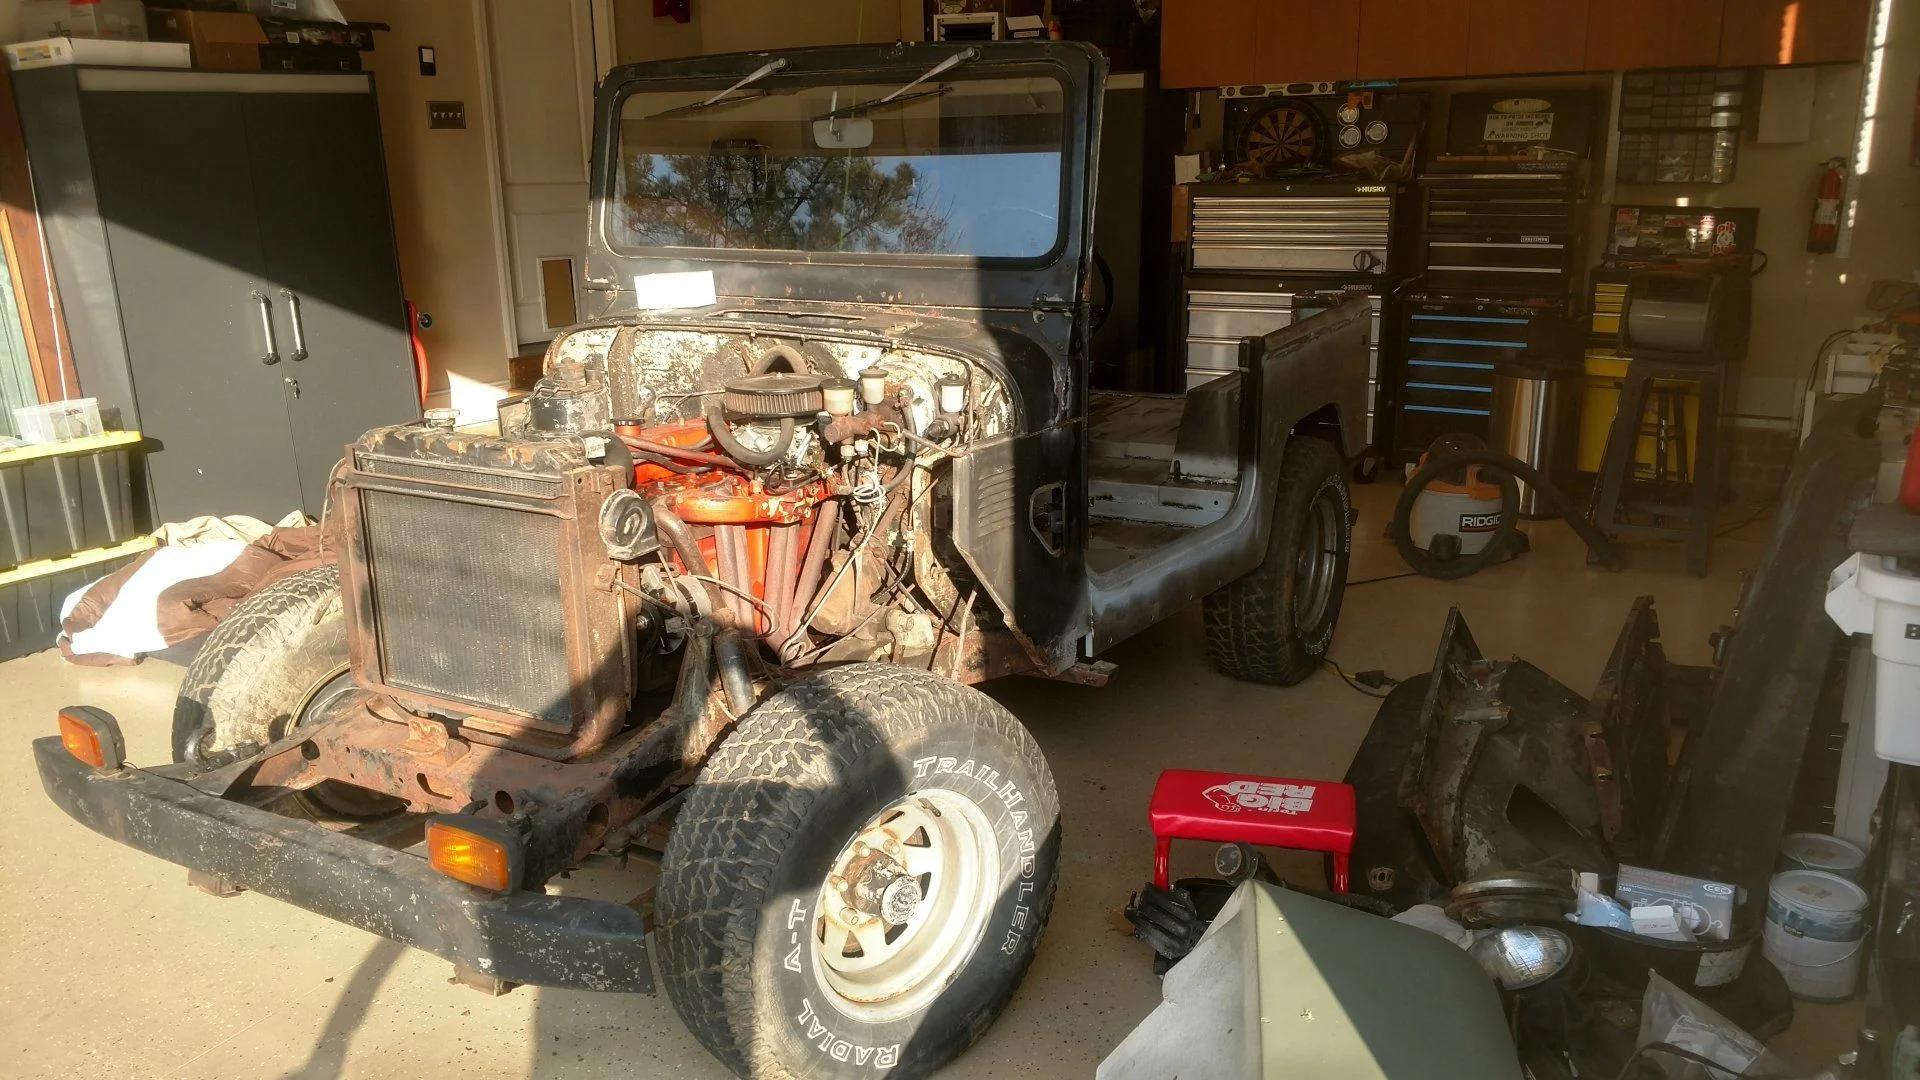
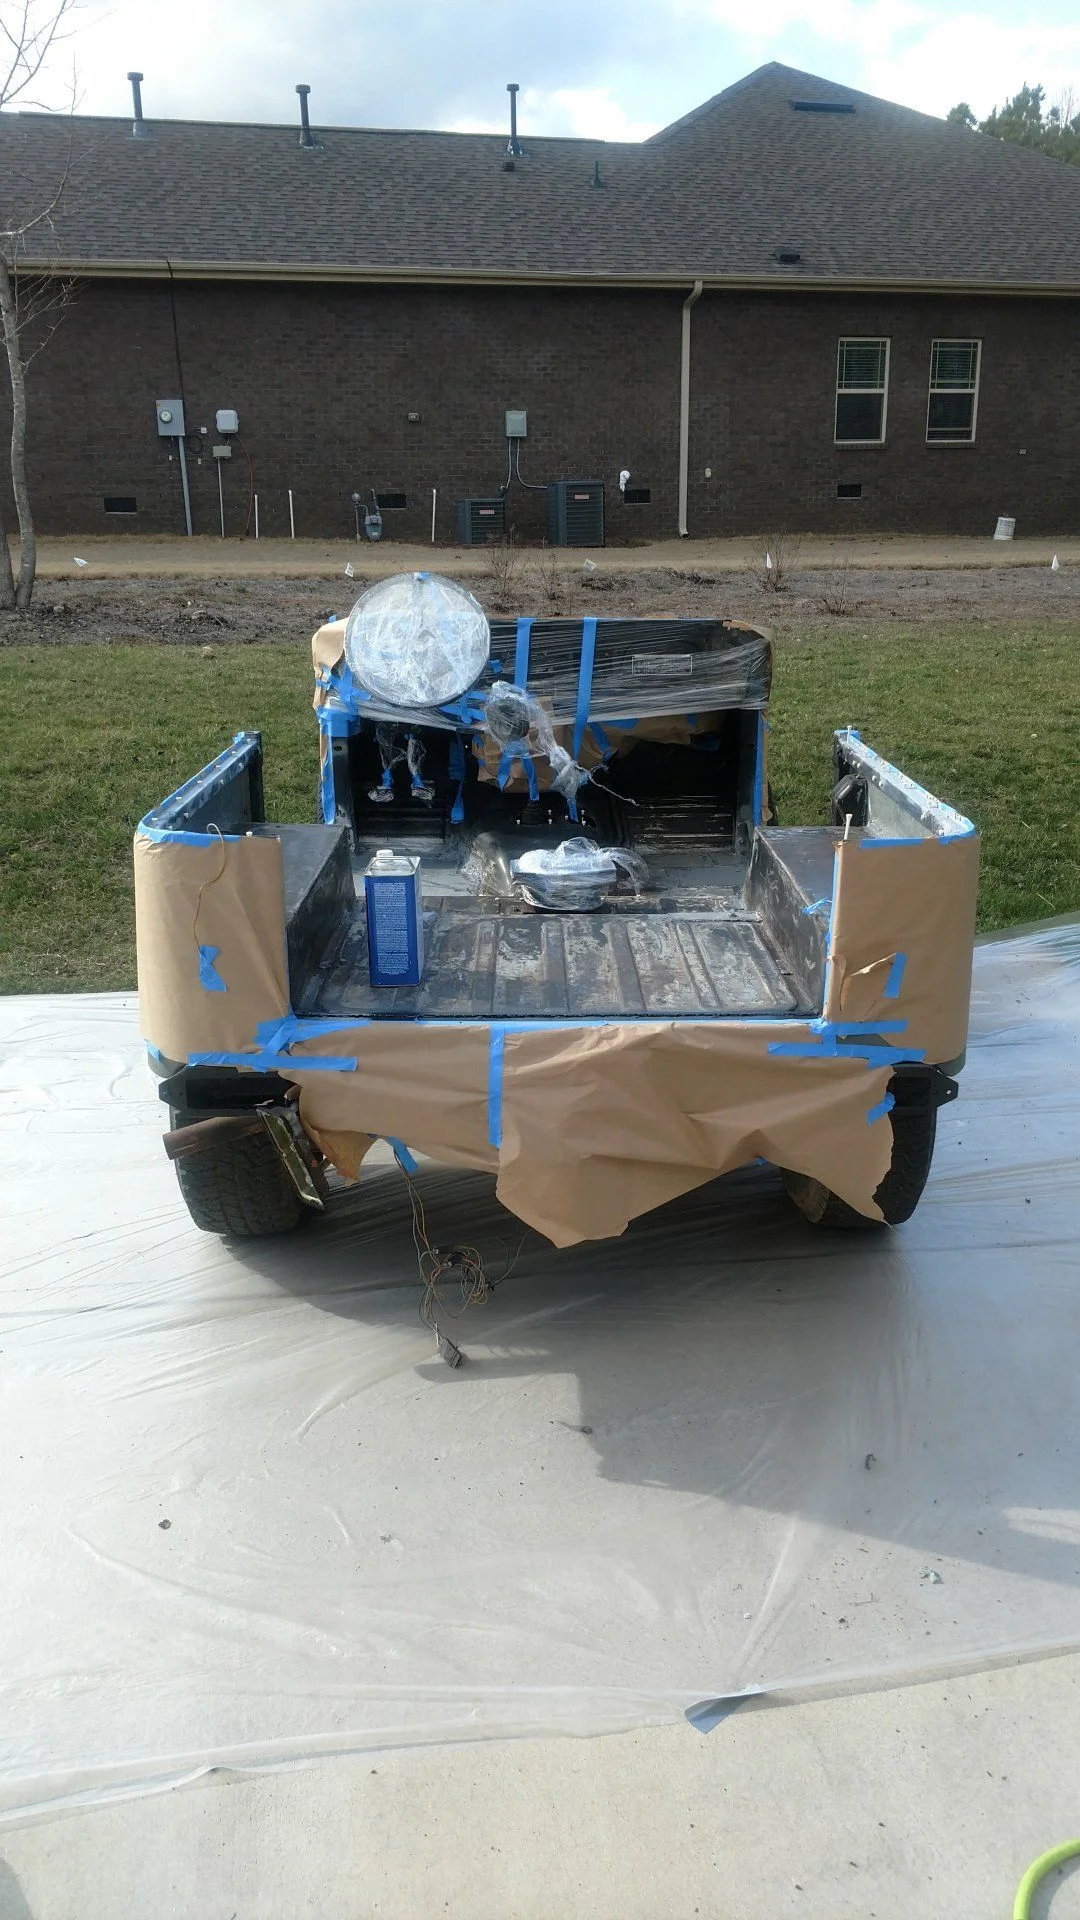
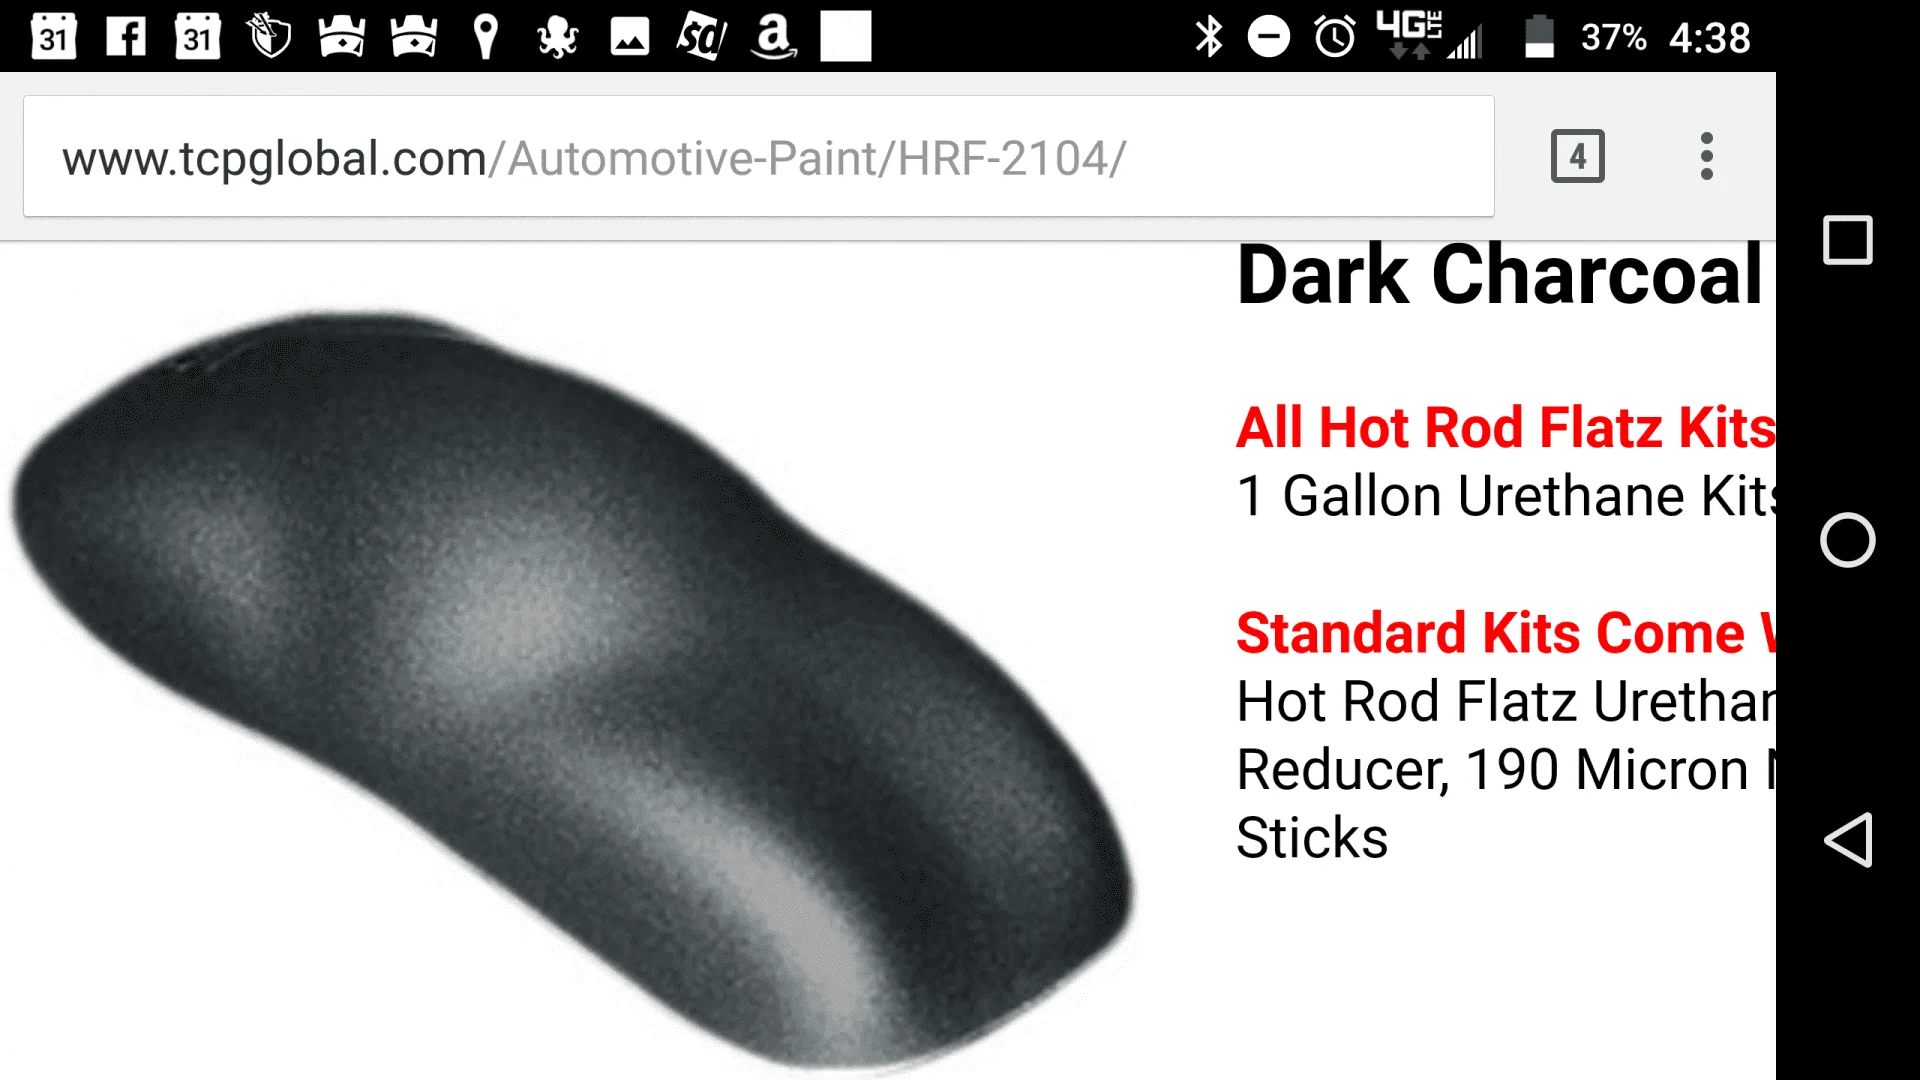
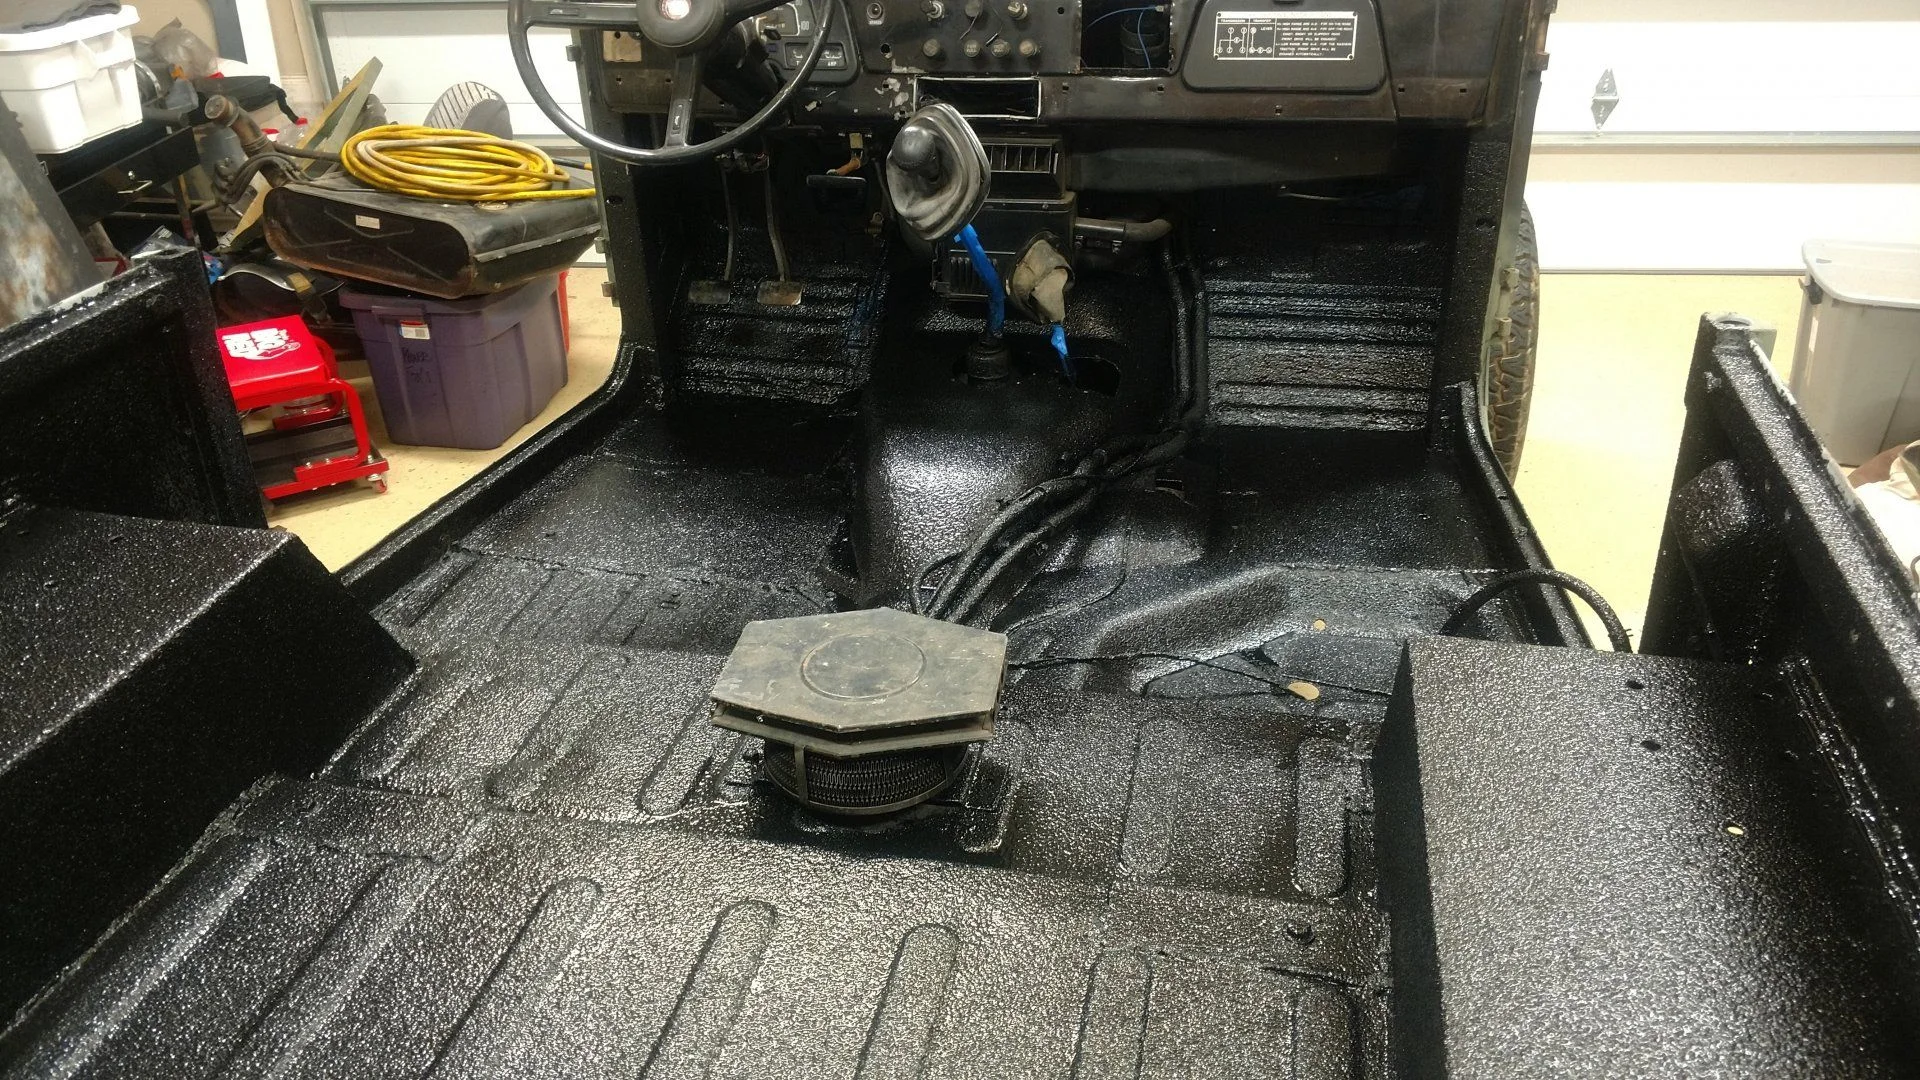
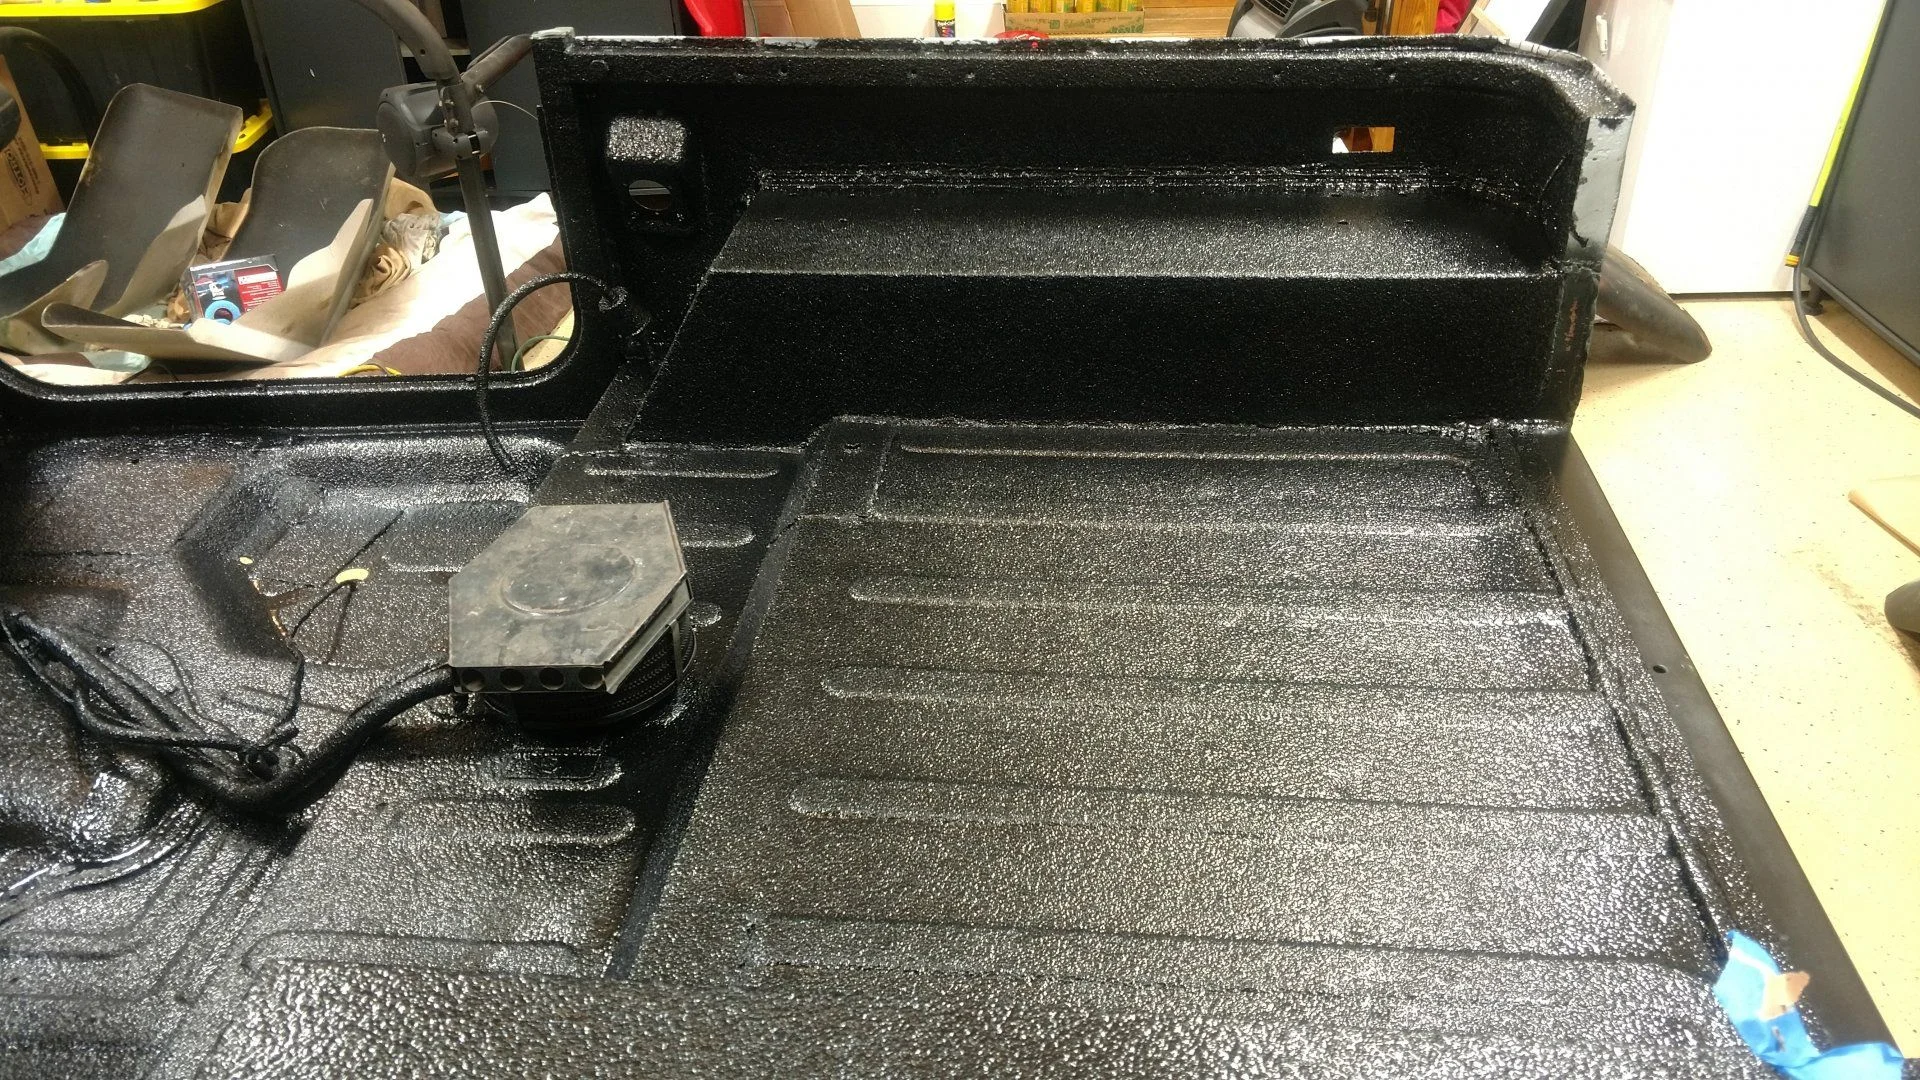
I'm pretty far into this build to be starting a build thread but I have admired so many others stories that I feel obligated to make one too. I bought this project a right before getting married in 2014, bad timing to start a project. The wife's jokes to "train me" were the origin of the license plate "UNTRNABLE" which should say "unTRAINable" but it wasn't long after riding in it that she claimed it was "unTURNable". We moved houses, it sat in my neighbors garage with minimal progress for a year or so and now we have a baby coming so i moved it into my garage and what do you know, i do stuff to it. The first picture below is the condition that I got it in.

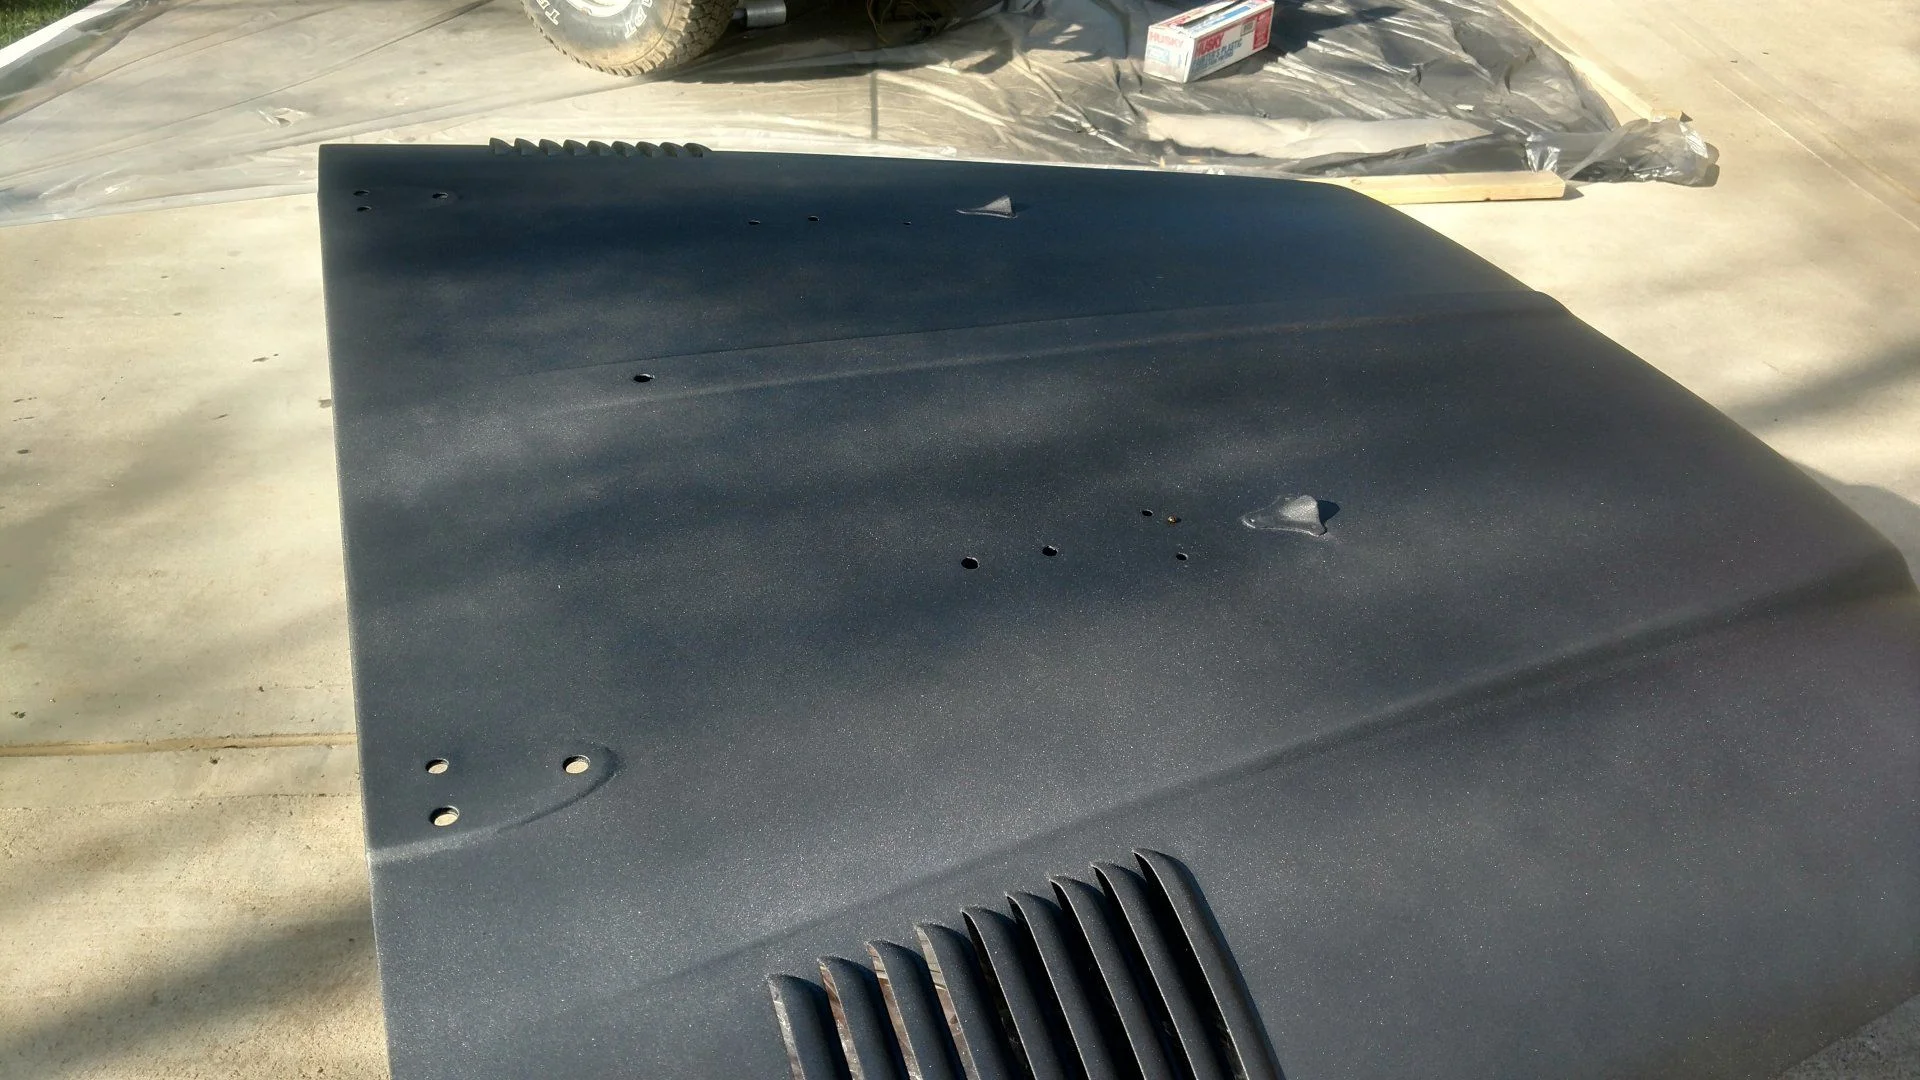
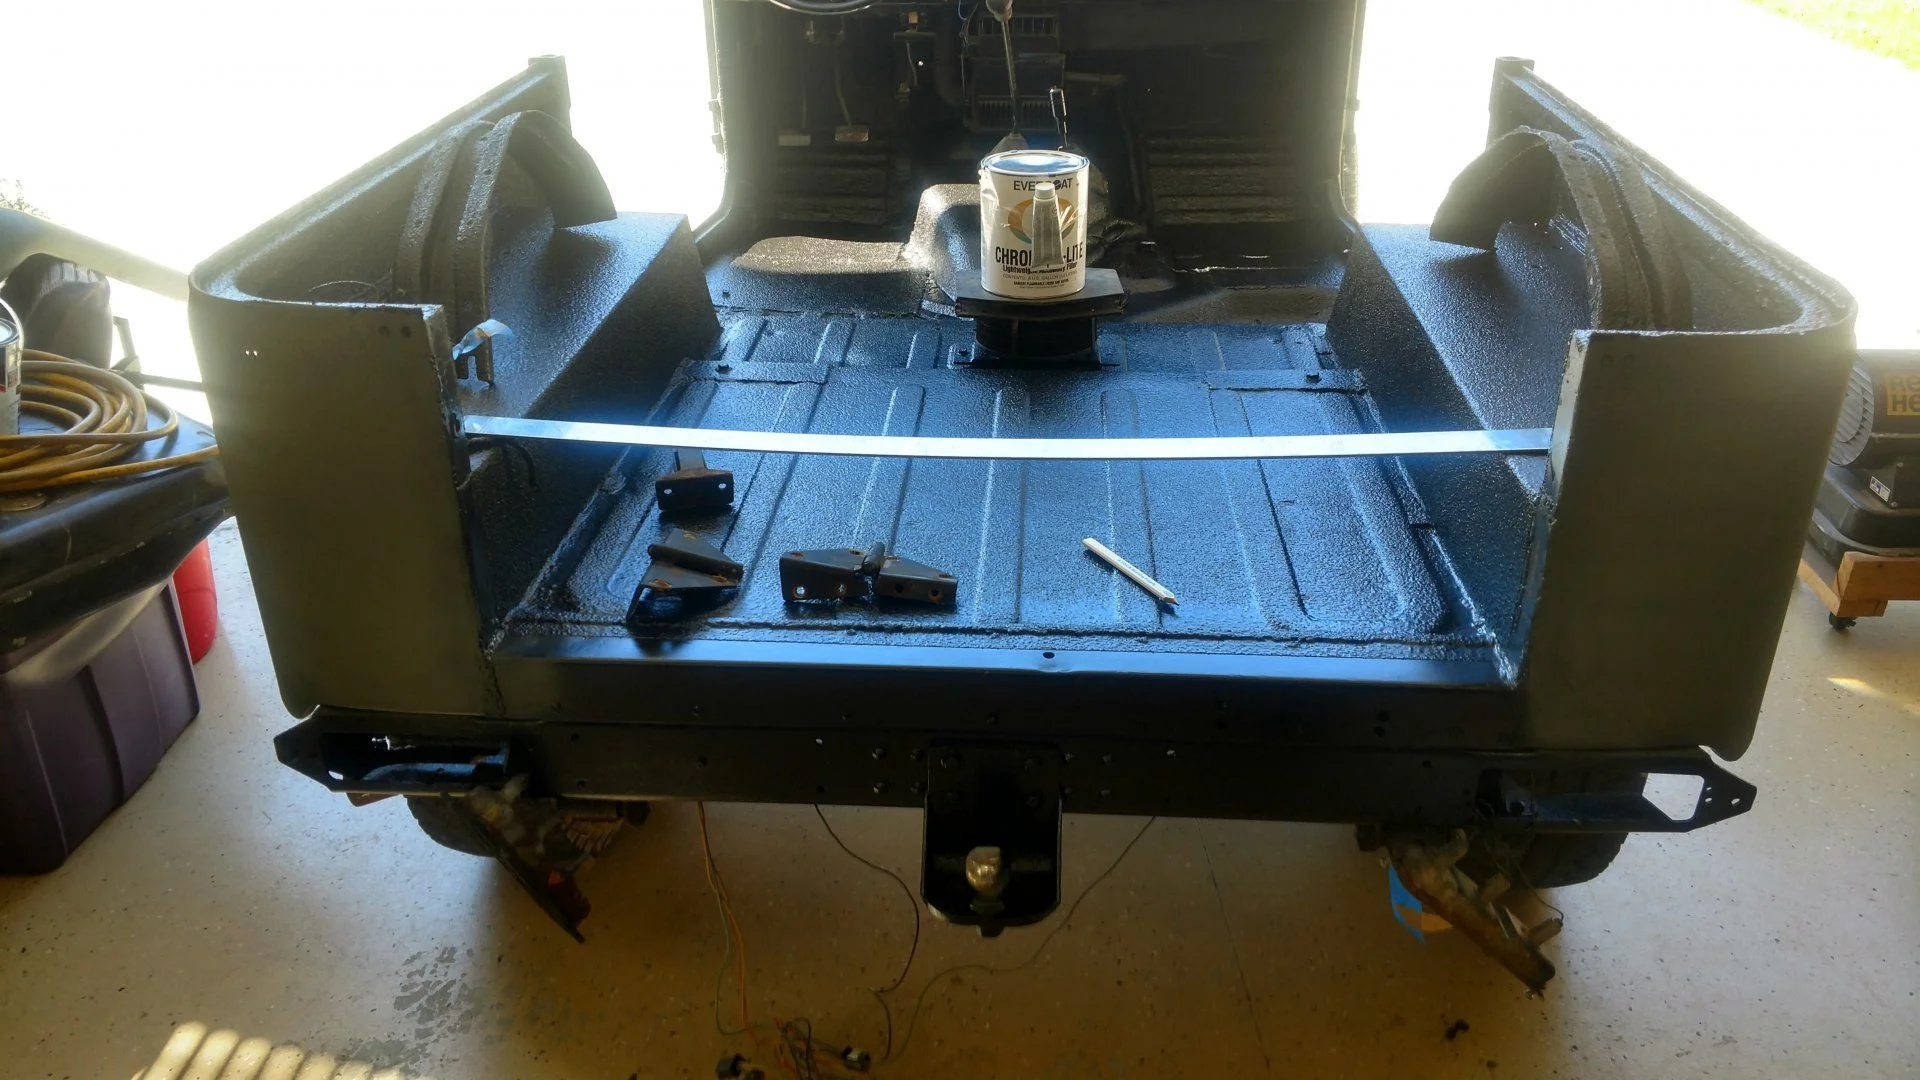
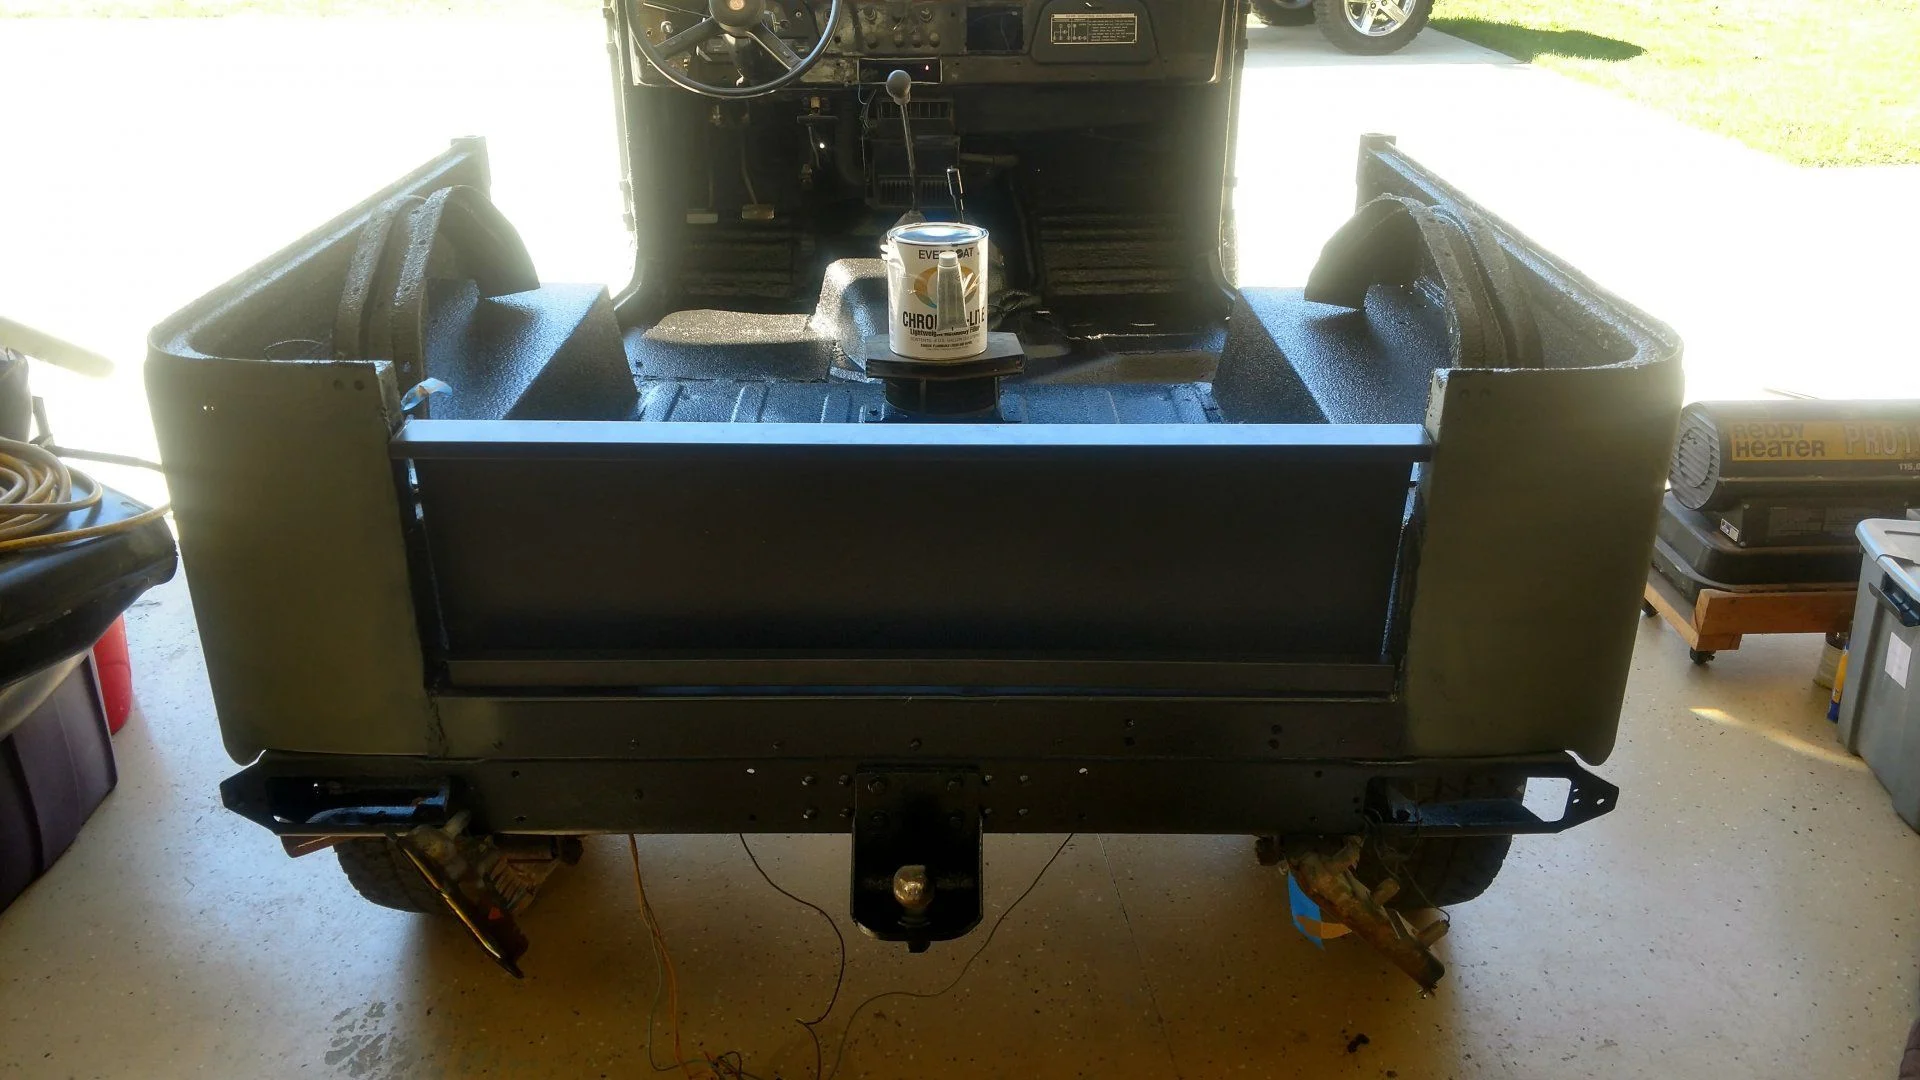
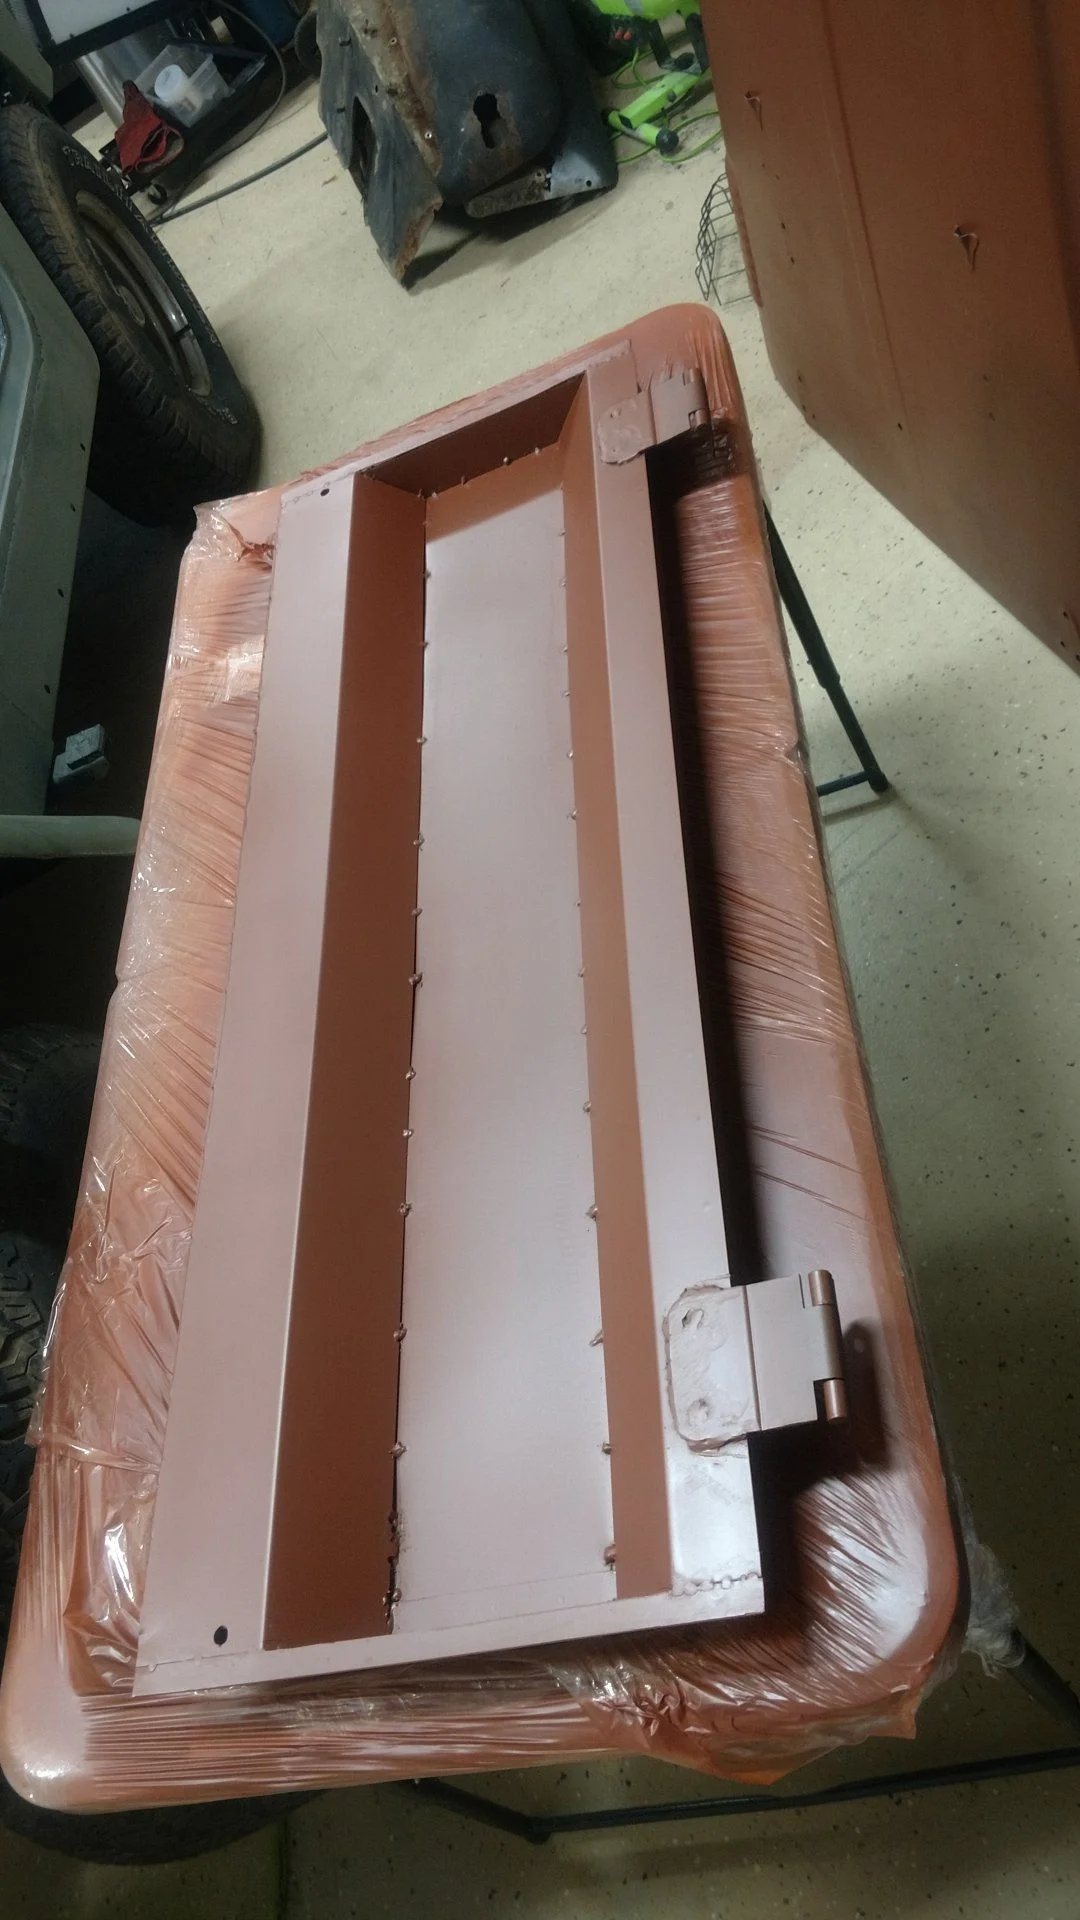
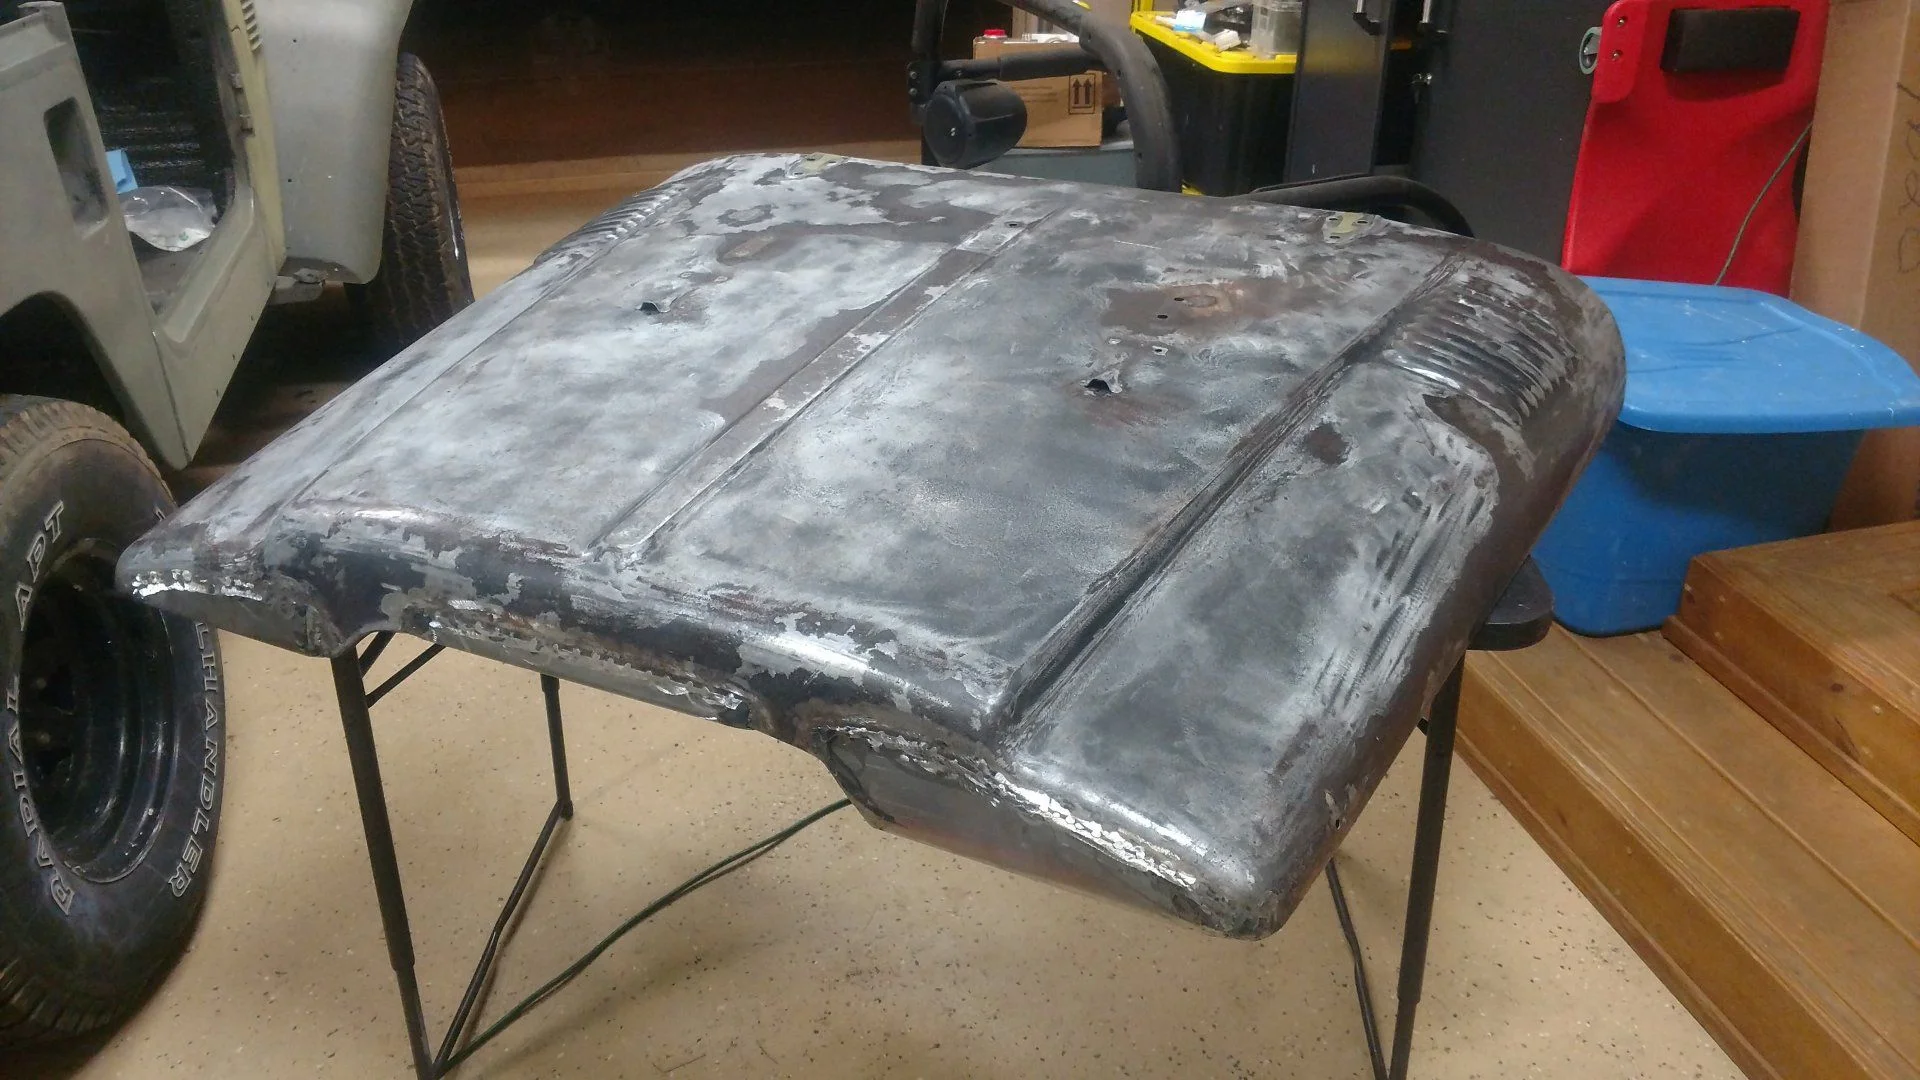
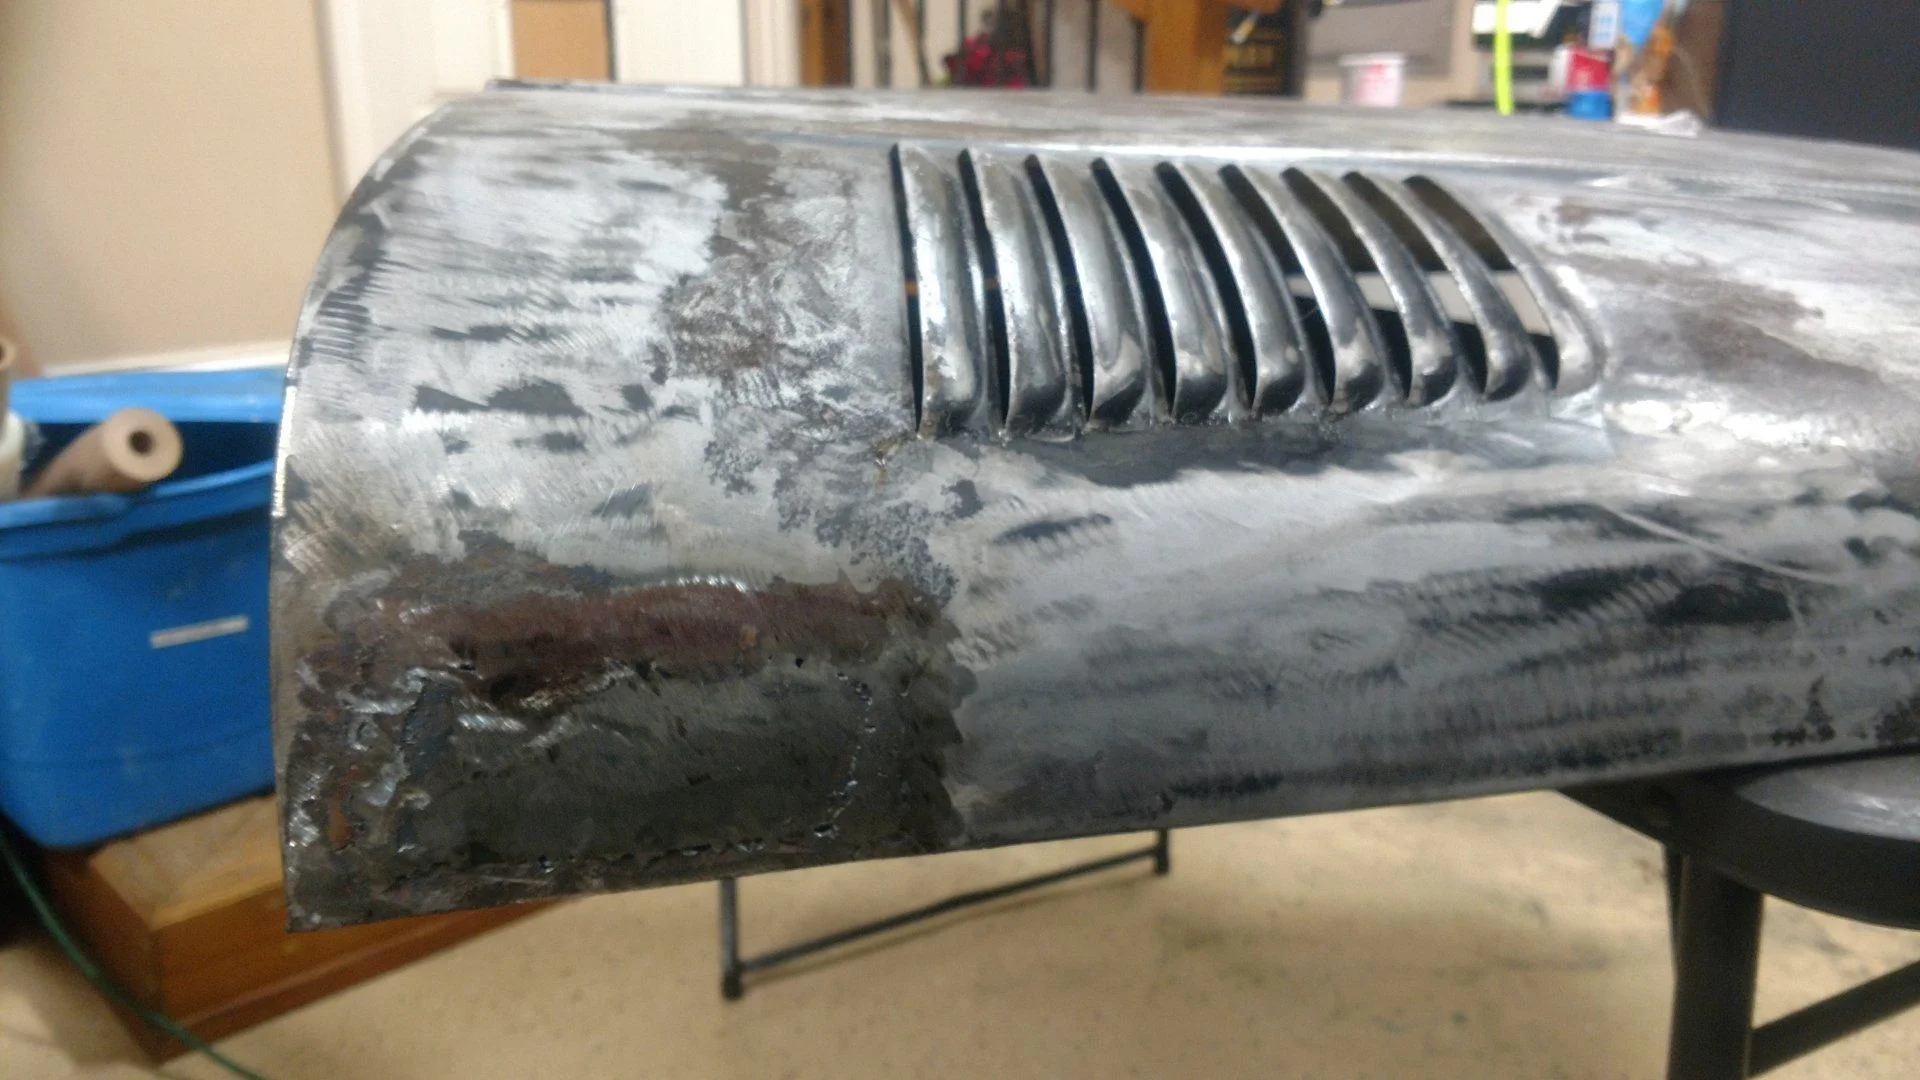
The goal is not do fully restore it. My goal is to get it nice enough that we can have fun with it and if I park it in my driveway, i don't get evil letters from the home owner's association. Being as I'm probably saving this car from it's natural process of biodegrading I would like to spend as little as possible so you will not see a typical frame off restoration going on here.

After looking around for 5 or 10 minutes I chose a Toyota over a Jeep for the sake of retaining some value once it was operational. ($3000 CJ-5 plus restore effort and cost might sell for something like $4500 and a net loss of $$ excluding labor, $2000 FJ40 + equal restore effort and cost I figure would be worth more, maybe $6000? in the long run.
...All of that.. and I heard american cars are prone to rust...


Getting it to run was not a real problem. Getting it to run reliably was a several month long journey. I rebuilt the carb because it had been sitting so long. New plugs, wires, coil, fuel filter, fuel pump, fuel lines, and added electronic ignition. All of which yielded no luck. It would run great for a few minutes or longer but would eventually starve of fuel and die. Finally after buying a new carb, i found the element filter hiding inside the carb fuel inlet (seen below) that had been completely clogged the entire time. I threw it away. Runs great now. See below. The gold element is laying on the tip of the screwdriver. I'm not sure it this was a Toyota part or something that came when the Holley carb was originally installed.


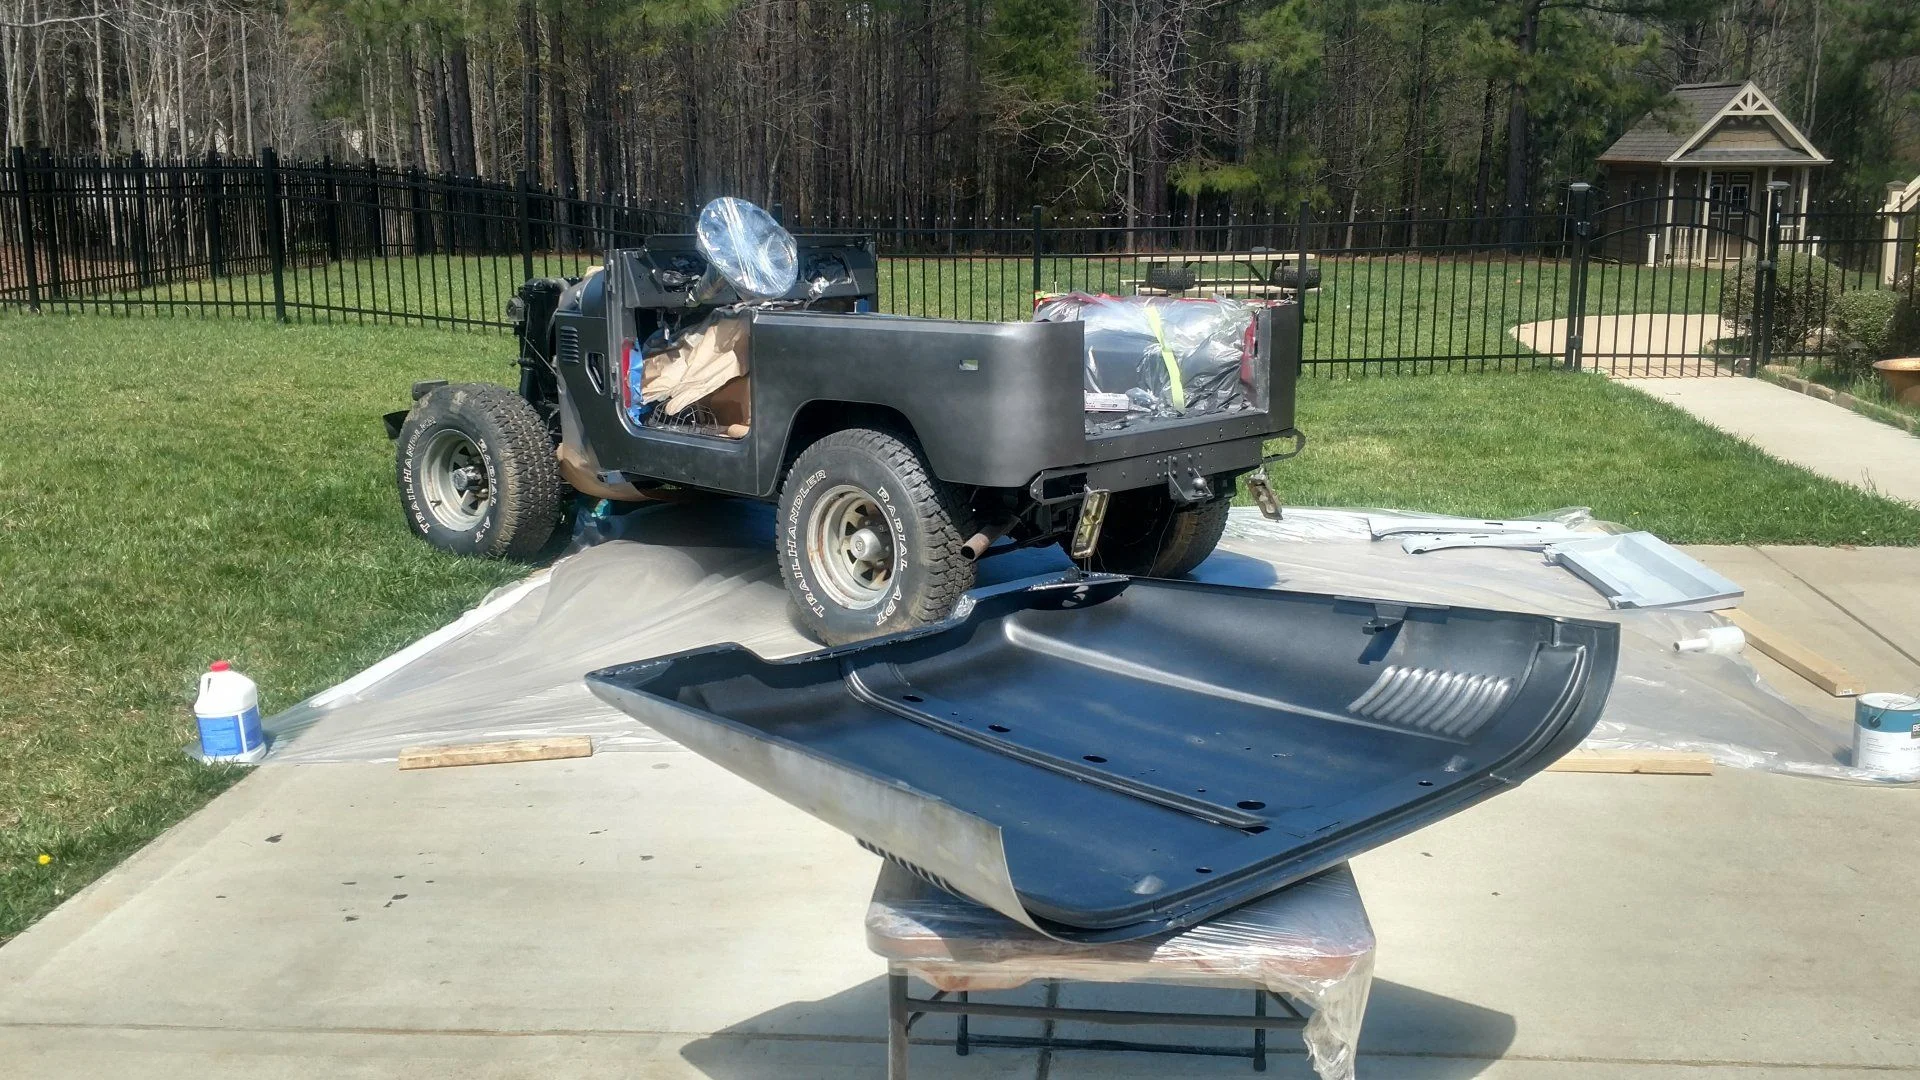
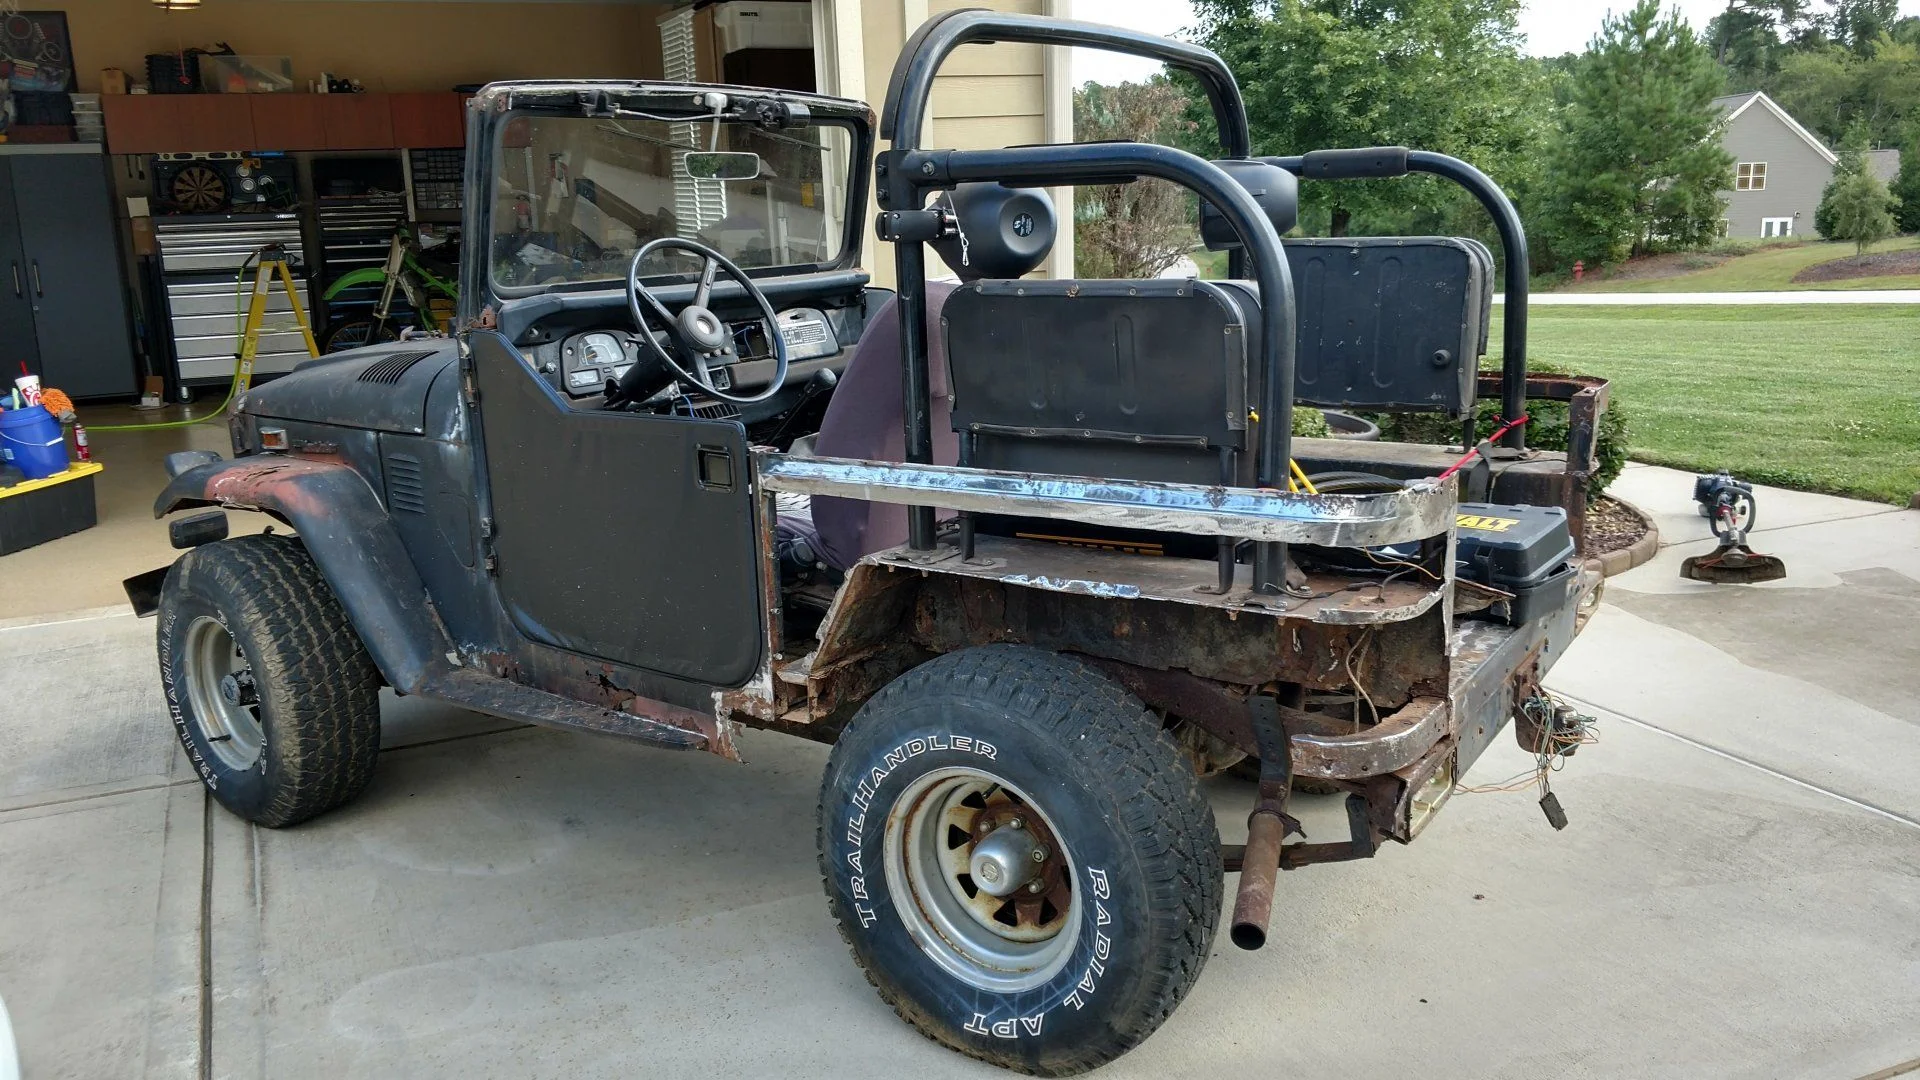
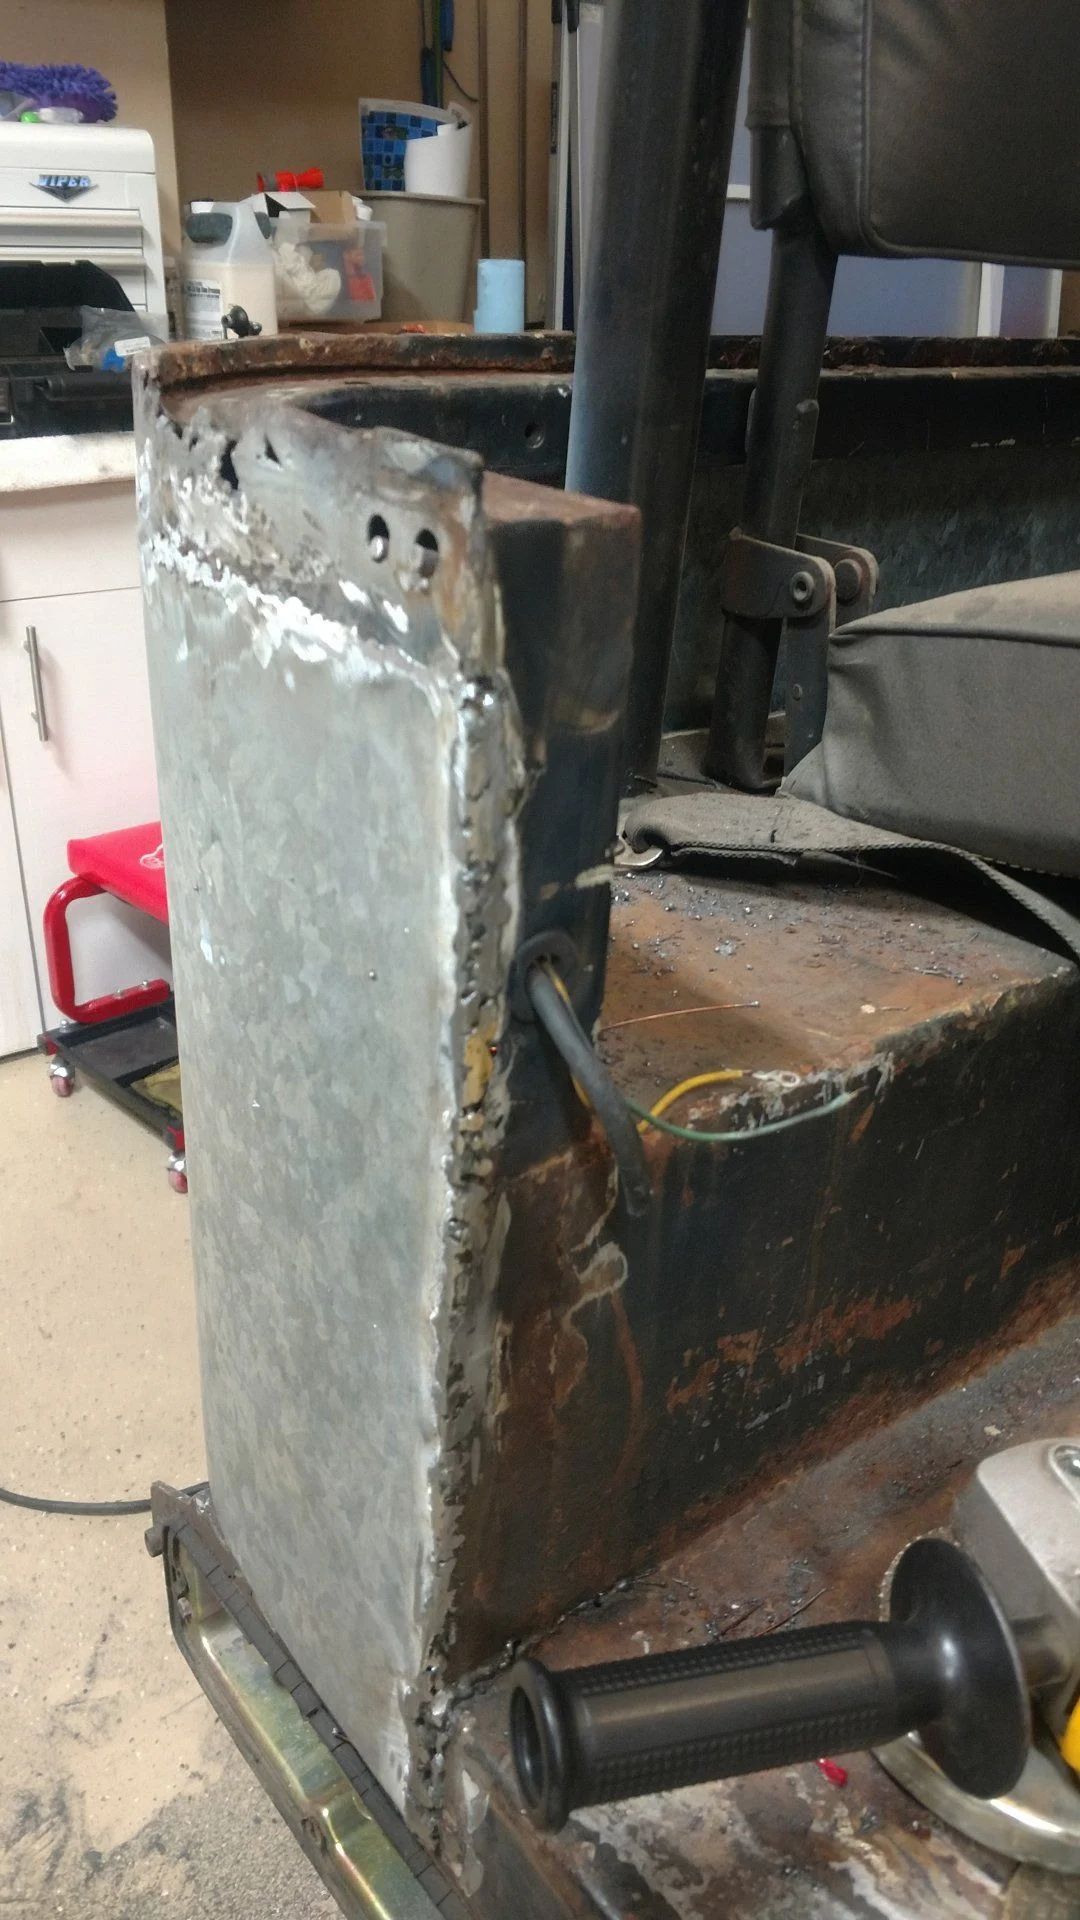
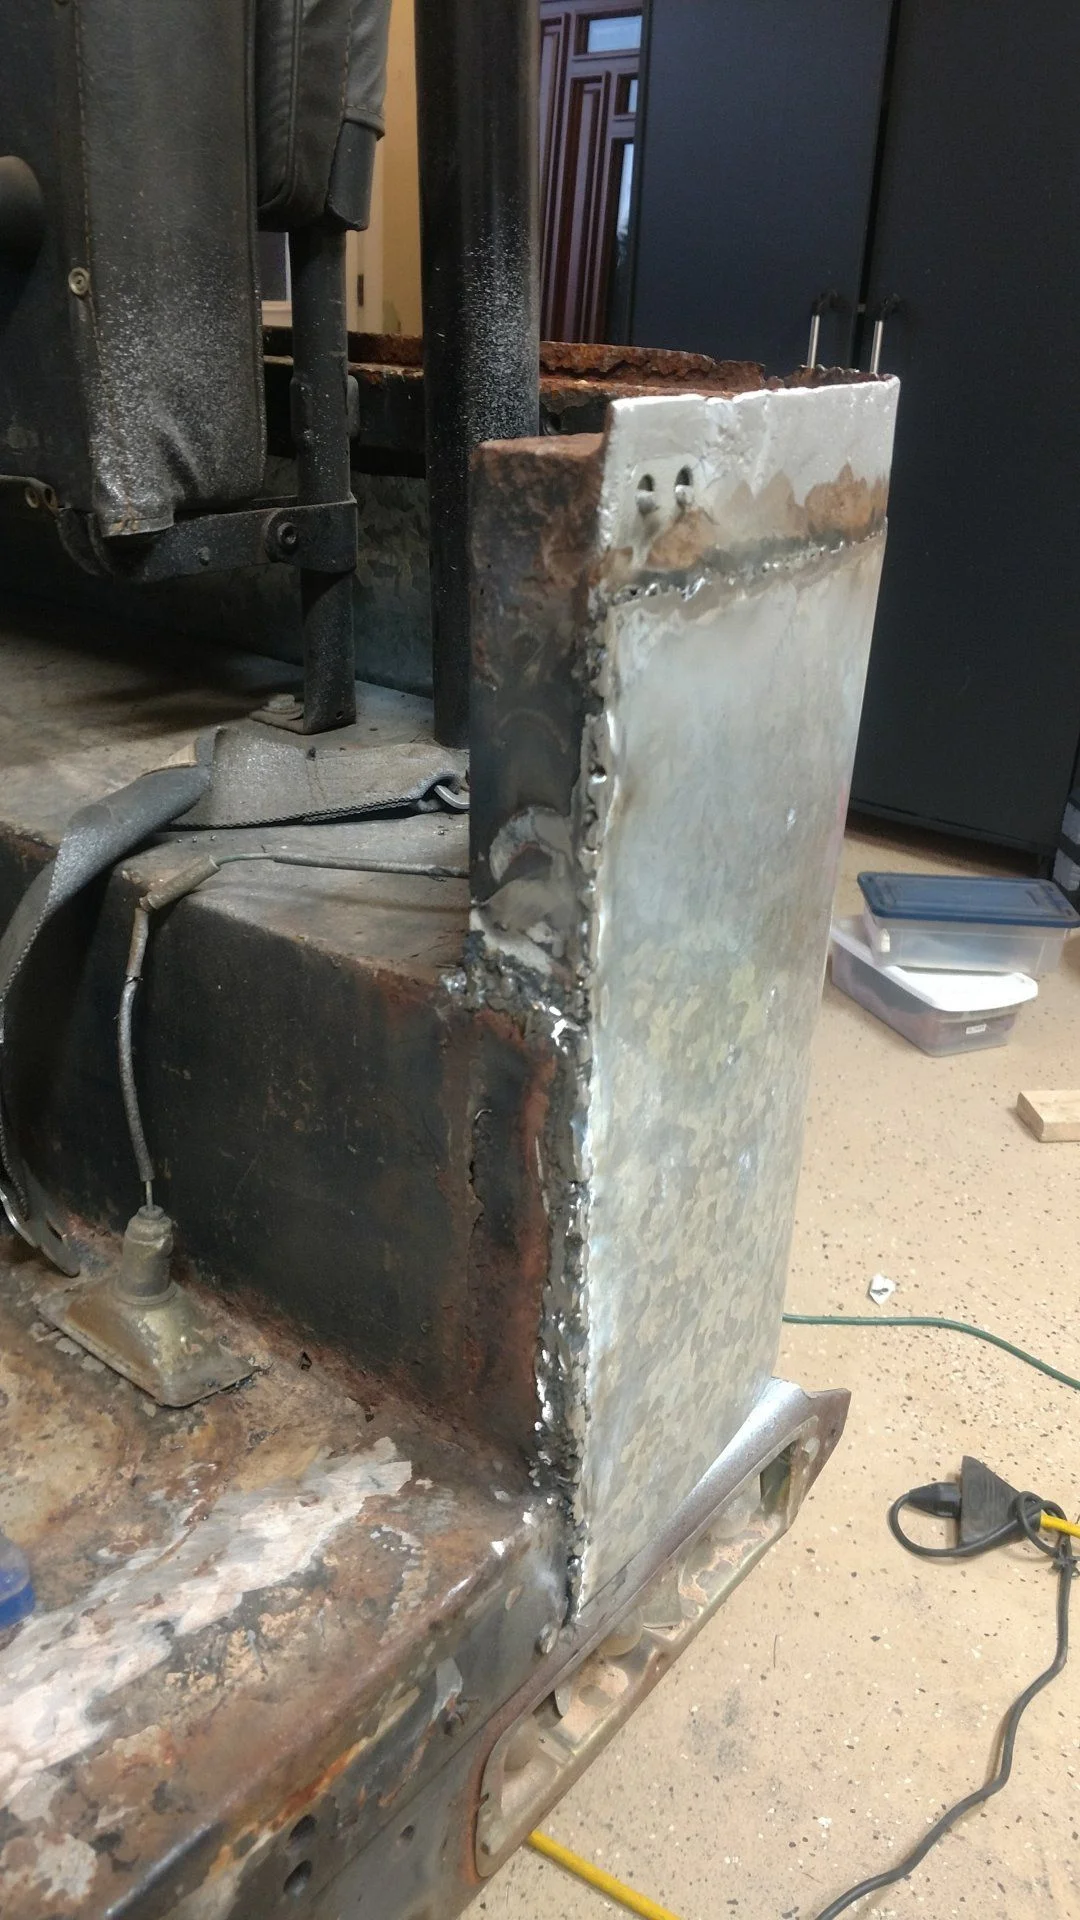
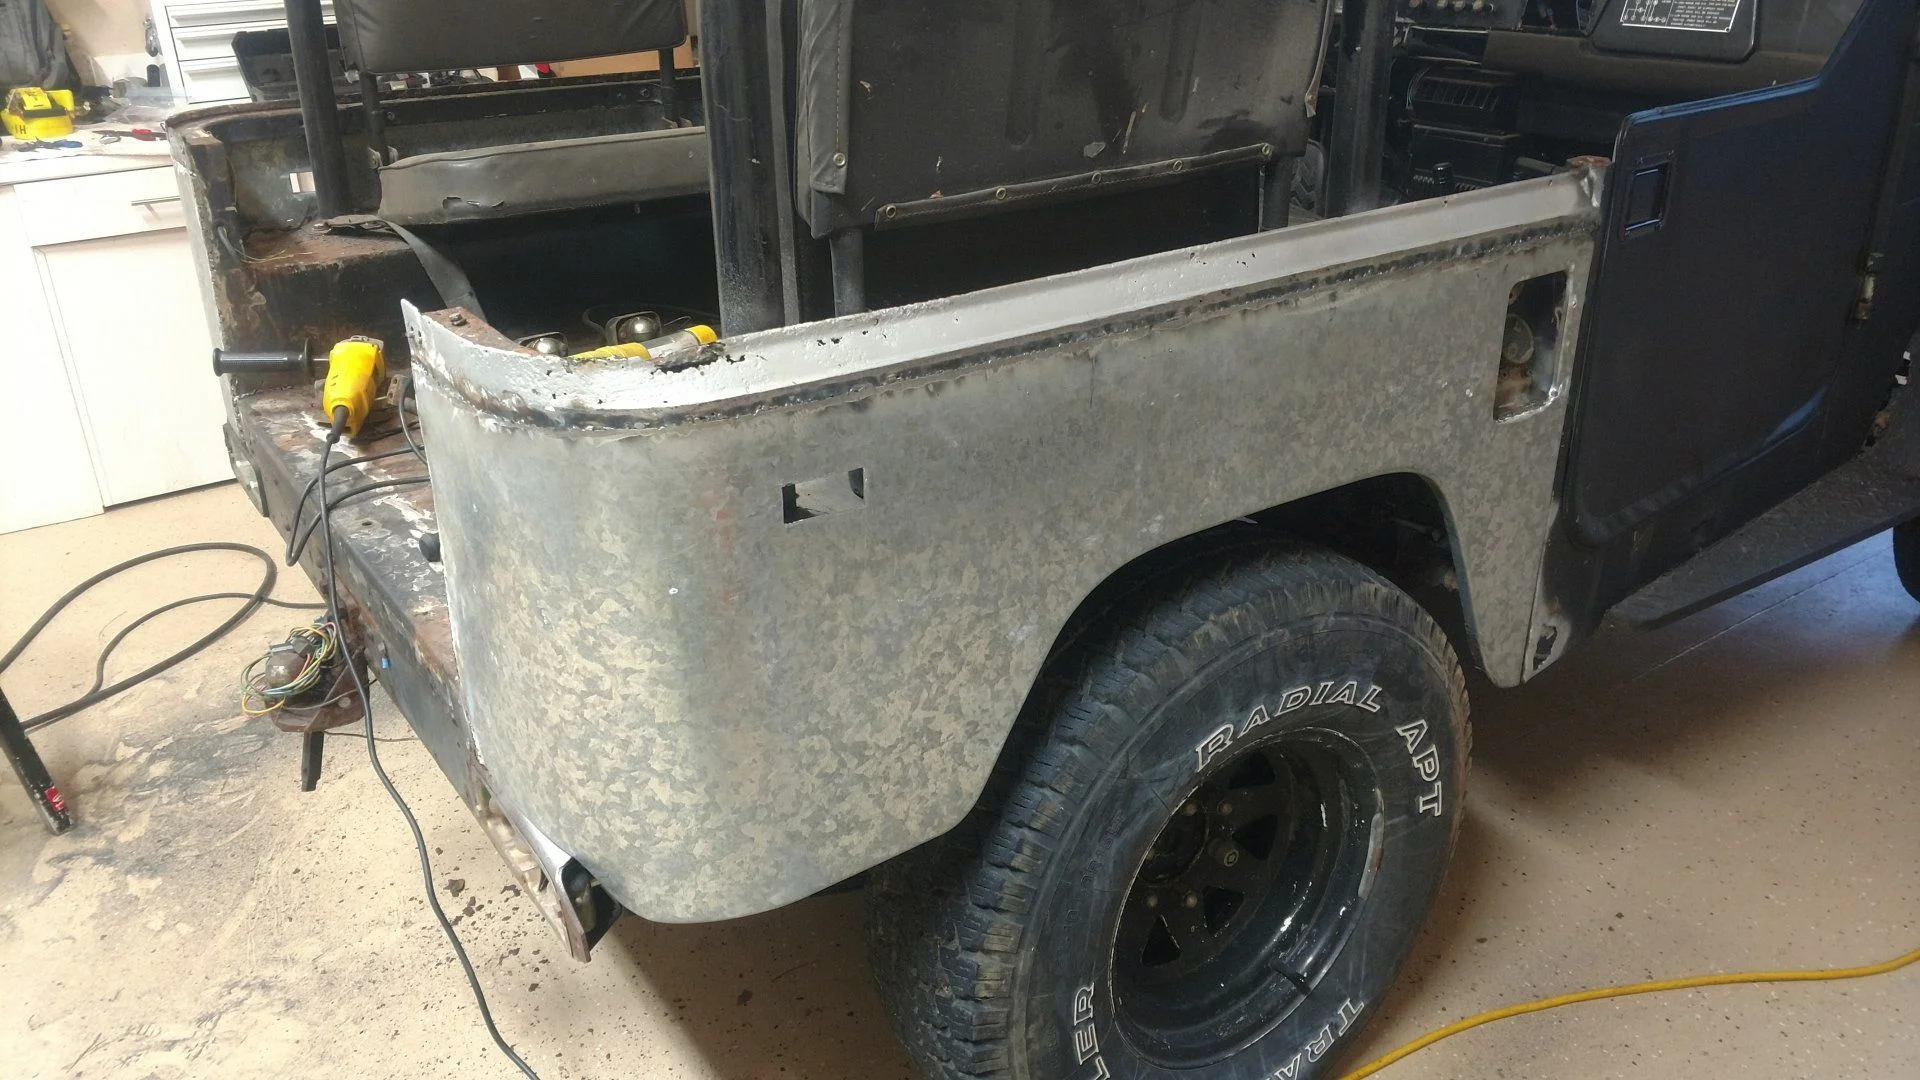
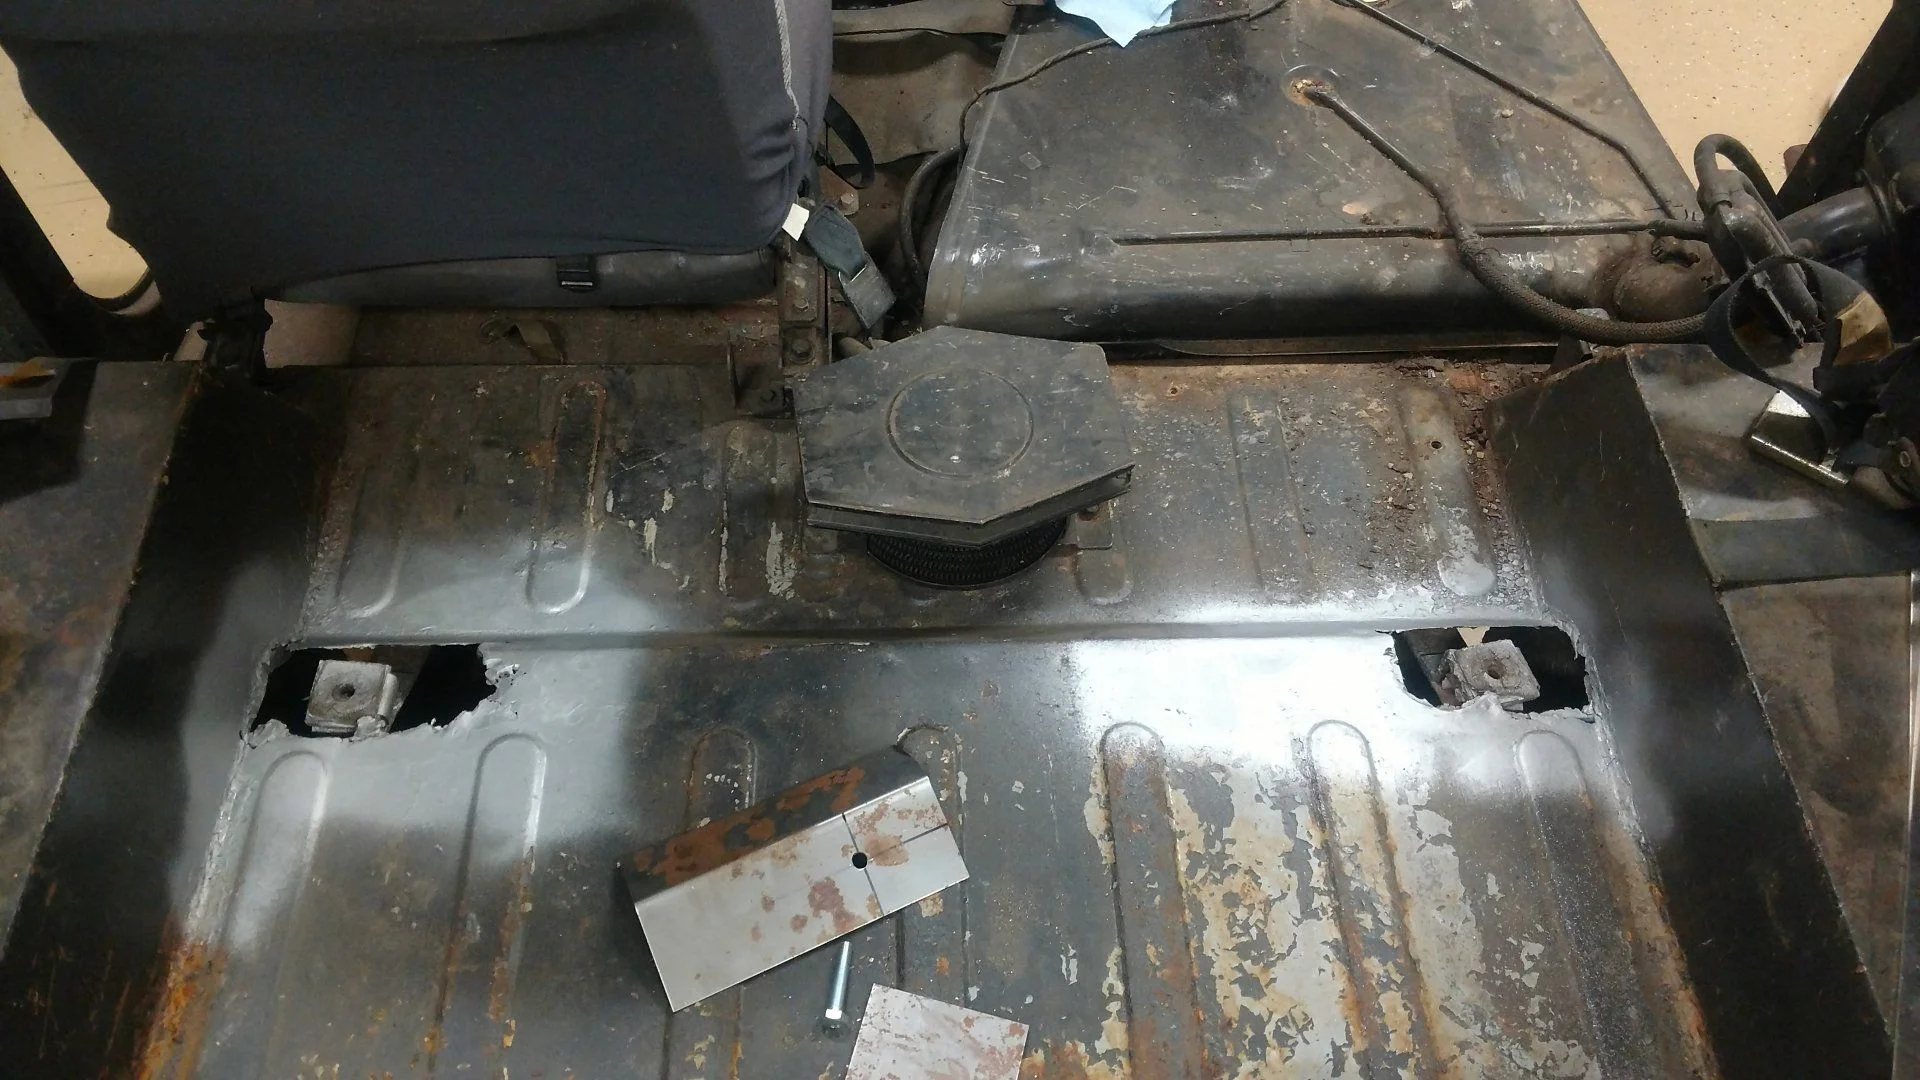
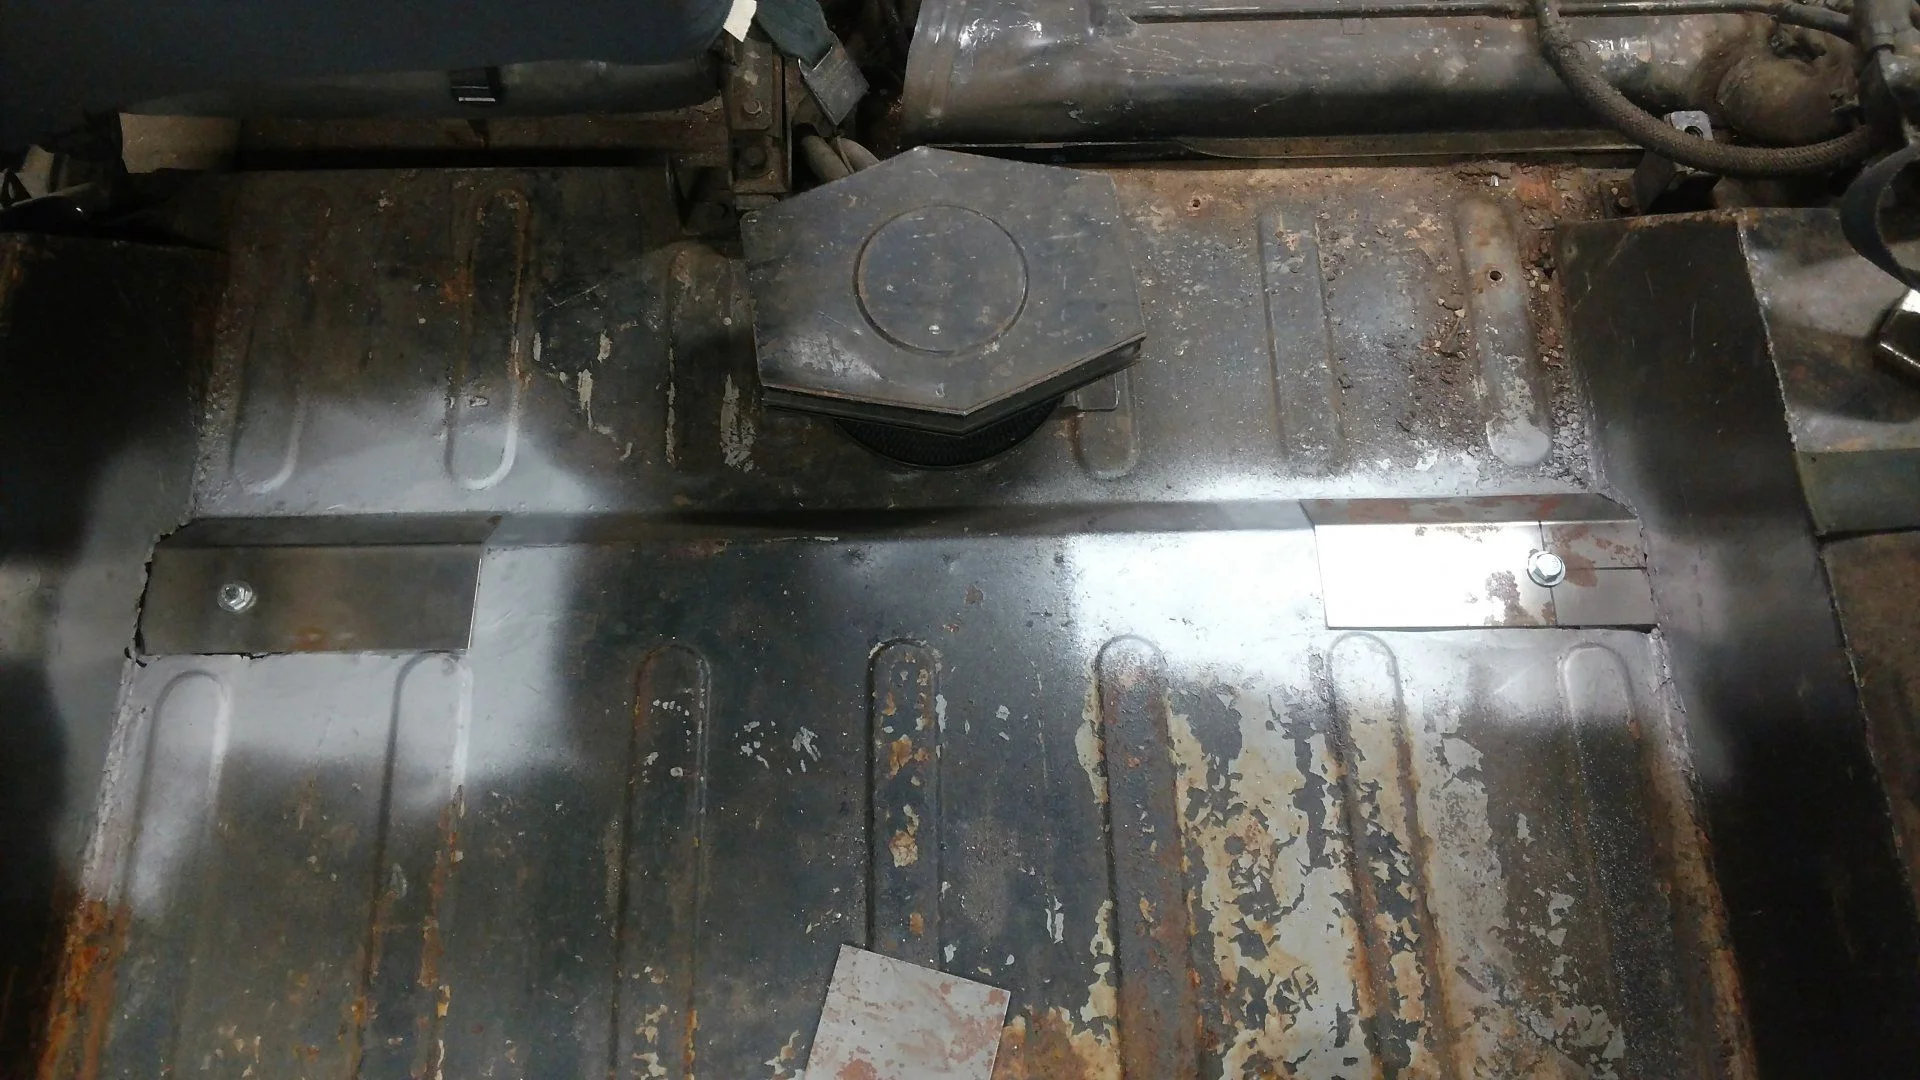
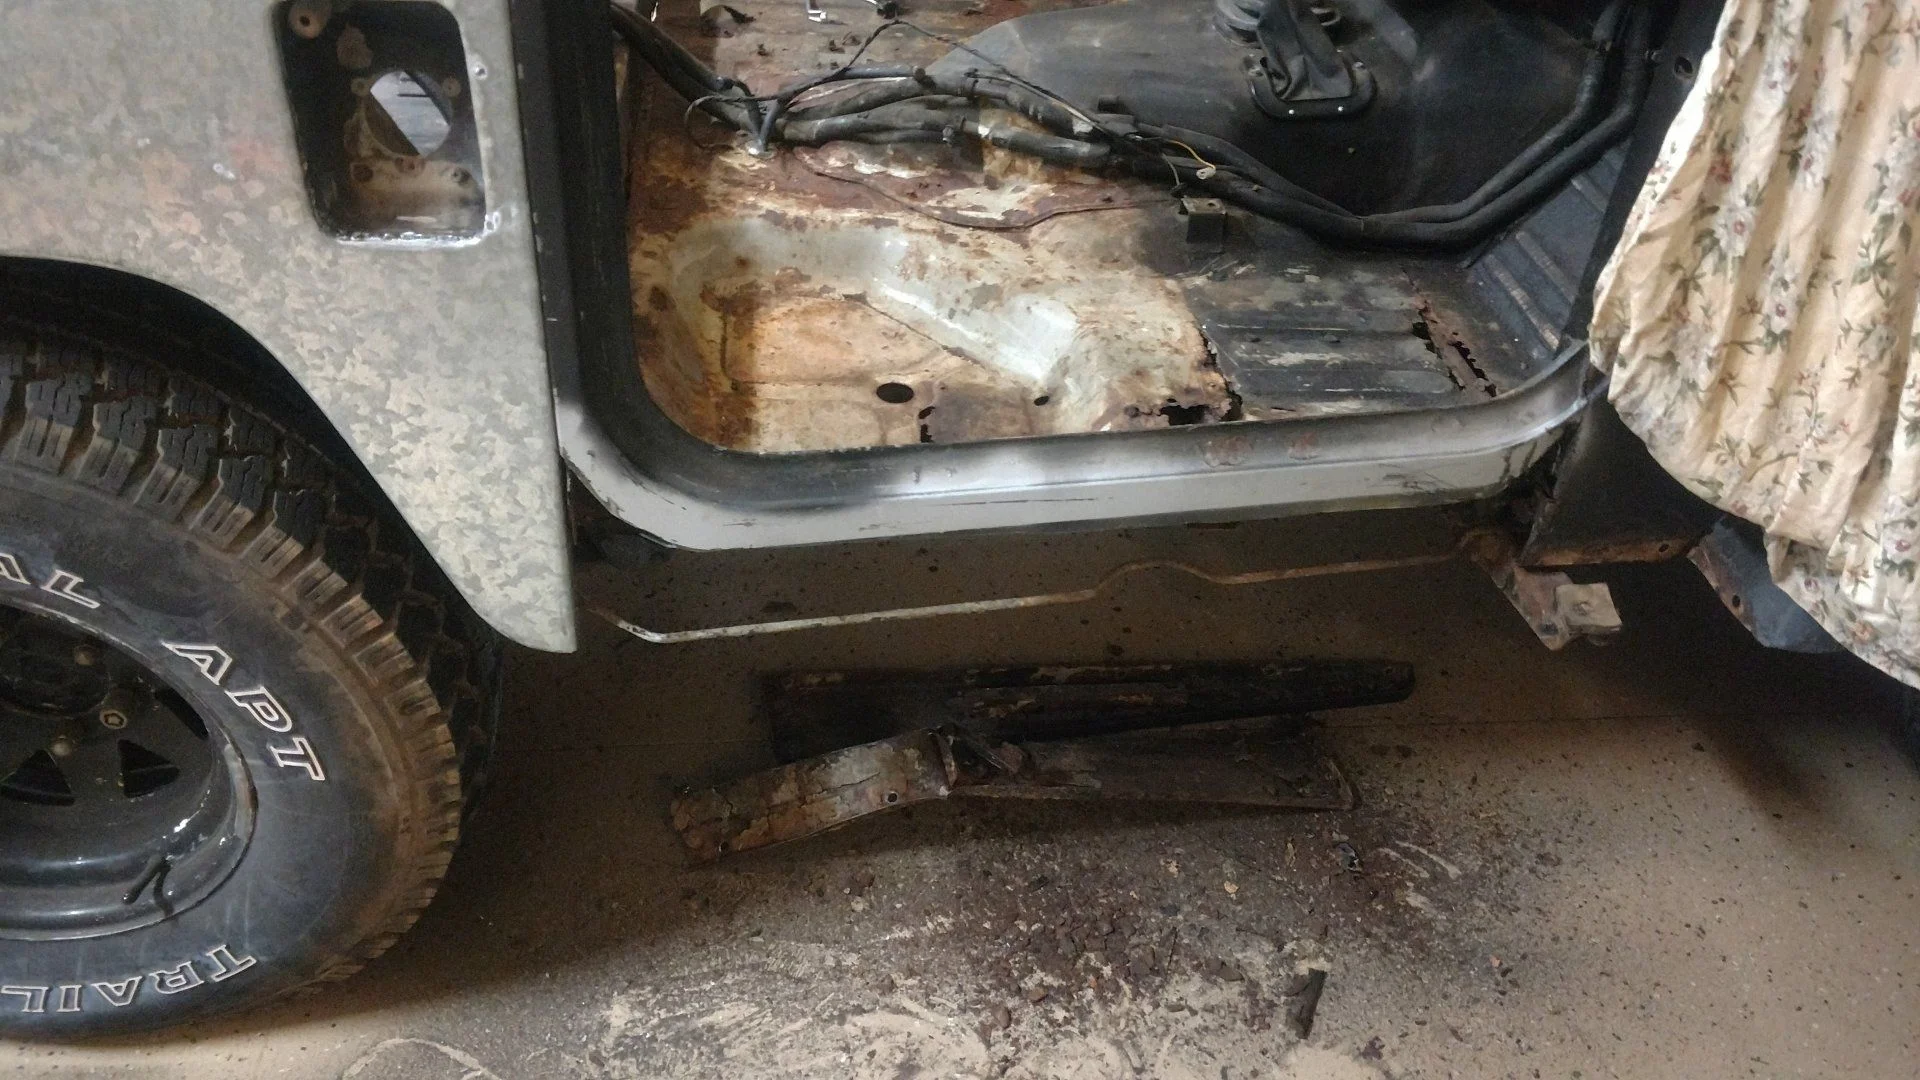
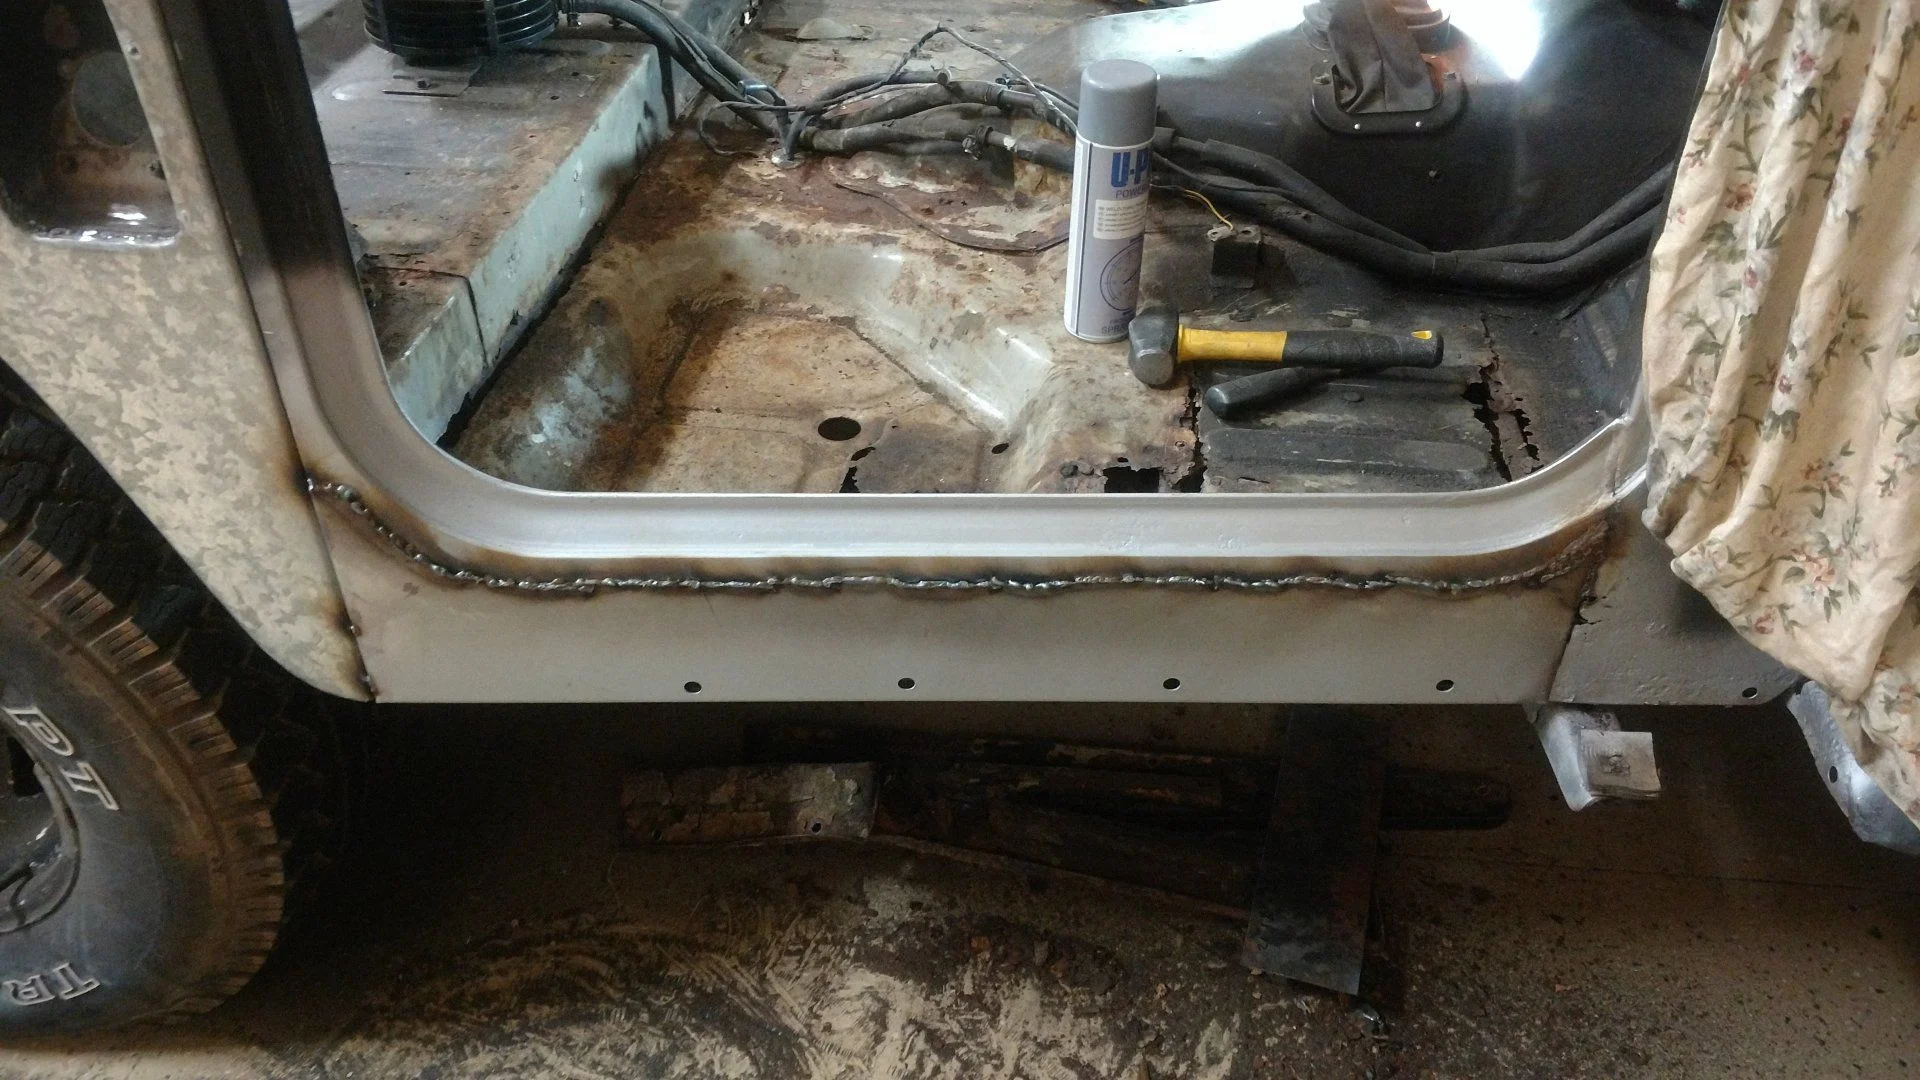
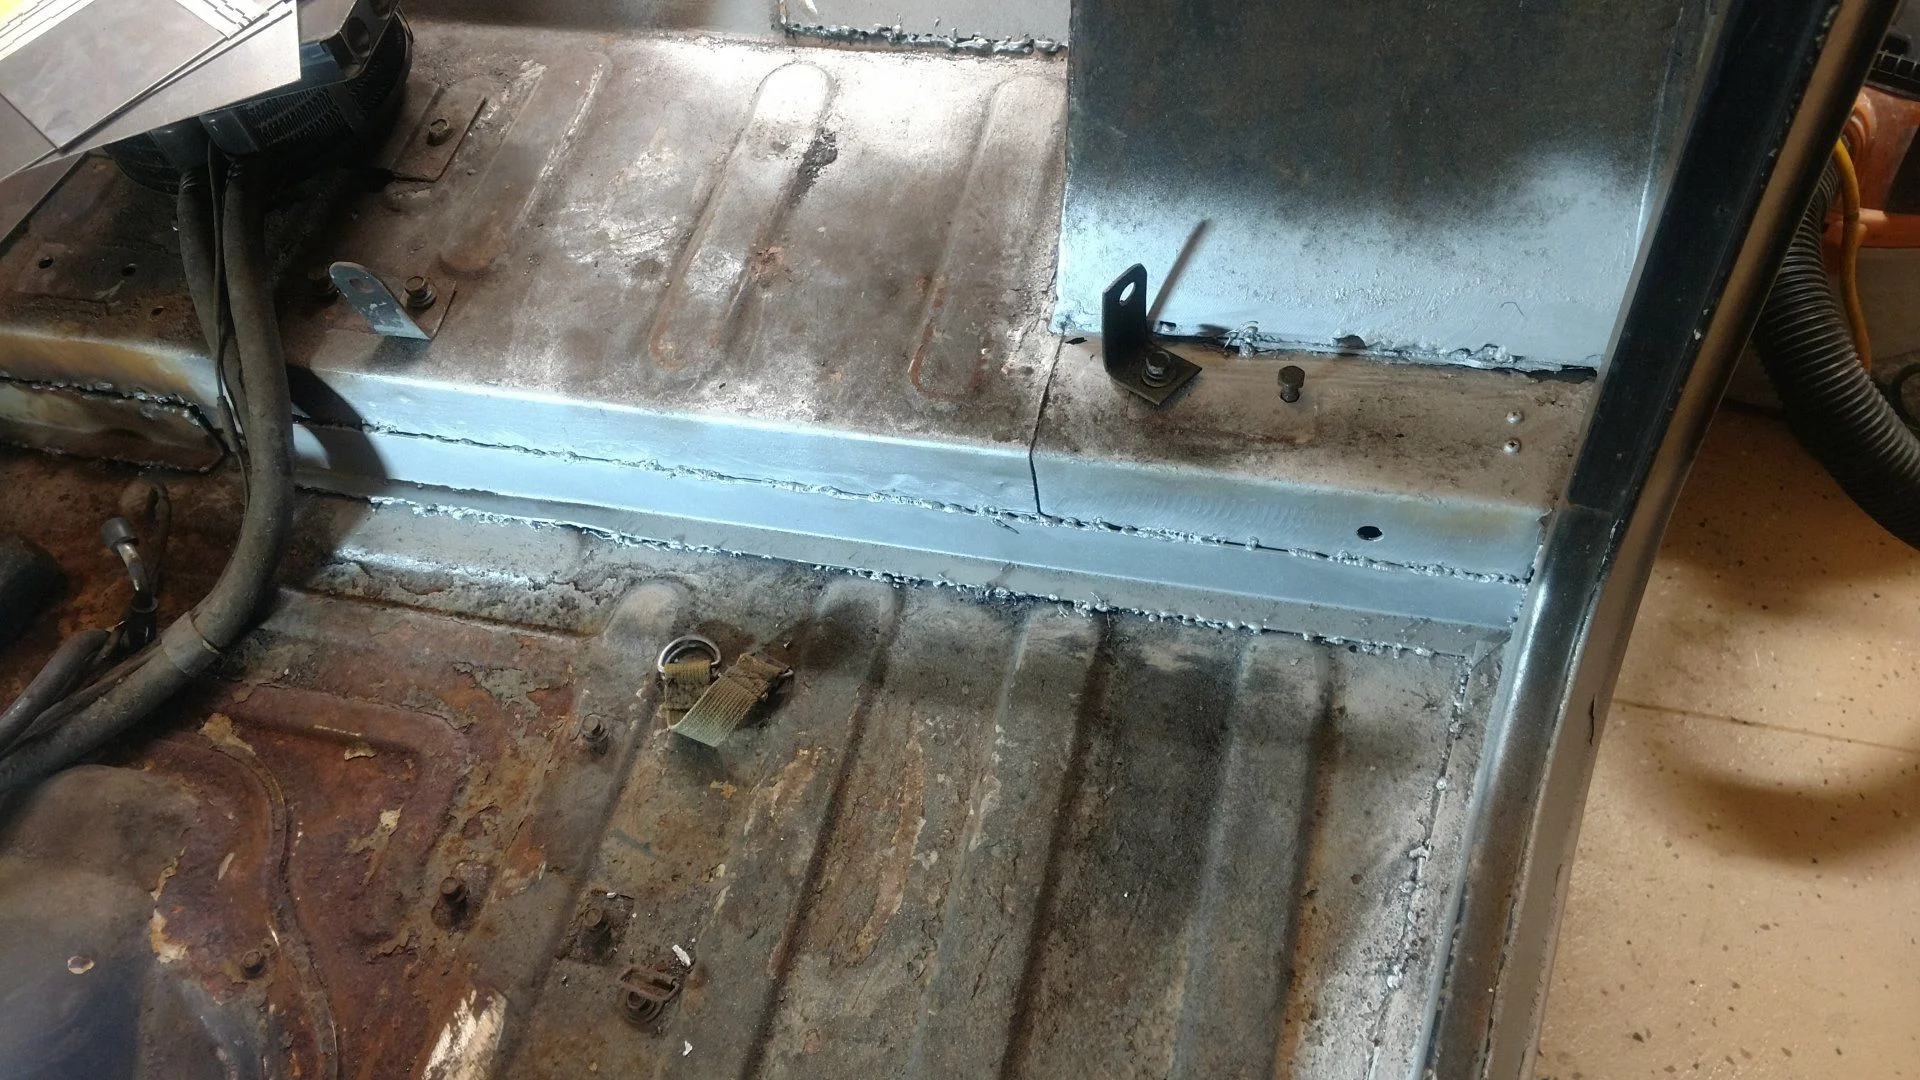
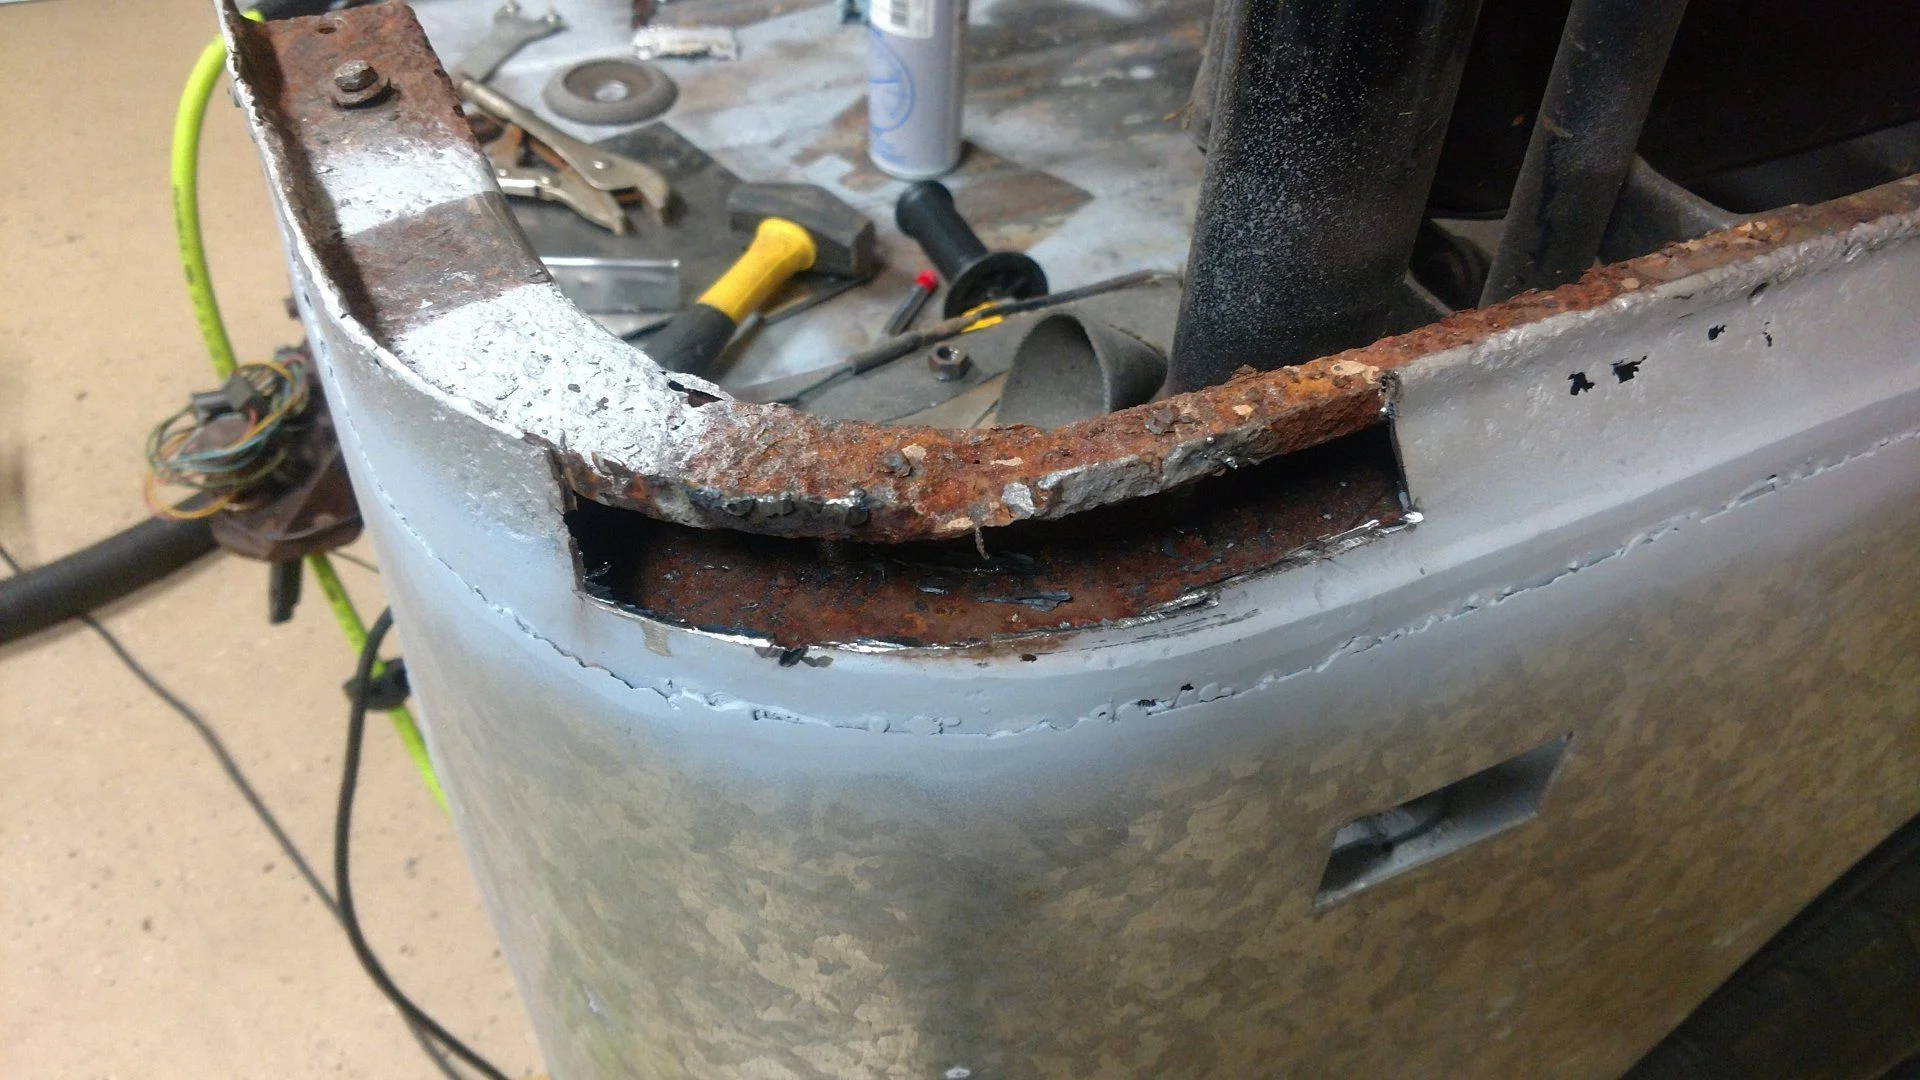
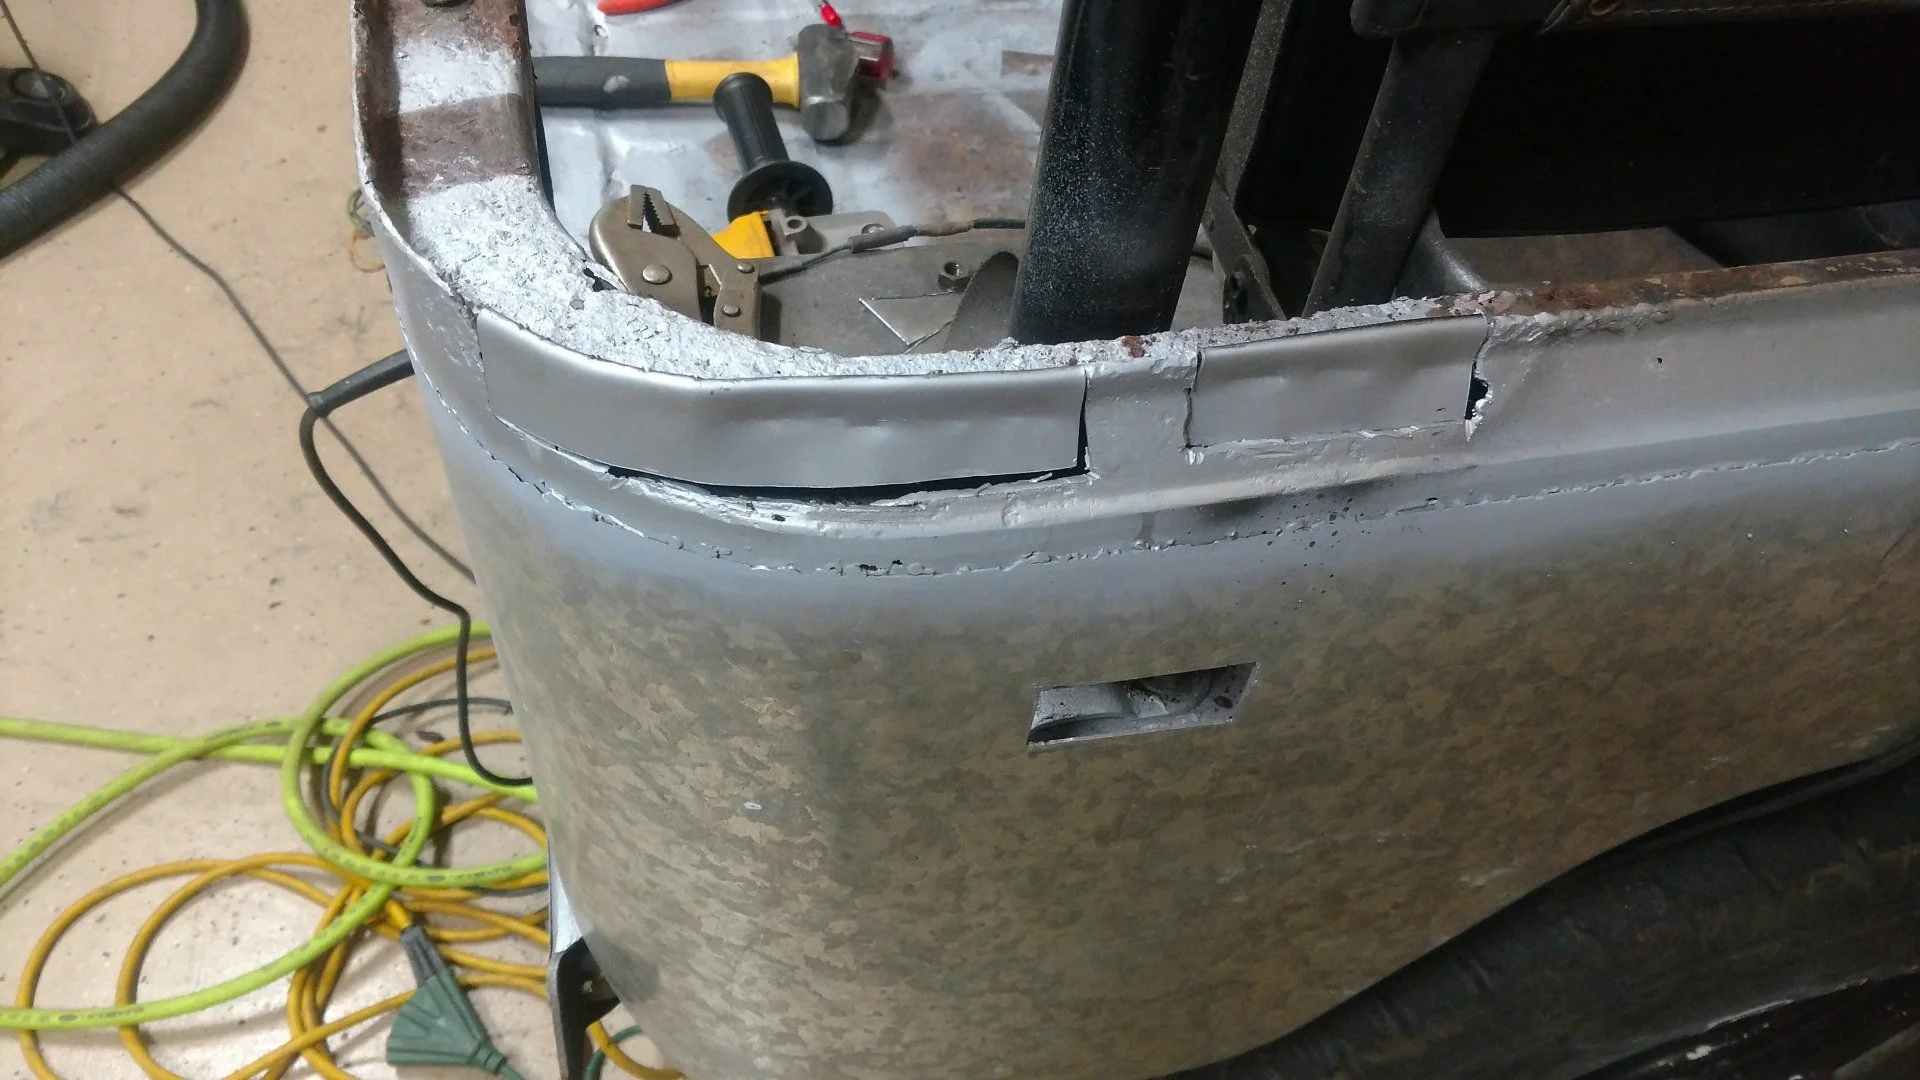
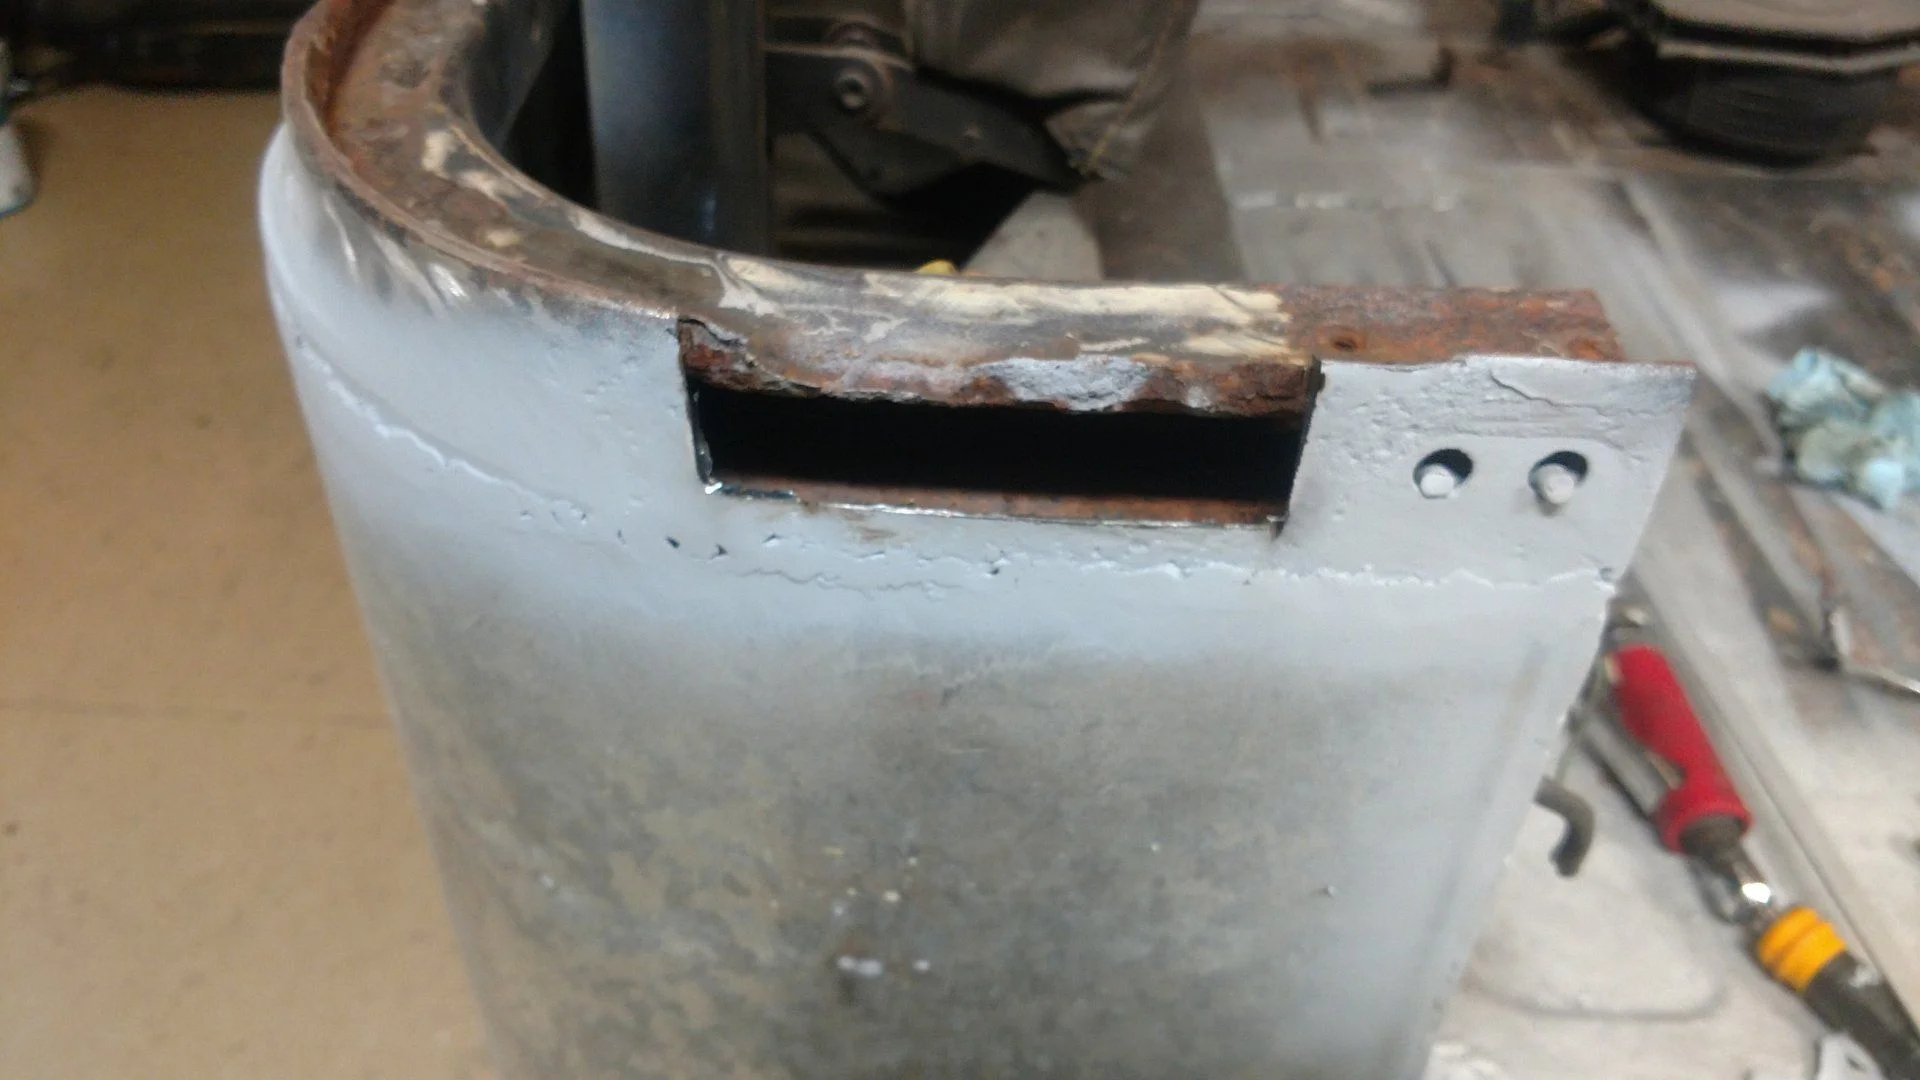
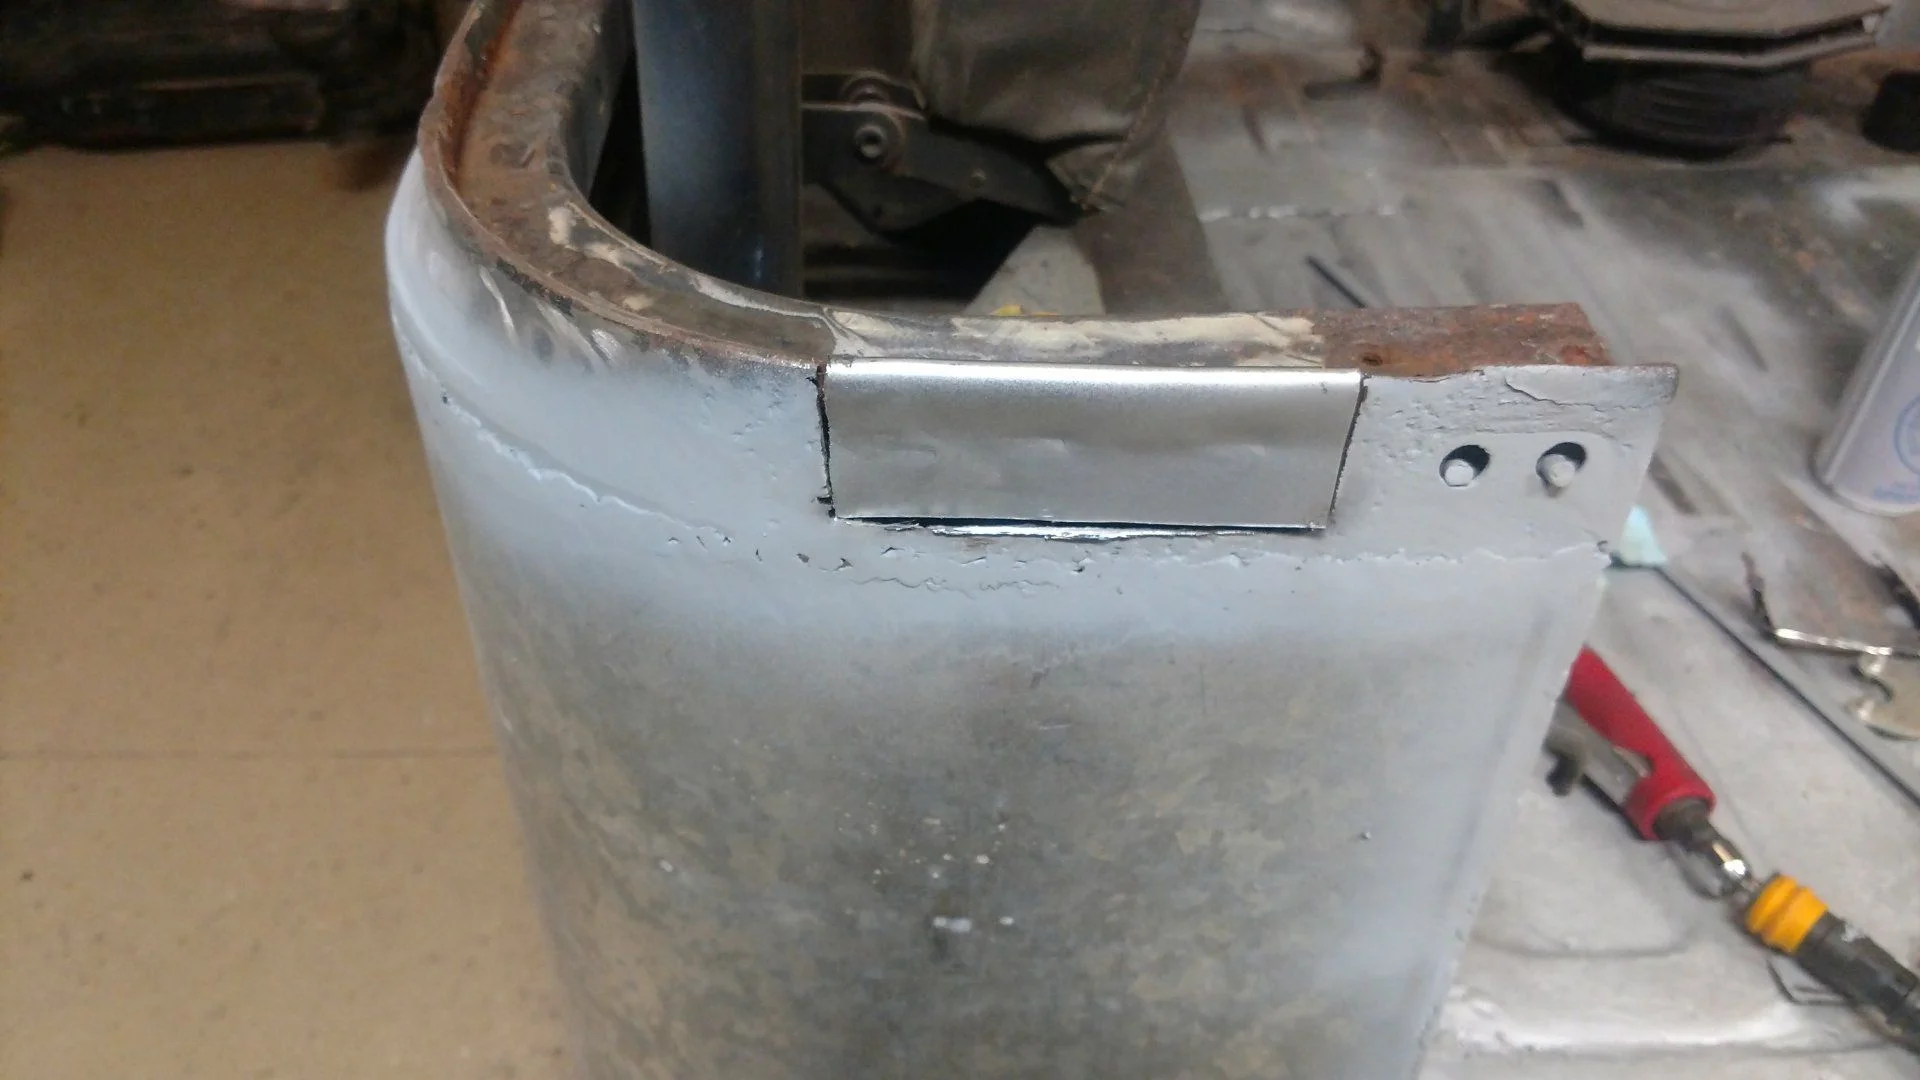
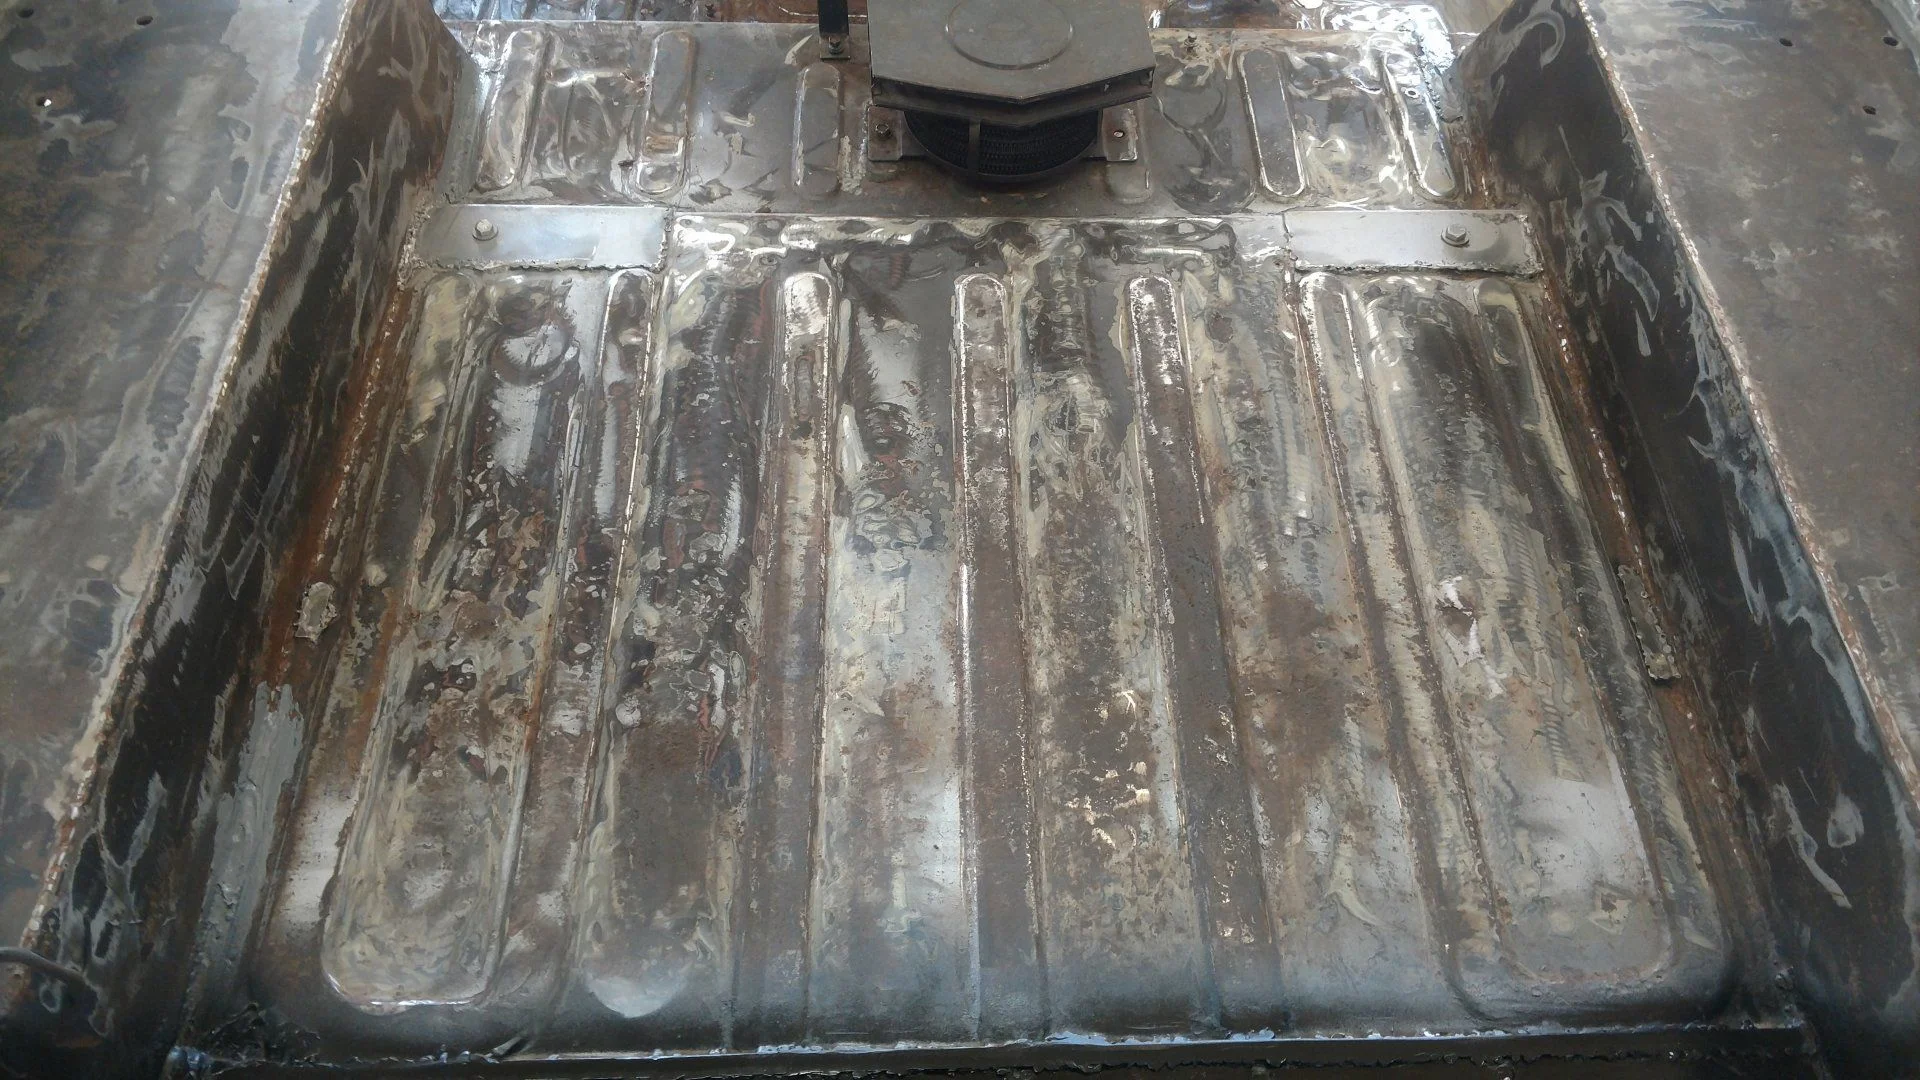
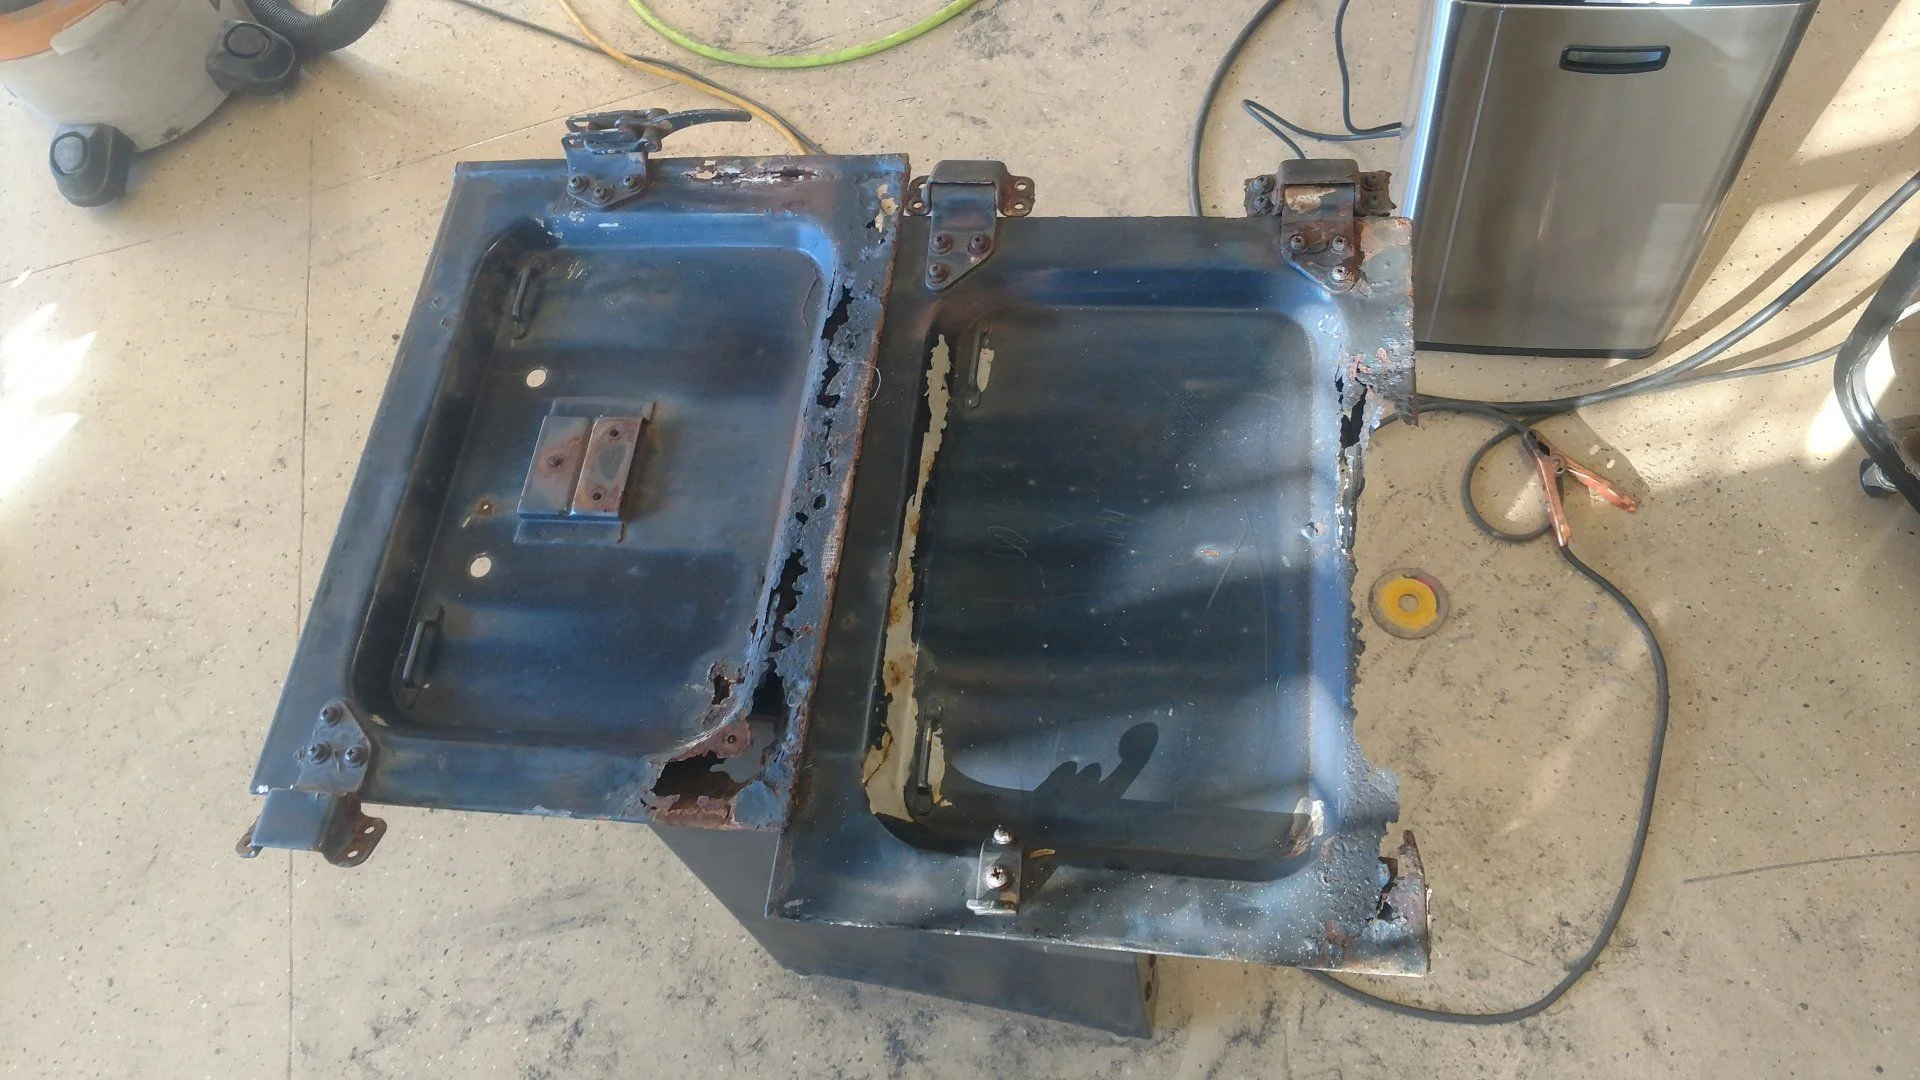
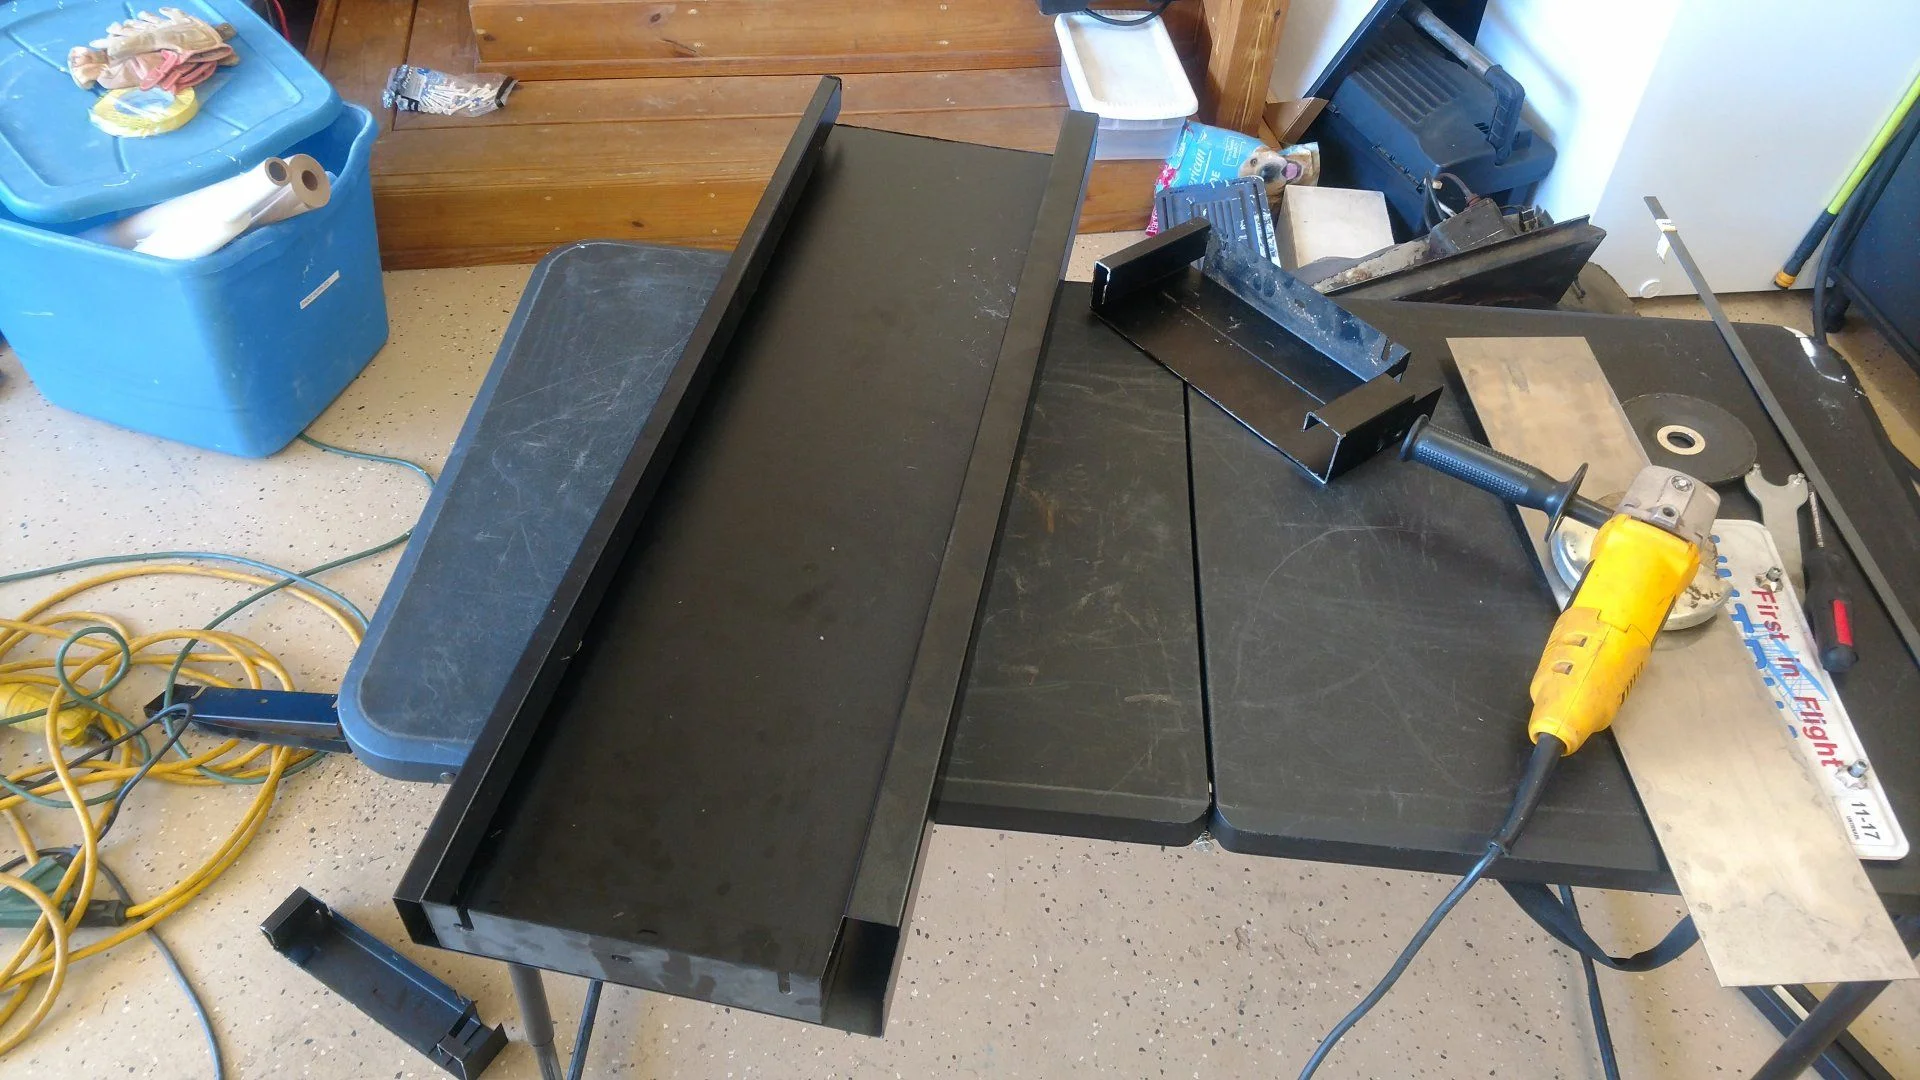
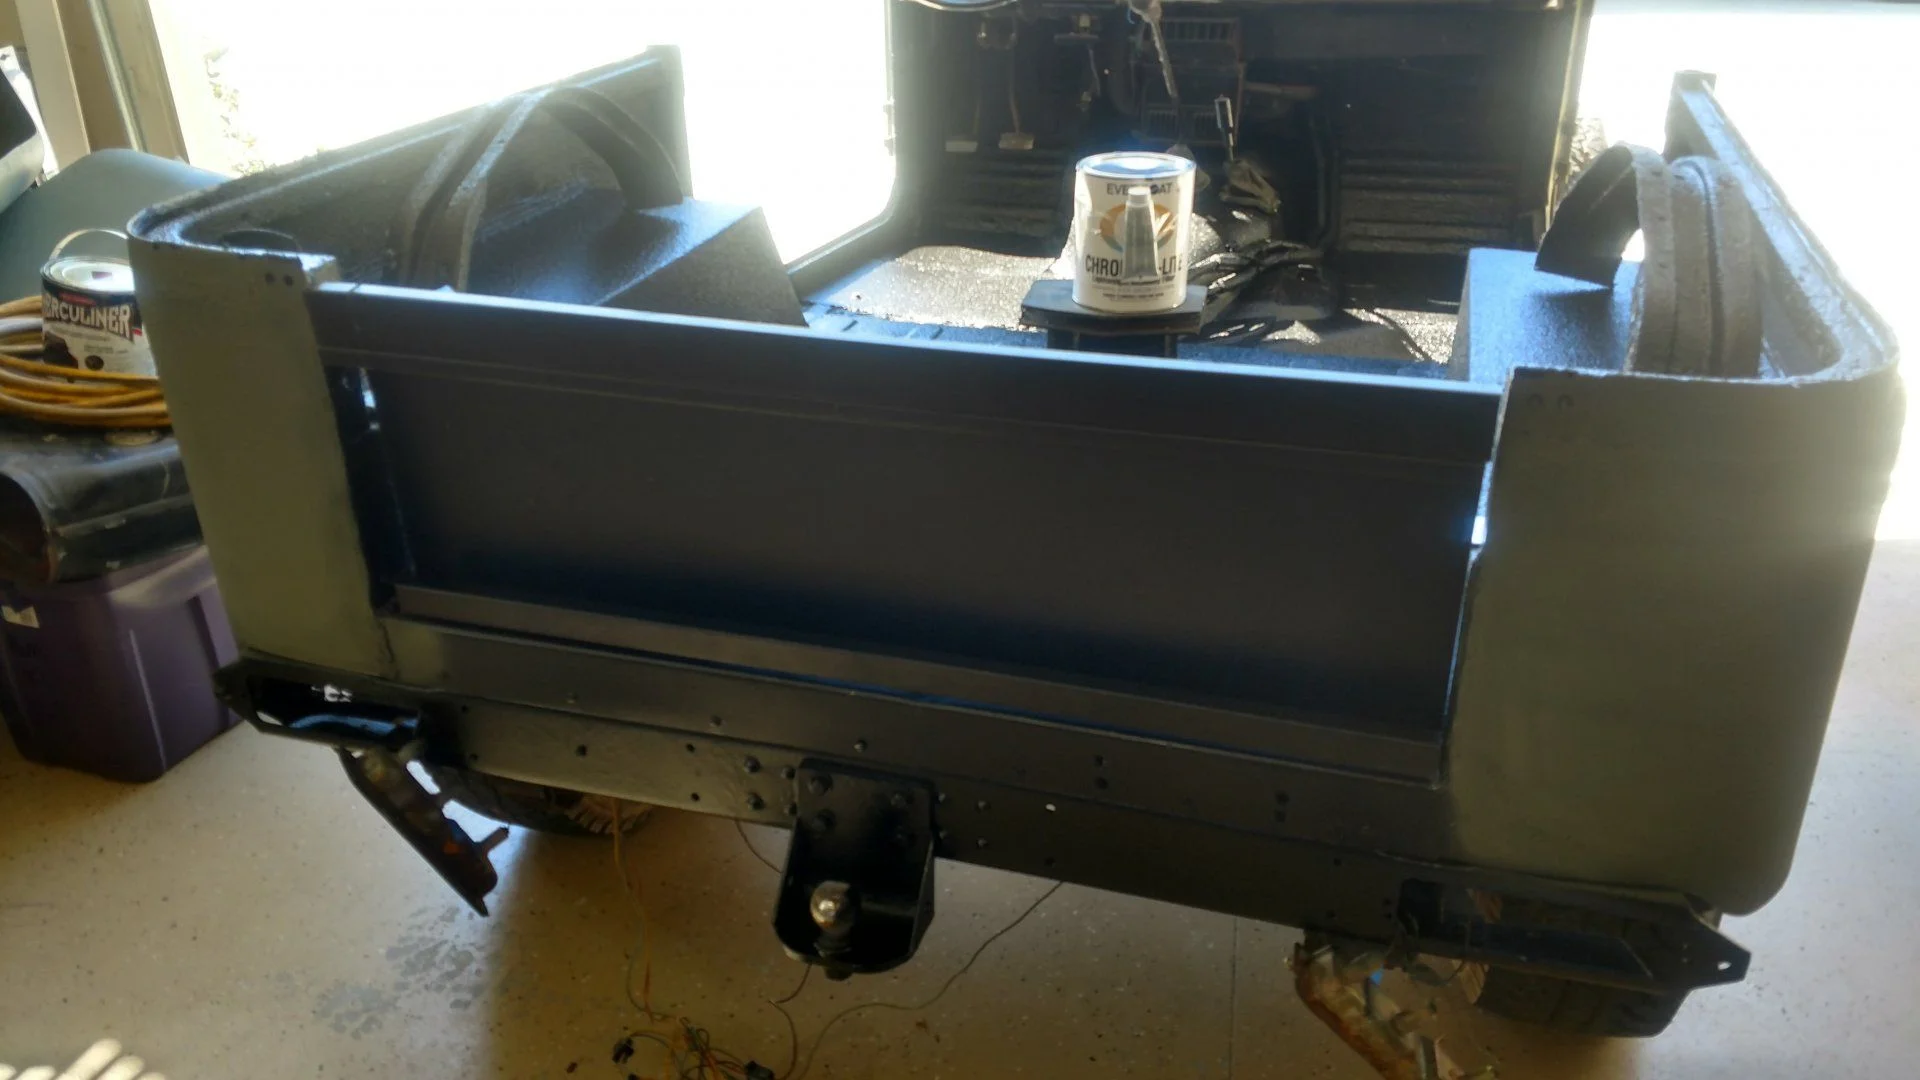
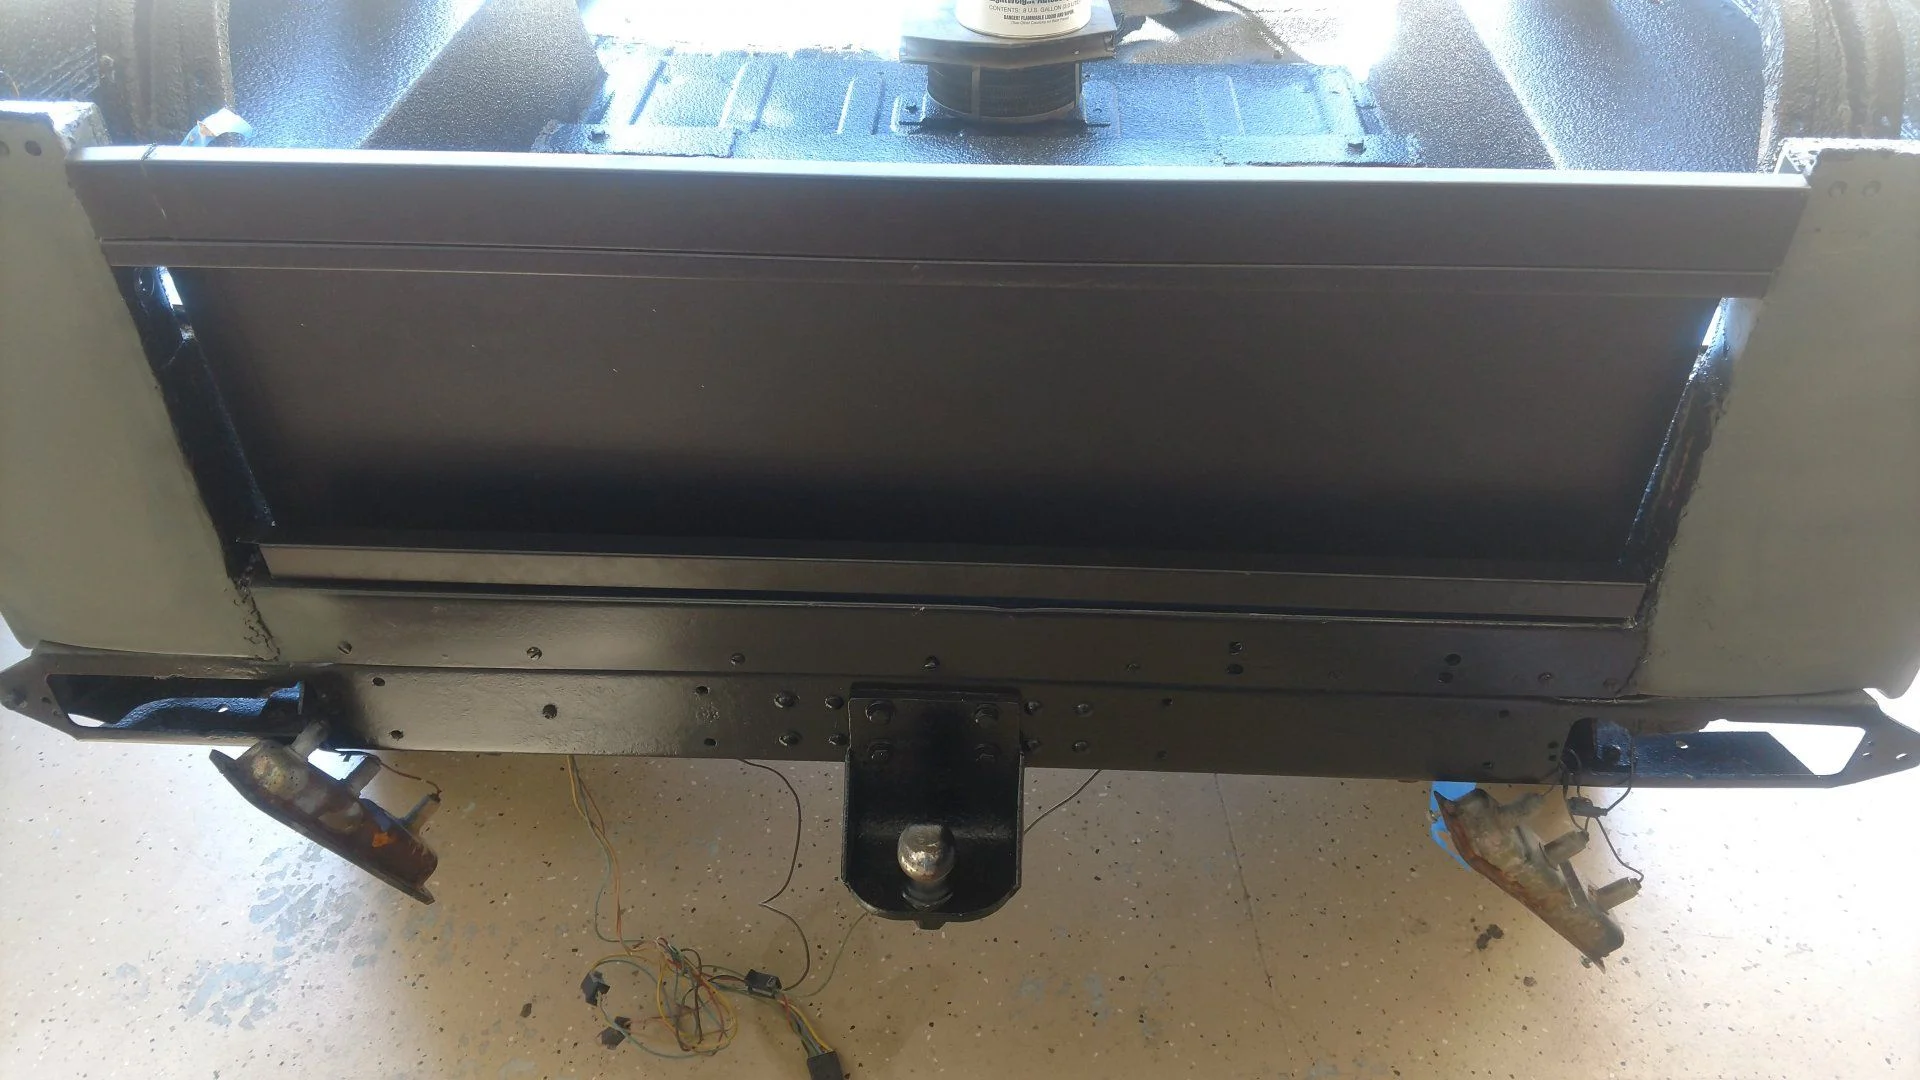
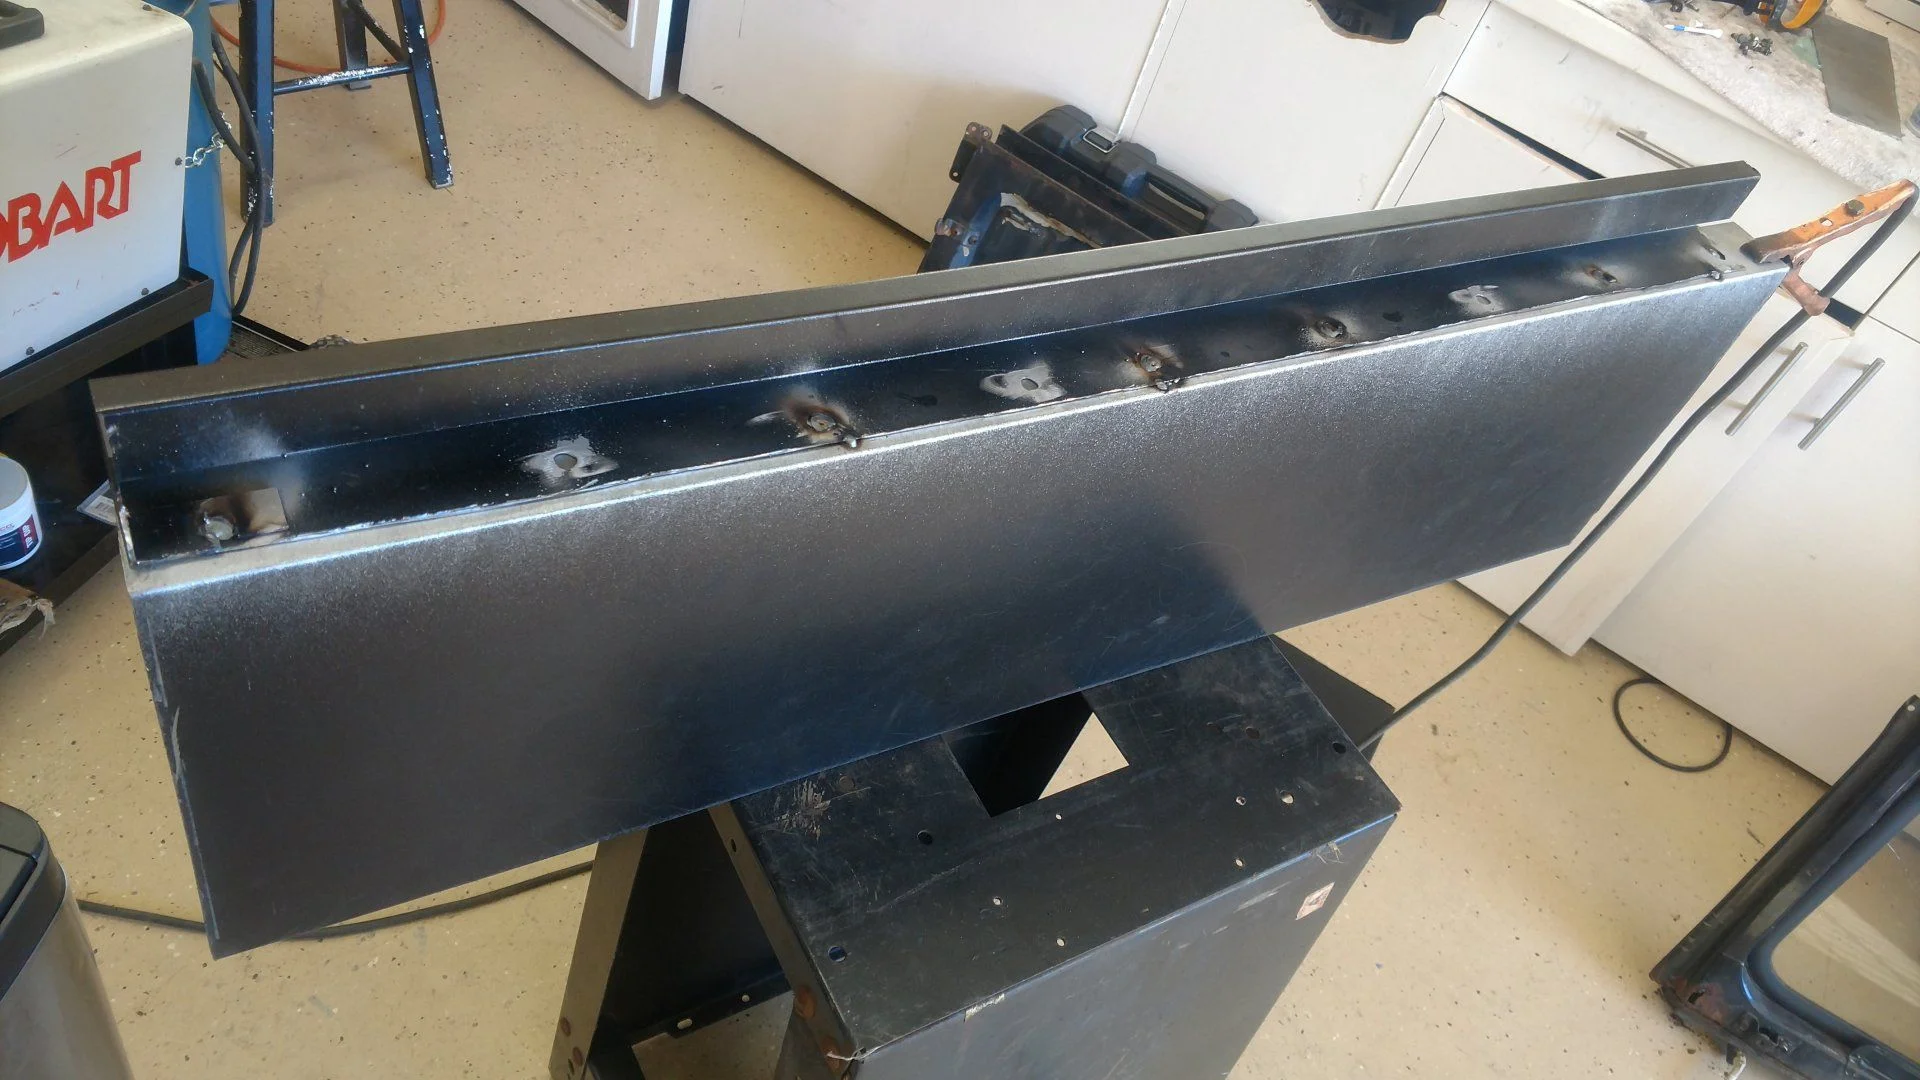
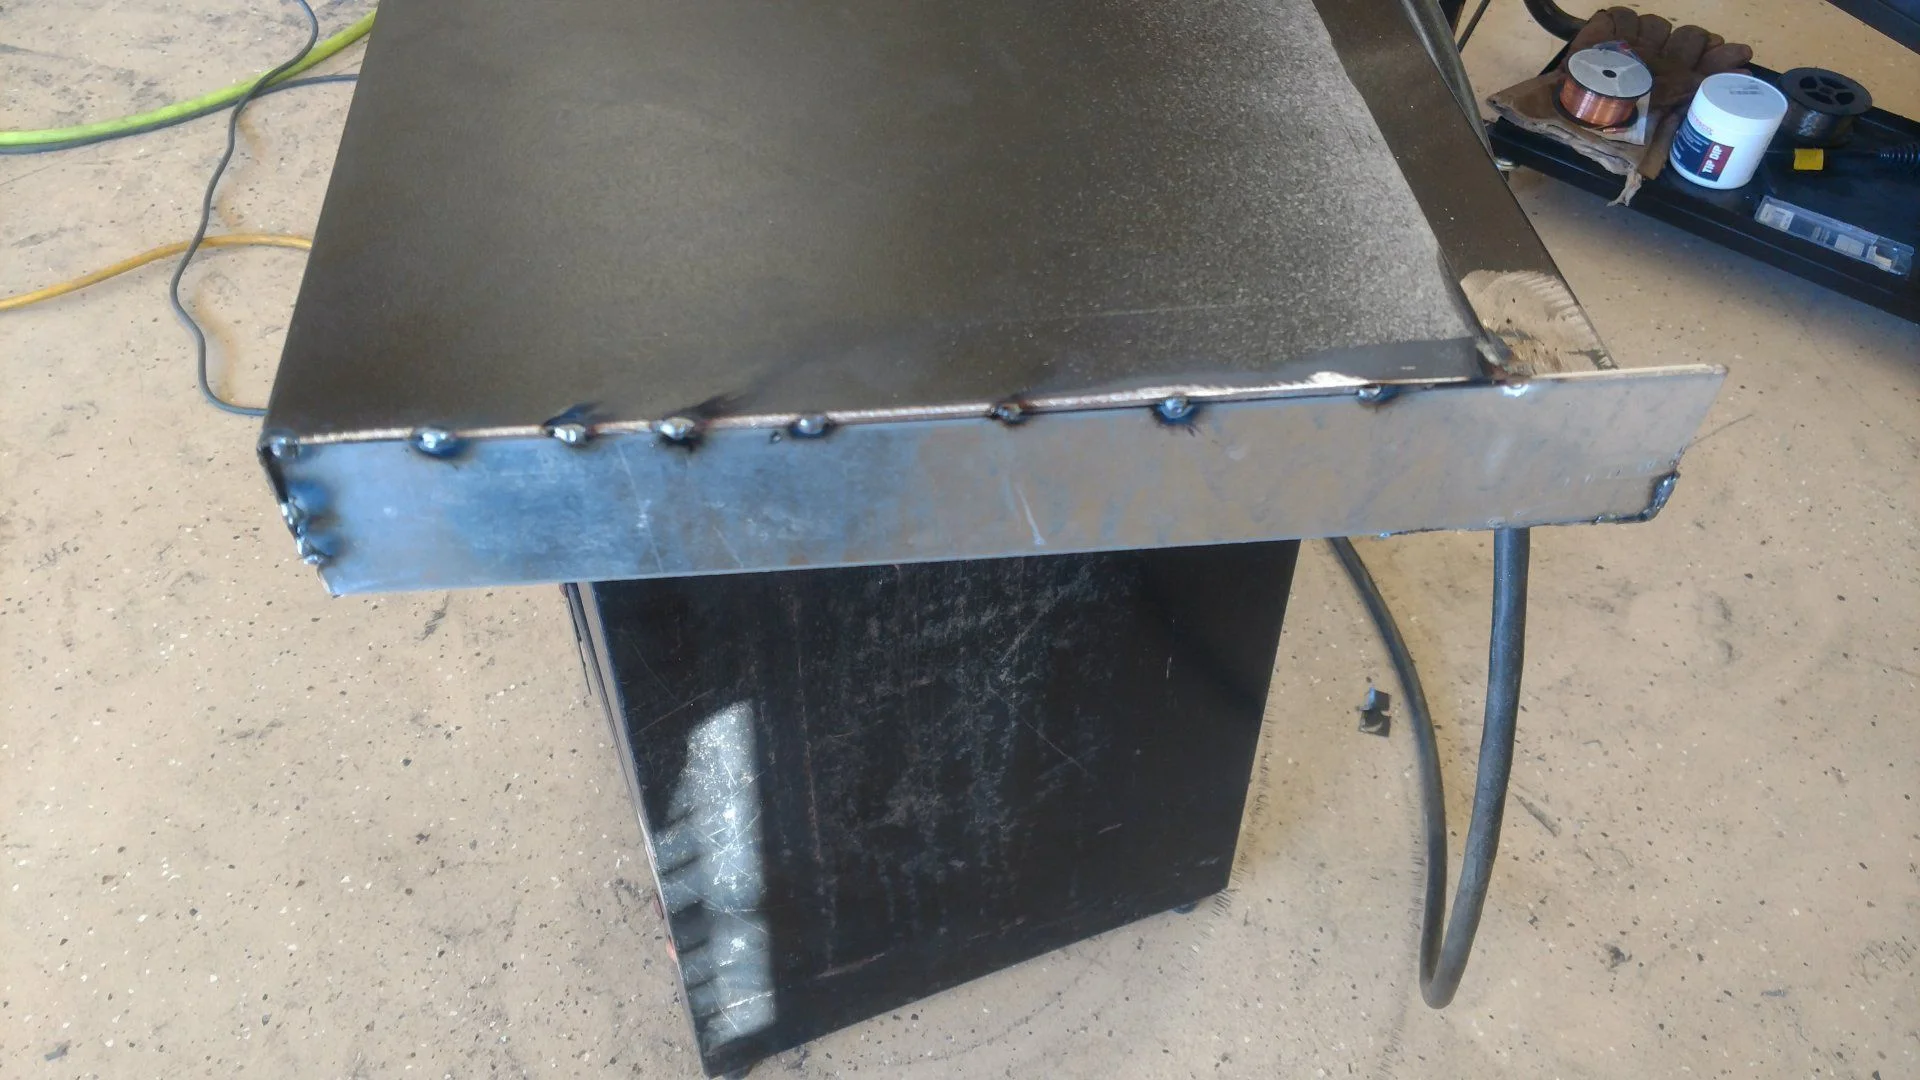
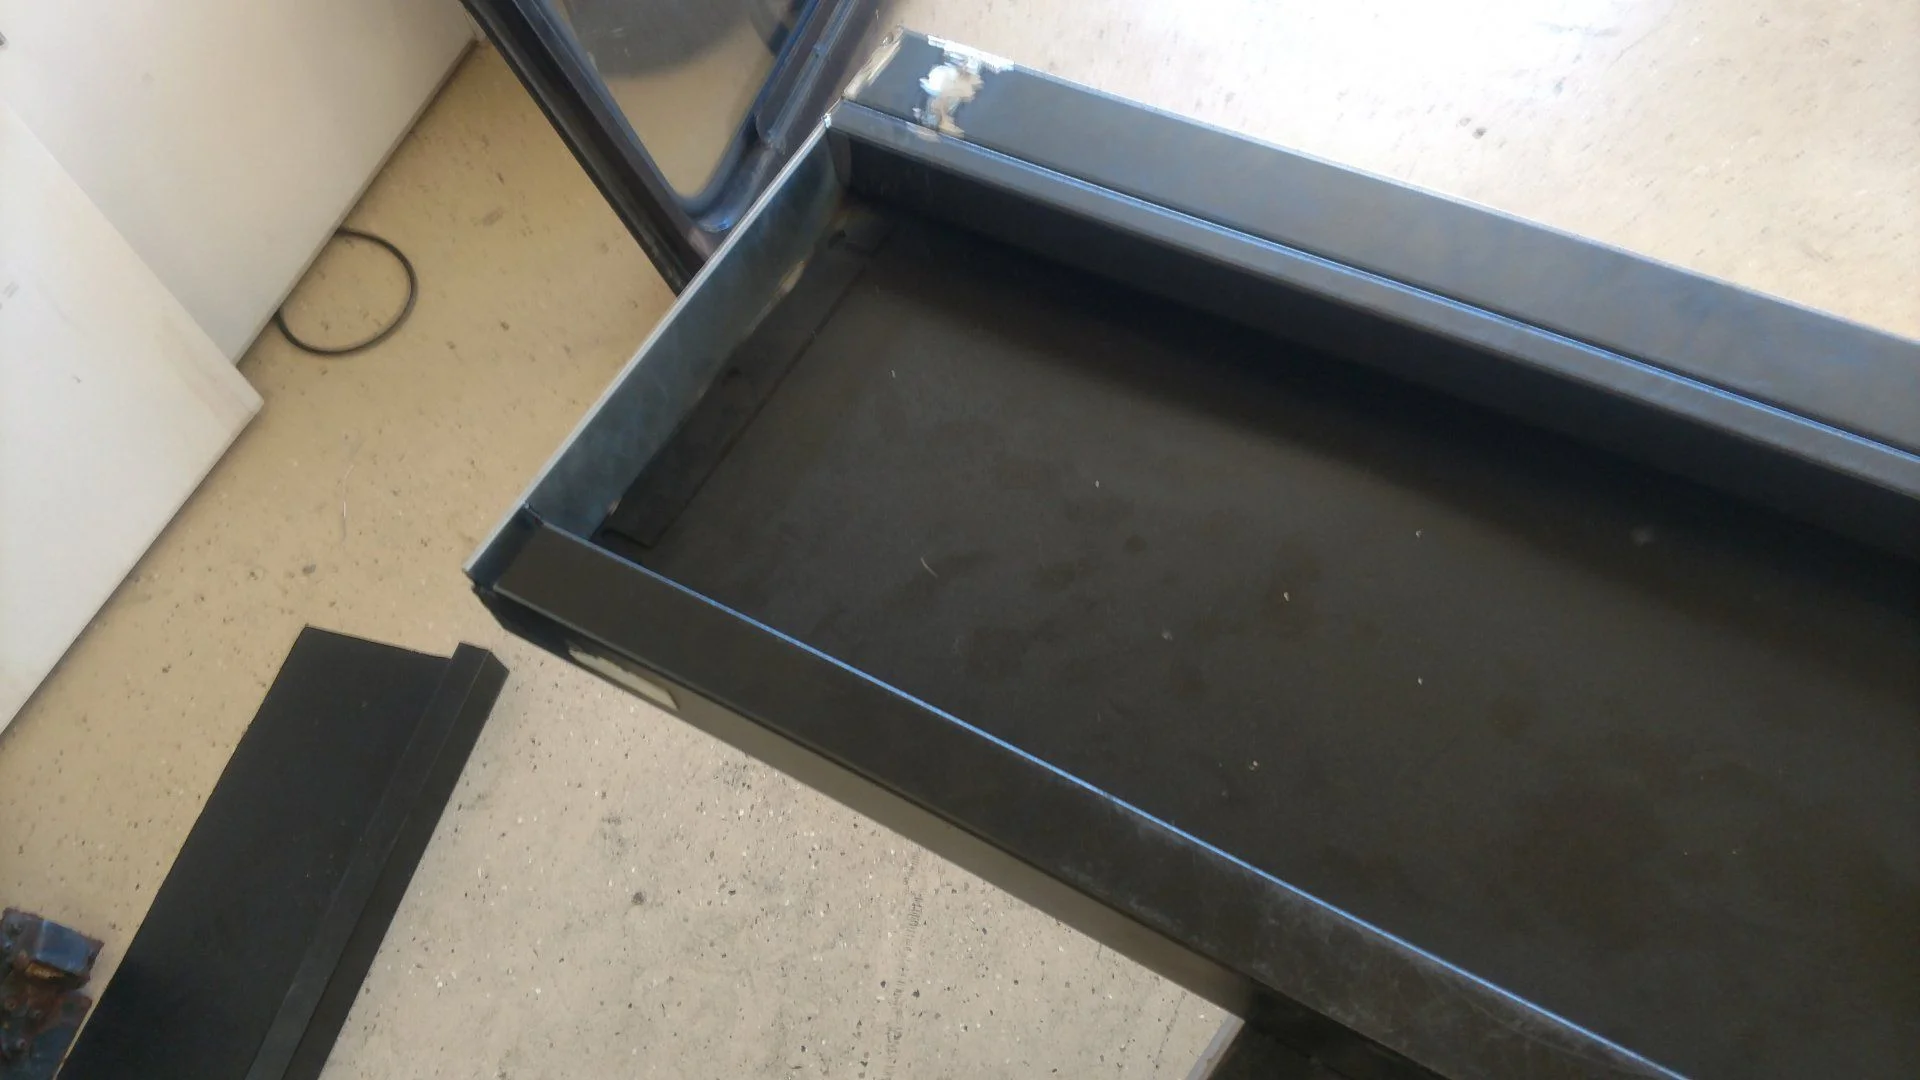
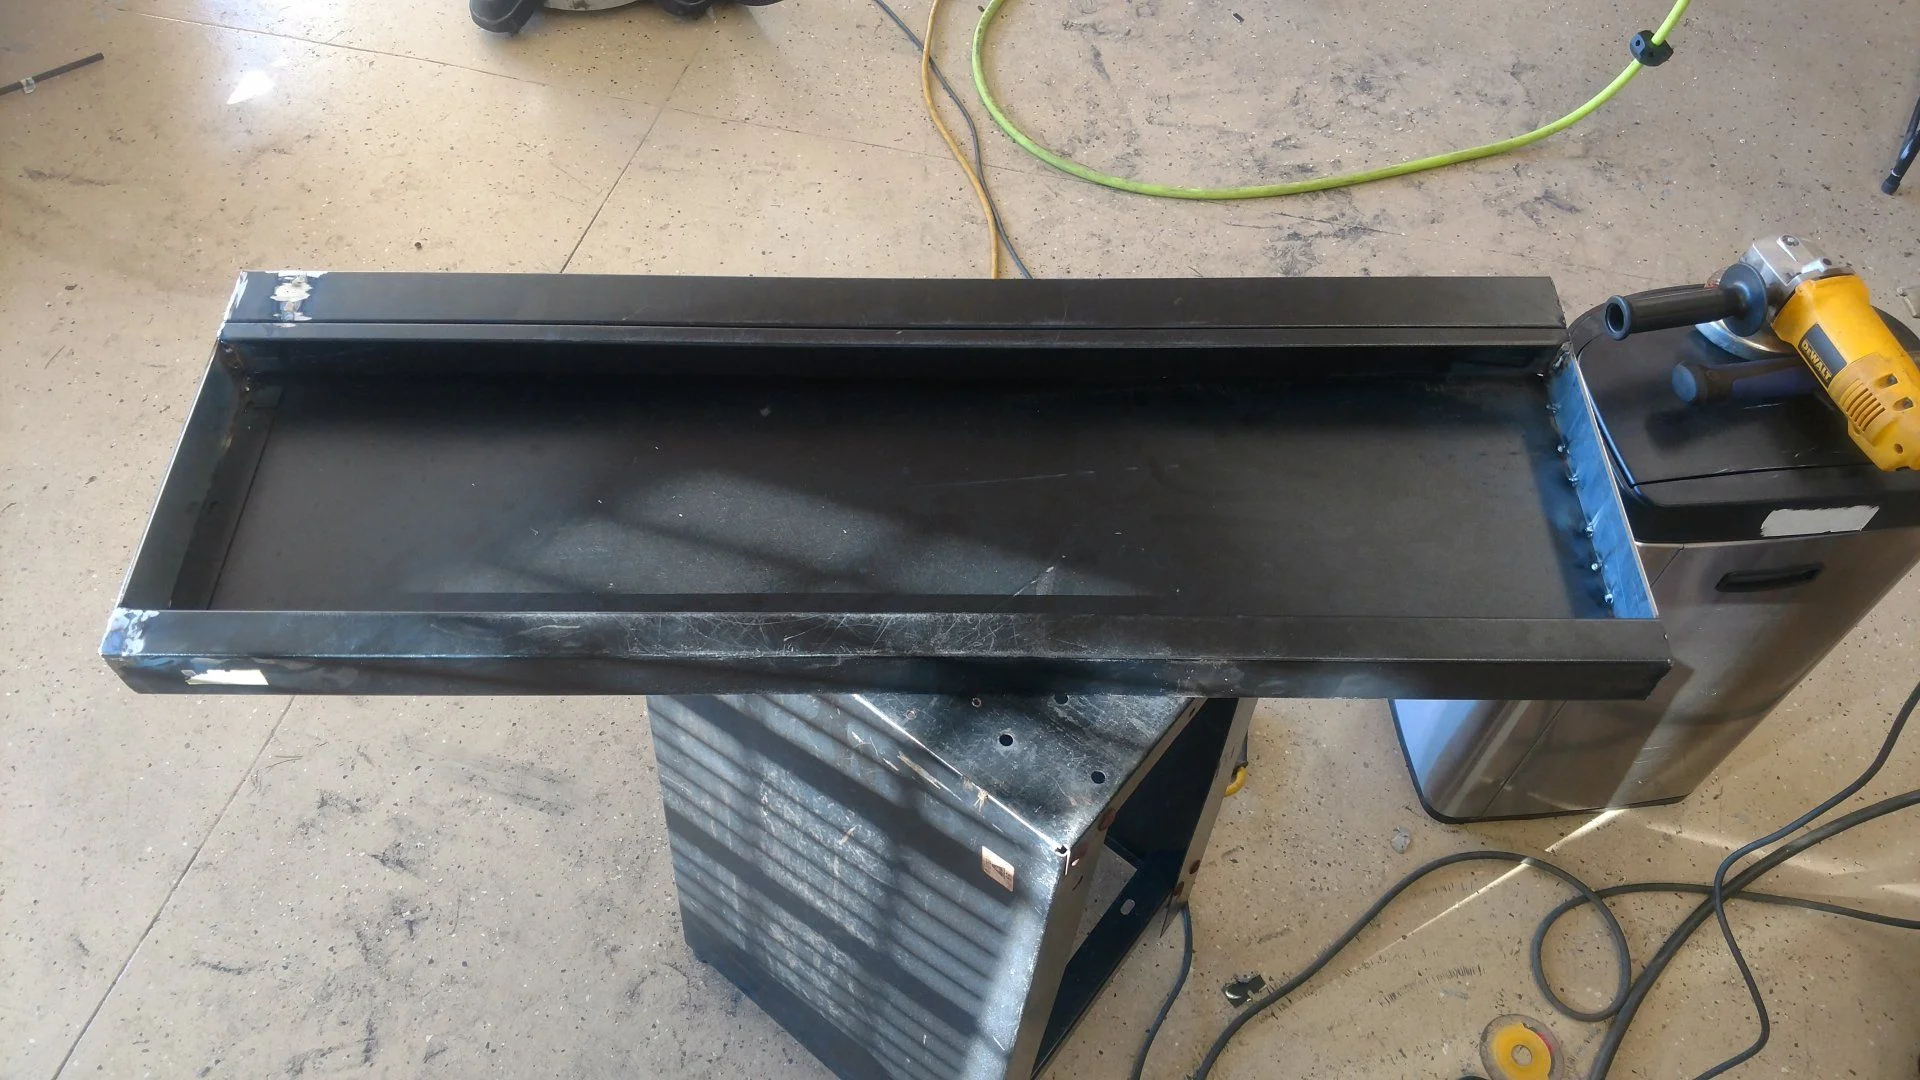
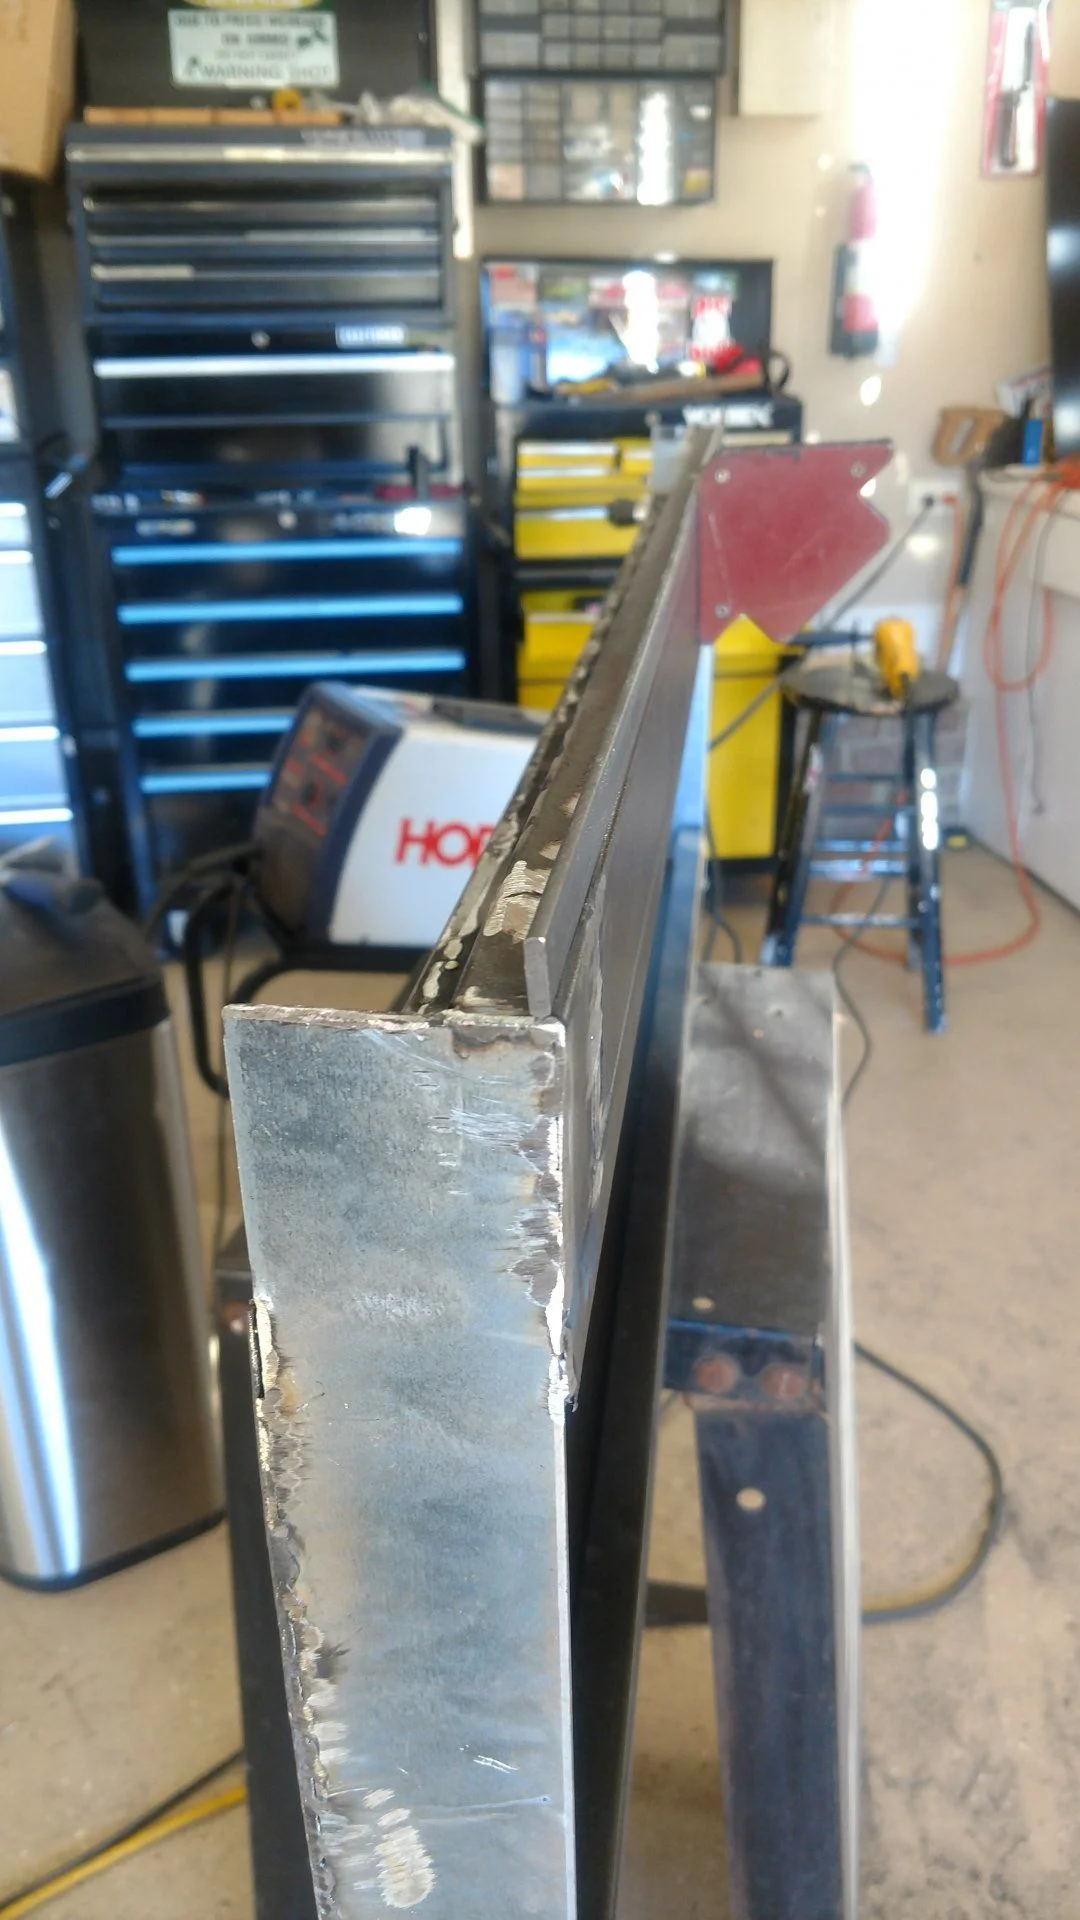
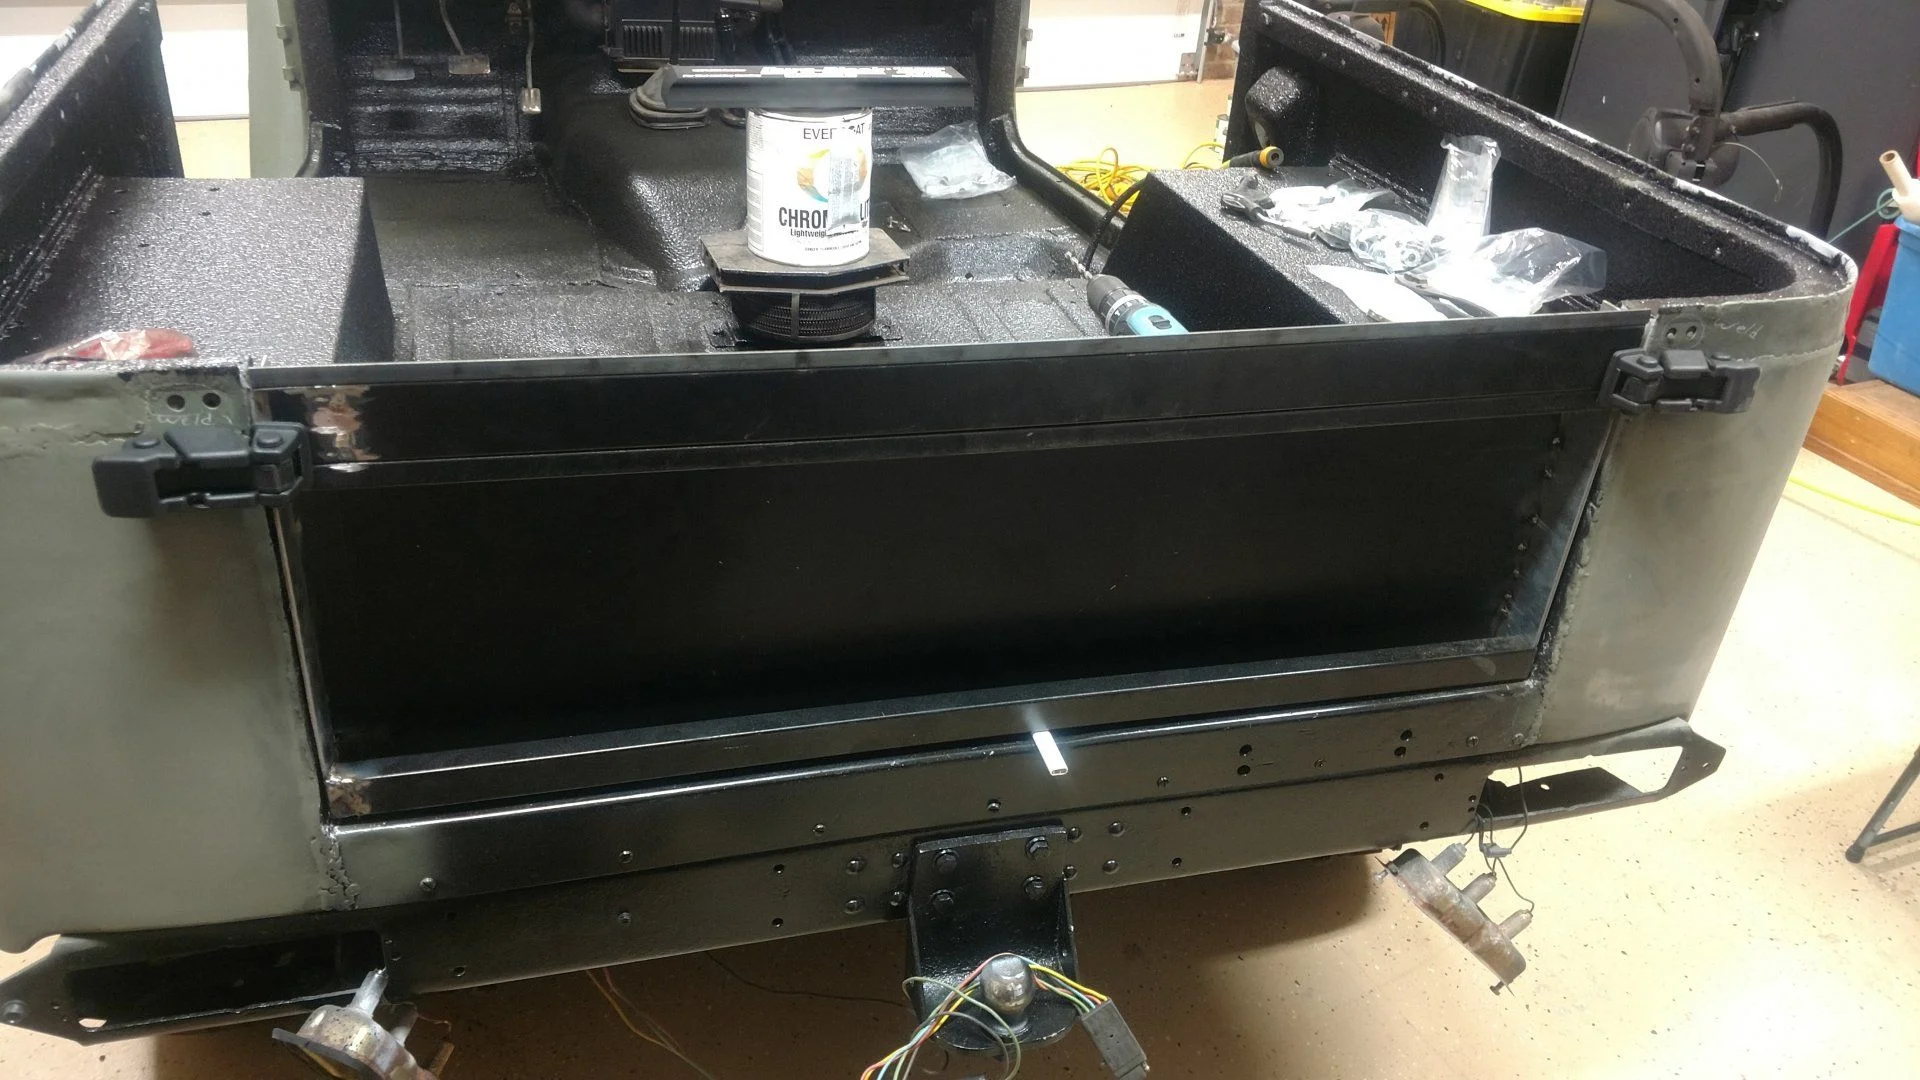
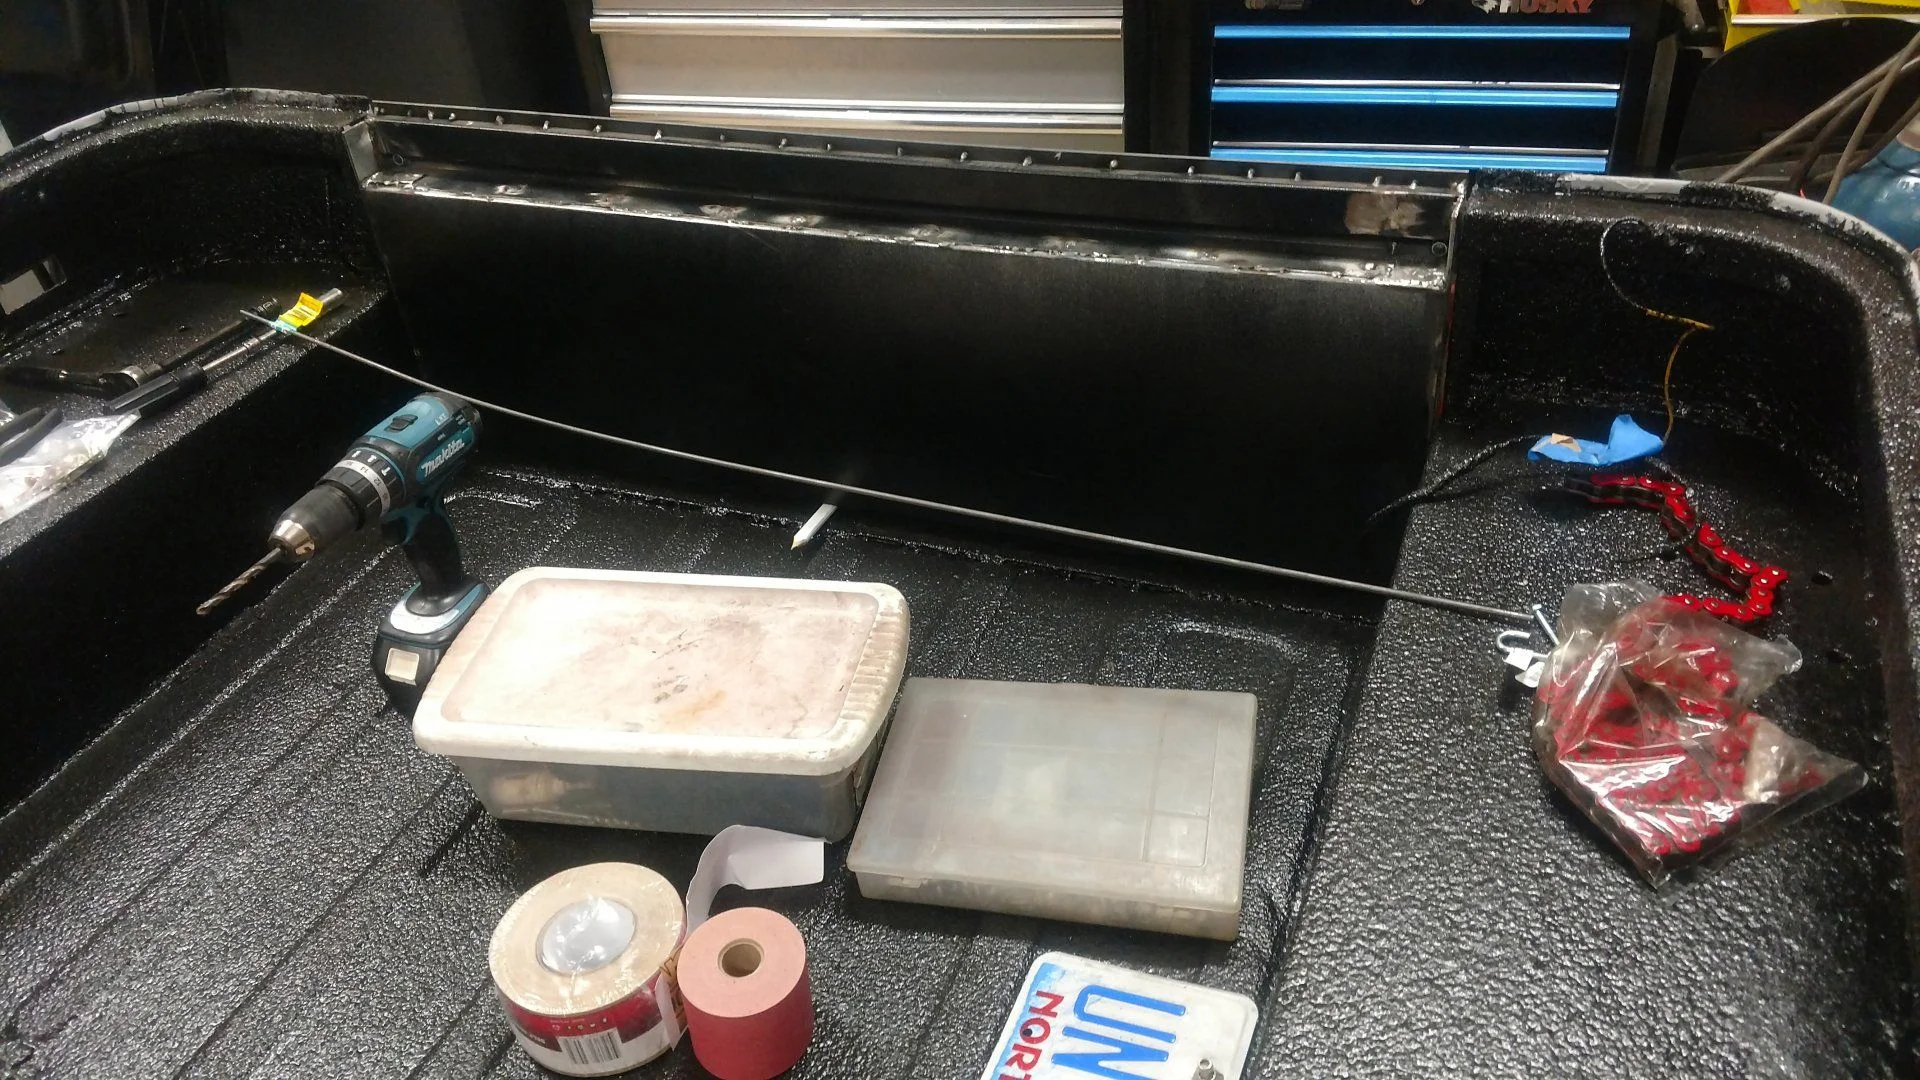
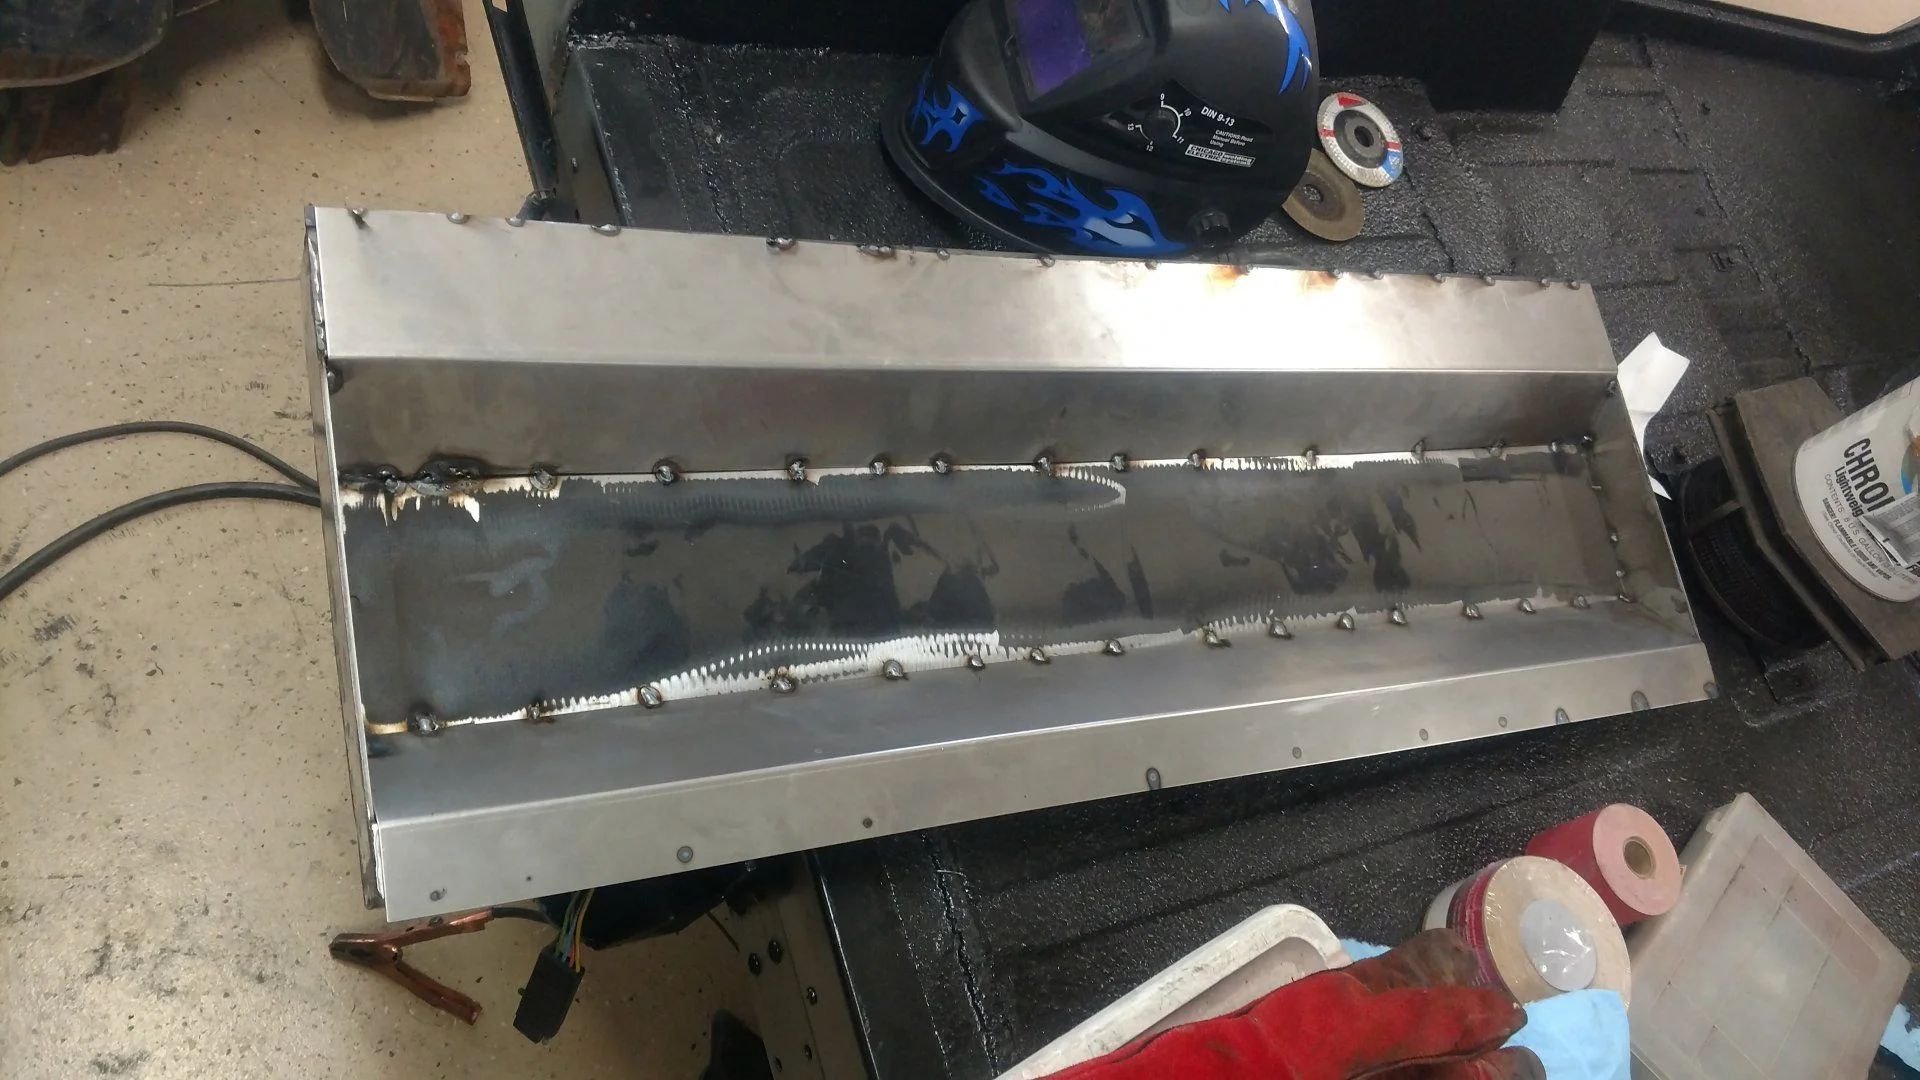
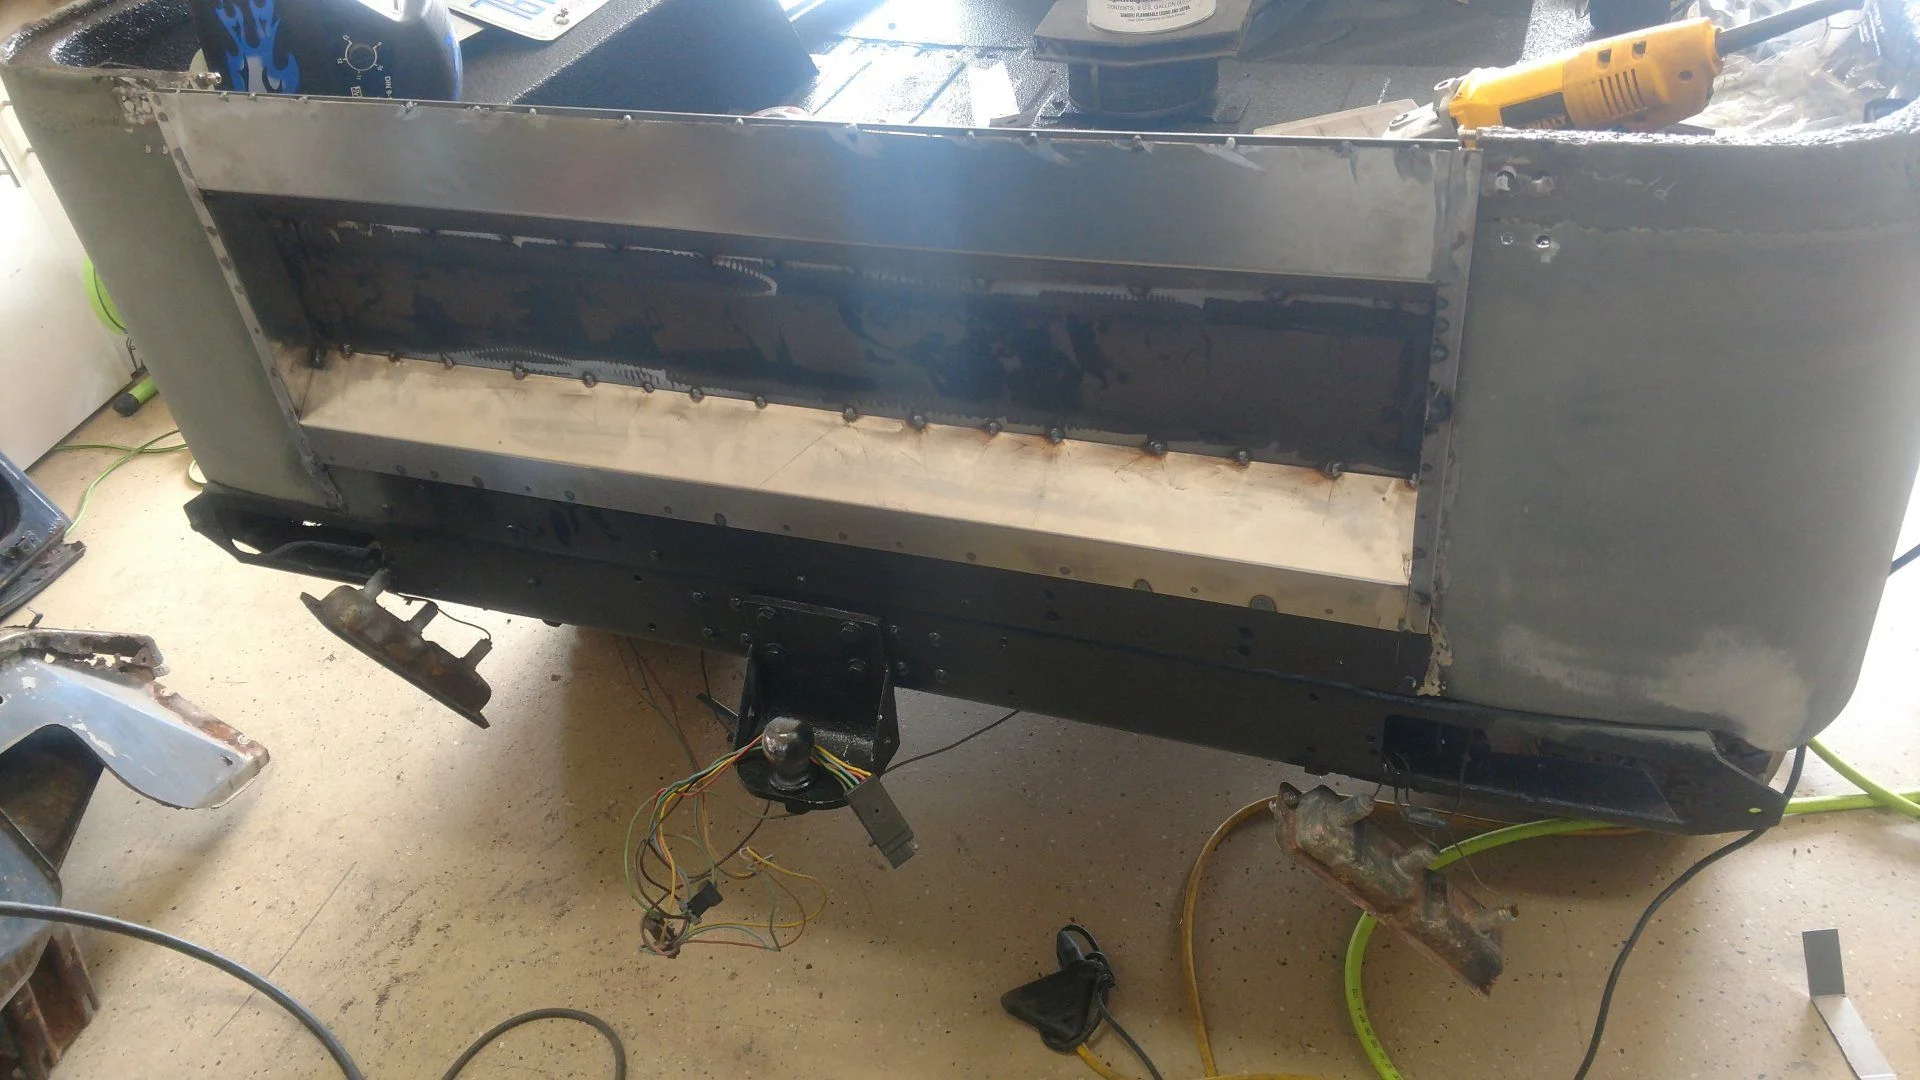
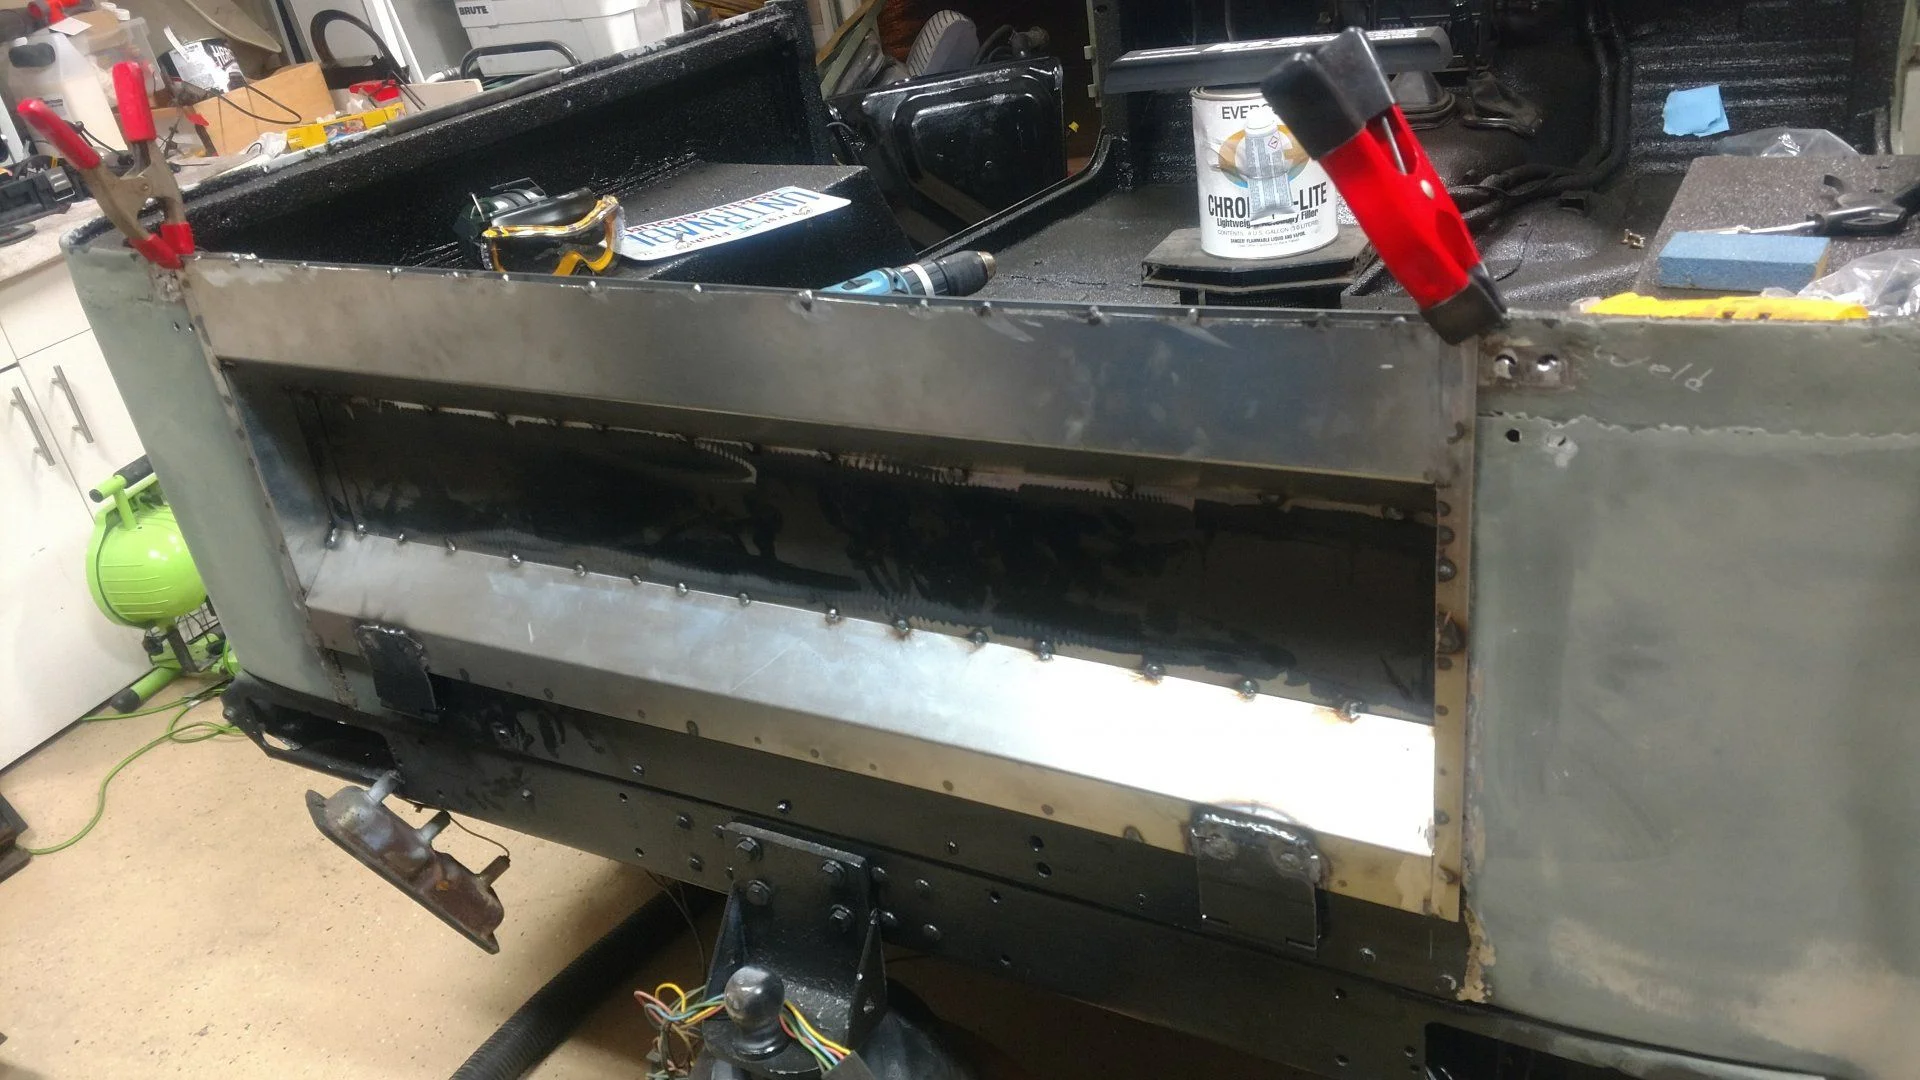
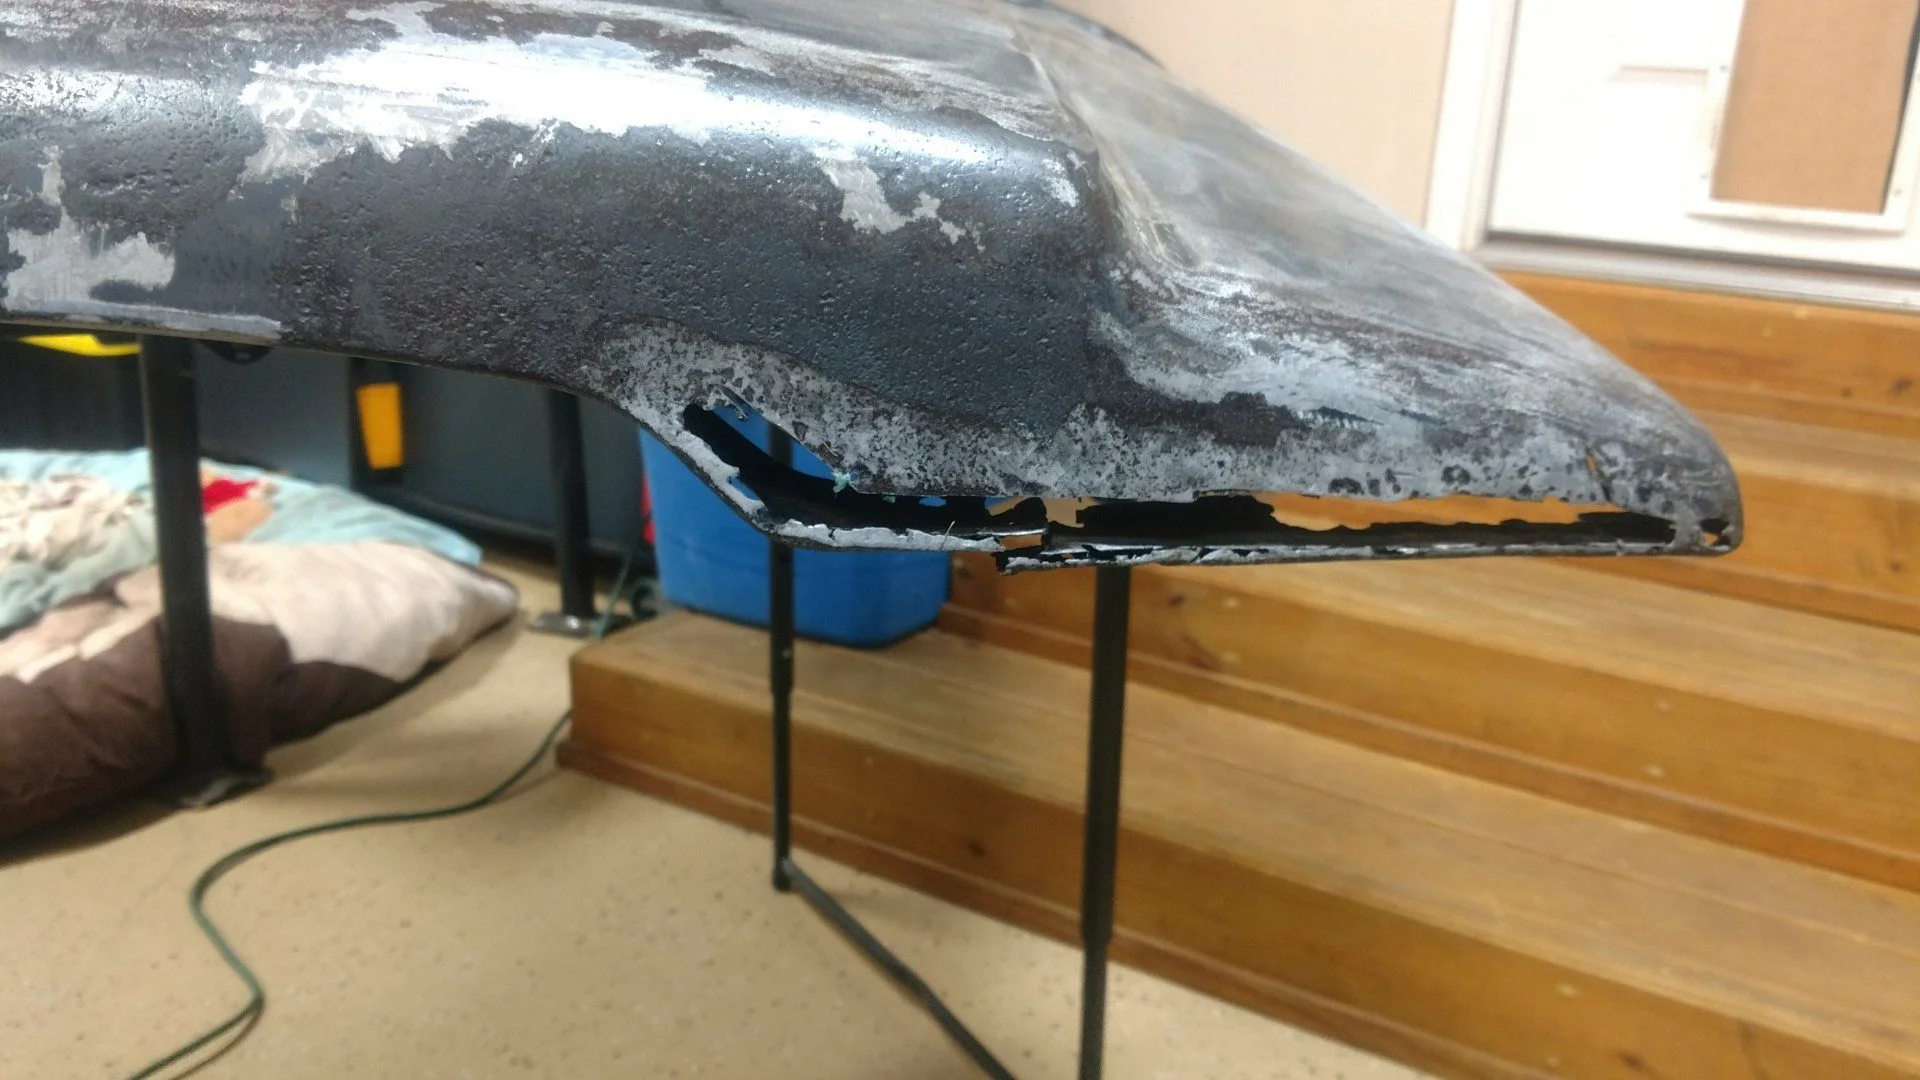
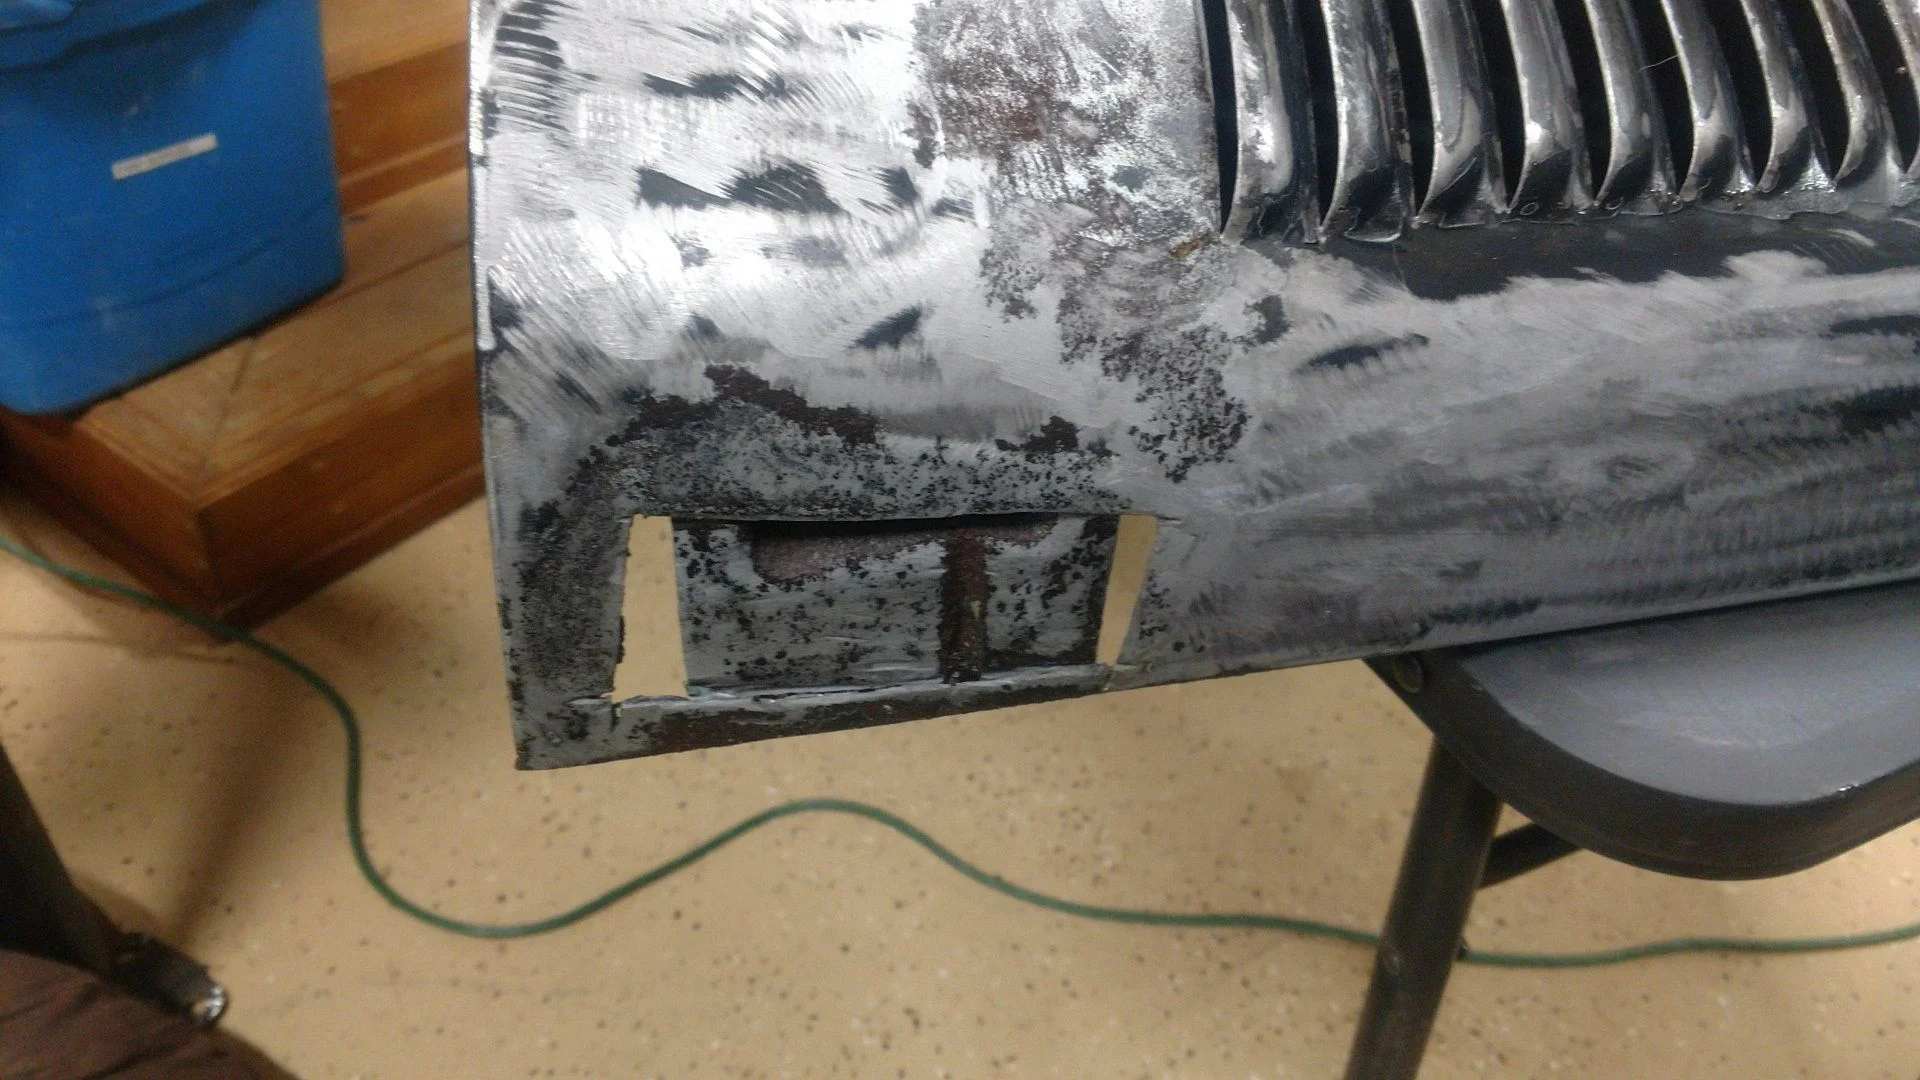
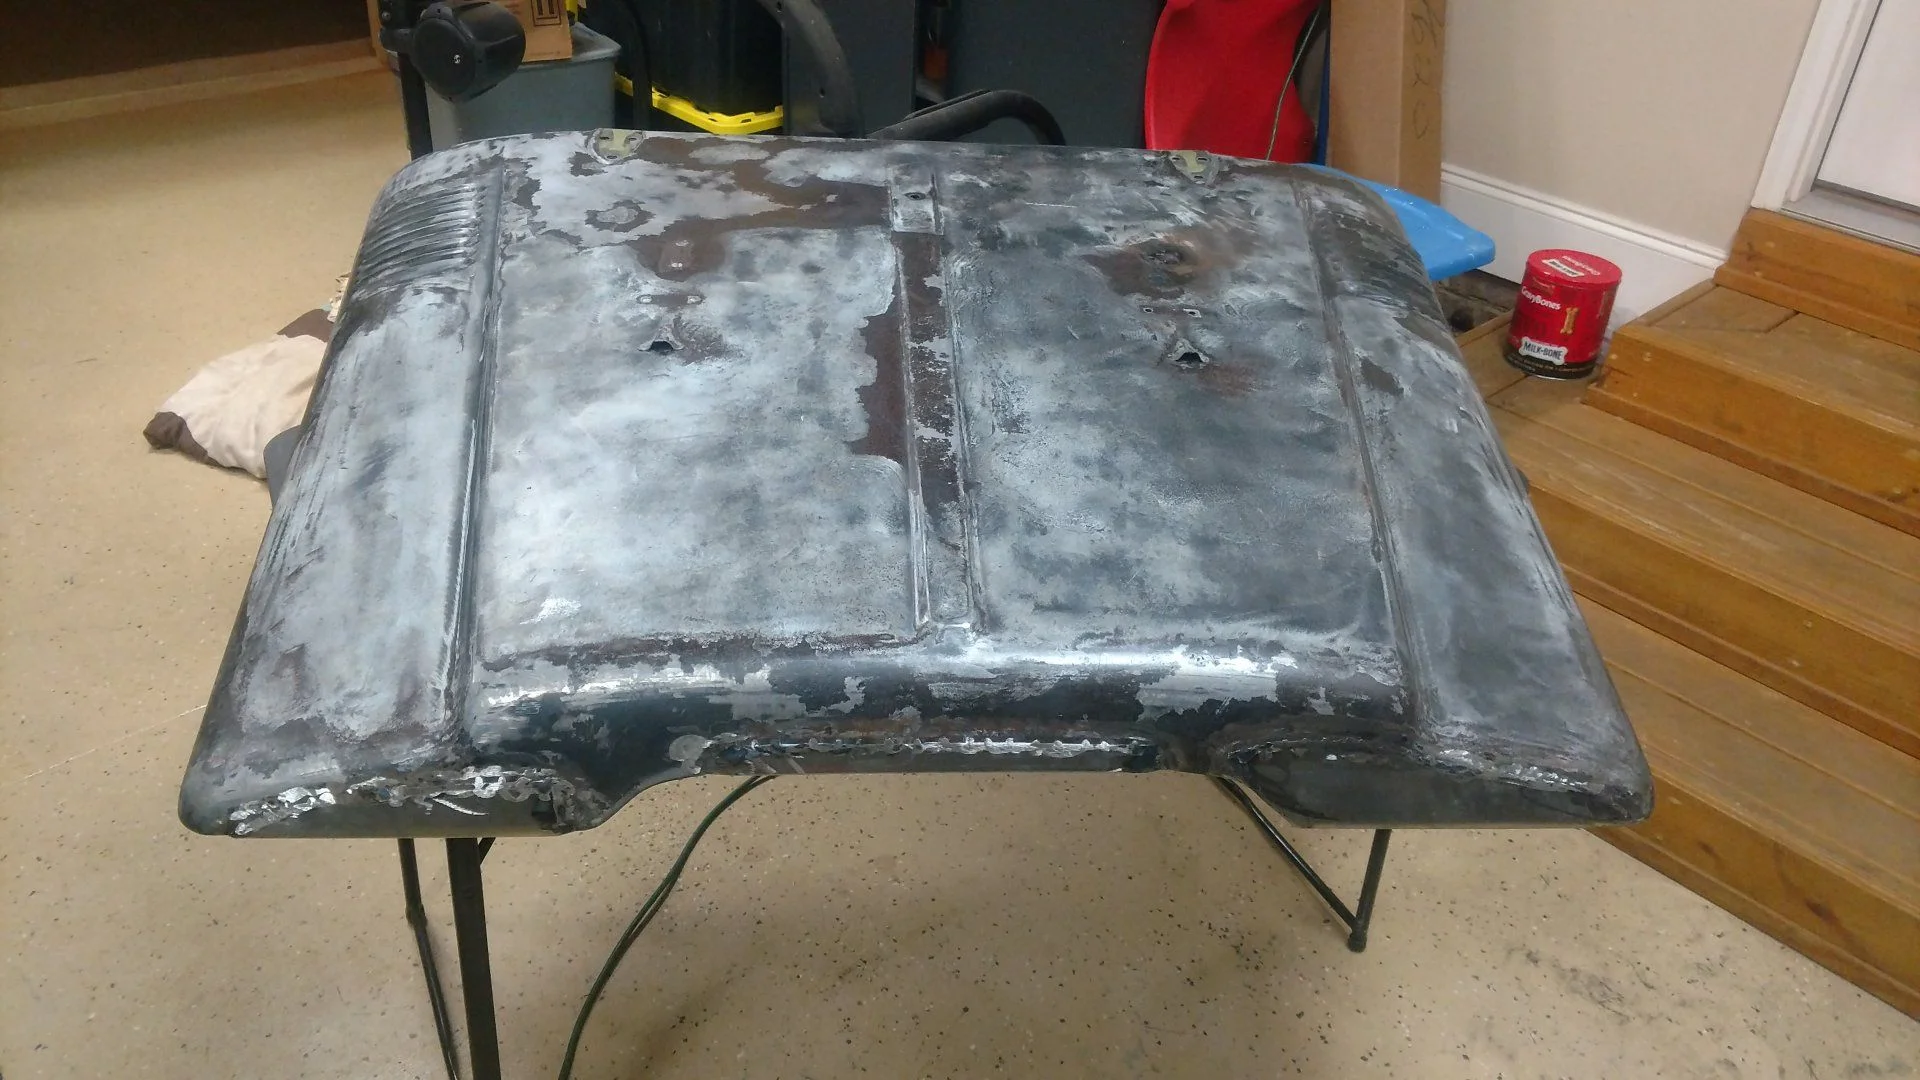
I picked up some replacement rear panels and rocker patch panels so first step was to cut out the rust.


Last edited:
Got the rear panels welded on. I wasn't sure so just to experiment I butt jointed one of them and lap jointed the other one before welding. The gas tank filler neck needed some modification before it could be welded onto the new panel. I think i was also fighting some extra length of the body due to the failing support in front of the mid-bed but i was trying not to go deeper than i had to just for the sake of getting it running and painted before pollen season since i do not have a paint booth. In the end, they went on fine. PSA, drink milk when welding galvanized steel. It's not nice.


The tub had rusted out around the body supports in the bed so they got quick patches.


I pulled the front seats, gas tank, and rubber floor mat and it was a little worse than I was hoping but at the same time it was exactly what I was expecting.

I know this really should have been a frame off restoration to do it properly but I stuck to my guns for the sake of productivity and getting it done so we can enjoy it and keep everything on the good spirits of the wifey.. so it did not get all new pans, it got patches where needed and some of those were patched together with steel that I could get from the scrap pile at work.

Next I cut out the rusty rocker panels. These were lap joints when welded.
 
Last edited:
It has been a while since I've welded this much. I forgot how fast you go through shielding gas... Rocker panels, floor patches, misc, welded in place.

rocker

Not my best work but it'll hold for now.

Mid-bed

Eww..

rear rail

left rear rail

left rear rail patched
 
Last edited:
Now I have the inside prepped for spray in bedliner and the hood, grill, fenders, aprons removed for body work.

Seam sealer added anywhere that the welding wasn't continuous and water could penetrate.

Removing the windshield bolts wasn't fun until i learned about the trick of welding a nut to the top of the screw and using a socket to unscrew the stripped head screw.
6AFe5O02o1uMYz3ZwmiqSPEyp8Y9c8kqYCsrZFuLfIi76x2496i_Px_4ZZLTRlh_nqji6jhfy_eJZqeALIYYTvKDIrBqHnwUhZNIR-gRTiHnTgxe3BAB3s5gGHq138yc5B_8AsKpduIoyXRBevvfWy2JbkPIYfi8g41wytisGJBZA7HGOBnSDPVYnMpDYaYbT2OygMsEj7zOnmjPvrI83IgrkWj6_Iwv4Jyc-OvqDeXnuz3aHvZp__2Z3zgd0_qYQYFUHPj5rjwT6Fc_JP5l6zIPITW51PAwPgr6FUNHcc7R8Xc1GbfxQj3jCvTeHlcRMizQl3evbh_rwxRfyw87_gkuKaBLhmEZ3d75_bJ498VJ9ew-wVcm_qOfbJW3db3uwM9Snyp55wkDdVvuQens_-BGBdMNhLEqDNNKgko3gQ3gZy6RLCMvwVIJIzq_PoFwpcwn0MYO2N1yLpd9sAfrZJ_y9OlyeZ-2ZJ5MNARJhn9LtXpVZneLu4FqdEp0Q2qQD-BE6i90smm_enSL_4GgYWVRZ7QIk8xrHE17LkQmacEffYEEf71HiXXexxGwCn1hrwBSUWmGjp2ol5n3h5Zf1jPKGZgrLHanDNjUOL3_LmWdbwX4=w477-h847-no
GK10aOr-XUV2E2f11ufzi5d2OFp7YjC_I8d2cOrXErwKVYyDtYXW56SMl9_dM2lYq8J9zkgiPyAbNdl0K_8KlZF-qIJNeUmpaxfuQvptJpm-vP7DdmI0QMWt_x9QCUgxWA62IEDxKXDdtu91RiikSpBtwzu0rqua5-Lq3zOXiryTTx4kZo3RDpl8C-yiY4mldNLSAcCHryyeaejrCgcYT2eNuBEYQB_FdTKIwvmrApAY1YQ0UcsgIhSfvxGMoPVAHdUAOWuRErseaL1aTWGeumTMiuDpkjfbdgjhHRi1sWtzv8o90U7KIBuCZLstcdYr9AxLSEv-uCiERVrqL5PzXVt5CdlwEb_JVu2EXruReq2eUqsx4m5bqGInKtLLbdcy7L6VaO5p6AOs9eGm8PZG09Ab680uOUhH2jEKRjJqDxjOamOCAT0wu2jgsYSPRRPqrY7NpPjMQBASnTuFjT5ULjkTXGBfE5Kxbxo8K4WwigRXTmxdp52cDpvR1k5PSl4U6q-Tn4LTOQC5eYMtDcmjJ5KptScLLhB4ek48n9kogRh3dplk2aWBeJIdUUIcnD7nsgEhIRdyf61Kh2EHsSK7H0ugGEkIwdYZRTNS0Lf1YiszpkD4=w1506-h847-no


Ready for bedliner:

 
Last edited:
FINAL Paint color has been chosen. While I enjoy the dark gray matte finish of ICON rigs I couldn't stand the question I found while reading some other forums... "what color primer is that??" This quote ruined my week and intentions to paint with a flat matte color. After much whining and complaining I settled on a similar color that has a metallic flake in it so hopefully no one will ask me what color PRIMER i've painted my car with. It's from TCP Global and it is called "dark charcoal metallic" and is part of their "hot rod flatz" paint colors. Since they don't offer paint chips I have not actually seen a sample of the paint and am simply hoping that it looks like the name describes. At this point it's February in central NC and I'm thinking i have about a month or two before pollen season kicks in... but i do not.


The spray-in bed liner came out great.

 
Last edited:
This chapter is on my tailgate woes.. I woke up to repair the old barn door tailgate but before I had my coffee I decided to call an audible and punt them into the trash. Looking around the garage at what could I use to make a pull down tailgate. As fancy as it sounds, i settled on a pair of metal shelf inserts that were sitting behind my tool box for the last few years. I guess it was destiny.

This is what I decided not to repair:

The opening:


Fortunately for my unruly ways I had 2 metal shelves. I cut the first one 3" too short while "winging it". See patch later...

It wasn't tall enough right away so i had to cut another strip from the other one and weld it on top to make it taller.

Adding end caps:

 
Last edited:
Tailgate continued:


adding a top lip to match up with the tub. I read from others that something will need to happen for it to work with the hard top but i'll figure that out later I guess. I was hoping this lip would be enough for the glass latch but i'm not planning on it.

It's starting to look alot better than these babies!!
BY_8wFSGEYk6ec9HhUVdo9t-FzZNGw8j5sBkgHUHMlCpCebGbbOAXVR19SHO_aTcpd9szLJcHN2jFky0QcXV0csSupRjn-zwSW1pJuxL7GCzHfNeZms6aJ5dztvdRgf77hw7Znf6ruTBMqqjEM5wZnsfzK_Iq7iMuKVhk5rODo_OiCka61r3c7x4yNvYR6MdpTSuHK4BRSiH8sTJZGPoukpZY-Kpm8_hU01JwSj29GYblCpGxLyN2E3YQRfSu3BTJu4Rco-lTEM1YRl0NFzCSKTytb_XjOAUUNsvwet3BtrcLJY8zF3LjWjEAn5naJl1-luuTLP44PwRQGqaRxcrnQqwZ-9KFKr_LxjF2Ipl3EOsJ8XCwFV0nIUddITwXFzYlRFrpCklYw0pWd_bBQGwGTV9xNq9AnuyqFigzwo52d04Ef7gMaC04BxXhZYKfPj55uCJZvLBDK4yB_hyd-jAU9iQcnLDoon-lv4xkxP-CS5JoHvkhUtDso-RoyboNVzCNubvt4zujlUaVlybDuH-ZlhqjUkQRJRZGaB1UV_GYcXKvpWPGJ2Iz6We_zh5WxGM-ygbxEpS7CKVK_JHatTzOJm87l5ORast6Kx7X2earRKb6_QS=w1506-h847-no


Picked up some wrangler hood latches thinking I would use them on the inside to latch it but so far I think i'm going to add a hem around the tailgate and use these on the outside somehow.


I can't stop making the tailgate more complicated than it needs to be:

The tailgate now overlaps the body about 1/4" or so on each side allowing for a resting position for the tailgate and also for weather stripping to have a home.

welded on the hinges and the tailgate is almost complete.
 
Last edited:
Now that the tailgate is out of my mind for a while it's time to finish patching the hood, grill, fenders, etc and get them caught up to the same step as the body before paint. The hood was pretty rough, especially the lower front sections. Got them roughly sanded and treated with rust primer acid solution to stop the rust cancer from spreading.


front patched:


Rear side of hood patched:

Primed:
 
Last edited:
Last edited:
Nice!!! Love it when someone brings old stuff back to life.

You thinking about upgrading to bigger rear speakers? :grinpimp:

The speakers will eventually make their way back onto the rollbar. They were an impulse buy and I have been waiting to wire them until after the bedliner was sprayed in.
 
Where are you in NC? Consider visiting the Olde North State Cruisers clubhouse in the clubhouse section above. Another 40 is always welcomed and you will find a talented group of people who are eager and ready to help another LC owner on to the road to happiness.

EDIT: There is another 40 owner in GSO with those identical speakers.
 
I lived in Kernersville from 1987 to 1997. Nice place and lots of good memories.
I really admire you for taking on such a project. I really hate rust!!!
Keep it up and drive it with pride.
Gary
 
Where are you in NC? Consider visiting the Olde North State Cruisers clubhouse in the clubhouse section above. Another 40 is always welcomed and you will find a talented group of people who are eager and ready to help another LC owner on to the road to happiness.

EDIT: There is another 40 owner in GSO with those identical speakers.

I'm in Franklinton, NC... about 20 min North of Raleigh, NC
 
Very familiar with that area. In the Triangle you have a very good group of LC people, like the club President, who are always willing and able to lend a hand. Check the clubhouse for information about their monthly meetings. New people are always welcomed!
 
I've been racing for the past few months to get things in the painting stage before pollen season.. I am about a week too late... Still have some other things to prep but would like to be painting parts so I can get them out of the way. So much sanding, filling, sanding, filling, sanding, filling..... almost ready to paint!

60313045.jpg
 
I'm the other guy in NC that David referred to with those huge wakeboard speaker boxes :)

Great build! Impressive ingenuity.
 
The pollen let up enough this weekend to get a little painting done. I was surprised how unforgiving the matte finish paint was. I was thinking it help hide a few "character flaws" that remained from the pitted metal and a few spots where I didn't sand/fill well enough. The metallic flake was enough to spotlight any of these flaws so after the first coat and a half I decided to let it cure, continue sanding and try again. This was mildly successful as the next coat went on much better though still not perfect. I experimented with the thickness / wetness of each coat in different areas in attempt to help hide some of these flaws and you can see where the heavier coats on the driver side rocker panel and the right rear corner are a little bit darker and less lustrous. My plan is to blend it all back in with one more light coat across these areas.

Parts still needing body work and paint are the front fenders, windshield frame, wheels, gas tank cover, and a few misc trim pieces.

The hood latches, mirrors, tailgate latches, glove box door, grill trim bezel, roll bar, and bumpers will all be a satin finish black. I have not decided on what color to paint the windshield hinges and the cowl air vent under the windshield. Would they look better in black or body color???

P.S. I believe I found out why nobody applies the spray-in bedliner BEFORE they paint the body.. ABSOLUTELY NOTHING that I could find will stick to this material. The simple task of masking off the edges of the bedliner was nearly impossible. After trying every type of masking tape, painters tape, even duct tape was like trying to tape motor oil to the ceiling.

First coat:

Good shot of bad prep work. I've been sanding/filling/priming for seems like weeks. I admit I rushed the paint when the weather revealed an opportunity.

The spots that look like white residue are uneven surfaces left behind from poor sanding after body filler.

After some light sanding and a wet coat of paint(too wet).
[

Again, not perfect but improved.

I was out of index cards so I used 8.5"x11" copy paper folded in half to mask the wheels. Fully deflate then push down on the sidewall to make a gap near the tire bead and the wheel lip. Works well and cheap.


Last edited:

Users who are viewing this thread

Back
Top Bottom