
cruiserinsanity
SILVER Star
We made sure the drain was clear before it overflowed.Easy fix. Push a stiff piece of wire up from the drain while standing out of the leak path.
Nothing is broken.
Follow along with the video below to see how to install our site as a web app on your home screen.
Note: This feature may not be available in some browsers.
This site may earn a commission from merchant affiliate
links, including eBay, Amazon, Skimlinks, and others.
We made sure the drain was clear before it overflowed.Easy fix. Push a stiff piece of wire up from the drain while standing out of the leak path.
Nothing is broken.


I have not. I actually planed to have another evaporator core cleaned by a HVAC guy my boss knows, then swap it in later.Excellent!
Have you cleaned the evaporator yet?
I bought foaming coil cleaner and drilled a small hole near the top of the plastic box. I was able to spray it in and soak it, then I removed the blower motor and laid towels on the carpet.
I got my hand in the box with some contortionist moves and was able to grab handfuls of dirt out of it.
I just kept running water over it til nothing else came out. I strongly recommend it. The ac works far better now.
View attachment 3115117
View attachment 3115118
View attachment 3115119
View attachment 3115120
@Hokie LX Do you have a picture of it so we know what to look for?
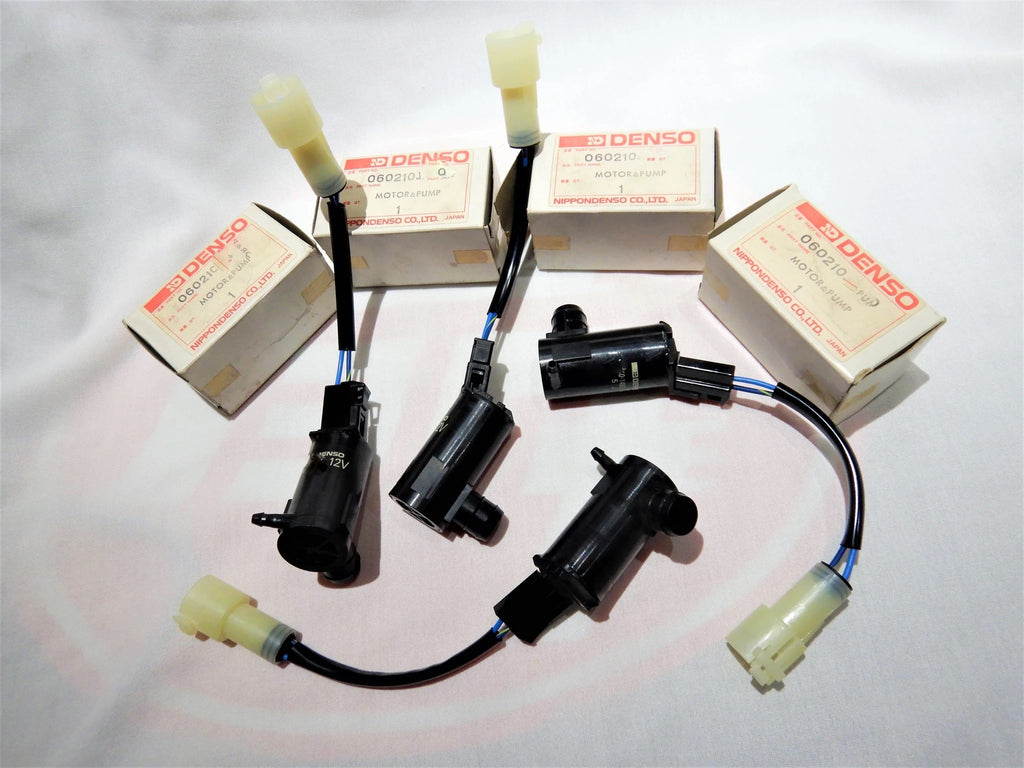
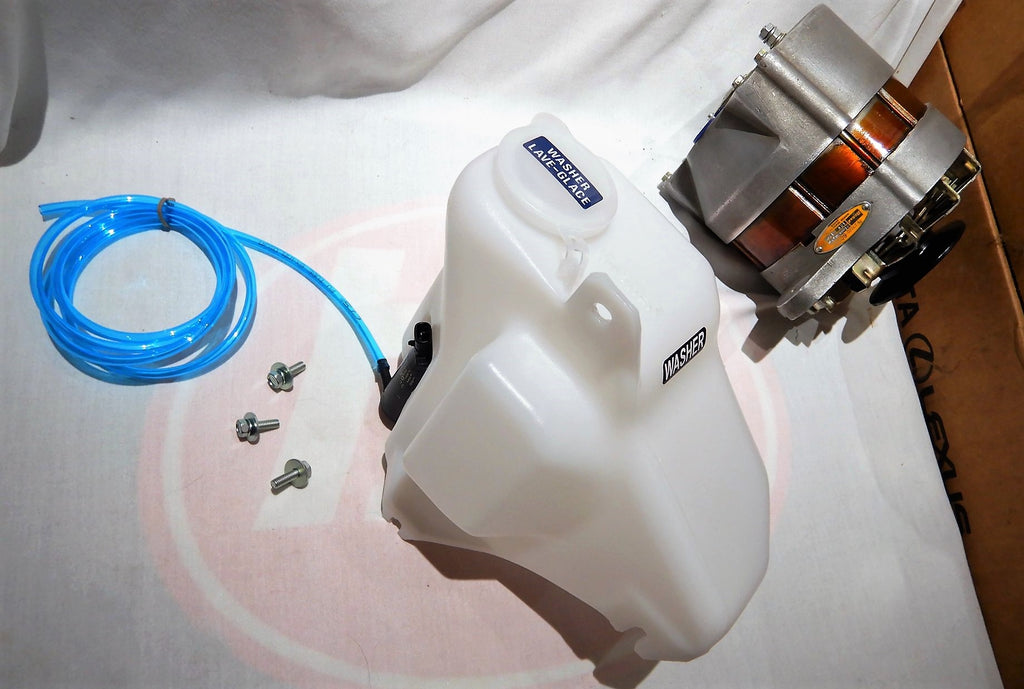
i have FJ62 / FJ80 / FZJ80 Front Windshield Wiper Washer Pump Motor all inclusive Repair Kits going on now ....
Genuine NipponDenso JAPAN parts .........
Matt, anything in the 24volt flavour ?
")


Matt, anything in the 24volt flavour ?

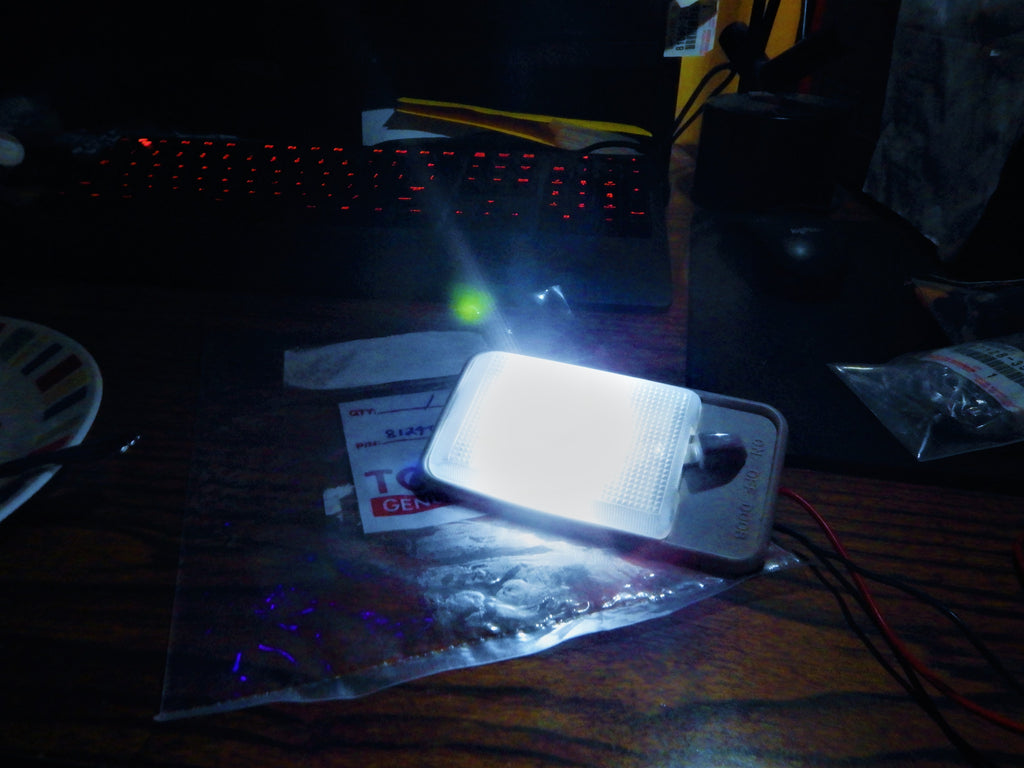


- both my KUSTOM KOITo LED Room Lamp and Cargo Light cover 12V and 24V Ranges.....
Excellent!
Have you cleaned the evaporator yet?
I bought foaming coil cleaner and drilled a small hole near the top of the plastic box. I was able to spray it in and soak it, then I removed the blower motor and laid towels on the carpet.
I got my hand in the box with some contortionist moves and was able to grab handfuls of dirt out of it.
I just kept running water over it til nothing else came out. I strongly recommend it. The ac works far better now.
View attachment 3115118
View attachment 3115120

custom/diy headliner installed.
custom/diy headliner installed.
Man, I’ve been thinking about doing almost exactly that for a couple years - some kind of Pendleton fabric. Did you remove all the windows and tuck the headliner in or glue it right up against the weatherstrip?
How the heck did you accomplish that install? It’s not like you could turn it upside down, like a 40. Beautiful.
 forum.ih8mud.com
 forum.ih8mud.com


