Builds HJ60 Snow white (1 Viewer)

This site may earn a commission from merchant affiliate
links, including eBay, Amazon, Skimlinks, and others.

Second week of the vacation done.

Mocking up the wirings.
IMG_20200709_123813.jpg

IMG_20200709_123819.jpg


Front fender test fit.
IMG_20200709_131259.jpg


Brake and clutch lines attatched.
IMG_20200713_133805.jpg


Original black paint blasted of and painted with aluminium color Por-15 High Temp. And the heat shields back on.
IMG_20200708_155808.jpg

IMG_20200714_172927.jpg


New pipes for the rods. Now they move nicely with clean threads and new ends.
IMG_20200708_130816.jpg


New belts and fan coupling. Fan itself got a wash and some black paint.
IMG_20200714_151315.jpg


Then a comparison. First picture is how it was on january 2018 and the second is how it is now.
Screenshot_20200714-154611.jpg

IMG_20200714_154638.jpg
 
Something done again.

In early summer days I had the side indicators in my hand and I thought something has to be done with them.
IMG_20200627_142906.jpg


So I warmed up the soldering iron.
IMG_20200803_165146.jpg


And after couple of weeks.
IMG_20200813_164256.jpg

IMG_20200813_164304.jpg

Wires got ultra sonic cleaning and rubber parts some rubber treatment.

Then the rear wiring loom that goes from side to side. I had four to choose from. I picked the one that had allready trailer wire outputs soldered in.
IMG_20200808_125521.jpg


Then off with the plastic covers and ultra sonic bath for them.
IMG_20200808_131802.jpg

IMG_20200808_131808.jpg


Took the connectors off so rubbers could be changed to good ones.
IMG_20200808_153154.jpg


Like this. The small hole is for trailer wiring loom.
IMG_20200808_173344.jpg


And it is ready.
IMG_20200809_132740.jpg


Found a set of battery trays from my storage. They looked good washed and cleaned.
IMG_20200817_180842.jpg


Not so good after the plastic peeled off. Had to take a third one that was in better shape. Also had to find the support for left side. I found one that I did not remember having. So good luck with that.
IMG_20200817_182908.jpg


Now I had to dig out the powdercoating gun from my garage and give some paint for the parts.
IMG_20200821_144209.jpg

IMG_20200828_134608.jpg

A bit of corrosion damage is there but it is covered mostly when batteries are on their place.

After sorting out the battery trays it was time to get the batteries. Found some old style batteries and a PTO winch for spare parts.
IMG_20200820_193714.jpg


And got some old merchandise from the battery shop. "Salama" was a well known battery manufacturer in Finland. Production started somewhere in the 1950's and ended around 1998 when Varta bought the company. We had also another manufacturer "Pakkasakku" it was bought by Exide at about the same time. From the merch. I got an idea.
IMG_20200820_164655.jpg


Found this magazine ad from 1988. Via Facebook I got a close up photo from the battery decal. Then I started drawing.
Screenshot_20200824-093134.jpg


And the result is here. This is a trial version printed on paper. Decals are coming later along with other decals I have drawn.
IMG_20200824_211440.jpg
 
And the last thing. Covers for rear wheel archs. From theese I chose the best ones.
IMG_20200623_182954.jpg


Theese were the best ones.
IMG_20200901_172328.jpg

IMG_20200901_172339.jpg

IMG_20200901_172331.jpg

IMG_20200901_172342.jpg


Brown one had a tear on the underside. So I glued it. On both I glued some support pieces underneath to support the holes and and other damages.
IMG_20200901_174129.jpg


Paint on both. They came out nice when all the scratches and dents got covered with paint and everything has now a solid color.
IMG_20200901_182153.jpg

IMG_20200901_182204.jpg

IMG_20200901_182157.jpg

IMG_20200901_182207.jpg


But the glue did something and the used to be brown went bad.
IMG_20200901_182213.jpg


So I tried with another one. It had some surface damage on couple of places that had to be fixed.
IMG_20200901_182512.jpg


I thought that if I cut the bad sections away and cut a snug piece to fit the hole it will be fine. Yea right.
IMG_20200901_190709.jpg


Next day I remembered that I had a vinyl repair set. It had some colors and grained paper that I could use to fix theese spots. Well that came out nice.
IMG_20200905_174122.jpg


Again I had to choose the least bad one to work with.
IMG_20200902_172209.jpg

IMG_20200902_172219.jpg


Repair set had some glue to fill out deeper dents and scratches with. So I gave that one a try.
IMG_20200904_095013.jpg


Then paint and it became matte finish for some reason.
IMG_20200904_150330.jpg


Filled a bit more dents with glue on both and new paint. Now they came out quite nice. You can see closer that they are repaired but looks pretty solid now. And good ones are a bit hard to find. If I find better ones then I will change them. Aftermarket ones are so far from OEM look so I don't want to use them. But the sections that you see when opening back doors are quite decent so I will go with these.
IMG_20200905_145740.jpg

IMG_20200905_145756.jpg
 
Last edited:
Something done to the car itself.

Old radiator had some corrosion damage. So put a new in along with new hoses. There will no longer be a engine pre-heater so there was no need to cut the new hoses.
IMG_20200906_123913.jpg

IMG_20200906_140159.jpg


Then some smaller things. Yellow wire thing to the steering axle.
IMG_20200906_140023.jpg


And this rubber that I forgot to put in earlier.
IMG_20200906_140030.jpg

IMG_20200906_141449.jpg


Brake master cylinder got the missing hose with new clamps.
IMG_20200906_140212.jpg


Throttle cable got the fastener to the firewall and fixed linkages to throttle body.
IMG_20200906_140326.jpg


And at the last the other fender on with couple screws for motivation.
IMG_20200906_155939.jpg

IMG_20200906_155945.jpg
 
Found some problems with fitting of the doors. As long that is sorted I had to figure out some other things to do. I started to work with the exhaust pipe. New OEM was way too expensive and aftermarket ones did not feel right. I had a used pipe laying around in the storage so...
IMG_20181204_154416.jpg


I have looked at it before and thought it was in decent shape. Gave it a good wash. Under all the dirt there were quite good yellow color left on the hangers so I got a bit exited. Rear hanger had been removed with a angle grinder but I found a good used one so that got sorted also.
IMG_20200817_172849.jpg

IMG_20200817_171711.jpg


Under the dirt there were also some defects. That was not good.
IMG_20200926_111052.jpg

IMG_20200926_112255.jpg

IMG_20200926_113325.jpg


But I ordered some help from Wish.
IMG_20200926_122810.jpg

It worked suprisingly well. At first the glue did not stick. Had to heat up the spots to be glued before glue.

Some elbow grease and things started to look better. Tip got some hammer time and angle grinder marks some welding.
IMG_20200926_122236.jpg

IMG_20200926_114321.jpg

IMG_20200926_113445.jpg


Then a light sand blasting.
IMG_20200927_162333.jpg


Painted with the same POR-15 High Temp aluminium as the front exhaust piece.
IMG_20200928_154154.jpg

IMG_20200928_104807.jpg

IMG_20200928_104820.jpg


Not perfect but suprisingly good. It feels more right o put that in instead of aftermarket pipe. Also the whole exhaust is now same color so that is a nice feature too.
 
While waiting for the door to be sorted out I did something else. Interior parts are almost washed and some other bits.

Radiator curtain got some attention. I found out that used parts are all in poor shape so I had to make some new parts for it. Starting with ends for the operating wire. A bunch of blanks laser cut from stainless steel.
IMG_20200831_170221.jpg


Some bending.
IMG_20200916_195531.jpg


Then a stainless tube Tigged on them. First I was going to bend those "wings" over the wire that is why the shape is a bit odd.
IMG_20200917_184016.jpg


Grinding and polishing.
IMG_20201029_194928.jpg


Then the end parts. There is a short piece of axle in one end that is cast inside the aluminium part. I wanted that also to get a new yellow coating. So I had to improvise. Other end has a hole for the axle so started from that. I turned the center piece from aluminium. That is attached to the end part with M8 thread. Then the axle itself attaches with M5 thread to the center.
IMG_20201104_192143.jpg


Then assembly. Upholstery shop made the new curtain. I drilled a 2,5mm hole to the wire ends tubes and put a 2mm diameter stainless wire in and punched with a hammer. And here it is assembled.
IMG_20201112_162523__01.jpg

IMG_20201112_162528.jpg

IMG_20201112_162707.jpg

IMG_20201112_162826.jpg


Upholstery lady made also a new boot for the hand brake.
IMG_20200921_154605.jpg


I found a windshield wiper motor in good shape. It needed only a good clean and new zinc on yellow parts. Also a bit spray paint at the underside.
IMG_20201109_200227.jpg

IMG_20201109_200210.jpg


Then washer fluid reservoirs. Rear bag got some cleaning and polishing of the rings. Other jars cleaning, soda blasting, new seals and caps. Headlight washer pump got also new paint, zinc and media blasting.
IMG_20201204_154339.jpg

IMG_20201204_155042.jpg

IMG_20201204_155101__01.jpg

IMG_20201204_155111.jpg


Next update will be when the door is ready and I get some real things done.
 
This years first update. The door is painted but I can't pick it up yet.

Dash washed and treated. It is mint. All the holes were drilled elswhere so this one is without holes or cracks.
IMG_20201220_165217.jpg


Decal for the relay.
IMG_20201221_170116.jpg


For christmas I got one more NOS speaker pair. Now I have 2 sets for front and rear. Along with a few spare part radios.
IMG_20201223_084822.jpg

IMG_20201223_085157.jpg


I wanted to stick a new decal on the jack. So it had to be refurbished. Mediablasted and powder coated.
IMG_20201227_150702.jpg

IMG_20201230_204800.jpg

IMG_20201230_204819.jpg


Also glued fog light frames together.
IMG_20210113_172449.jpg

IMG_20210113_193739.jpg

IMG_20210113_220525.jpg


Headlight doors needed some modification also. I got new original ones but they were not Euro spec. So needed to make a hole for headlight washers. First had to take the mounting points from scrap ones.
IMG_20210103_134032.jpg

IMG_20210103_135029.jpg

IMG_20210103_141302.jpg


New ones had a clear mark where they should be.
IMG_20210103_141905.jpg


Glued on the surrounding bit.
IMG_20210115_180004.jpg


Made the hole with Dremel.
IMG_20210116_115223.jpg


Some finishing touches with a file and there it is.
IMG_20210116_120004.jpg


Now I just have to wait for the quarantine to end so I can move around and continue with the project.
 
I am amazed at how much detail you have put toward this project. The decision to restore original parts instead of using aftermarket is great. Thanks for sharing
 
I am amazed at how much detail you have put toward this project. The decision to restore original parts instead of using aftermarket is great. Thanks for sharing
Thank you for feedback. It kinda happened by itself. When you detail one thing, you can't put a crappy one beside it. Some parts are nla so you have todo something to the old so they don't look off. And on the other hand why buy new parts if the old is usable after refurbish. Many times the old oem part is better than new aftermarket.
 
I second that I enjoy your mentality in refurbishing the used parts. The details are impressive. It’s amazing what can be done with enough time and the available resources like zinc plating and powder coating.
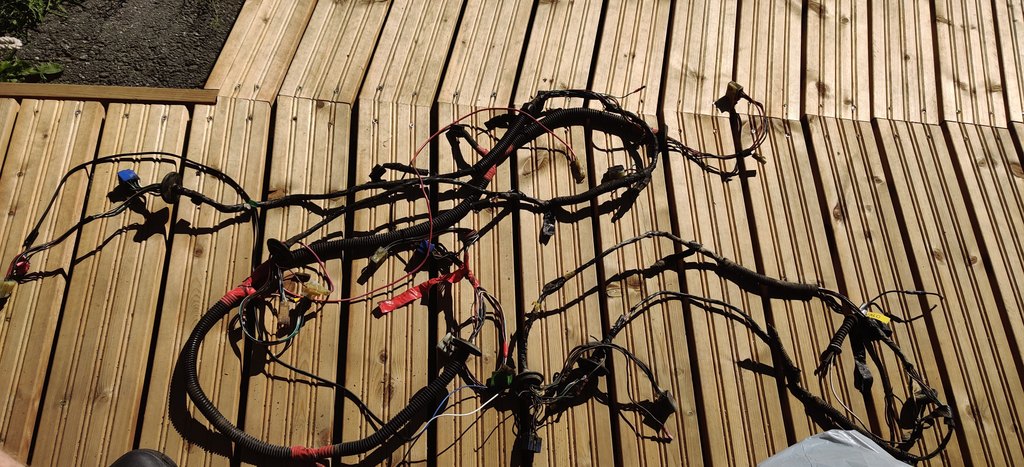
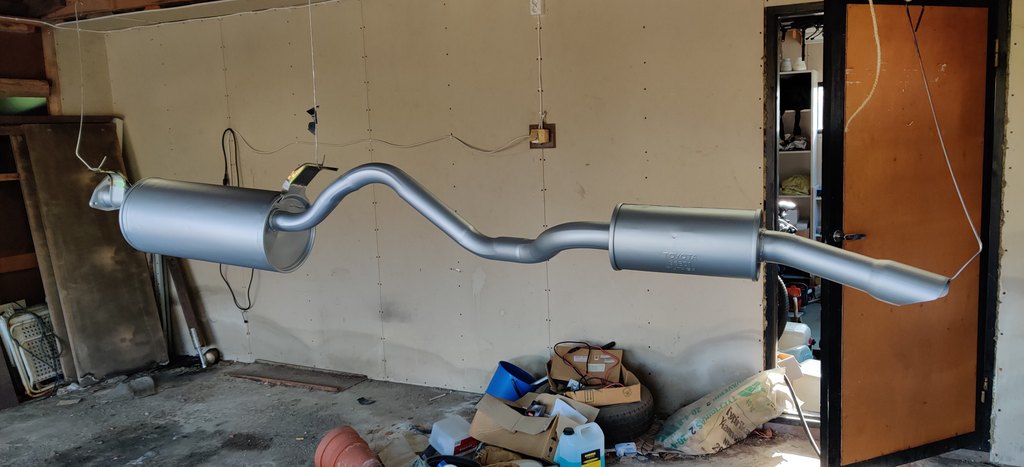
Zinc plating company is nice to have near by. For powder coating I bought a cheap powder gun and a old kitchen oven for heating the parts.
IMG_20201230_183604.jpg


For blasting I bought this used cabinet. I had one borrowed from a friend but he wanted it back. So I had to buy my own. I use crushed glass in it and it is perfect for small parts.
IMG_20201220_114517.jpg


I also have a small sand blaster for outdoor use. After the cabinet came I have used it very little. It is just so much easier to throw the parts in the cabinet.
 
Same here with the powder coating but the zinc plating place near me has recently lost there mind with pricing unfortunately. I have a vapor hone for aluminum parts and getting tired of using my buddies dry cabinet for steel parts all the time so getting ready to order one for myself.
 

Users who are viewing this thread

Back
Top Bottom