
gregnash
Anal Retentive Analyst
- Thread starter
- #21
Some updates from this week... All of this done with the quart that I purchased and 3 coats of primer over all surfaces (at least).
 Untitled by Greg Fisicaro, on Flickr
Untitled by Greg Fisicaro, on Flickr
Untitled by Greg Fisicaro, on Flickr
Got to get a paintless dent puller to get this dent out of the door then I will prime it.
Untitled by Greg Fisicaro, on Flickr
Going to grab another quart from the shop as everything I did took that entire quart. Next quart will be for hood, upper rear lift gate (some old rust abatement that I did a while back that needs to be corrected) and if there is enough left then I will do the roof as well.
 Untitled by Greg Fisicaro, on Flickr
 Untitled by Greg Fisicaro, on Flickr
 Untitled by Greg Fisicaro, on Flickr
Got to get a paintless dent puller to get this dent out of the door then I will prime it.
 Untitled by Greg Fisicaro, on Flickr
Going to grab another quart from the shop as everything I did took that entire quart. Next quart will be for hood, upper rear lift gate (some old rust abatement that I did a while back that needs to be corrected) and if there is enough left then I will do the roof as well.
 Untitled
 Untitled
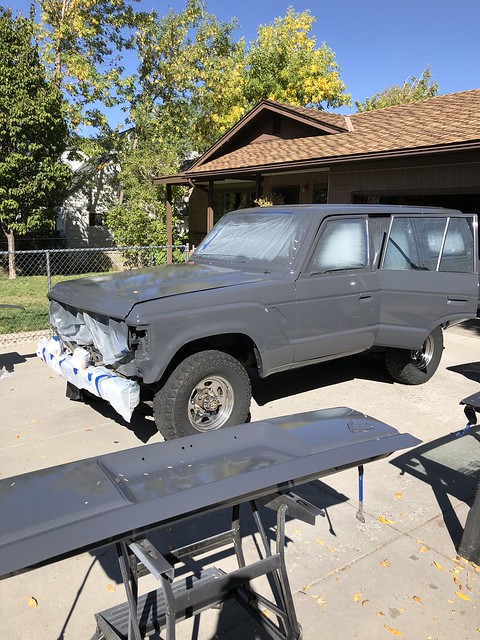 Untitled
 Untitled
 Untitled
 Untitled
 Untitled
 Untitled
 Untitled
 Untitled