What Did You Do With Your 120 Today? (14 Viewers)

This site may earn a commission from merchant affiliate
links, including eBay, Amazon, Skimlinks, and others.

@JLee
WOW! I was almost certain that they were new headlights!

Did you also use the UV Block clear coat that they sell for another $10.54?
https://www.amazon.com/Sylvania-HRK-BX-SYLVANIA-Headlight-Restoration/dp/B01KIVYE6G?th=1

The regular kit comes with UV block already - that appears to be a less comprehensive kit you can use if you don't need to sand your headlights down.

@JLee Awesome. I just ordered the Sylvania Headlight Restoration Kit. I had previously read that this is the best kit available because their clear coat lasts longer. Your writeup just gave me the push to order and get it done.

And that's a nice web site you linked...
Thanks :) I don't have much on there, but I'm slowly working on it!
 
Drove the trails to the Deep Creek Hot Springs Trailhead and then hiked to the Hot Springs. Lots of people using the hot springs on a Wednesday afternoon...

DSC03011.JPG
DSC03035.JPG
 
I left my sunroof open and it rained. Need I say more?
Thankfully, the car mats caught a majority of water.
Removed the seats, put fans and heater in car and stuffed towels under wet carpet. I was sunny and dry and nearly all of the carpet was dry within 48hrs. There were a few damp spots from padding and the towels do a great job of absorbing.
Osmosis is your friend and change the towels even 8 to 12 hours to dry carpet and padding.
Seats are in the house drying for a few more days. It seems all the electonics still work.
It goes back together over the weekend.
20180416_193400.jpg
20180417_100308.jpg
 
A dehumidifier is useful in this situation if you have one. Button up the vehicle and put it inside. Works very well to get everything out.
 
Bled both mine and a buddy's brakes (his is an '04).....HUGE improvement in pedal feel and braking performance, long overdue and $0!!!
 
Anything special needed? I thought I had read somewhere you had to have the key on.
 
Anything special needed? I thought I had read somewhere you had to have the key on.

Key to ON position to allow ABS module to push fluid throughout. Other than that:
  • 10mm wrench for the bleeder nipple nut.
  • 3/16" ID hose
  • Plastic catch bottles (I went through two 12 or 16 oz bottles)
  • Gloves and paper towels
  • Full bottle of DOT 3
This video is exactly what I did......doing it by yourself is a bit tedious (back-and-forth between individual wheels and crawling out from under parked rig, refilling brake fluid reservoir, pumping brake pedal, repeat.....) but it's pretty darn easy. You'll go through at least one full large bottle of DOT 3 fluid, possibly a little bit more depending on how dirty your fluid currently is.

After going solo on mine, did my buddy's together in half the time. Just BE SURE to keep the fluid reservoir at/slightly above the MAX line - you don't want it to go too far below MIN during this procedure to ensure you don't introduce any air which is a time-consuming process to fully purge.

REALLY nice to have fresh, incompressible fluid back in there. Night/Day difference, really glad I finally did this. Was tired of a 4-3 gear downshift to aid slowing down on occasion.
 
I just got my new rack and alignment dialed in. Getting hood vinyl done and mounting up the new Tandem Auto GX wheels later today. Almost ready to hit Moab, Rubithon, and FJ Summit this summer!
 
Looks really nice with the matching black wheels and black vinyl
 
  • Like
Reactions: GXO
Damn Dan, that looks good. I'm glad you went with the vinyl - not only does it look awesome, but now it won't look like we're copying you as much when we try and upgrade our own white rig.

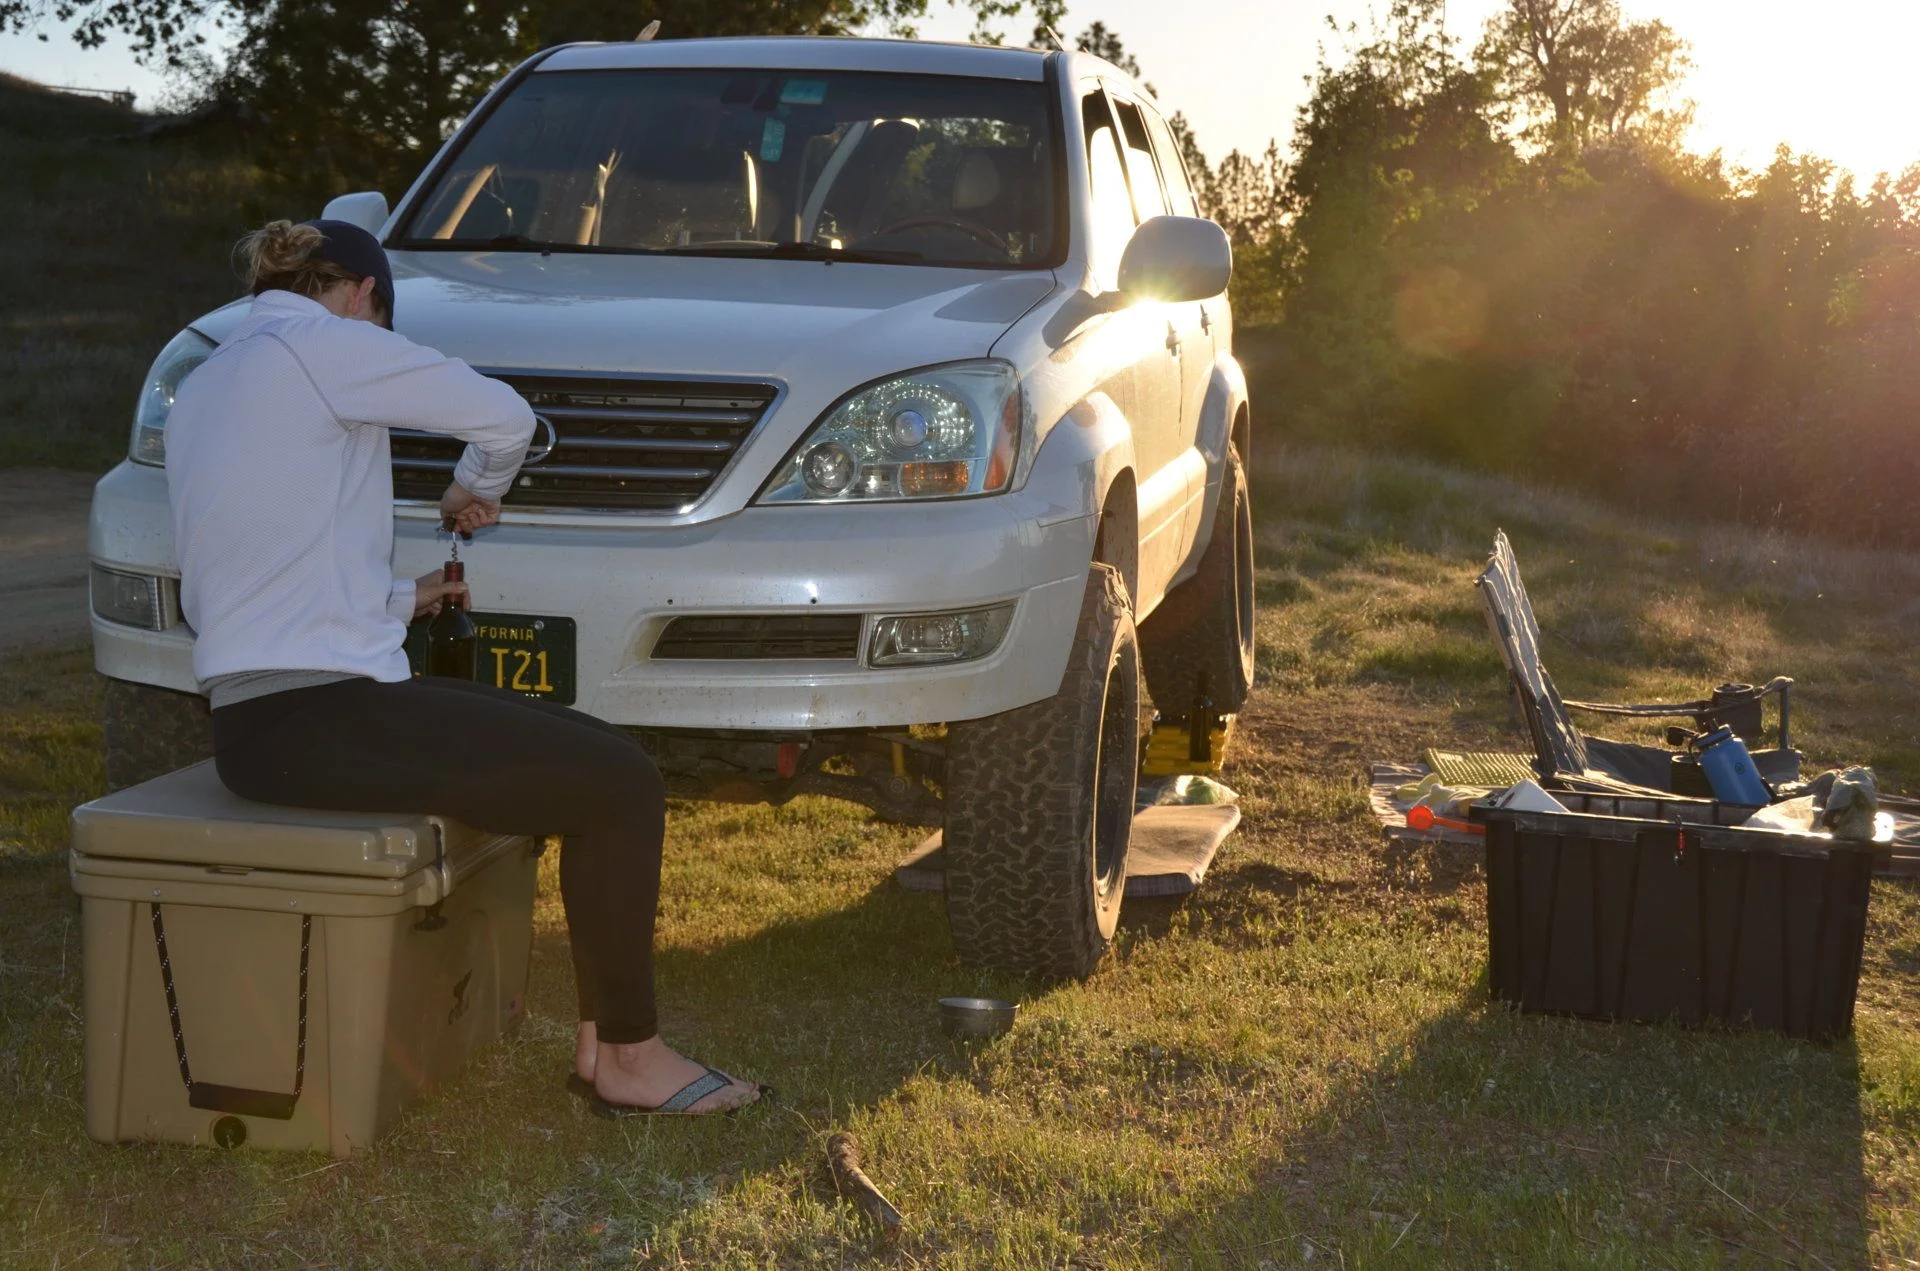
Changed the rear diff fluid yesterday and then drove down to Big Sur for some backwoods R&R:

 
Ditched my new Falken Wildpeak AT3W’s that would not balance after 5 attempts for Nitto Terra Grapplers. It’s a totally different truck, I’m so much happier even though I liked the look of the Falkens better.

CC2BB0B6-72C1-4389-A994-3C473217BBDF.jpeg


AEBAAA33-BC7A-4886-9EEE-D8BB5DAF0FA3.jpeg
 
Nitto is winning the war on a really well made tire that is round. Terra Grapplers don't have the best sidewalls so be careful!
 
Nitto is winning the war on a really well made tire that is round. Terra Grapplers don't have the best sidewalls so be careful!
I was super surprised how well my older P rated Terra Grapplers held up pre-lift. Obviously these are LT’s but I will certainly keep that in mind.
 
Jumped on the headlight restoration bandwagon with the Sylvania kit...I did the headlights and the fog lenses at the same time.
Headlight_Lens_Before.jpg
Headlight_Lens_After.jpg
 
Nicely done. I wish I had thought of doing them both at once!
 
I am not really sure as I recently picked up the truck, they didn't look very old and they were the updated poly bushings. The problem was they were installed improperly using extra washers in the wrong spots and the bolt was not tightened to spec (or became loose over time) allowing the bushing to oval.

Would it be possible to take a pic of where the washers are supposed to be on the SPCs? I suspect the guy that installed mine may have done them incorrectly!
 

Users who are viewing this thread

Back
Top Bottom