Builds '74 FJ40 Build: My 1st Cruiser (1 Viewer)

This site may earn a commission from merchant affiliate
links, including eBay, Amazon, Skimlinks, and others.

Pointing the rear pinion 1* below the Tcase output and having a CV joint installed solved the rear DS vibrations. The CV joint is running at about an effective angle of 9* down. The shaft is also running at about 5* side to side, a consequence of a centred driveline and using an 80 series rear axle which has a slightly different offset than 40 series rear axles. I was then able to pick up on an alignment issue, the front end was toed out 1/4”. I set the toe at 3/16” 20” in front of the axle centreline. It is as good as I expect it to be at 105 k/hr given the old tires i’m still running. I’ve started putting together a track bar for the rear axle, but no pics yet. The skid plate is done and half way done painting, again no pics yet.
0D4EAB64-B16F-4DD5-BA01-9ED7C6AC302B_zpsucbderlu.jpg


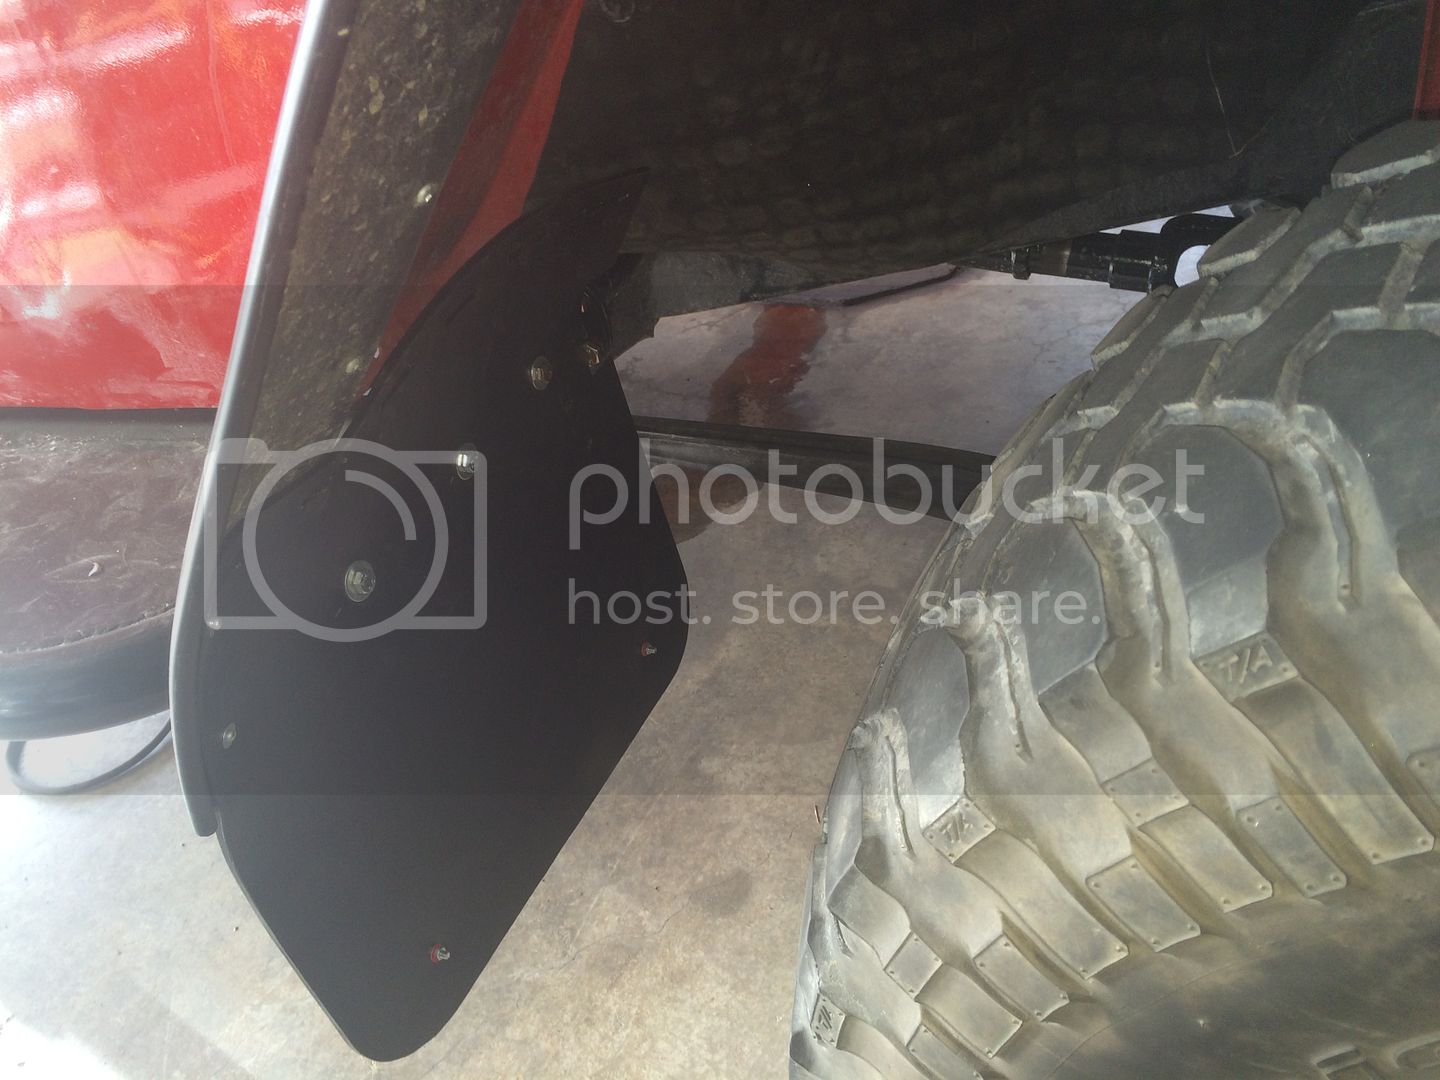
Next was mud flaps and rubber mat in the front wheel well to keep some mud out of places it shouldn’t be. This will see road duty so the flaps will keep the police happy, even though they look trashy. The rears are removable by pulling the pin and the fronts are tapped and bolted to the sliders.
43EADAA7-B29F-4FF4-BFBE-764CD67F9297_zpswxrc7hzy.jpg

9A16E9F9-FAFE-406E-841F-0B55D814C589_zpsqmaj7ozj.jpg

D6243AC5-31F7-4570-9C74-7C2C3E338214_zpsrt1acy3b.jpg


The roll cage to frame ties were made using DOM tube and rubber bushed sleeves from Ruffstuff. Here is the front:
19899A1A-E0DC-49A3-AFC9-3EA6DB594977_zpss6lic11x.jpg

Here is the rear, ended up with the bushed sleeve 90* to how I intended which made installing it in double shear a little more difficult. I had to tap and thread it into the .188 thick bumper gusset:
27F5D399-37C9-4628-836F-DE8DC5F920AD_zps1pwrbh33.jpg


Hilift mount on the rear tire carrier:
458793F3-21D1-44D1-A65F-FFEFC6177652_zpswky3q5da.jpg


A couple more pics, the exterior is basically finished now:
F13FA492-07CF-4303-98B3-44443E550F00_zpsidjr7kpq.jpg

C387B4D9-A0AC-4872-93F4-4EA1A3DCDB0E_zpsrani8xus.jpg
 
Been awhile since the last update. Most of my 40 time has actually been wheeling it. Things are working well, purchased a set of LT315 75 R16 pitbull rockers after I got sick of sliding around on the clay trails this fall. I was given some advice that they work good in the snow. I’ve got nothing but good things to say about the tires so far. I got sick of the gates in the B&M shifter and ground them down so it stops at neural when pushed forward with no lever and goes straight to R when pushed with the lever squeezed. I read about this mod somewhere on Pirate.

3BE19255-3911-4894-B27E-83FCFFF3D50C_zpsxqlqd8fu.jpg

C6336F5E-B779-4C03-A009-582C5FB7675B_zpsi0ydb81n.jpg

4DEA87BC-8058-4084-8B2C-40F7405F31CD_zpsevuztbc0.jpg
 
Lots of snow wheeling this winter, despite the lack of snow in Alberta this year, we seem to still find 12-18” in places. The cruiser is working good.
C6BFCFD9-7ECE-45A9-B459-2AEEAFA70933_zpsbvy2p3rw.jpg

6CD42DC0-A7D8-4E5B-A2C0-49CA925401B7_zpsoia8cu8t.jpg


I needed to redo the spare tire carrier to make it more centred after snagging it on trees twice. The hi-lift also got remounted between the tire and body to reduce the opertuinity to ripped it off.
837E26F9-7046-4F8B-8AE0-FC335C031D76_zpsgwvg51ib.jpg

95F39B6B-6F1D-4196-8C45-7B0B0823E9D3_zpsiscffnie.jpg


I found the rear axle was hopping so I built a track bar to go in the brackets I added the last time I had the rear axle out, it seems to have minimized it. This is the only pic I took of it and it is upside down:
E4EE9241-6EE0-40C6-A3AB-1A93F8906072_zpspwbdf3ox.jpg


I have been scheming a way to build a intake snorkel rather than spending loads of $ on a piece of plastic that will just get ripped off in the bush and work with my home made LS truck intake and cone filter. The first step was move the ECU to the firewall to make room for the pipe to go through the fender apron. I had to un mount the heater and drill holes through the fire wall, then mount it in the engine compartment.
743746BD-0424-4118-9711-C051124CD95A_zpsyildiqpq.jpg

A16DE100-6BC6-4E15-AE32-D50D122147CA_zps6slo9njw.jpg


Here is the beginning of the canister, which will hold the 4” K&N cone filter I’ve been using, and the elbow going through the apron. The plan is to use 3.5” exhaust tubing mostly, the canister is a piece of 8” exhaust tubing I picked up at a local muffler shop, don’t ask me what needs 8” exhaust, but they had some.
91C6A83A-9B09-41D7-87A9-97677CA89460_zps6wrcerp9.jpg

F67C3BD1-6689-4598-BA31-945E29824F8B_zpscddgqdon.jpg

74978302-D34F-4DAF-9AC0-272CB4B7703F_zpsupqfd272.jpg

D62F0EA3-7CA8-429B-A55E-02B46ABA7569_zpsuytsjxne.jpg
 
What an amazing two year jurney.
For what you have done it was quite a very fast build. You basically rebuilt everything.
 
Track bar looks beefy. I have found with bushings I still get a little hop so I went to heims on mine. Pit bulls look good, man those were some old bfgs. U need some older school looking wheels, also the hard top would look a little better if a window was added in that blank spot where u did the stretch. I like rhe paint scheme, looks classy.
 
What an amazing two year jurney.
For what you have done it was quite a very fast build. You basically rebuilt everything.

Thanks, it’s been a fun learning experience and I sure am enjoying the outcome.

Track bar looks beefy. I have found with bushings I still get a little hop so I went to heims on mine. Pit bulls look good, man those were some old bfgs. U need some older school looking wheels, also the hard top would look a little better if a window was added in that blank spot where u did the stretch. I like rhe paint scheme, looks classy.

Thanks, I considered adding a window but it was just going be too much work to do. The PBR’s are great and work awesome, allied beak locks are on order. You are correct that bushings yield a small amount of hop but heims are not great on the back end underside of a vehicle in the Canadian winter, too much salt and corrosion. The track bar should still keep me from breaking a pinion, hopefully.....
 
More progress on the homemade intake snorkel. The exhaust tubing is working out good. I’m not so sure about the elbow for a cap, but I’m not a big fan of big round pre cleaners either. The attachment points are piece of 1x1x1/8 angle right by the apron elbow and a bracket I plasma cut out of 6 ga (3/16) sheet metal. My goal is to make it quite durable and able to rub trees/brush. I’m undecided if I should paint it black or flap disc the tubing shiny and clear coat it.
2EA8CE0F-7EA9-47AF-AC83-4FE0B35A1E0A_zpstbe5ehph.jpg

EF75002A-4751-4436-A269-0D79DA4480EF_zpsoungzvl4.jpg

06B1E064-7EB2-4FFF-B23C-4B986E485CEC_zps1ktclbws.jpg

A95052C4-5D67-4456-8CDB-B8CBCD7E03B0_zpsu8t8dri0.jpg

F0B45AC4-17F2-4F81-A1EC-CDC80E5AD961_zpsajxyxiof.jpg

776403D5-8751-4957-9010-65E2CDCBCA73_zpsyedbbian.jpg

14D16FCE-AB42-45F2-9BD4-BA0A3F75ABF2_zpstorkjp9o.jpg
 
I vote to go black. You have black accents on the rig already so this would just blend into the theme.
 
It’s been a while since my last update. I added Yukon Zip Lockers and Nitro 4.88 gears to the axles along with Allied steel bead lock wheels. I also installed a small TJM compressor to run the lockers which so far has been a pain. The pressure switch didn’t work out of the box and the warranted replacement works about 40% of the time so I just switch it of and on when I need to lock the diffs. I’m going to swap the pressure switch out for a Viair and see if my luck improves. I didn’t bother with pics of any of these steps in this thread cause lockers and gears have been done lots. The compressor was mounted under the hood next to the air filter can/box where the ecu was initially.

The stock front signal lights were not surviving the bush we wheel in up here so I installed 2 pairs of LED button signal/marker lights cause they are cheap and low profile. The snorkel has saved my DS mirror, the PS mirror has not been so lucky.

The cruiser works great all round. Locked at 9 psi is a wonderful thing with radial 35” PBR’s and a 4500 lb rig, and the V8 comes in handy often!!!

471D14E9-84DB-44E0-BC93-D622CA675699_zpsx37660yc.jpg

7C2F1AF2-79E3-4526-9295-322394850E6D_zpsneid2kpj.jpg
 
Amazing work! Really beautiful. Iconic but really unique!

Thanks!

Have any pics of it flexed out? Curious to see how much flex you get from the front suspension.

Here you go, not really great flex by any means, in this pic the DS is drooped out to the max of the 9” travel shock. I’ve also found the FJ 80 TREs don’t have enough angle and bind at full PS droop so I will be installing chev 1 ton TREs on the drag link shortly.
F8C7BB14-8C07-40DB-97C3-EF92B2268487_zpsfizfl8vp.jpg
 
Thanks!


Here you go, not really great flex by any means, in this pic the DS is drooped out to the max of the 9” travel shock. I’ve also found the FJ 80 TREs don’t have enough angle and bind at full PS droop so I will be installing chev 1 ton TREs on the drag link shortly.
F8C7BB14-8C07-40DB-97C3-EF92B2268487_zpsfizfl8vp.jpg
Cool. That's a decent amount of travel. Some guys remove a bolt from one of the front control arms to get more travel outta the fj80 front FYI. The fj80 tie rod ends are not designed for being installed on a drag link. Fj80s have special drag link rod ends that have more flex built in them that a drag link requires and are different than the tie rod ends.
 

Users who are viewing this thread

Back
Top Bottom