Builds Vlex's FZJ80 Build Tread (1 Viewer)

This site may earn a commission from merchant affiliate
links, including eBay, Amazon, Skimlinks, and others.

Joined
Feb 13, 2015
Threads
7
Messages
62
Location
The Netherlands
Hello fellow mudders!

First of all i would like to thank everyone on the forum for the enormous amount of useful information!

My search for a Land Cruiser started 2 years ago after multiple vacations in rental Land Cruisers (in Australia/Iceland/Namibia/Botswana)

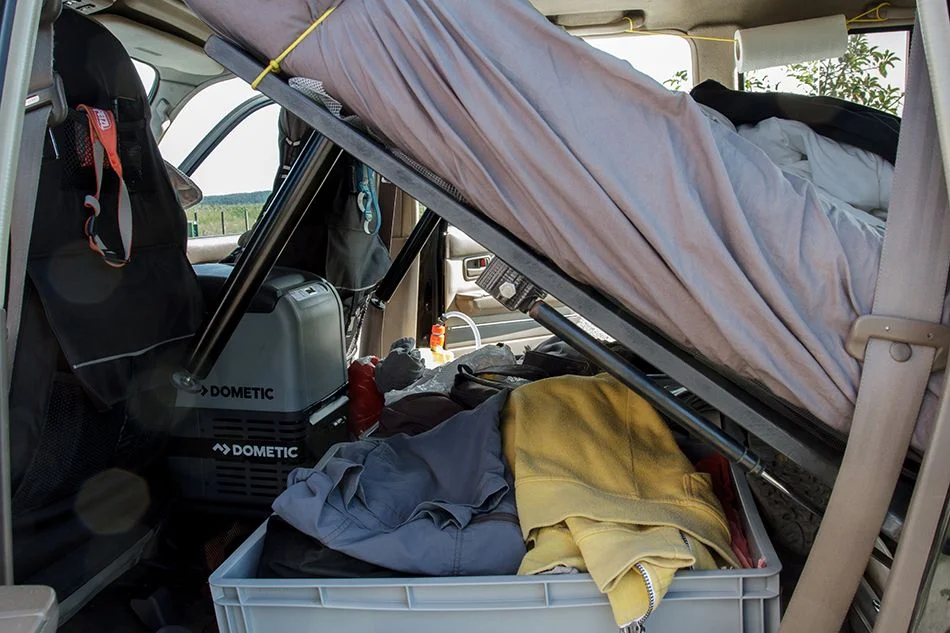
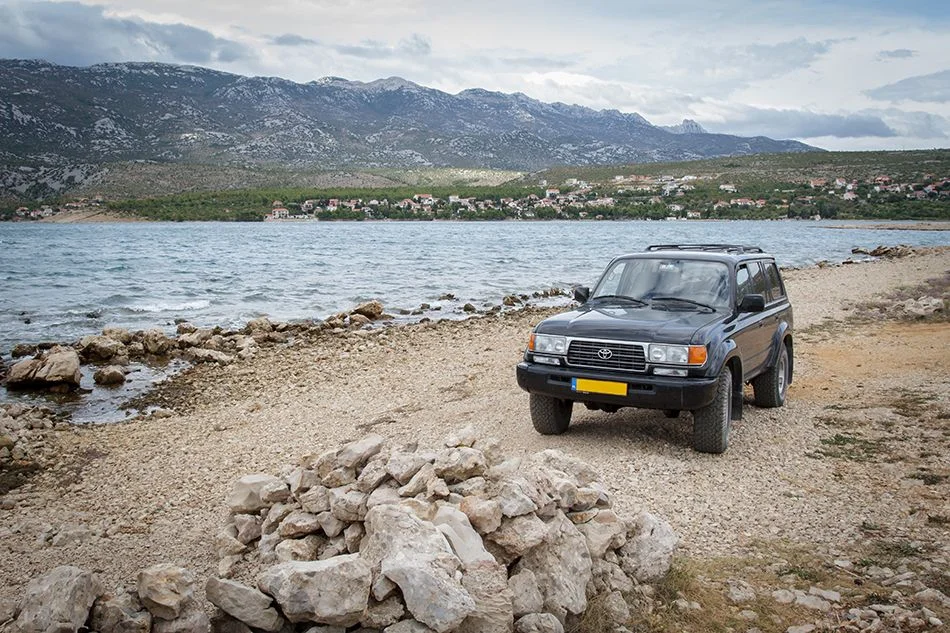
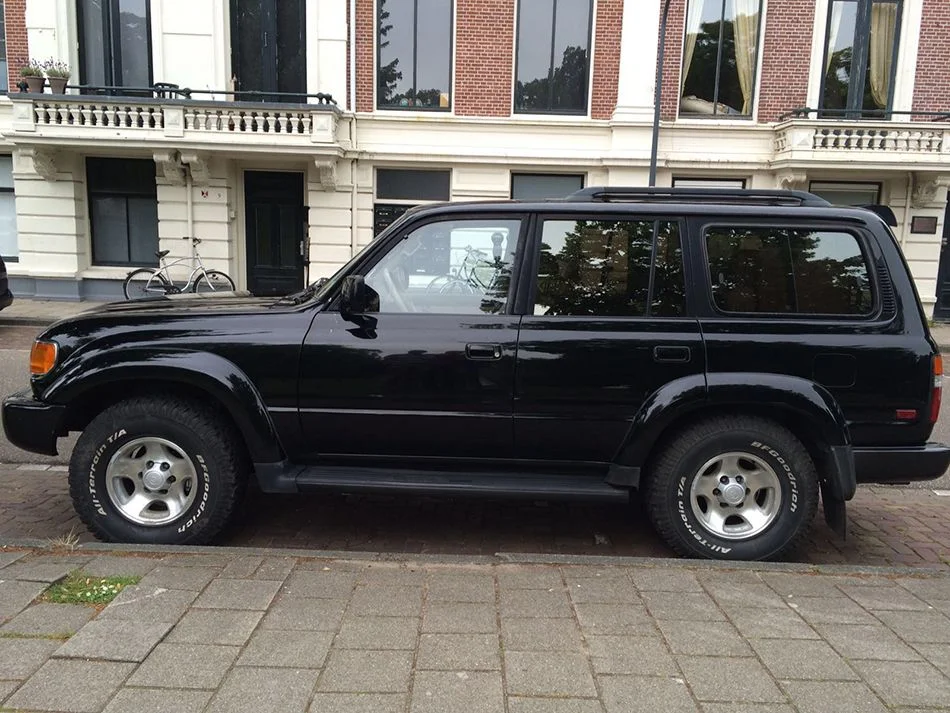
A year ago I finally found and brought home a nice Cruiser! It will be my daily driver and camping truck.
It’s a 1996 FZJ80, 3x locked and with a LPG conversion.

A nice fact is that i'm in the Netherlands, but the truck is an import from the USA.

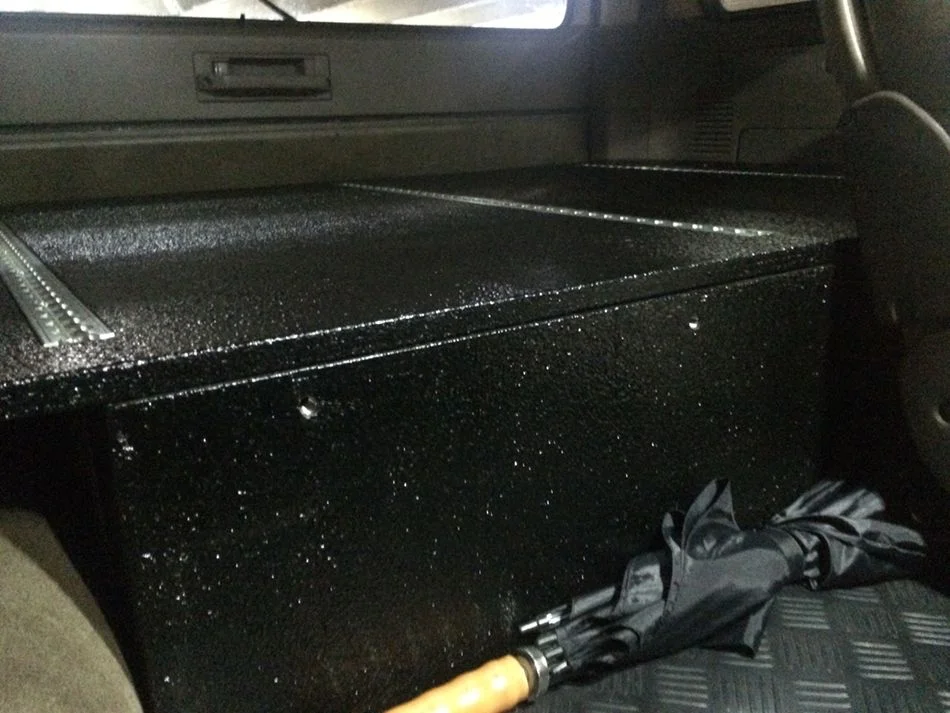
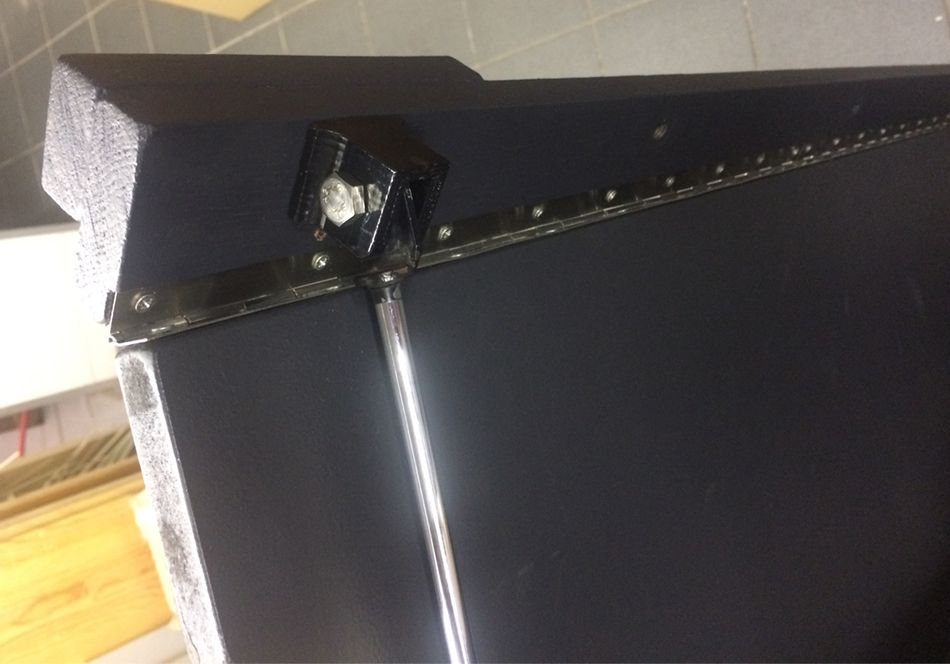
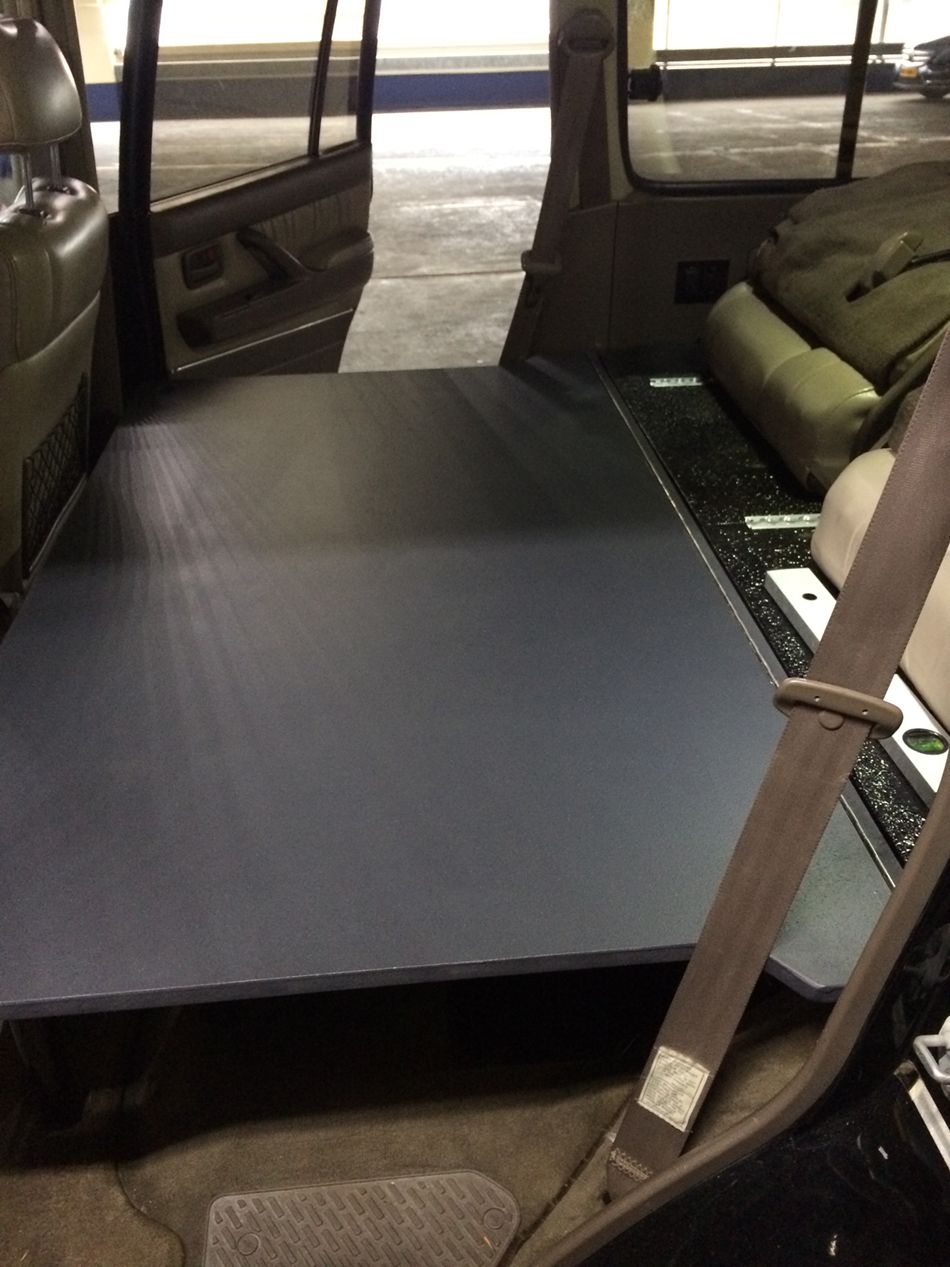
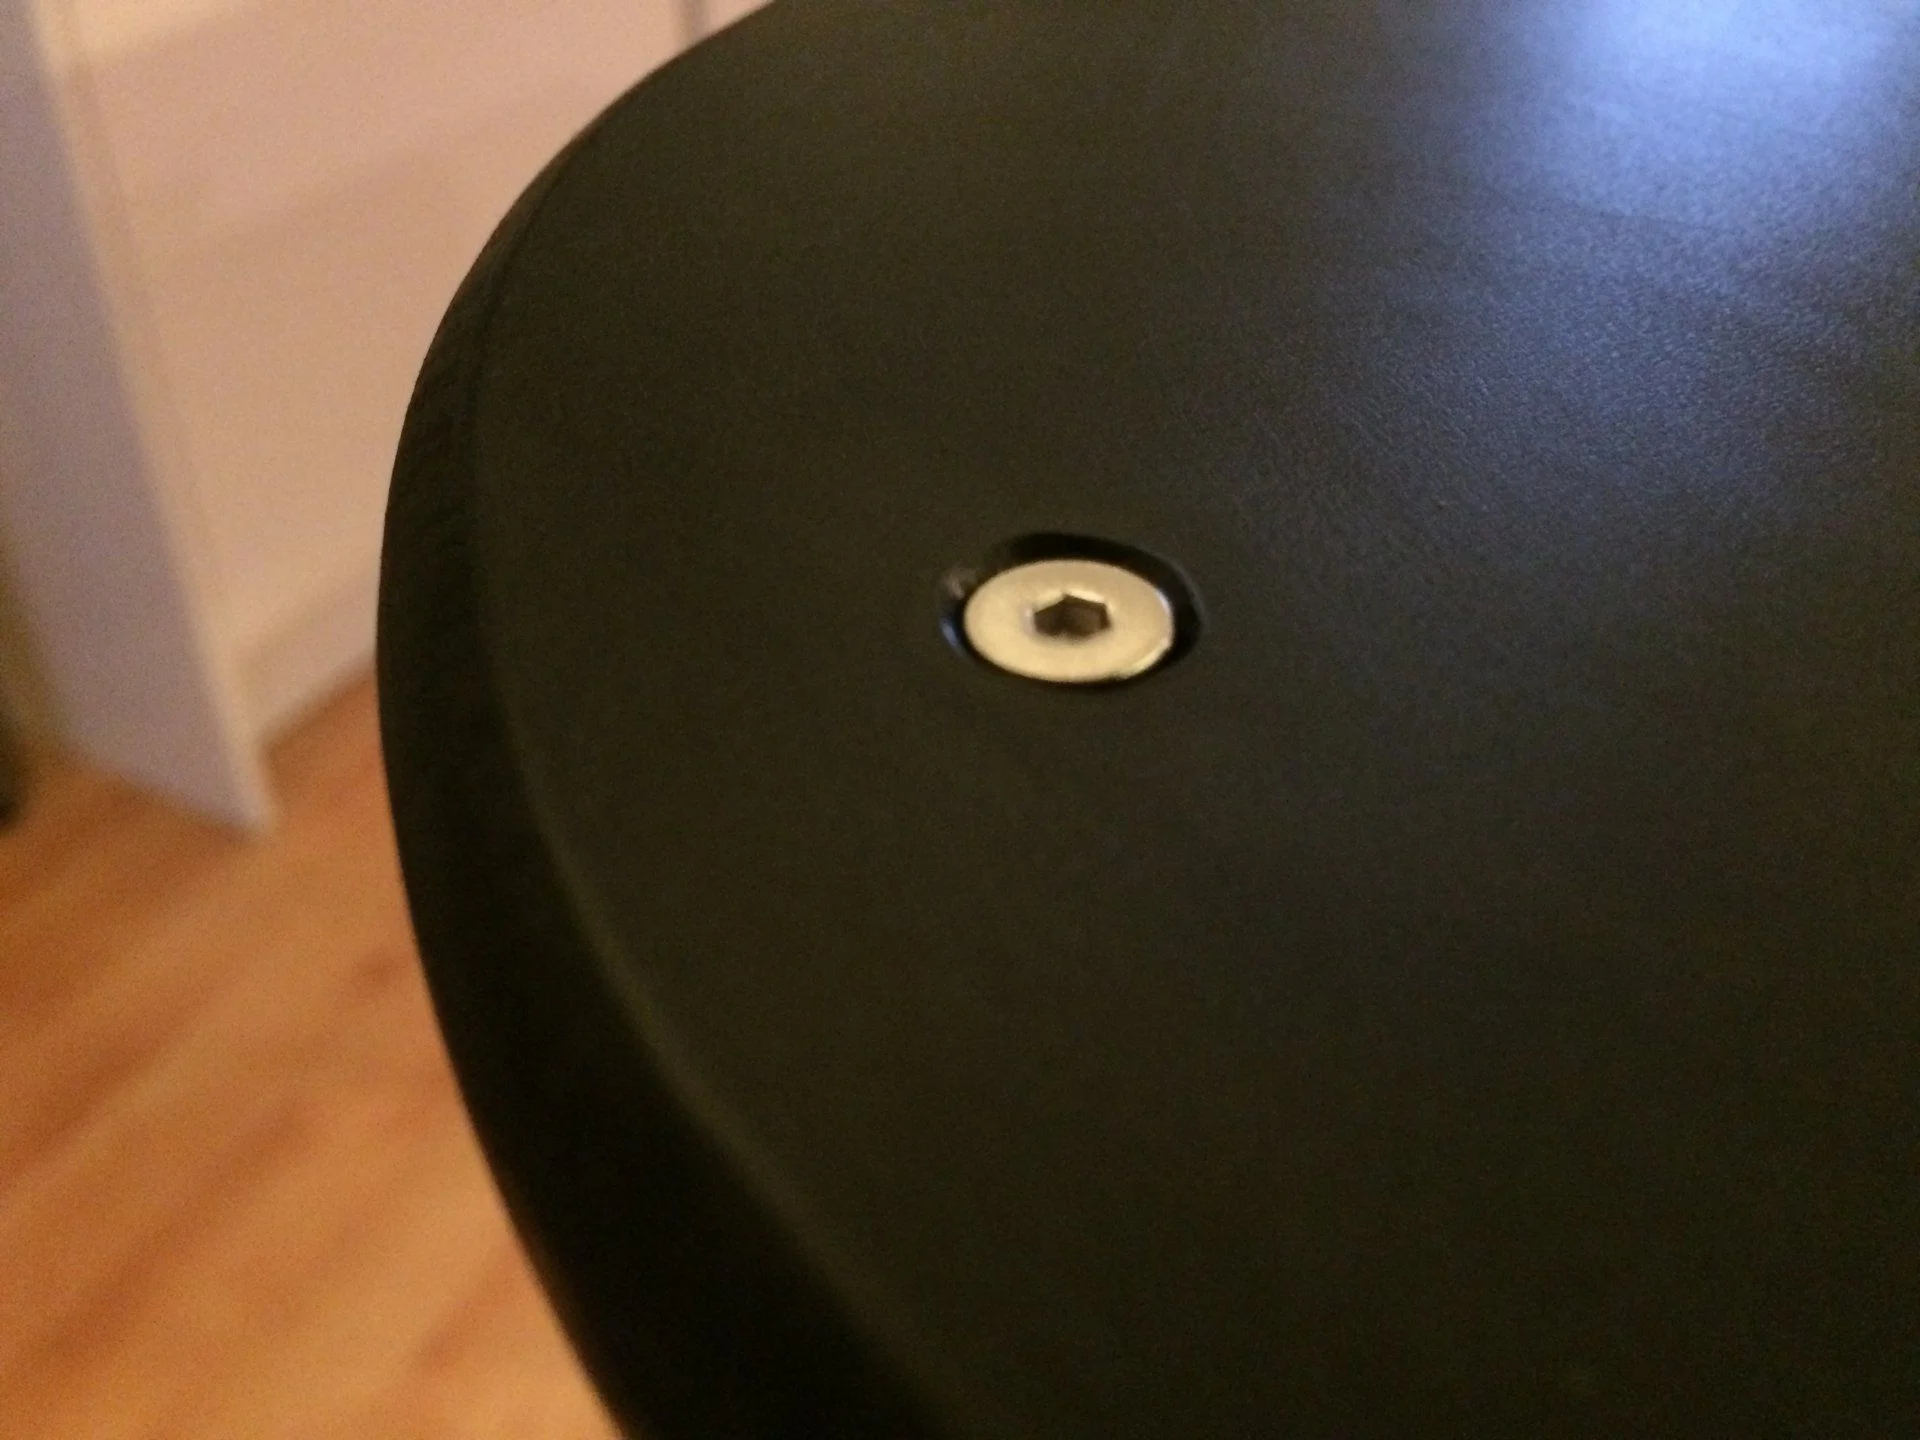
I thought I would post up all the work that has been done so far.

full

The day the truck came home

At the start there were some problems, like a leaky windscreen and excessive oil consumption. But with the information on this forum this was history! (resealed windscreen, replaced PCV and switched to 10w40 oil)

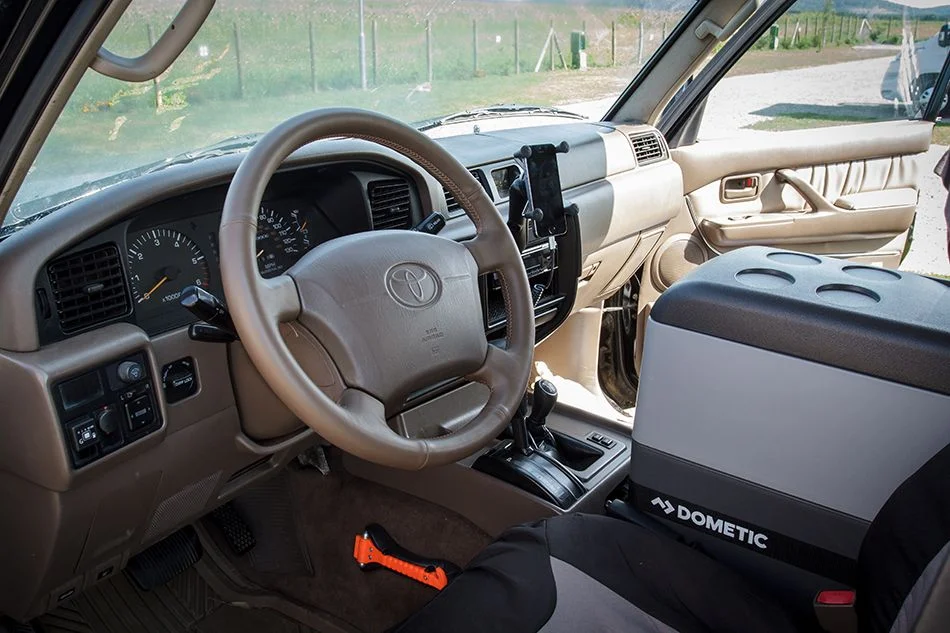
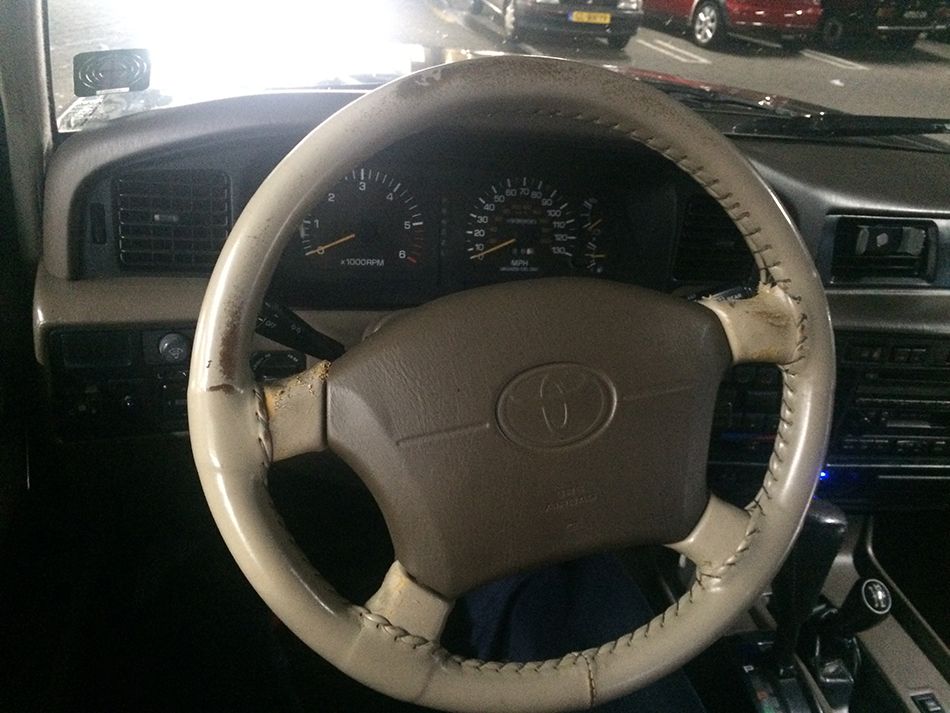
The steering wheel was in a very bad shape.
full


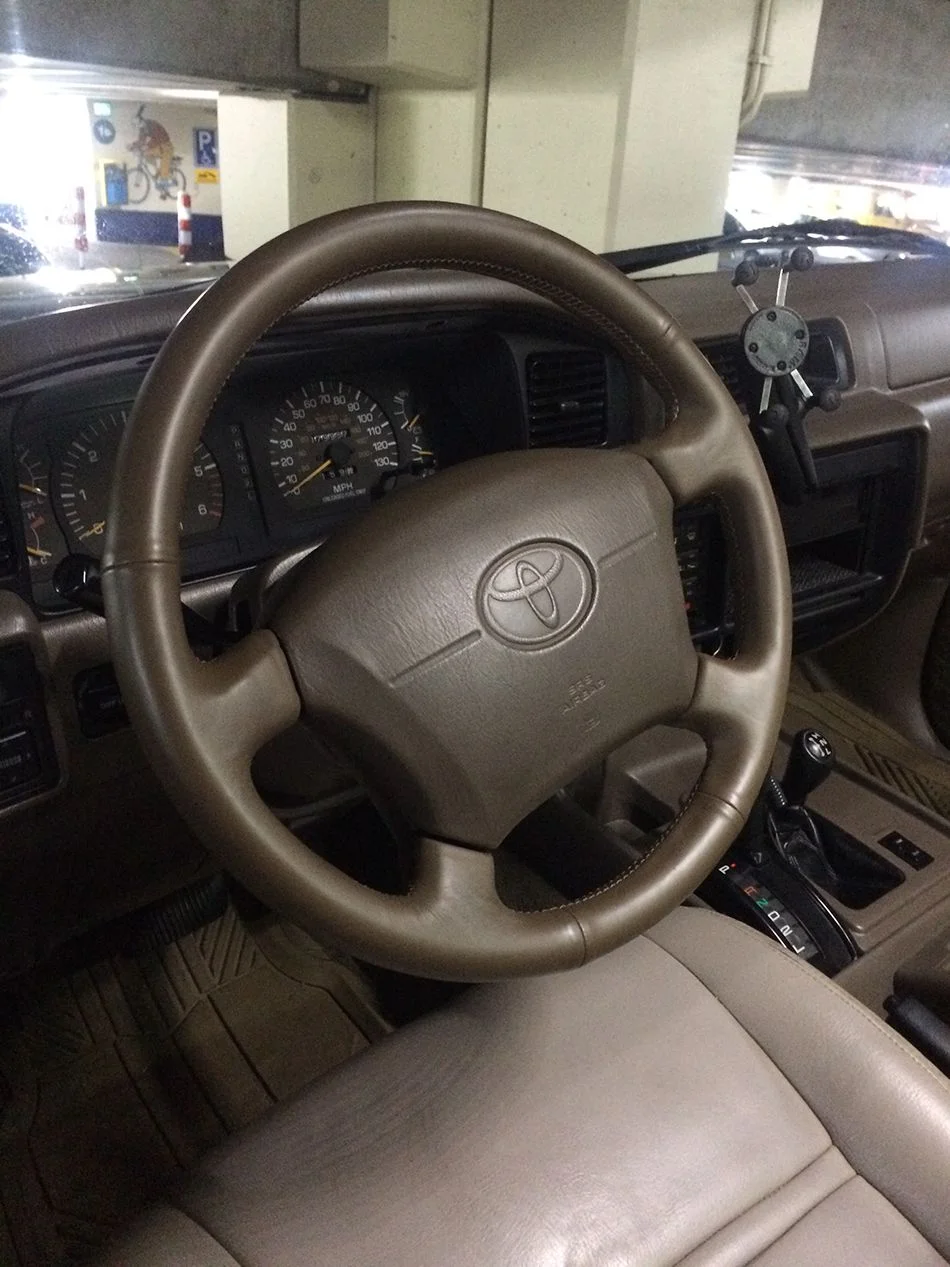
But after stripping the old cover and sewing on new leather it looks and drives a lot nicer!
full


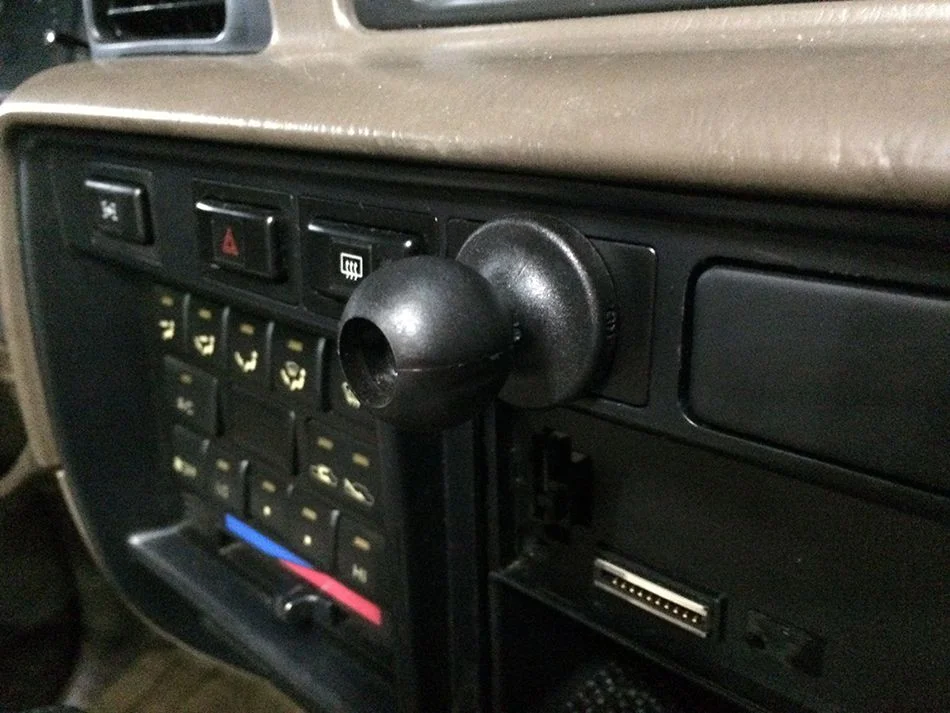
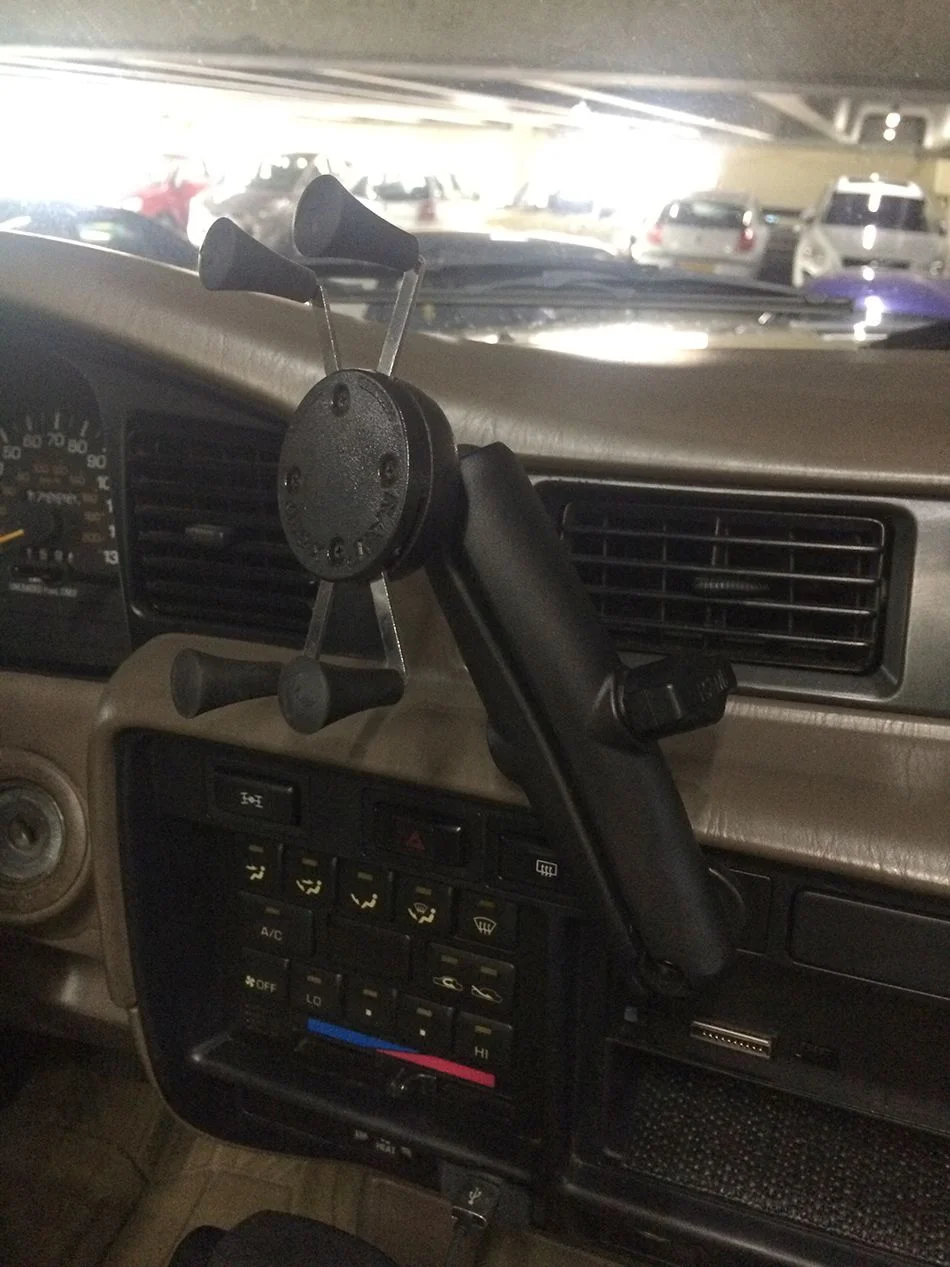
Installed a RAM ball mount on a switch cover plate. The bolt goes trough the cover and at the back it’s sandwiched to the dashboard with a washer. Very strong and no permanent holes this way.
full

full


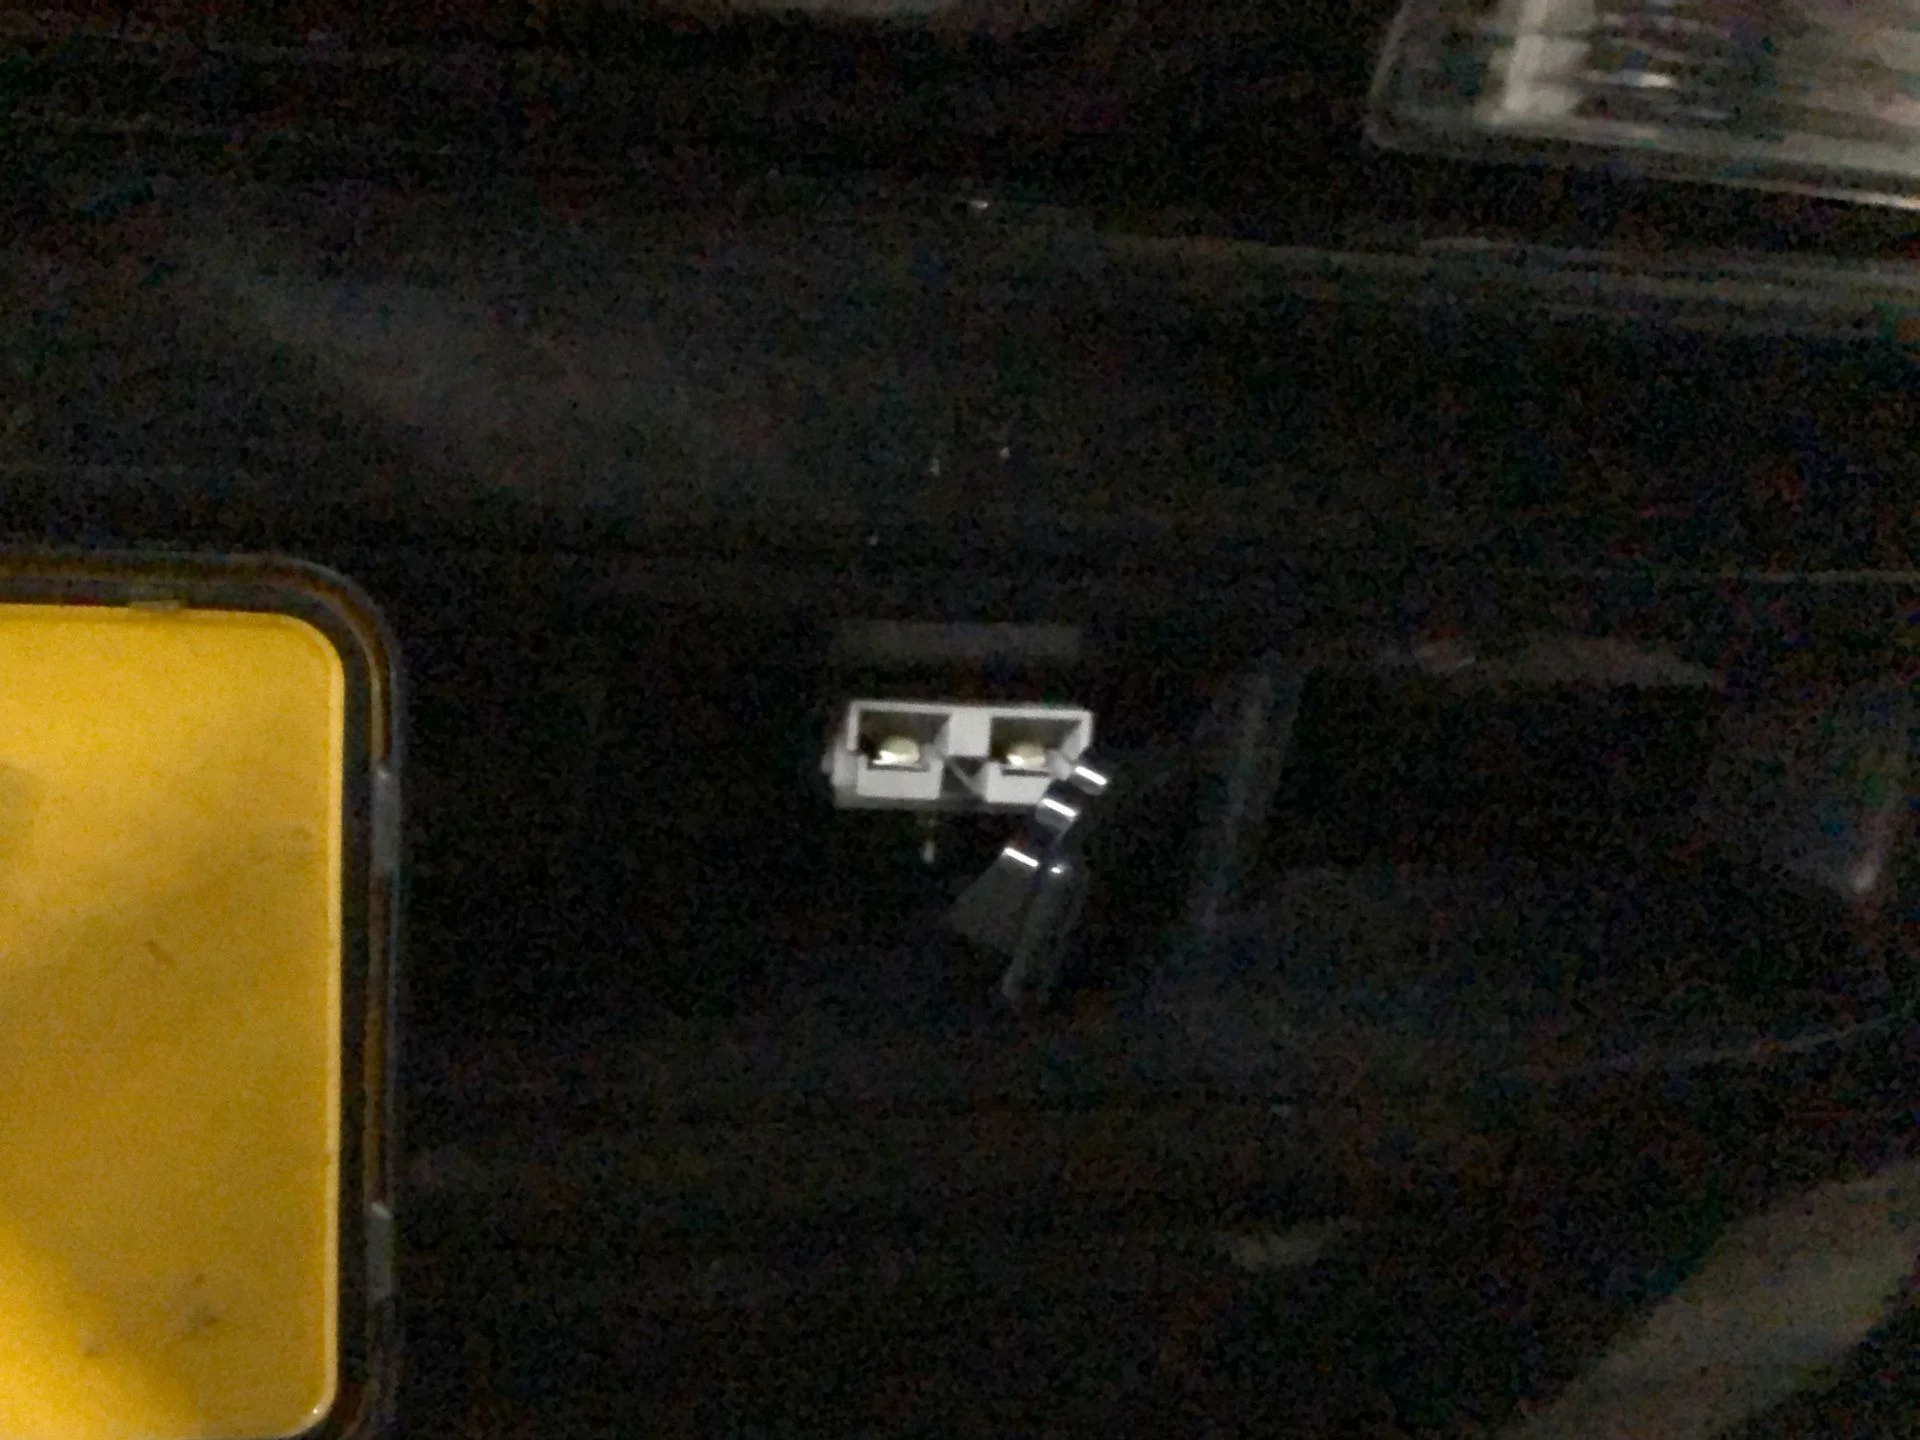
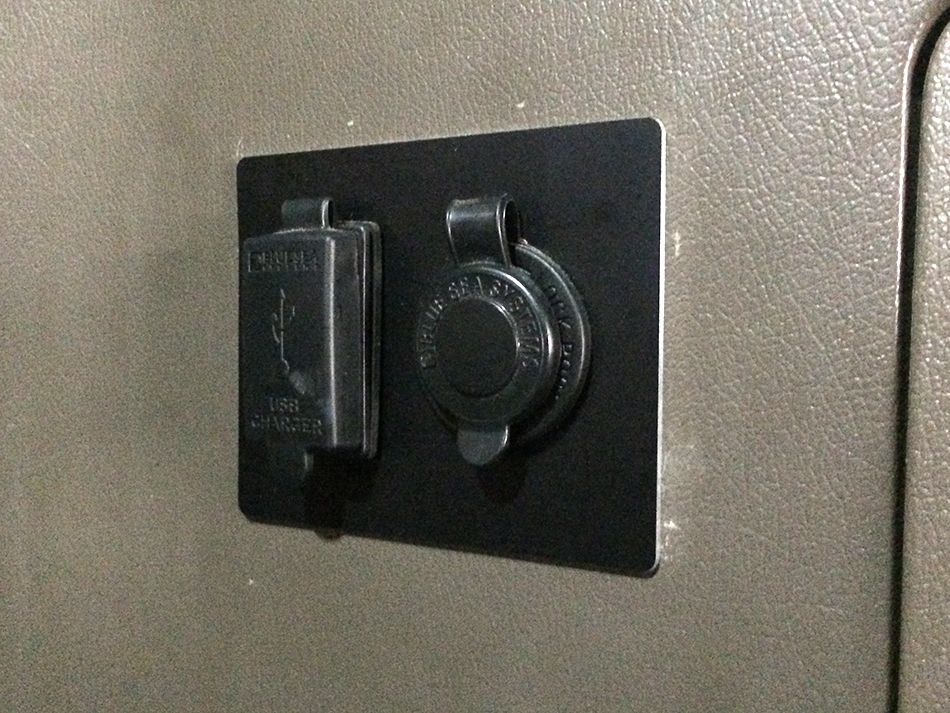
I wired up a Blue Sea usb outlet at the front and usb/12v in the back instead of the ashtray.
full

full


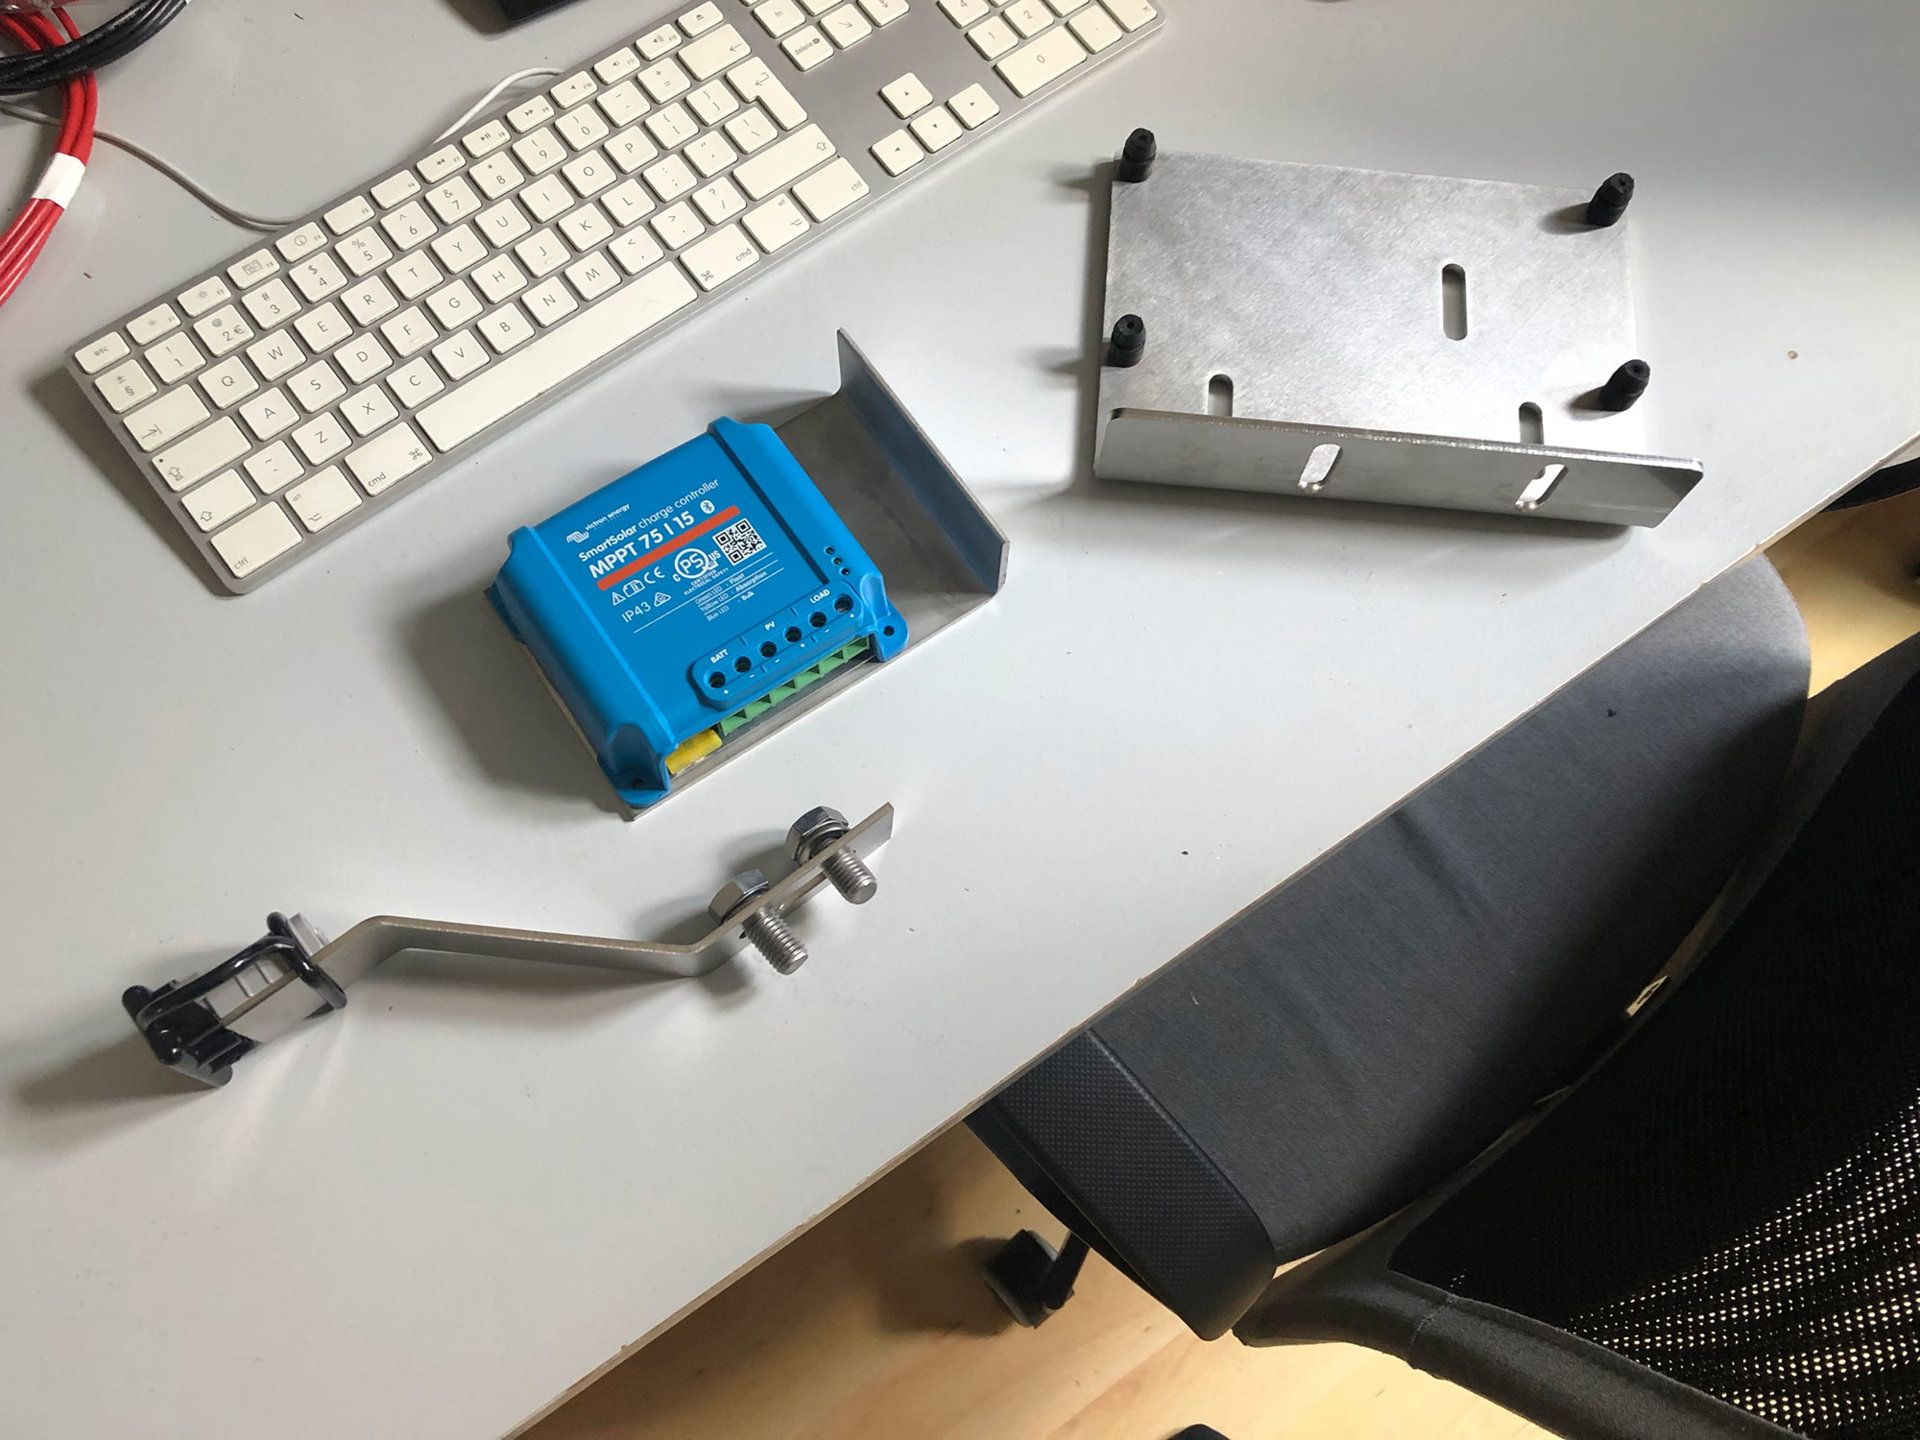
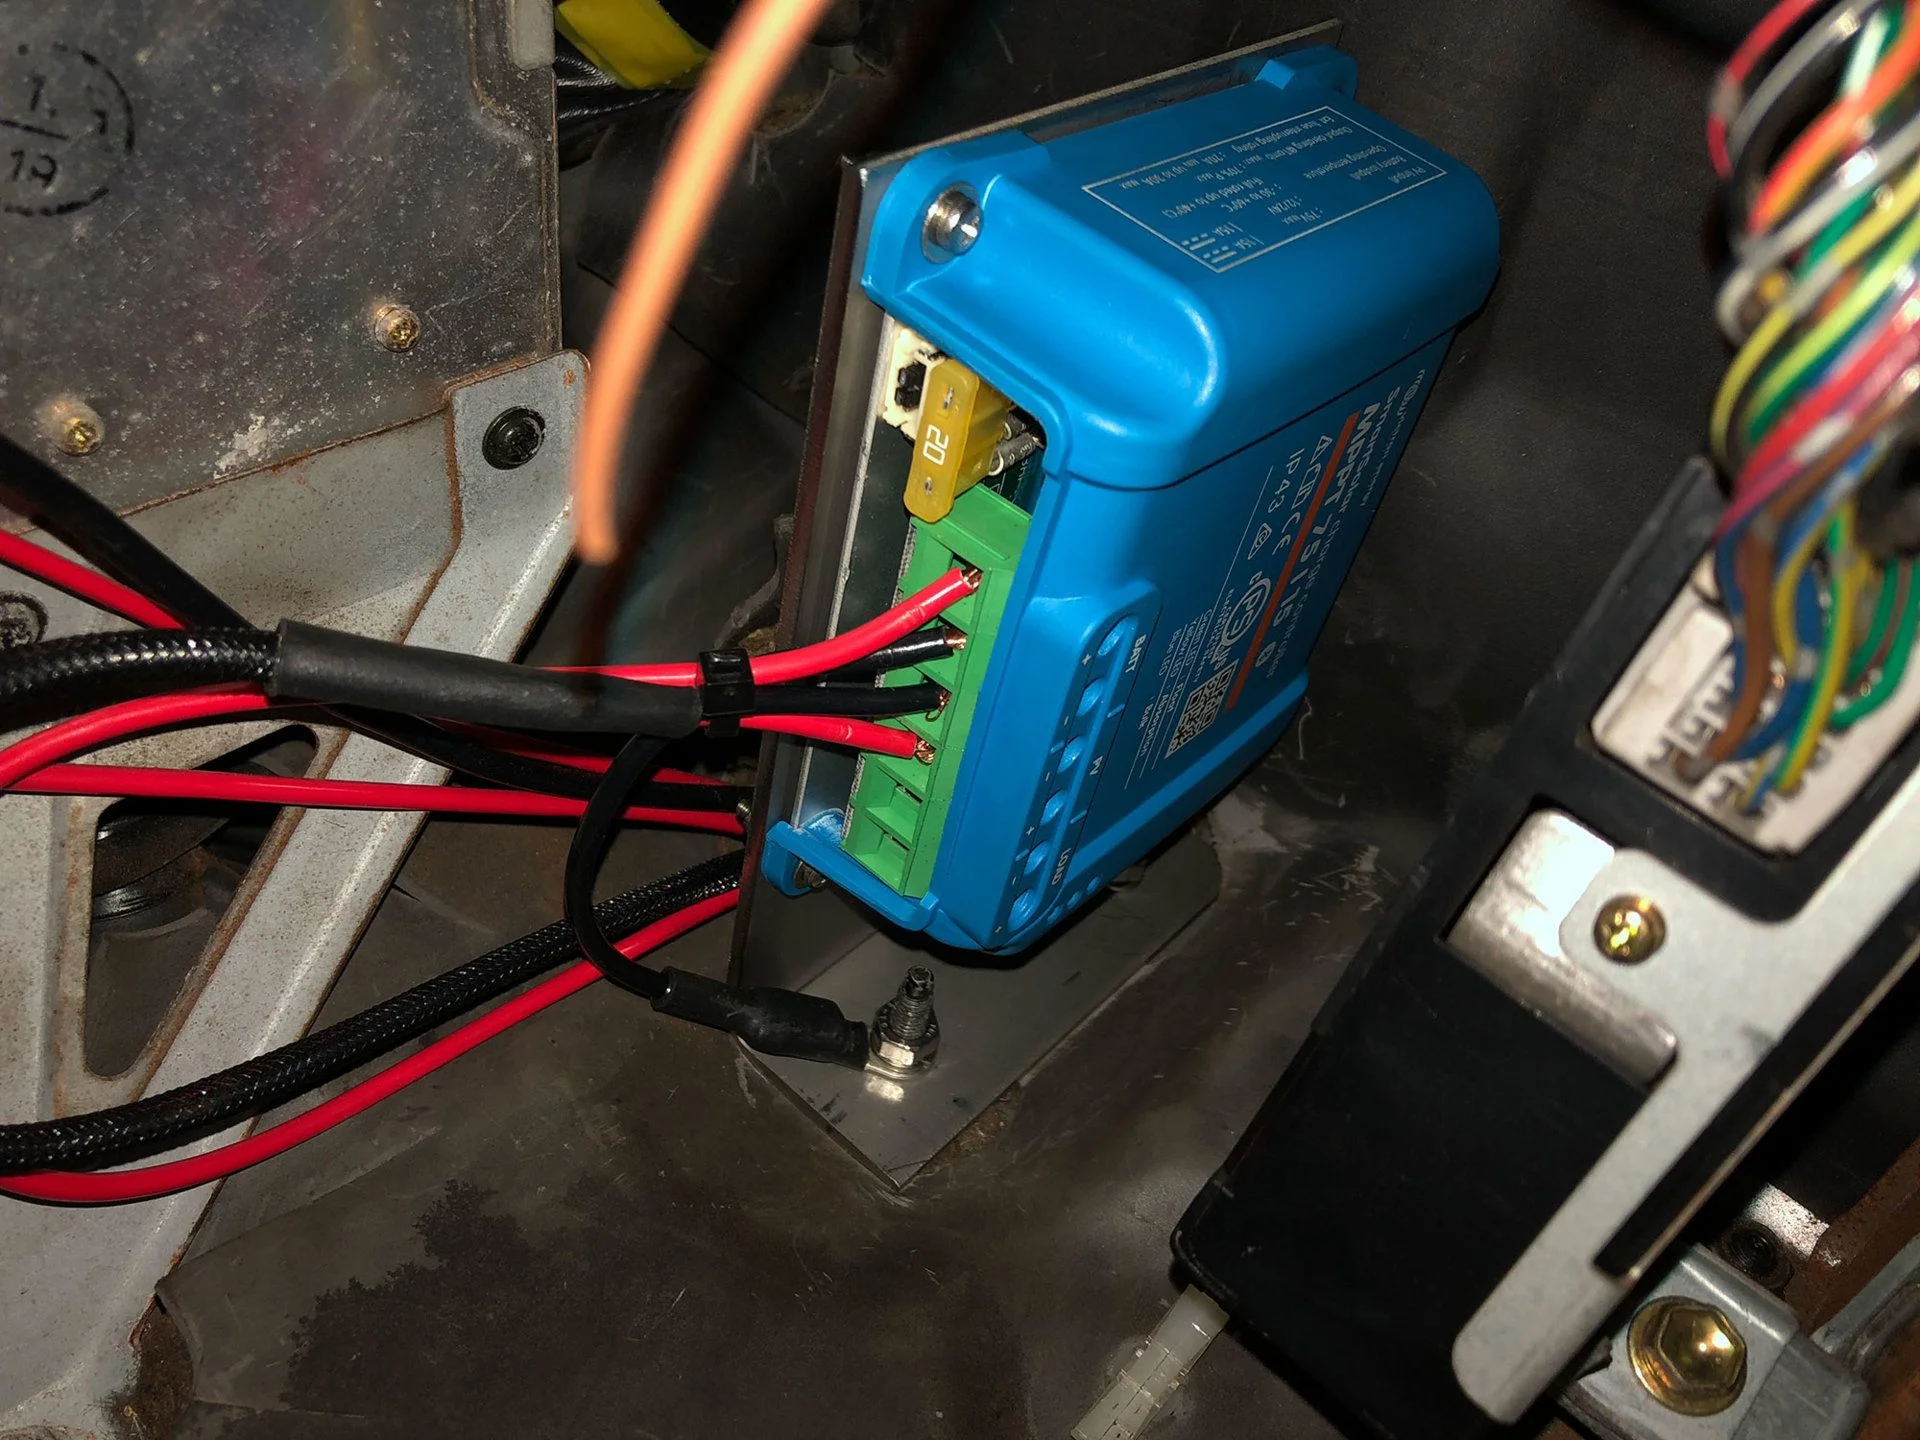
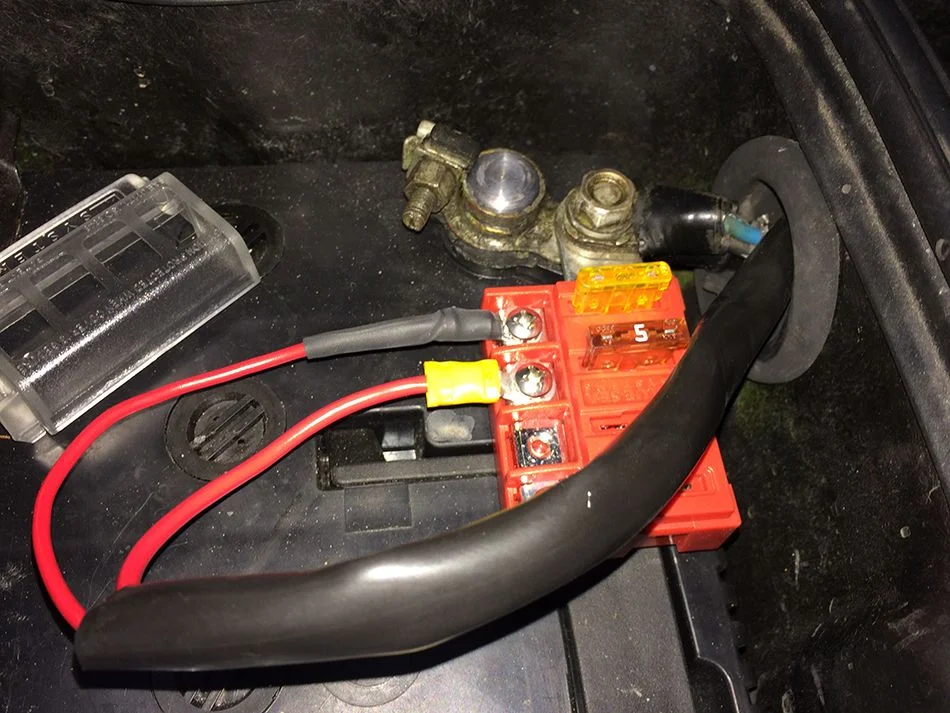
Used a small Blue Sea fusebox at the positive terminal. Clean and simple.
full


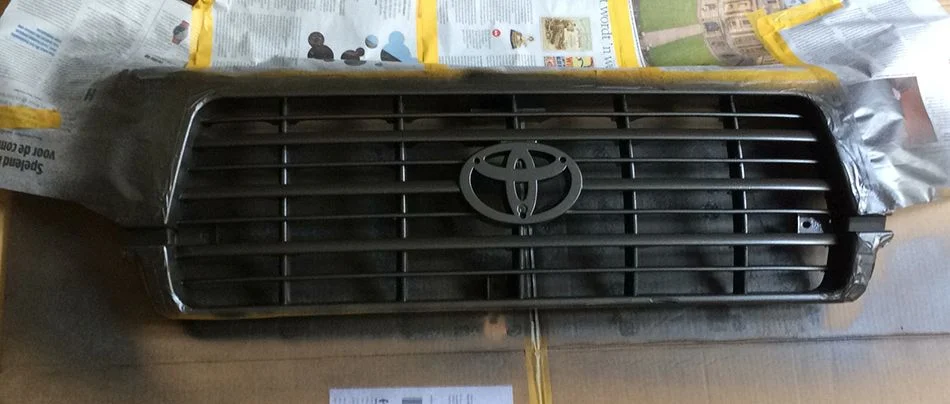
The front grill had a lot of flacking paint so i repainted that.
full

full
 
A big thanks to @619TOY and @VCCruzr for their drawer build treads! As you can see, i’ve learned a lot from them :)
full

full

full


I changed all the door speakers to the Pioneers mentioned all over the forum. Only problem was that the front speakers are a little different size in Europe (17cm instead of 16,5cm).
Fixed that with a 3D printed spacer.
full


When camping I switch the center console for a Dometic fridge, at the same time functioning as a armrest for the long roads.

full


After changing the gas struts for eBay versions, I used the old gas struts on the floor for the bed, this way the bed is easily lifted for access to our storage. The mounts and hooks are 3D printed.
full

full


Couple of other things that are done:
-removed the running boards!
-after market radio
-cdl switch
-factory cupholder instead of useless cubby
-eBay gasstruts for the hood and tailgate
-changed the tie rod ends
-changed the firewall dust shield
-changed the gold emblems to silver
-remanufactured the alternator

As she sits now, love this beast
full

full
 
Nice work.
 
That Dometic idea it's good .. but it seems to be big tall for the space .. are you comfy seating and driving with it there .?
 
Welcome.
Slick bed set up, do you have more pictures of how you built it?
 
That Dometic idea it's good .. but it seems to be big tall for the space .. are you comfy seating and driving with it there .?
For me it's very comfy, but i'm 6' 4"... My girlfriend is smaller and for her it's a bit tall. Also good to keep in mind, the fridge sits almost flush with the e-brake, so the e-brake has to be operated with left or a twisted right hand.
 
Welcome.
Slick bed set up, do you have more pictures of how you built it?
Thanks! And no problem:

The drawers have 4 treaded holes in the back, were the bed extension mounts on:
full


The bed extension consists of 2 pieces of wood and a long hinge:
full


The sides have a cutout for the doors. And at the front are 2 removable legs. The front seats have to be moved forward in order to lift the bed because of these legs, but we do this as soon as we hit camp, so not really a problem.
full


Let me know if you would like some more info.
 
Where did you pick the steering wheel cover and how hard was it to sew up???
 
Where did you pick the steering wheel cover and how hard was it to sew up???
It's this cover.
(i just see that the link isn't working anymore... It was a little while ago, but i ordered it from AlieExpress)
These and these look to be the same one as I ordered, but i can't be sure. It was advertised as a cover for a 100 series.

The install isn't really hard, but you do need some patience. You get some tape to keep it in place while sewing, and then you just need to connect the two sites. I did it with the steering wheel still in the car, this made it a little more difficult.
The cover fits 99%, there are 2 places where there is a little to much leather.
 
Last edited:
I wanted a new cover for the tailgate, something more practical than the original carpet. I chose black HDPE plastic, it's waterproof, strong, doesn't stain and can be used as a workspace. Only downside is that it scratches easily, but i don't mind because it's a workspace.

full


I used the original as a template for the holes and rubber nut wells with stainless hardware for mounting.
full


I like it so far, let see how it holds up over time!
 
Time for an update!

I've designed 3 mounts to install my compressor and solar kit:
full


The compressor mounts on top of the cruise control actuator. It is wired to the fusebox and I installed a pressure switch and quick release:
full


The solar charger (Victron MPPT 75/15) mounts under the dash, above the pedals. I've found 2 studs in the firewall that were empty:
full


I've got a portable solar panel so I wanted an Anderson connector somewhere in reach. It's mounted nice and secure in the front bumper. The bracket is mounted to the 12mm bolts in the frame:
full
 

Users who are viewing this thread

Back
Top Bottom