Builds Mail Order Ride - My HDJ81 (3 Viewers)

This site may earn a commission from merchant affiliate
links, including eBay, Amazon, Skimlinks, and others.

I'm adding the 12volt conversion to the "to-do some day" list. When? Who knows.

For now though I found an evening without previous commitments so i put some new copper in there.

full


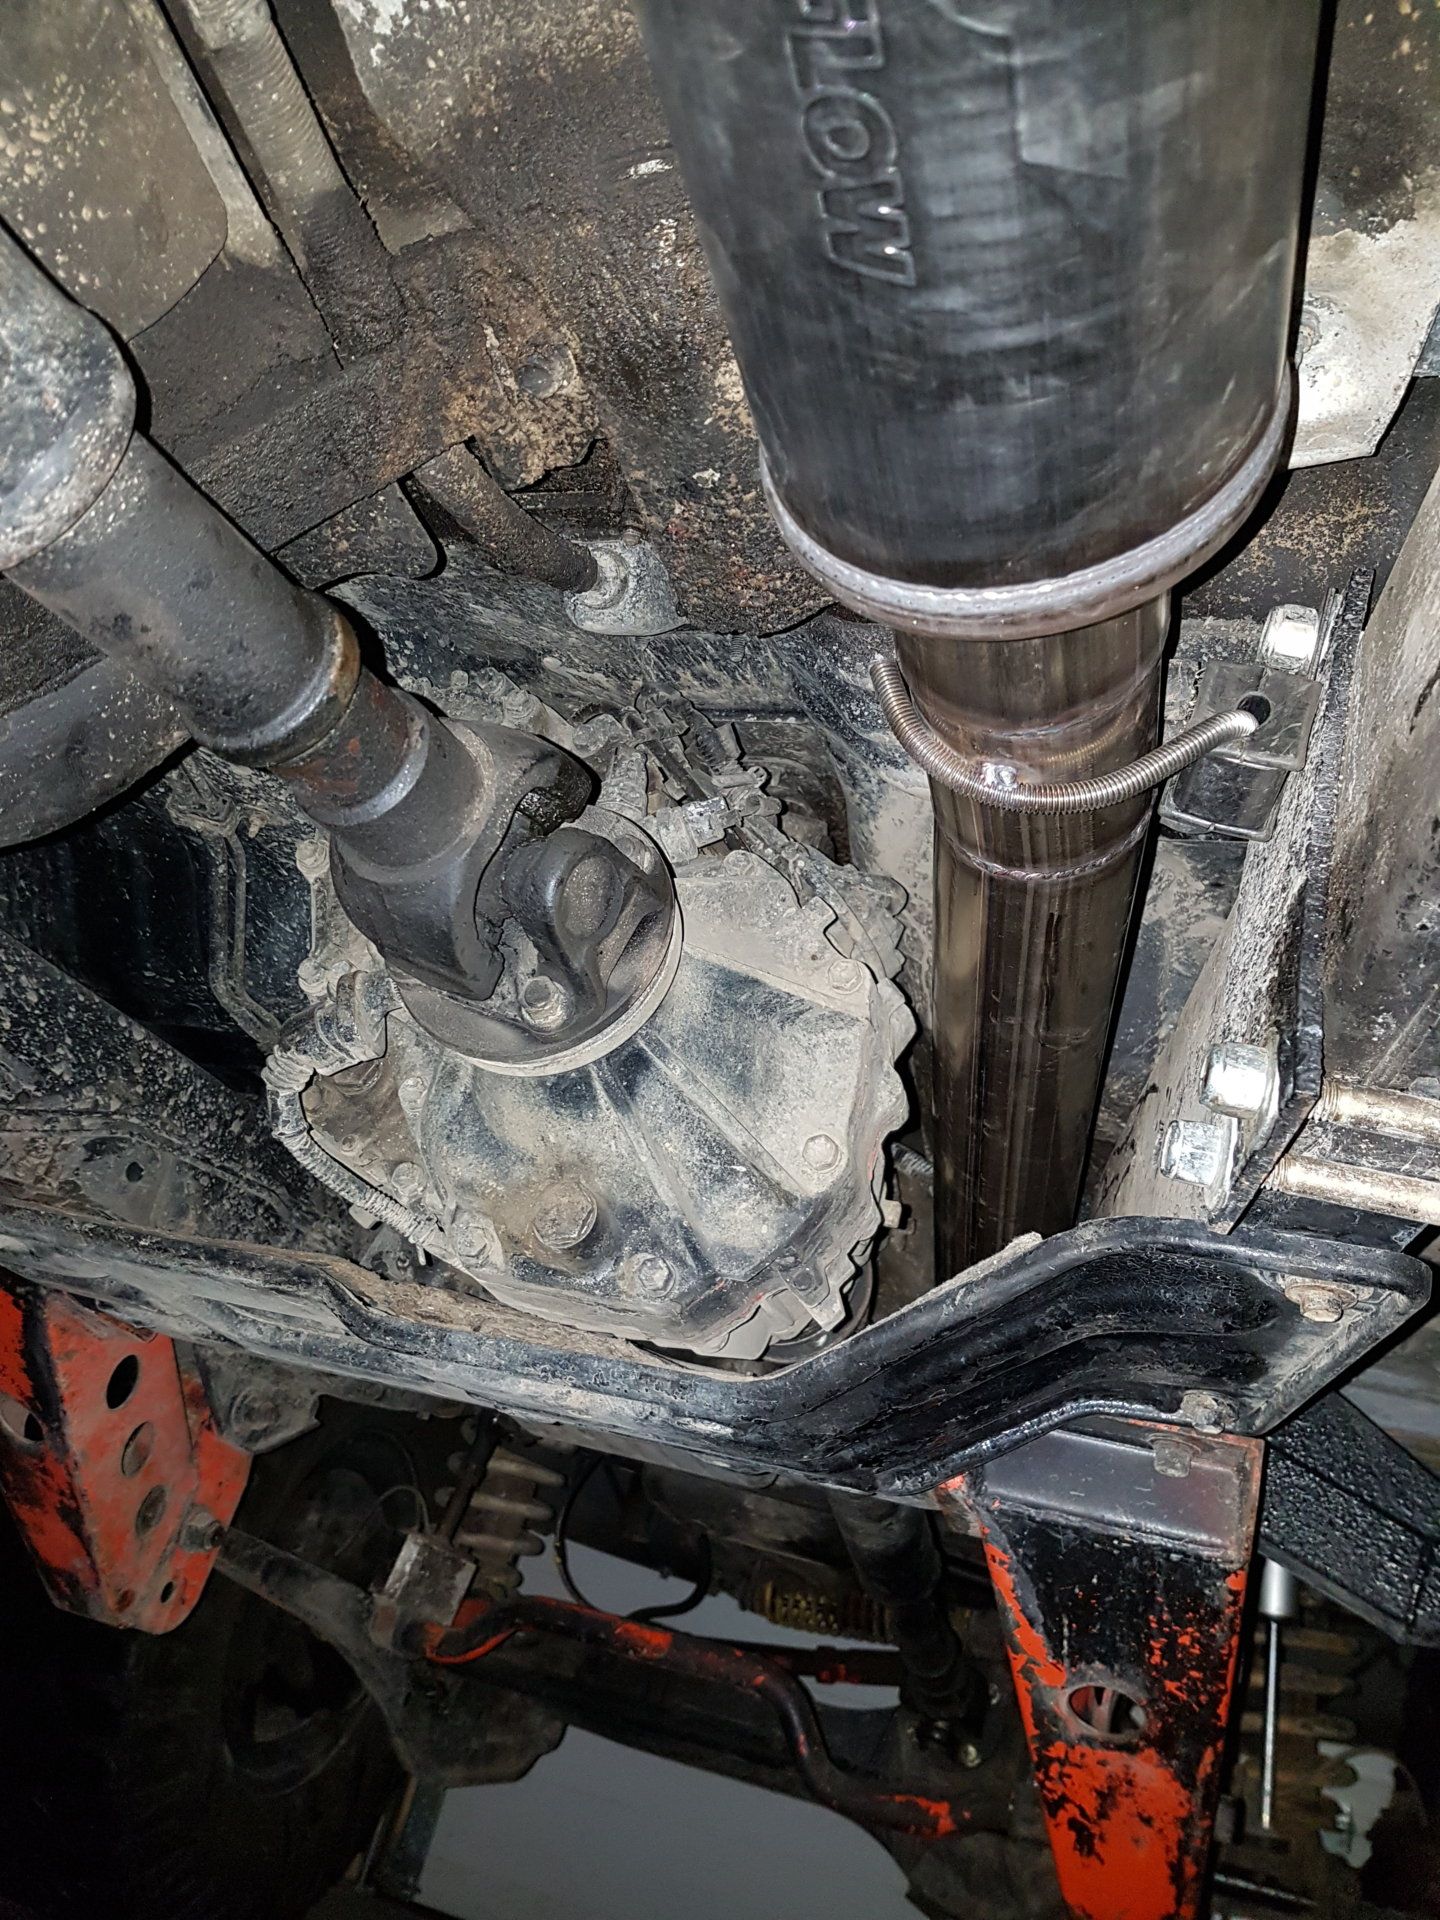
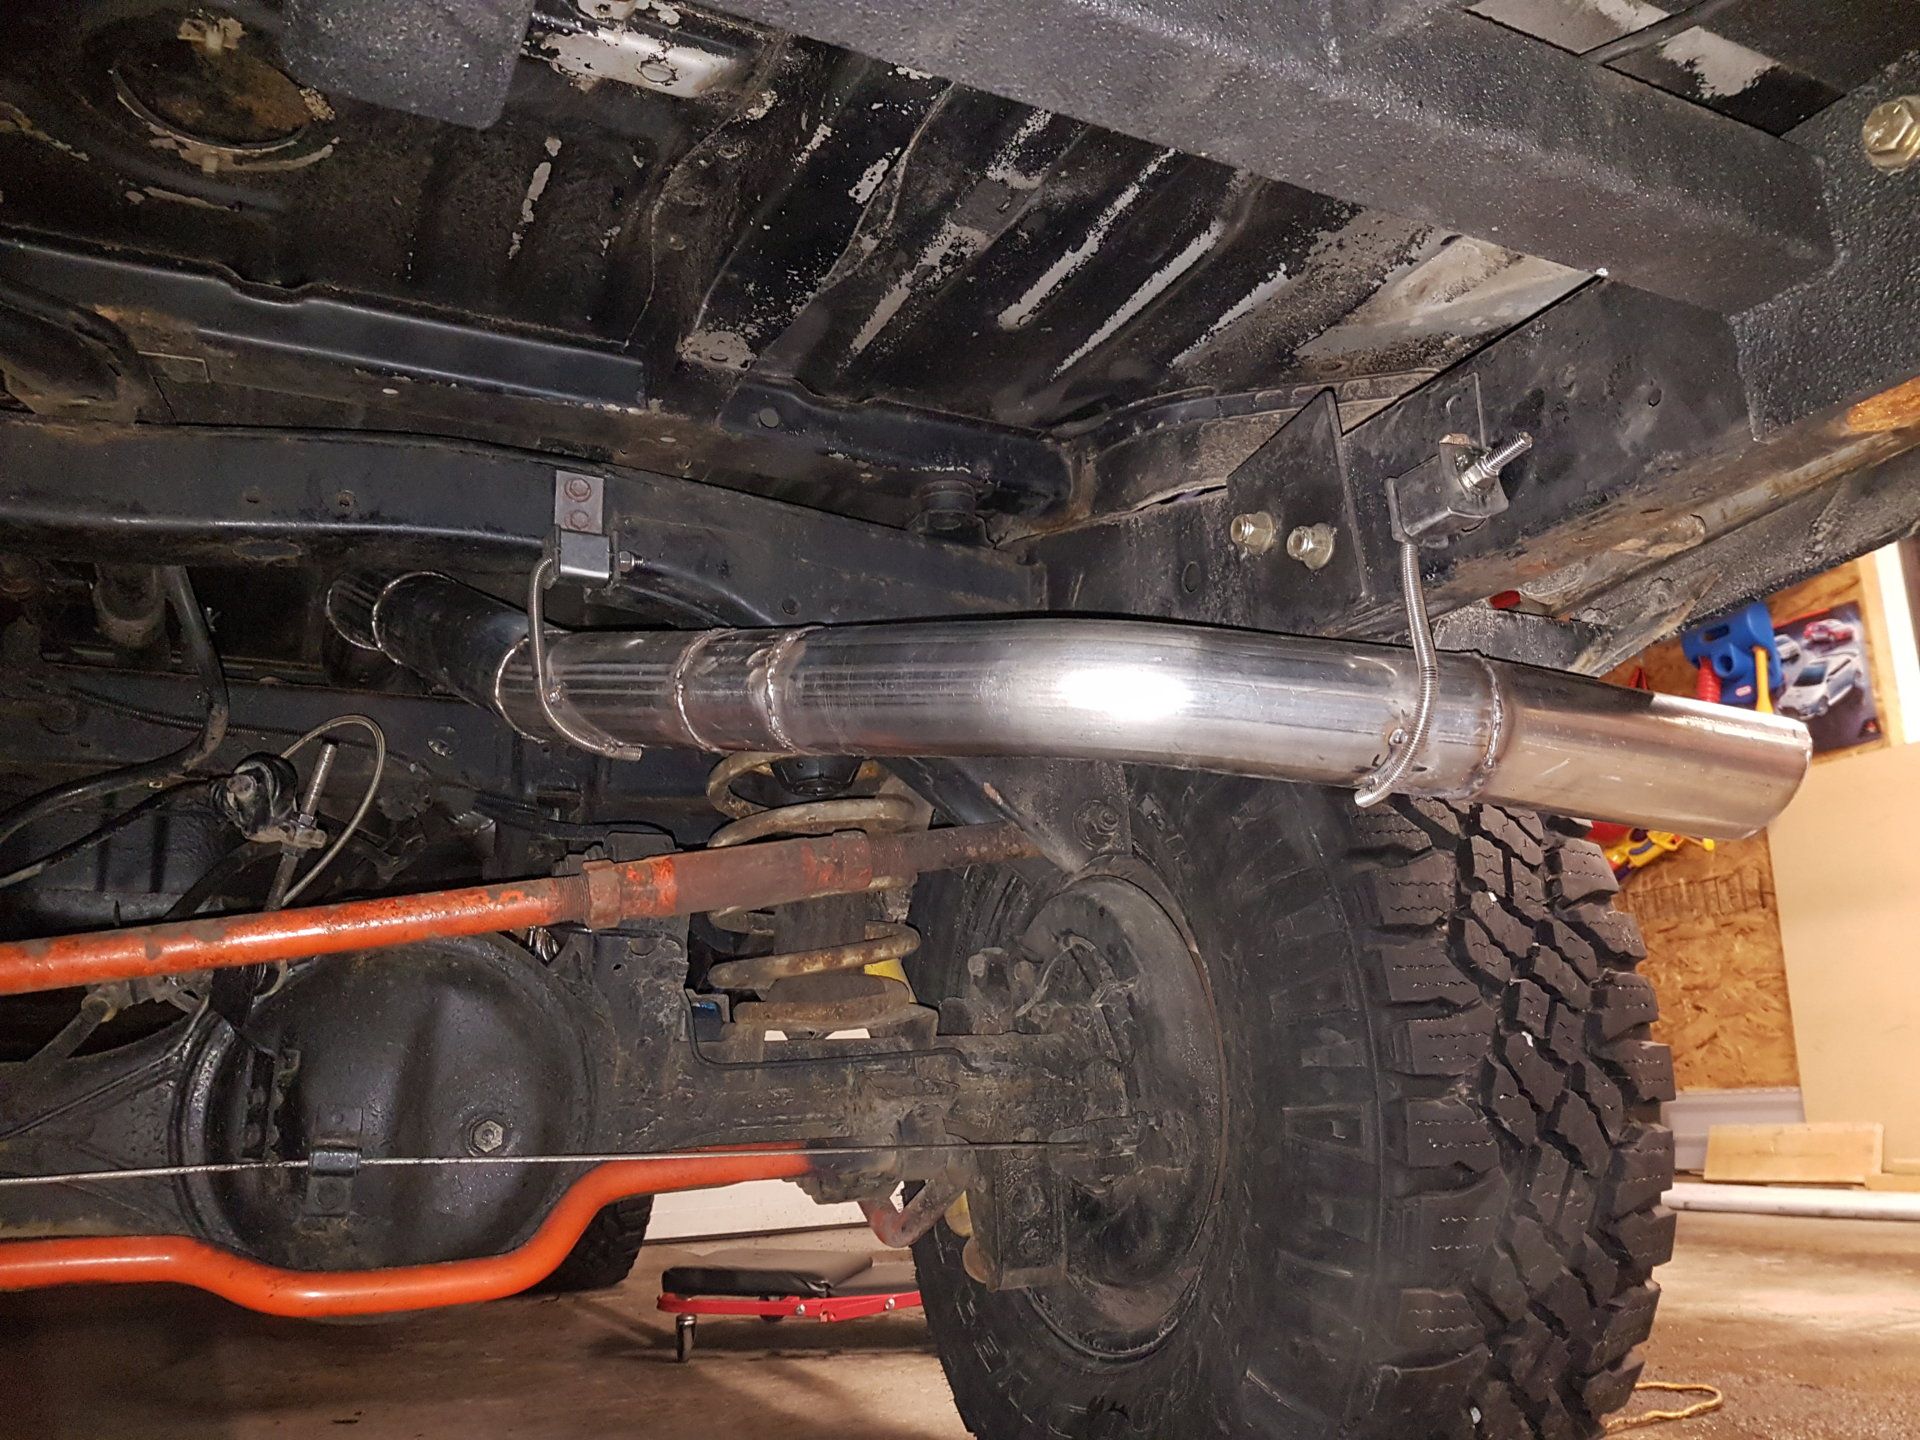
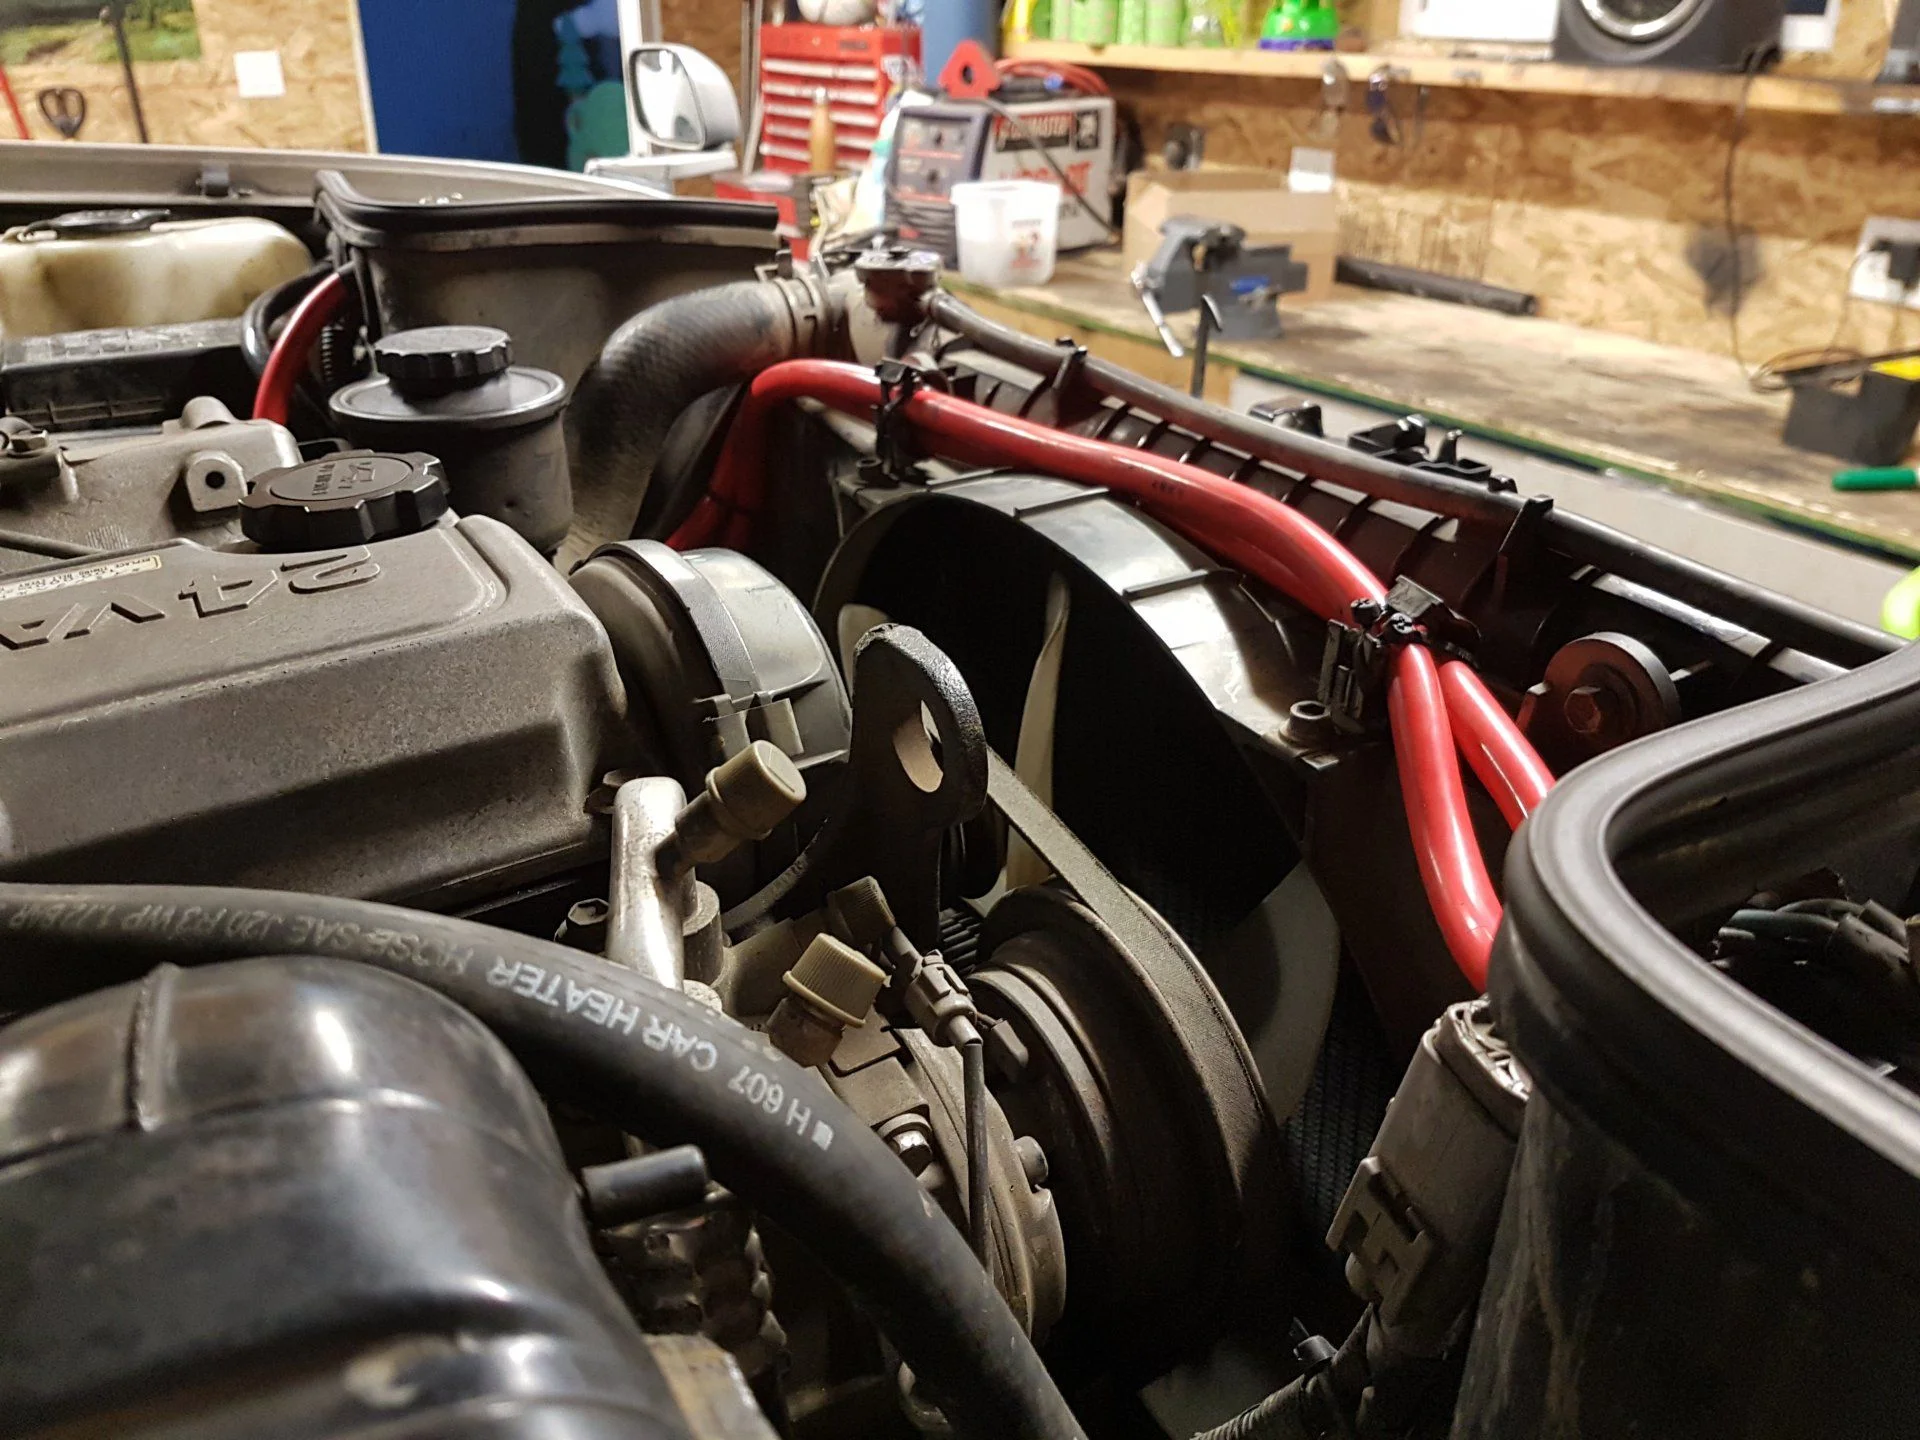
That poor angle shows some new 1/0 copper wiring: alternator to battery1, battery1 to relay, battery2 to relay, relay - to block, battery 2- to block.

Didn't solve a damn thing.

But, they are in there now and nothing wrong with that.

My dumb lazy ass still hasn't borrowed a DC clamp so i don't know if things are pulling current or something else is up. The alt just barely puts out a voltage above the resting volts of the batteries, then it warms up and seems happy. Maybe takes 30 seconds to a minute. Very slight, almost imperceptible waver of the voltmeter in the truck when blinkers are on, etc, otherwise all seems fine.

Le sigh...
 
It may be the manifold heater being on that keeps the voltage down, they draw a lot of power.

Good call, didn't think of that. Maybe the fact that this is an 80amp alternator, compared to the 100 that was originally in there is why I never saw it pull down like that before? Thanks, going to make sure to check that out tonight.
 
I was just going to pipe up and suggest the glow plugs could be drawing down the voltage you're seeing on a cold start. I've got a volt meter incorporated into my Pioneer headunit, and it reads about a volt lower than if you put a meter on the batteries for some reason, but it does show that voltage on a cold start stays around 13.0V (dash gauges shows even with middle line) until it's run 30-60sec, and then raises to about 13.5V (a couple needle widths above the center line) where it stays.
 
So, was just realizing I never really updated this with any useful information after the fact. Probably because it's been a damn busy summer.

Anyhew, putting the DC clampmeter on the truck, I learned some stuff.

1- The intake heater draws an absolutely staggering 107amps when it's running, and is for sure the cause of my low initial voltage on startup. During this time, the alternator is putting out around 75amps at idle, so, it's maxxed out. It definitely sounds like it's working its ass off too, with a little bit of whining. The rest of the load is being supplied by the batteries at this time.

2- After the heater turns itself off, the alternator now puts out around 60amps while it recharges the batteries, but this steadily decreases. After another couple minutes of run time at idle, it drops down to a nice, healthy 20-22amps, which should be appropriate for fuel solenoid, headlights, gauge lights, interior lights (door was open) stereo, etc.

My read on this is that an 80 amp alternator just ain't good enough for this truck. That kind of load on the alternator at startup is just brutal, and I can't see an alternator lasting terribly long if it continues like so.

I'm going to live with it for now, but I think a 12V starter, a modified bracket, and a 150A alternator out of SOMETHING is in its future.

Eventually.

Some day.

When I get around to it.

After I do other stuff.
 
While on the highway during a trip last weekend, this happened. :bang:

full


Concrete truck kicked a rock at me at what would be a relative speed of 200kph or so (my 100 + his 100). Blew out the mirror, which hit my windshield and put a visible chip in my otherwise flawless Japanese glass. Going to have to get that fixed before winter shows up and causes it to spider across the whole windshield.

I actually really like that little goofy mirror, so this was heartbreaking.
 
Hello all


I started looking at the Cruisers for obvious reasons. Something that was already local would have been miled out, and overpriced here; seriously, people are asking over $20k for something with 300,000kms, especially if I wanted a diesel. They were also popping up extremely rarely in the classifieds, so having known people who have played the import game, I started looking at bringing one in for myself.

I got in touch with William at JDM Connection, and started the process of looking through Japanese Auction sites trying to see any interior photos that would indicate the magic switch being in place. Looking specifically for something that was a 95-97, with the lockers, in decent looking shape, hopefully owned by a non-smoker, all the good stuff if possible. Made a couple of bids on vehicles, but didn't hit their reserve prices, eventually seeing this gem roll up, and ended up winning the bid.

Final auction sale price: 1,014,000 JPY. Roughly $12,000CAD in today's market.


full

full

full


Much more to come...


nice congrats

this is JDM so the wheel is RHD? the wipers are for RHD did the Japanese dealer converted it from RHD to LHD?

it looks like main FZJ80 including the weight sticker on the tail
Photo 17.7.2017, 11 43 07.jpg
Photo 17.7.2017, 11 42 46.jpg
Photo 16.7.2017, 7 04 46.jpg
 
nice congrats

this is JDM so the wheel is RHD? the wipers are for RHD did the Japanese dealer converted it from RHD to LHD?

it looks like main FZJ80 including the weight sticker on the tail View attachment 1502158 View attachment 1502159 View attachment 1502160


Yes, this is a full RHD JDM spec vehicle. I saw your post trying to wrap your head around what exactly your one-of-a-kind lhd/rhd hybrid is. If you notice, your Japanese weight rating label on the tailgate is still on your drivers side, so maybe it was LHD in Japan too?
 
Yes, this is a full RHD JDM spec vehicle. I saw your post trying to wrap your head around what exactly your one-of-a-kind lhd/rhd hybrid is. If you notice, your Japanese weight rating label on the tailgate is still on your drivers side, so maybe it was LHD in Japan too?

My baby was borne like this. I have contacted TOYOTA EU with Vin# and all details

It was manufactured in Japan(main plant) for the European market

I didnt want to post this in my original conspiracy post not to offend any Guru

can You post a pic of your cockpit ??

PS there is a possibility that I will get from Toyota A Recall on O2 sensors from 1995 LOL
 
Was going to be driving out into the country today to celebrate Christmas #1 of 4, so I opened and installed my present from Santa-self early.

Set of Morimoto H1 HIDs. I went with the 35w ballast and 4500k lamps for low beam duty. Install in the Sonar projector housings went smoothly. I used a gob of silicone in the boots to help seal up between the old larger boots and the new smaller ones. I had one headlight out as well, so this was very exciting to put in. Build quality of all the parts from Morimoto are top notch.

I'm incredibly happy with the performance while driving, and will be ordering another set with the 55w ballast for my high beams eventually. They take about 20 seconds to warm up, and go from bluish, to perfect white. The cut off could be better, what with that glare spot in the middle, but i knew they wouldn't be perfect (see the projector modifications I needed to do for north America usage in page 1).

full

full

full
 
After a summer of just driving around and doing next to nothing with the vehicle other than the lights, I thought I'd get something accomplished. Finally got some parts ordered and began work on a more permanent exhaust route. Piping is 14gauge 409 stainless from Columbia River Mandrel Bending and should hopefully still last the life of the truck, even if it will corrode more than 304 would. I'm not looking for polished show and shine quality exhaust here. Even over the border, price ended up being pretty agreeable. For 2x 180s, 2x 45s, 6' of straight, 2 V-Bands, a flex adapter was around $430cad delivered. Add a Magnaflow muffler, the cost of cutting the flange, some other odds and ends for mounting, and beers and lunch, I'm under $600 all in.

Started quite a while ago by making new stainless flanges for the turbo dump pipe. I took the existing cast dump off, traced out the shape of it into AutoCAD, and got them laser cut. Did the same for my cousin's 1KTZE Surf at the same time. In the future, will NOT go the laser cut route, as cutting 3/8" thick stainless via laser goes through a CRAPLOAD of nitrogen, so buddy had to charge me like $50 each. Waterjet would have probably been cheaper in this case. Anyway, I got my cousin to use the flange to create a new dump pipe because he's the experienced fabricator, and could TIG it together properly. Went the straight down and back route as recommended by @mudgudgeon .

I repurposed the old factory bracket to give extra support from the transmission and put the flex adapter beside the driveshaft. The futzed bracket is making contact with the old heatshield, so I'll have to bend that a wee bit. The photo doesn't look like it, but the pipe sits high enough above the driveshaft that there's a ton of space, the 4" lift on the truck helps with that I think. And yeah, we just put the pipe into the flex at a slight angle to save the effort of making another pie cut, there isn't any strain on the flex in that position. A little kick back past the transfer case to the tiny little Magnaflow muffler and that's where we left off for now. It's sitting within probably 1/8" from the slider mounting plate, but doesn't make contact at all. That's a 3/8" stainless all-thread put into a rod hanger so a nylock nut can easily be put on the other side to hold it in place without removing hangars.

That was already a 8 hour day, but the dump pipe is at least done, which took most of that time on it's own. I can muck around in the evenings and slowly get the rest over the axle in place and tacked with the MIG (with SS wire) for him to finish later. Plan is to basically follow the stock route from here and dump out the right side behind the rear wheel.

It's driveable for the moment if needed. I wouldn't go on any long trips though. Sounds better so far, very low, no rattle of the pipe touching anything. It drones a bit on the highway, but I'm hoping finishing the pipe to the back will help with that. The turbo whistle is much more noticeable now. It also make a bit of extra noise when the engine is pulling at like 3000rpm, somewhat different from the whistle. I THINK it's just air in the new downpipe, but who knows? Only shows up at high revs. Maybe it's just a change in tone of the whistle as air is pushed faster? I'll keep an ear on it and try to figure that out, or post a video with the sound recorded and see what the hivemind comes up with.

The other fun thing was, in the rush to get going and clean up I forgot to cut the tye wraps that held my transmission fluid temp sensor wires in place, so halfway home they melted and stopped working. I now have something else to repair. Yay.

full


full


full


full
 
It also make a bit of extra noise when the engine is pulling at like 3000rpm, somewhat different from the whistle. I THINK it's just air in the new downpipe, but who knows? Only shows up at high revs. Maybe it's just a change in tone of the whistle as air is pushed faster? I'll keep an ear on it and try to figure that out, or post a video with the sound recorded and see what the hivemind comes up with.

Downpipe looks good!

I bet the change in noise you're hearing is the wastegate opening up. Took me a while to figure that one our myself.
 
Downpipe looks good!

I bet the change in noise you're hearing is the wastegate opening up. Took me a while to figure that one our myself.

There's an explanation I would have never come up with on my own but makes a lot of sense. Never heard it before, but definitely kicks in around max boost. Thanks!
 
Finally got around to finishing the exhaust. I was going to get my cousin to tig it, but due to work being crazy, I decided to just finish it up with the mig and my sub par skills. Used stainless wire, but the normal 75/25 mix gas. If it only lasts 10 years... :meh:

Also repaired and rerouted my transmission temp wire. Dumb ass.

It's solid, no rattles at all, sounds much better with the rear half while driving. Turbo whistle is great. There's a bit of a ricey pop at high rpm, but I'll live.

Geeze, the flash on my phone sure makes the dirty front side of my axle look like a rusted POS.

full


full


full
 
How much fun was the section over the diff to the rear?
At least you didn't have to get past a sub tank.

Oh yeah, it was great fun. Probably sunk about 4 hours into just getting over that cross member. Absolutely vital tool for it though, was a long angle finder. Only had to trim cuts once or twice.

I guess this crushes my hopes of installing a factory sub in the future.
 
Next project: determine how healthy things are, and what, if anything, needs to be done.

When you buy a used vehicle, it seems like everyone asks "did you check compression?" This being bought off the internet from another country, I did not. So, here is my attempt.

I printed off a large portion of the HDFT engine FSM, put the pages in plastic sleeves for reference and started following instructions. Since there are no glow plugs on the hdft, you have to pull the valve cover and use the injector holes.

full


Intake crosspipe comes off first, and it looks DIRTY. I'm thinking/hoping this is just the crud that accumulates over time thanks to the EGR system. I can't see how anyone ever thought this was ok for an engine. I think I will pull the intake manifold and give that a good cleaning too.

full


Upon removal of the first injector, I found out that the big, "whole bunch of different pieces and adapters" diesel compression testing kit still didn't have anything to fit this engine. I bought the kit hoping it would work since I couldn't find the actual SST anywhere. No such luck. I read something about a snap-on tool fitting after some modification, so ill talk to some people and see if I can get that this week. Unfortunately, now the engine will be cold (and is supposed to be tested while warm) and the idea of putting it all back together again, driving around, then pulling apart again seems crazy. Maybe if I get the tool, ill just do it cold and see how it goes.

full


So, I pulled all the injectors to have a look. I built a little slide hammer to yank them out of a small leftover bolt from something on the truck welded to a piece of all thread and scrap steel. When doing this, pay attention to the little cup washers that are on the bolt that holds the injector holder down. I dropped two of them and couldn't find them, worried like crazy that they fell down into the sump, but they were thankfully found hiding in the oil in one of the little recesses.

full


Only one of the copper washers decided to stay behind in the hole. Just guess which one.

full


Thankfully it was turned sideways so a piece of wire with a little hook on the end worked nicely. Would have been easier if it wasn't #6.

I'm not sure what to expect, but these look dirty as hell to me. Plan has changed to include finding a shop to check these out and clean them. GCL Diesel here in Edmonton was recommended to me, so hopefully they are open tomorrow.

full


With compression testing out of the question, I'm going to check/adjust the valve clearances tonight, maybe pull the intake manifold for cleaning. Try to get injectors tested and cleaned tomorrow too.

I also have the SST for checking timing on the way in the mail, so between this, that, the exhaust and a fresh oil and fuel filter change, I can start tuning the pump later.

Onward and upward.
 
Anyone buying one of these should planning the maintenance that is all being taken care of here so budget accordingly.

Everything is looking good
 

Users who are viewing this thread

Back
Top Bottom