... I just need more time.")
Don't we all!
Follow along with the video below to see how to install our site as a web app on your home screen.
Note: This feature may not be available in some browsers.
This site may earn a commission from merchant affiliate
links, including eBay, Amazon, Skimlinks, and others.
... I just need more time.


Only real drawback to the mounting being more inboard is lateral stability is diminished a little. But the spring setup is still on the stiffer side given the weight of the truck. There is very little body roll in corners as it is so I'm not too concerned about any decrease in stability from the shock mounting.Looking good. Why did you choose to inboard the shocks so much? Seems you knew the ramifications of doing so.


 At least maybe you can see some of the though behind the decision.
Sorry. That's probably WAY more info that you wanted in an answer to a simple question.
Only real drawback to the mounting being more inboard is lateral stability is diminished a little. But the spring setup is still on the stiffer side given the weight of the truck. There is very little body roll in corners as it is so I'm not too concerned about any decrease in stability from the shock mounting.
The choice to mount them where I did was because that was the location that allowed for full shock stroke without limiting travel. The further outboard the shocks are the longer they need to be since the outside of the axle will move a lot more than the center of the axle during articulation. These are 12" travel shocks. If they were farther out they likely would have run out of length without enough extension at the limit of flex. If I had used the 14" travel shocks, the shock body was longer so they weren't going to have enough room for compression unless I cut through the bed and put the upper mounts up higher on towers through the bed, or limited up travel with larger bumpstops to keep the shocks from bottoming out. Didn't want to cut up the bed or limit travel so this seemed like the best option. So far they seem to be working well. If it turns out that, after some more road and trail time that it isn't handling the way we like, there is room to add another lower mount farther out.
I used a similar approach with my Tacoma when I did custom mounts for the OME shocks I had. The OME 9" travel shocks were just too short in the stock locations and limited down travel. I was also installing a u-bolt flip which eliminated the stock lower shock mount. This gave me the opportunity to make new mounts and continue using the same shocks but have them in a location that didn't limit travel. They ended being more inboard (very similar to what I did this time) but with no tipping toward the center of the truck at the upper mount. This setup worked really well. IMO.
the OME Dakar leaves are very flat to begin with and don't have much arch. They are designed this way and regularly go into negative arch. This was at full "bump". I never had an issue with the springs even with consistently pushing them to this point. You can see there was still a few inches of shock compression left. No risk of bottoming out the shock.
At full droop. This was as far as the spring would allow the axle to drop. The shock location allowed for full droop and still had ~1" of shaft left so there was no risk of over extending the shocks and damaging them. Had they been further outboard like the stock locations they would have been too short and would have over extended and limited travel.
Worked pretty well in the end.
Sorry. That's probably WAY more info that you wanted in an answer to a simple question.
I did.Who made the rear bumper with swing out?
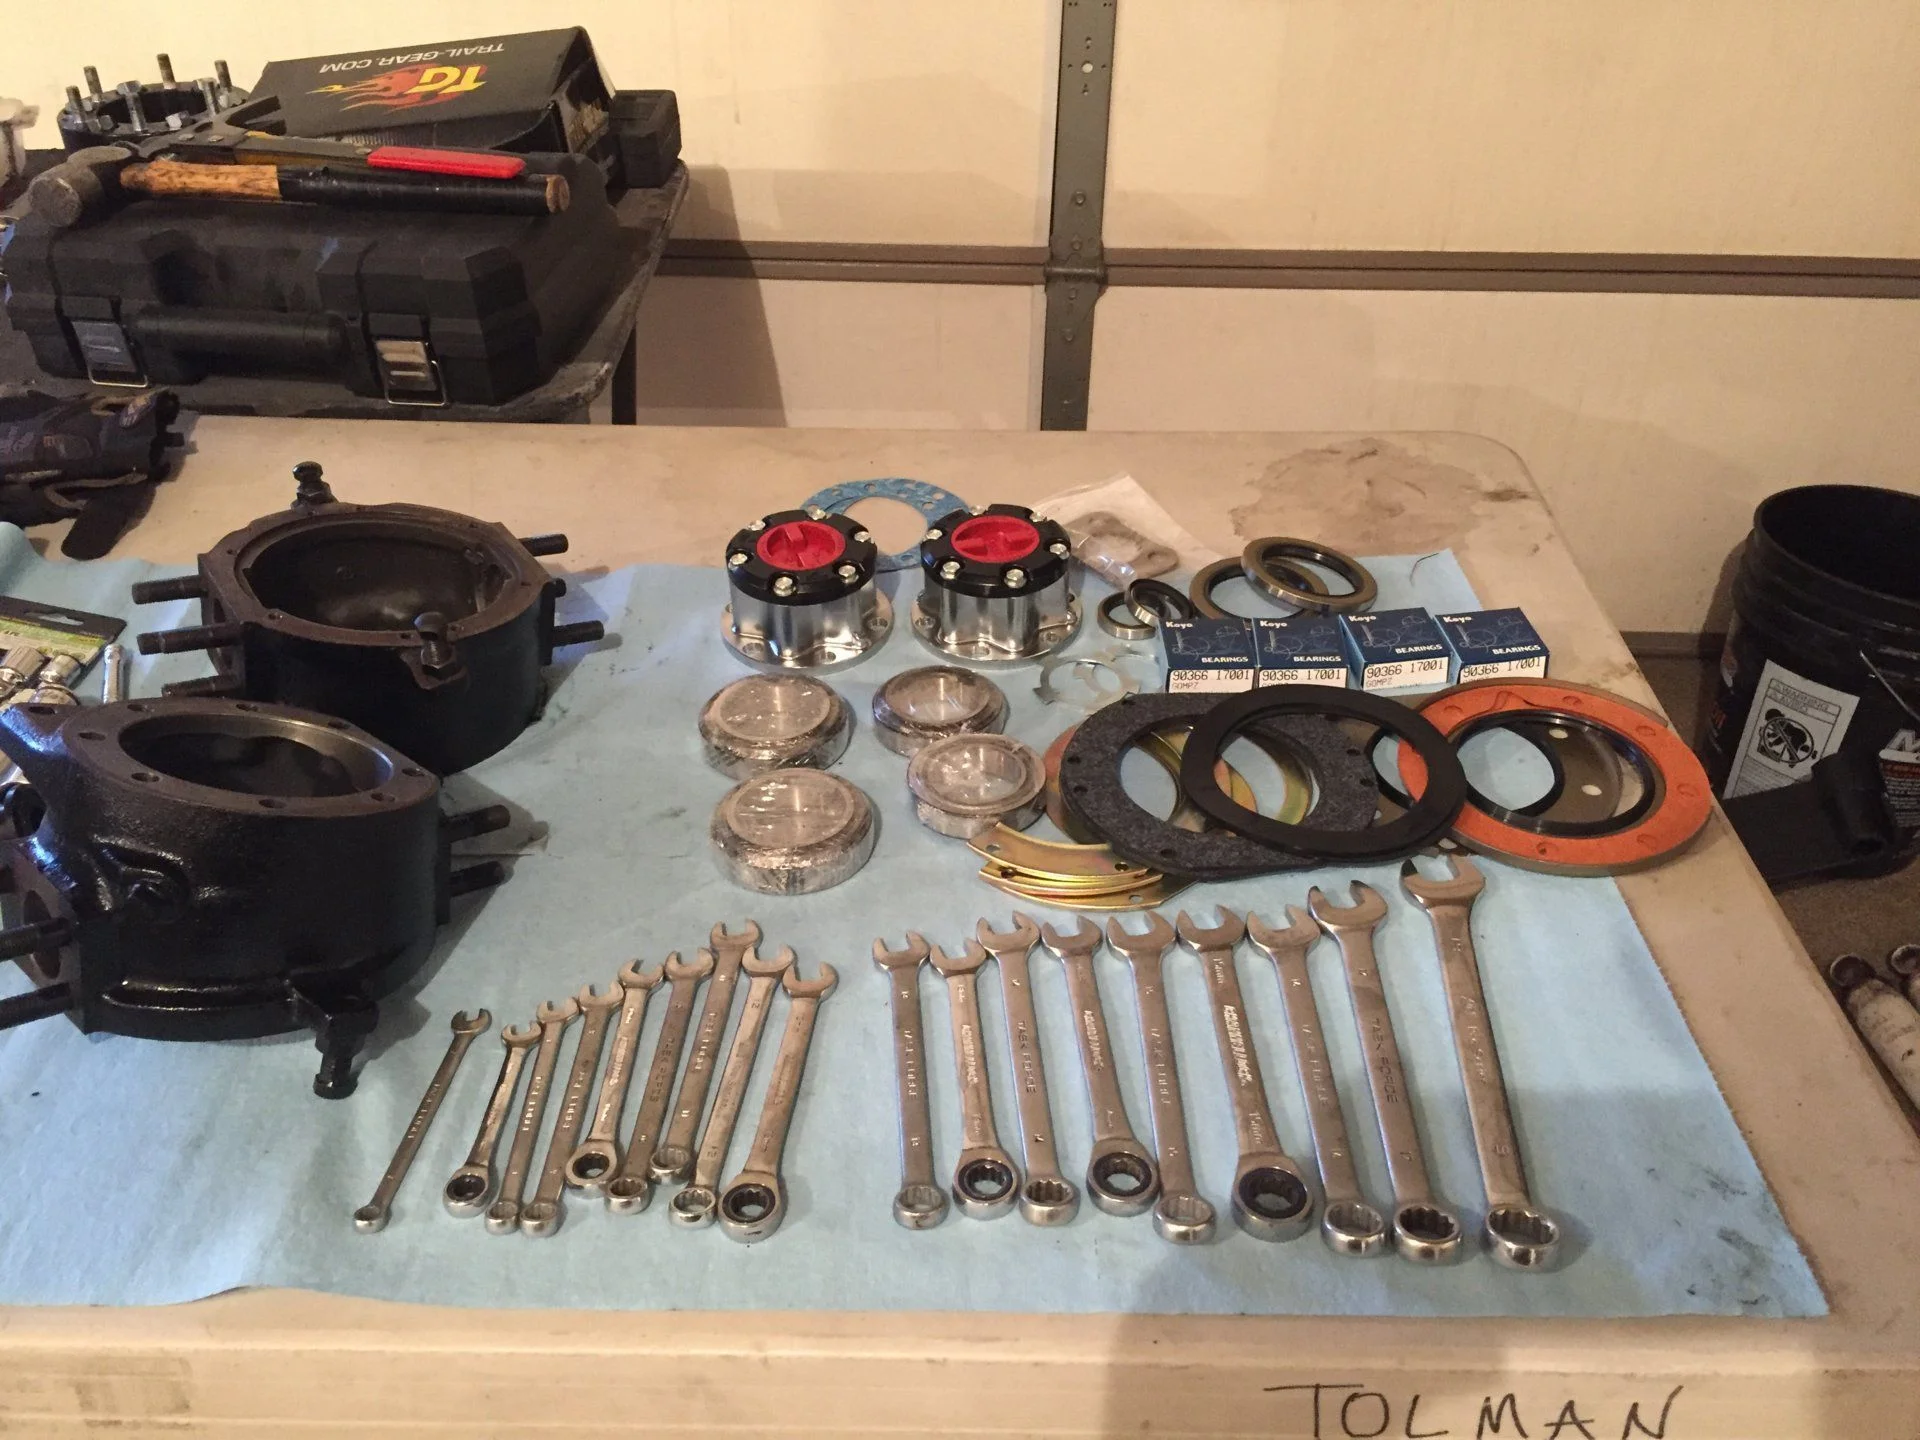
I believe you are correct. Since the rotor is held to the hub by the six studs I'm not sure the bolts are even necessary.Rotors are different from very early to just early. They mount onto the hub different as well. Six(6) bolts vs two(2) bolts to hold the rotor on. Right now I don't recall which is which, but I think the earlier version has the six(6) bolts.
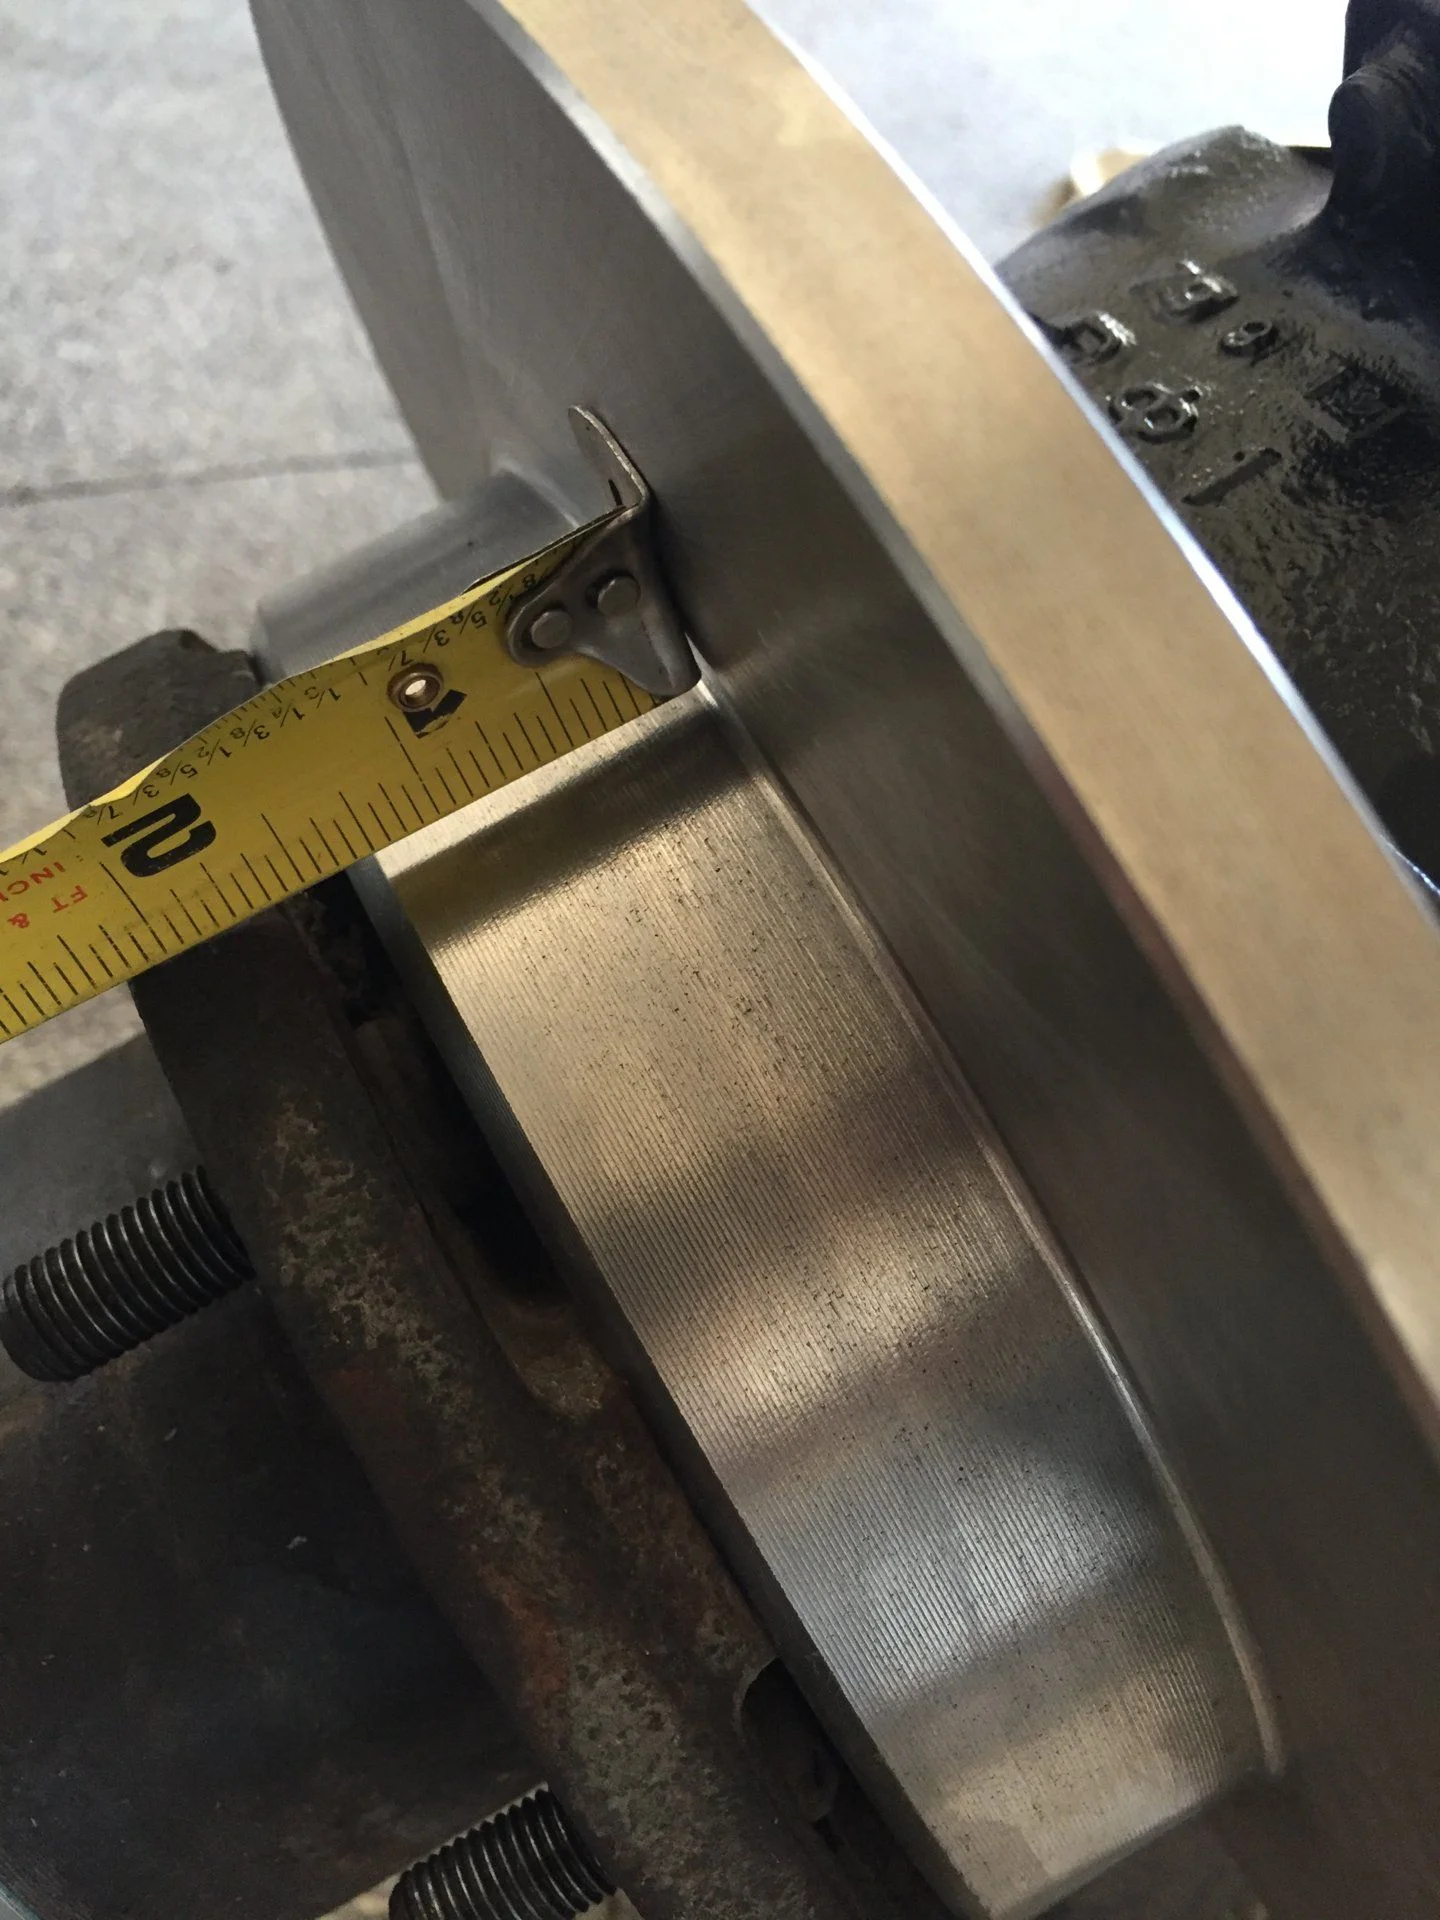
Vented rotors did not come until later so solid rotors are correct for this truck. Thickness could be in question howeever.I believe you are correct. Since the rotor is held to the hub by the six studs I'm not sure the bolts are even necessary.
And those rotors look wrong. They are solid, not vented. As I recall the solid rotors that would have come on the truck were pretty thin.
Rotors are different from very early to just early. They mount onto the hub different as well. Six(6) bolts vs two(2) bolts to hold the rotor on. Right now I don't recall which is which, but I think the earlier version has the six(6) bolts.