
As I have been on mud for a short time now, I have wanted to make a build thread even though I have already completed alot of things I still have more to add, so here is Ѐl Diablo. I think this name suits this 40.
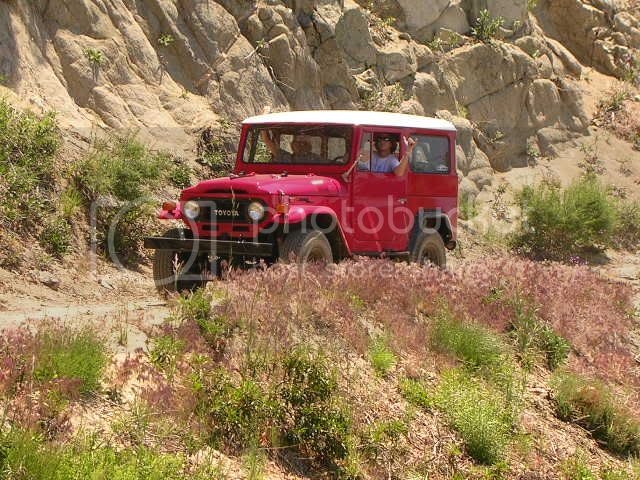
This was my first vehicle which I purchased when I was 16 years old. The body was decent with its share of minor rock damage and loads of holes, motor was tired, and wiring harness was shredded with household switches for the headlights. After sending the body to get body work and paint (swiss red) and the motor to the rebuild shop, I got it all back and rewired with painless, new switches, brakes, engine tune up parts, new rubber everywhere. It took 9 months and I was driving it to school before I was 17.

I will add some more info/pics/progress which I have done to this thread as the days go on as I sit at home with a broken arm. I had to one up a 12 year old at snowboarding. I failed.
This was my first vehicle which I purchased when I was 16 years old. The body was decent with its share of minor rock damage and loads of holes, motor was tired, and wiring harness was shredded with household switches for the headlights. After sending the body to get body work and paint (swiss red) and the motor to the rebuild shop, I got it all back and rewired with painless, new switches, brakes, engine tune up parts, new rubber everywhere. It took 9 months and I was driving it to school before I was 17.


I will add some more info/pics/progress which I have done to this thread as the days go on as I sit at home with a broken arm.
I had to one up a 12 year old at snowboarding. I failed.


