'76 FJ40 Skinny Wallet RestoFresh (1 Viewer)

This site may earn a commission from merchant affiliate
links, including eBay, Amazon, Skimlinks, and others.

Joined
Apr 24, 2010
Threads
56
Messages
459
Location
RVA
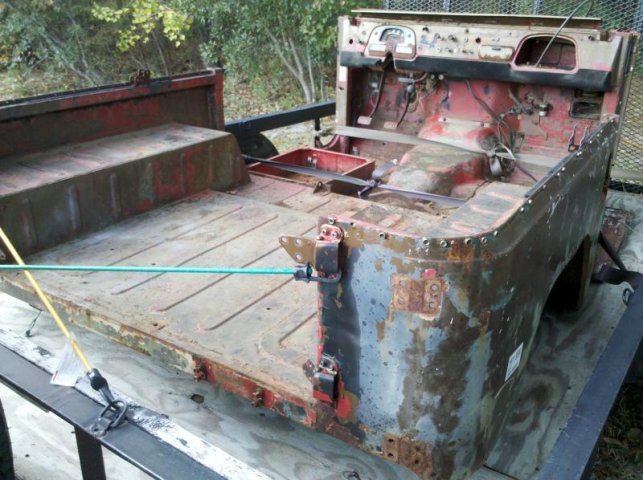
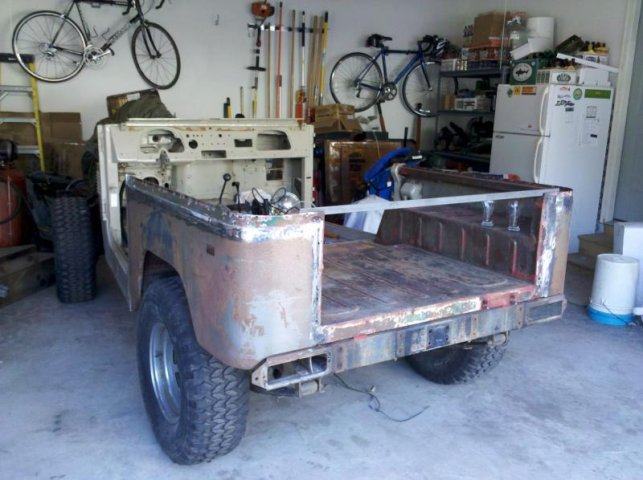
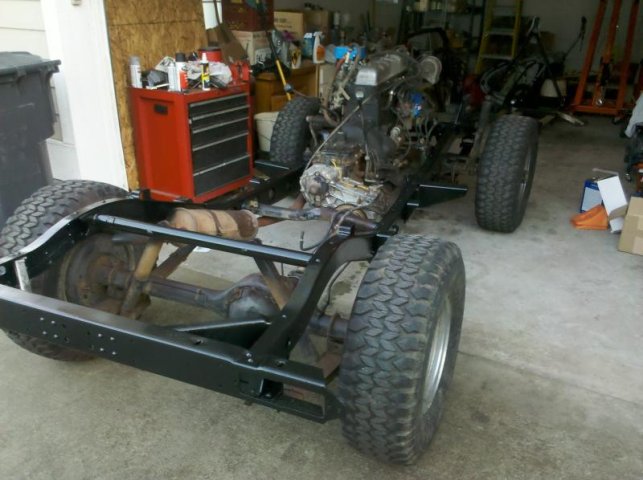
I've finally gotten my priorities straight and started on the 40 I bought this summer. I'm starting with an all original '76 with 80k miles and all ancillary pieces (top, doors, seats, gauges, etc.). The PO started the resto and had to abort, so I picked it up cheap. Here's what I'm starting with:
body.jpg
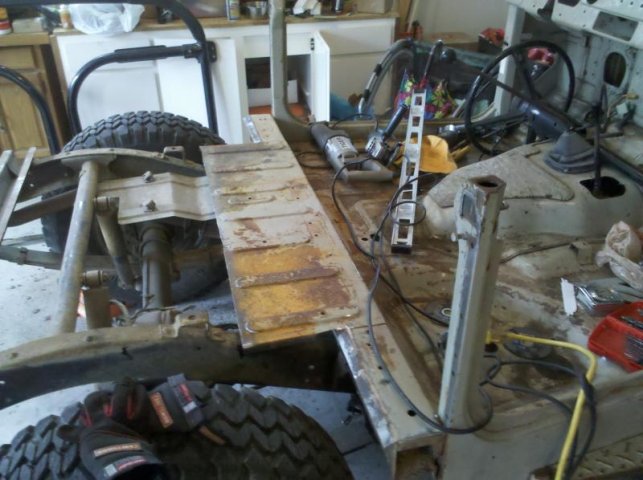
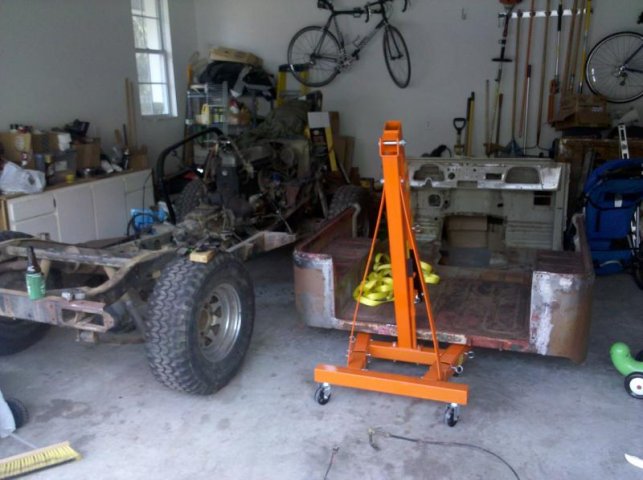
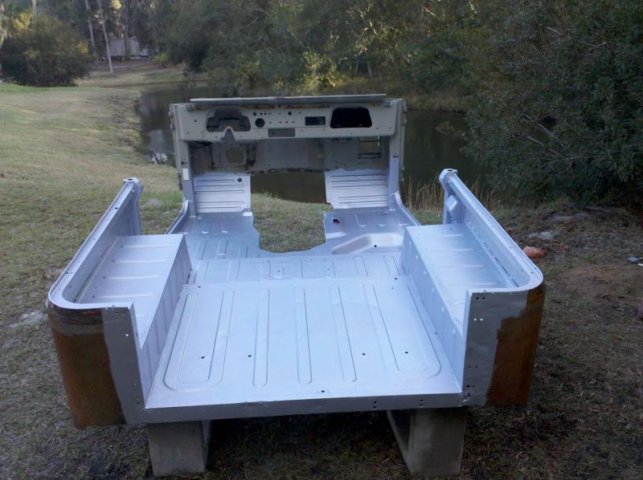
The good thing is he had just purchased all new sheet metal from CCOT - floor, quarters and sill. Bad news is he didn't brace anything before tearing into the rear tub. I wasn't sure how to tackle this and considered buying a new 1/2 tub but couldn't justify the expense. So when this '70 appeared in a junk yard, I drove 5 hours, spent another 5 pulling it off the frame and drove it home :)
1970 Body 2.jpg
Dusted off the sawzall and got to work:
IMG_20101210_153525.jpg
body.jpg
1970 Body 2.jpg
IMG_20101210_153525.jpg
 
Looks like that tub has seen its share of different soft tops, lots of holes and snaps. This is the tub that came up in the other post I assume, would love to know how much the junk yard charged for that tub. Looks nice and solid.
 
continued...

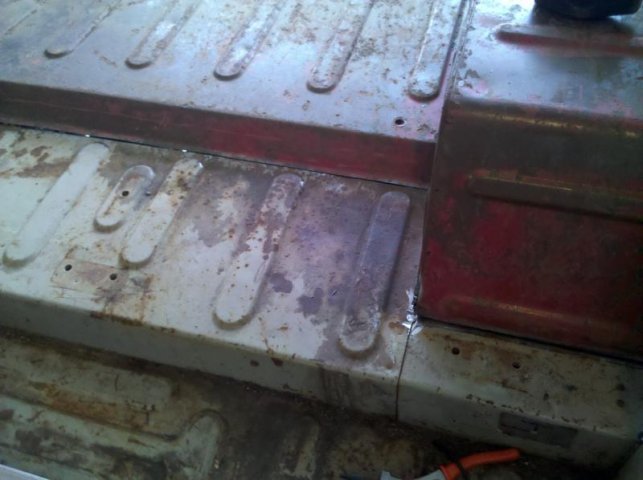
The main support tube on the '70 tub was rusted through, and since I wanted to keep the correct nutserts for the later seats, I decided to separate the tub at the wheel well seams and cut right before the sloping section of the floor:
IMG_20101211_114230.jpg
Like Buttah!
IMG_20101217_141957.jpg
IMG_20101217_142015.jpg
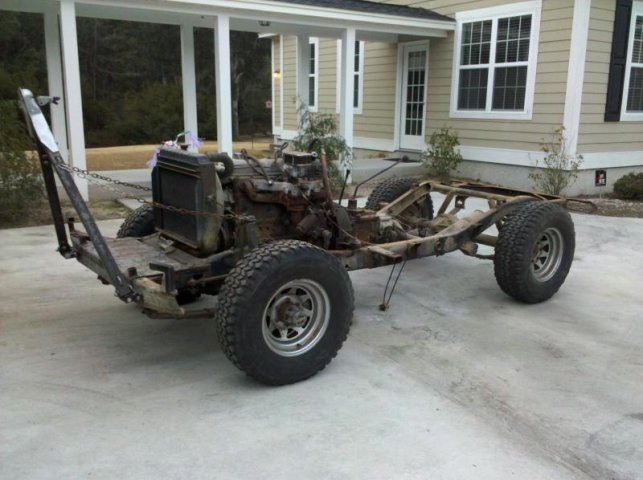
I'm thrilled with how much time/money I saved by swapping out the rear :bounce: Right now I'm working on replacing the rear quarters. I've got the pass side cut out and am working on putting in the wheel well support channels. I'm trying to do this on the cheap, which is hard to do after seeing all the great looking rigs on here. This is all new ground for me - I've never worked with metal or welded, but man is it fun! I'm on the fence right now - either do a full frame off, or just pull the body, fix and paint and then throw it back together. The frame is in good shape, but could definitely use a blast and repaint. :hmm:
IMG_20101211_114230.jpg
IMG_20101217_141957.jpg
IMG_20101217_142015.jpg
 
Chris, yeah it definitely has lots of holes and snaps. The yard charged me $158 for the whole body, which I thought was a great deal considering how much time/money it saved me. :)
Looks like that tub has seen its share of different soft tops, lots of holes and snaps. This is the tub that came up in the other post I assume, would love to know how much the junk yard charged for that tub. Looks nice and solid.
 
Chris, yeah it definitely has lots of holes and snaps. The yard charged me $158 for the whole body, which I thought was a great deal considering how much time/money it saved me. :)


That is a killer deal! Sell the cowl and recoup your money! :cheers:
 
Take your time welding them back together. To much heat will warp the panels. That is a killer deal you got that body and you making them together looks awesome. Looks like it will turn out great.
 
That is a killer deal! Sell the cowl and recoup your money! :cheers:

my previous post got deleted, but here is the cowl for sale: https://forum.ih8mud.com/sale-parts/444686-1970-fj40-front-cowl-complete.html

How are you going to weld the two back together?? I have a idea! Let me know if you are interested?

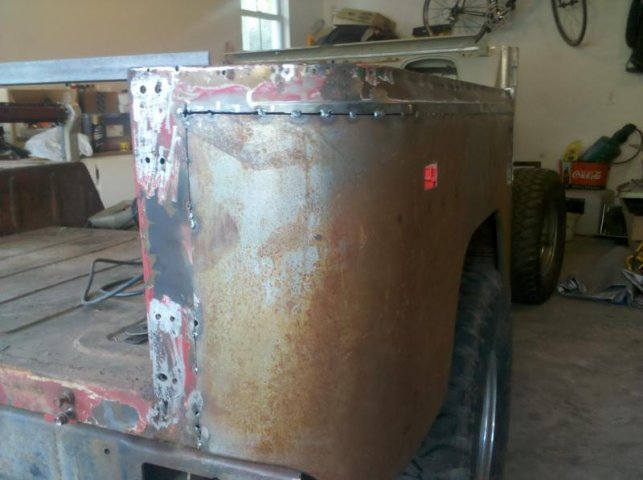
Well, I did some of the welding already, but I'm all ears! I welded the corners of the wheel wells to the floor like the factory did to stabalize everything, then I butt welded the floor seam.

Take your time welding them back together. To much heat will warp the panels. That is a killer deal you got that body and you making them together looks awesome. Looks like it will turn out great.

No doubt! Definitely a learning curve. I layed down a series of spot welds before I did any continuous welding to cut down on warping. I just subscribed to your build up thread - almost exactly what I want to do with mine. :cheers:
 
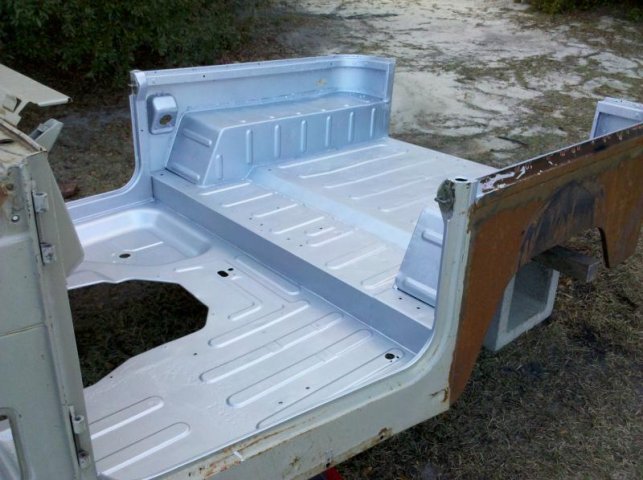
Got the underbody painted. A few hours with the wire wheel and a quick degrease before applying 2 coats of MasterSeries silver. Cjgoode used it with good results on his build https://forum.ih8mud.com/40-55-series-tech/354516-cjs-1962-fj40-build.html , so I gave it a shot. Reasonably priced and coated really well. It cures via exposure to moisture, so it took a few hours for each coat to dry since it wasn't humid (for once). Underbody 1.jpg

Underbody 4.jpg
Underbody 1.jpg
Underbody 4.jpg
 
More Progress

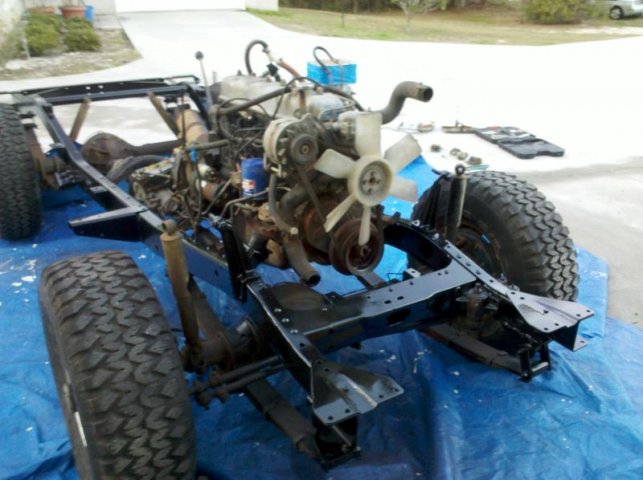
I sprayed the underbody with Rustoleum underbody rubberized paint (rattle can) -not too impressed, but it was cheap and it's paintable if I want to paint it the same color as the body. Also spent some time pressure washing and wire wheeling the frame. I sprayed Rustoleum primer and Rustoleum Professional gloss black (again, rattle can). Very happy with the results. I'm trying to get this thing on the road ASAP without spending much money, so I couldn't justify pulling the frame off. Maybe in a few years when I have time/money. All in all, a productive weekend. :)
Underbody 6.jpg

Frame 1.jpg

Frame 2.jpg
Underbody 6.jpg
Frame 1.jpg
Frame 2.jpg
 
looks awesome keep it up! i personally love rustoleom professional black.. it holds up extremely well. the red rustoleom primer holds up just as well - though they both seem to take a week or two to cure.
 
Dude, great job, unbelieveable score on the tub....you don't find them rust free and cheap very often.
 
looks awesome keep it up! i personally love rustoleom professional black.. it holds up extremely well. the red rustoleom primer holds up just as well - though they both seem to take a week or two to cure.
thanks man- you're right about the cure time. going on a week now and it's a much harder finish. pretty cool stuff for the money.

Dude, great job, unbelieveable score on the tub....you don't find them rust free and cheap very often.
thanks mattcamp - getting a little burned out, but trying to get this thing wrapped up. More progress today on the tub:
Tub primer.jpg

Tub primer 2.jpg
Tub primer.jpg
Tub primer 2.jpg
 

Users who are viewing this thread

Back
Top Bottom